
Nintendo Playing with Power Guide The Legend of Zelda The Underworld
Labyrinth 6: Dragon
Level 6 Is Ultra-Difficult
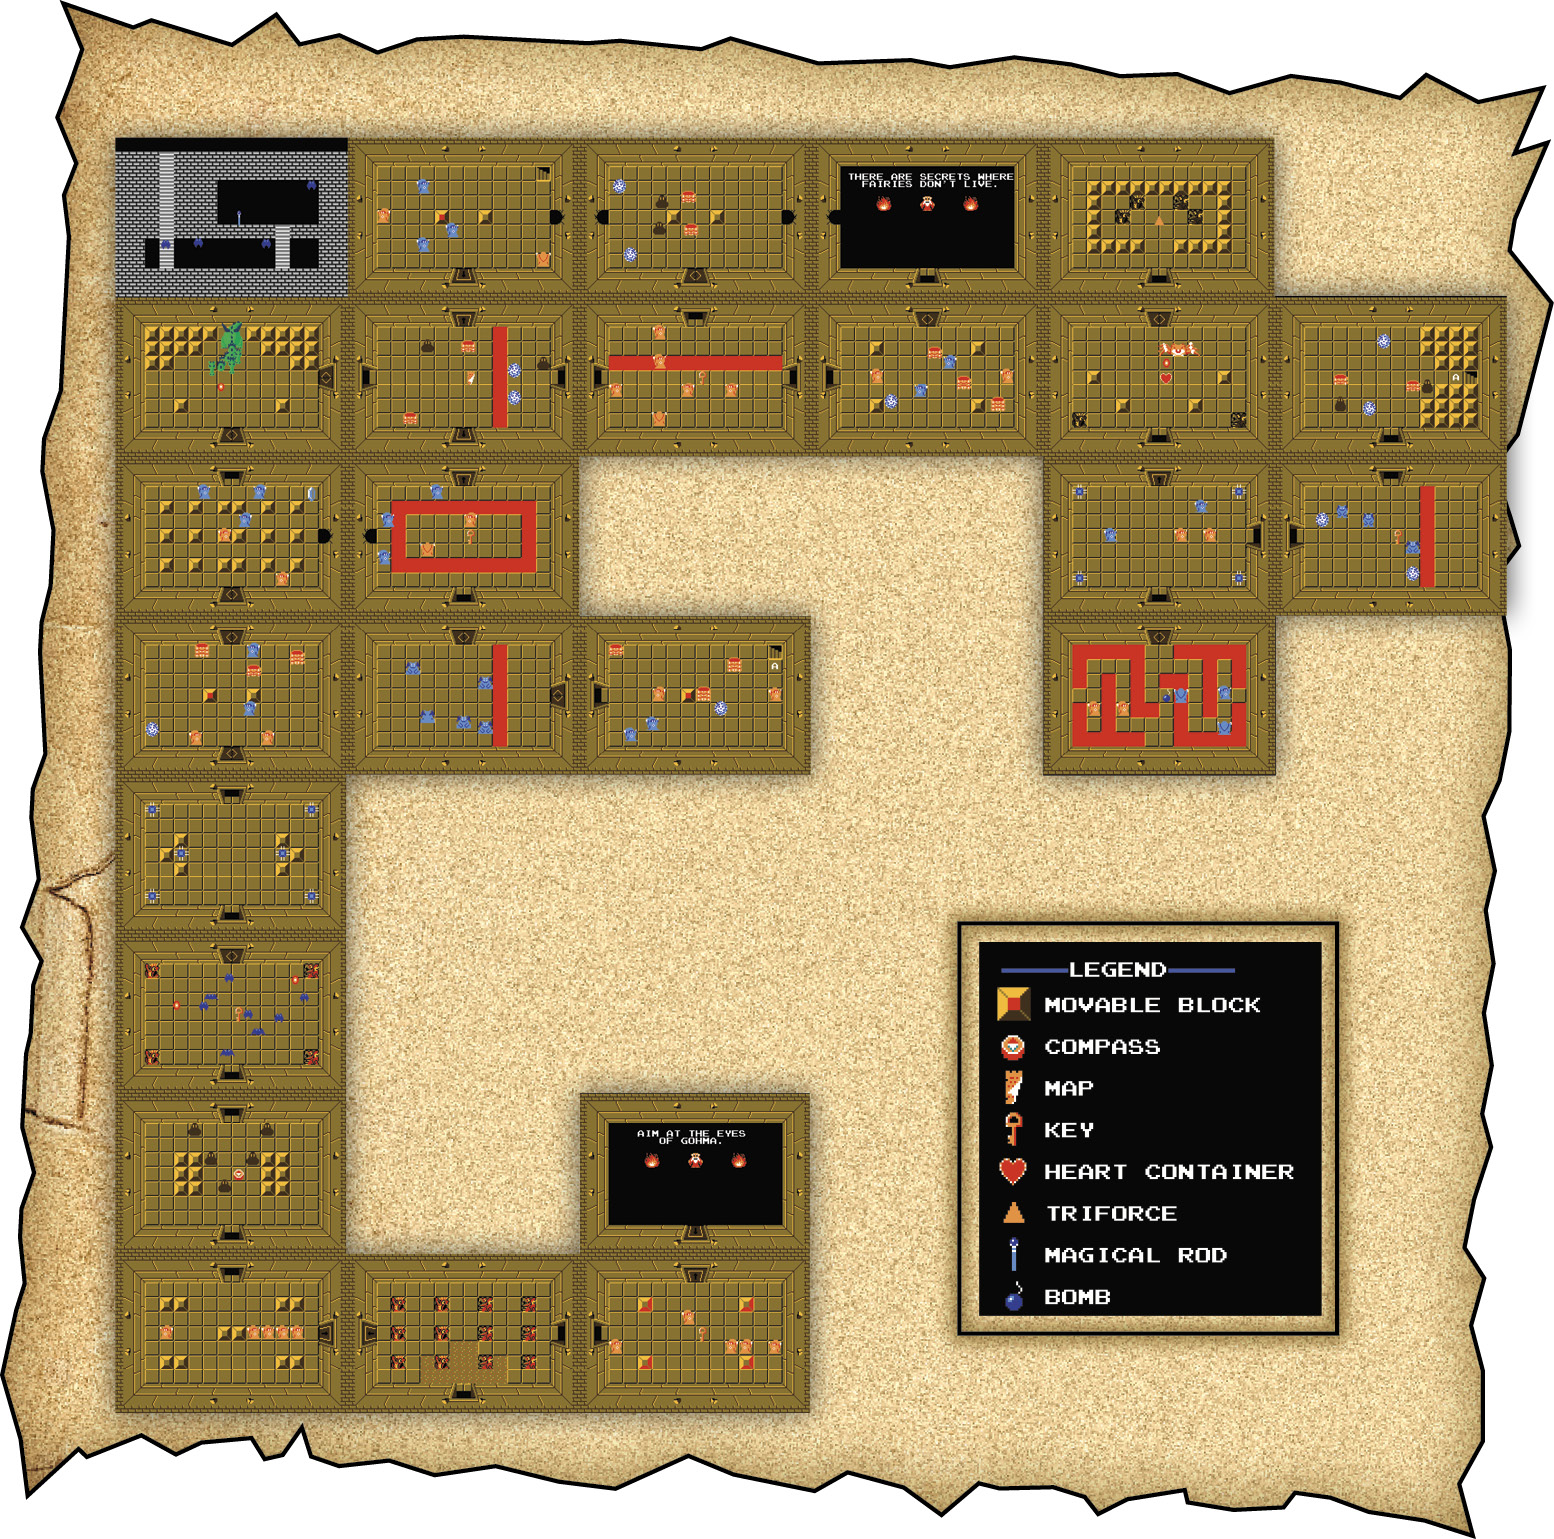
The enemies you have to be careful about in Level 6 are the Like Likes and the Wizzrobes. Both are very tough opponents individually and even tougher when they appear together in some rooms. Bubbles are also thrown into the mix, making these fights even harder. Whether or not you clear Level 6 depends on how well you get through the combined attacks of the Like Likes and Wizzrobes. It’s a double challenge!
Getting the Map and the Compass
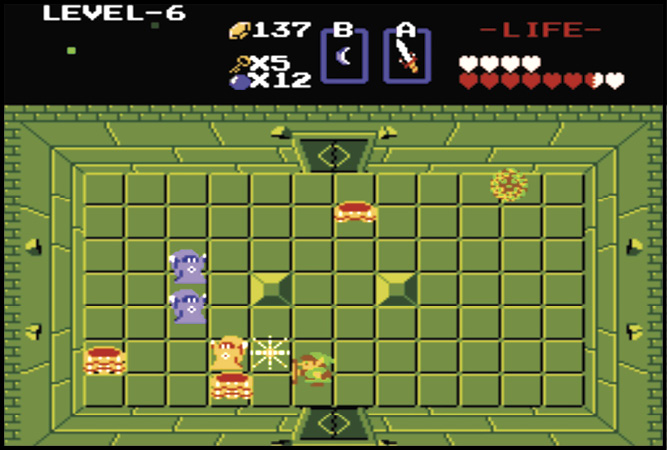
The first thing to do is get the Map and the Compass when you enter Underworld Labyrinth Level 6. Find the Compass one room west and one room north of the starting location. To find the Map, head to the room second from the top of the second row of rooms. Until you have both the Map and Compass, always verify the rooms you come through by using the Subscreen. That way you avoid getting lost or confused. Always stay calm and take careful steps.
Escaping the Locked Rooms
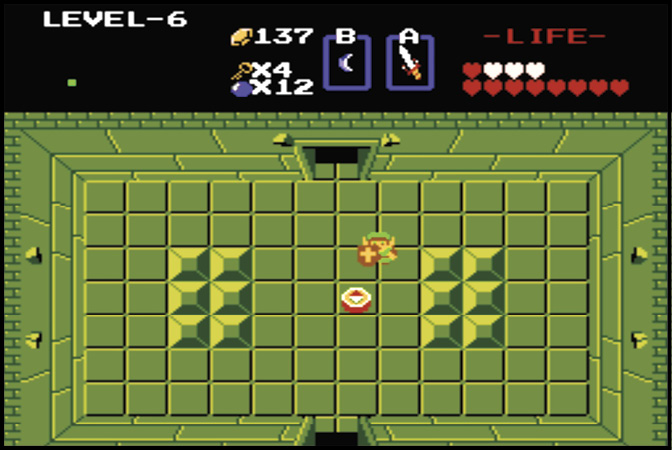
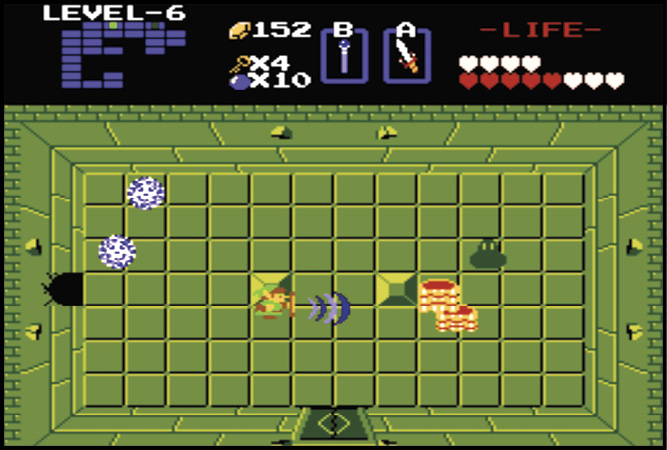
The room one room east and four rooms north of the starting area locks as soon as you enter it. You have gone through many rooms similar to this one. Do something with one of the two blocks in the room to unlock the doors. However, you must beat the enemies in this room first—the Like Like and the Wizzrobe. Concentrate all your energy and get ready to do battle!
Attack the Like Like from a Distance
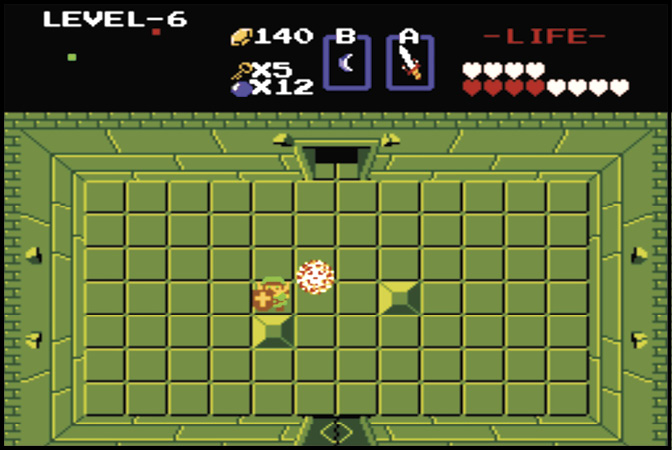
The trick to beating a Like Like is to get him before he gets too close to you. For this, the Bow and Arrow, Blue Candle, and Bombs are all effective weapons. However, you can’t use the same treasure forever, so when one wears out, quickly switch to a different one.
If a Like Like happens to grab you, don’t panic. Quickly pull out your Sword and stab him before he can eat your Magic Shield. You might be able to beat him in time!

There Are Two Kinds of Wizzrobes
The Yellow Wizzrobes always appear in either the line running horizontally or vertically from Link, and can shoot magic spells only toward Link’s current position. When you first see one appear, quickly jump out of its path. It is safest to attack a Wizzrobe from the side.
The Blue Wizzrobe is a lot tougher than the Yellow Wizzrobe to battle, because its pattern of movement is harder to predict. You have to really be on your toes, because the Blue Wizzrobe can also teleport into you, causing Link to lose health. Your best bet is to focus on a hit-and-run strategy. Keep moving; the worst thing you can do when you battle a Wizzrobe is panic.
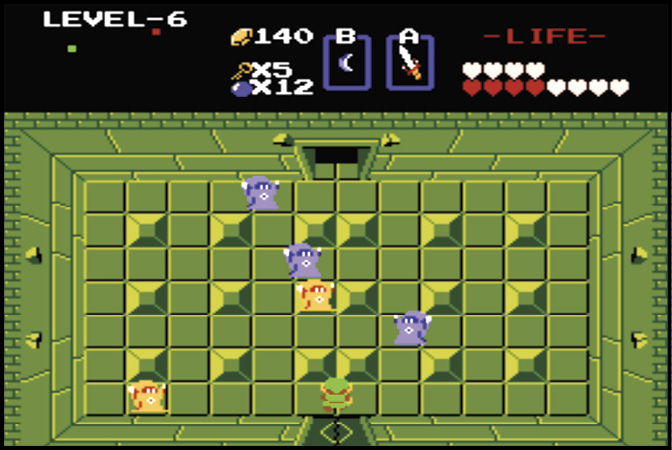
Gleeok Is in the Central Room
Gleeok, the boss you beat in Level 4, is back, in the room in the top-left corner of the labyrinth, only now it has three heads and is a lot more powerful! Be careful! Just like you did in Level 4, go up to Gleeok’s side and plunge your Sword into the base of its neck; that’s the way to beat it.
This three-necked Gleeok is harder to defeat than the previous one, as are the enemies you meet as you progress to higher levels. Don’t let them sap Link’s Hearts!
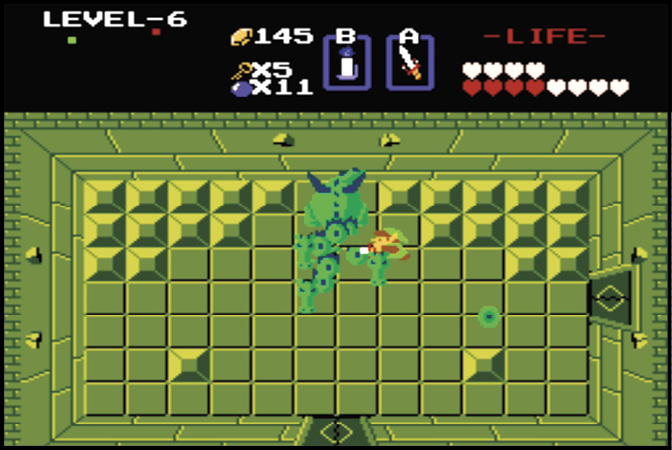
Discover the Door to the Shortcut
The shortcut leading to the top-right corner of the labyrinth is somewhere in the third room of the third row of rooms. In fact, the only way for you to get into that top-right room and the rooms surrounding it is to find the shortcut. If you fail to find the entrance to the shortcut, you could end up walking all over the labyrinth.
In order to find this entrance, you must do something to the block in the center of this room. It’s really quite a simple device, and since it’s used repeatedly, you’ve most likely figured it out by now.
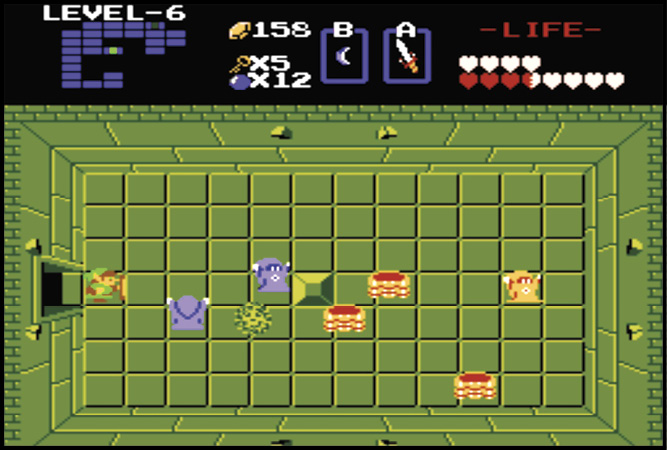
Where to Find the Magic Wand
You find Level 6’s treasure, the Magic Wand, in the room at the top of the second row of rooms. There are two blocks in this room, and if you do something to one of them, the door to the treasure chamber opens.
The Magic Wand can be used in place of the Bow and Arrow and is quite a useful item. By all means, try to get it!
On the Underworld Map, the treasure room is usually hidden in the corner. This is true with the Triforce as well. Important things are in the corners of the labyrinths.
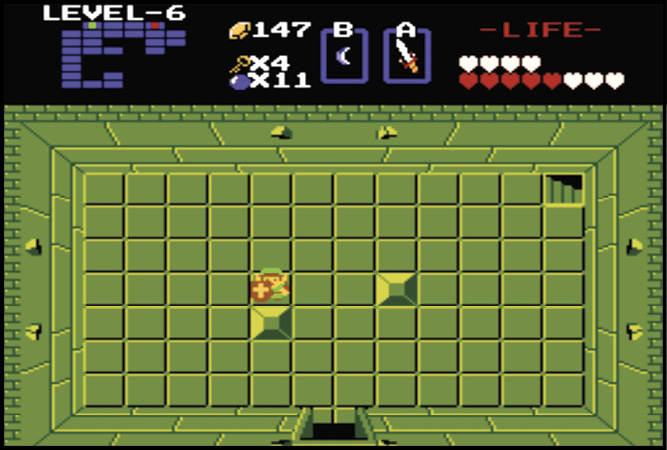
Destroy the Like Like with a Wand
Your Bow and Arrow and Bombs are good weapons for attacking Like Likes, but eventually they will run out. You can use a Blue Candle too, but since you can only burn it once within each screen, it’s not the best weapon either. The Wand, however, can cast an endless supply of magic spells. It’s a lot easier to destroy the Like Like if you get your hands on the Wand.
Listen to the Old Man’s Story
The Old Man who lives in the room at the top of the fourth row of rooms gives you a hint about where to find the Level 7 labyrinth.
So, after you clear Level 6, search out that place where no Fairies live. But what in the world did he mean by “secret”? It’s you who must discover it. Use your imagination to find a way into Level 7.