
Nintendo Playing with Power Guide The Legend of Zelda The Underworld
Labyrinth 2: Moon
Level 2 Is a Piece of Cake!
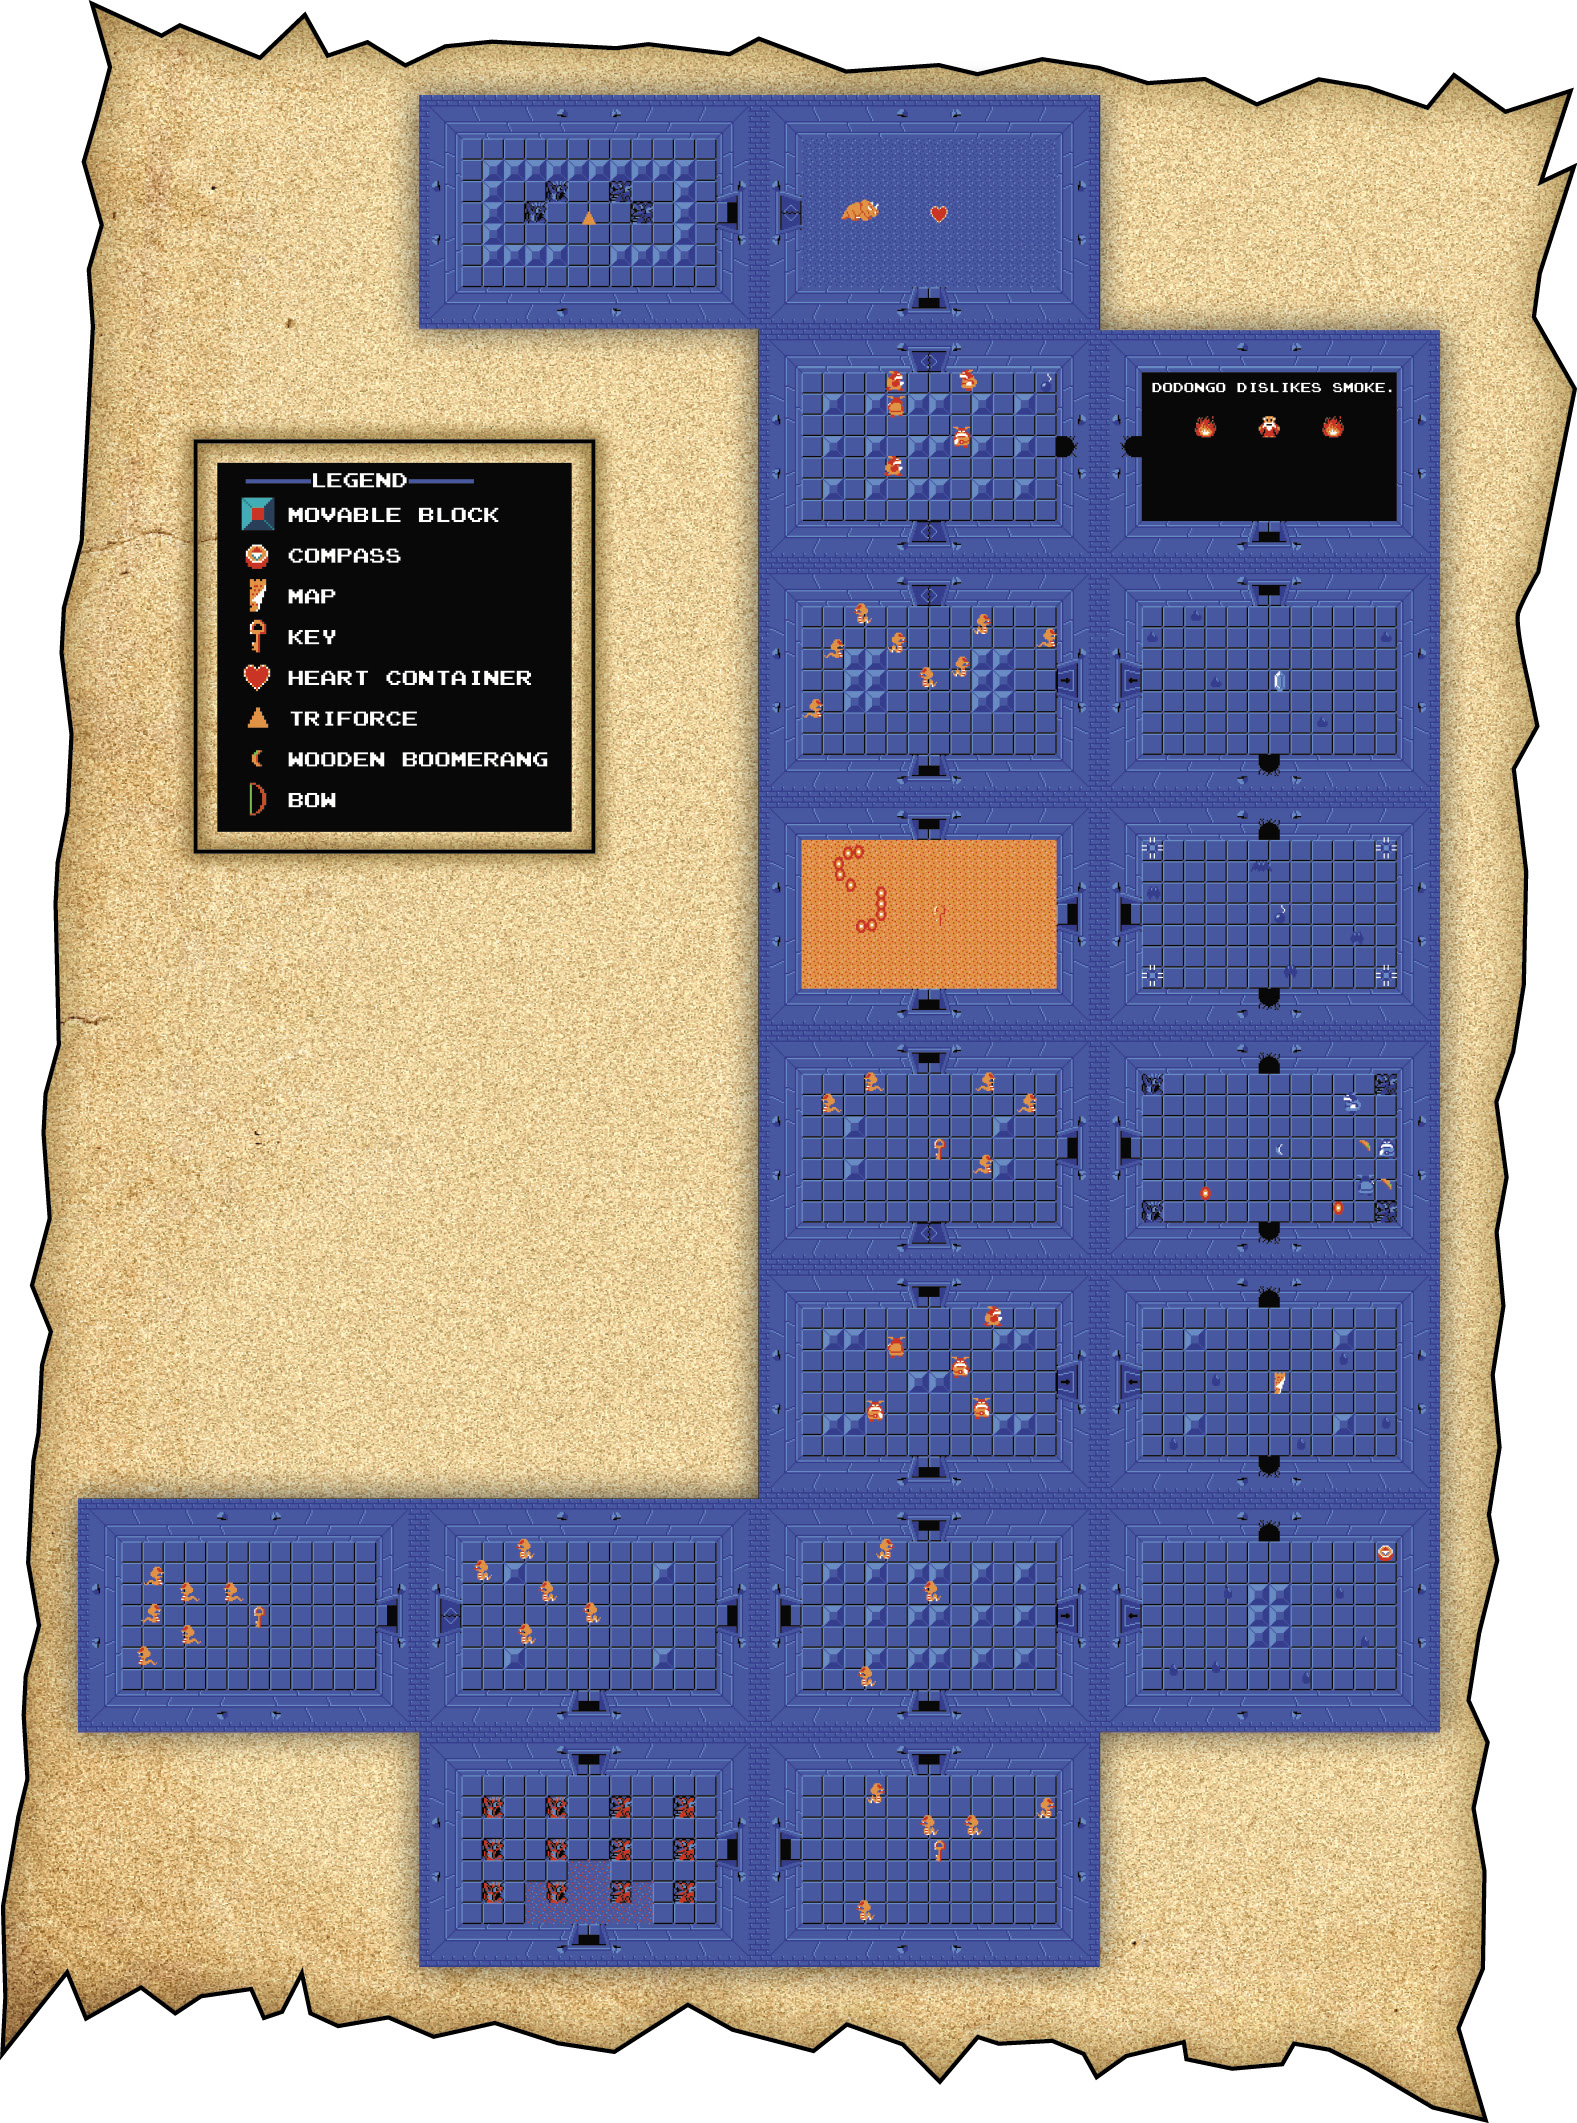
Level 2 has a crescent shape like a moon. Even if it’s a little tougher than Level 1, it’s still very straightforward. With the Boomerang and Bow in hand, this should be no problem at all!
Boomerang Gels and Keese
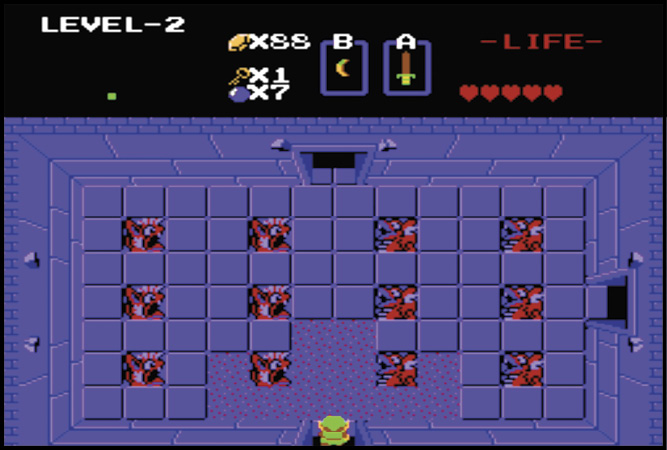
Gels and Keese are the weakest of all the enemies in the Underworld labyrinth. They don’t have much offensive power, nor do they move quickly.
You can make short work of these enemies with a simple throw of your Boomerang. A single hit with the Boomerang instantly defeats either enemy and allows you to keep your distance from the baddies. Just don’t underestimate either of them. Both enemies have erratic movements, and Keese are speedy, making them hard to hit and avoid.

Looking for the Map and Compass
You can find the Compass in the bottom-right corner of the labyrinth, and the Map in a room just above that. Approach both rooms from the west; so from the entrance, head east one room, then north one room. From here, go east to reach the Compass; go one more room north, then east, and the Map is yours.


Blade Traps! Look Out!
The Underworld is a deadly, dangerous place full of monsters and traps. One such trap is the fast-moving Blade Trap, found in the third room from the top of the right row of rooms in your Map. These traps sit completely still in a room until you pass them either horizontally or vertically. As soon as you enter their line of sight, these bladed baddies swiftly slide toward you in an attempt to smash Link into Swiss cheese! Stay out of their line of sight at all costs to make it out in one piece.

Pull the Ropes
Ropes are the snake enemies encountered in this labyrinth. They usually move slowly, but once they vertically or horizontally align with Link, they make a mad dash toward him.
Use their predictable movements against them for an easy victory. If you’re at full health, align with the Ropes and unload Sword beams at them as they charge toward you. The key here is to not let them get close, so if you lack a Sword beam, shoot them with the Bow or stun them with the Boomerang and go to work!


Desert Fire Worm, Moldorm
The intimidating worm enemies called Moldorms inhabit the fifth room in the center column of the Map. They aren’t particularly hard if you know what to look for.
The trick is to fight them calmly and to make sure your attacks land. They don’t move particularly fast and they usually gravitate toward your location, so just stand still and wait them out. As they approach, give them a good stabbing. If you go hunting for them, you’re almost certain to take damage when they jump out of the ground, so turtling is definitely the best strategy here.

Challenging Treasure: The Magical Boomerang
You can get a new Boomerang in the third room from the bottom of the right column of rooms (it’s the room above the Map and Compass rooms). The Magical Boomerang appears after you clear out all the Goriyas in the room, but that’s much easier said than done.

Arm Yourself with Knowledge
While in this room, you must defeat Goriyas while avoiding not only their boomerangs, but also fireballs spit from the statues in the four corners of the room. If you grabbed the Magic Shield before entering Level 2, you can block the incoming fireballs without too much issue. Otherwise, stay nimble, move quickly, and dodge those attacks! You can do it!
An Old Man is in the room at the top of the right column of rooms. A quick visit to him gives you information on how to defeat the indestructible Dodongo, boss of this labyrinth! Not a bad deal for a quick visit with a friend, huh?

