Chapter 9: The Sickness
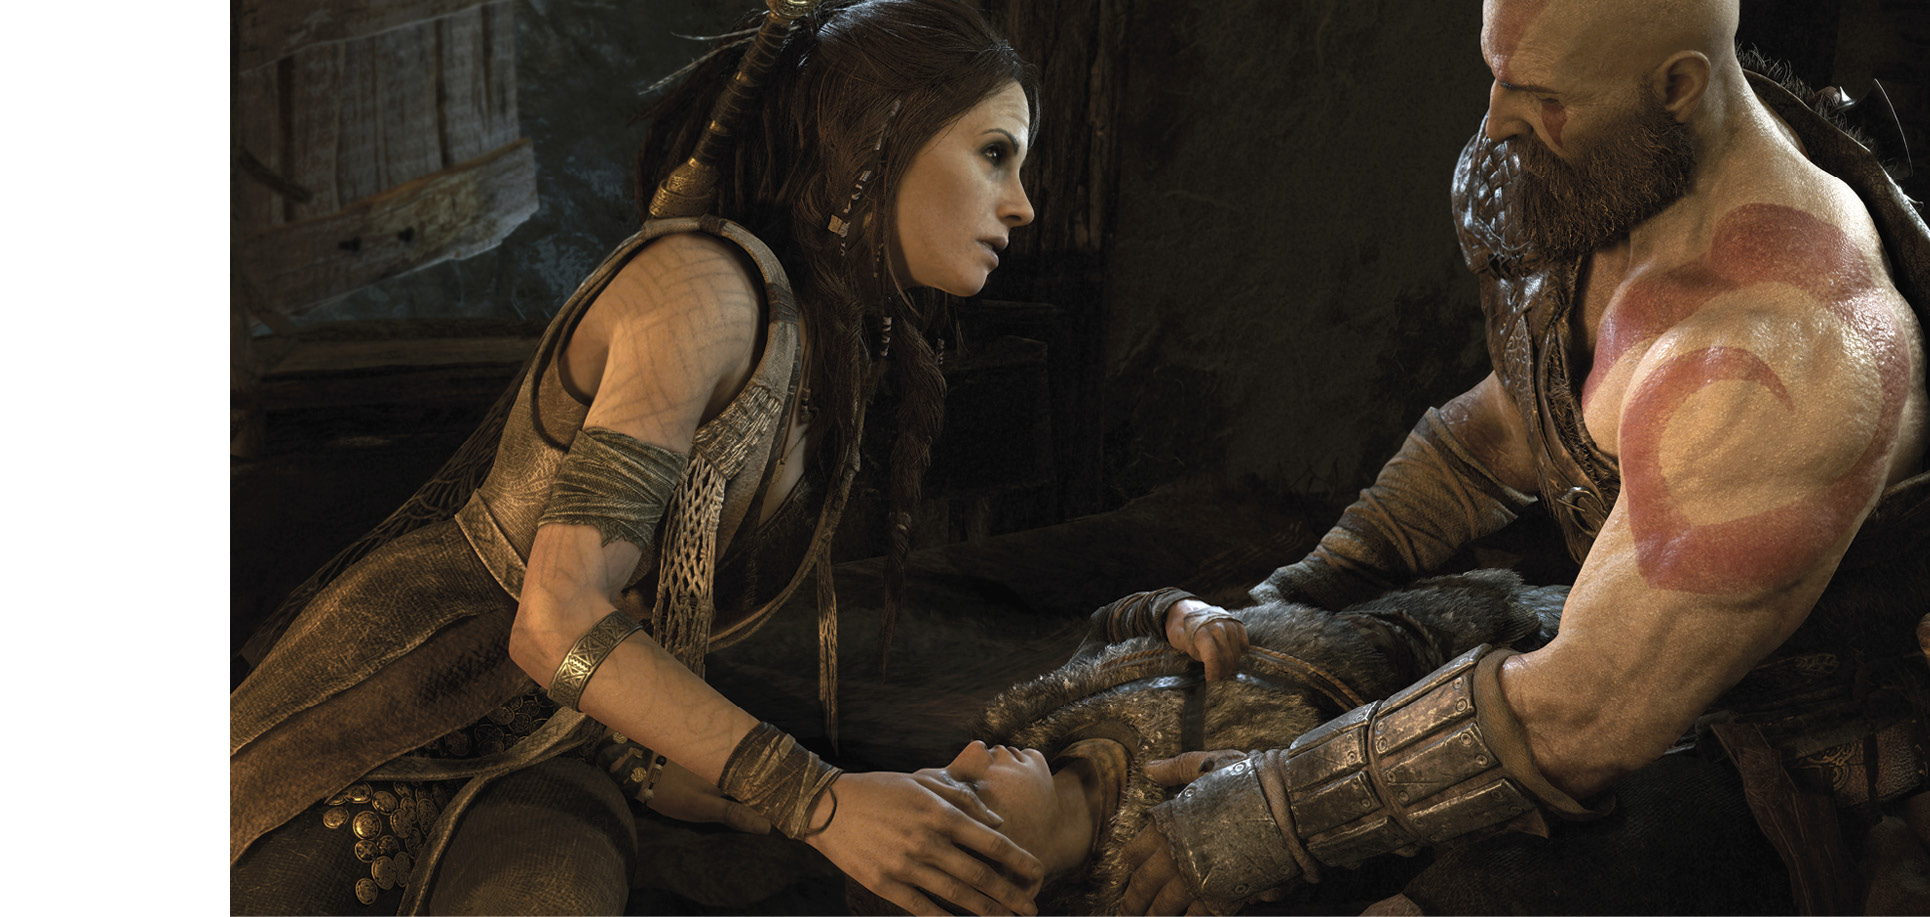
Modi’s taunts have triggered a black malady in Atreus. Now the boy’s father must follow Mimir’s advice and deliver the stricken, unconscious lad to Freya. To heal his son, Kratos is forced down a dark path that leads first to a reckoning with his own vengeful past…and then on to the gates of a frigid underworld.
Journey Objectives
- Ask Freya for help
- Use Freya’s boat to return home
- Return to the Realm Travel Room
- Realm-travel to Helheim
- Reach the Bridge Keeper
- Defeat the Bridge Keeper
- Return to the Realm Travel Room
- Realm-travel back to Midgard
- Deliver the heart to Freya
New Enemies
OBJECTIVE: Ask Freya for Help
Carry Atreus out to the boat and start rowing. By now you know the way back to Freya’s Cave (formerly Witch’s Cave), but remember that the World Serpent ate the top half of the Thor statue. You still steer between Thor’s feet to reach the cave’s entrance channel (the cave opening left of Muspelheim Tower), but the God of Thunder’s upper half is somewhere in the serpent’s gullet.
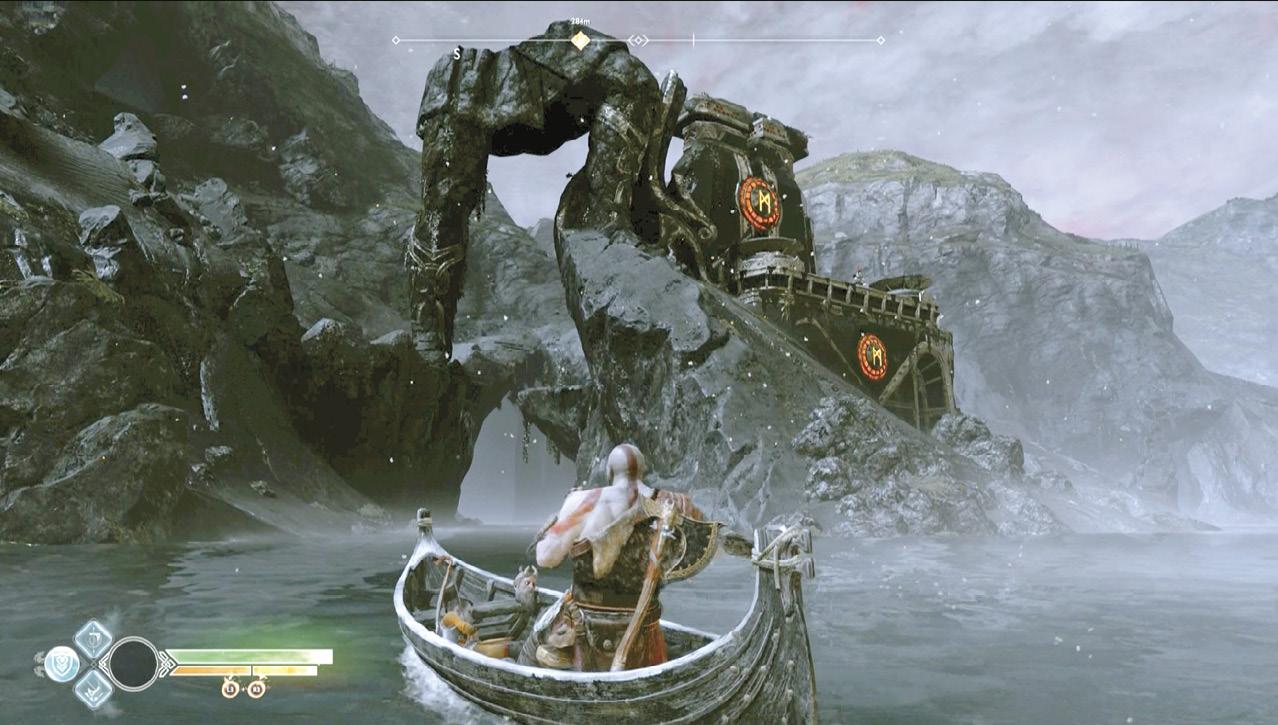
As you row up the channel, Mimir points out that Thor will be furious and likely seek revenge, but fortunately Freya’s forest is a “blind spot” for him. When you reach the cave’s dock, debark and ride the elevator. On the way up, you hear the World Serpent’s Horn in the distance, and Mimir notes it as well. At the top, carry Atreus up the walkway to Freya’s door.
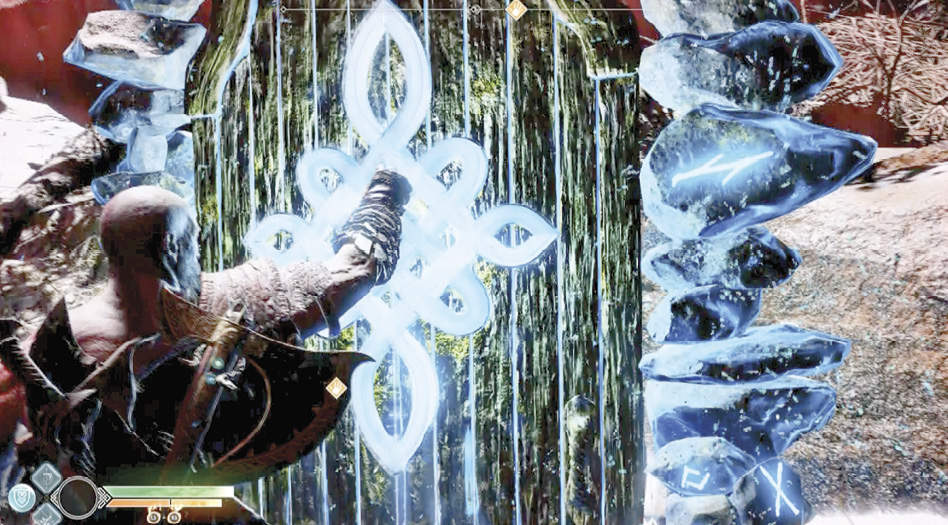
Approaching the door triggers a scene: Freya agrees to cure Atreus, but she has a fairly shocking ingredient request—the heart of Helheim’s Bridge Keeper. She also explains that a Frost axe like Leviathan will be useless against foes in the frozen realm: “You’ll need to find something else.” Finally, she etches the rune that will open the bridge to Helheim for Kratos. Before he uses it, Kratos must head home to pick up “something else.”
Objective: Use Freya’s Boat to Return Home
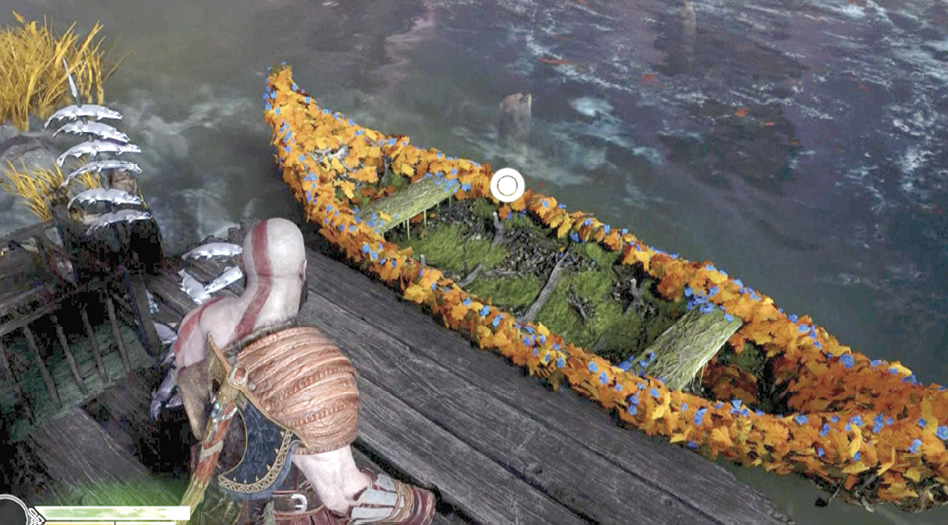
Freya orders the great turtle to raise her house so you can exit into her garden and use her boat to return home. Step outside, proceed to the dock directly ahead, and hop in the flower-covered boat. Watch as Kratos simply rides the river current downstream, briefly adding a “passenger” along the way.
When the boat auto-docks at Kratos’ pier, follow the path up to the front yard to face an ambush by a crew of Hel-Reaver Lords. Remember, Leviathan is useless against them, so stick to fist/shield bashes, working to stun and grab. When you finally clear the yard, note that a new Mystic Gateway has appeared over on the edge of the property.
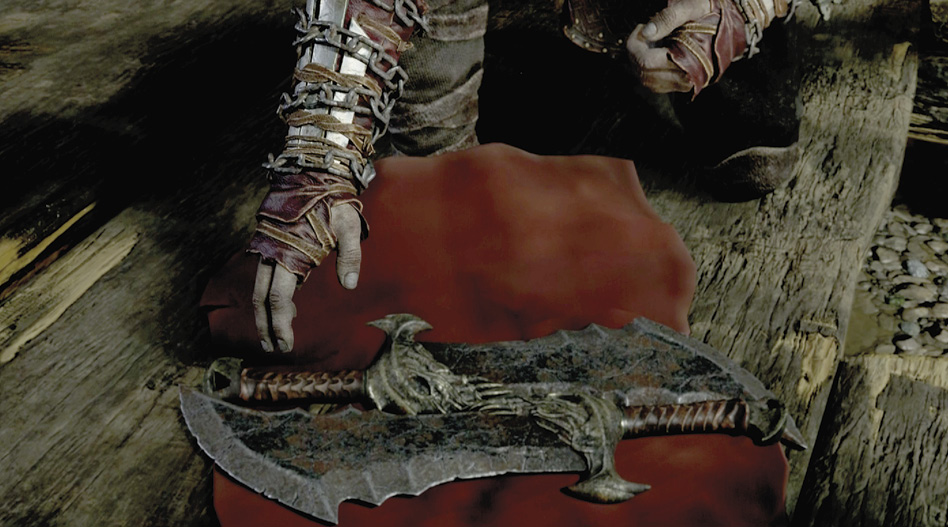
Open the front door of the house to trigger a long scene: Kratos extracts a pair of rusty, beaten old Blades. They look nondescript, but fans of the God of War series will recognize them immediately. These are the chained Blades of Chaos, forged by Ares himself, the original God of War. When Kratos wields them, they become infused with the blistering fires of Hades. Watch his encounter in the doorway, then step outside to give the old Blades a whirl.
OBJECTIVE: Return to the Realm Travel Room
Use the Blades of Chaos to Clear the Yard
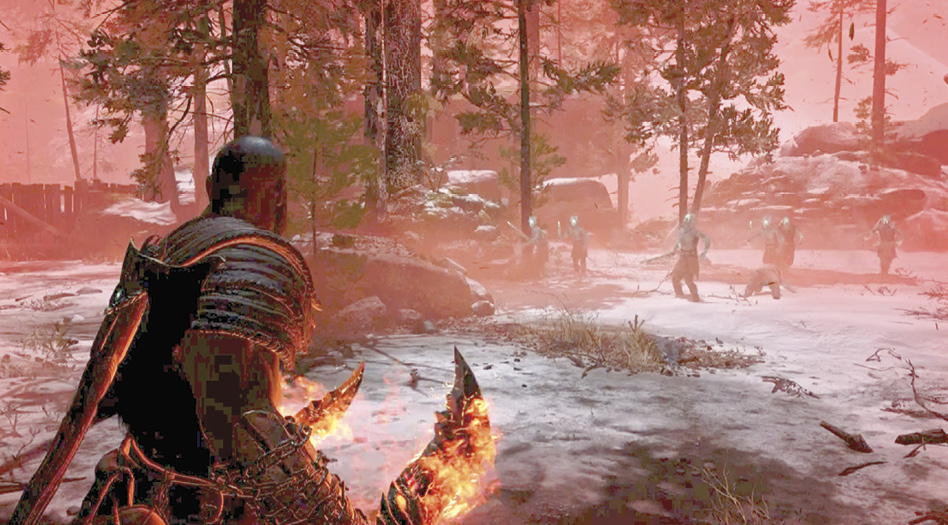
Start by experimenting with attacks, light and heavy. It’s immediately apparent that the burning Blades are far more damaging to Hel-Walkers than your other attacks. Although not technically long-range weapons, the Blades have chains attached that give them quite a long reach.
Despite facing an entire platoon of Hel-Reavers covered in ice armor, Kratos slices them up like a hot knife through gelato. When the one-sided battle is over, head to the Mystic Gateway and use it to travel to the gateway by Brok’s Shop inside Týr’s Temple.
OBJECTIVE: Realm Travel to Helheim
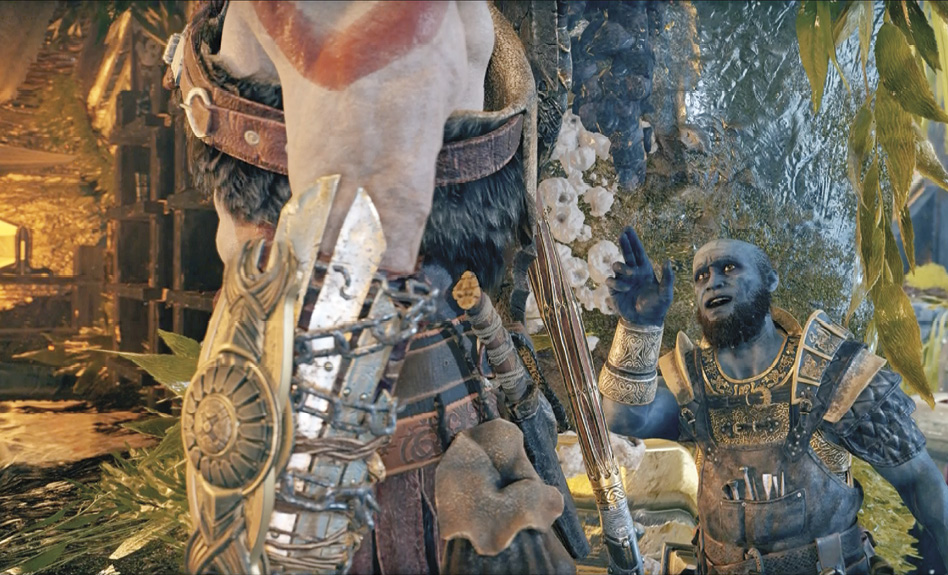
When you arrive, a short scene plays: Brok admires Kratos’ new weapon and offers his help. Upgrade any equipment you can at his shop, and then step back and check out all the sweet new Skills available for the Blades of Chaos.
When your purchasing frenzy is over, head across the nearby light bridge and enter the Realm Travel Room. Cross the tree roots to the travel table and activate it. Use the left stick to rotate the bridge model to Helheim. Then press X to activate the actual bridge, connecting it to the realm of Helheim.
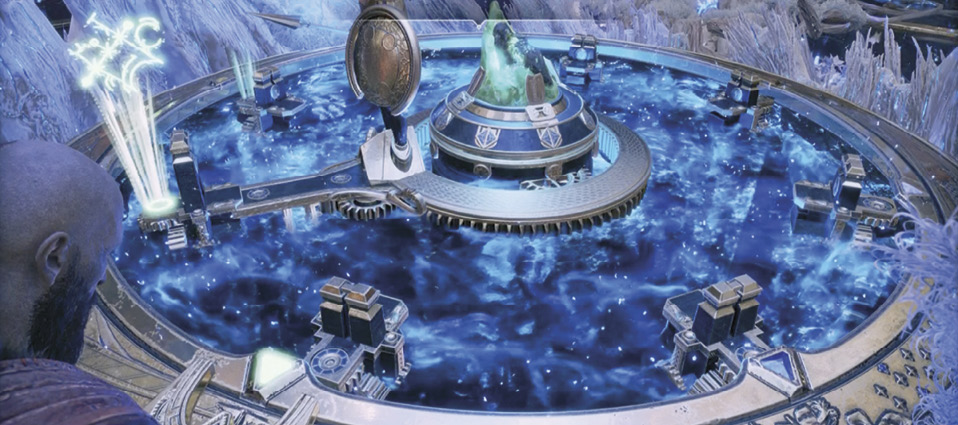
Týr’s Temple and Bridge
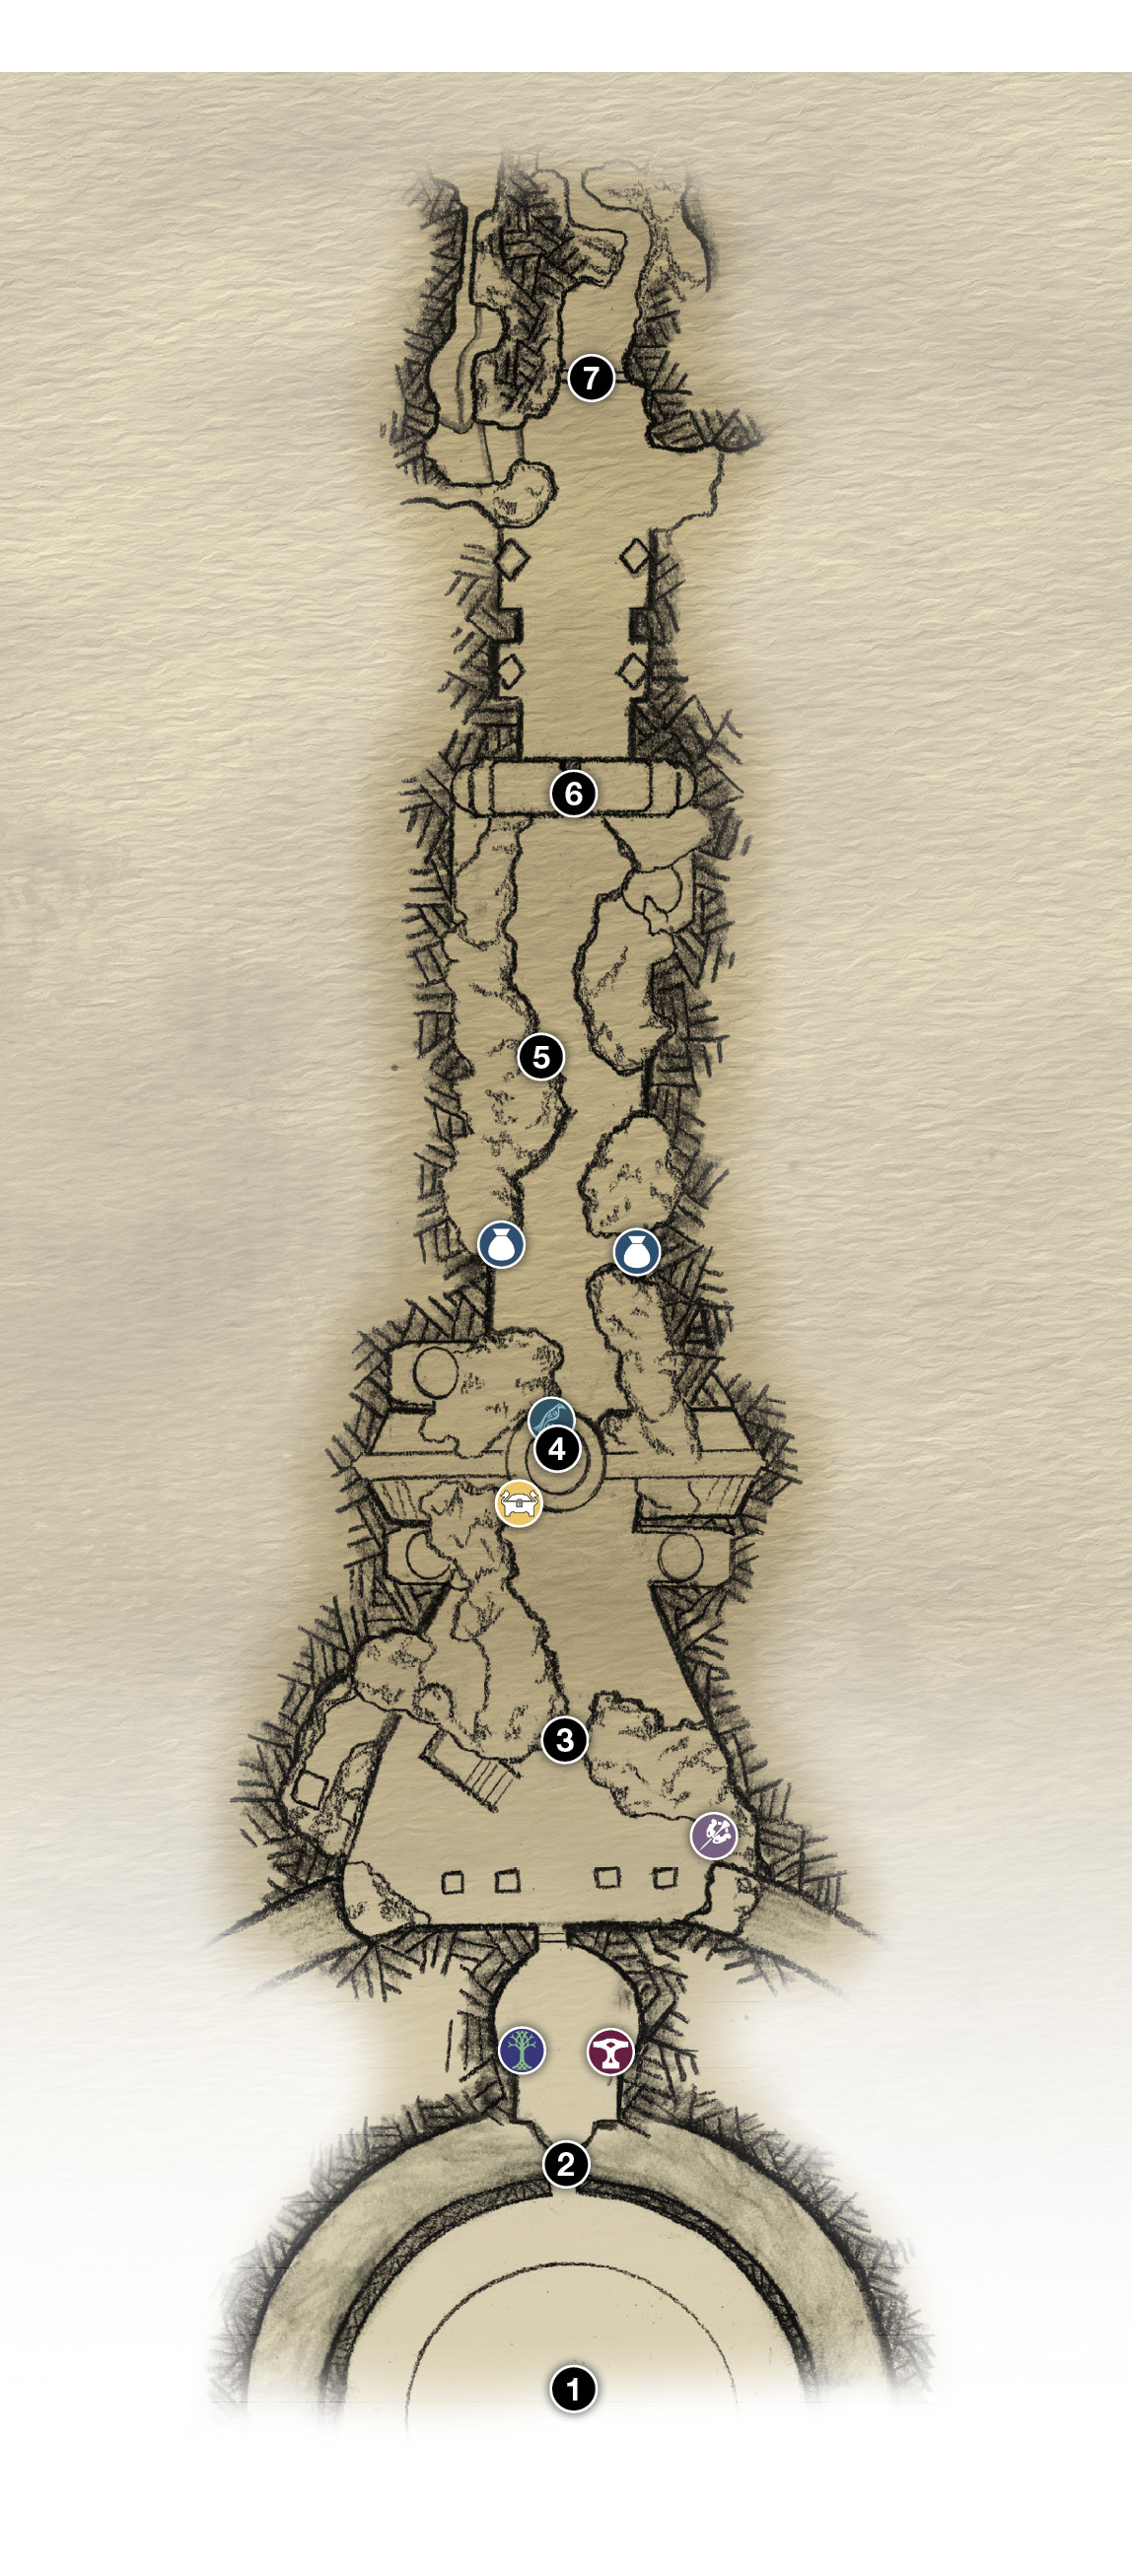
1. Realm travel table
2. Travel chamber exit
3. Ice passage
4. Bramble barrier
5. Climb ledge to chest
6. Archway
7. Outer Gate of Helheim
 Artifact
 Chest
Chest
 Legendary Chest
 Mystic Gateway
 Raven
Raven
 Shop
Shop
OBJECTIVE: Reach the Bridge Keeper
They say the Helheim Bridge Keeper has a good heart. Let’s go take it from him, shall we? When the tree roots reappear, exit the travel table platform (1) and open the Helheim travel door directly ahead (2). Continue past Brok’s shop to the bridge entry door.
Work Across the Realm Travel Bridge
Step outside to see how Týr’s Bridge now leads into a frozen wasteland. Find the Brooch (part of a new Artifact set called “Family Heirloom”) over to the far right, then approach the frozen gap (3) in the center of the bridge.
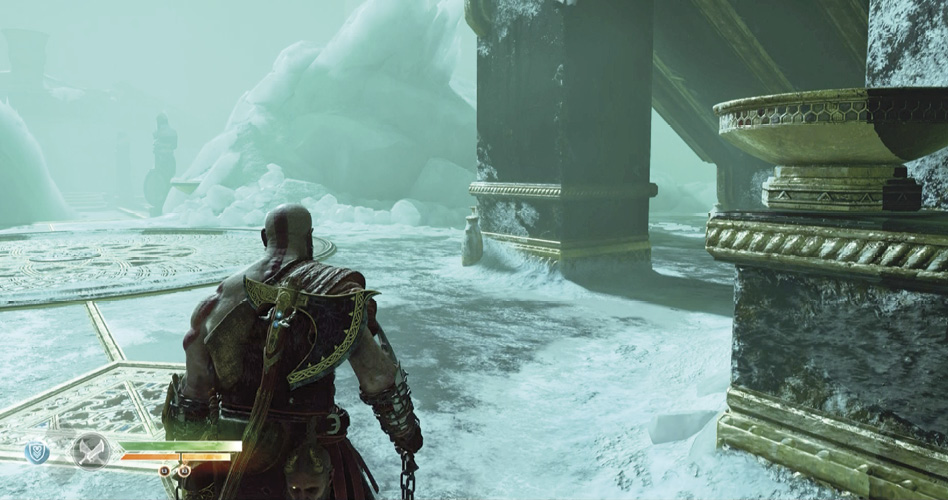
As you push forward down the bridge, a squad of Hel-Reaver Lords rushes out to attack. Waste them with your red-hot Blades. Watch out for a lone Hel-Shadow Archer too, tossing ice spears! After you clear the area, loot the Legendary Chest; the reward is the first Light Runic Attack for your Blades of Chaos.
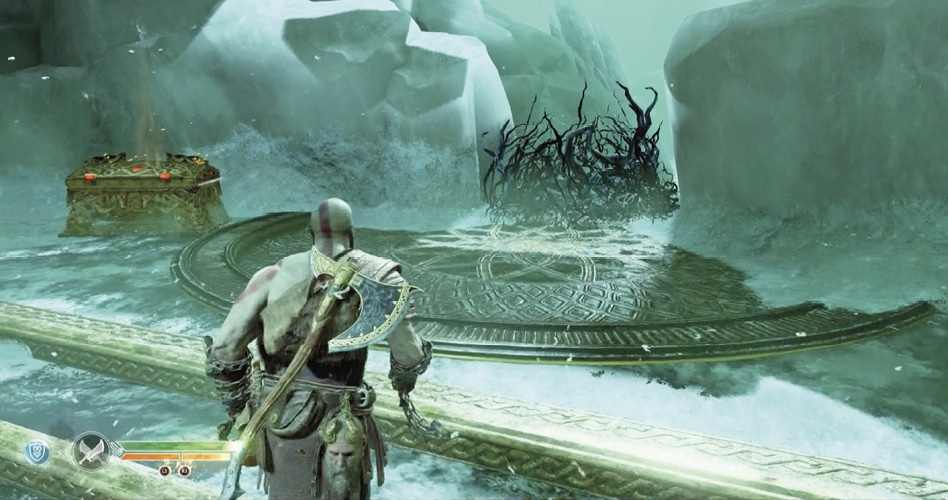
Approach the tangle of Brambles (4) blocking the next gap. You may recall that this type of obstruction was previously impenetrable. But now you’ve got a flame-imbued weapon that can burn Brambles quickly into cinders.
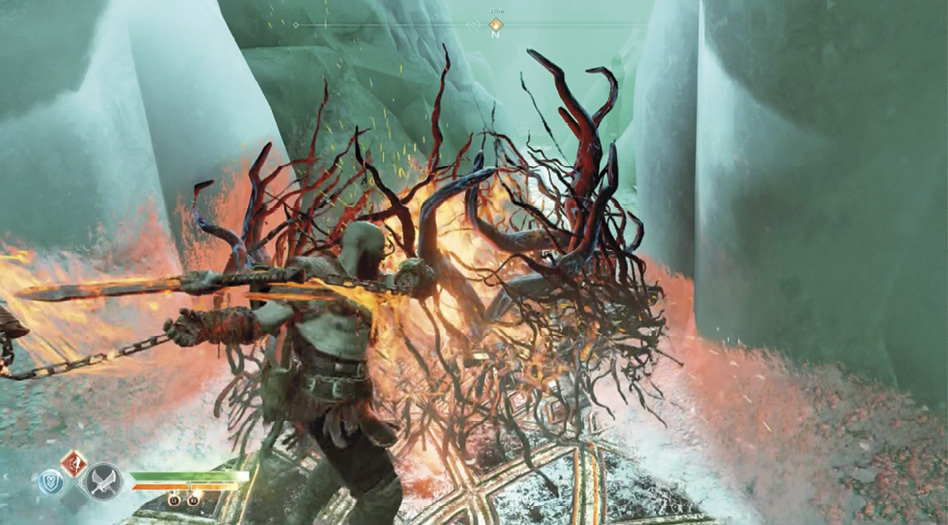
Fight Off the Hel-Brood
Proceed through the gap and be ready to face a new foe, the Hel-Brood. This is a highly agile creature that attacks in swarming packs. The Blades of Chaos are effective against all Hel-Walkers, but particularly lethal against these creepy low-health foes. Runic Attacks with area-knockback effect are useful too. Hit fast, keep swinging, and keep backing up to avoid getting swarmed or flanked.
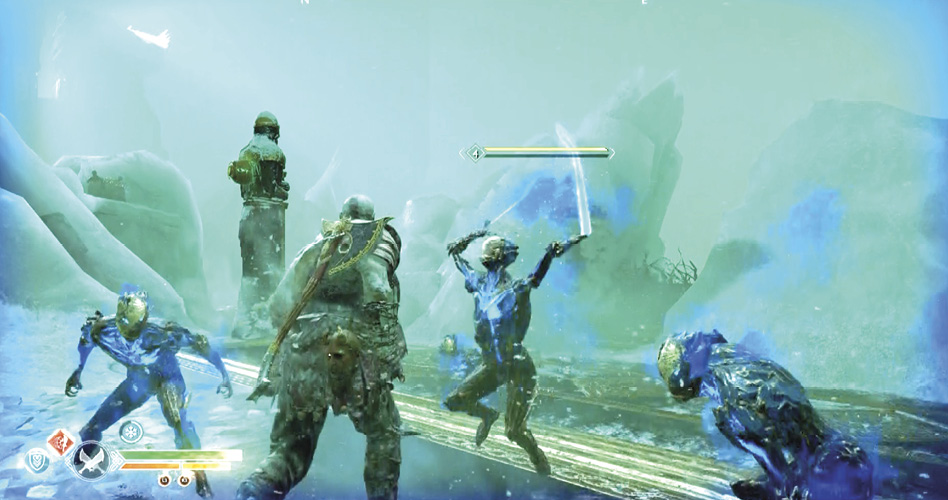
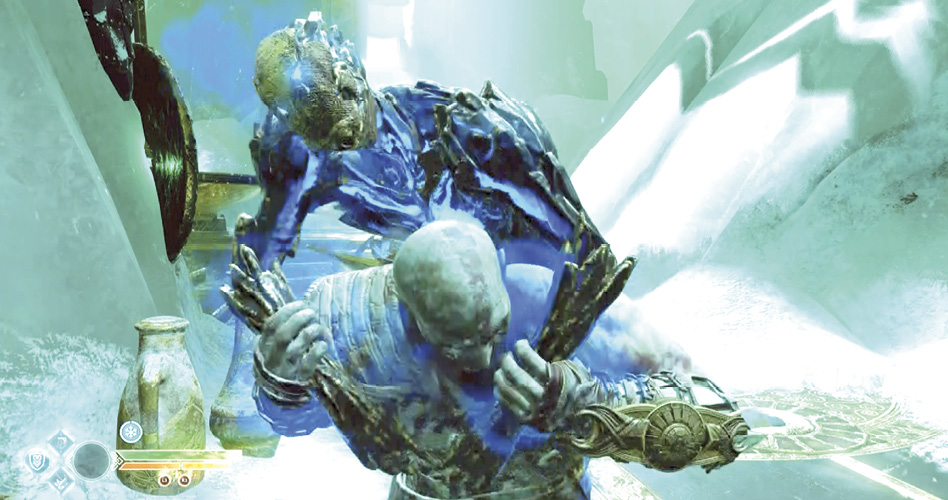
If a Hel-Brood manages to flank you and jump at your back, the monster clamps a chokehold on Kratos. Rapidly tap Circle to elbow the hissing creature off. Also, note that Hel-Brood explode as they die. The damage caused is indiscriminate, so keep your distance but try to kill Hel-Brood that can hurt nearby enemies.
After you clear the area, glance up to see a chest sitting high on an ice balcony (we’ll reach it shortly). Then slice through the nearby Bramble thicket to find another chest in a side alcove of ice. Continue along the bridge span.
When you hop over the fallen statue into the next area, another horde of Hel-Walkers launches an assault. This is a tough mix of Hel-Shadow Archers flinging ice spears from long range as a swarm of Hel-Brood dash in for close attacks. Rely on constant movement to avoid spears and dodge any jump attacks from behind.
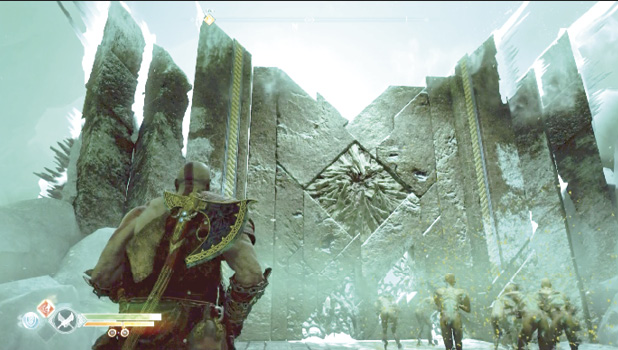
After you clear this area, climb up the marked ledge (5) to reach the chest you spotted earlier. Then go burn the Brambles blocking the archway (6) and follow the dead horde across the bridge to the locked Outer Gate of Helheim (7). You’ll need to find a detour around it.
Path to the Guardian
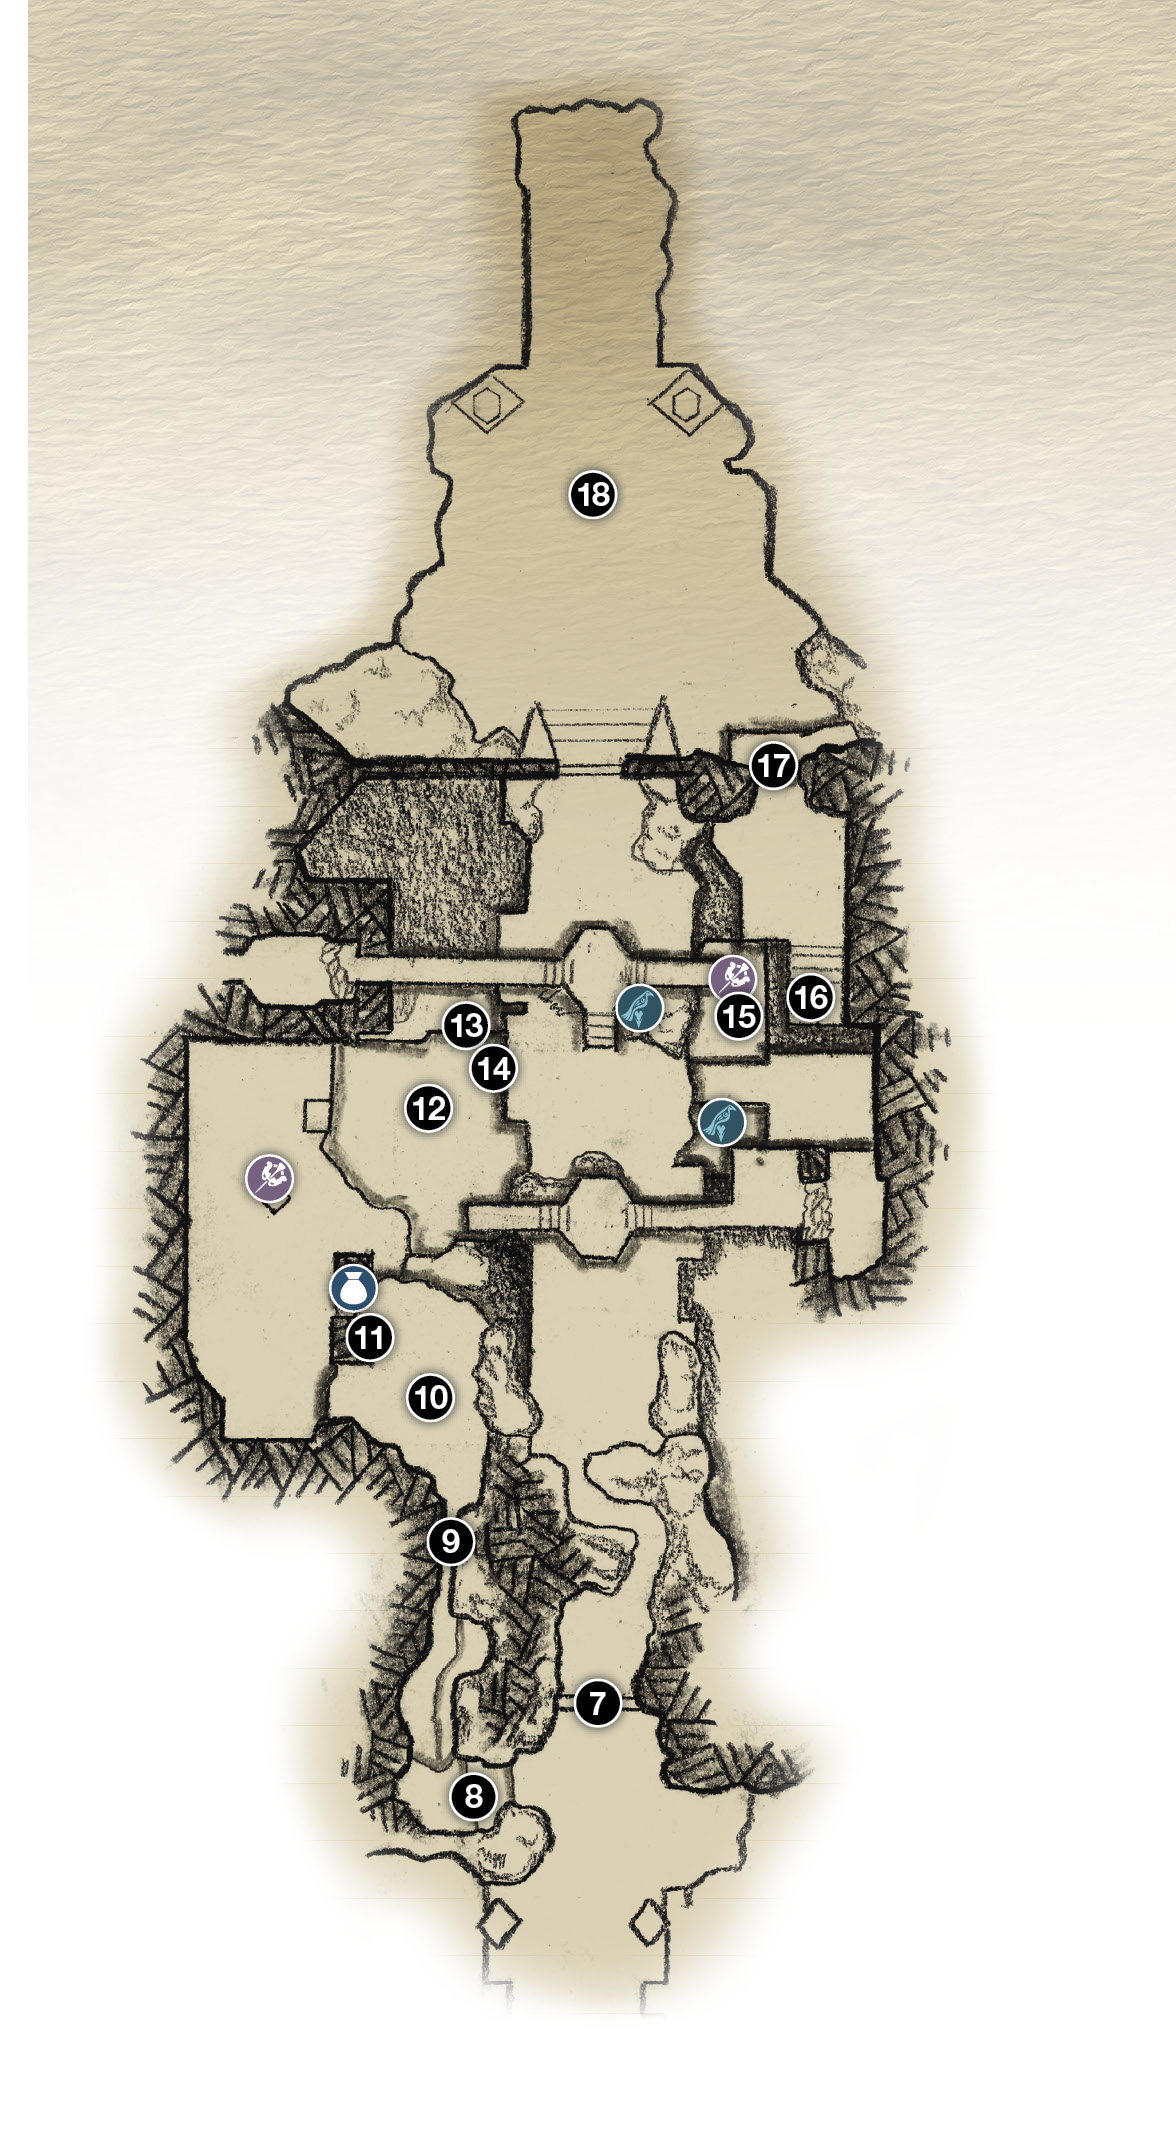
7. Outer Gate of Helheim
8. Jump down here
9. Narrow ledge slide
10. Guard patrols
11. Climb pillar
12. Floor drops (Hel-Viken!)
13. Climb wall
14. Column falls here
15. Burn ceiling Brambles (Artifact)
16. Stairs to red sap barrier
17. Climb wall
18. Guardian’s arena
Artifact
Chest
Raven
Detour Around the Gates
Burn through more Brambles on the left side of the bridge (8) and hop down into the icy crevasse. Follow it to another Bramble bush (9) that leads to a narrow ledge you must slide across sideways.
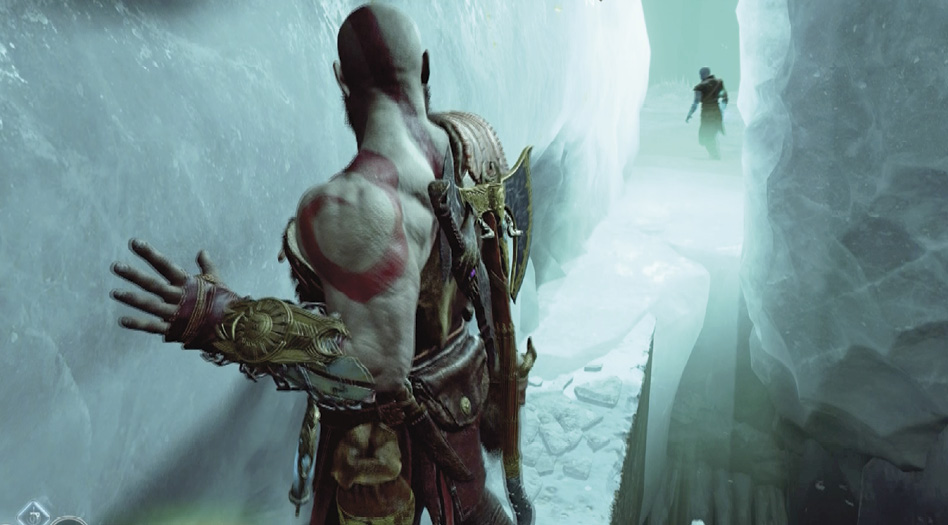
You emerge into an area (10) under the Helheim bridge patrolled by two Hel-Reaver Guards. Block Break through their shields and slice them up with your Blades, then eviscerate the Hel-Reaver Lords who drop down to join the fight.
Afterward, burn away the two patches of Brambles. One leads to a small niche with a chest; the other uncovers a yellow-marked crack (11) that runs up a pillar. Climb the pillar, swing around its corners to the left, hop across to the next pillar, and climb down. As you descend the pillar, notice the chest sitting on top of some rocks wedged between the two pillars and held up by Bramble patches.
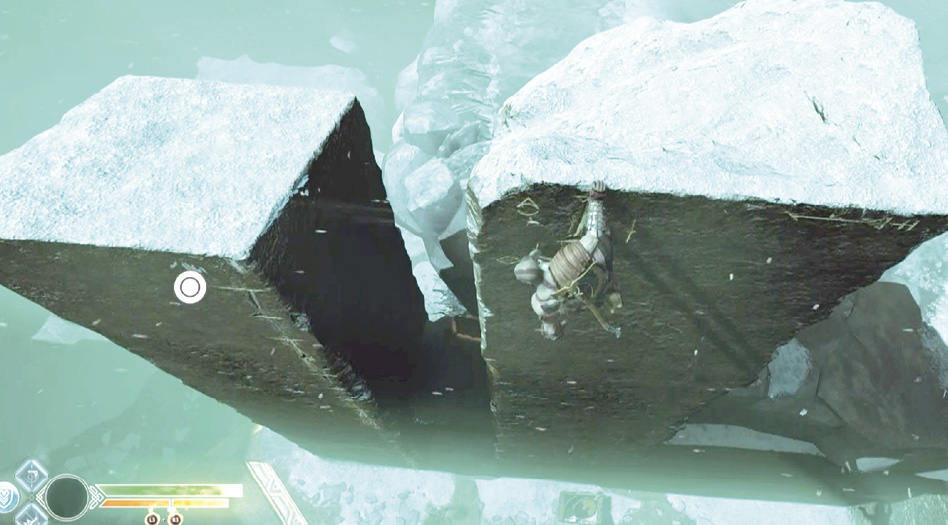
When you reach the ground, wipe out the Hel-Reaver Archers who attack. (This is a great fight for using the Chaos Spear Skill if you’ve got it. You can pull the Archers out of their long-range comfort zone right into close quarters, where they’re weak.) Then approach the crevice between the pillars you climbed, press L2 to aim at the Bramble bush (circled) on the bottom, and hit R1 to burn it away; the wedged rocks loosen a bit. Walk around the pillars and burn the Brambles on the other side to free the rocks, which drop down. Go back around to the first side and loot the fallen chest.
Walk around the pillars and burn the Brambles on the other side to free the rocks, which drop down. Go back around to the other side and loot the fallen chest.
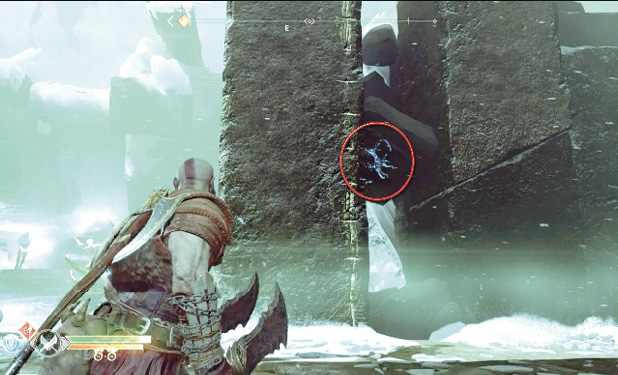
Go stand in the corner with weapon racks on each wall then turn around and look up the nearby blackened pillar to spot another Bramble patch clinging near the top. Target it with your Blades to cut loose an Artifact.
Survive the Sunken Arena
This area appears to be an armory, with rows of weapons lining the walls. Walk across the space, heading toward the opposite wall (12), to trigger a sudden explosion: the floor sinks, turning the area into an arena-like bowl just as a powerful Hel-Viken pops up to visit.
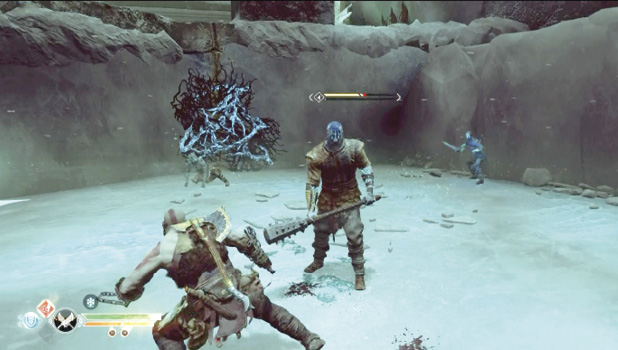
You met one of these fellows earlier in the Mountain, but this time you don’t have Atreus to distract him. You’ll have to be more careful to evade his thundering overhead mace slams. But your new Blades of Chaos let you inflict much better damage than in the previous fight. Remember, he flashes just before unleashing his heavy hits—yellow if they can be parried, red if they’re unblockable. Dodge backwards to evade the Hel-Viken’s horizontal swings, and dodge sideways to dodge his overhead slams.
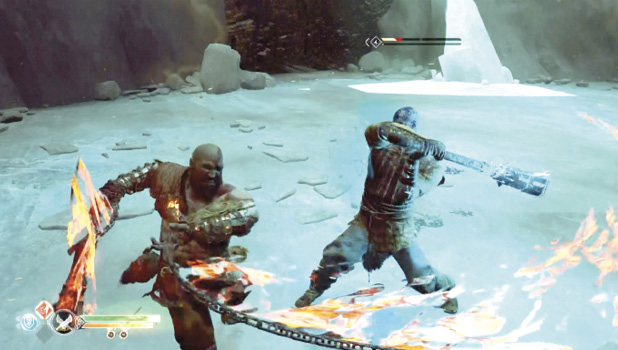
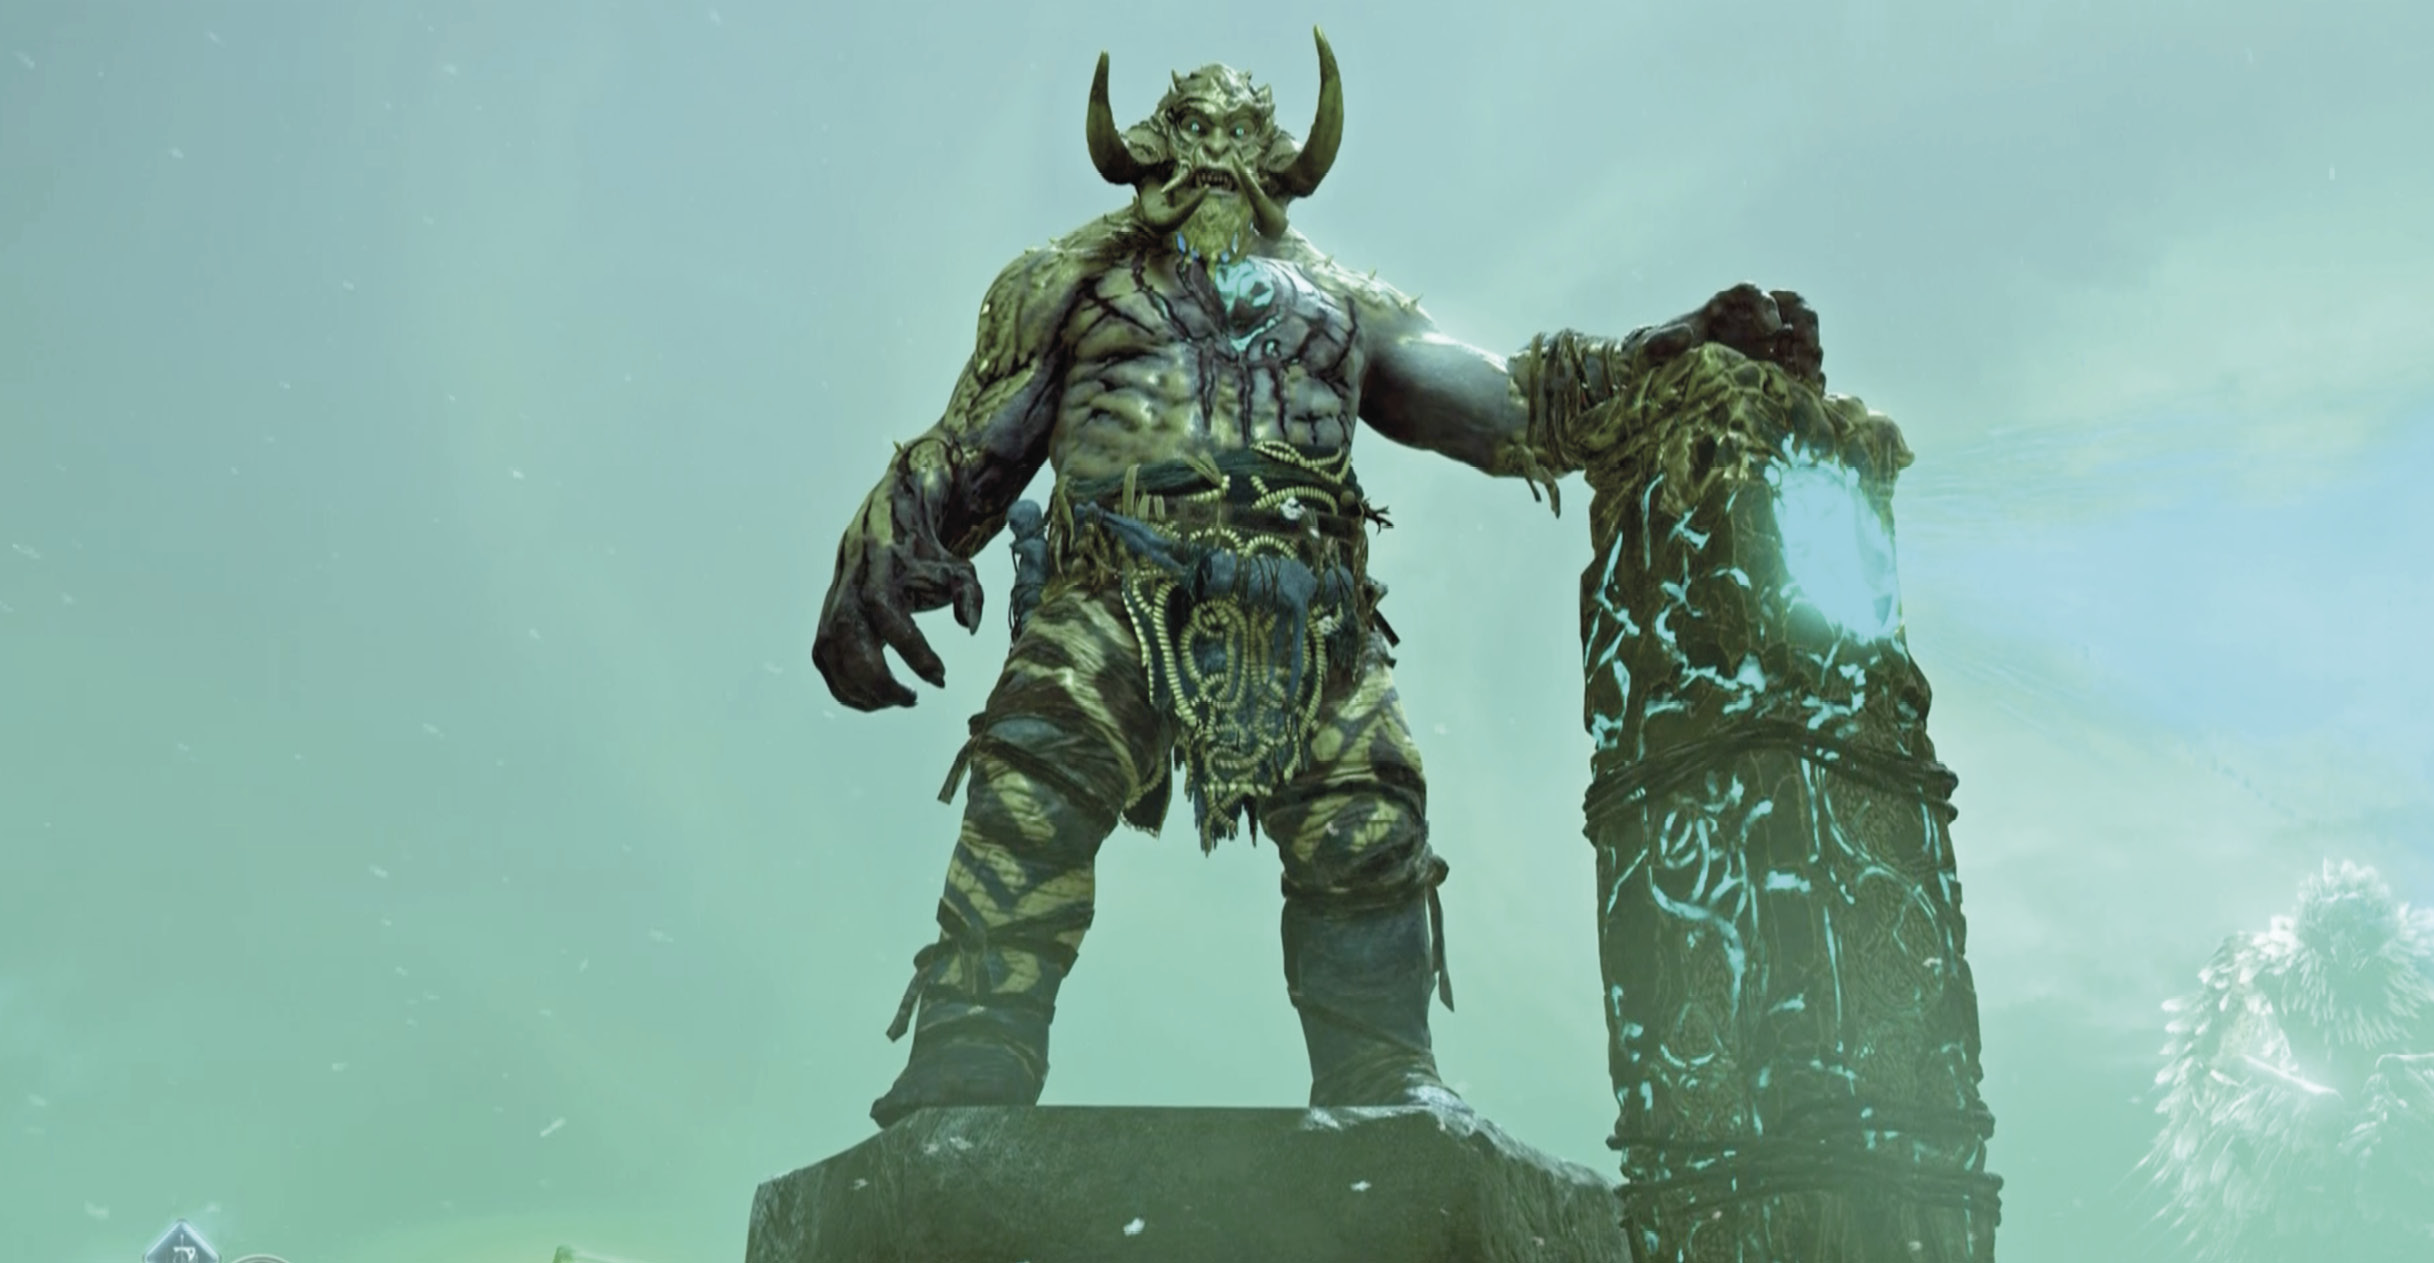
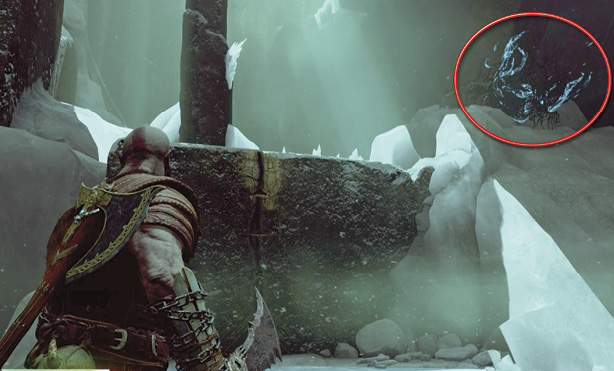
As you fight, the Hel-Viken, a squad of mixed Hel-Walkers drops in to play. Clear them out, then burn the low Brambles to reveal a marked wall—it leads back up where you came from, so you don’t need to use it here. Instead, climb up the other marked wall (13) to get within range of a Bramble bush (circled in our shot) holding up a leaning stone column. Burn that bush so the column falls to the floor (14), giving you a platform to reach the crack on the high wall and climb out of the arena.
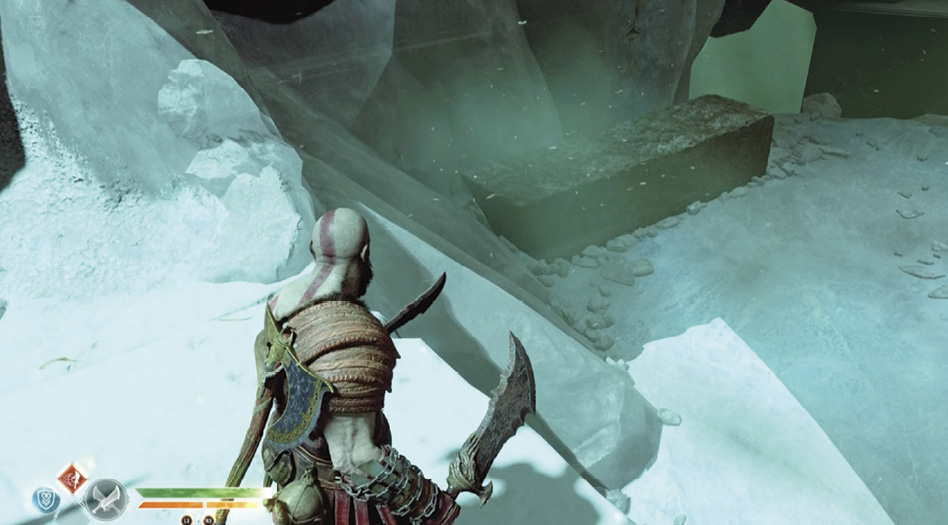
Find the Guardian
At the top, burn through more Brambles to get through a narrow passage. Follow the path that leads under the bridge to another marked wall. On the way, however, look up to spot a Bramble patch hanging on the underside of a walkway bridge (15). Burn it with your Blades to drop an Artifact. Then continue to the marked wall and climb to the top.
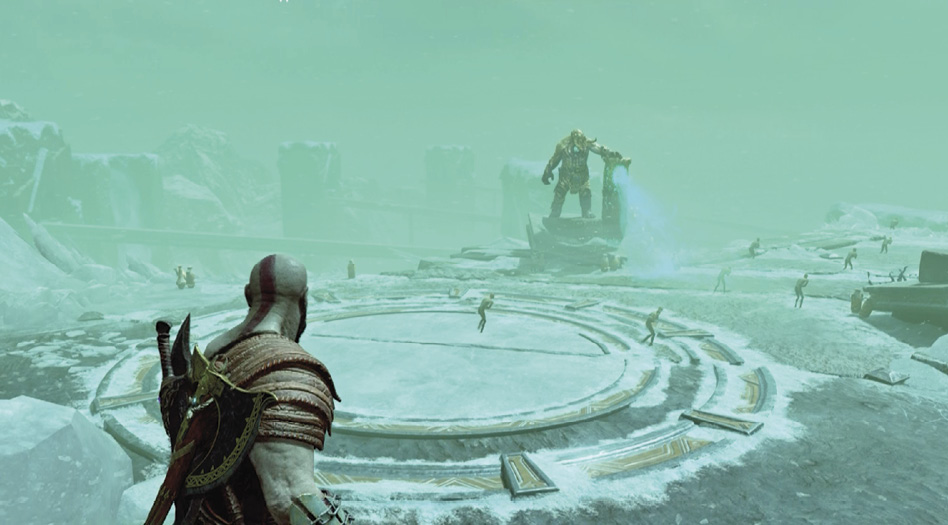
Here you see a staircase (16) off to the right that leads across a jumpable gap to a passage blocked by a red sap barrier. Without Atreus and his Shock Arrows, you cannot destroy this barrier yet, so climb the next marked wall (17) to trigger a short scene: Kratos emerges onto a small plateau overlooking the Bridge of the Damned. Across the plaza, the towering Bridge Keeper oversees the damned who troop pathetically past him. When control returns, hop off the plateau and head for the Troll.
Route Through the Helheim Gates
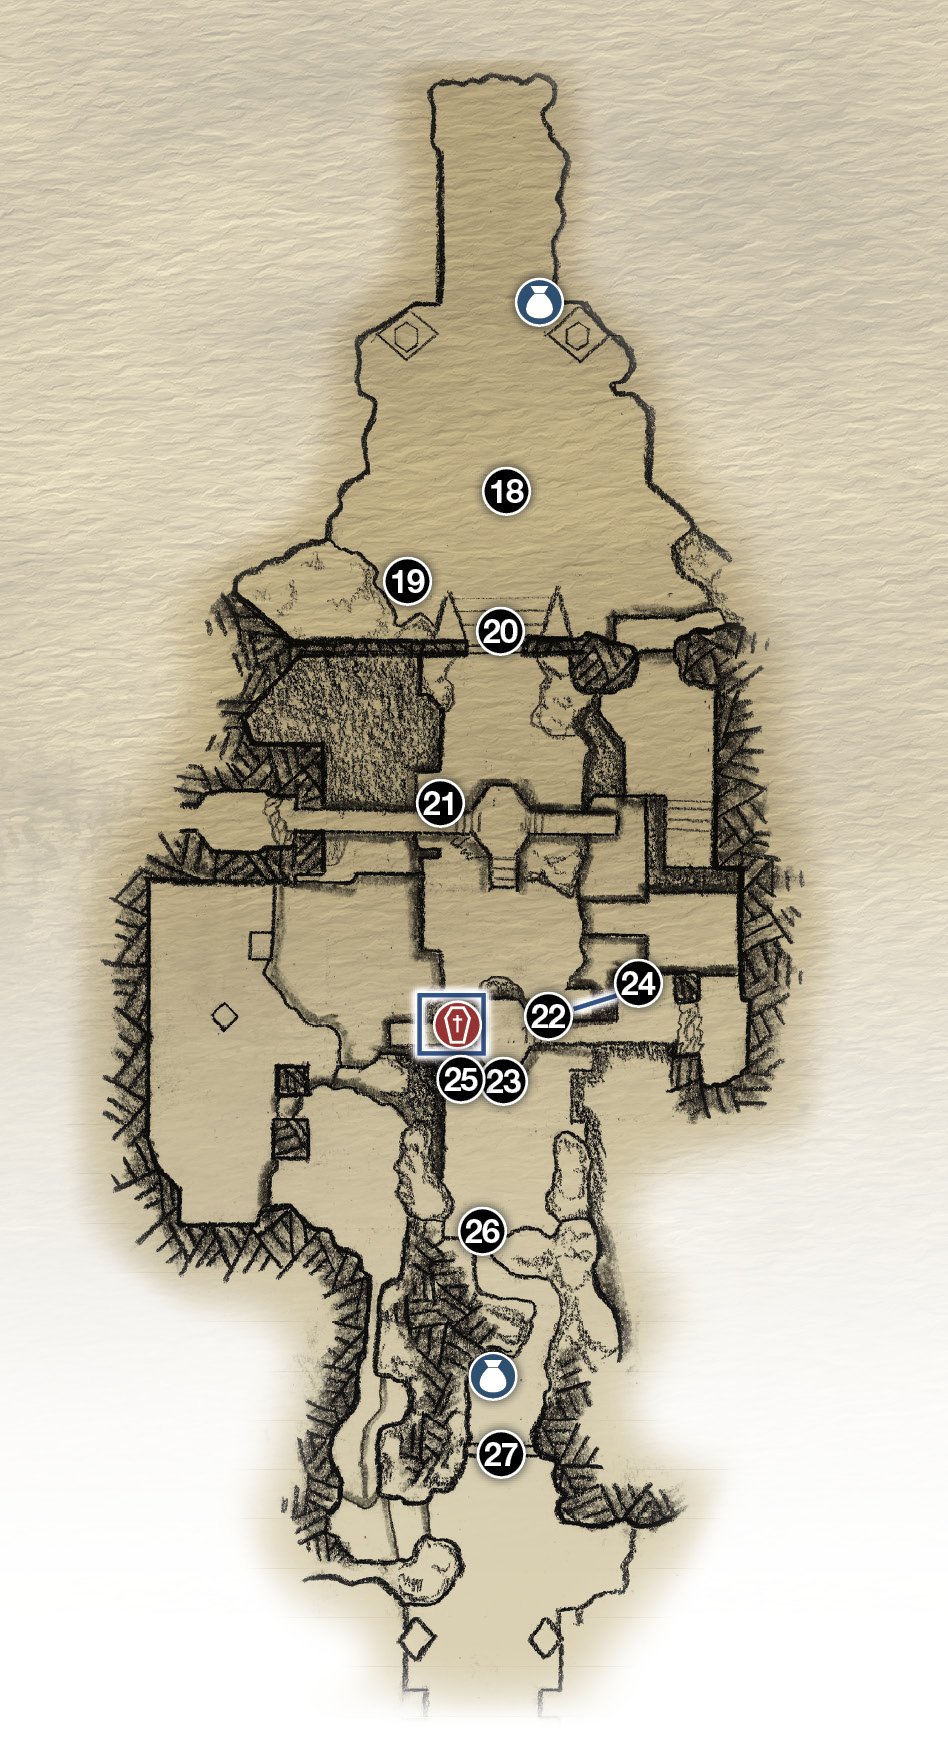
18. The Bridge Keeper’s arena
19. Wind trap on podium
20. Wind trap on Inner Gate of Helheim
21. Wind trap on small gate
22. Wind trap on small gate
23. Climb onto walkway
24. Target trap (22) from here
25. Wind trap on chamber door
26. Tunnel entry (burn Brambles)
27. Wind trap on Outer Gate of Helheim
Chest
 Coffin
OBJECTIVE: Return to the Realm Travel Room
Learn How to Capture and Transfer the Winds of Hel
After the fight, loot the chest hidden behind Brambles in the back of the arena, near where the Bridge of the Damned leads deeper into Helheim. Then approach the glowing green ball device on the podium (19) and press Circle to trigger a quick scene: Brok appears and takes the Blades of Chaos. Then he slips between realms for a second and returns with the weapons upgraded to handle a powerful new form of energy.
Follow Brok’s instructions to capture the Winds of Hel currently housed in the “magical glowy bit” (called a wind trap) on the podium. Simply wield the Blades, hold L2 and target the glowing trap, then press R1 to throw. When your Blades hit the trap, they absorb the Winds of Hel energy, pulling it completely out of the trap. Infused with the energy, the Blades start glowing green themselves!
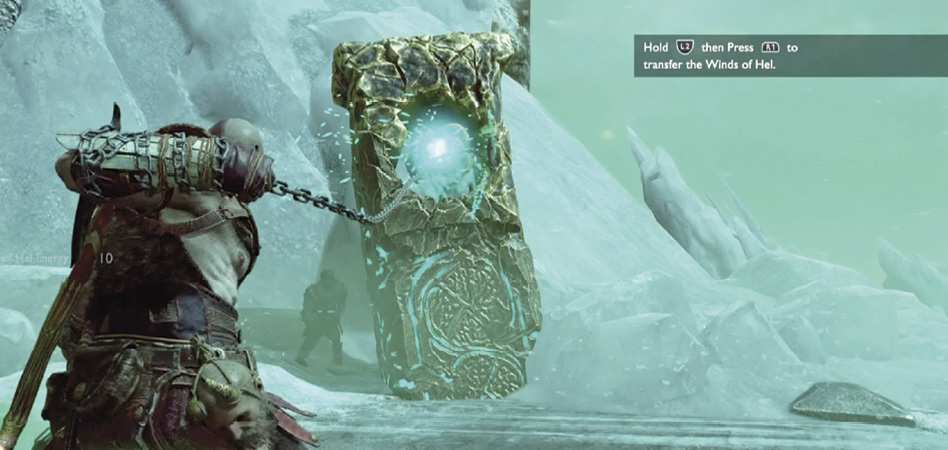
You have 10 seconds to transfer the winds into any nearby empty wind trap. These traps are the glowing ball-shaped devices you’ve seen not only here in Helheim, but also elsewhere in the realms. To make the transfer, aim your Blades at an empty wind trap and press R1 to throw. The Blades strike the trap and release their Winds of Hel energy into it. Use this technique to transfer the winds into the trap in the middle of the massive Inner Gate of Helheim (20). This energy powers up the gate’s massive lock plate, which slides apart, unlocked.
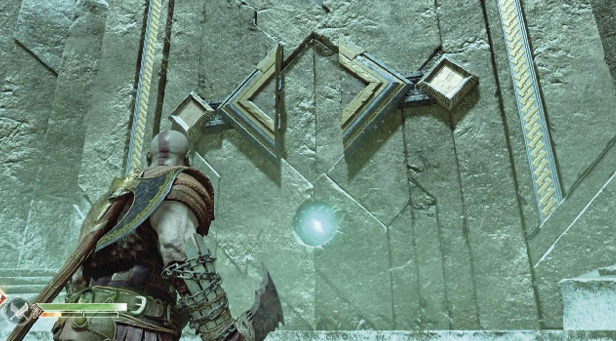
Use the Winds to Move Across the Bridge
Open the now-unlocked Inner Gate and step through the gateway. The big gate closes behind you, but it has a wind-filled trap on that side that you can target. Spot the next wind trap up ahead on a small gate to the right (21), then transfer the Winds of Hel from the big gate to the small gate, which automatically opens.
Head through the small gate to find a hovering pair of Ice Nightmares waiting for you. Unfortunately, you can’t rely on Atreus’ marksmanship to knock them down, so you have to target the fliers with your Blades. and pull them down. A Hel-Reaver Lord also makes a run.
After you defeat them, transfer the Winds of Hel from the last gate to the next wind trap, which opens another small gate (22) under the next walkway on the bridge ahead.
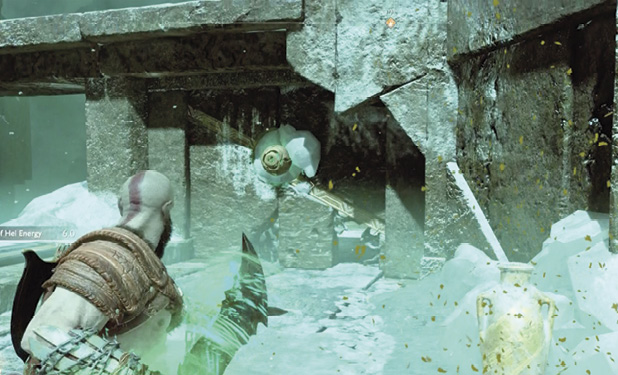
Proceed into the next bridge section, which features a guard contingent of Hel-Reaver Lords and Hel-Brood. Wipe them out and find the next wind trap on a chamber door (25) leading back under the walkway. This trap is trickier to activate. If you go back and try to capture the winds from the last trap (22) while standing on the ground, its gate closes quickly and blocks your progress.
So instead, climb up the marked spot (23) onto the walkway platform, turn right, and go to the far end blocked by a red sap barrier. (Remember, you can’t detonate red sap until Atreus rejoins you with his Shock Arrows.) Stand at a spot (24) on the balcony where you can target the active wind trap (22) on the gate below.
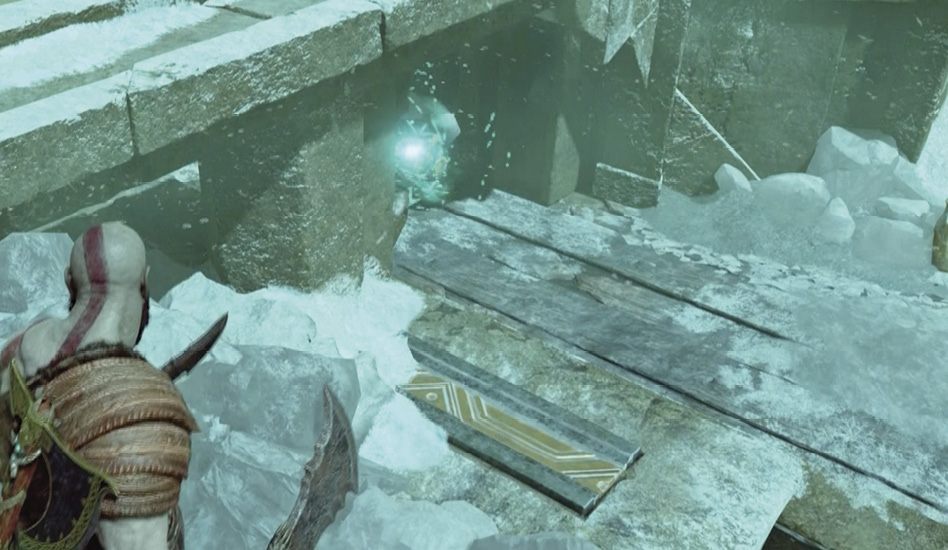
Toss the Blades to capture the winds, sprint down the walkway to hop down at the next trap (25), and release the winds into it. Enter the small chamber that opens and loot the coffin inside.
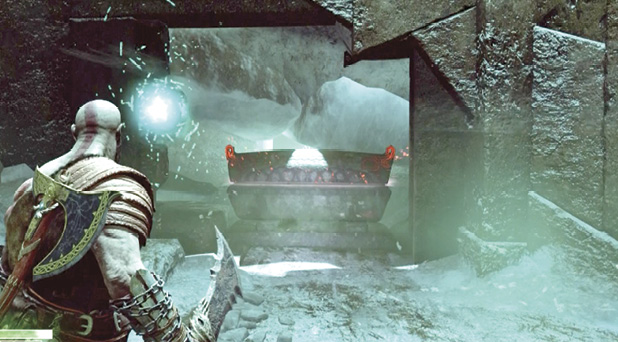
Open the Outer Gate of Helheim
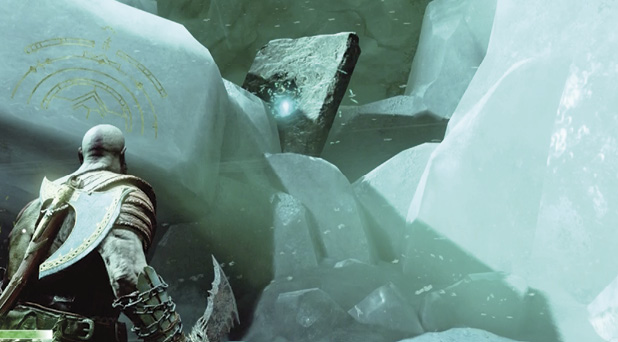
Burn through the Brambles blocking a low tunnel entrance (26) and enter. The tunnel leads all the way to the Outer Gate of Helheim (27) and a nearby chest. Turn back to face the tunnel and find another active trap to the right and above the tunnel opening. Transfer the winds from that trap to the Outer Gate’s inactive trap (the one on the right side) to unlock the gate. Push it open and step onto the Helheim entry bridge.
Týr’s Bridge and Temple
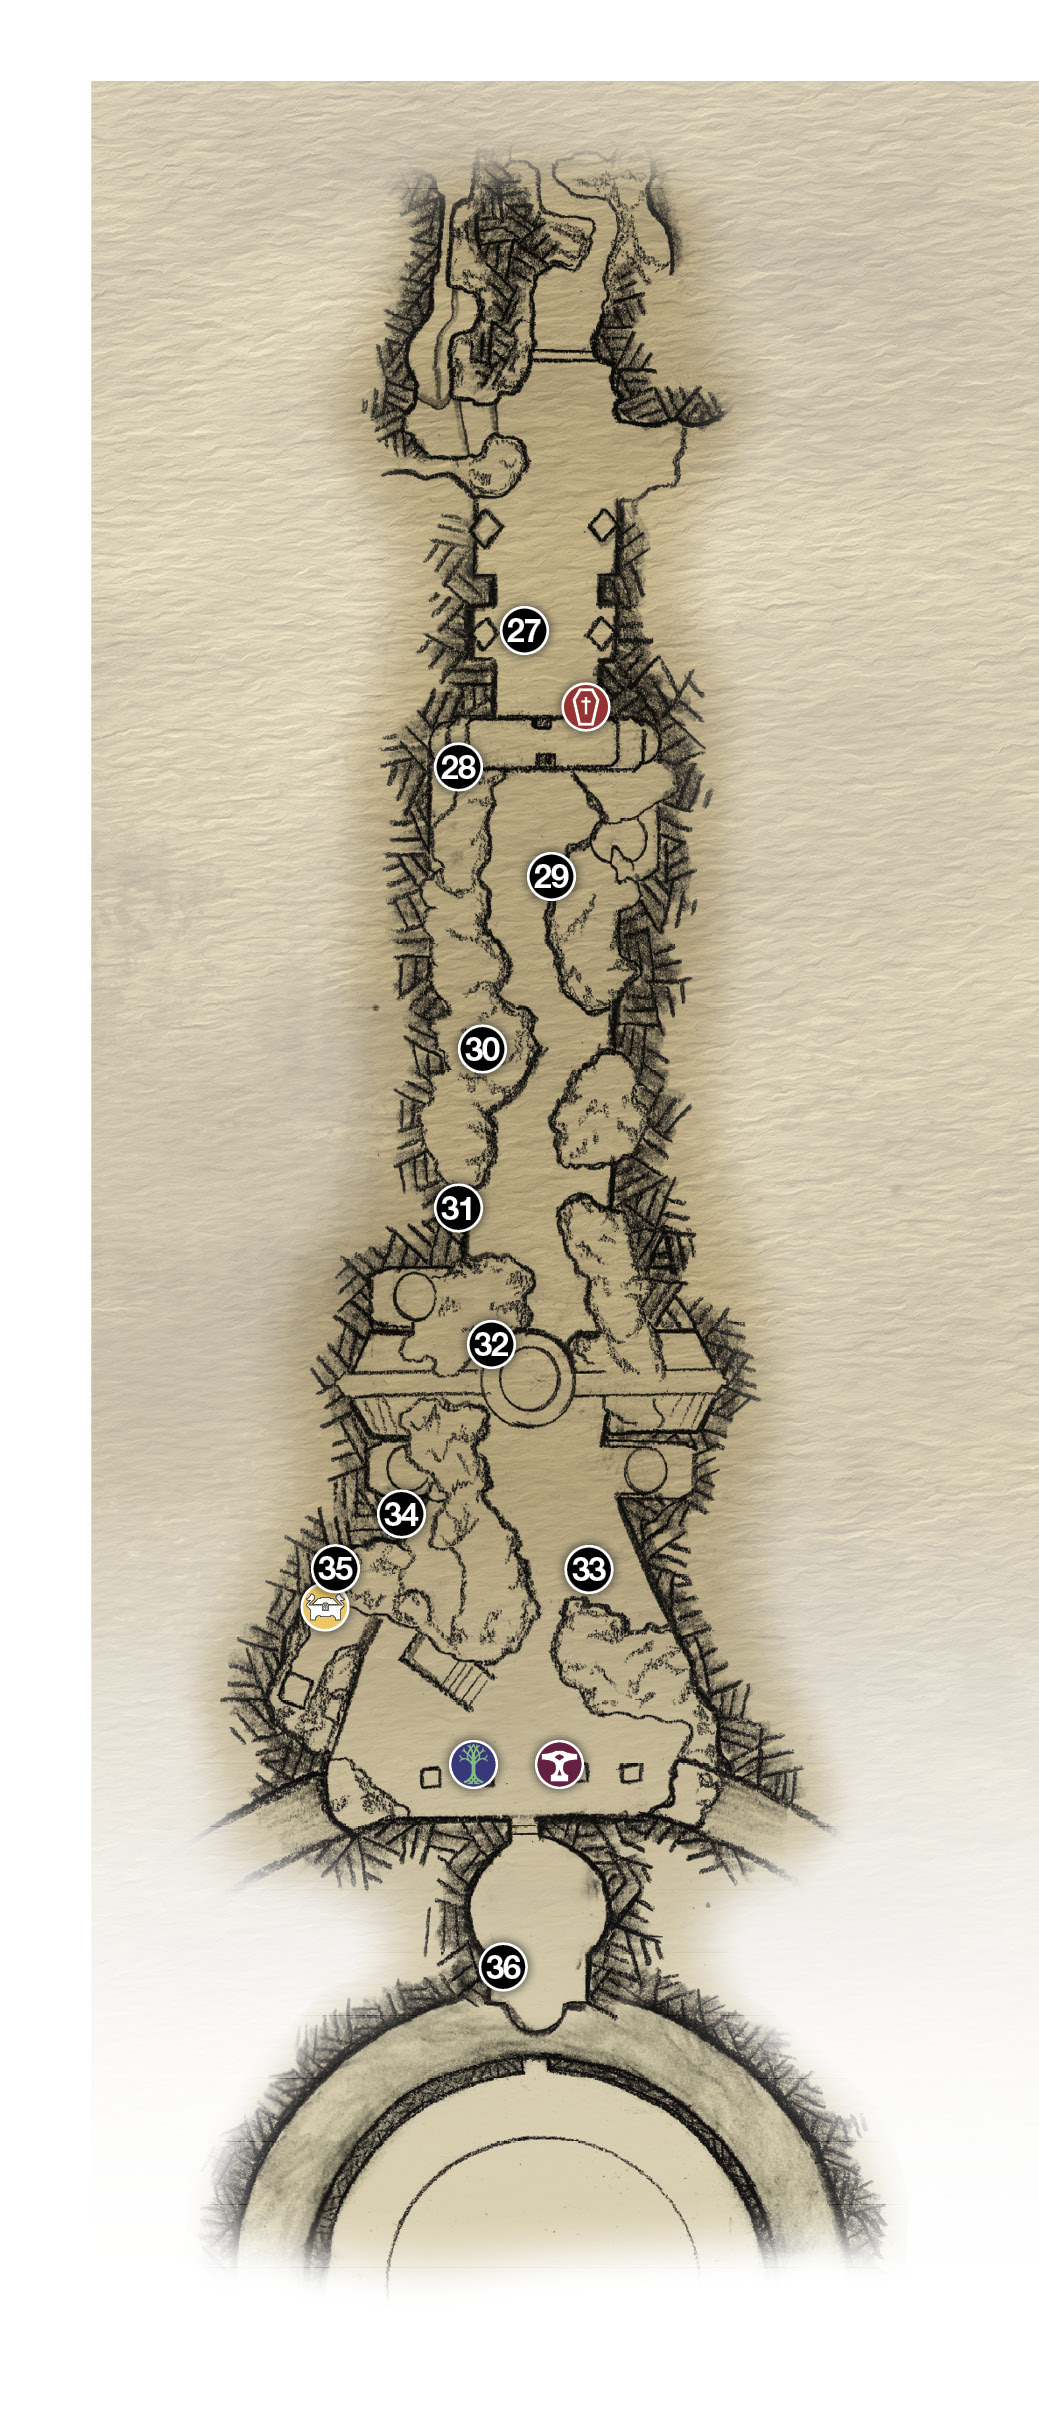
27. Outer Gate of Helheim
28. Wind trap on podium
29. Wind trap on archway
30. Wind trap on statue’s sword
31. Wind trap on statue’s back
32. Wind trap on ring (inside edge)
33. Wind trap on bridge railing
34. Wind trap on bridge railing
35. Wind trap on chamber door (Legendary Chest)
36. Realm Travel Room
 COFFIN
Legendary Chest
 Mystic Gateway
 Shop
Shop
Keep Moving the Winds of Hel Along Týr’s Bridge
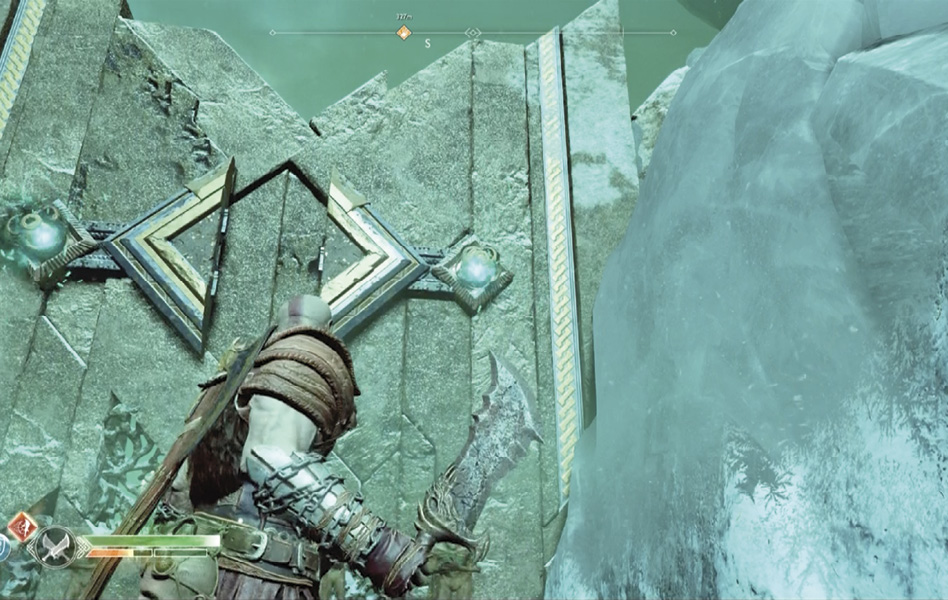
Capture the Winds of Hel from one of the wind traps on the Outer Gate (27) and transfer it to the trap on the chamber door to the right of the gate. When the chamber opens, loot the coffin inside. Recapture the winds and transfer it to the next wind trap (28) (circled) in the podium on the right side of the entry bridge. Just past this trap down the bridge, you see a new foe, the Hel-Traveler, kneeling and polishing his sword with frightening calm.
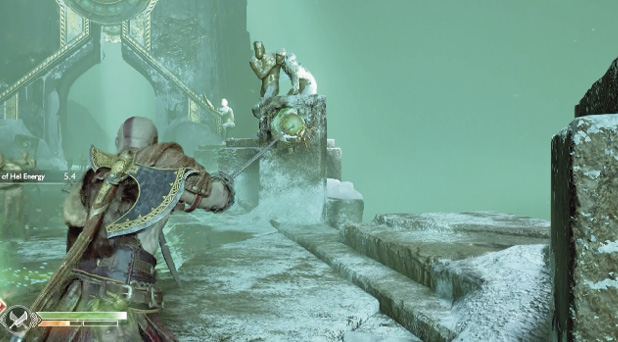
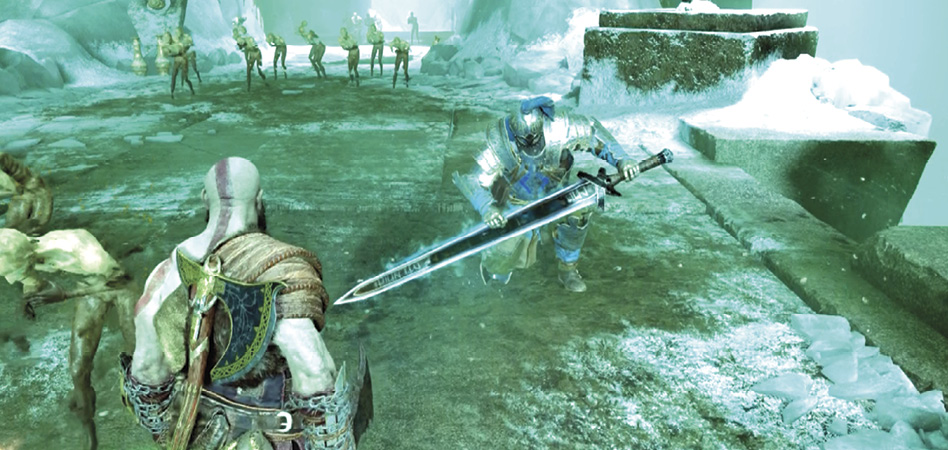
Defeat the Hel-Traveler
This is a tough fight. All you can do is patiently chip away at his durable armor and then quickly evade when he winds up to strike. His basic attacks (overhead chop, sideways slice, sudden sword-first dash) are the same as you saw earlier in the Traveler Champion.
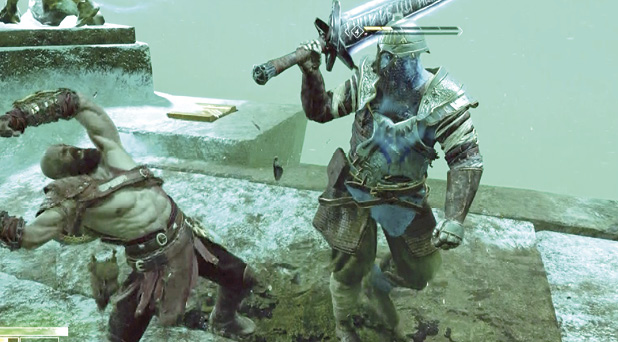
The Hel-Traveler can also drive his sword tip straight down into the ground to send out freezing blue shockwaves that inflicts damage and slowed status if you don’t block them. Without Atreus to distract the knight, you must keep on the move and wait until he finishes his moves to make your counterattack.
Late in the fight, when his health drops into the last bar segment, you knock off the Hel-Traveler’s helm. His fury increases, but you’ve got him on the ropes. Stay sharp for just a few more swings, dodging and countering until he finally falls.
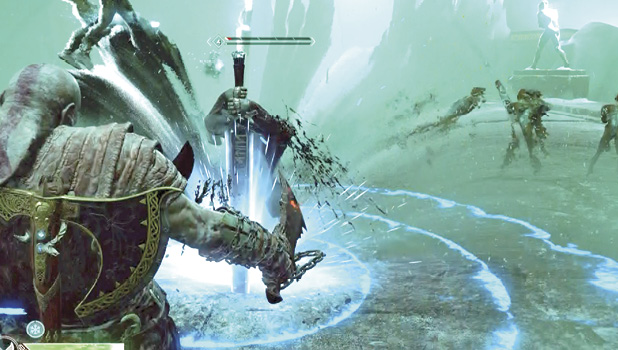
After you beat the Hel-Traveler, pick up the Traveler’s Grisly Trophies and Traveler’s Armor Shards he drops. Move the Winds of Hel from its current wind trap (28) to the next one (29) (circled) up the bridge, just left of the big Helheim archway.
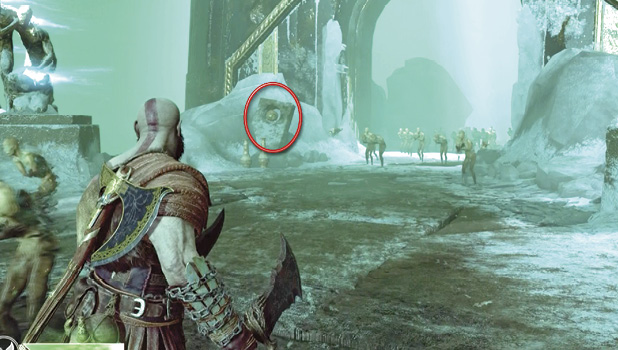
Go through the archway to onto Týr’s Bridge, where you find more Ice Nightmares and Hel-Reaver Lords lurking. Once you clear them out, move the Winds of Hel from the archway trap (29) to the next wind trap at the tip of the sword on the soldier statue (30) ahead to the right.
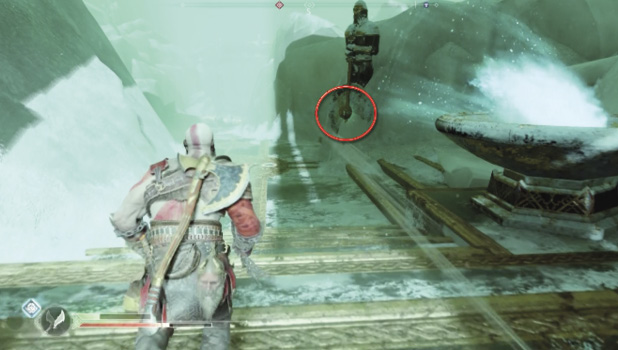
Run ahead, hopping over the fallen statue (same one you hopped earlier on the way in) and clearing the Hel-Reavers out of the next area. Then move the Winds of Hel from the current spot (30) to the trap on the back of the first soldier statue on the right (31). You have to get around to the side of the statue to spot it.
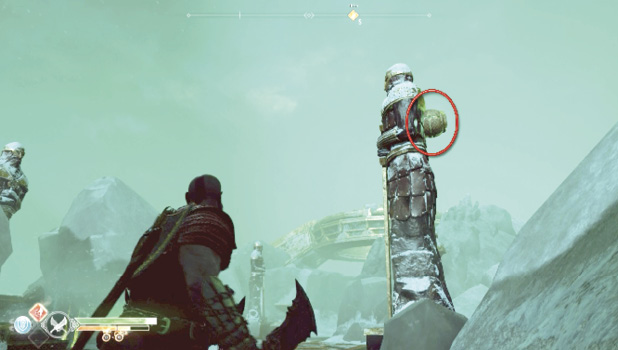
Push ahead down the bridge and clear out any other Hel-Walker creatures you find, all the way to the temple. Then move the Winds of Hel from the back of the soldier statue (31) to the wind trap high on the inside of the ring (32) of the big ring structure. (Note that one of Odin’s Ravens is perched on this trap!)
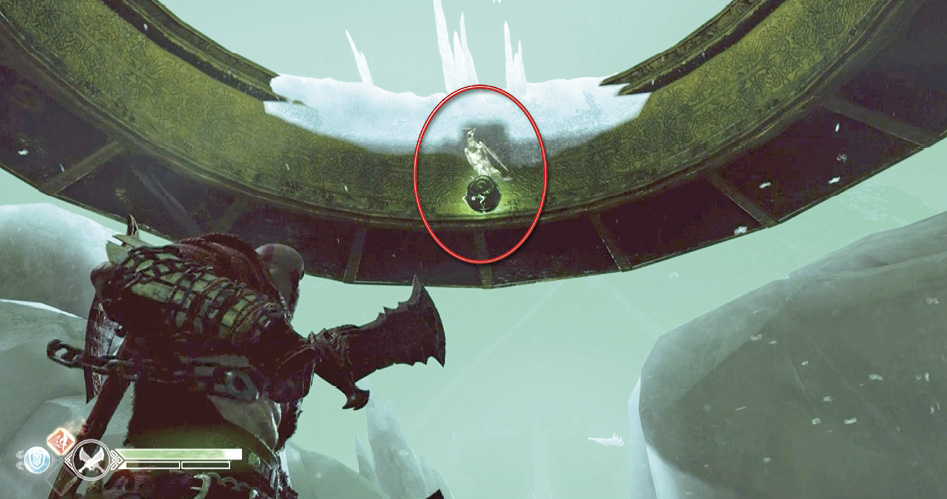
Next, capture the winds from the ring (32), sprint up the stairs on the left side of the bridge, then release it into the wind trap (33) on the far-left bridge railing, nearly hidden by snow mounds.
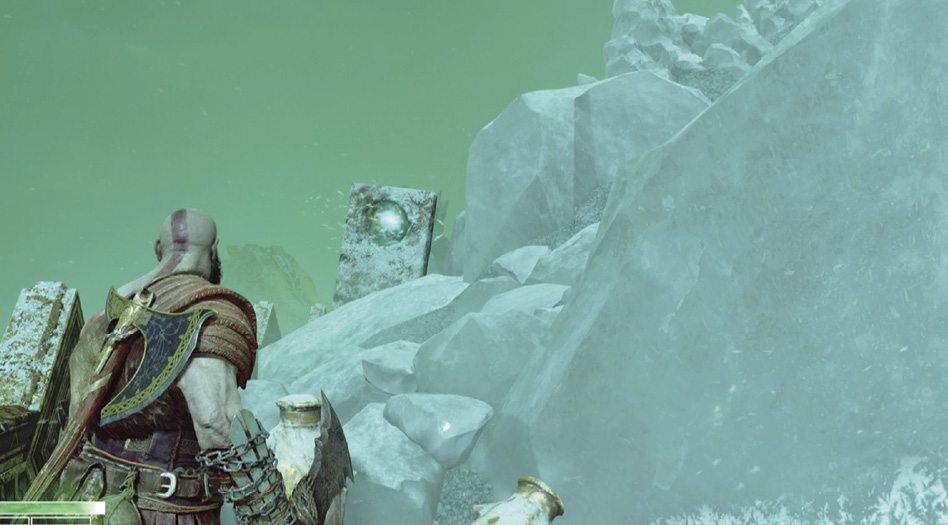
Circle the snow mounds to find that same wind trap (33) from the other side. (You’re now in the area just outside Týr’s Temple.) Move the Winds of Hel from that trap to another one on the opposite bridge railing (34). Note that this next trap sits above a staircase that runs down to a lower platform.
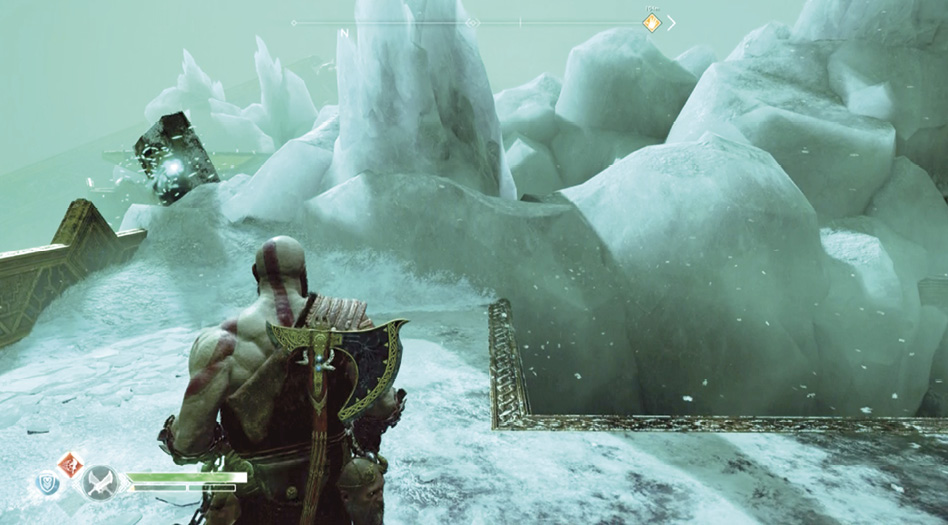
Capture the Winds of Hel from that wind trap (34), hop down into the stairwell, and sprint out to see a wind trap (35) on the door of another small chamber. Transfer the winds to that trap to open the chamber door and reveal a Legendary Chest inside. Loot it for a valuable reward.
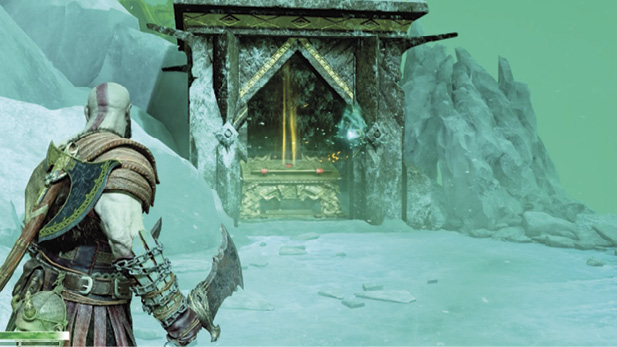
Finally, enter the temple’s exterior chamber and visit Brok’s shop to spruce up your equipment. In particular, get the Blades Upgrade II, made available when you picked up the Chaos Flame after defeating the Helheim Bridge Keeper. Remember that you can sell your Artifacts to Brok for lots of Hacksilver. When finished, return to the Realm Travel Room.
OBJECTIVE: Realm-Travel Back to Midgard
Access the travel table (36) and press Triangle to return to Midgard.
OBJECTIVE: Deliver the Heart to Freya
Exit the travel chamber. Brok calls out that he’s made improvements to his Mystic Gateway; he says you can use it now “to travel to and from.” Access the gateway and move the map cursor over the gateway in the Witch’s Cave Upper Level and press X to confirm the travel.
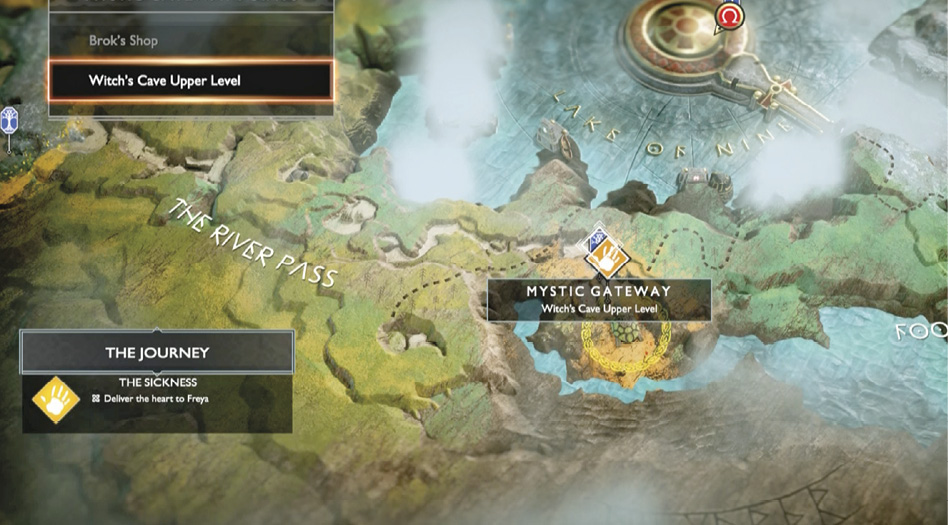
When you arrive, climb the walkway to Freya’s door and open it to trigger a scene. Before you exit, stick around a while to hear additional conversation between Atreus and Freya that fills in some important backstory.