Chapter 4: The Light of Alfheim
Alfheim
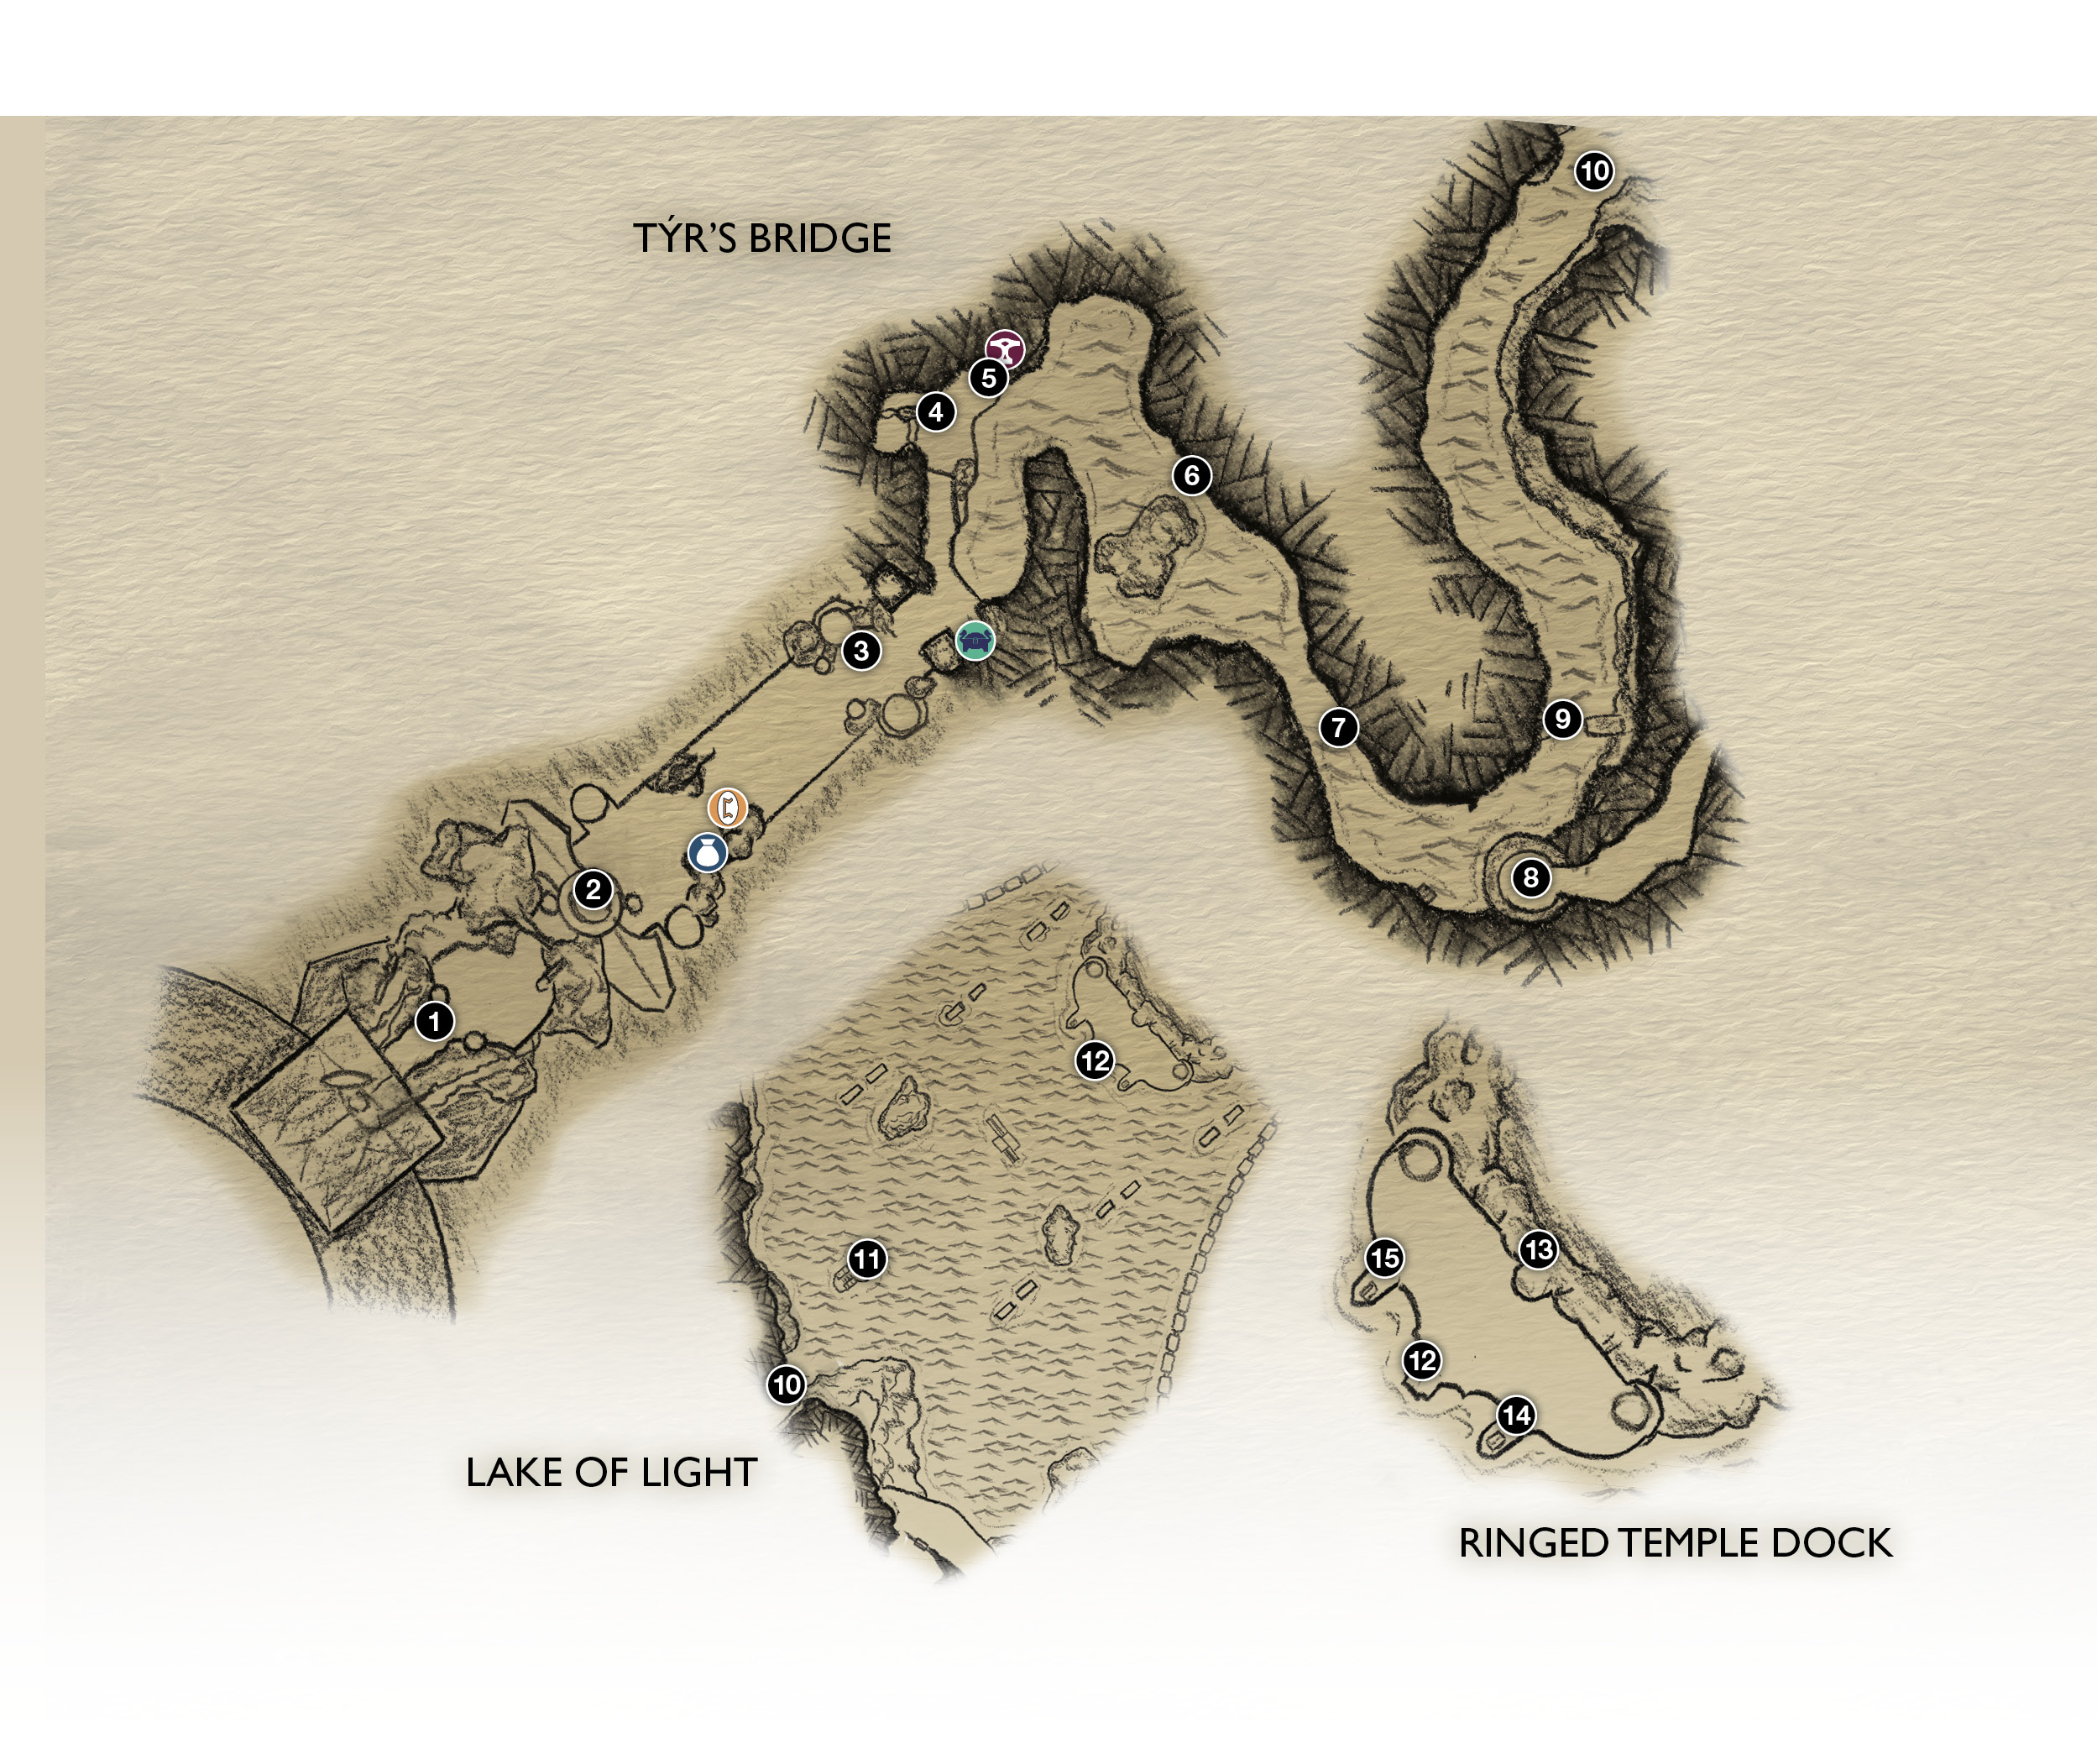
1. Start
2. Tentacle Growth
3. Bridge ends (Dark Elves fight!)
4. Entangled boat
5. Sindri’s shop
6. Yggdrasil’s Dew of Cooldown
7. Tunnel
8. Bell gazebo
9. Broken archway
10. Waterway exit to lake
11. Sand bowl
12. Temple dock
13. Light bridge to temple main gate
14-15. Crank-wheels (raise lake pillars)
 Chest
Chest
 Cipher Chest
 Lore
Lore
 Shop
Shop
The light you need to dispel the Black Breath is housed in an Elven structure known as the Ringed Temple. The Light Elves and Dark Elves of Alfheim are at war, and the Dark Elves are currently winning. Thus, Kratos and Atreus face several daunting challenges to gaining temple access: hostile Dark Elves, numerous structural barriers, and an ominous, pulsating contagion of spiky tendrils choking off passages.
Buff Up Again!
Completing the previous chapter earned you a big influx of XP. Before you proceed farther into Alfheim (where the enemies are formidable), spend XP to enhance your Skill set.
Journey Objectives
- Find a way to the Light
- Free the boat
- Get to the Ringed Temple
- Find a way into the Temple
- Reactivate the Ringed Temple Bridge
- Go back up to the Ringed Temple Bridge
- Enter the Temple
- Find another way into the Temple
- Find a way into the hive
- Break into the hive
- Investigate the hive
- Destroy the hive and claim the Light
- Find a way out of the Temple
- Return to the boat
- Use the sand-bowl lift
- Return to Týr’s Temple
- Realm-travel back to Midgard
- Return to the Mountain
- Go back through the tower
- Return to the Mountain
- Dispel the Black Breath
New Enemies
- Dark Elf
- Dark Elf Warrior
- Dark Elf Summoner
- Gloom Nightmare
- Draugr (Speed)
- Miniboss: Stone Ancient
- Boss: Svartáljǫfurr
OBJECTIVE: Find a Way to the Light
Work Your Way Across Týr’s Bridge
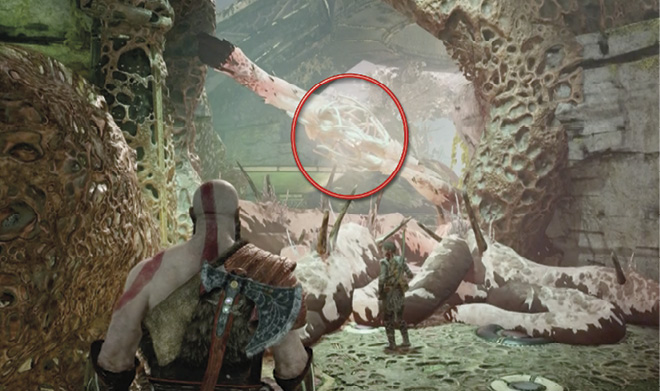
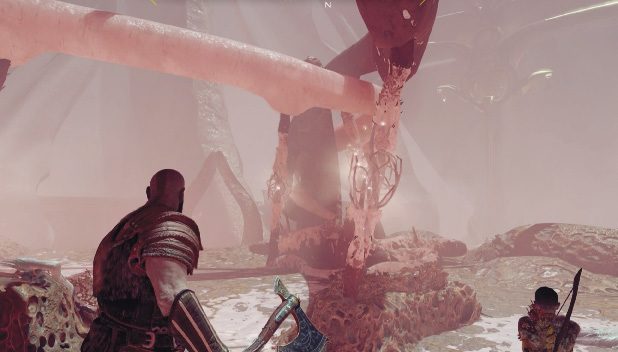
From the start (1), move forward to where Atreus stares up at a strange, throbbing bundle of tentacle-like growth that blocks the bridge span. Note that one glowing tendril with a fibrous center joint stretches across the gateway. This joint is the “heart” of the organism (circled in our shot). Toss Leviathan through that center tendril joint. The entire bundle of growth shrivels up and disappears! Move down the bridge to a similar tendril (2) and kill it with an axe throw through the fibrous tendril joint too.
A little farther down the bridge, look for runes that Atreus can read, etched on a pillar. The message indicates a long battle for the very light you seek. Turn right and destroy another pulsing tendril joint to clear out the tendril growth and free a chest for looting.
Defeat the Dark Elf Squad
Continue down the bridge. At the far end (3), you see a Dark Elf spearing a Light Elf. As you push forward, more Dark Elves drop in and spot you. Get ready to fight a new, highly mobile foe!
Dark Elves can be frustrating to hit unless you use Atreus to lead your attack. Fire his arrows to knock hovering Elves to the ground, then rush in with Kratos to deliver melee blows. Dark Elves are fairly easy to Stun, so be ready to apply a quick stun grab—Kratos wrenches away the foe’s glowing trident and impales him with his own weapon.
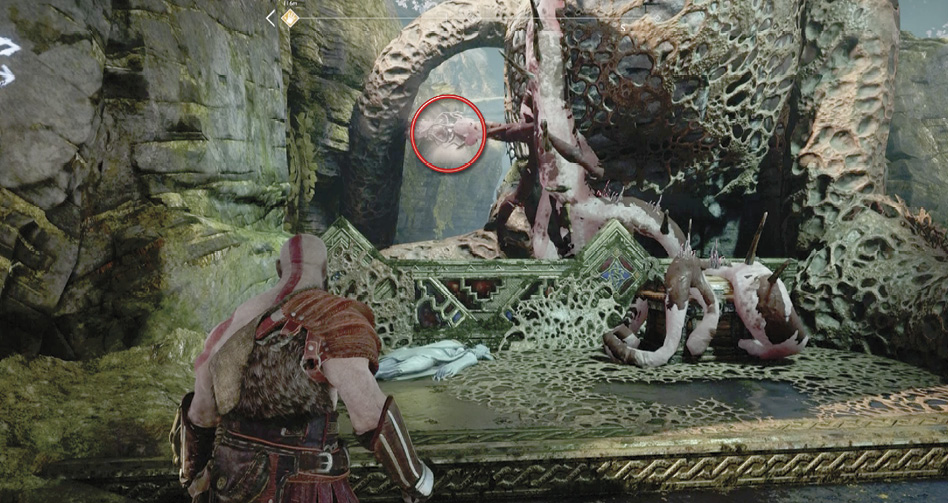
After you eliminate the threat, step forward to another pulsating barrier. This one has two tendrils with fibrous joints. If you toss Leviathan through just one tendril joint, it immediately regenerates, because both tendrils are part of the same organism. To kill the whole organism, line up your aim so that a single axe throw slices through both tendril joints in the same instant (see our shot).
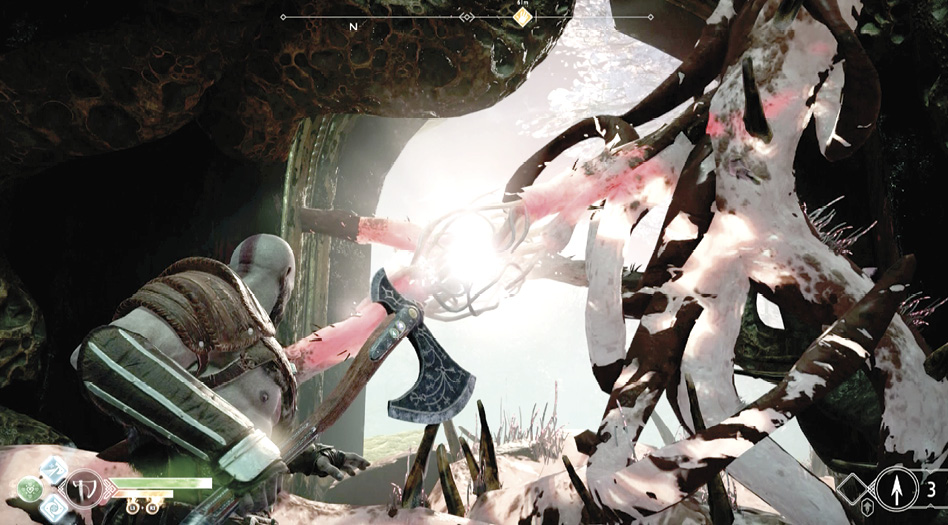
Once you do this, the tentacles shrivel and you can step through the arch at the bridge’s end. Turn right to find a silver Cipher Chest at the bottom of the staircase. It contains another piece of the Muspelheim Language Cipher.
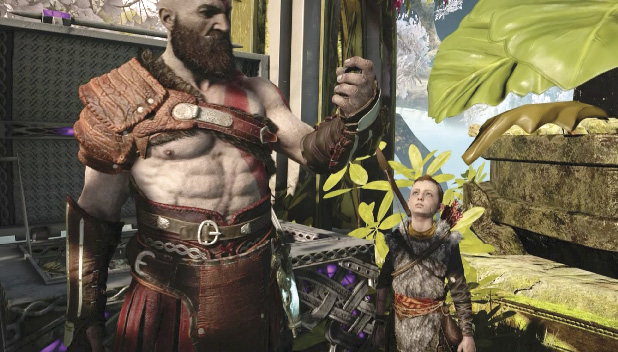
Follow Atreus down the curving path to the left that leads onto a sandy beach area. Look to the left to spot a boat (4) completely wrapped in one of the tentacle-like growths. Your next objective is to get that boat.
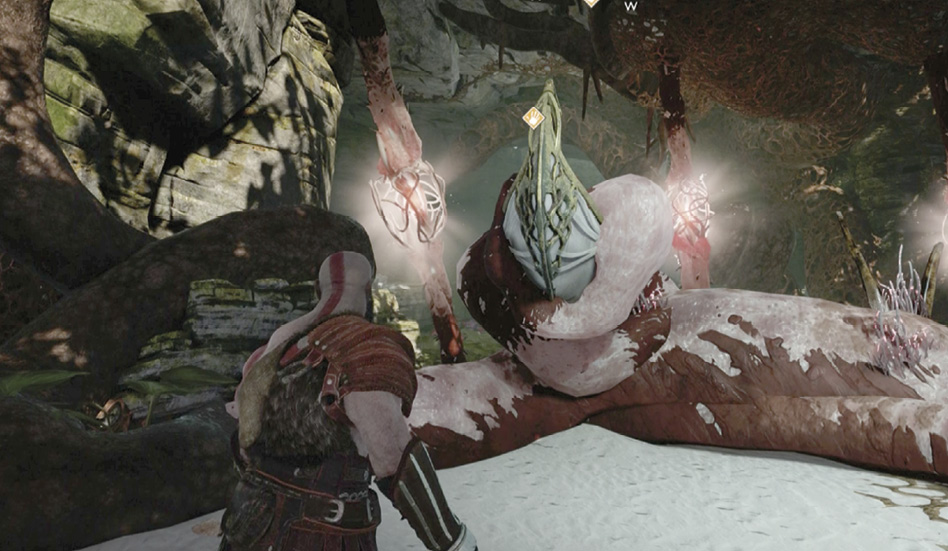
OBJECTIVE: Free the Boat
Note that three tendril joints hang behind the trapped boat. All three are part of the same organism, so you must slice them with a single axe toss to kill the growth. Walk around the tree to the right and stand where all three tendril joints are aligned. Then sling Leviathan through them to free the boat. Before you use the boat, head across the sand to visit Sindri’s Shop (5).
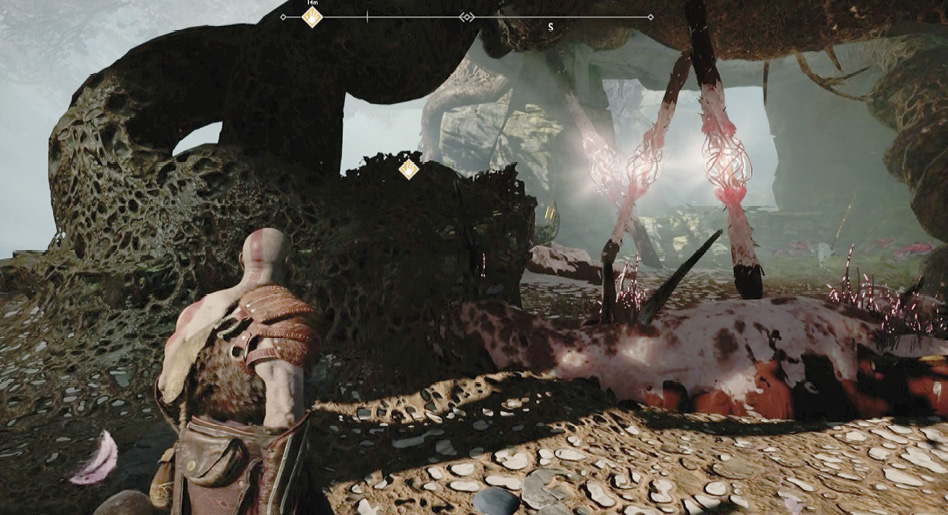
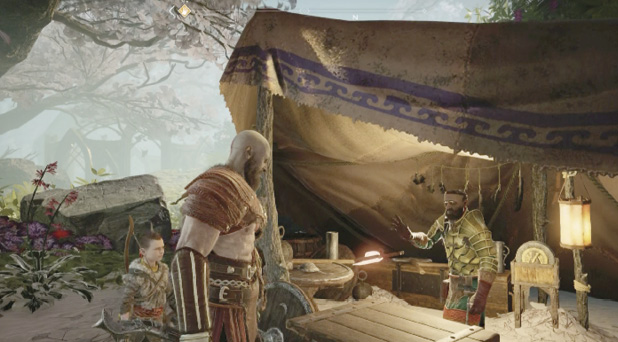
Talk to Sindri to learn more about his dealings with Faye (Kratos’ wife and Atreus’ mother), then access his shop to upgrade Leviathan to Level III. (Remember, you earned another Frozen Flame when you defeated the Ogre. Use it for the axe upgrade.)
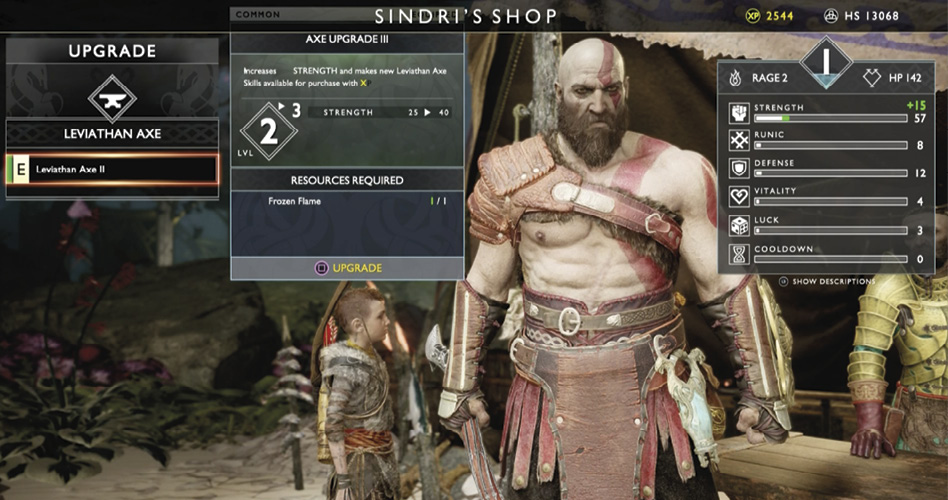
Your upcoming work in Alfheim will be taxing, so spend some time acquiring the best equipment you can. After you exit the Shop Interface, head over to the boat and push it out into the water.
OBJECTIVE: Get to the Ringed Temple
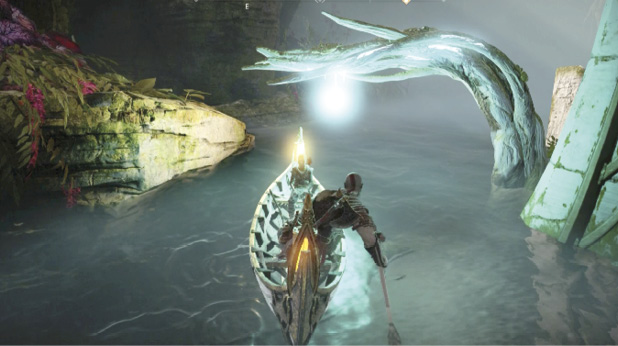
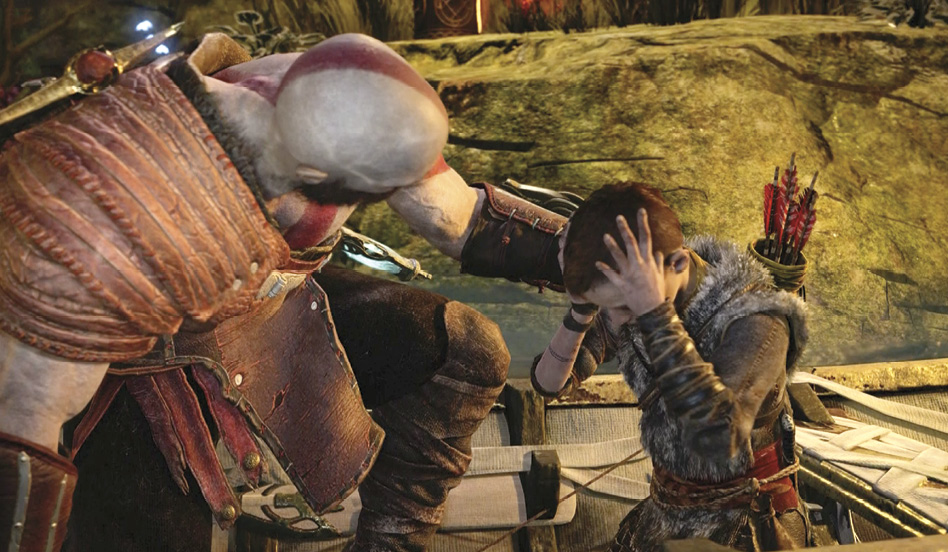
Paddle the boat along the left bank of the waterway. Steer underneath the tree that arches overhead (6) and press Circle to gather a sample of Yggdrasil’s Dew of Cooldown, the glowing substance dripping from the tree. (Gathering this Dew permanently increases your Cooldown stat by 2.) Keep to the left bank and veer into the rock tunnel (7) to trigger a scene: Atreus is suddenly afflicted with voices, to the great consternation of his father.
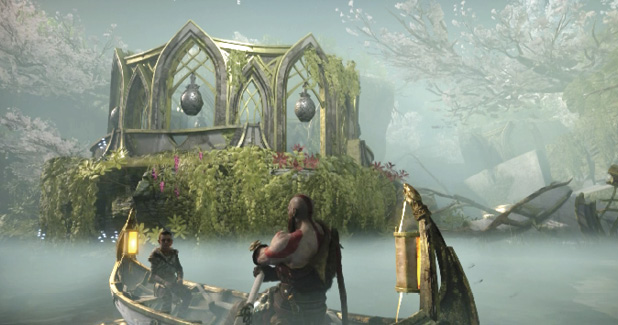
Continue paddling through the tunnel. Up ahead, Atreus spots a pair of Light Elves in a circular, gazebo-like structure (8) hung with bells. Proceed through the broken archway (9) and follow the waterway to its end (10), where it empties into the glimmering Lake of Light.
Open the Temple Trench
Paddle to the nearby flag-marked dock and debark. Cross the small circular platform to the sand bowl (11) and press Square to have Atreus read the rune message. Then return to the boat and paddle toward the Ringed Temple and the light.
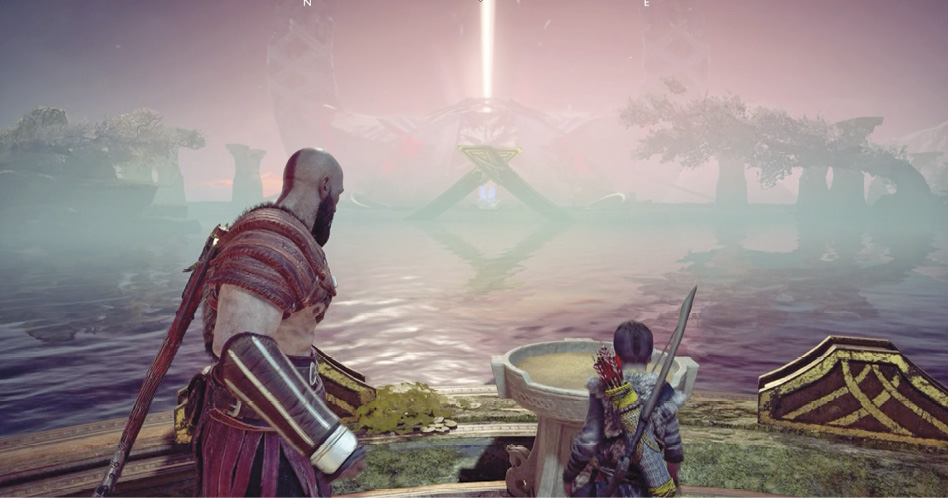
Steer toward another flag-marked temple dock (12) and debark there. Ahead you see a bluish light bridge leading to the Ringed Temple entrance. As you approach, a giant tentacle wraps around the crystal (13) that generates the light bridge, and the bridge dissipates! Now you must find an alternate way into the temple. Before you can do that, hostile Dark Elves swoop up onto the temple dock.
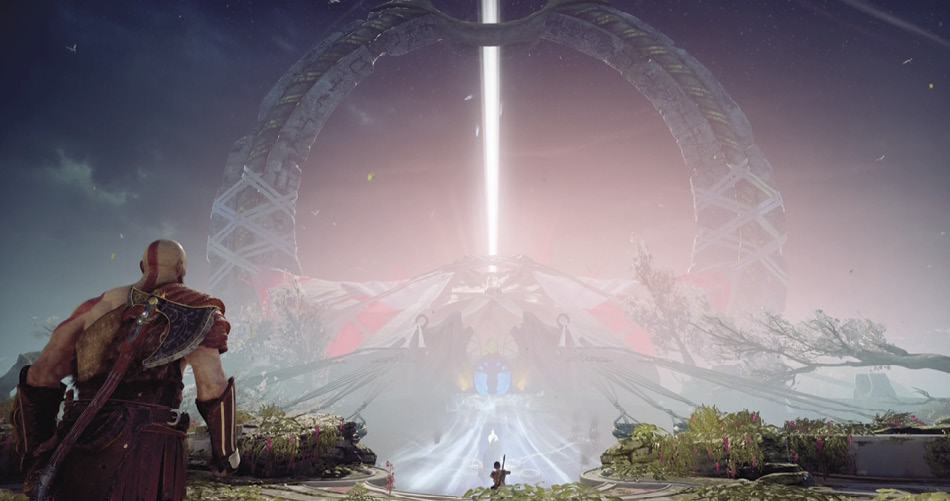
Use the same combat tactics as on Týr’s Bridge. The dock platform is wide, so the Elves can zoom around and fire projectiles from range. Be proactive about dodging away from the explosions. Again, fire Atreus’ arrows to bring each attacker to the ground, where a couple of Kratos’ punches can Stun them quickly.
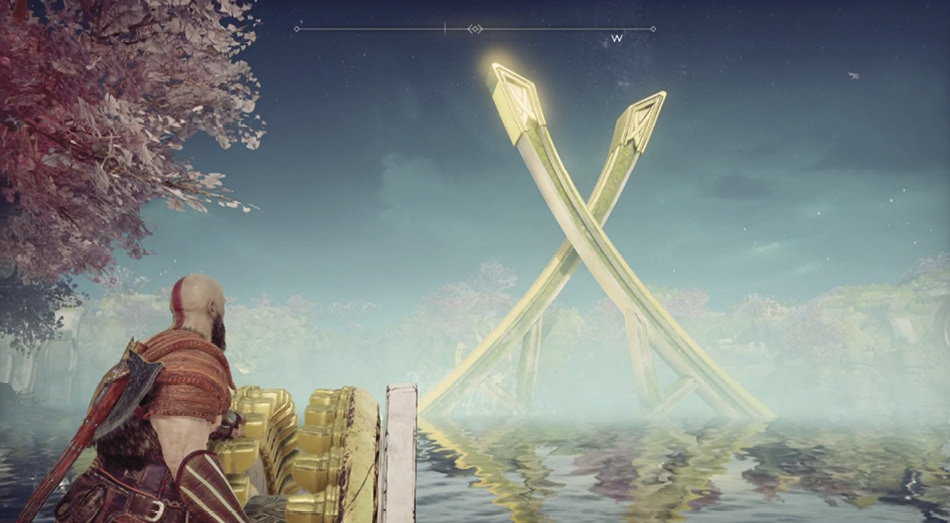
After you decimate the first winged squad, head over to either one of the two crank-wheels (14, 15) sitting on platforms that face back across the lake toward the sand-bowl platform. Turn the wheel to raise a tall, curved pillar and other structures out in the water. This triggers an assault by a second squad of Dark Elves, so engage and destroy them. Then go to the second crank-wheel to raise more structures in the lake.
OBJECTIVE: Find a Way Into the Temple
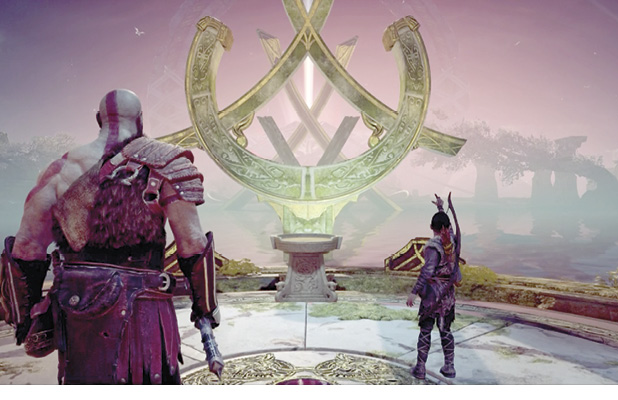
Hop into your boat, paddle back to the sand-bowl platform (11), and debark. As you approach the sand bowl, Atreus notes that the lake pillars and the temple’s ring form an Elvish rune. Direct him to draw it in the sand. When he does, a gigantic mechanism is triggered: the lake floor opens up to reveal a massive trench that leads back toward the Ringed Temple.
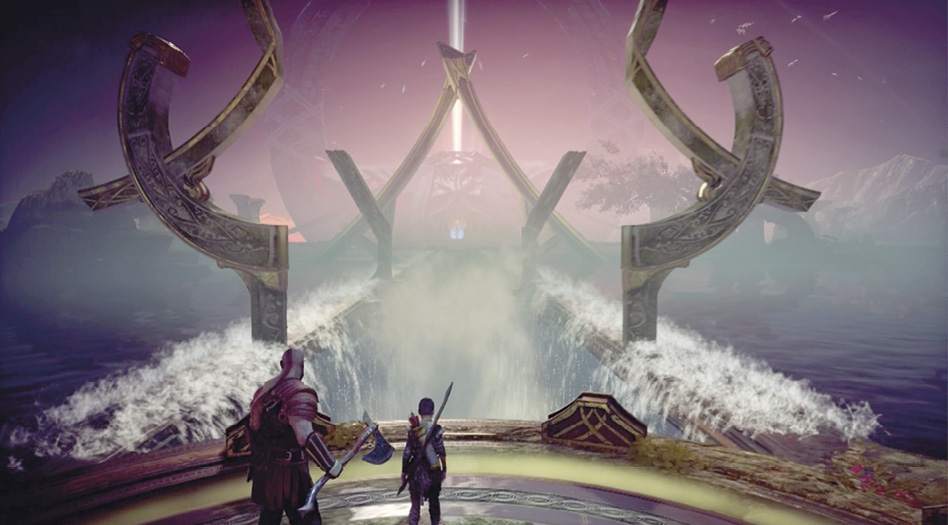
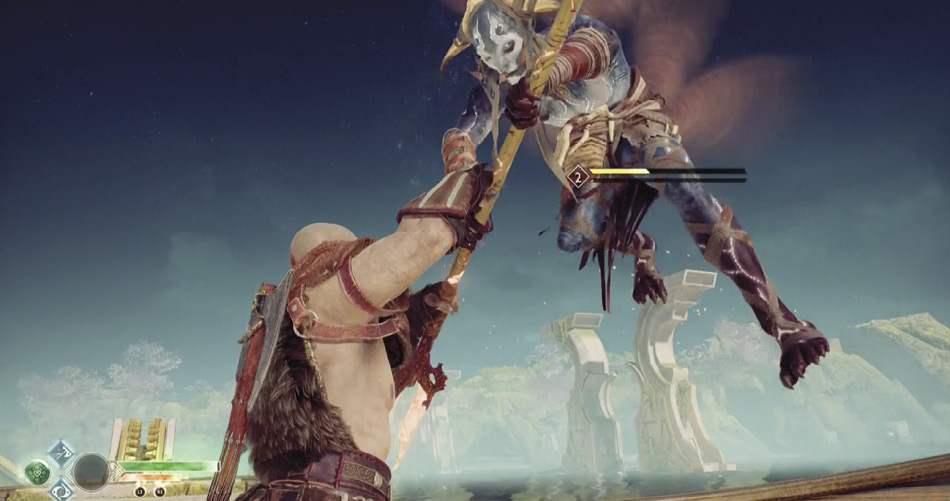
At the same time, the platform where you’re standing drops slowly to the trench floor. As it lowers, a colorful Dark Elf leader adorned with great horns rises to hover above you. Then he raises his barbed war staff in a violent gesture. As Atreus says: “That can’t be good.”
The Elven leader’s gesture, it turns out, is an order to more of his Dark Elf troops, who launch an assault. Push out to counterattack. After the last Elf from this wave falls, you get a new objective.
Ringed Temple
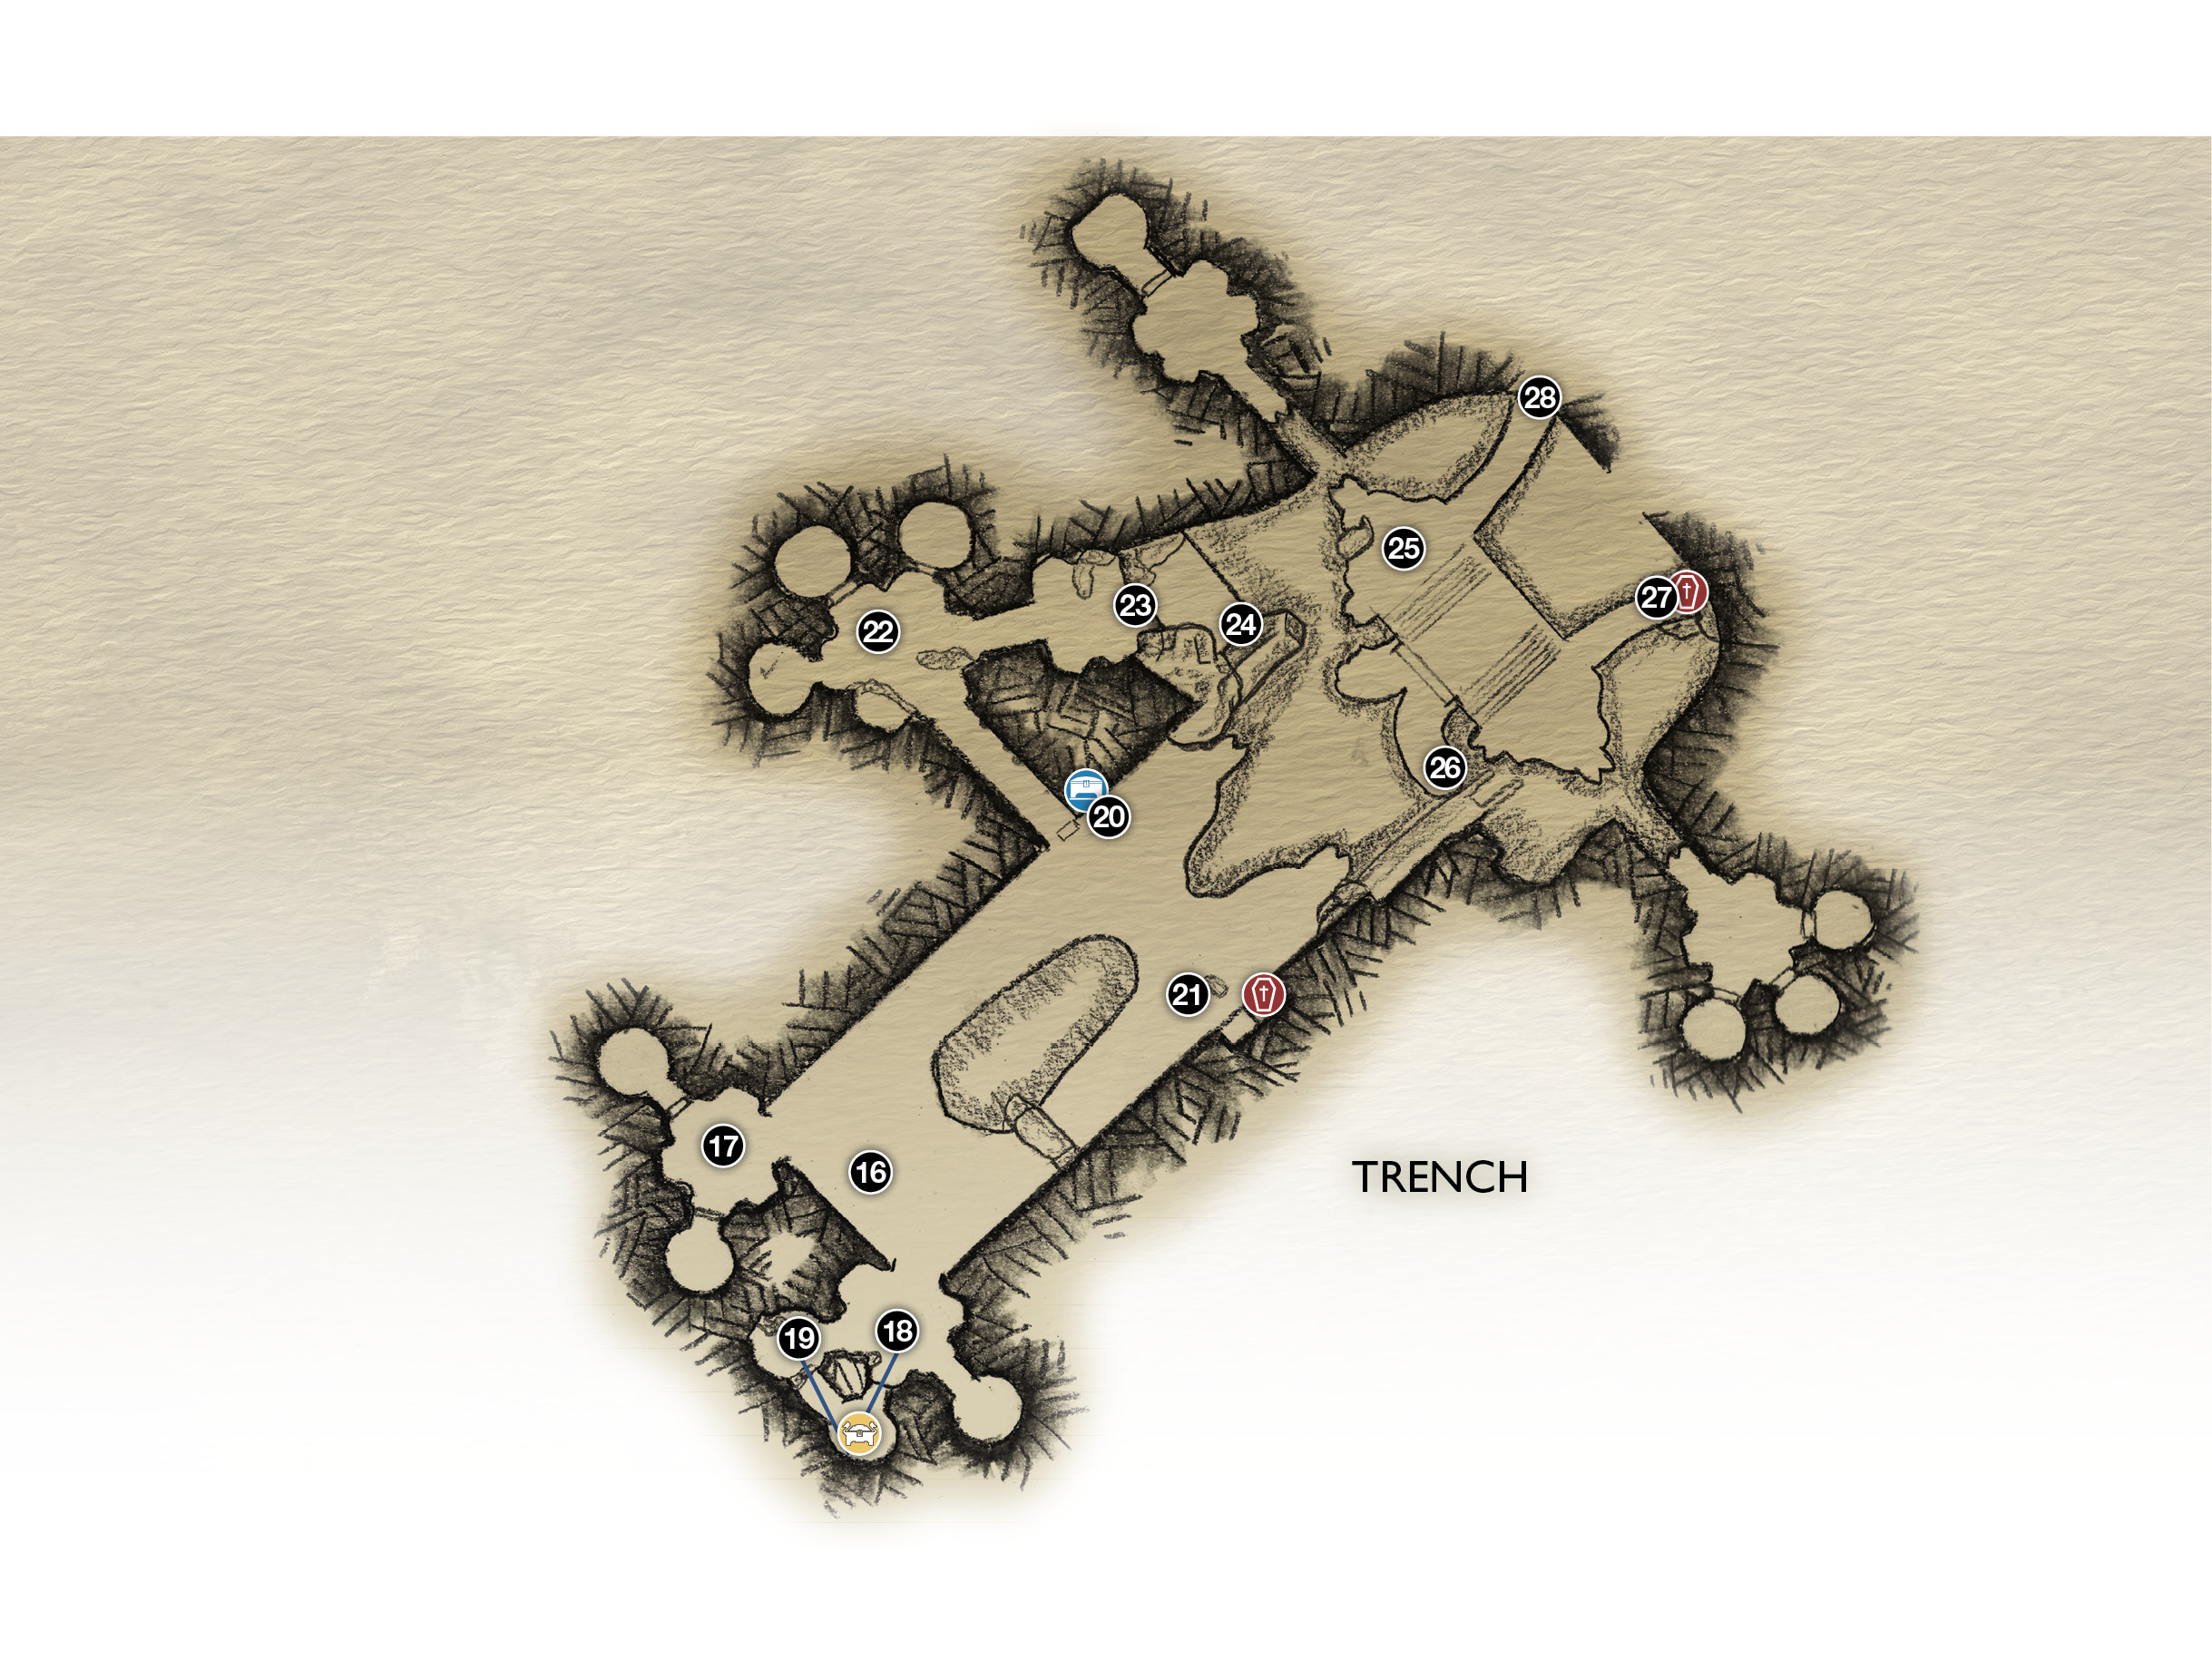
16. Sand-bowl platform
17-18. Detention pods
19. Cell (opening to next cell)
20. Nornir Chest
21. Crank-wheel
22. Detention pod
23. Climb wall
24. Stone strut
25. Platform (Dark Elf Warrior fight!)
26. Toss axe at joints
27. Entangled coffin
28. Exit temple trench
 Coffin
 Legendary Chest
 Nornir Chest
OBJECTIVE: Reactivate the Ringed Temple Bridge
Open the Detention Cells
From the sand-bowl platform (16), turn around to face a pair of detention pods with holding cells. The pod on the right (17) contains two locked cages with snarling prisoners, but the switch that opens the cells is broken—you can’t open these until later. The pod on the left (18) contains three cells. Turning the pod’s switch opens two of them, but tentacles seal the middle cell shut. One of the opened cells releases a Draugr prisoner, which shows its gratitude by attacking you. Kill the ingrate then loot the leftmost cell.
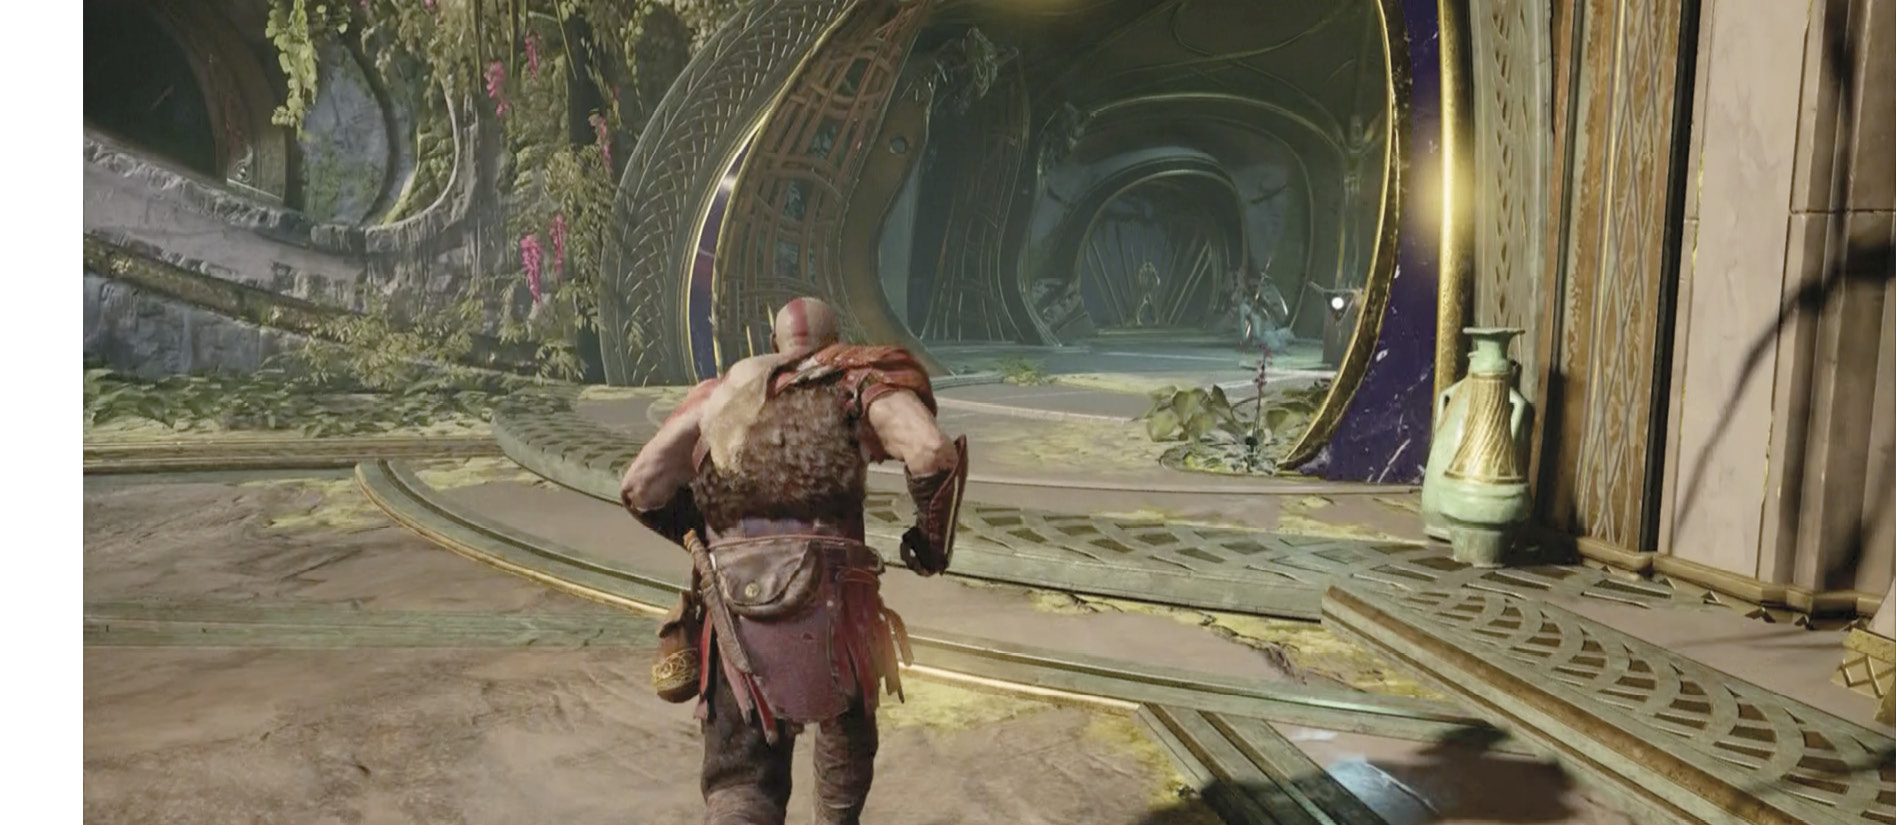
Cut Open the Tentacle-Sealed Cell
Note that two tendril joints pulsate inside that tentacle-sealed middle cell. You must sever both joints in one toss to open the cell, but it’s a tricky task. Enter the rightmost cell (19) to find a small opening that reveals one joint and a Legendary Chest inside the middle cell. Toss Leviathan slightly right of the tendril joint so it sticks to the wall above the chest. Don’t recall the axe yet!
Instead, exit the cell and go stand outside the sealed door of the middle cell.
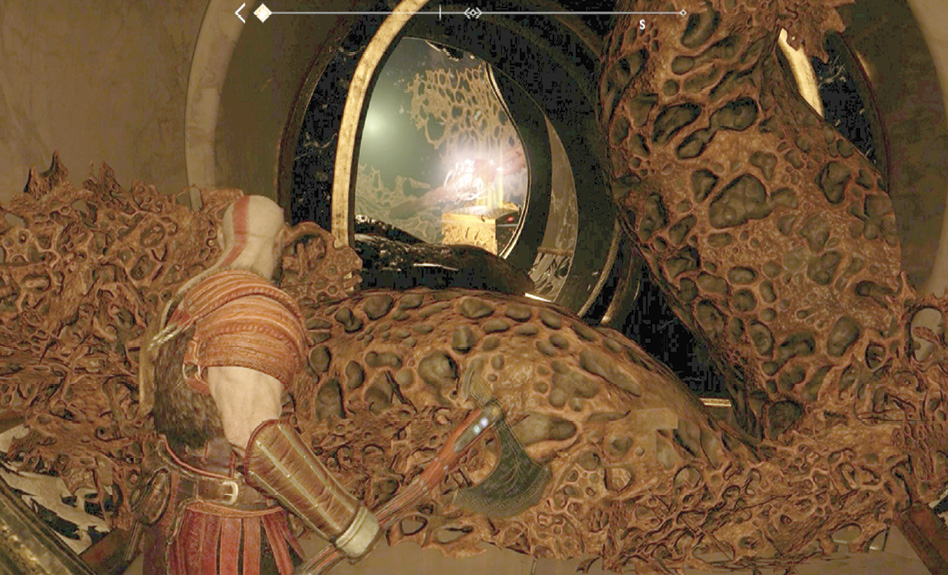
Now recall Leviathan. When the axe returns to Kratos, it slices through both tendril joints at once, killing the organism, which shrivels away. When the cell door slides open, enter and loot the Legendary Chest.
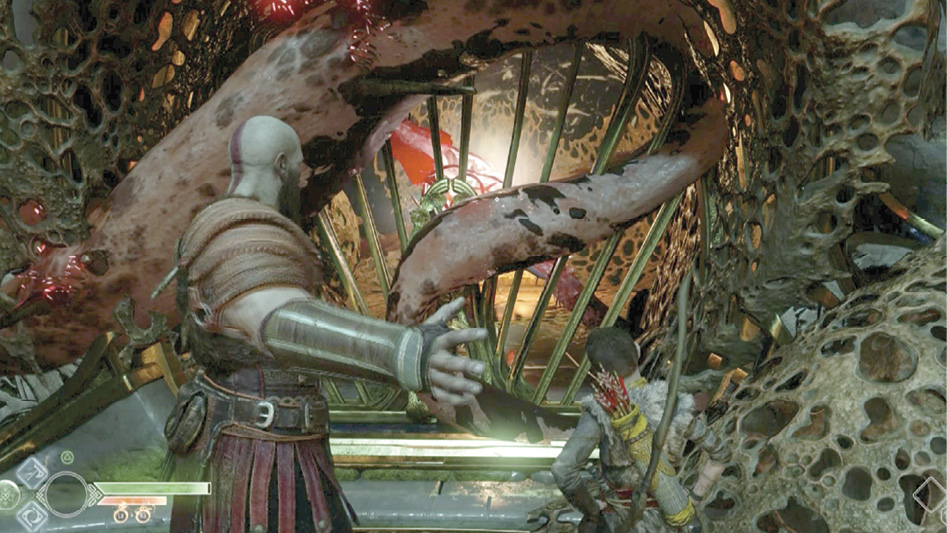
Before you leave the detention area, be sure to knock down the tendril bundles hanging from the ceiling above each detention pod entrance, if you haven’t already done so.
Unlock the Nornir Chest
Move down the left side of the trench (the right side is blocked). Another Dark Elf squadron drops in, but this time a Heavy Draugr with its two-handed battle axe joins them. Try to stun and eliminate the Elves first, evading whenever the Draugr lunges. When only the Draugr remains, double-team the foe with Atreus to take it out. When the area is clear, note the Nornir Chest nearby (20). Unlock it with the following steps:
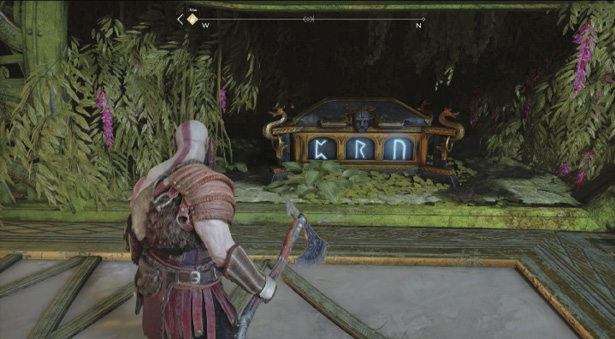
- First, turn and go to the crank-wheel (21) near the opposite wall, noting the coffin on the ledge behind it. Crank the wheel twice (that is, tap down the left stick twice) to lower the center floor section until a runic seal stone is revealed on the far wall (circled in our screenshot). Still hanging on to the wheel, aim Leviathan slightly above the rune and throw to break the stone. That’s one seal broken.
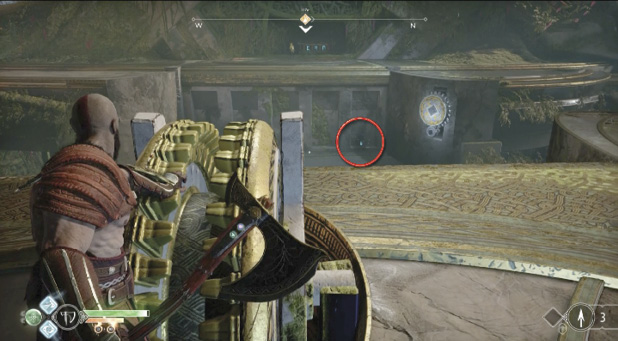
- Next, crank until the wheel won’t turn anymore and the full floor has dropped all the way to the bottom level. Before you let go of the wheel, aim and toss Leviathan at the gearwheel on the far wall to freeze the crank mechanism. Turn around and climb up the low ledge to find another runic seal sitting there. Punch the stone to shatter it. That’s two seals broken.
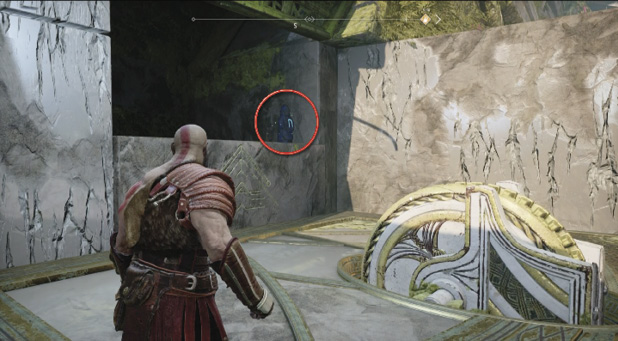
- Recalling Leviathan unfreezes the gear so the floor rises back up, but this is good. Turn around to see you’ve ridden up to the level where the coffin sits. Open the coffin to take its contents.
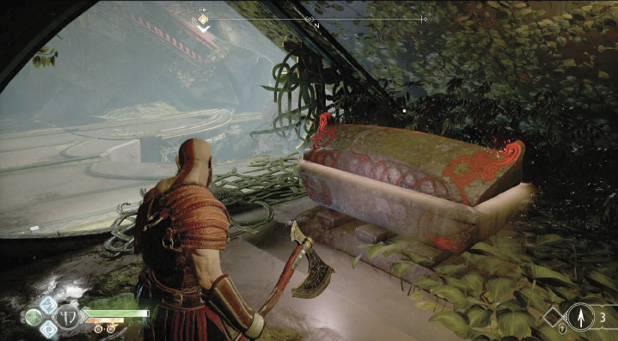
- Jump back down to the crank-wheel, tap your left stick down twice, and toss Leviathan to freeze the gear mechanism again. Then step off the crank-wheel platform and turn back to see the runic seal, sitting in a recessed panel. Walk up to the stone and punch it to break the last seal.After you break all three runic seals, recall Leviathan and return to the Nornir Chest to open it and acquire the valuable item inside: an Iðunn Apple, which puts you on the way to increasing your Maximum Health again.
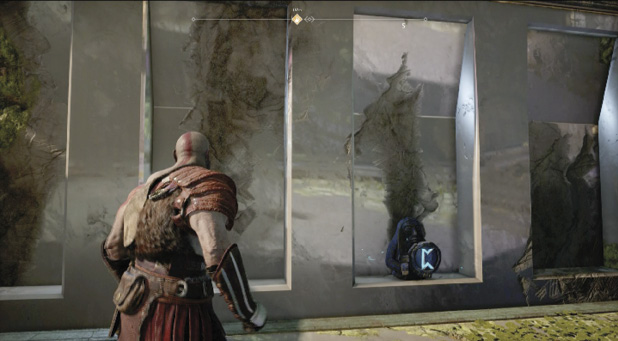
Get Across the Trench Gap
You can’t reach the far side of the trench from this level, so return to the crank-wheel (21), crank it all the way, and freeze the gear on the opposite wall again with Leviathan. Cross the walkway and enter the circular tunnel on the far side; now you can recall Leviathan.
The tunnel leads into another detention pod (22) with a set of holding cells and a crank-wheel in the center.
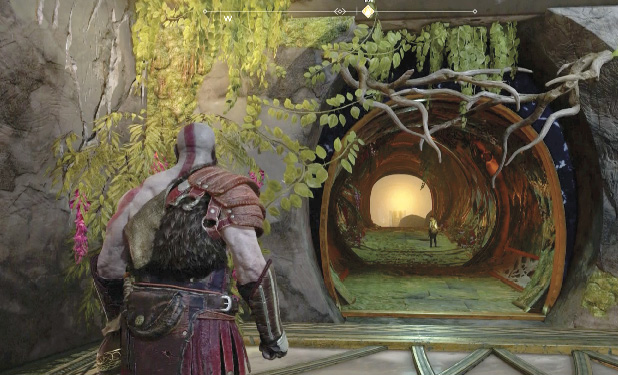
You can’t open the cells, which house angry prisoners. Take a hard right and traverse the passage into a room overgrown with one of the tendril organisms. Set up where both of the organism’s tendril joints are aligned (as shown in our shot) and toss Leviathan to cut through both at once.
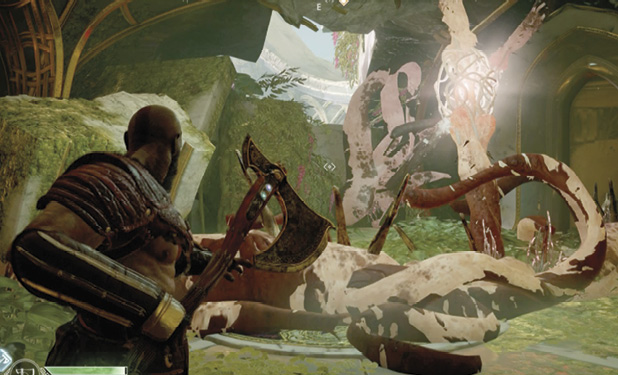
Approach the low yellow-marked wall (23) to boost Atreus and trigger a quick scene: the Dark Elf leader grabs Atreus and flies away as two Dark Elf Soldiers seize Kratos. Click L3 and R3 simultaneously to break free and trigger Spartan Rage; Kratos flings Leviathan at the leader, who drops Atreus onto the far platform. Now control returns to you.
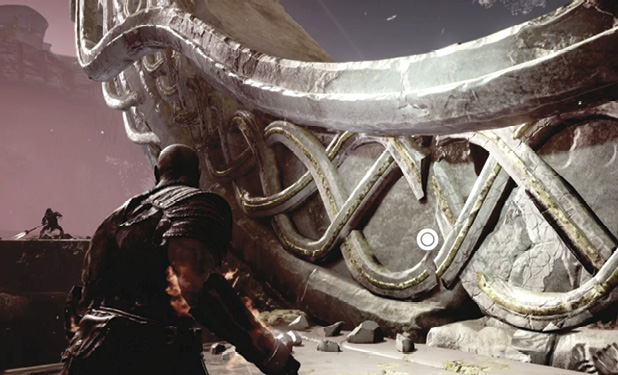
Take advantage of the Spartan Rage state to hammer the enemies on your platform. Across the way, Atreus defends himself valiantly against a pair of Dark Elves. When your side is cleared, approach the cracked section of the stone strut (24) and press Circle. Kratos punches open a hole, then steps into it. Start tapping Circle rapidly: Kratos pushes the strut until it falls onto the far platform. As he runs across to Atreus, Kratos encounters the Dark Elf leader in a brief struggle.
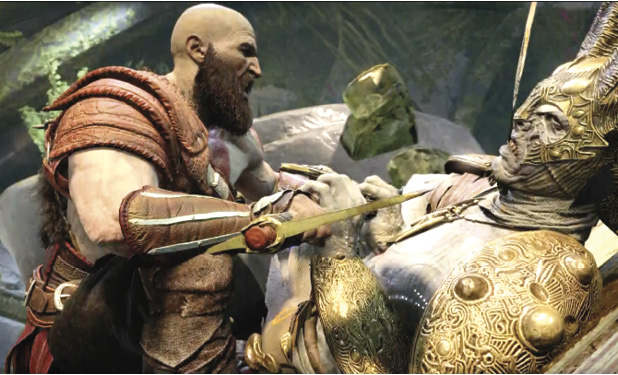
You end up on the far platform (25) with Atreus, facing another pair of foes. These are Dark Elf Warriors—tougher, stronger Elves who wear armor and wield bigger tridents that hit harder. Their lunging charge ends with an explosive shockwave, so roll away when they dash. As always, use Atreus to knock Warriors from the sky and Weaken them, then rush Kratos in for a melee and stun attack.
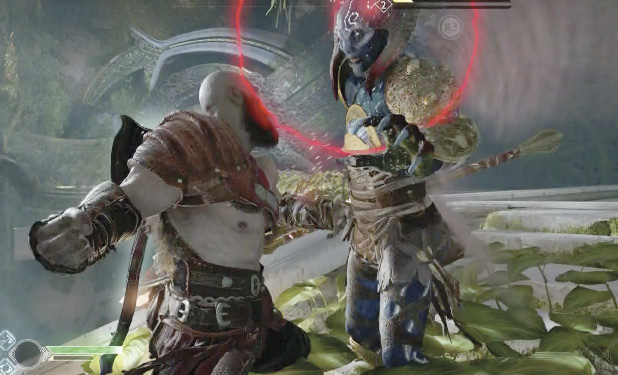
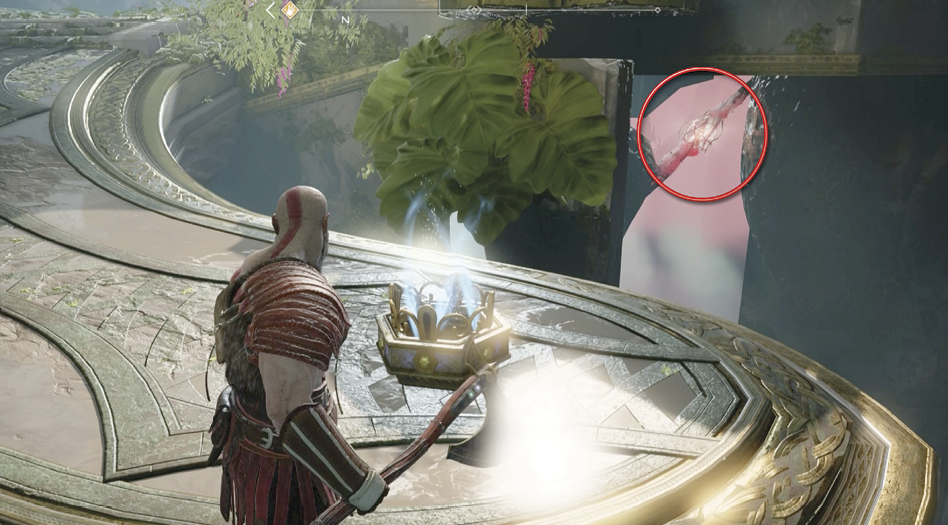
After you finally subdue the Dark Elf Warrior duo, head down to the very end of the small side ramp (26), where an empty crystal stand shimmers blue. Turn left to see a pair of tendril joints lined up for you between the struts. Throw Leviathan to slice them both at once and shrivel up the organism, and then head up to the walkway above (27) to loot the coffin that your throw has disentangled. Exit the trench via the walkway on the other side (28).
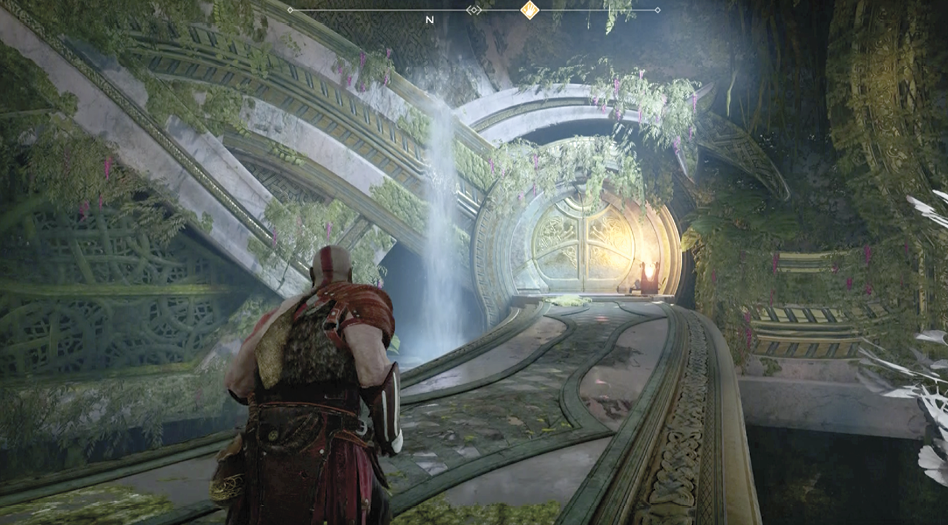
Ringed Temple Gate
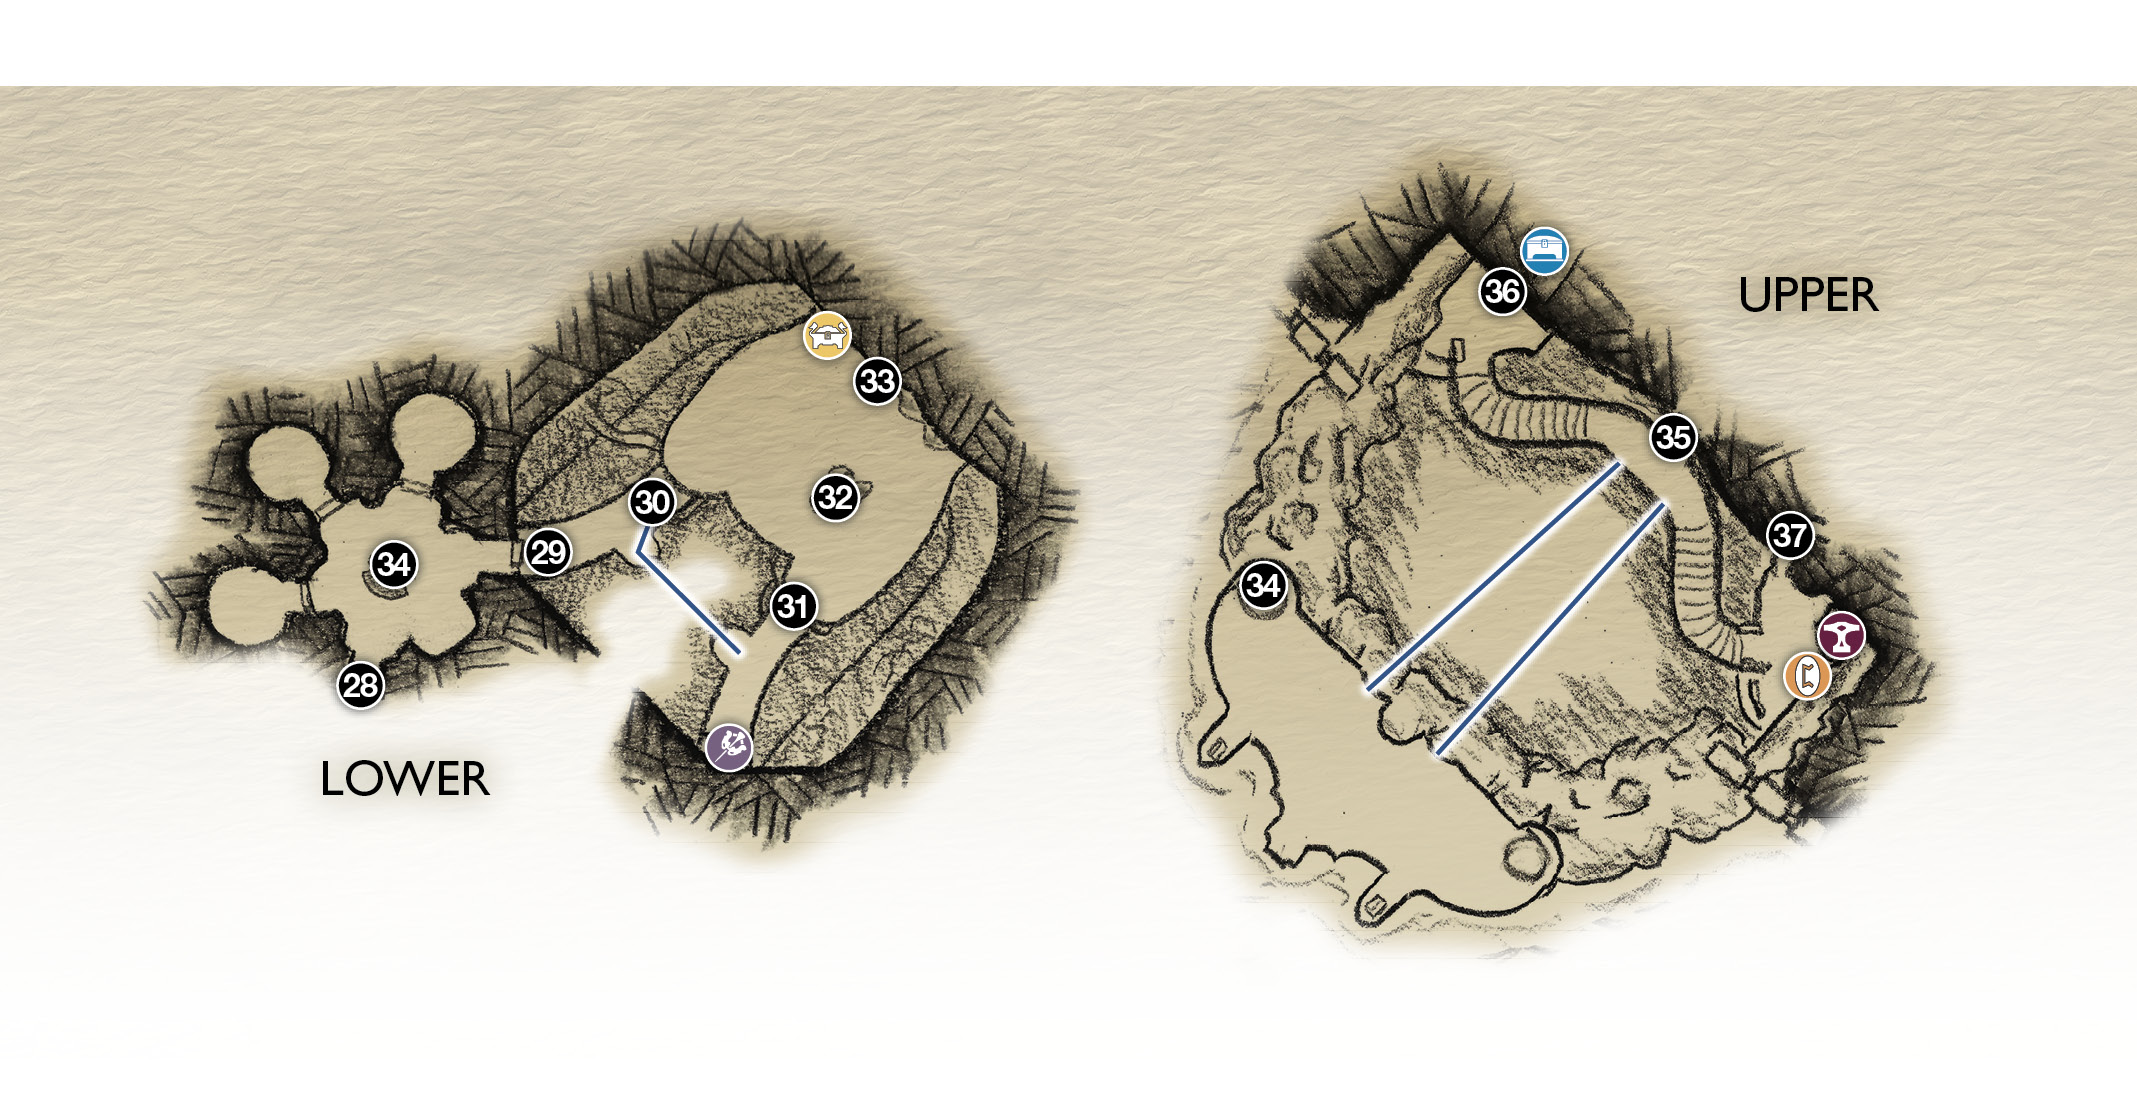
28. Arrive from trench
29. Drop-off to lower walkway
30. Toss axe at joints
31. Climb wall
32. Debris mound
33. Organism feeder stalk
34. Elevator shaft
35. Ringed Temple main gate
36. Door to Nornir Chest
37. Low Tunnel into temple
 artifact
Coffin
Legendary Chest
 Lore
Lore
Nornir Chest
 Shop
Shop
Shrivel the Tentacles Disabling the Main Bridge
You enter another detention pod with some prisoners behind bars, but there’s an elevator shaft in the center. Unfortunately, there’s no lift platform to ride. Go around the elevator and exit the pod via the far door. Then hop down to the lower walkway at the drop-off (29).
Move to the walkway’s end (30) and spot two tendril joints pulsating off to the right. Line up an axe toss that cuts through both tendril joints. When the growth shrivels, the nearby light bridge is reactivated, connecting to another walkway. Cross that bridge.
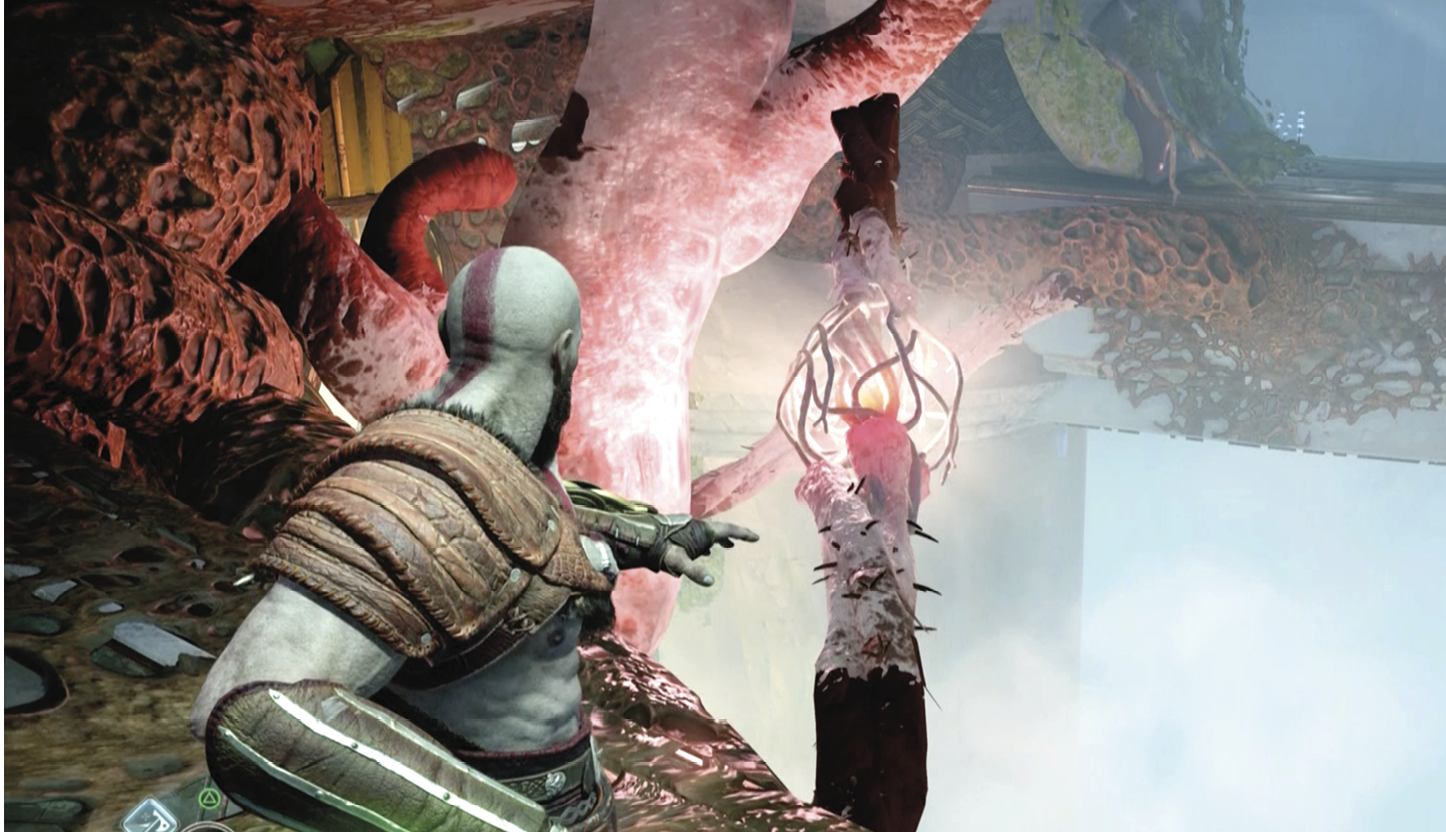
Look up to see the tentacles that have overgrown and disabled the large crystal that generates the main light bridge leading to the Ringed Temple entry gate. (You saw this event happen when you first arrived on the temple entry dock.)
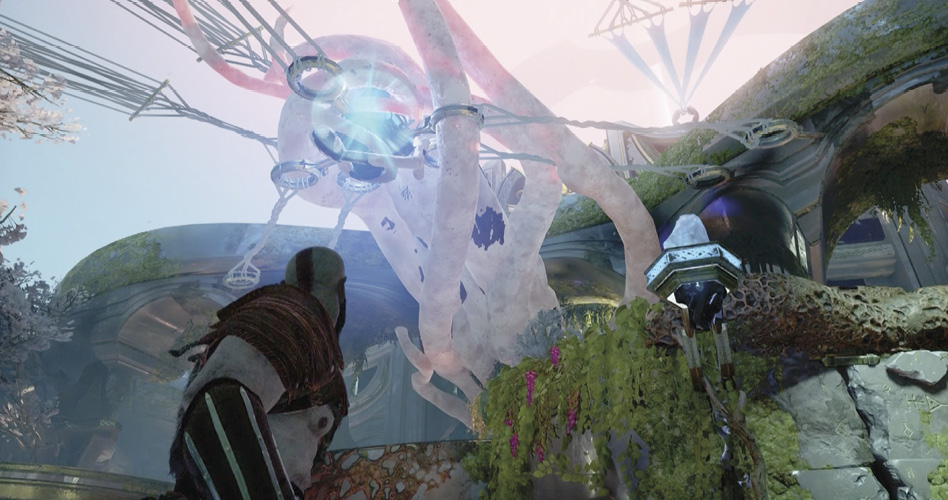
Then climb the cracked, yellow-marked wall (31), sliding rightward near the top to reach the spot where Kratos can pull himself up onto the platform. There, you can see the big, glowing fibrous bundle (33) that forms the tendril joint of the massive organism wrapped around the crystal above.
Before you can approach the tendril joint bundle, you must fight off an ambush of Dark Elf Warriors, including a long-range “sniper” firing projectiles down from a high perch overlooking your platform. Take out the Warriors on the platform first, then target the sniper’s legs with a Leviathan toss.
As you fight, note the glowing “rock pile” near the center of the platform. Once you clear the platform, the pile suddenly stands up. It’s a Stone Ancient!
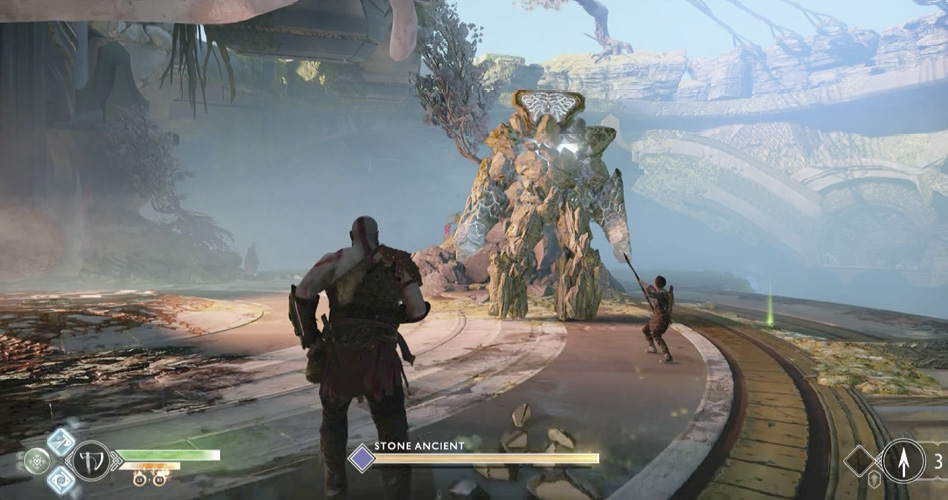
After the fight, pick up the Ancient’s Rubble and Ancient’s Heart, as well as all other pickups on the platform, including a valuable Rare Enchantment called Fragmented Heart of Alfheim. (This item significantly reduces all damage taken from Dark Ones, so consider slotting it into your armor right away.) Loot the Legendary Chest on the platform as well.
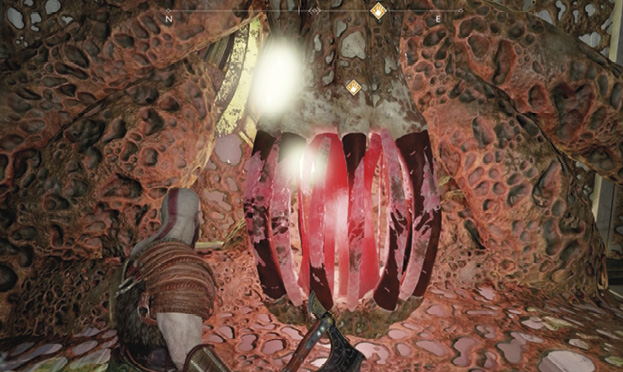
Now you can finally approach the glowing red tendril joint (33). First, hit it with Leviathan to slice the outer tendrils. Next, press Circle to whack the inner stalk with the axe. Then rapidly tap Circle until Leviathan freezes the stalk and Kratos smashes it with one last hit. This kills the organism, frees the big crystal above from the tentacles, and brings the main Ringed Temple light bridge back online!
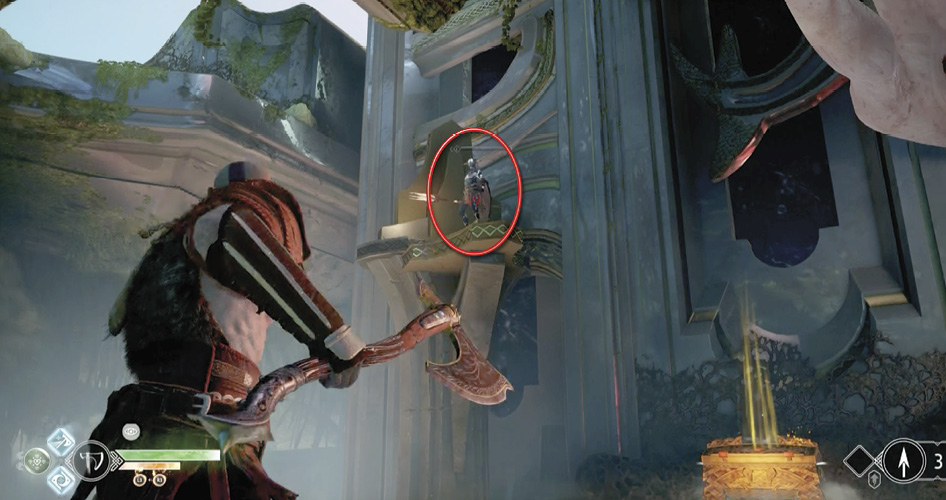
OBJECTIVE: Go Back Up to the Ringed Temple Bridge
Powering the main bridge also reactivates a pair of smaller light bridges. One leads from your platform to a dead end, but you’ll find a new type of Artifact from the “Spoils of War” set of Elven Artifacts.
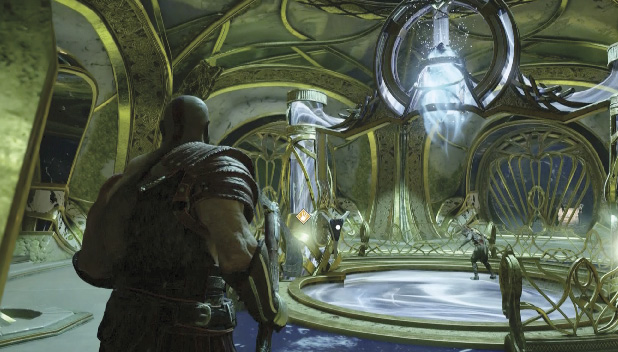
The other light bridge leads to an open door back on the trench side. Cross the bridge and enter another detention pod with an elevator shaft. Step onto the lift platform here (34), made of solid light like the bridges. Turn the switch to ride up the shaft to the temple dock platform (where you first arrived).If you walk over to the flag-marked boat dock, you now see a vertiginous drop-off into the open trench. Cross the main bridge to discover that the temple main gate (35) has no seam, nor any other apparent way to open it.
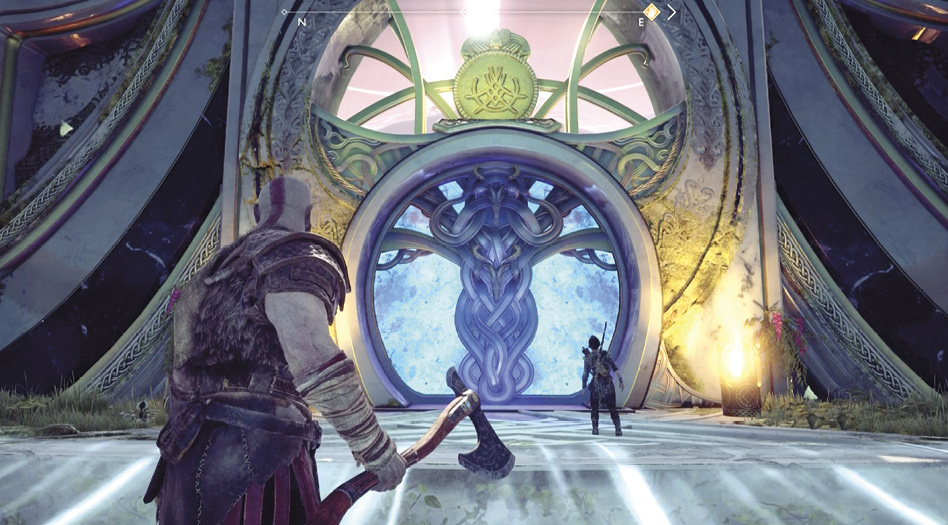
OBJECTIVE: Find Another Way Into the Temple
Unlock the Nornir Chest
Turn left and head downstairs. Note the two rune bells overlooking the walkway, a sure sign that a Nornir Chest must be nearby. Find the door (36) cracked open but covered by tendril growth. Toss Leviathan through the opening to sever the two tendril joints hanging inside and shrivel the growth. When the door opens, sure enough, you find a Nornir Chest inside.
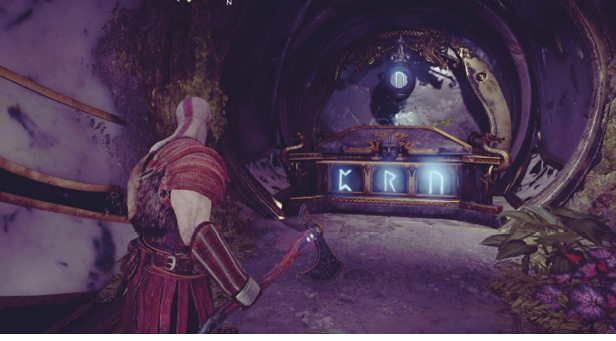
This is another timed test, where you must ring all three of the rune bells within approximately seven seconds to unseal the chest. Tip: Don’t start with the bell over the Nornir Chest; it relights almost immediately after being struck. Here’s the best order:
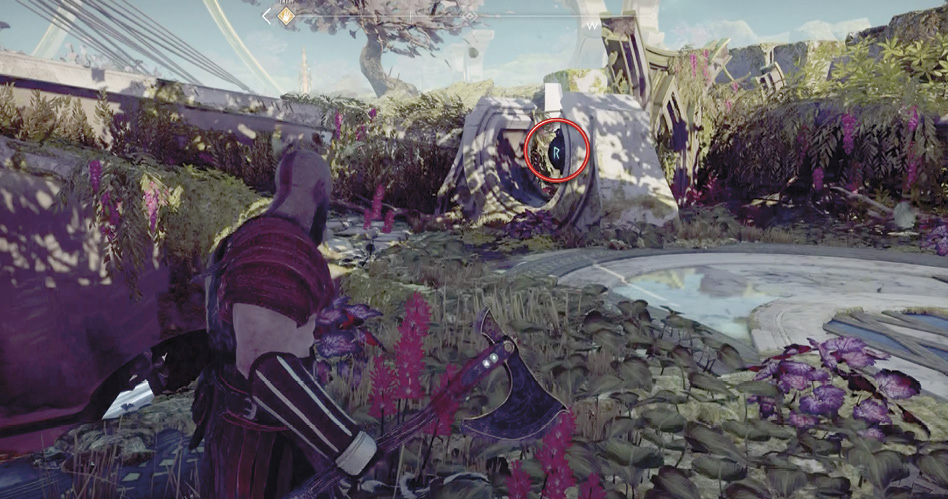
- Outside, stand in the spot shown in our shot, facing the lower rune bell. Hit that bell first.
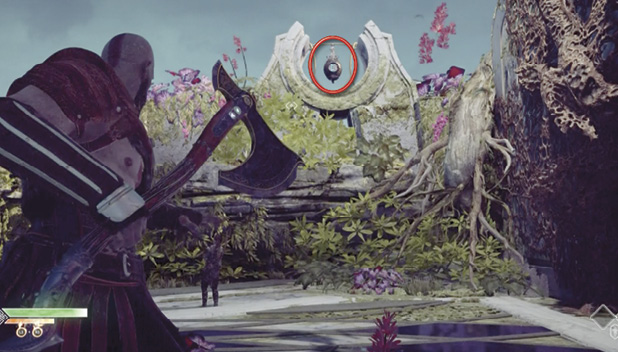
- Swivel rightward as you recall Leviathan, then throw directly at the next rune bell, which is hanging up high above the wall. The moment you throw, swivel rightward again and sprint, recalling Leviathan as you dash to the doorway looking down the corridor toward the Nornir Chest.
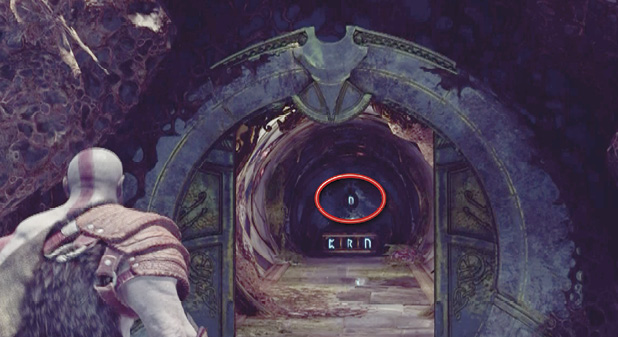
- Finally, target the rune bell hanging above the Nornir Chest. It’s a long throw, so aim slightly above it. If you nail this bell within seven seconds of hitting the first bell, the chest unseals. Open it to collect a Horn of Blood Mead. This should be your third one, thus raising your maximum Rage.
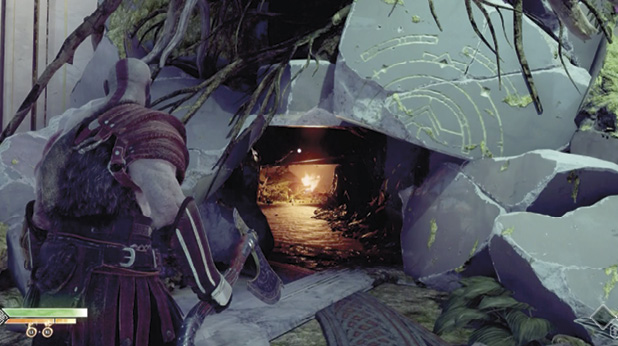
Find the Tunnel Entrance
Head down the stairs on the other side of the temple main gate to find Sindri at another one of his shop locations. Talk to him: he’s impressed that Kratos killed an Ancient. Spend some time upgrading your gear. Then examine the Jötnar Shrine to the right of the shop. Finally, duck into the low tunnel (37) just to the left of the shop.
Ringed Temple
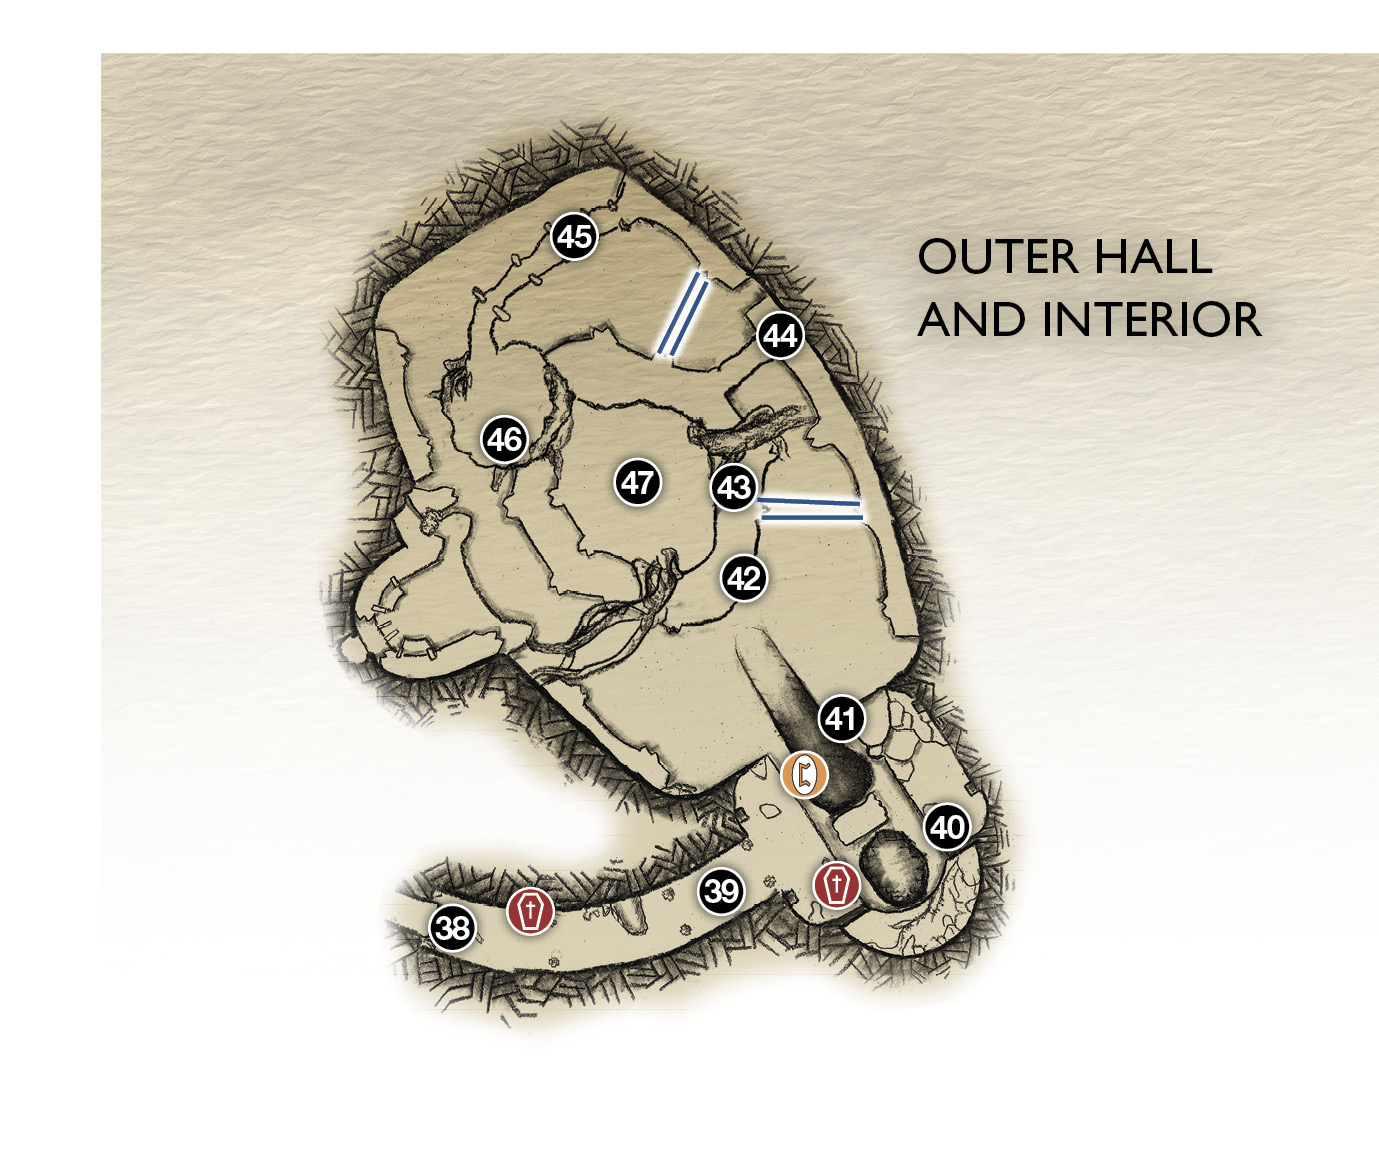
38. Arrive in Temple Entry Hall
39. Exploding nightmares!
40. Hit joints
41. traverse wall
42. climb onto walkway
43. Tentacle stalk
44. Walkway
45. Slime bridge to hive
46. Hive entrance
47. Light of Alfheim
 COFFIN
 Lore
Lore
Fight Down the Lower Hall
Follow the tunnel until you can jump down. The colorful Dark Elf leader makes another appearance, calling in more troops. Jump down another level to the ground floor (38) of a long hall with a tall, open atrium above. Here you encounter a new foe with glowing wings and runes emblazoned on his tunic and headwear: a Dark Elf Summoner. As you approach, he hovers in the air, spinning his staff…and then suddenly slams it straight down into the ground. This conjures two Dark Elf Soldiers, who drop in beside him!
By now you know how to fight the standard Dark Elf, but the Summoner can keep bringing more of them into the fight. Thus, your first objective is to keep constant pressure on the Summoner so he can’t summon, and terminate him first. Keep Atreus firing at him until the glowing foe is on the ground and shaken; then hit the Summoner with a heavy axe throw to freeze him. After the Summoner falls, quickly take out any remaining minions.
Once the hall is clear, note the nearby coffin wrapped in tentacles, then look up to see three pulsing tendril joints above, stretched across the hall. They’re all part of the same organism, so you can’t slash them individually. Move down the hall and turn around, getting all three joints lined up in your sight. Then slice them with one throw of Leviathan. The growth shrivels, freeing the coffin for you to loot.
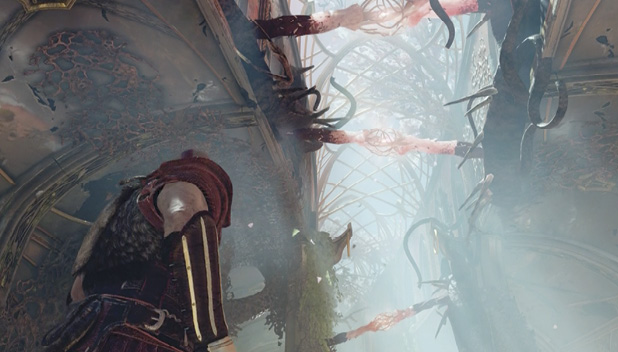
Find a Way to Climb to the Upper Level
Follow Atreus down the hall. A small pack of Exploding Nightmares hover ahead (39), but if you’ve upgraded the Talon Bow, Atreus can pop the critters mostly by himself. Two more Dark Elf Warriors charge in with their heavy lance attacks—take them out and keep moving down the hall past another Exploding Nightmare pack. At the hall’s end, you see a towering structure that appears to be encased in some kind of strange, sticky growth. You can see a rune message glowing in one of the structural rings on the tower.
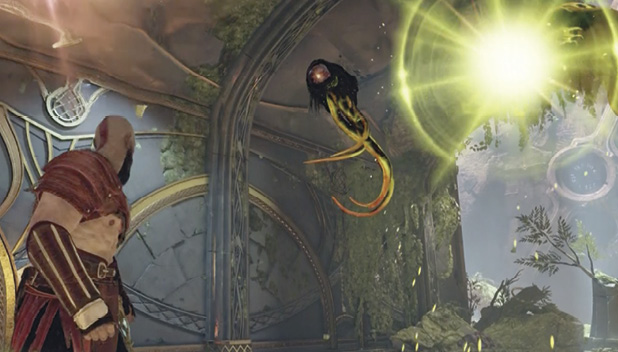
Explore the area below it to find a coffin wrapped in spiky tentacles. Jump across the gap where Atreus is standing, then leap a second gap and turn rightward to find the spot (40) where the tendril joints are lined up.
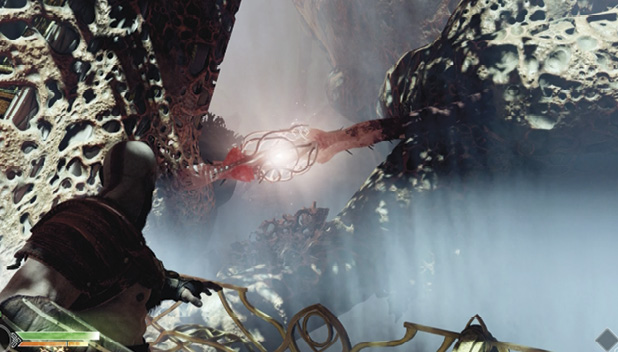
Toss Leviathan through them and return across the gaps to the now-untangled coffin. Open it, then hop back across the two gaps again and climb the marked wall on the left. Follow the path to the end and jump to grab the wall (41). Climb to the right, scrambling through the ring and across the wall face.
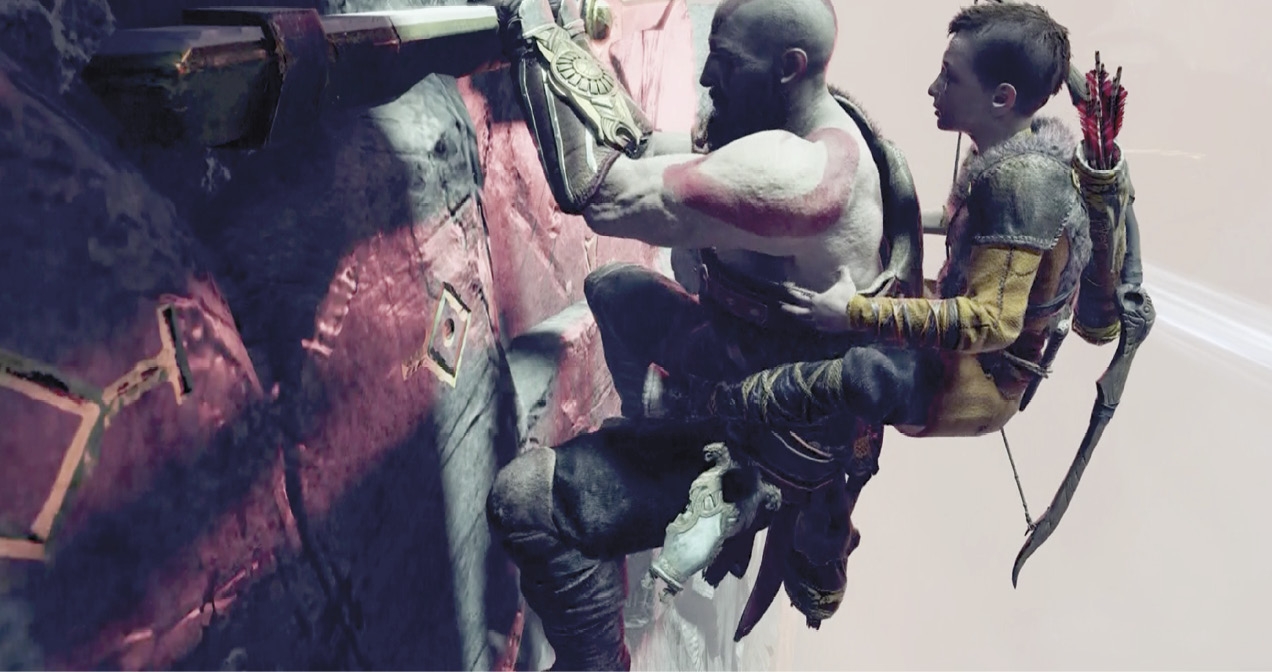
Follow the path to the end and jump to grab the wall. Climb to the right, scrambling through the ring and across the wall face. Atreus notes that the Dark Elves have covered the light with disgusting growth, dimming it considerably. Keep climbing rightward into the Ringed Temple interior until Kratos can jump across and climb up onto the Elf-infested platform (42).
OBJECTIVE: Find a Way Into the Hive
Fight through the mixed squad of Dark Elves—target the lone Summoner first to keep him from whipping up new troops, and then tangle with the Warriors, evading their blinding lance blasts. Once you clear the platform, slice through the glowing tendril bundle, then use Leviathan to freeze and shatter the stalk (43) as you did before to clear out the growth. This reactivates a nearby light bridge. Cross that bridge to the next platform (44).
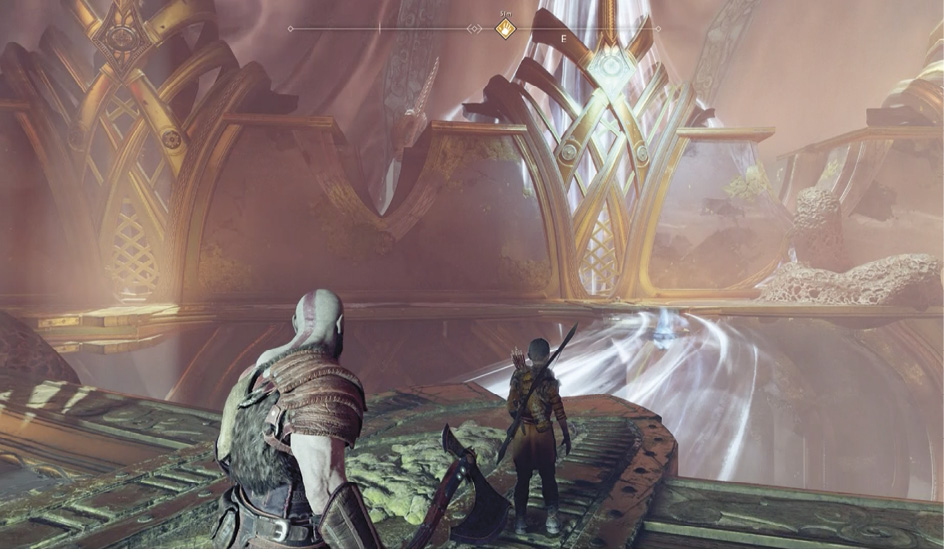
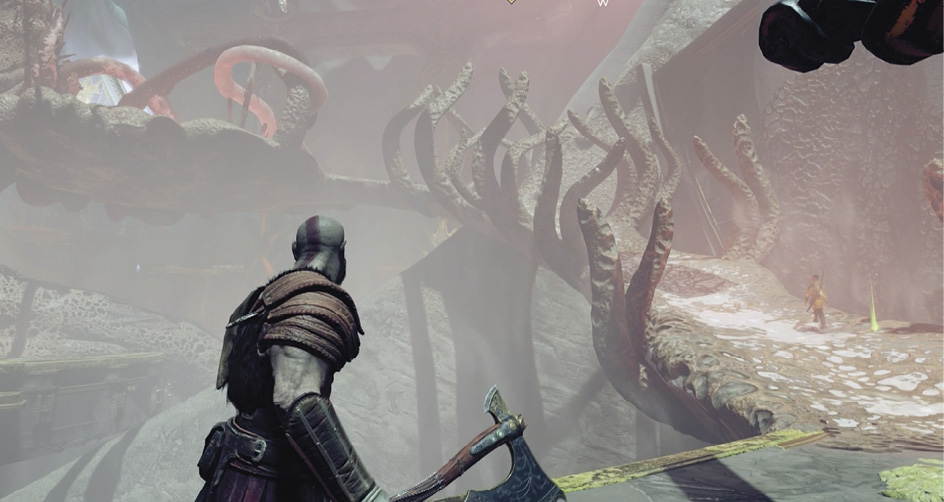
Work your way left along the walkways, past more Exploding Nightmares and Dark Elves (including another Summoner), to another tendril stalk to slice apart. This restores yet another light bridge that takes you to a slime-encrusted ramp (45) leading upward toward the hive. Climb it to a plateau (46) with multiple tendril joints and a tunnel entrance covered with tendrils.
OBJECTIVE: Find a Way Into the Hive
Cut Through Growth Blocking the Hive’s Entrance
Now you must figure out which tendril joints are parts of the same organisms so you can clear out the growth blocking the tunnel entrance and proceed into the hive.
- Head over to where Atreus stands looking at the blocked tunnel entrance, turn around, and line up the three rightmost tendril joints for an axe toss. This kills one tendril strand.
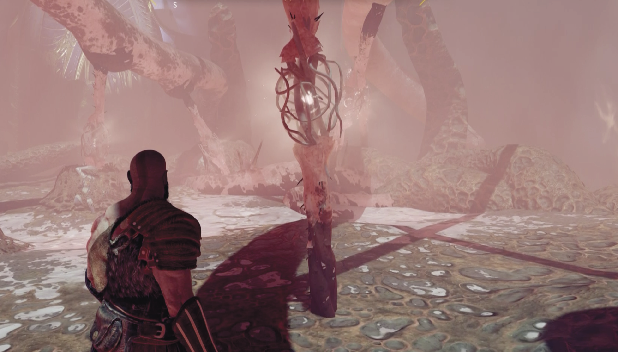
- After the first throw, walk directly forward toward the remaining joint on the right side (facing out from the blocked tunnel) and veer just to the right of the joint. Turn left and line it up with the two rightmost joints across the plateau, and slice all three with an axe toss.
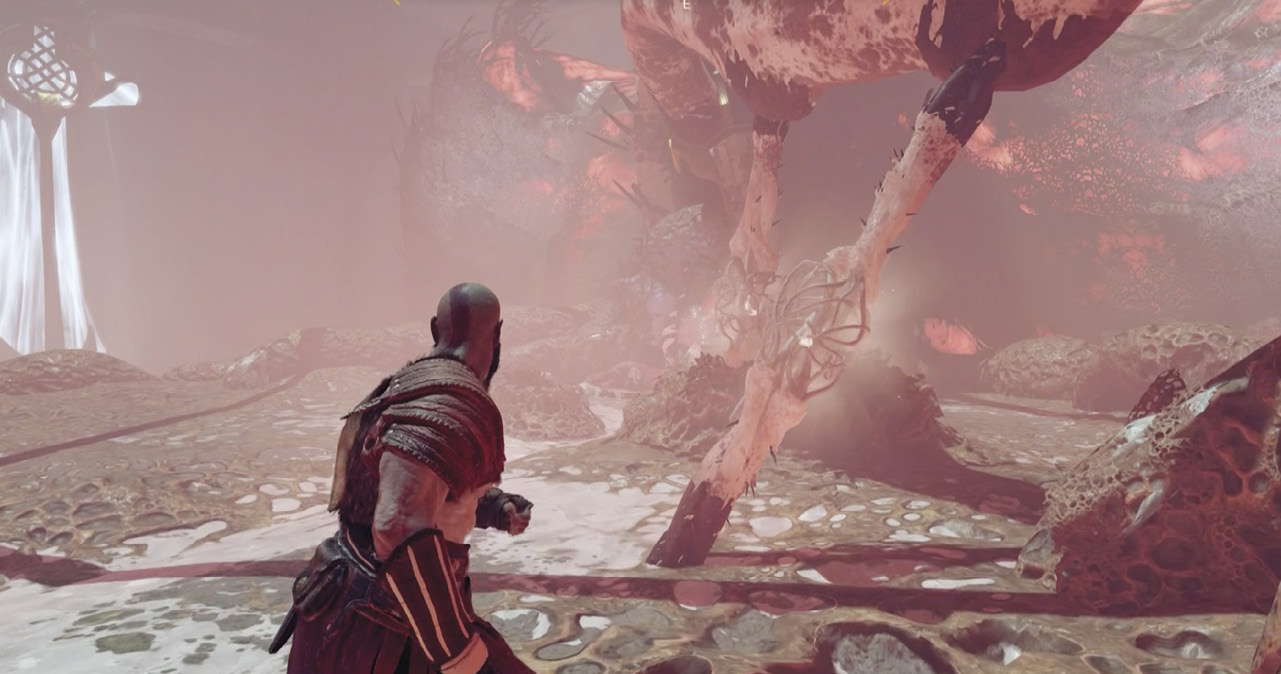
- From that position, walk across the plateau and around the rightmost joint ahead. Line up the last two remaining joints with the tendril glowing over the tunnel entrance. Throw the axe to kill the last strand and unblock the tunnel.
OBJECTIVE: Investigate the Hive
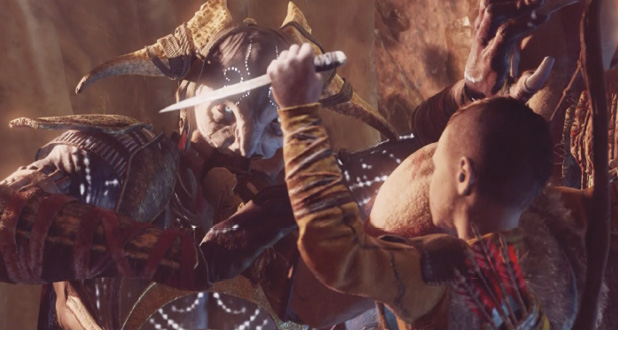
Enter the tunnel and follow it to the narrow section where Kratos and Atreus have to slide sideways to get through. Continue ahead to the wall and start climbing. Partway up, a Dark Elf bursts through the wall to attack. Father and son team up to fend him off. Afterward, climb up to the next level.
Follow the next tunnel to the low section where you must crouch to get through, then fight off another attacker. Kratos slams him through the wall, which crumbles, and father and son slide down a slimy slope to a ledge overlooking the light! Here they also survey the creepy hive interior, which is crawling with Dark Elves.
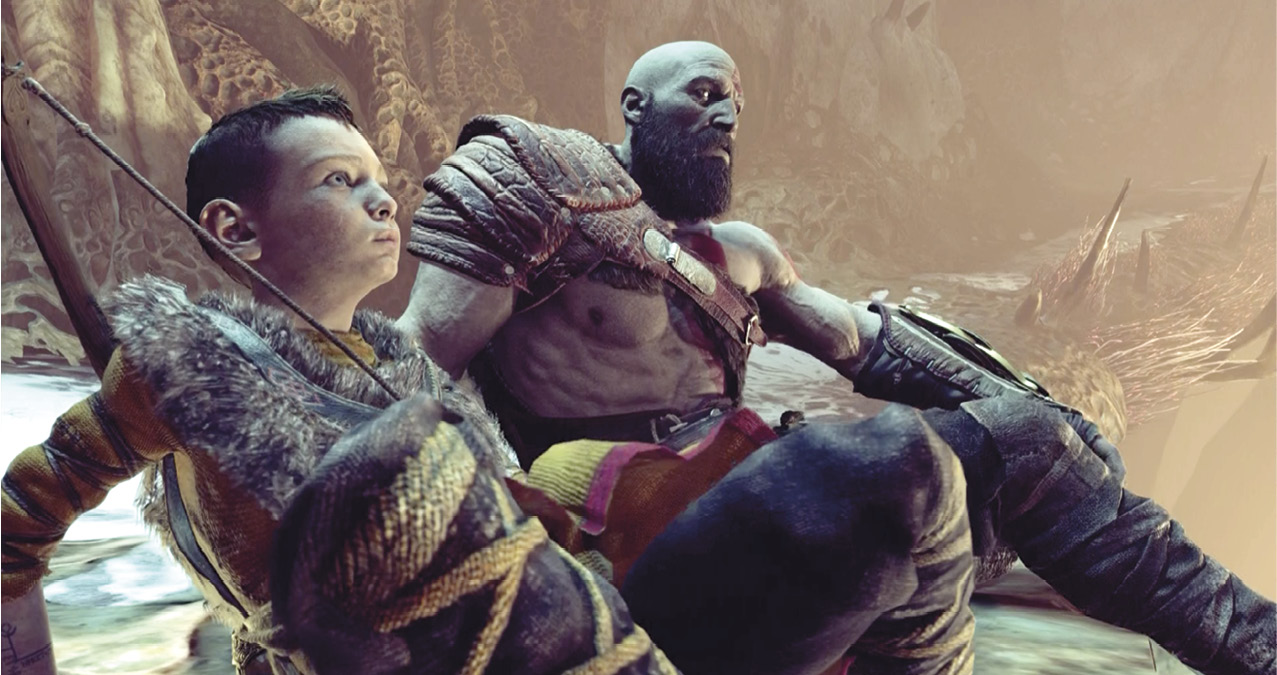
OBJECTIVE: Destroy the Hive and Claim the Light
Proceed up the path to the tendril stalk and slice/freeze it as you did the ones before, tapping Circle rapidly to shatter it. This causes a large section of the hive to crumble and collapse. It also brings a swarm of Elves flying up to meet you.
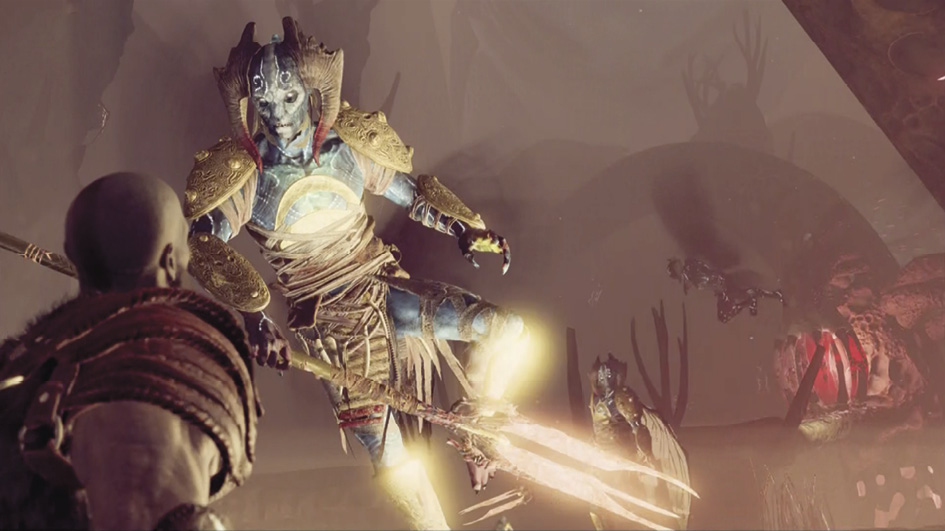
Start hacking your way through the onrushing foes, pushing forward up the path as you fight. Important: Keep Atreus firing his bow as you proceed. His active support can make this frenetic slog up the hive much easier. A burst of Spartan Rage would serve you well here too, if you have it available.
Slash through wave after wave of Elves until you hear Atreus call, “That’s the last one! Hurry!” Slice through another tendril stalk to trigger a long cut scene: a large hive section crashes past the light platform, where Kratos and Atreus eventually land.
Breaking up the hive intensifies the Light of Alfheim beam, which in turn lights up and activates other sections of the Ringed Temple all around. Atreus hears “singing” in the light as well. Kratos spots an exit door over on the far platform. Then he hands Leviathan to his son.
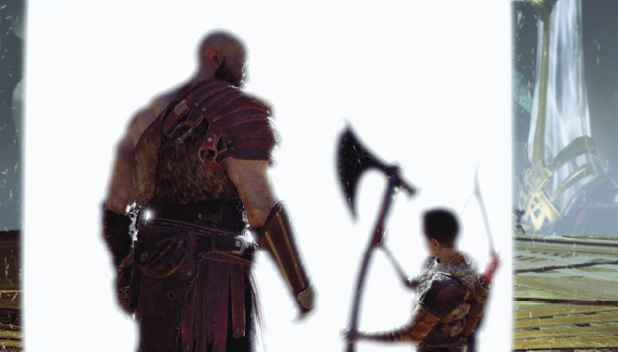
Enter and Follow the Light
When control returns, repeatedly tap Circle as indicated on-screen to move Kratos into the light. He starts by inserting the Bifröst’s, but gets pulled into the intense beam.
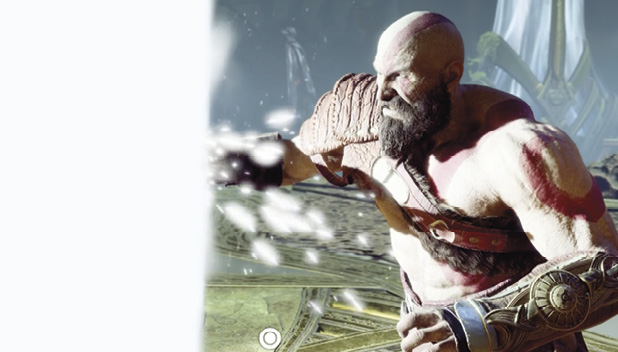
Kratos ends up in a murky otherworld. The sack of Faye’s ashes floats away and starts glowing. Follow that glow across the landscape, listening to the echo of Atreus’ voice. The light leads to the front door of Kratos’ house. Open the door to view a series of other visions: the deck of a boat, the shore of the Lake of Nine.
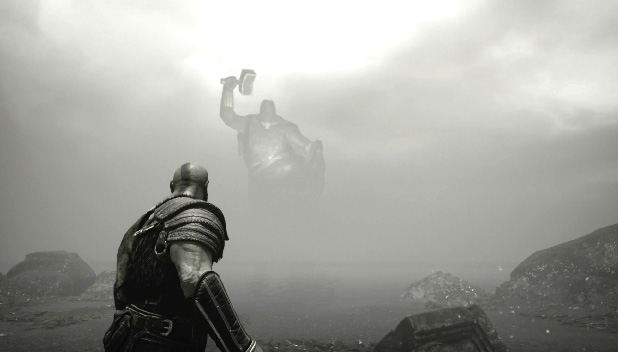
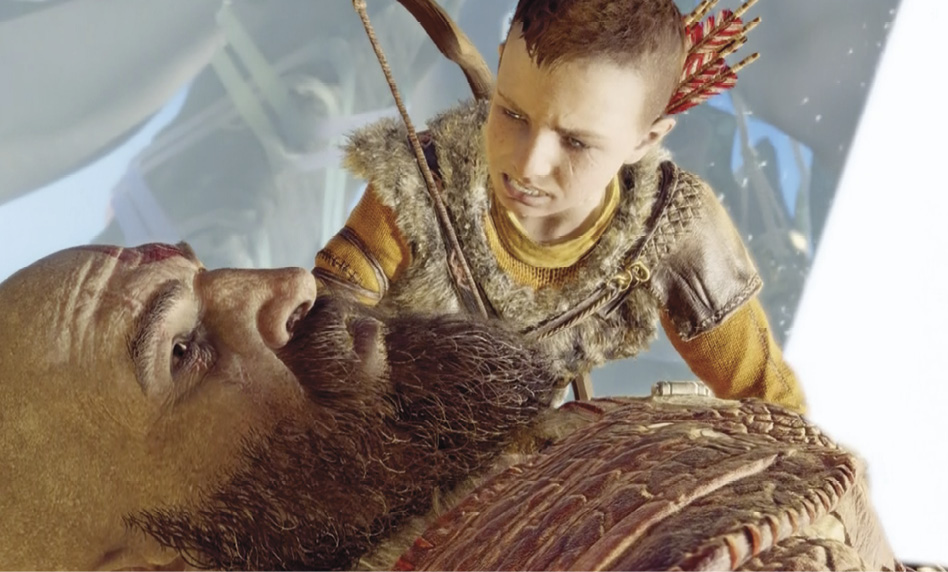
Turn around and enter the cave behind you, following it to the marked wall. Climb the wall to wind up, oddly enough, inside the house where Atreus grieves. Open the glowing front door and cross the suspension bridge that appears next. This triggers another scene: Kratos is reunited with Atreus back on the Light of Alfheim platform—a platform now strewn with Elven corpses!
Ringed Temple
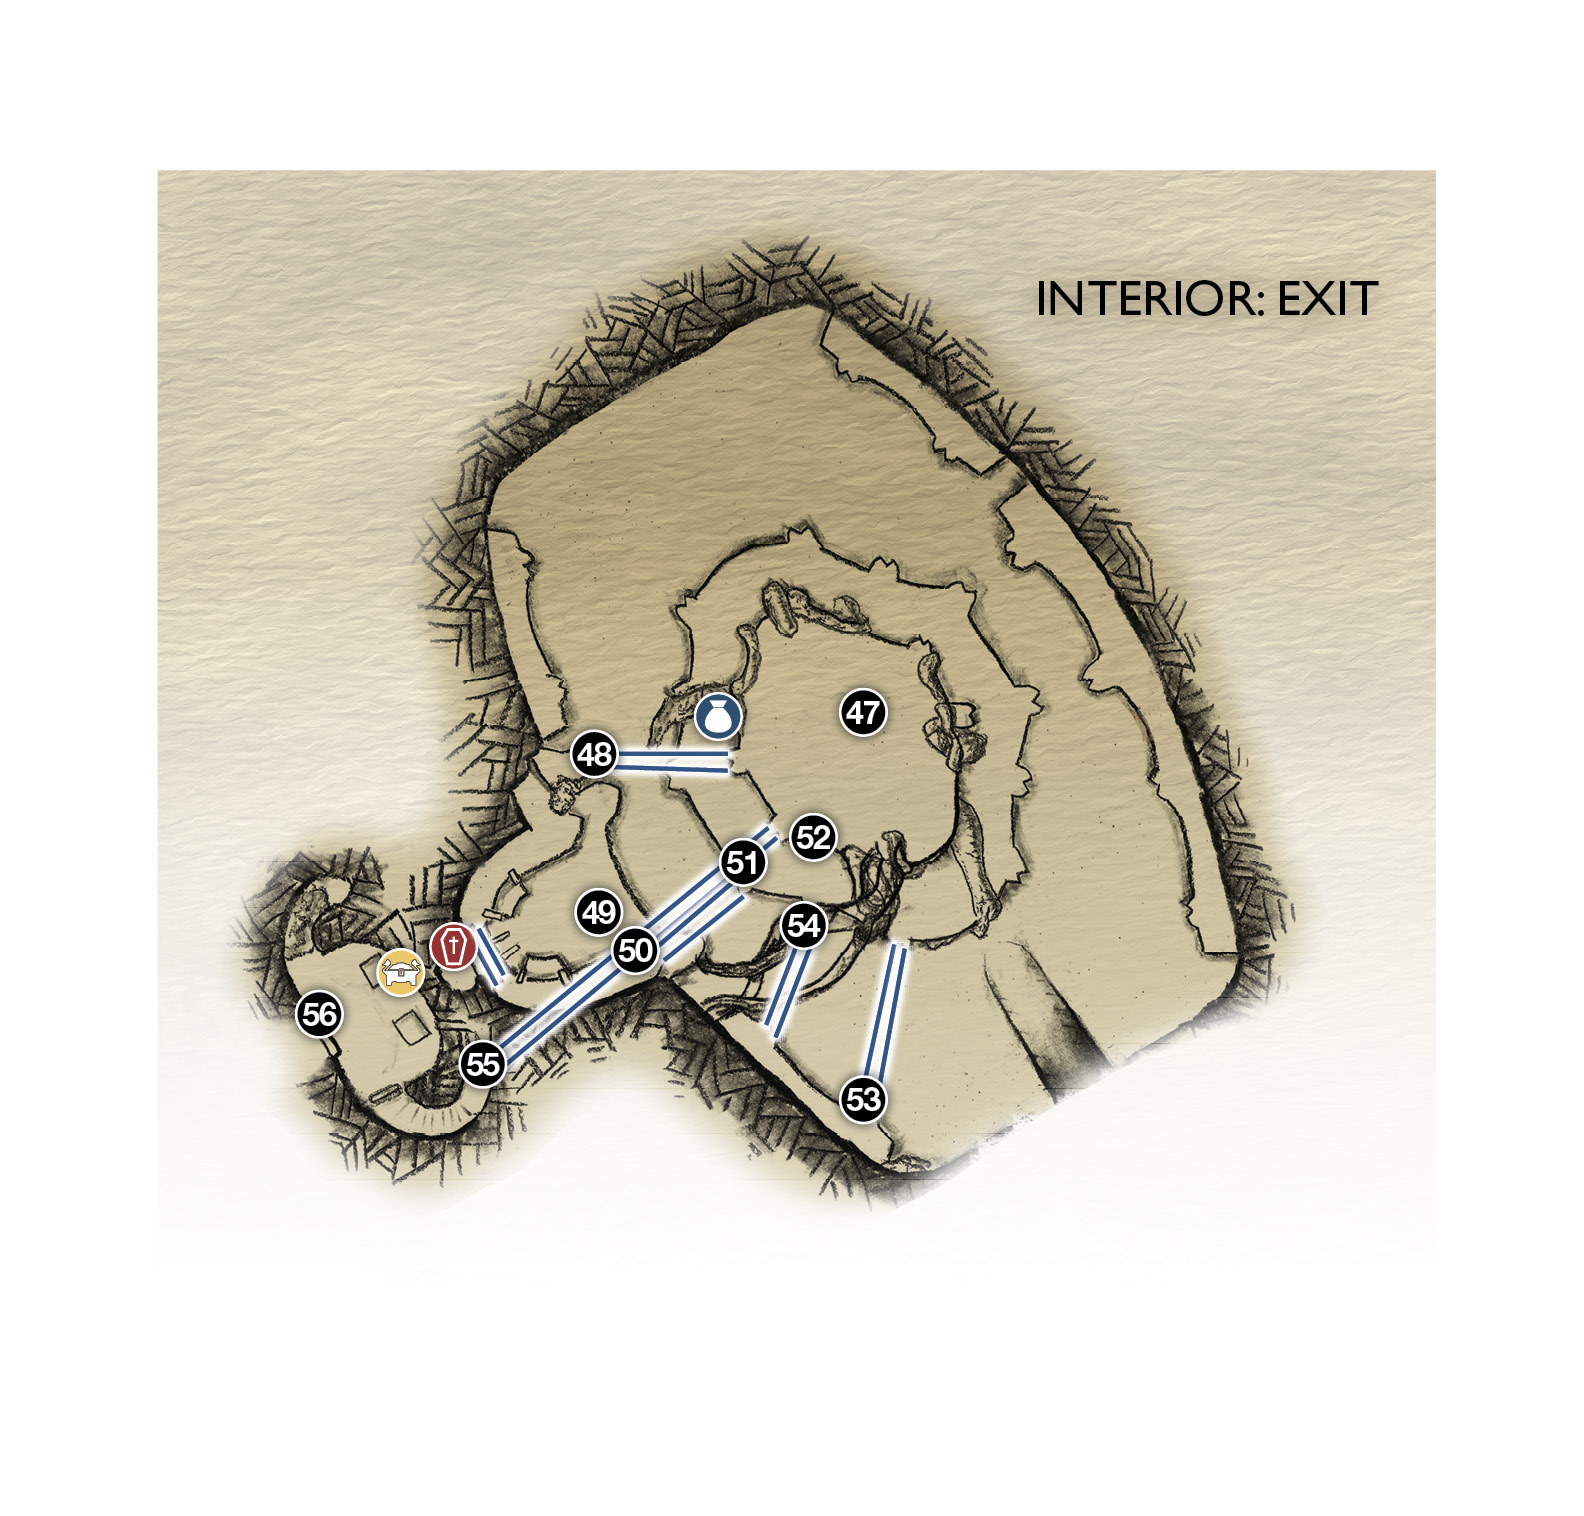
47. Light of Alfheim
48. Hit crystal for bridge
49. Loose crystal
50-51. Light bridge
52. Clear tentacles for wall climb
53. Hit crystal for bridge
54. Toss axe through joints
55. Hit crystal for bridge
56. Light gate
 Coffin
 Chest
Chest
 Legendary Chest
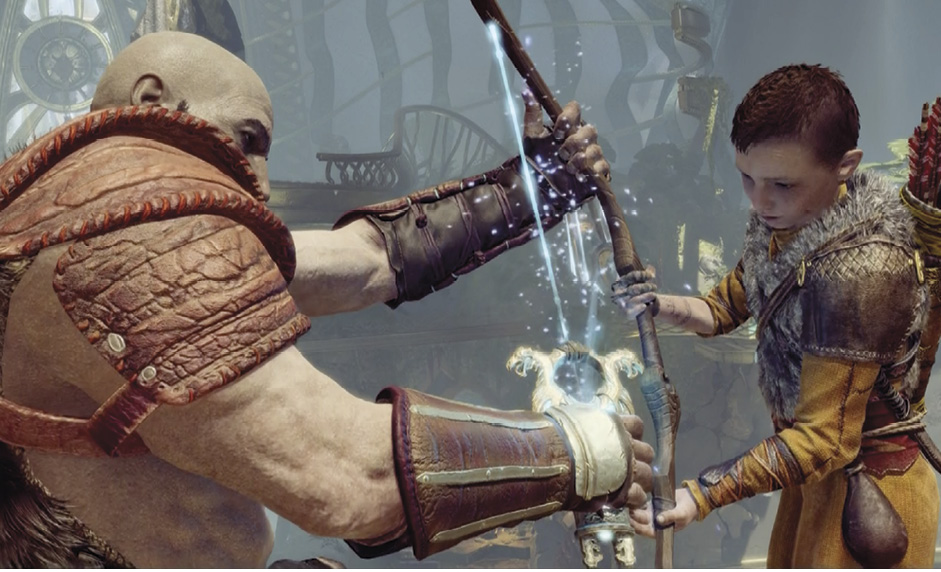
Follow Atreus from the Light (47) to the edge of the platform to trigger one more scene: as the Witch advised, Kratos uses the Bifröst on the bowstring of the Talon Bow. Now Atreus can fire Light Arrows infused with the Light of Alfheim. Hold in L2 to bring up your targeting reticle on-screen, and move it onto the crystal on the far platform (48). Then press Square to have Atreus shoot a Light Arrow. The crystal activates and generates a light bridge!
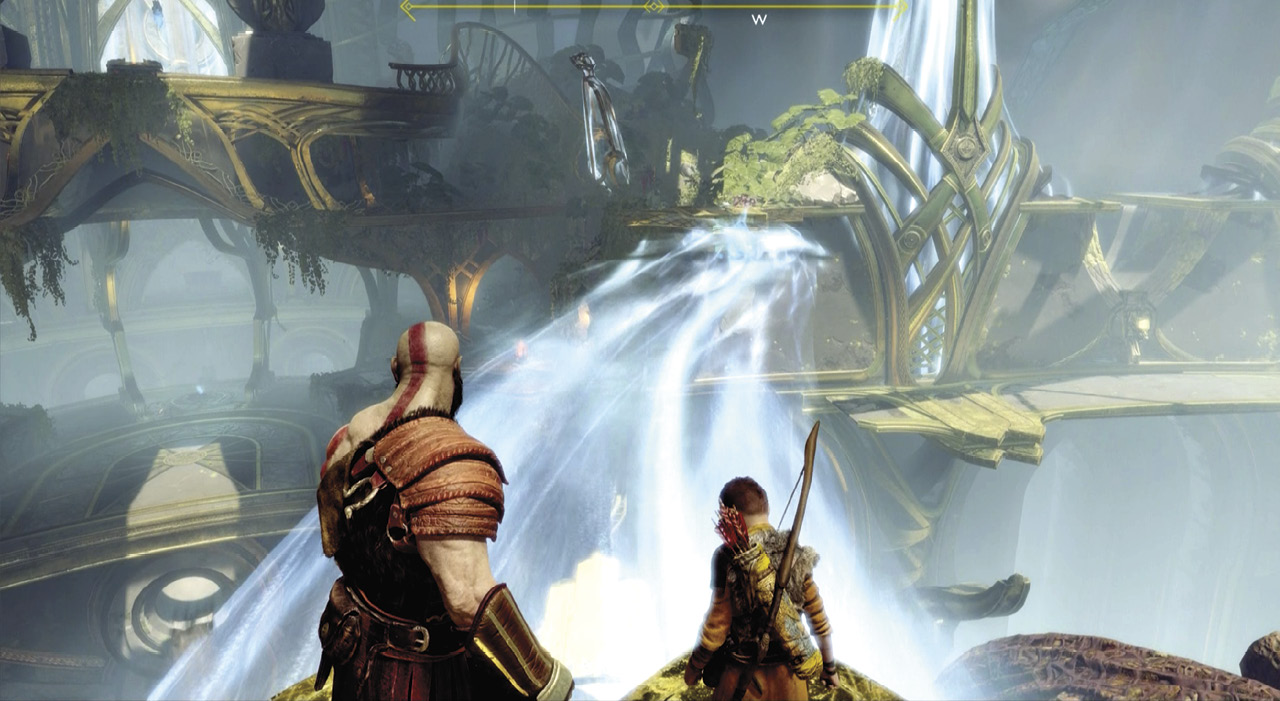
OBJECTIVE: Find a Way Out of the Temple
Cross the new light bridge and hop down the series of terraces to a courtyard. Pick up the loose crystal (49) on the floor and carry it to the empty crystal stand near the back of the area. Press Circle to install it.
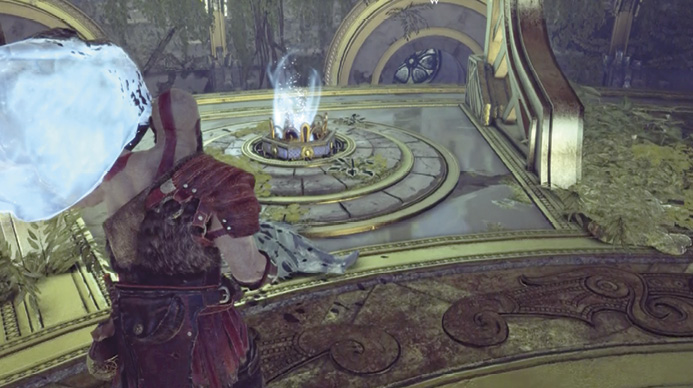
Press L2 and aim at the installed crystal, then tap Square to fire Atreus’ Light Arrow. This powers the crystal and activates a solid light walkway that curves around the upper terrace of the courtyard. Climb the yellow-marked wall and walk along the new light terrace to find a coffin in a back room.
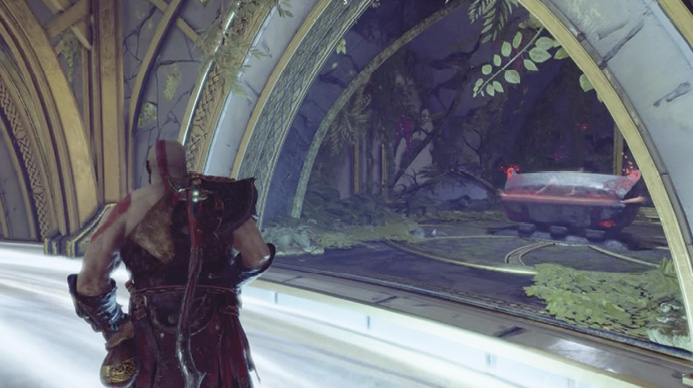
Hop back down to the floor and remove the crystal from the stand. Carry it over to the other empty crystal stand (overlooking the atrium), install it, then power it with a Light Arrow. This activates another light bridge that stretches from the courtyard’s upper terrace (50) across the atrium to the opposite side of the temple (51).
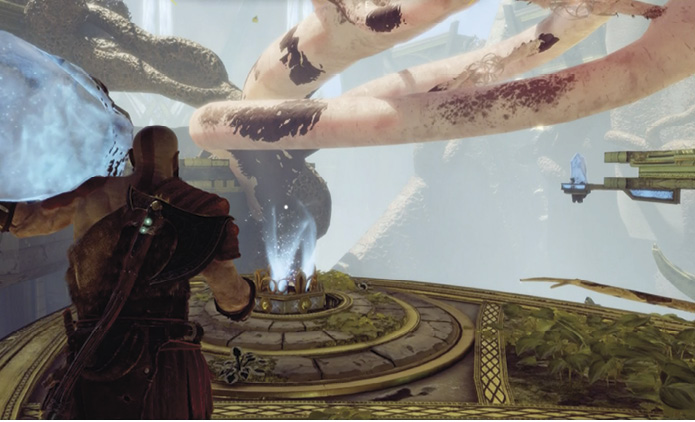
Clear Out the Tendril Growth
Climb back up to that upper terrace (50) and cross the new bridge. Turn left on the other side (51), but watch out for another Exploding Nightmare pack. After you have Atreus pop them all, continue left to find a chest wrapped in tentacles. Line up the two tendril joints as shown in our shot, and toss Leviathan to slice them and free the chest for looting.
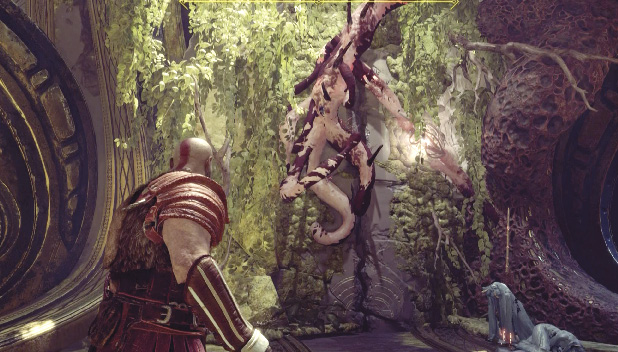
Move along the wall to find another small tentacle cluster on it with a single tendril joint (circled). Toss Leviathan to slice the joint and reveal a cracked climbing wall (52) that leads back up to the Light of Alfheim platform.
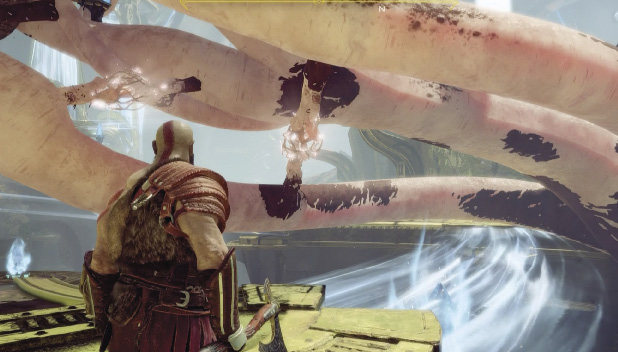
Don’t climb it yet—first, head to the other side of the platform and target the two crystals on the far platform with Atreus’ Light Arrows to activate bridges across the gap. Cross the leftmost bridge (the rightmost bridge is blocked by huge tentacles) (53) and take out the Dark Elf Soldiers that drop in to harass you. Then walk out onto the blocked light bridge (54) and turn back to line up the two tendril joints. Toss Leviathan to sever them, and watch the huge tentacles shrivel. This frees up a light crystal (circled) on the upper level (55).
Open the exit gate from the Temple Interior
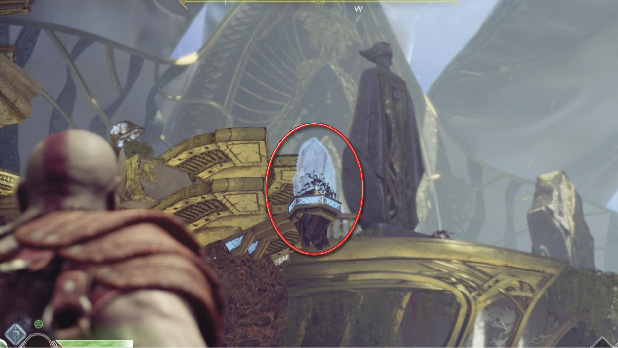
Shoot it with Atreus’ Light Arrows to extend a light bridge across to the Light of Alfheim platform. Now you can return to the cracked wall (52) and climb up to the light platform, where a Dark Elf Summoner and other Dark Elves wait for you with hostile intent. Wipe them out, taking the Summoner first if you can, and then follow Atreus across the new light bridge you just activated. Climb the staircase on the other side (55).
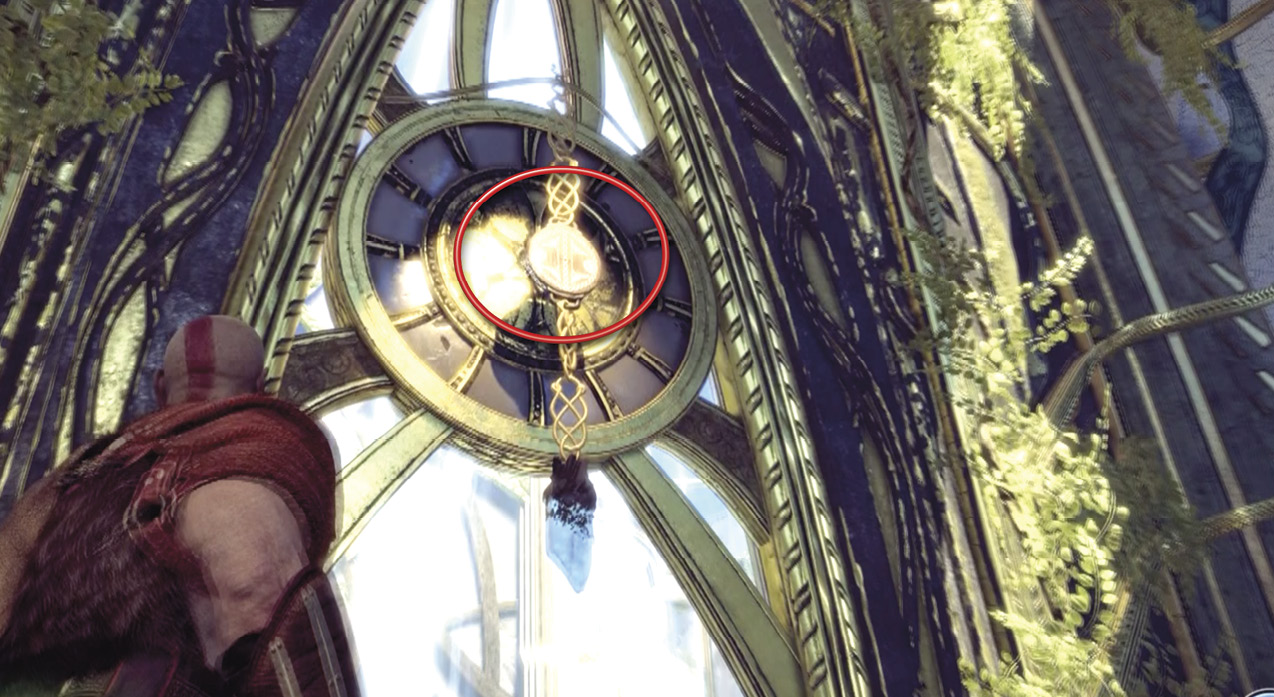
At the top of the stairs, you find an impenetrable light gate (56) guarded by a pair of Dark Elf Soldiers. Take out the Elves, open the nearby Legendary Chest for valuable loot, and look above the light gate to see a crystal hanging on a chain. Toss Leviathan at the disc (circled) above the crystal to sever the chain and drop the crystal to the ground. This also dissipates the light gate.
Ringed Temple
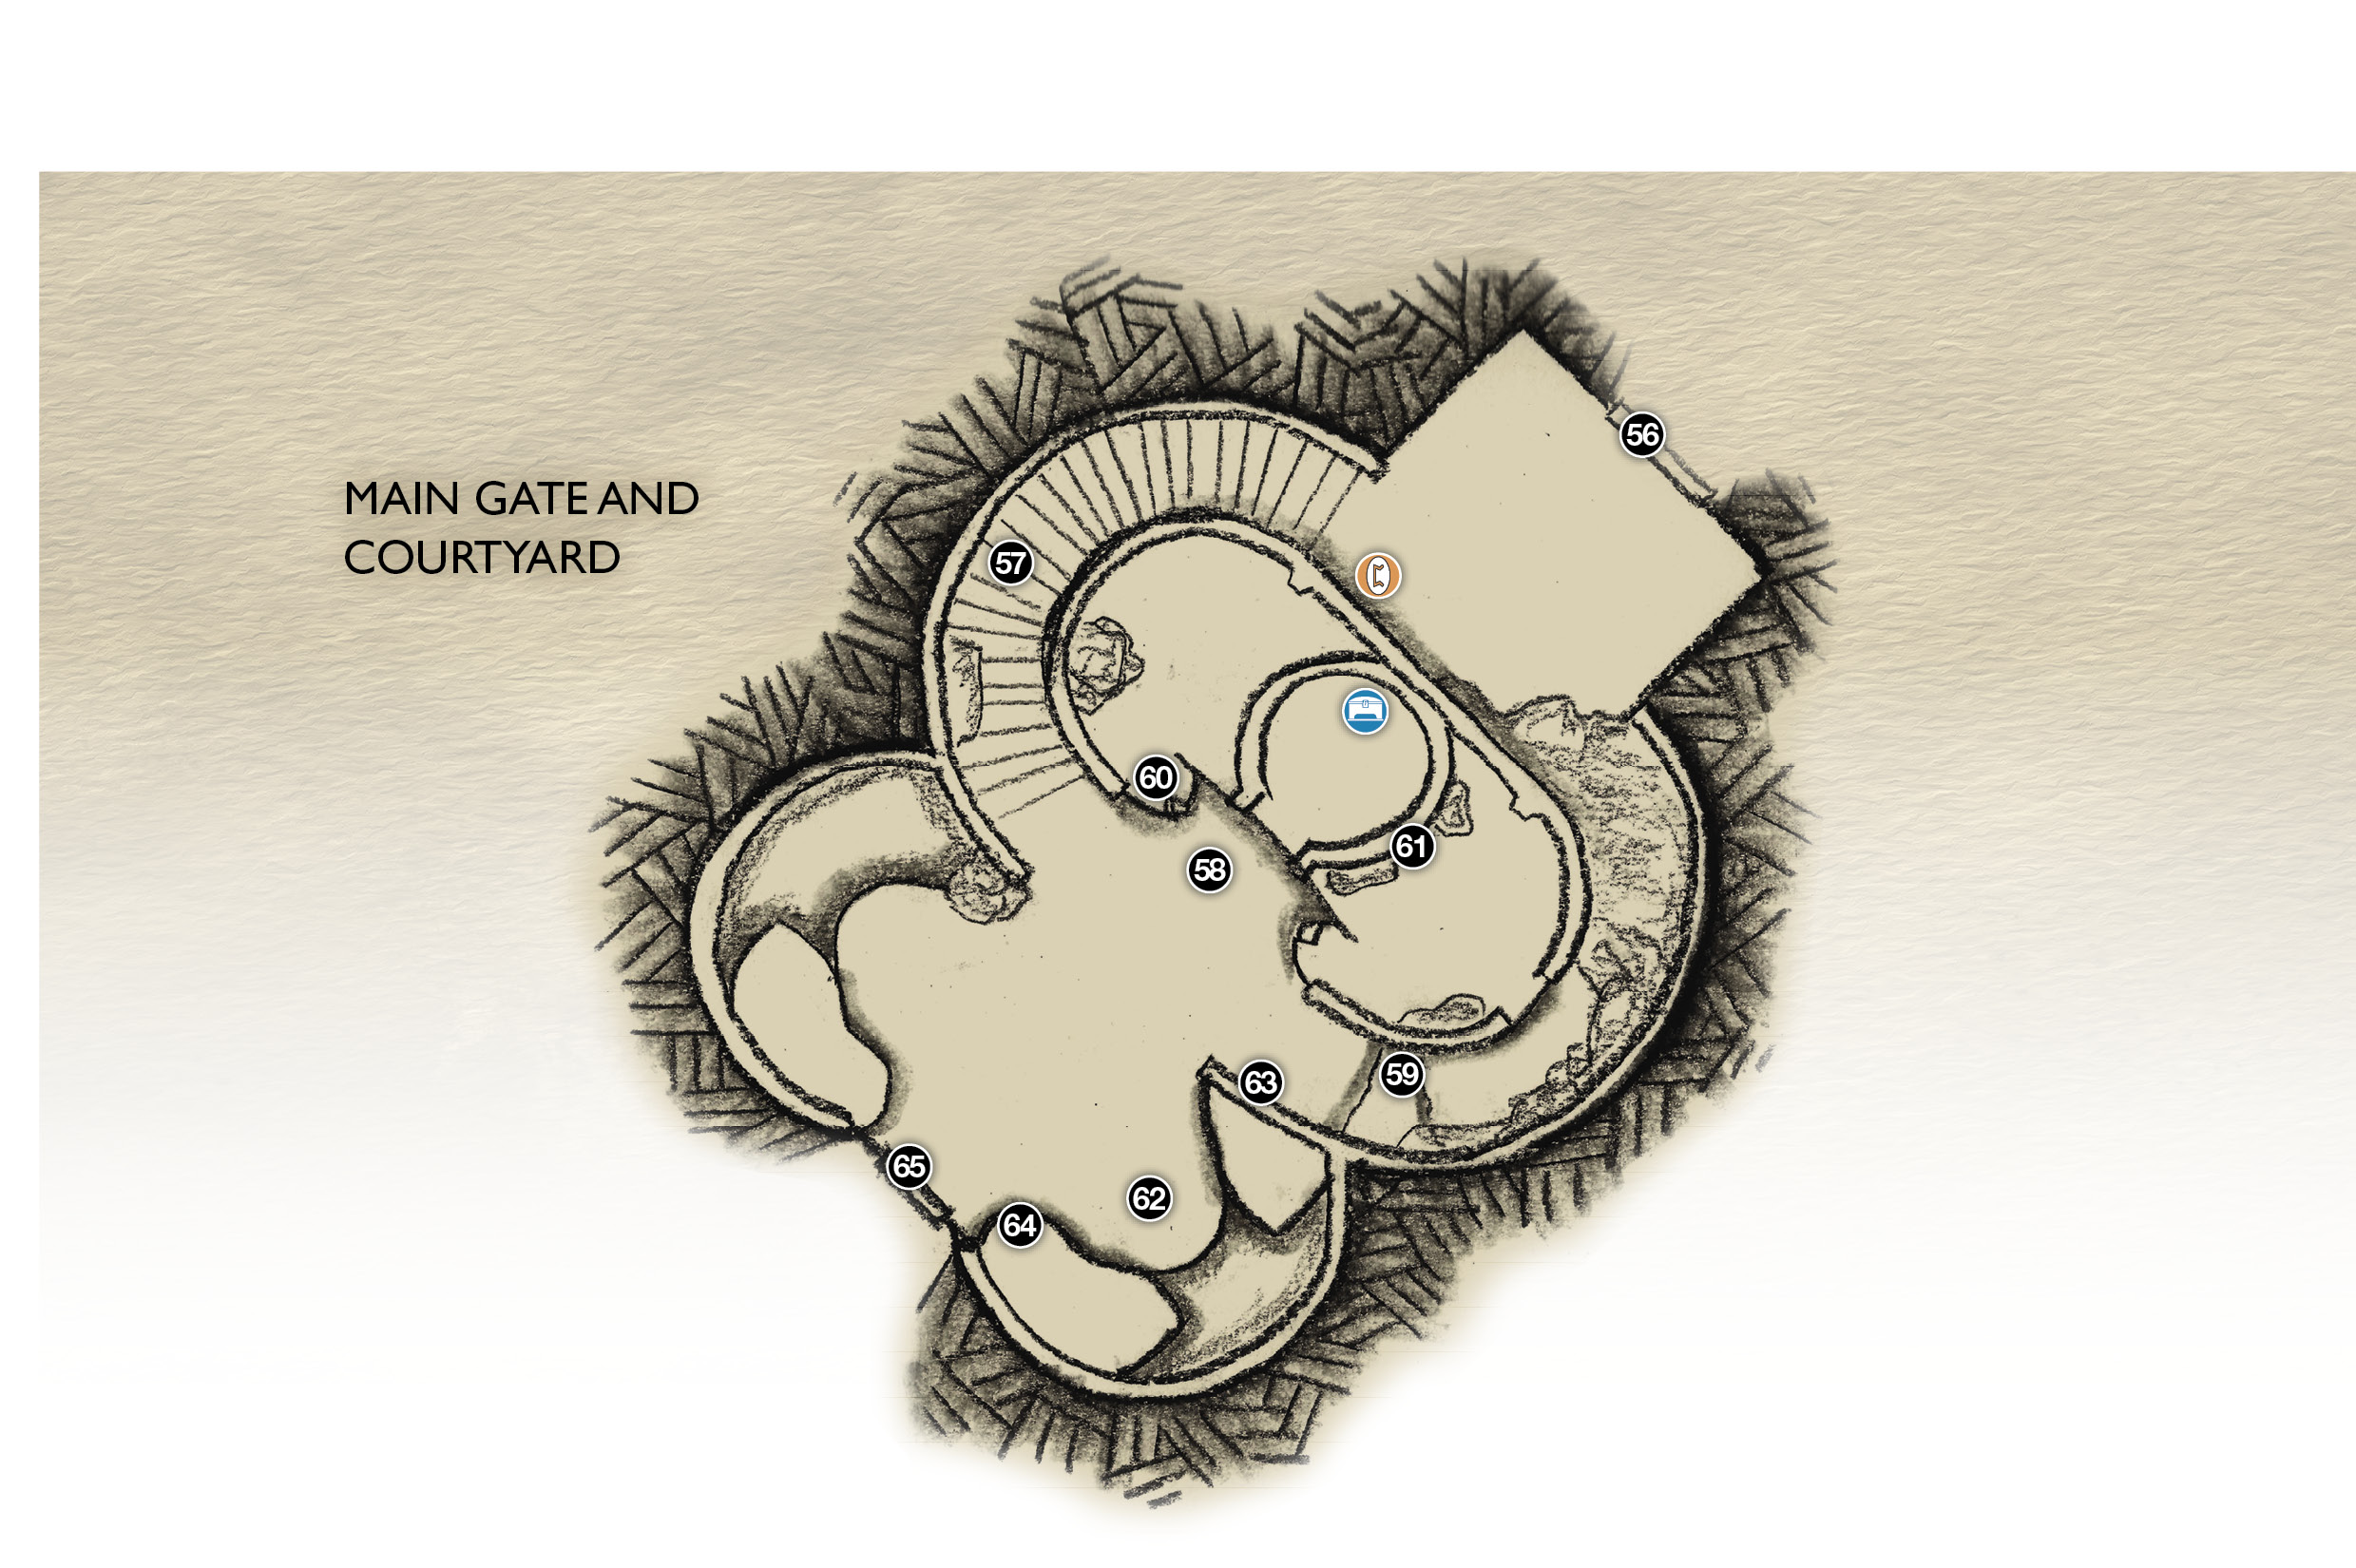
56. Light door (crystal above)
57. Stairs to upper courtyard
58. Crystal stand
59. Climb ledges to balcony
60. Throw axe at joints
61. Hit all rune-bells from here
62. Crystal stand
63. Boost Atreus
64. Sand-bowl
65. Temple main gatE
Lore
 Nornir Chest
Clear a Route to the Sand Bowl
Pick up the fallen crystal, walk through the now-open light gate (56), and install it in the empty crystal stand. Fire a Light Arrow at the crystal to power it up. This activates the nearby Lore Marker; approach it and direct Atreus to read the rune message on it.
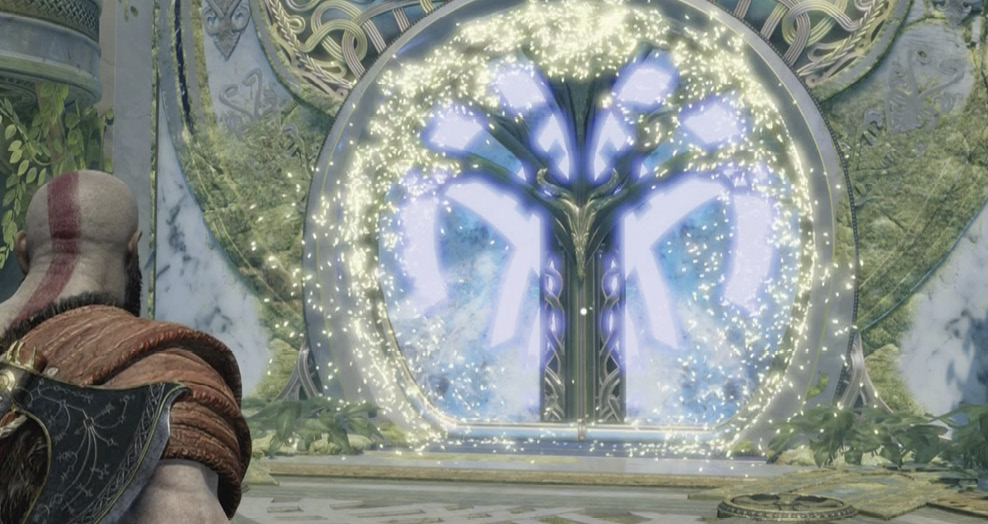
Remove the crystal from the stand and carry it up the next flight of stairs (57) to another courtyard, just inside the temple’s main gate (65) (Atreus calls it “the blue door that’s not a door”). Kratos spots another sand bowl (64) up on a high balcony (circled).
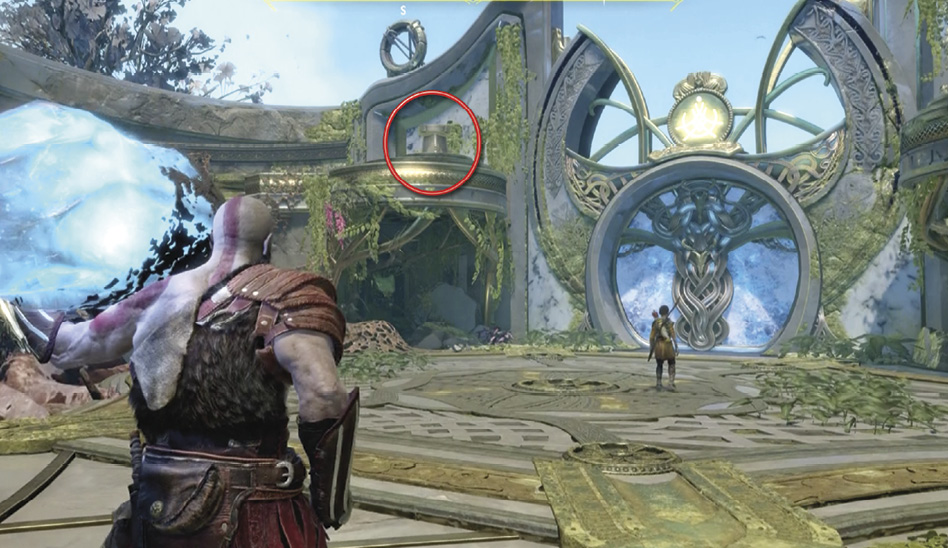
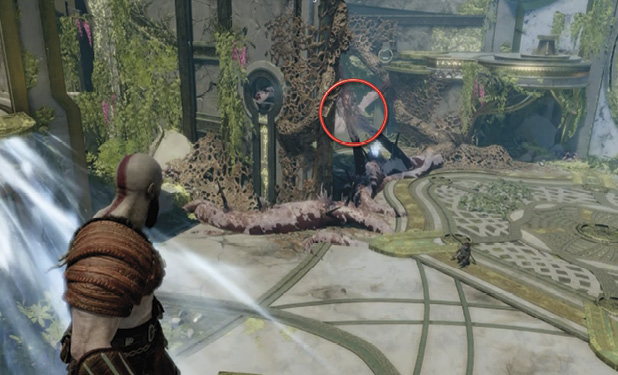
Install the crystal in the empty stand (58) and fire a Light Arrow to power it. This activates a short light bridge on the balcony directly above it. Turn right and climb up the marked ledges (59) (circled in our shot) to that balcony.
Walk across the light bridge, stopping slightly past its far end (60), and turn to look down at the pulsing tendril joints (circled) in the tendril growth blocking access to another empty crystal stand (62) below. Toss Leviathan through the joints (as indicated by the arrow on our map) to shrivel the organism.
Unlock the Nornir Chest
Before you head back down to the courtyard, note the Nornir Chest in the enclosure on the balcony. This is another timed test—you must strike three nearby rune bells within about seven seconds in order to unlock the chest. Here’s the best way:
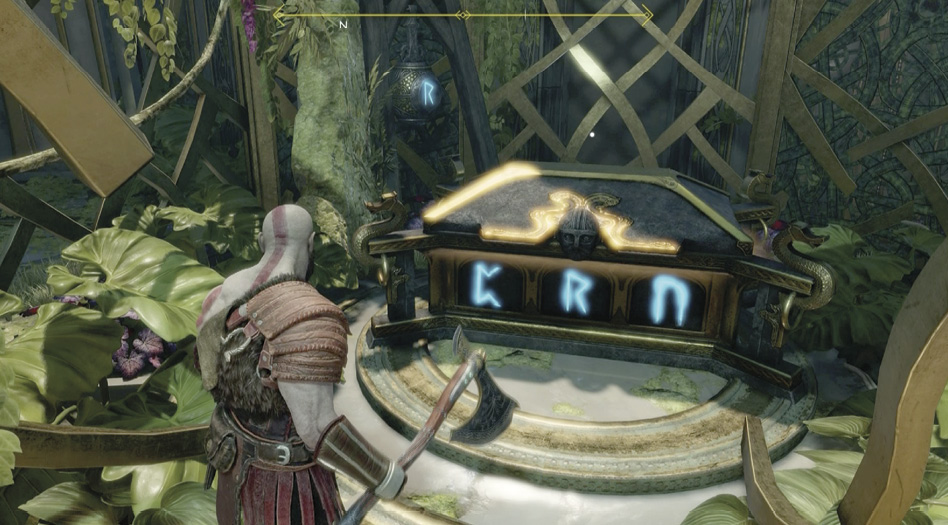
- Facing the Nornir Chest, move around the outside of the enclosure to the right. Stand in the spot (61) as shown in our shot, where you have a view of two rune bells through a diamond-shaped opening: one far across the balcony, the other just above the Nornir Chest inside the enclosure. Line up your axe throw to hit the far rune first, and then make the easier toss at the closer rune second. Do it fast! Remember, you have only seven seconds.
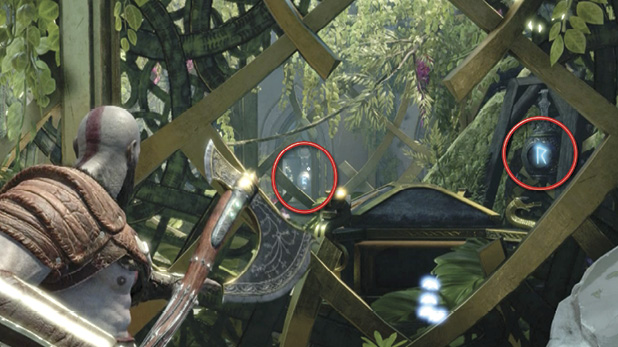
- The moment you throw Leviathan at the second rune bell, swivel around 180 degrees, recalling Leviathan as you turn. Then throw at the third rune bell through the far window. If you hit that rune in time, you can approach the now-unsealed Nornir Chest and open it to acquire another Horn of Blood Mead.
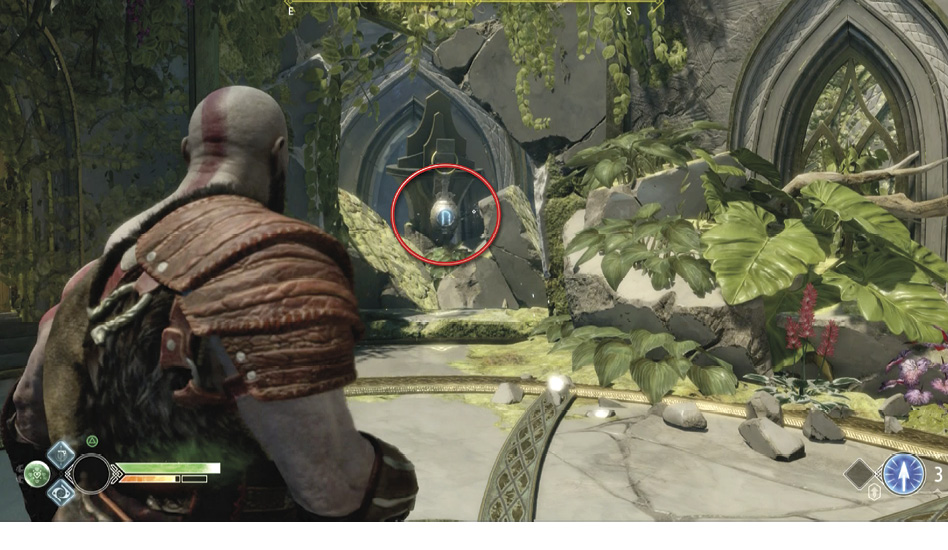
Open the Temple’s Main Gate
Hop off the balcony down to the courtyard, pull the crystal off the stand (58), and go install it in the newly accessible stand (62) across the yard. Target the crystal with a Light Arrow to activate a light bridge that connects to the sand-bowl balcony.
Turn left and walk around the corner of the wall to find a marked section of wall (63) leading up to a circular opening. Boost Atreus up to that opening.
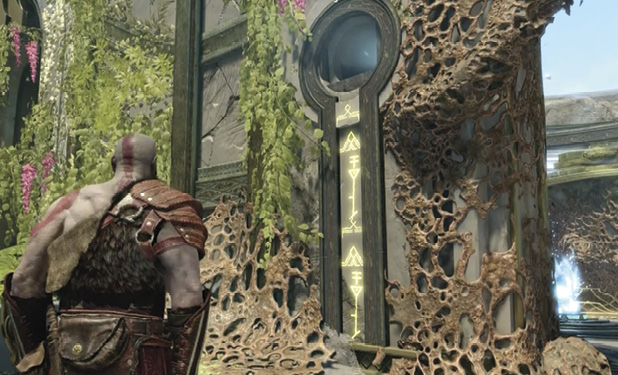
After he crawls through, Atreus walks across the newly activated light bridge to the sand bowl (64). Approach the main gate and press Square to have Atreus note the rune etched above the gate. The boy draws the rune in the sand bowl, and the main gate unseals. Approach the gate (65) and open it to trigger a scene: Light Elves float back into their temple as Kratos and Atreus exit.
Ringed Temple
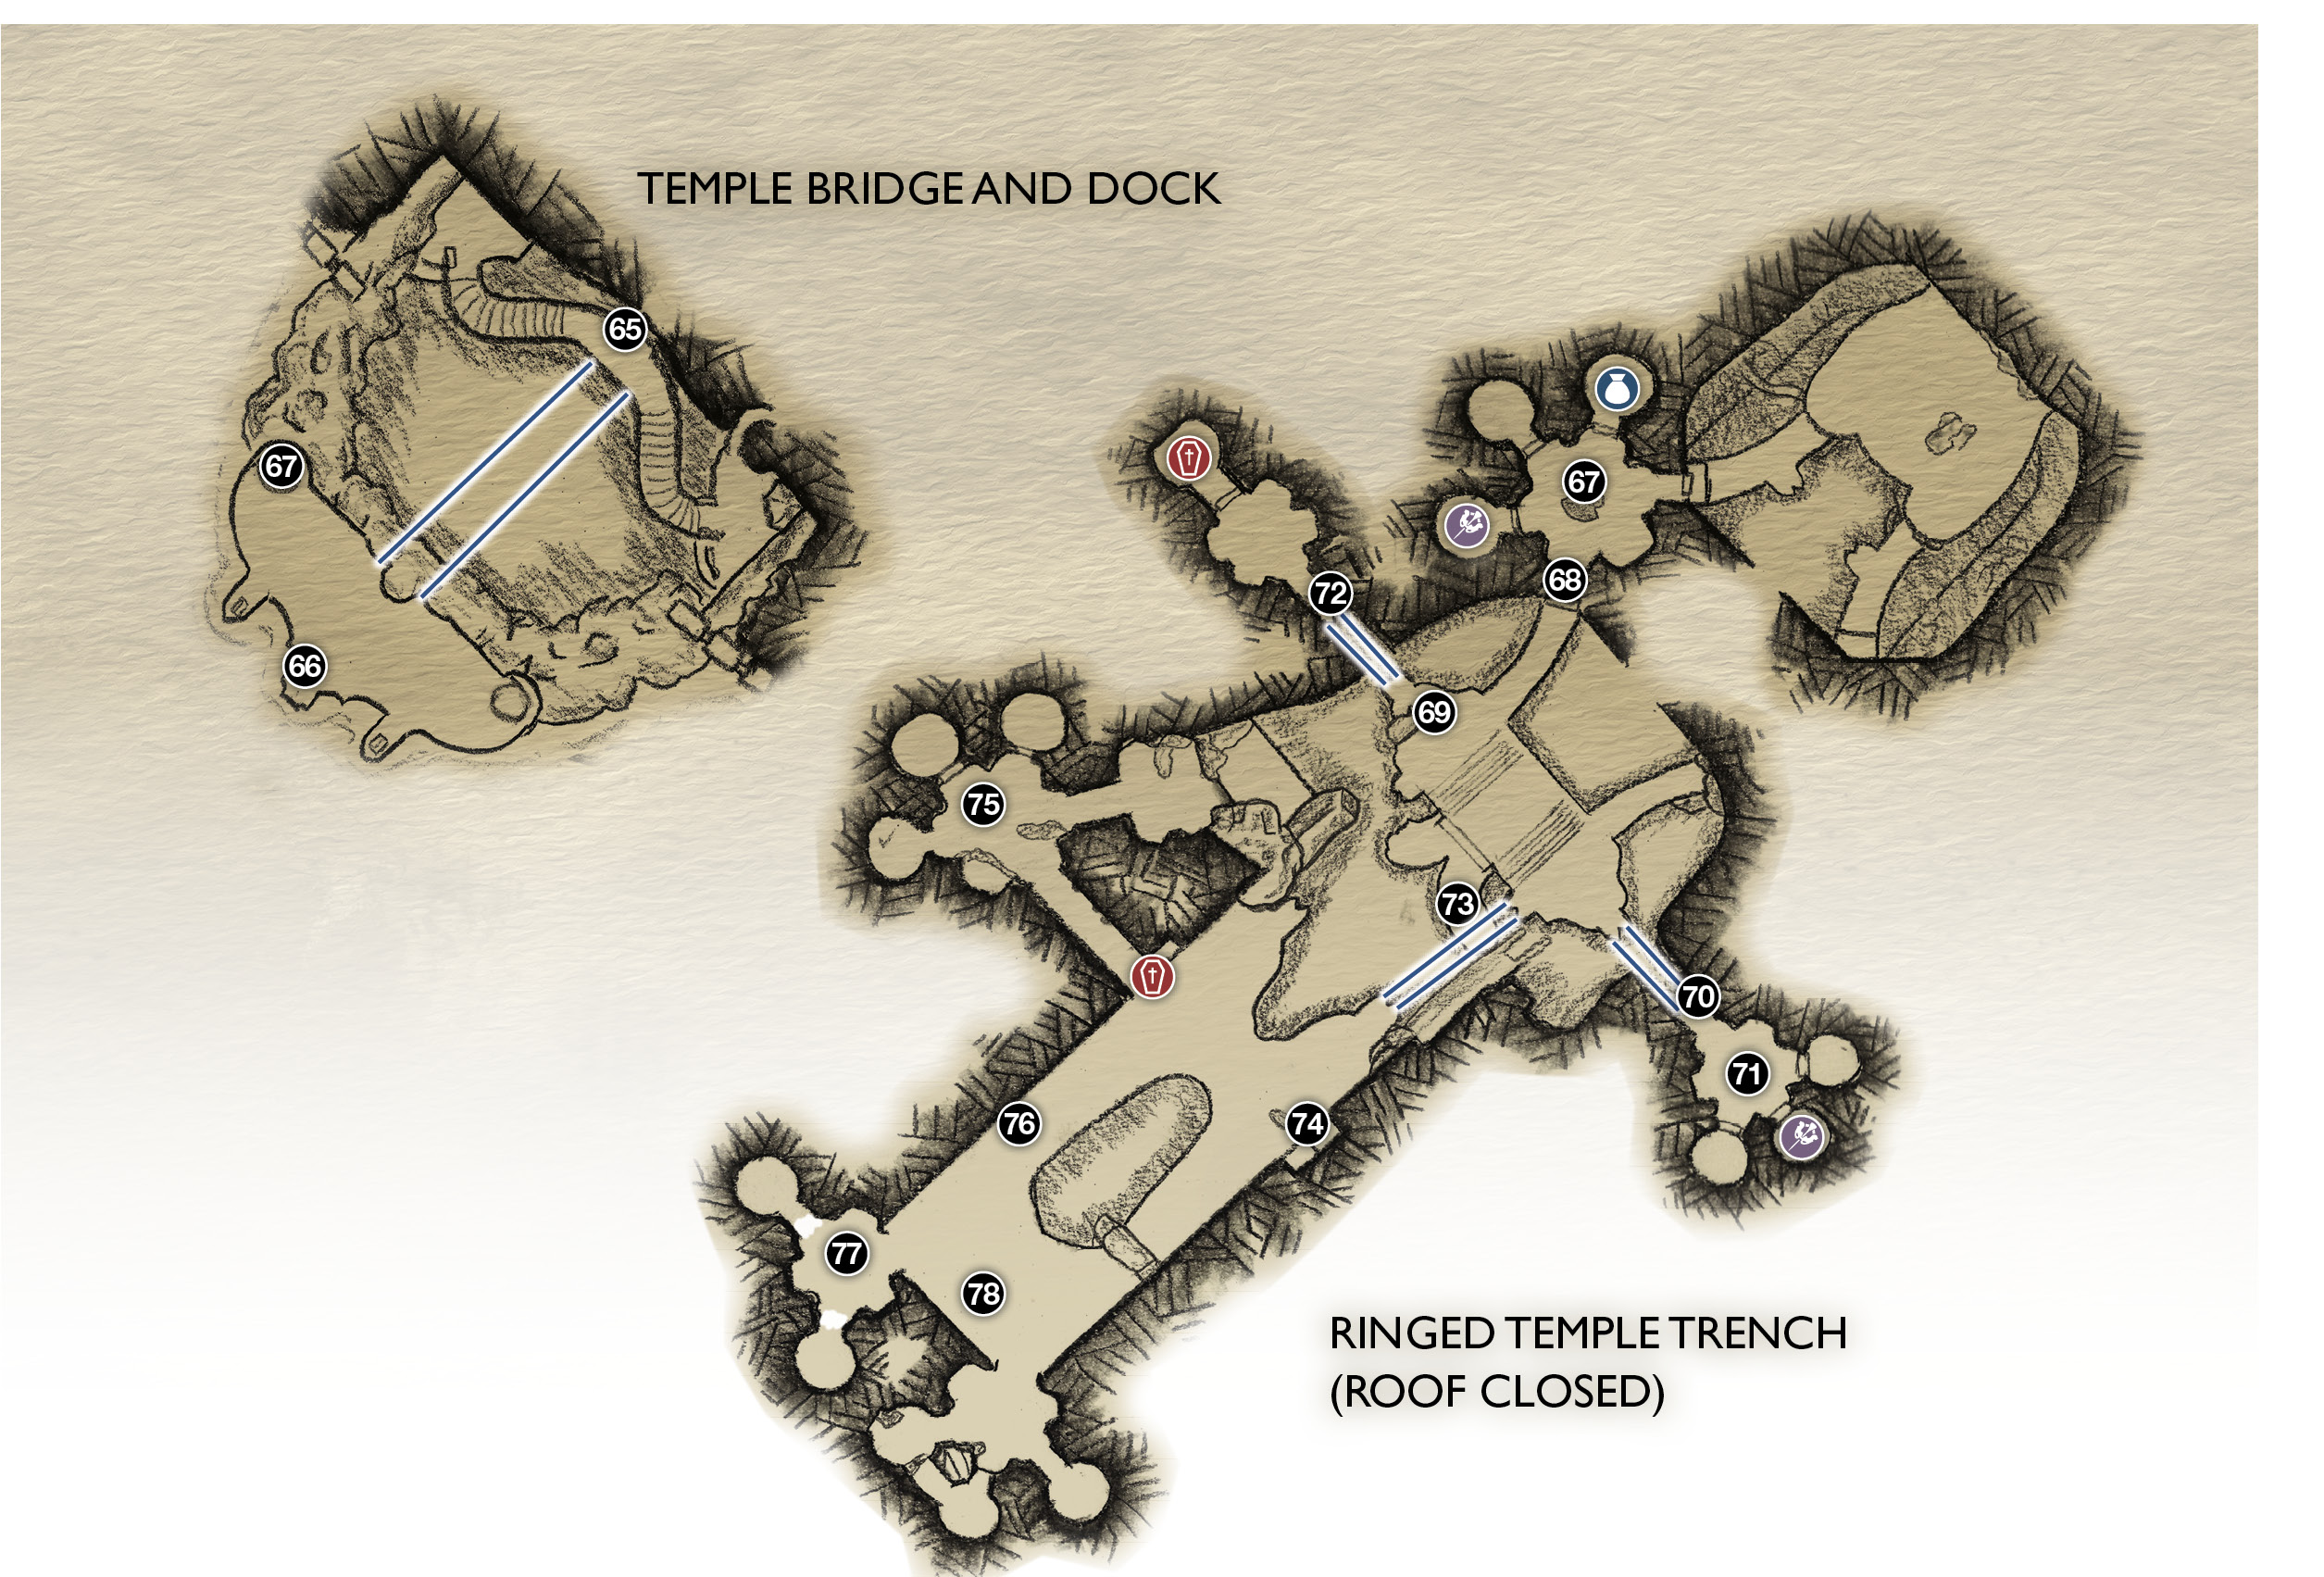
65. Temple Main Gate
66. Boat dock
67. Light lift
68. Detention pod exit
69. Revenant fight!
70. Light crystal (shoot for bridge)
71. Loose crystal
72. Light crystal (shoot for bridge)
73. Crystal stand
74. Wheel-crank (lowers floor)
75. Wheel-crank (lowers floor)
76. Cross trench
77. Detention pod
78. Sand bowl / Svartáljǫfurr
 ARTIFACT
CHEST
COFFIN
OBJECTIVE: Return to the Boat
This objective is a quick one. From the gate (65), simply cross the main bridge and approach the flag-marked dock (66) on the other side. Atreus points out that the boat is still on the other side of the lake. As Kratos indicates, you must return to it the way you came—that is, back through the temple trench.
OBJECTIVE: Use the Sand-Bowl Lift
Head over to the dock’s elevator lift (67) and ride it down to the detention pod below. The holding cells are now open, meaning the prisoners are loose somewhere. Search the two open cells to find a chest and an Artifact.
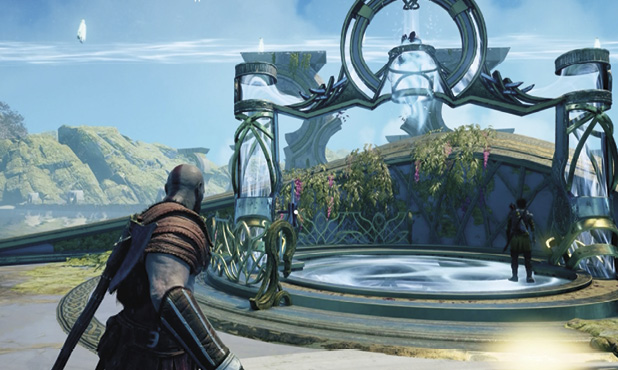
Open the closed door (68) and exit the pod. As you step into the trench area, the great roof closes above you! Now the trench is swathed in darkness.
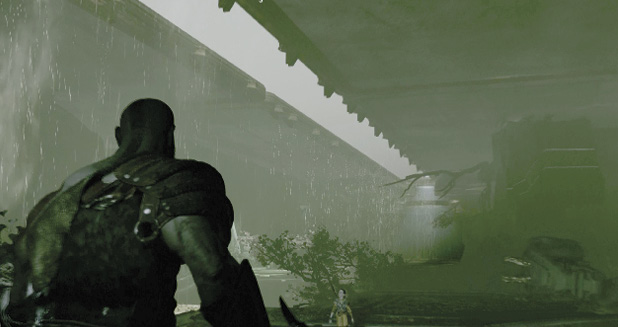
Move out onto the platform and turn right (69) to trigger the appearance of a nasty pair of Poison Revenants. Stay mobile to avoid the raked fissures coming from two directions. A good tactic is to pick one Revenant as the focus for all attacks (especially Atreus’ arrows to neutralize the hag’s shroud) until it is eliminated. You want to cut their teamed firepower in half as soon as possible, especially in such low light.
Find a Loose Crystal
After the Revenants are put to sleep, head to the far edge of the platform to spot the light crystal (70) mounted under a doorway across the gap. Fire a Light Arrow at the crystal to activate a light bridge. Cross the bridge into a detention pod with another crystal hanging from the ceiling (71) and three holding cells blocked by solid-light doors instead of bars. Toss Leviathan at the ceiling disc (circled) to break the chain and drop the crystal.
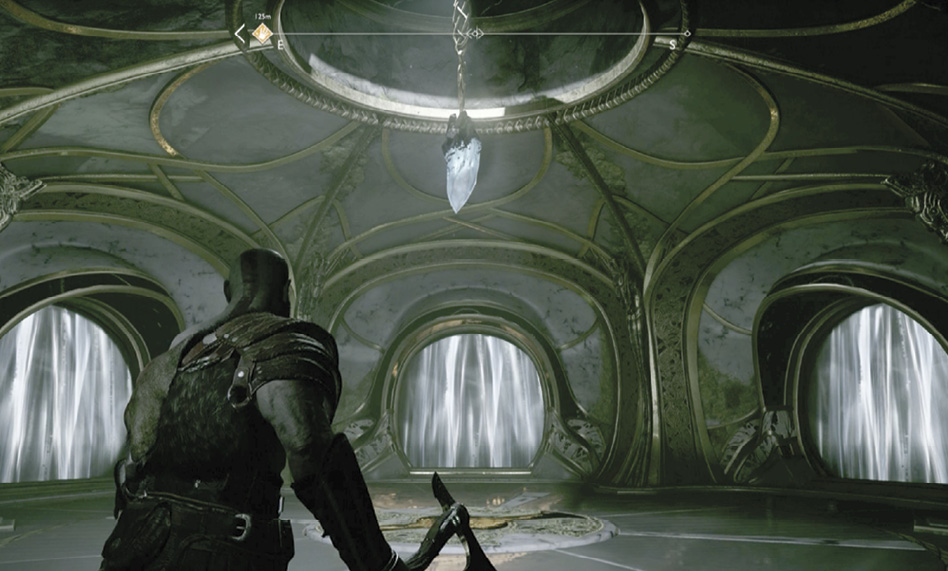
Unfortunately, this disables all the cell barriers; each cell releases an angry Draugr prisoner. Dispense capital punishment to the three attackers. When finished, explore their open cells to find another Elven Artifact. Then pick up the fallen crystal and carry it back across the light bridge.
Solve the Pod Puzzle
Carrying the crystal, cross to the opposite side of the platform, but watch out for a Heavy Draugr en route! (Set down the crystal to fight.) When you arrive, spot another crystal (72) mounted under the ledge across the gap. Drop the crystal you’re carrying and fire a Light Arrow at the far crystal to activate another light bridge. Don’t pick up the crystal yet—instead, cross the bridge into a circular chamber where a Draugr lurks. Eliminate the creature first, and then backtrack to pick up the crystal. Carry the crystal into the chamber and install it in the empty crystal stand. Fire a Light Arrow at it and then survey the room.
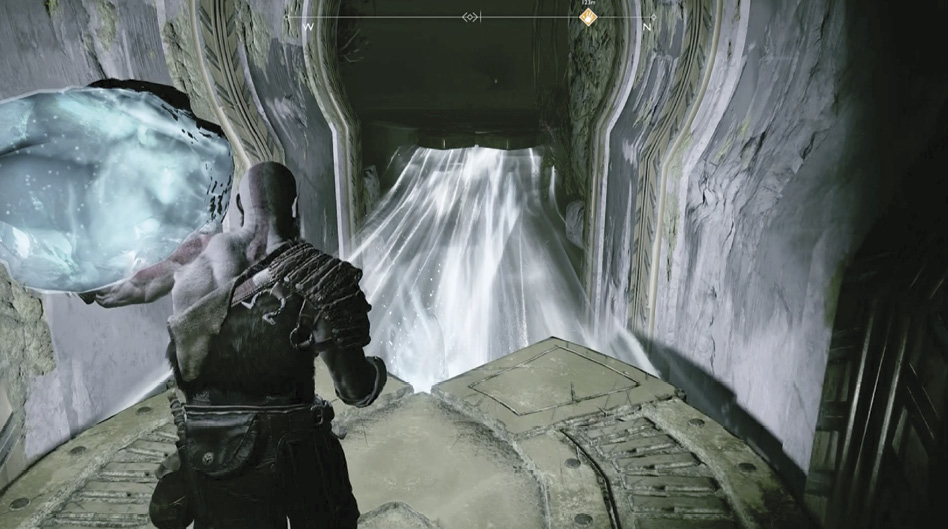
The lone door is emblazoned with four blue runes. Around the chamber you see four spinners, each with a blue rune displayed and panels you can hit by tossing Leviathan. When you hit a spinner panel, the device turns, displaying a new rune with each turn. Your task is to turn the spinners to reveal runes that match the four runes emblazoned on the door, in order. But the task is timed!
Facing the closed door, we’ll target the spinners in order from left to right. You have 20 seconds to get the correct settings; after that, the puzzle resets.
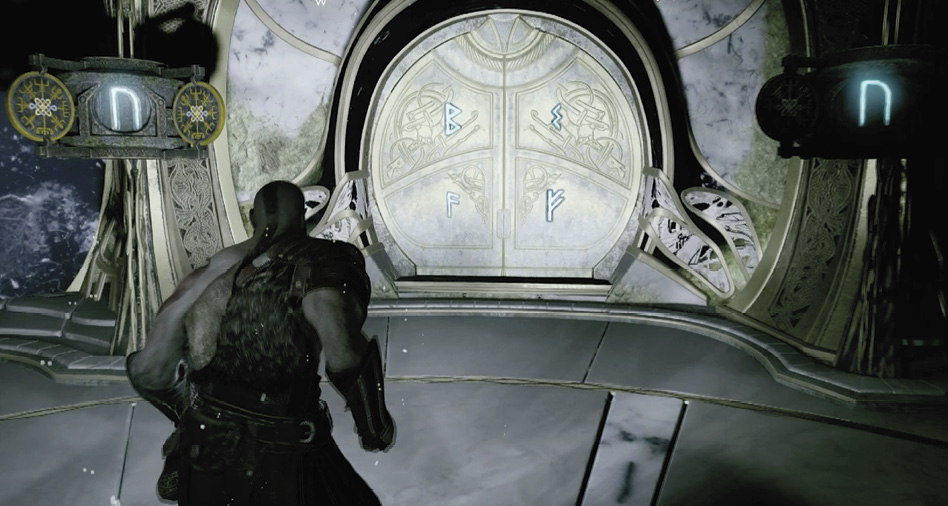
- From the initial setting, face the leftmost spinner. Hit its rightmost panel once.
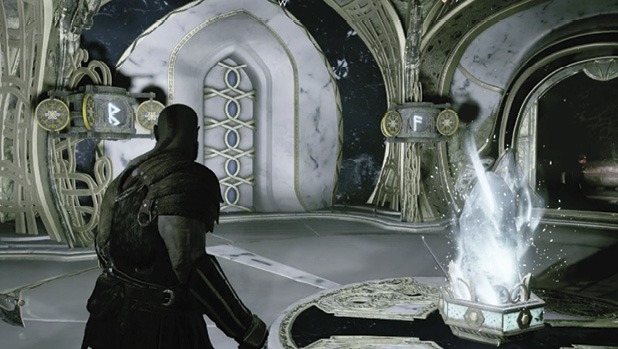
- Swivel rightward to the next spinner and hit its leftmost panel once.
- Swivel rightward to the next spinner and hit its leftmost panel twice.
- Swivel rightward to the next spinner and hit its leftmost panel once.
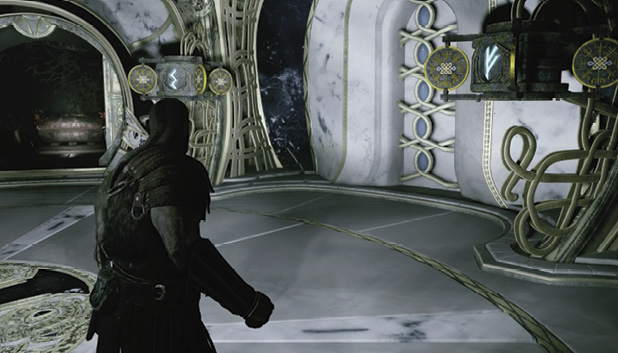
When you achieve the correct spinner settings within the time limit, the door opens, revealing a coffin. Open it to snag the loot. Then remove the crystal from the stand and carry it out of the chamber.
Get Across the Trench Gap
Carry the crystal onto the platform and veer to the right, down the ramp to the empty crystal stand (73). Install the crystal into the stand and power it with Atreus’ Light Arrow to activate a light bridge above you. Head back up the ramp onto the platform, turn right, and cross the new bridge.
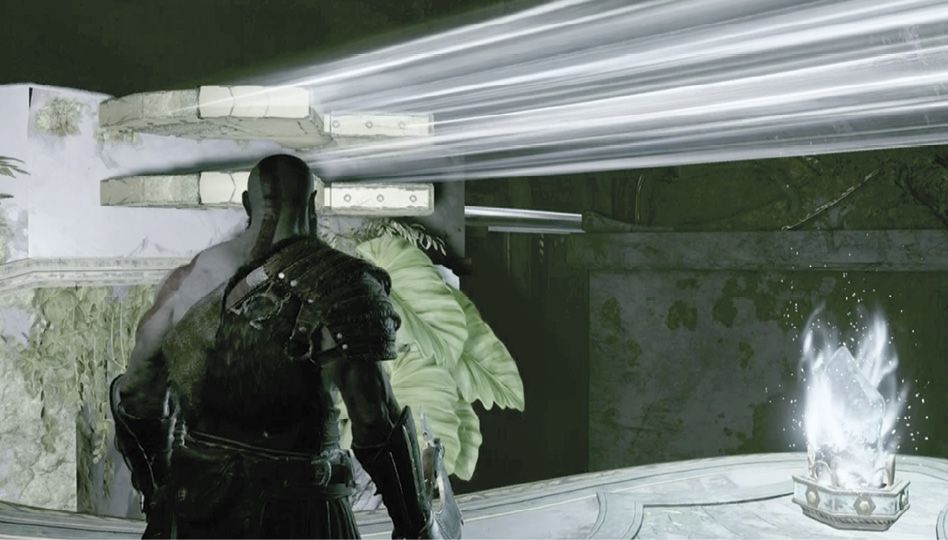
Optional: Find another artifact
Use the wheel-crank (74) to lower the floor all the way then toss Leviathan to freeze the gear again. Head through the round tunnel into the detention pod (75) where the cells are now open; one holds another Artifact.
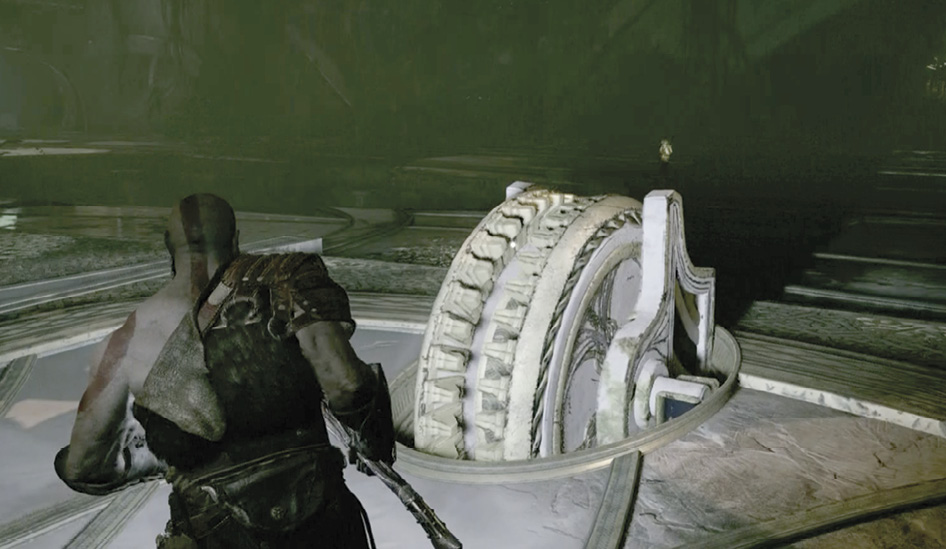
Recall Leviathan to let the floor out in the trench raise again. Grab the detention pod’s wheel-crank (75) and give it four yanks to lower a small niche with a coffin into sight at the far end of the round tunnel. (You can see it directly ahead.) Toss Leviathan at the gear on the pod’s right wall to freeze it then go open the coffin.
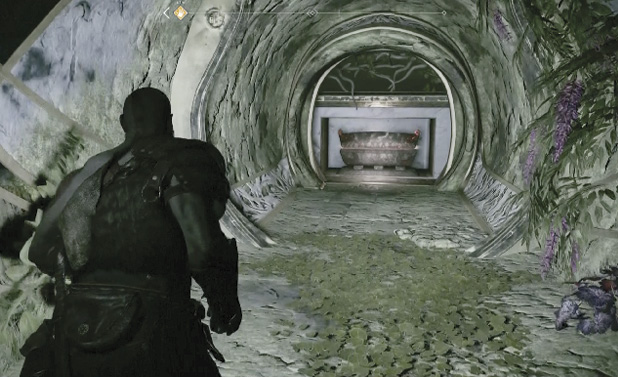
Grab the wheel-crank again; recall Leviathan to unfreeze the gear; turn the wheel as far as it will go; and toss the axe to freeze the gear again. Now you can go back through the round tunnel and cross the trench’s sunken floor to the other wheel-crank platform. Recall Leviathan to raise the floor back up to the main level.
Veer over to the right side of the trench (76) and proceed to the far end. Enter the rightmost detention pod (77) to find that the previously locked cells are now open; look for a Hacksilver drop inside one.
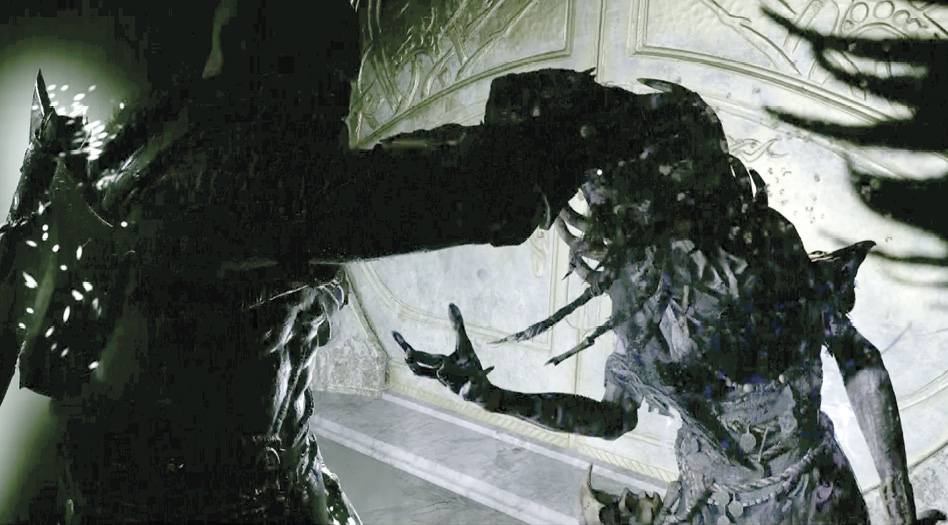
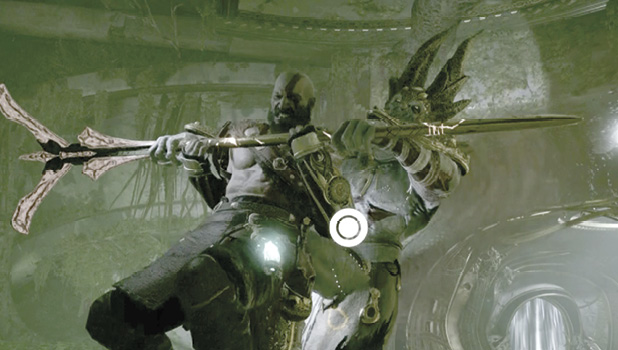
Head out to the sand bowl (78) where Atreus waits. Press Square when the prompt appears. This move triggers the return of the same colorful Dark Elf leader you’ve seen several times before. But this time he’s not directing troops. Svartáljǫfurr, the Dark Elf King, is here to fight. He jumps Kratos from behind; tap Circle rapidly to escape his initial chokehold.
Return to the sand bowl (78) and press Square to direct Atreus to write the runes in the sand. This activates the lift, which rises to the platform above where the boat is docked. Hop into the boat.
Explore the Lake’s Beaches
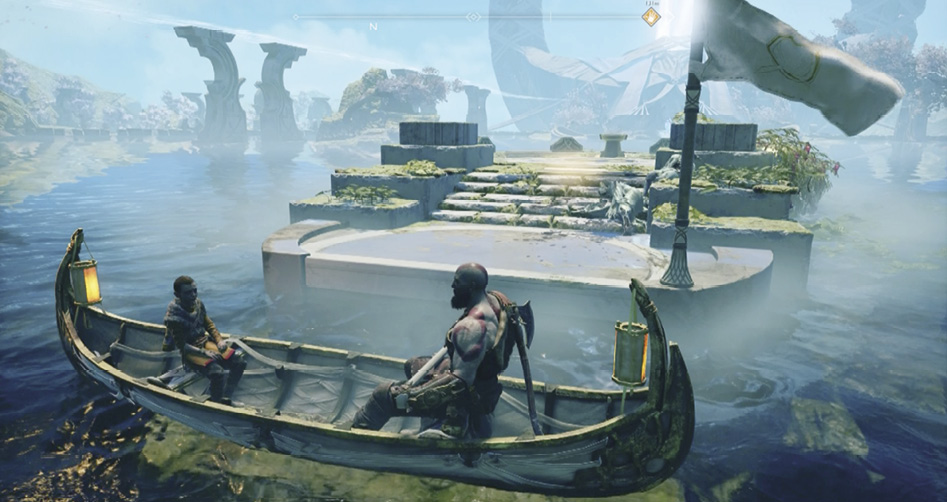
Here, if you row toward the Alfheim river entrance, Atreus wonders aloud if you should return to Midgard or stay and explore a bit. Nearby lie two hidden beaches, Light Elf Shore and Light Elf Sanctuary, where you can find a veritable cornucopia of collectible stuff: chests of all kinds (including one Nornir Chest), Artifacts, and a Hidden Chamber of Odin.
Lake of Light AND Return to Týr’s Temple
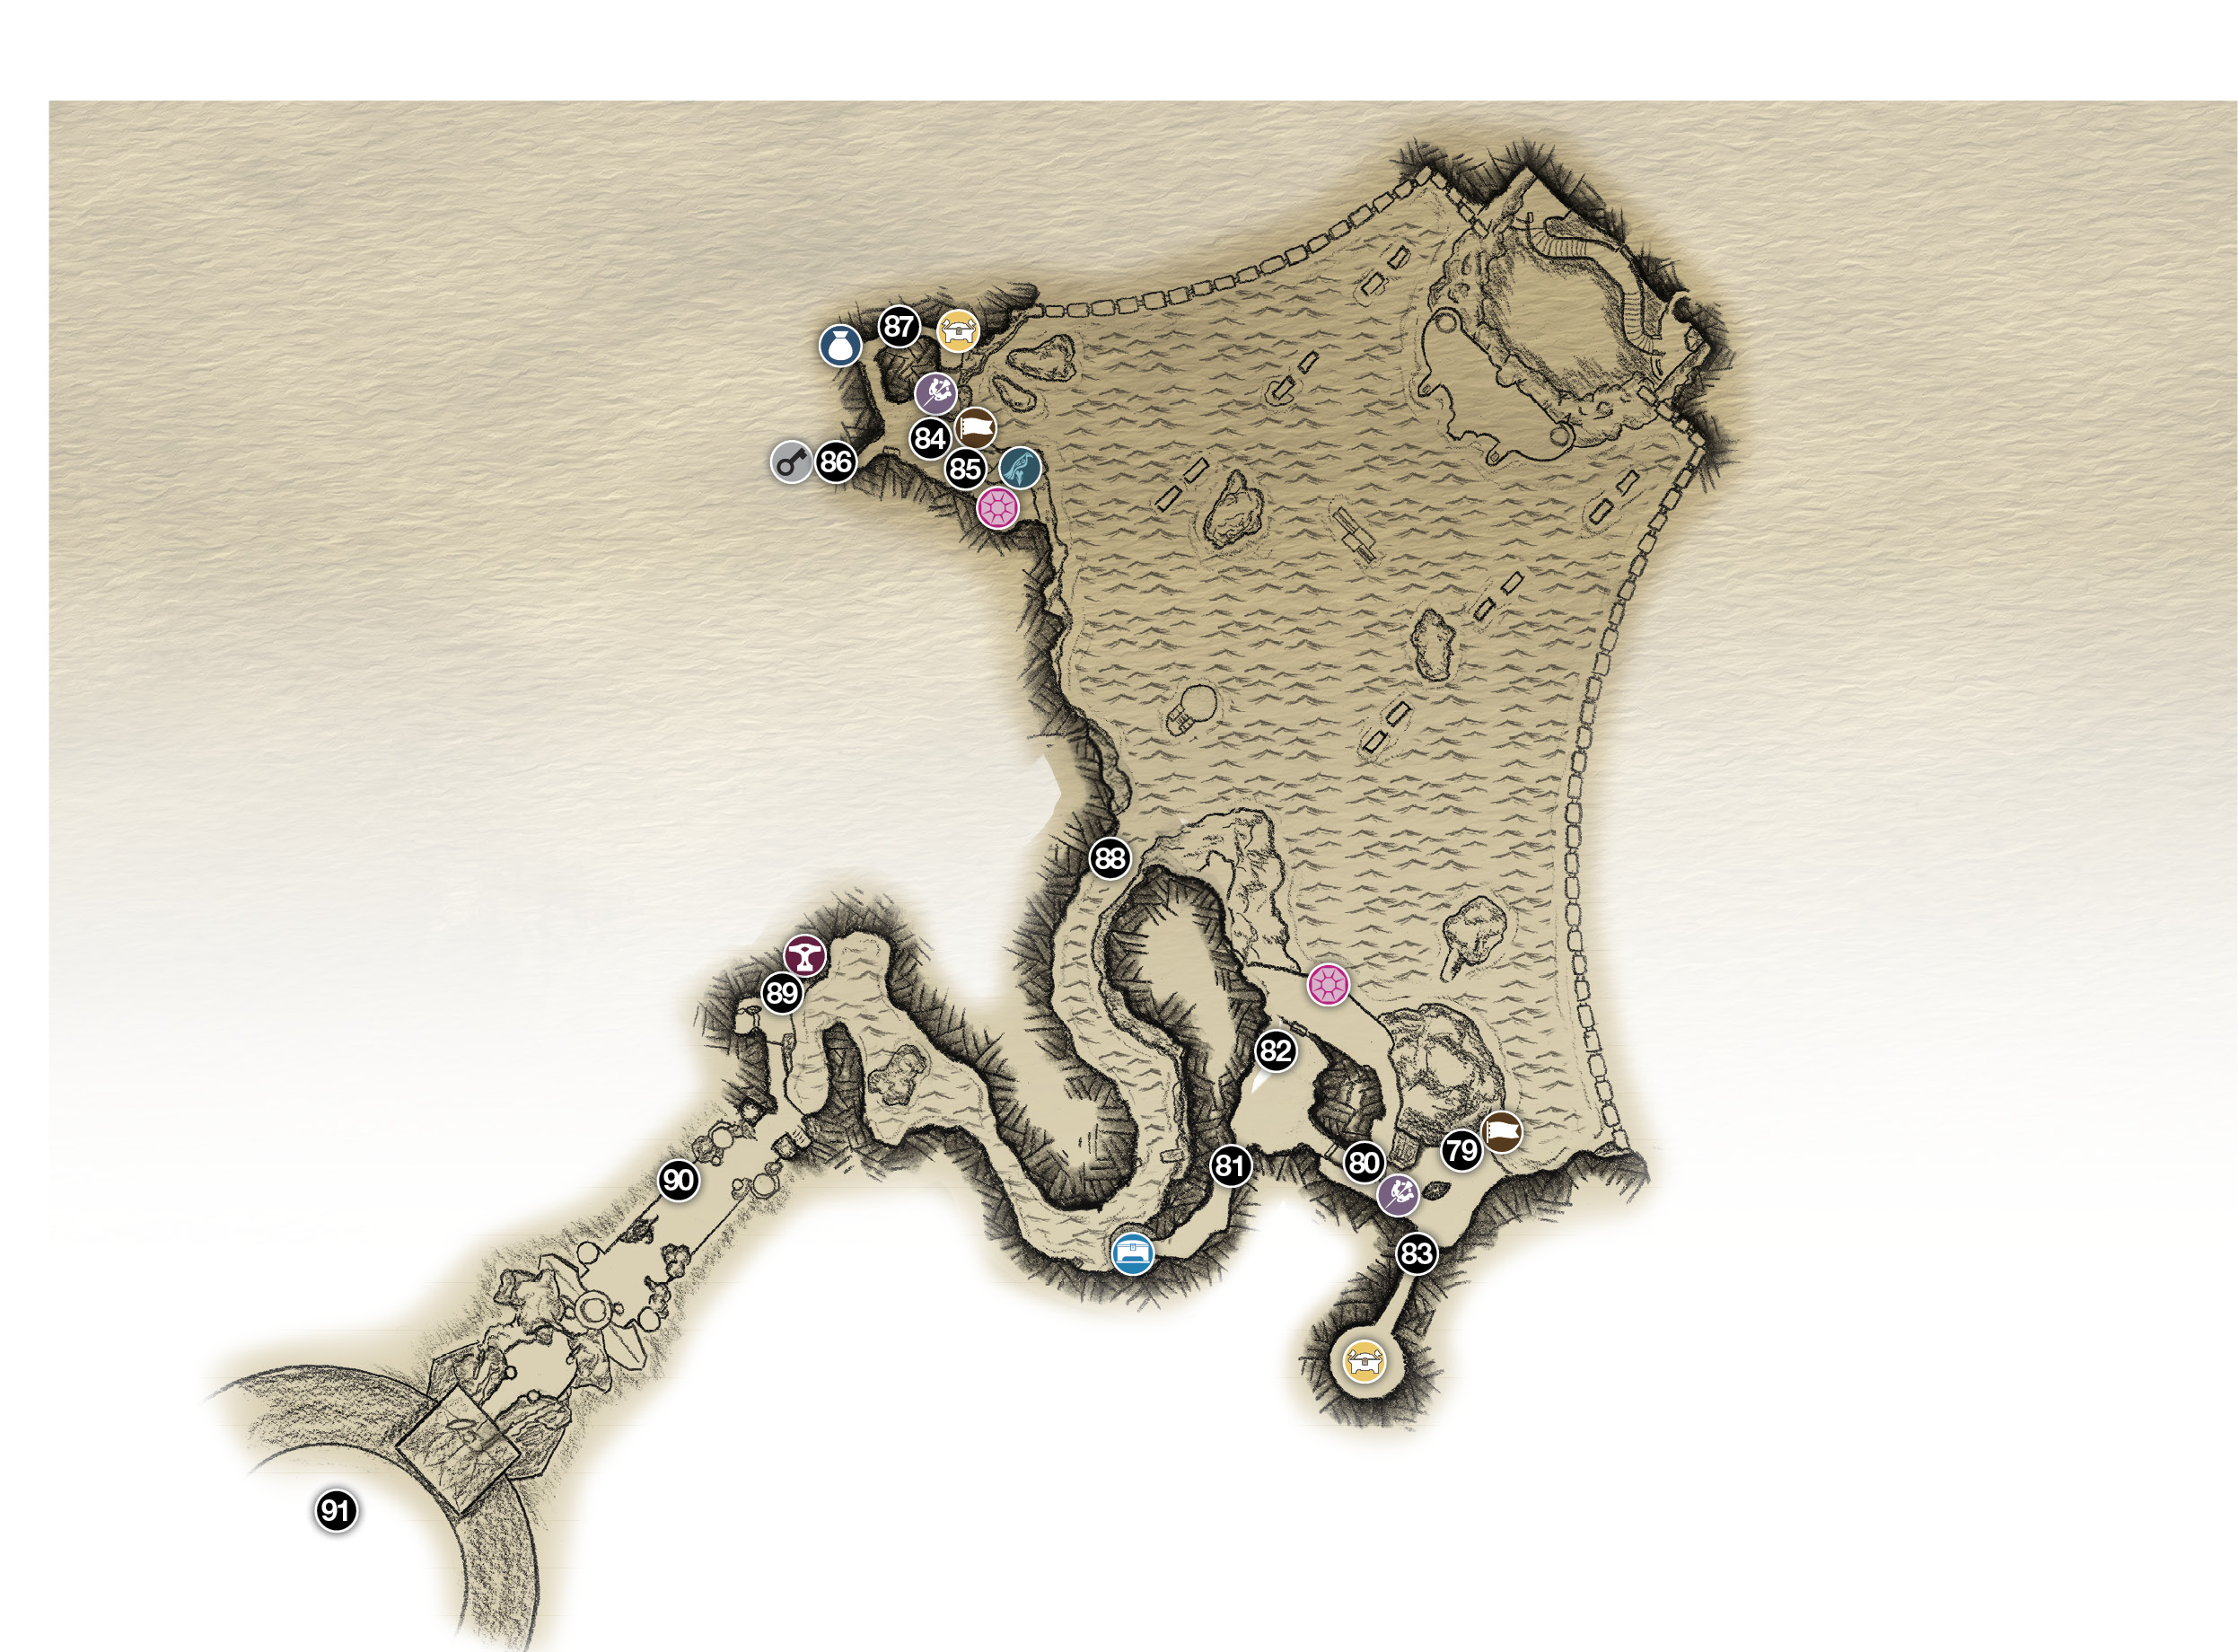
79. Hidden Beach: Light Elf Sanctuary
80. Open the gate
81. Unlock the Nornir Chest
82. Open second gate
83. Access Legendary Chest
84. Hidden Beach: Light Elf Shore
85. Close Realm Tear (requires Light Arrows)
86. Hidden Chamber of Odin (requires Chisel)
87. Clear the tentacles
88. River entrance
89. Beach (Sindri’s Shop)
90. Týr’s Bridge
91. Realm Travel Room
Artifact
Chest
 Dock
Dock
 HIDDEN CHAMBER
Legendary Chest
Nornir Chest
 RAVEN
RAVEN
 Realm Tear
Shop
Two hidden beaches are available for exploration as soon as you gain access to Alfheim. In order to complete everything at the northern beach, though, you must have obtained the Light Arrows from inside the Ringed Temple and collected the Chisel, which we cover during “The Magic Chisel” chapter of theJourney). If you’re following this walkthrough, we don’t have the Chisel yet. But we’ll point out where and how to use it here.
Light Elf Sanctuary
Enter the Sanctuary
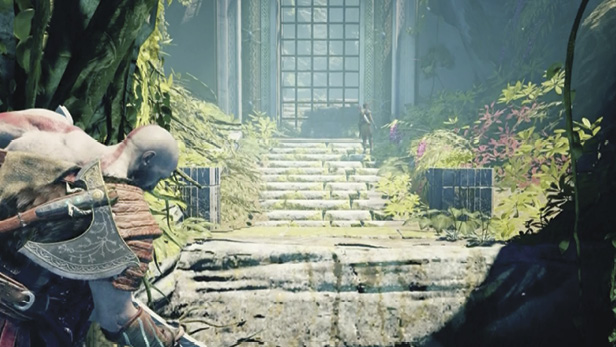
From the lake entrance, head southeast to the far corner and paddle onto the small beach (79) to discover Light Elf Sanctuary. Immediately, a pair of Tatzelwurms attack. Take them down, followed by two Projectile Draugr to the northwest. Once all enemies are defeated, interact with the lever (80) that sits under the upper Draugr’s position to temporarily raise the gate ahead. Hop the gap and duck under the grill before it closes. You only have a few seconds, so sprint all the way through.
Unlock the Nornir Chest
A couple more Tatzelwurms attack, so dispose of them before following the path to the left (81). This leads to a Nornir Chest surrounded by seven blank bells. Three of the bells correspond with the three runes on the chest. Simply hit the correct bells with light axe throws within a short time limit to access the chest. You have six seconds to deactivate all three, so aim and recall Leviathan quickly.
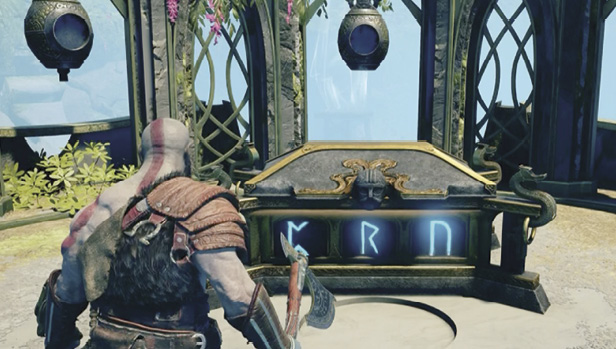
Here’s how: Number the bells from 1 to 7, starting with the left bell (southwest) and counting clockwise around the circle. Rapidly toss Leviathan at bells 1, 4, and 6. Loot the chest for another Iðunn Apple. Return to the previous chamber (82), and stand at the lever facing the gate ahead.
Get through the tentacle-blocked gate
A tentacle with two joints exposed blocks the gate, though there’s no way to hit both joints with one toss of the axe. Turn the lever to open the gate and immediately throw the axe through the lower joint (which retracts the tentacle that holds the gate shut).Quickly recall Leviathan, which tears through the lower joint again, and throw the axe through the upper joint to kill the tentacle. The timing is tricky, but you’ll get it after a few tries.
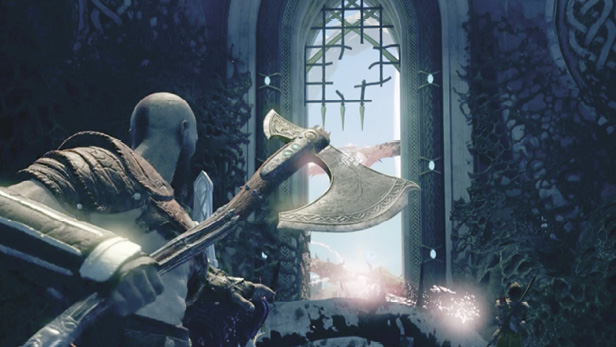
Move outside to find a Realm Tear on the ledge ahead. Two Level 4 Heavy Draugr spawn from the tear, which can be a challenge if you attempt this at the first opportunity. Follow the trail southeast and throw Leviathan through the two joints that block the tunnel.
Continue along the path until a tentacle blocks your way. Three tendril joints stretch between the walls ahead. Adjust your position until the three are aligned, and toss Leviathan to remove the tentacles. Collect the Artifact that’s now accessible before hopping down to the beach below.
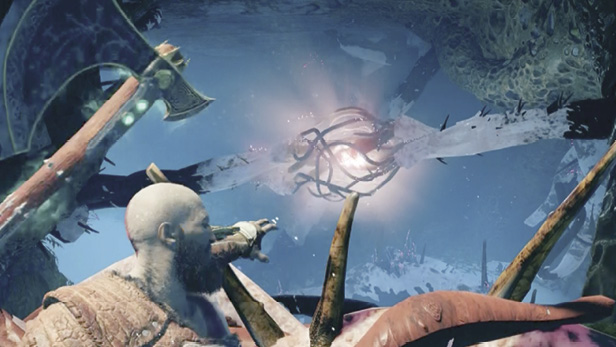
Enter the unblocked tunnel (83) on the right and proceed to the chamber ahead to find a Legendary Chest wrapped in a tentacle. Look up to spot three joints; all three must be destroyed in one throw to gain access to the chest. Interacting with the nearby wheel causes two of the joints to spin around on the circular track above, and once released, they slowly return to their original positions.
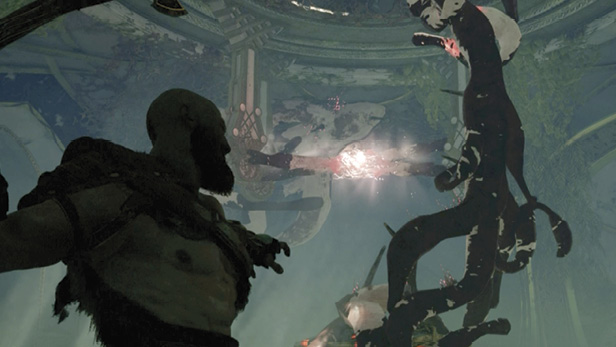
Crank the wheel until it cannot turn anymore, step out to the right, and spot the third joint on the far wall. (You should be aiming almost exactly northwest.) As the two moving joints line up with the third, toss Leviathan so that it flies through all three. Loot the Rare Talisman from the chest before returning to your boat, killing a lone Dual-Wield Draugr along the way.
Light Elf Shore
Kill the Gloom Nightmares and Dual-Wield Draugr
Paddle north, almost to the far side of the lake, and dock at a small beach on the left (84). If you’ve gathered the light from the Ringed Temple, run left first and kill the pair of hostile Gloom Nightmares. Watch for them to latch onto Atreus! Go help the boy if it happens.
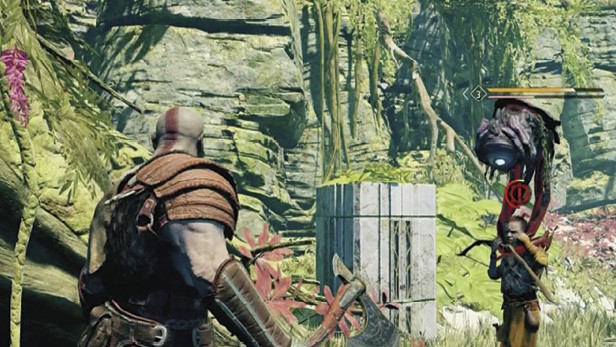
Next, enter the cave (85) and spot the three crystals embedded in the floor and instruct Atreus to shoot all three with his Light Arrows. This reveals a Realm Tear, which spawns two very tough Level 4 Dual-Wield Draugr. They have the ability to overwhelm with their speed, so use Leviathan to slow them down, and keep Atreus’ arrows flying.
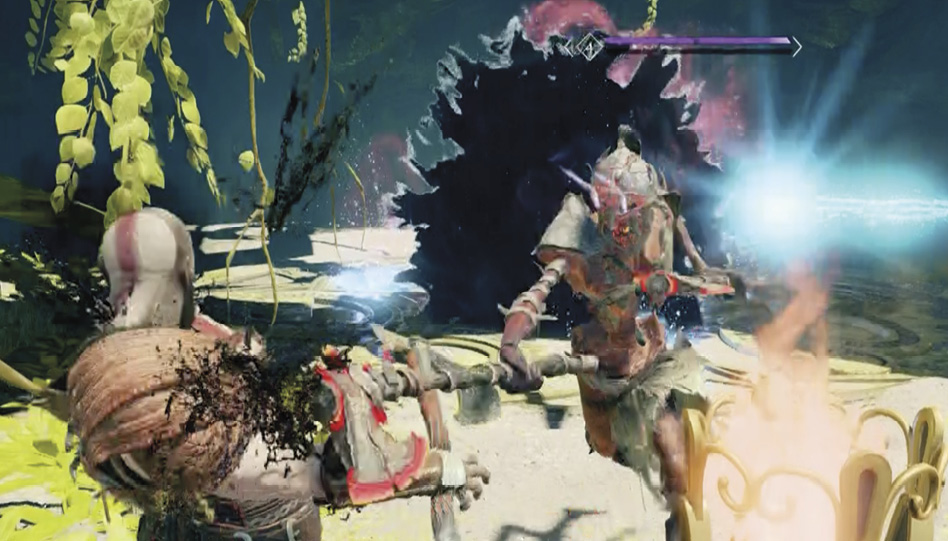
Return to the beach, defeat the Heavy Draugr, and head west. The left tunnel leads to a Hidden Chamber of Odin (86), guarded by two Tatzelwurms. Once you possess the Chisel, you can access the special chamber, which holds valuable loot and a Valkyrie. Olrun is an extremely challenging opponent, so be sure you’re ready before taking her on. Refer to the Labors chapter for more information on the chamber, and Favors for details on the Valkyrie.
Run northwest into the right tunnel until you reach a hole in the ground. Use Leviathan on the joint that stretches between the walls, and quickly hop across the gap (87). Turn around to spot three joints that don’t seem to line up.
Position yourself to align two joints and throw the axe through them, then swiftly recall the axe through the third. Now you can loot the chest you’ve disentangled back across the gap.
Hop over the gap again, follow the tunnel to a Legendary Chest, and collect the valuable loot. From here you can fling your axe at a joint (circled in our shot) hanging under the rock arch to the east to drop a cache of Aegir’s Gold into the lake water below. Hop down to the right to find another Artifact, and return to your boat. Paddle over to the gold drop under the arch before heading back across the Lake of Light to the river entrance.
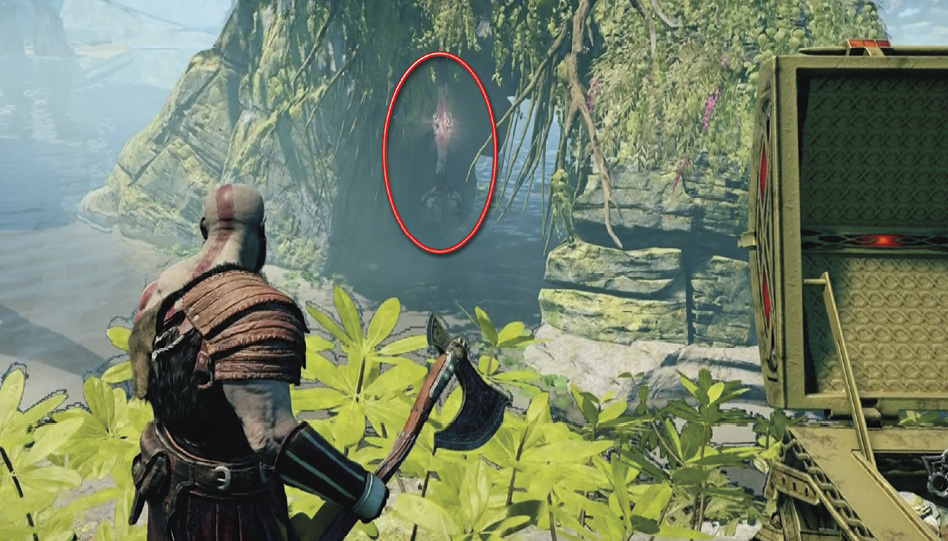
OBJECTIVE: Return to Týr’s Temple
Return to the lake exit channel (88), steer between the two light pillars, then follow the river back through the rock tunnel all way to the sandy cove where Sindri’s Shop (89) is located. En route, listen to the tense conversation as Atreus and Kratos try to sort out tangled feelings about their journey. When you reach Sindri’s cove, go ashore to get a new objective.
OBJECTIVE: Realm-Travel Back to Midgard
Check in with Sindri to upgrade your gear and pick up an optional task.(Sindri gives you an Entry Stone to Fáfnir’s Storeroom, which activates the Dwarven Favor “Fáfnir’s Hoard.” For a walkthrough of this quest, check out our Favors chapter in this book. From Sindri’s Shop, cross the beach and climb the nearby marked wall. Proceed across Týr’s Bridge (90), and enter Týr’s Temple.
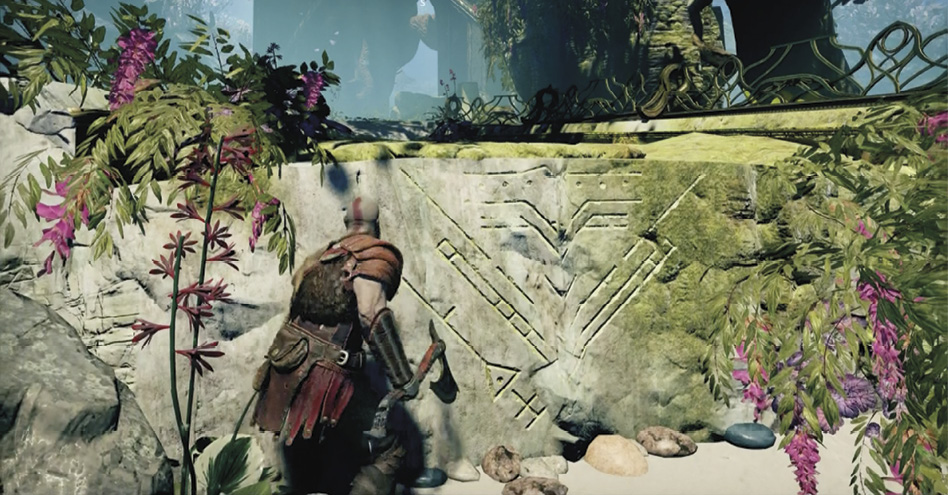
Cross the light bridge (91) to enter the Realm Travel Room. Walk across the World Tree roots and activate the travel table, then press Triangle to select “Return to Midgard.”
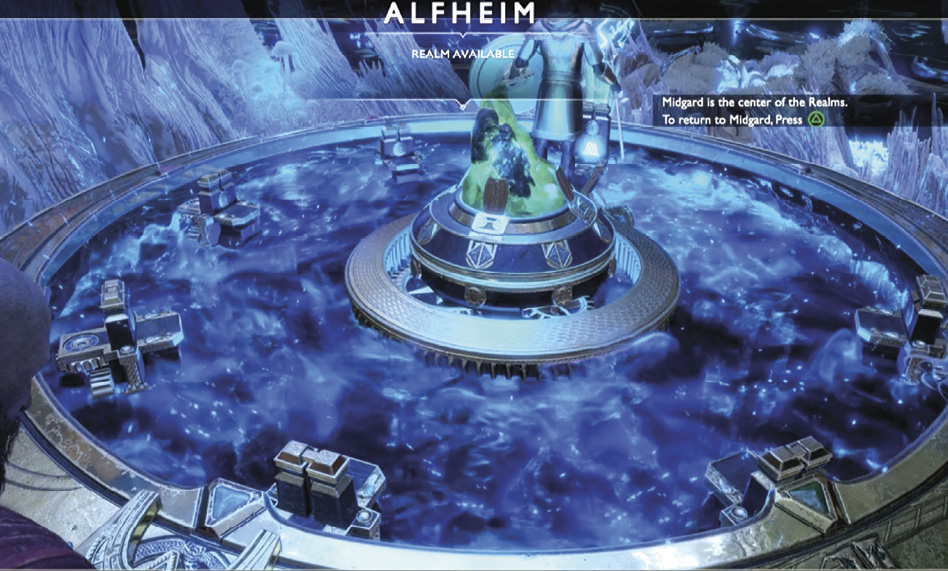
Return to the Mountain
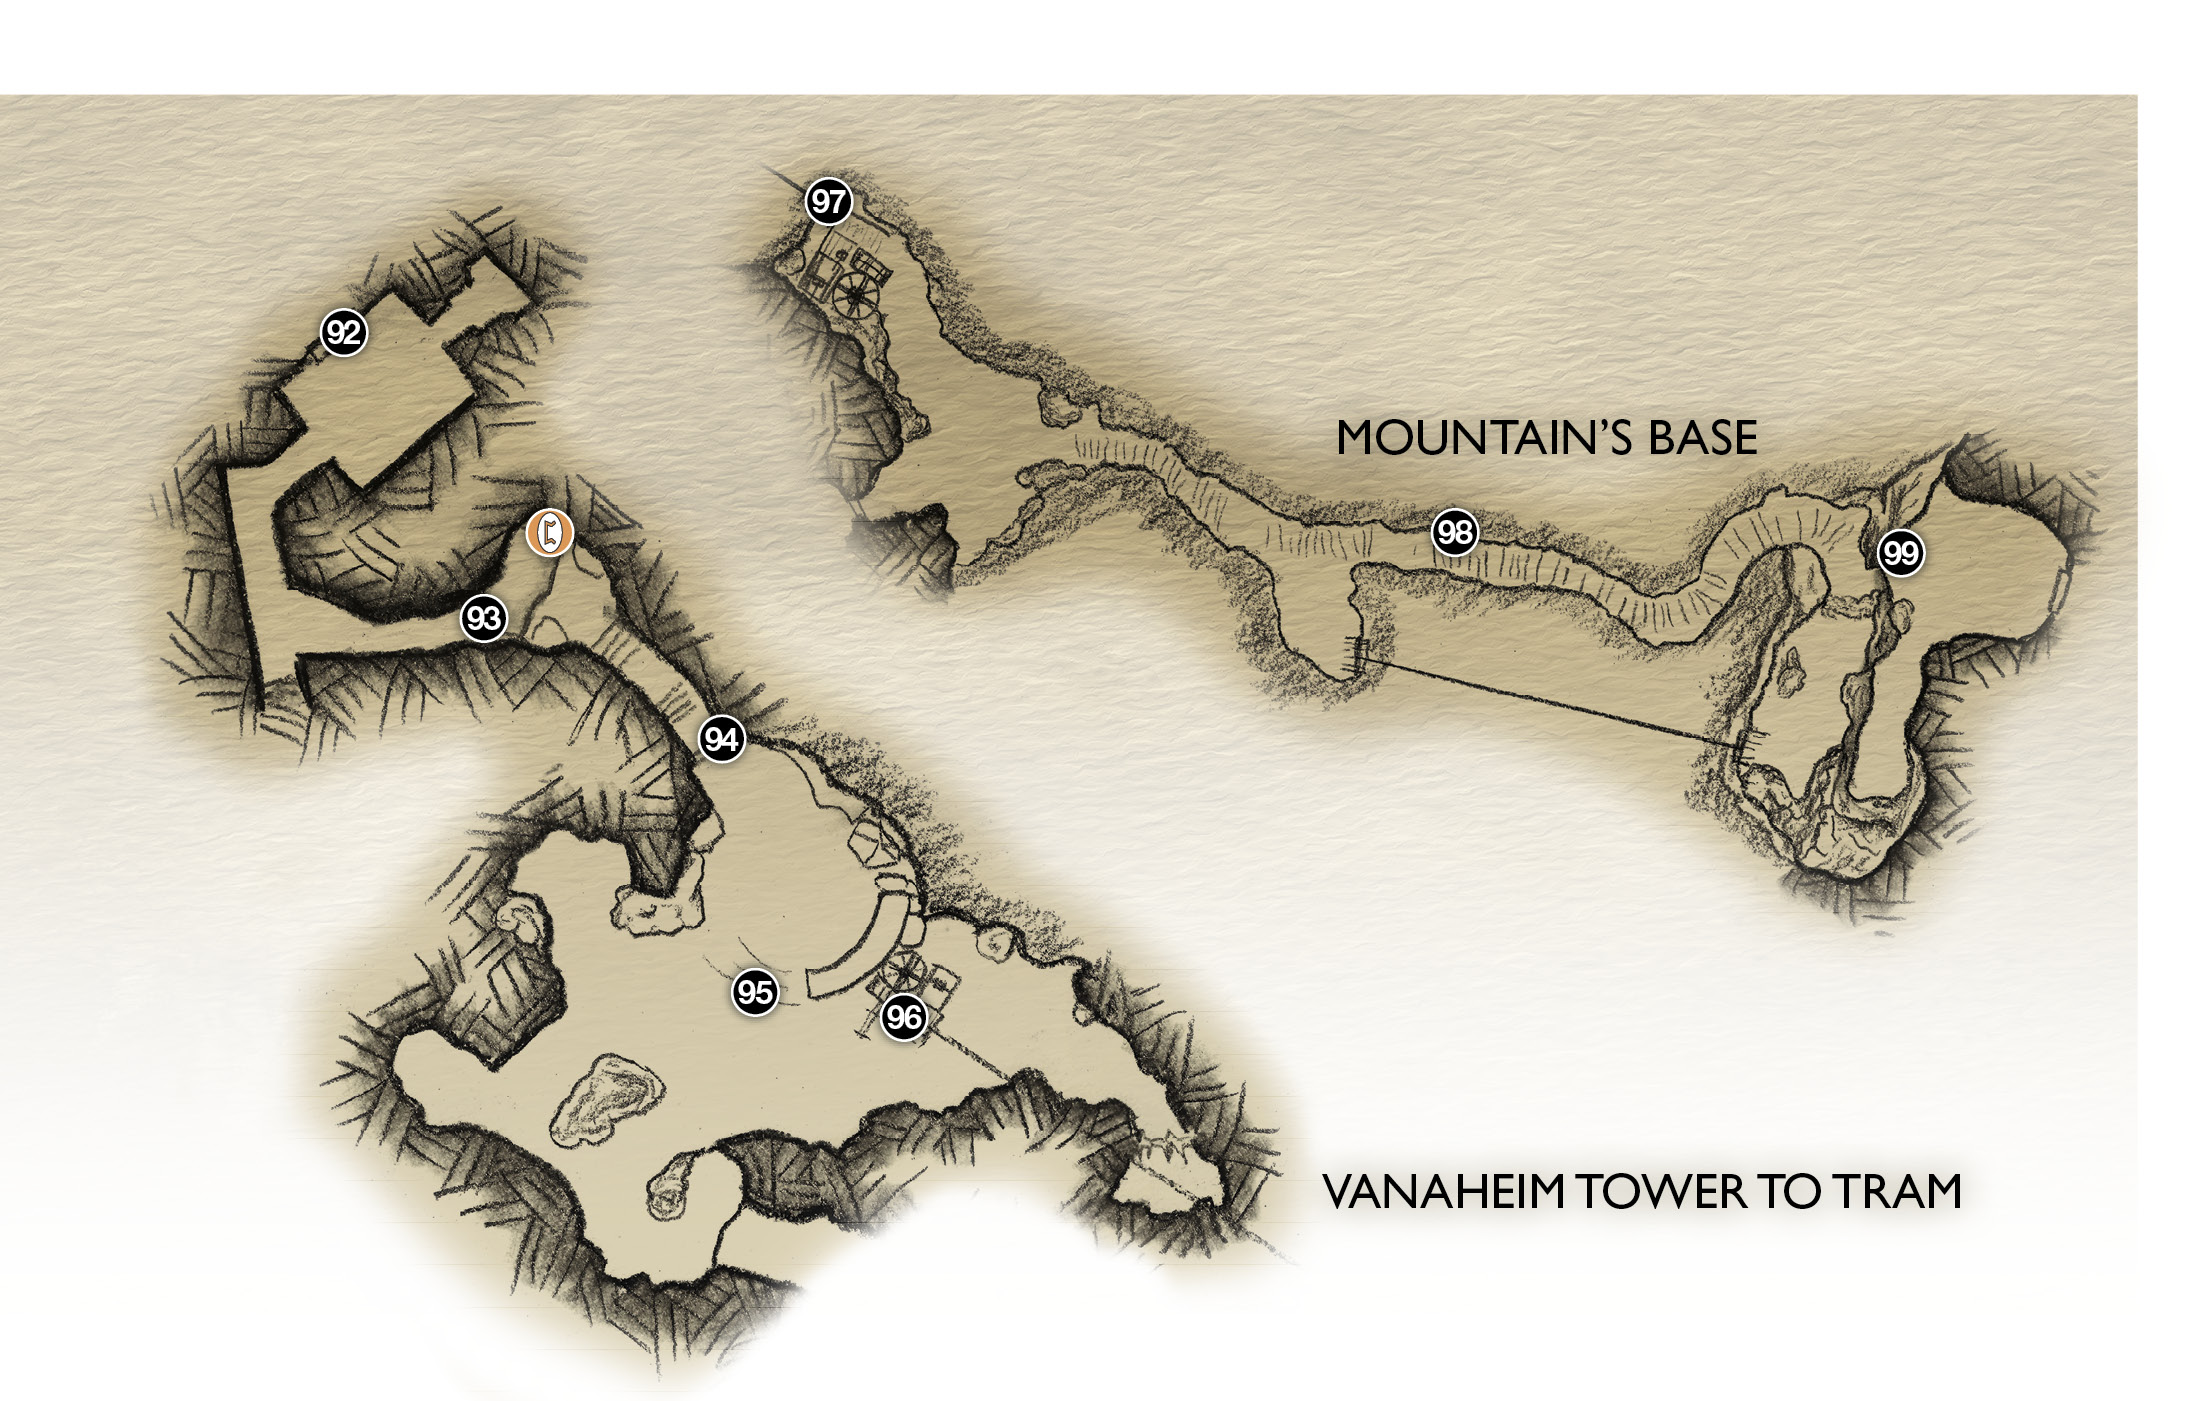
92. Vanaheim Tower entry
93. Cave drop-off (crystal on ground)
94. Cave exit
95. Wolf attack
96. Board tram
97. Tram arrival
98. Black Breath
99. Jump point
lore
OBJECTIVE: Return to the Mountain
When the platform stops rotating, cross the World Tree roots and exit the chamber via the glowing door directly ahead. This triggers a quick scene: Atreus rushes to speak with Brok, who examines his brother’s work on Leviathan…then adds another Mark of the Dwarves as well.
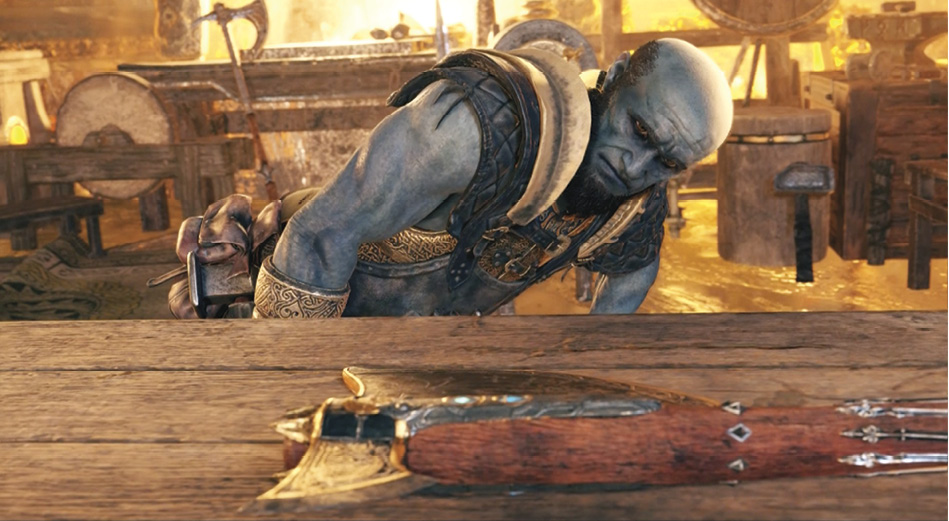
Talk to Brok to pick up another optional task. Brok gives you an entry stone to Völunder Mines, which activates the Dwarven Favor entitled “Second Hand Soul.” (For a walkthrough of this quest, check out our Favors chapter in this book.) Exit Týr’s Temple and head across the bridge.
OBJECTIVE: Go Back Through the Tower
Outside the Vanaheim Tower entrance, you run into a new variety of Draugr. This upgraded version features special enhanced legs that glow orange and propel the Draugr in high-speed bursts of movement. Be ready to block and counter their dizzying dashes, and use Atreus to immobilize them long enough to close the space for melee strikes. These speedsters stun easily, so follow up with a terminal stun grab stomp.
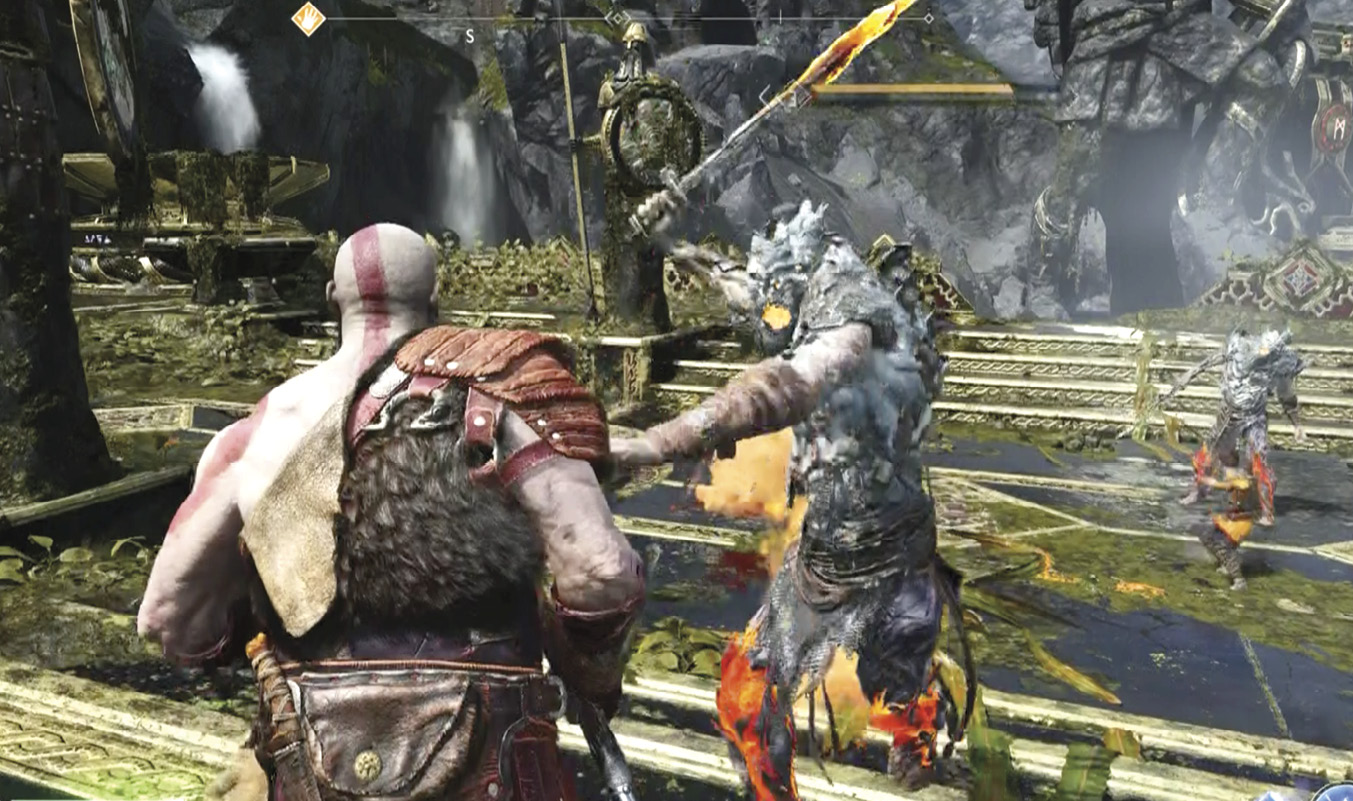
After you terminate the speedy quartet, re-enter Vanaheim Tower (92) and work your way back to the drop-off (93). Hop down and pick up the loose crystal from the ground where you landed. Install it in the crystal stand next to the Lore Marker, shoot a Light Arrow at the installed crystal to activate the marker, and then direct Atreus to read the rune message that appears.
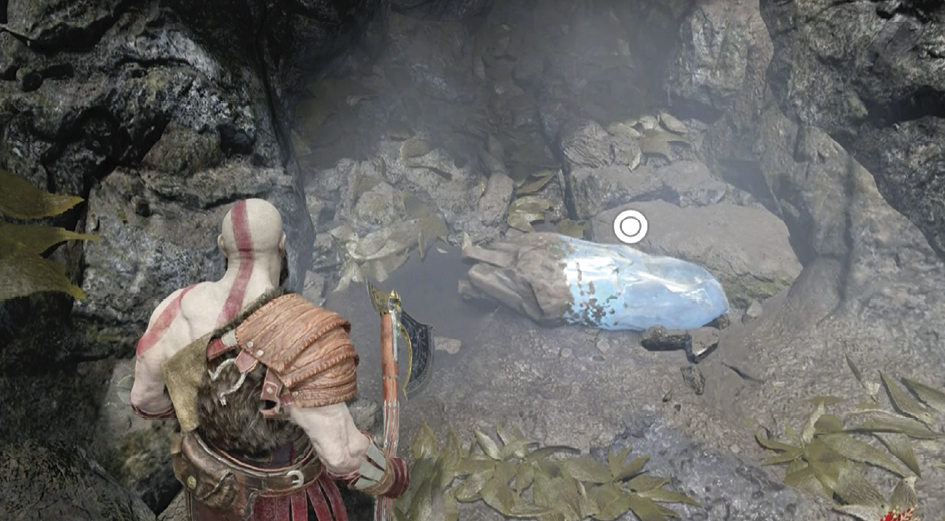
Climb the wooden scaffold next to the Lore Marker, as you did earlier, and slide right until you can jump down to the upper passage. Then climb the stairs and exit the caves (94). Cross the courtyard and head out into the grass (95) to tangle with a hostile mixed pack of Rabid and Poison Wolves.
After you terminate the lupine threat, check in with Sindri if you want. Then head up to the Sky Mover (96), step onto the lift, and turn the switch. Kratos and Atreus ride up to the snowy tram platform (97) at Mountain’s Base. Up ahead, you can see the great face carved into the peak where the Black Breath is being expelled.
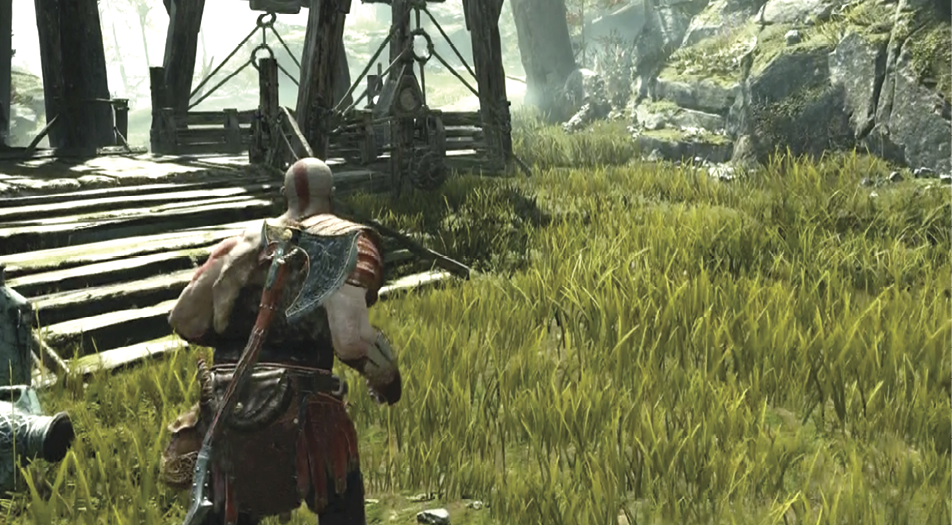
OBJECTIVE: Dispel the Black Breath
Climb the stairs to the edge of the black mist (98) and press Circle to raise the light-infused Bifröst. Walk forward to dispel the Black Breath. Keep walking until you reach the spot where the path is blocked and you see a yellow-marked ledge to the left across a crevice (99).