
Chapter 7: The Magic Chisel
Lake of Nine
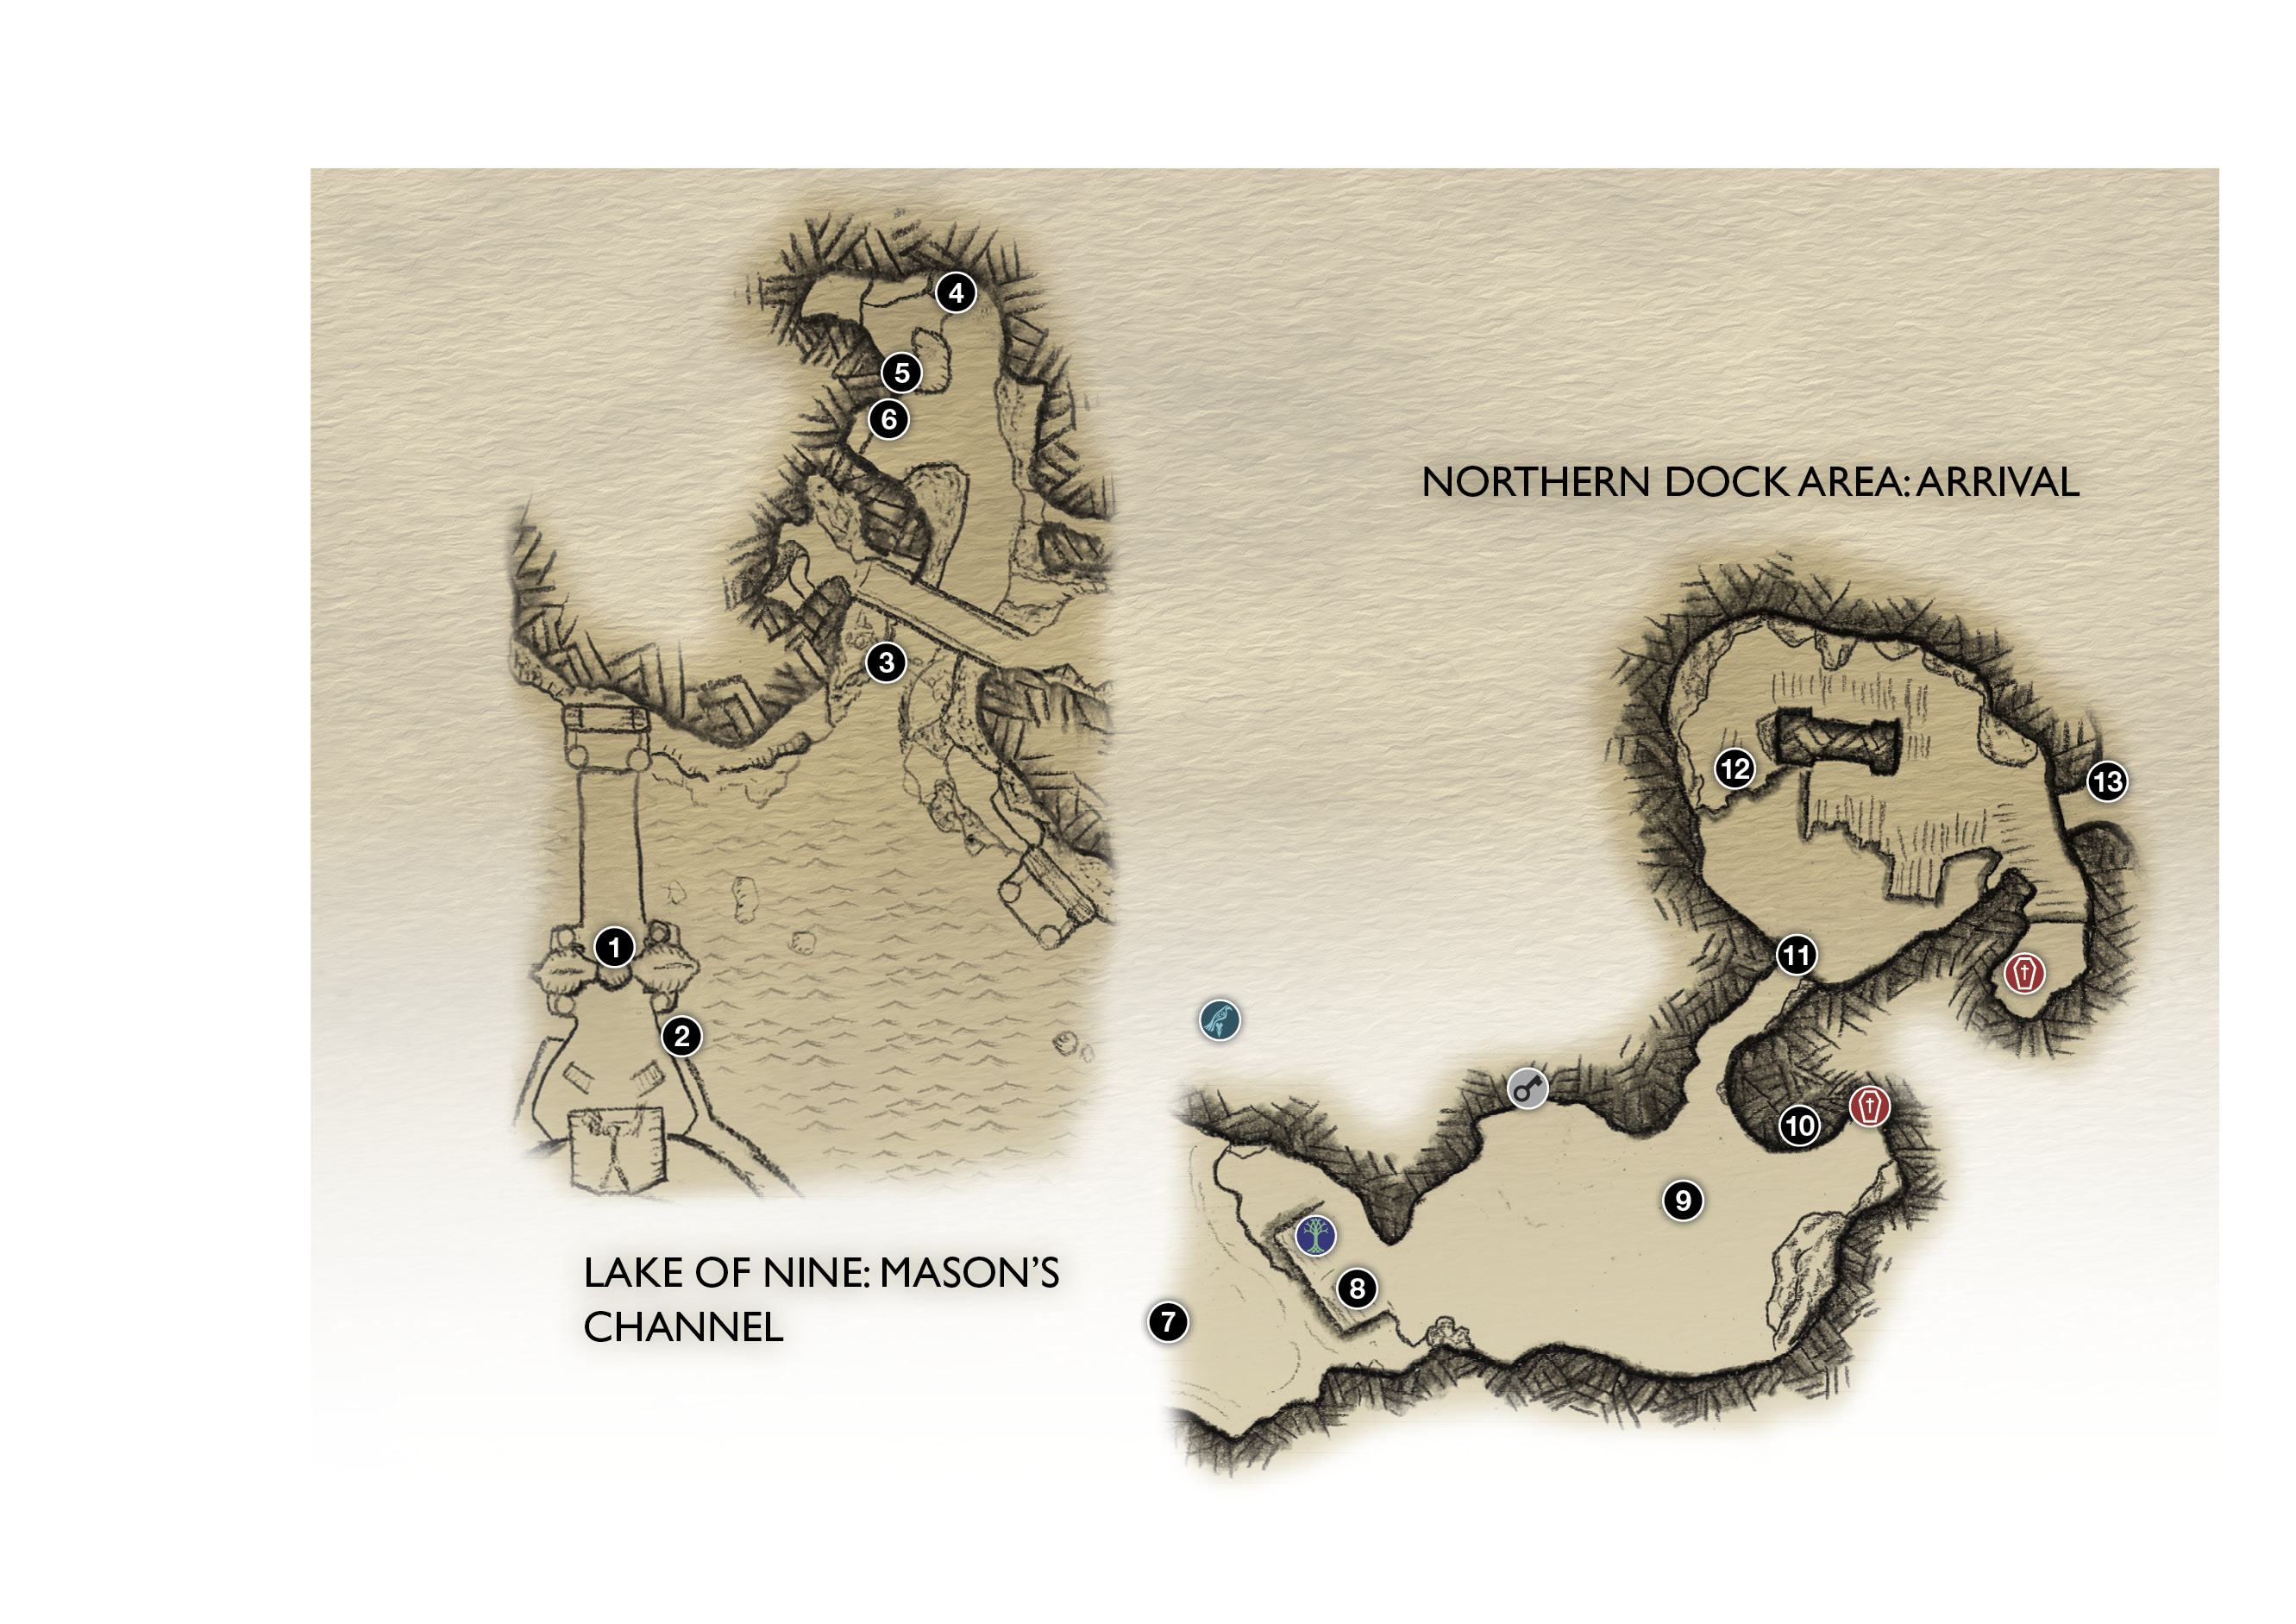
The World Serpent has explained to Mimir that you need two things to reach the land of the Giants: you must learn the Jötunheim travel rune, and then carve it into a special gateway using a magically imbued Chisel. Kratos decides to seek the Chisel first.
1. Serpent’s Horn platform
2. Boat dock
3. Channel entrance (oarsmen)
4. Beach
5. Crank-wheel (opens gate)
6. Gate
7. Mason’s Channel
8. Northern Dock
9. Wulvers!
10. Giant’s ring crystal
11. Climb chain
12. Climb wall
13. Climb chain
 Coffin
 Hidden Chamber
 Mystic Gateway
 Raven
Raven
Journey Objectives
- Follow Mimir’s instructions to the Chisel
- Investigate the dead Giant
- Retrieve a piece of the Chisel
- Find a way to break the ice
- Talk to Sindri
- Find a way to the hammer
- Make your way up the hammer
- Release the Strap
- Find a way to the hammer’s head
- Push the hammer
- Make your way to the Chisel
- Retrieve a piece of the Chisel
New Enemies
OBJECTIVE: Follow Mimir’s Instructions to the Chisel
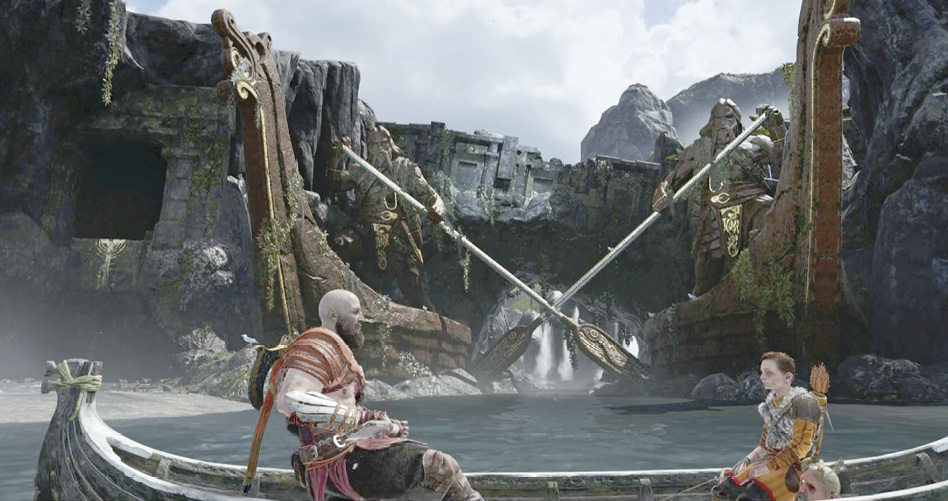
First off, spend that shiny new XP awarded for finishing the previous chapter. Then turn the switch on the Serpent’s Horn platform (1) to ride back down to the bridge. Facing the temple building, descend the stairs on the left and proceed to the boat at the dock (2). Push off and veer slightly right toward the two tall oarsmen statues (3). This is the entrance to The Mason’s Channel. Row between the oarsmen’s paddles.
Open the Channel Gate
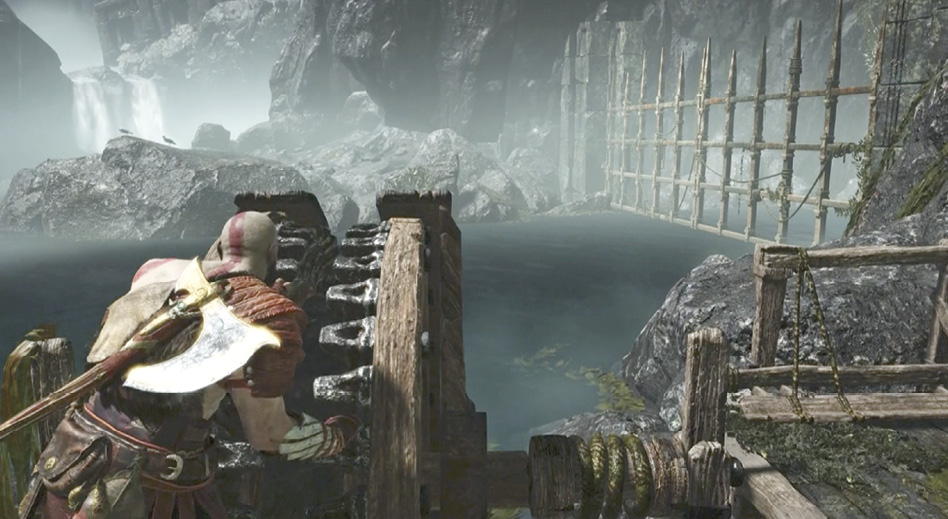
Paddle up the channel until you find the waterway blocked on your left by a huge gate (6). Continue past it to the beach (4) and debark. If you want, talk to the “wayward spirit” over in the back-right corner to trigger a new Favor. (Check out our walkthrough for the quest, “The Anatomy of Hope,” in our Favors chapter.) Then move up the beach to the crank-wheel (5) and turn it to open the channel gate.
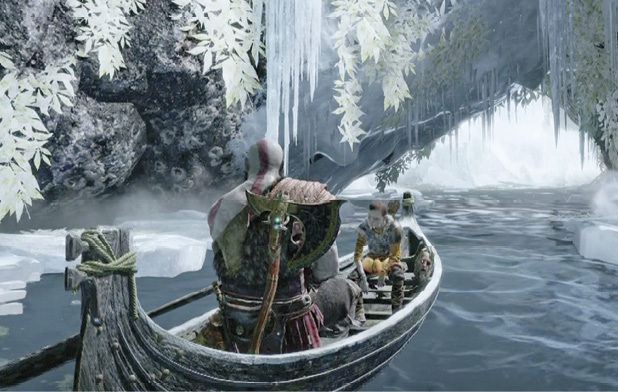
Unfortunately, doing this stirs up all manner of trouble. An Ogre and a team of Dark Elves suddenly assault the crank platform. After you clear the beach, scoop up the dropped pickup items, then hop back in the boat and row through the open channel gate (6). As you glide up the icy channel (7), Mimir tells the story of Thamur, the giant stonemason. Paddle all the way upstream to the Northern Dock (8).
OBJECTIVE: Investigate the Dead Giant
Defeat the Wulvers
Note the Mystic Gateway at the dock, and then turn your attention to the growling creature feeding on a carcass across the ice (9). This is a powerful Wulver—part man, part wolf, all melee monster. When it rises up to howl and glows red, a frenzy follows: a wild slashing attack with enhanced speed and fully extended claws. Be ready if the beast gets Kratos in its grasp—quickly tap Circle to escape.
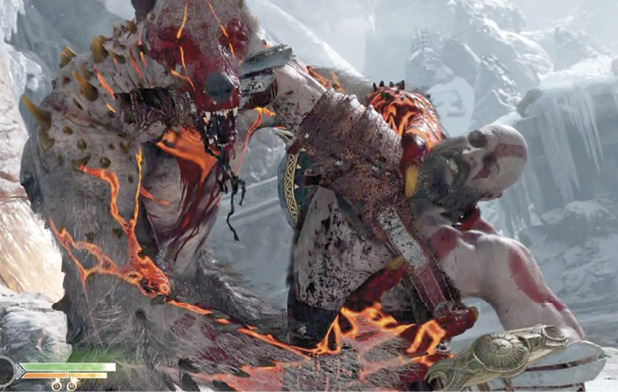
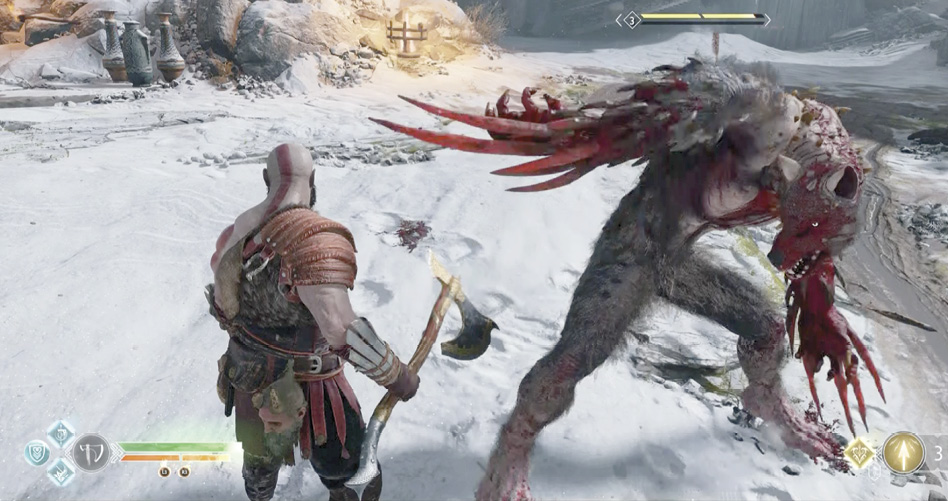
Nail the Wulver repeatedly from long range using Atreus’ Shock Arrows first to stagger it in place, then follow with Leviathan tosses. (If you just throw the axe, the Wulver executes a nifty side-dodge.) This way you can keep your distance to take it down safely. Whenever the Wulver rises to howl, hit him immediately with Shock Arrows to interrupt the frenzy.
Soon a second Wulver leaps down into the clearing and rushes to attack. If the creature gets into close range, your shield can block its first swipe. But the hit is so powerful that it can stagger Kratos, leaving him wide open for a deadly follow-up slash. Roll to evade the Wulver’s claws, back away, and keep Atreus firing Shock Arrows to jolt the beast. When it staggers with electricity, nail it with Leviathan!
Use the Ring to Advance
After you clear the dock area, Atreus warms his hand at a fire next to another locked Hidden Chamber of Odin. Look up at a great red crystal glimmering in the Giant’s ring (10). That looks like Shatter Crystal, doesn’t it? Fire a Shock Arrow at it to trigger an explosion that drops the massive ring to the ground. The crystal dims for a second and then relights—it’s the regenerating type!
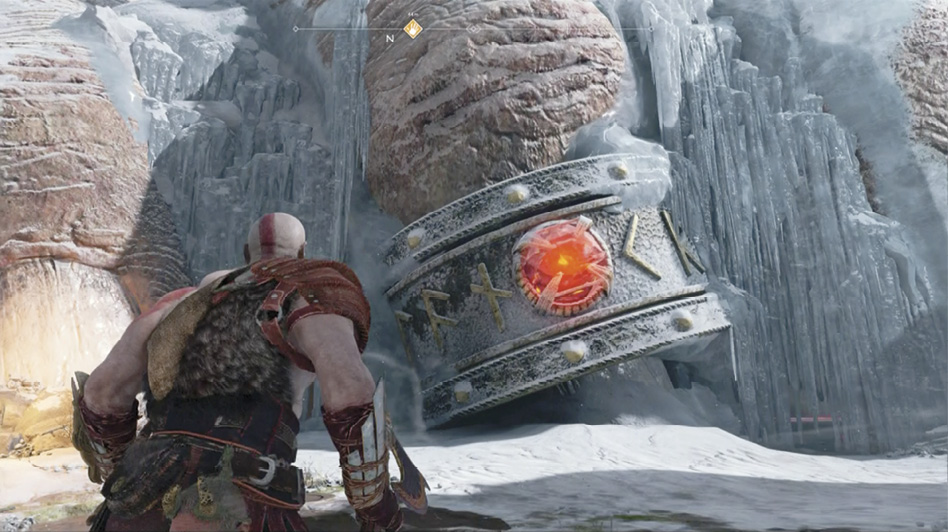
Grab the big ring and rotate it to the right as far as it will go; a curtain of icicles stops the turning. Step back and fire another Shock Arrow at the crystal to shatter the icicles. This opens a passage into an alcove that holds a coffin.
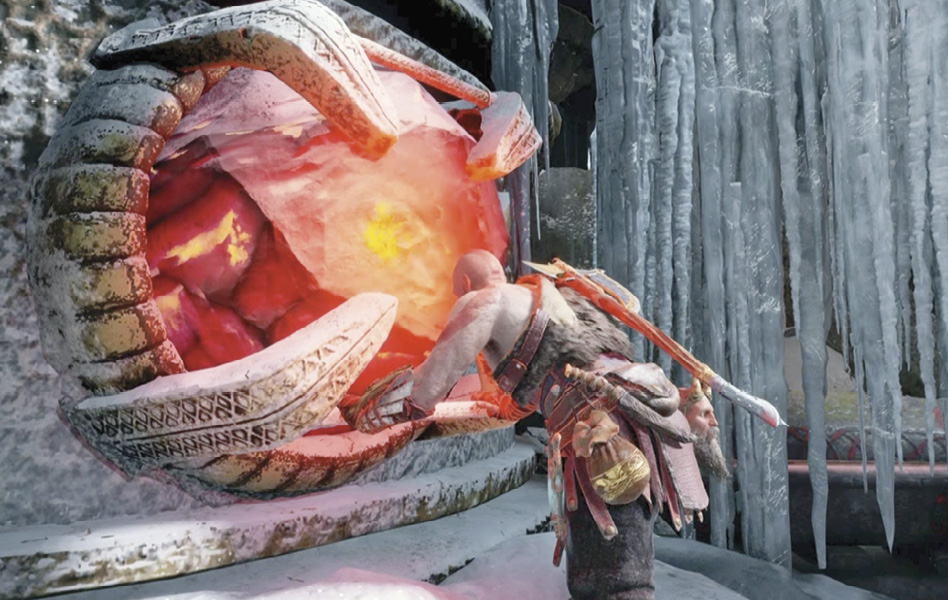
Then rotate the ring all the way to the left and shoot its crystal with another Shock Arrow. This blasts open a passage that runs around the ring to a chain (11).
Climb down the chain into what looks like the collapsed remains of an armory with another locked chisel door. (You’ll be able to open these soon.) Knock down the hanging bucket of Hacksilver, then climb up the low back wall (12) to find a curving passage.
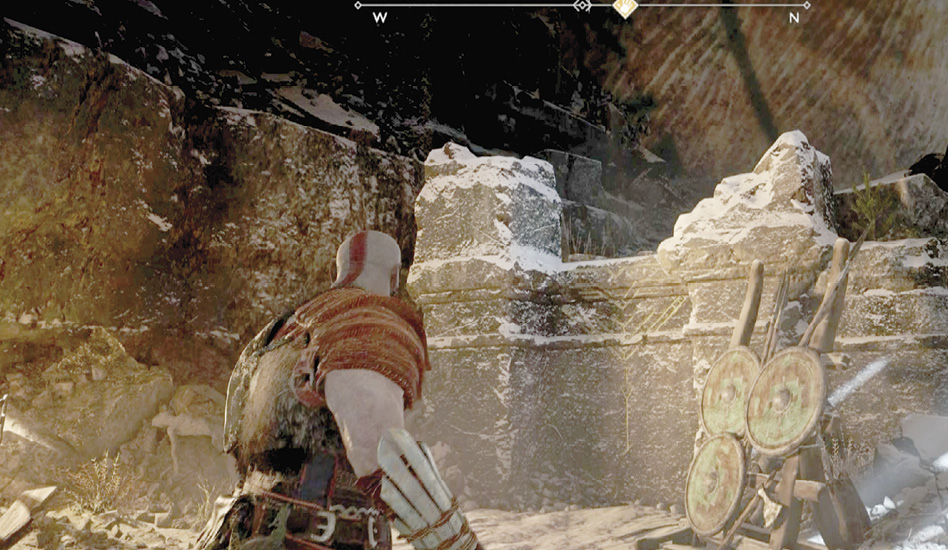
Follow the passage up to another chain (13). First, find the coffin just past the chain in a back alcove. Then climb the chain to the top to see an expanse of frozen lake and poor Thamur—hammer in hand, Chisel in head. Mimir says you must find the tip of that massive Chisel to acquire the magic you need.
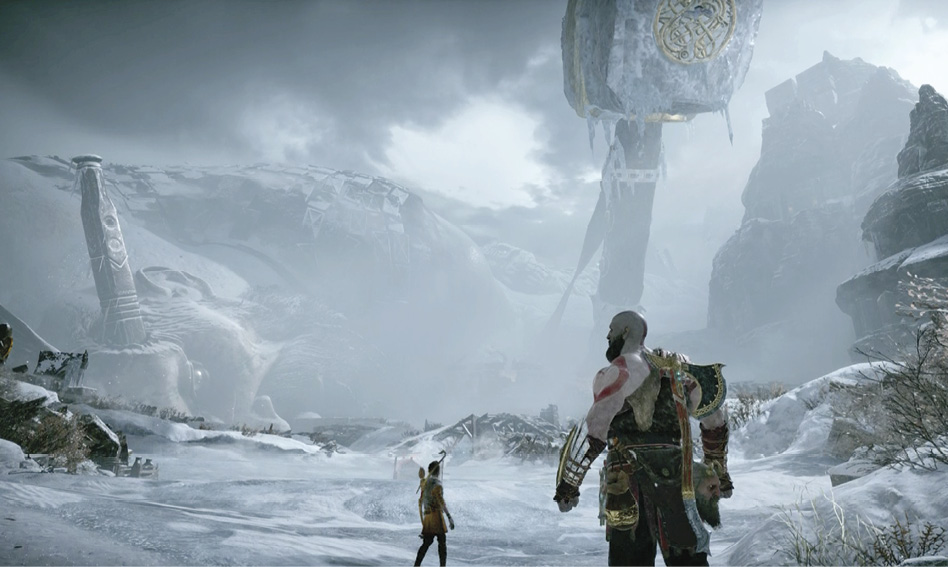
The Frozen Lake
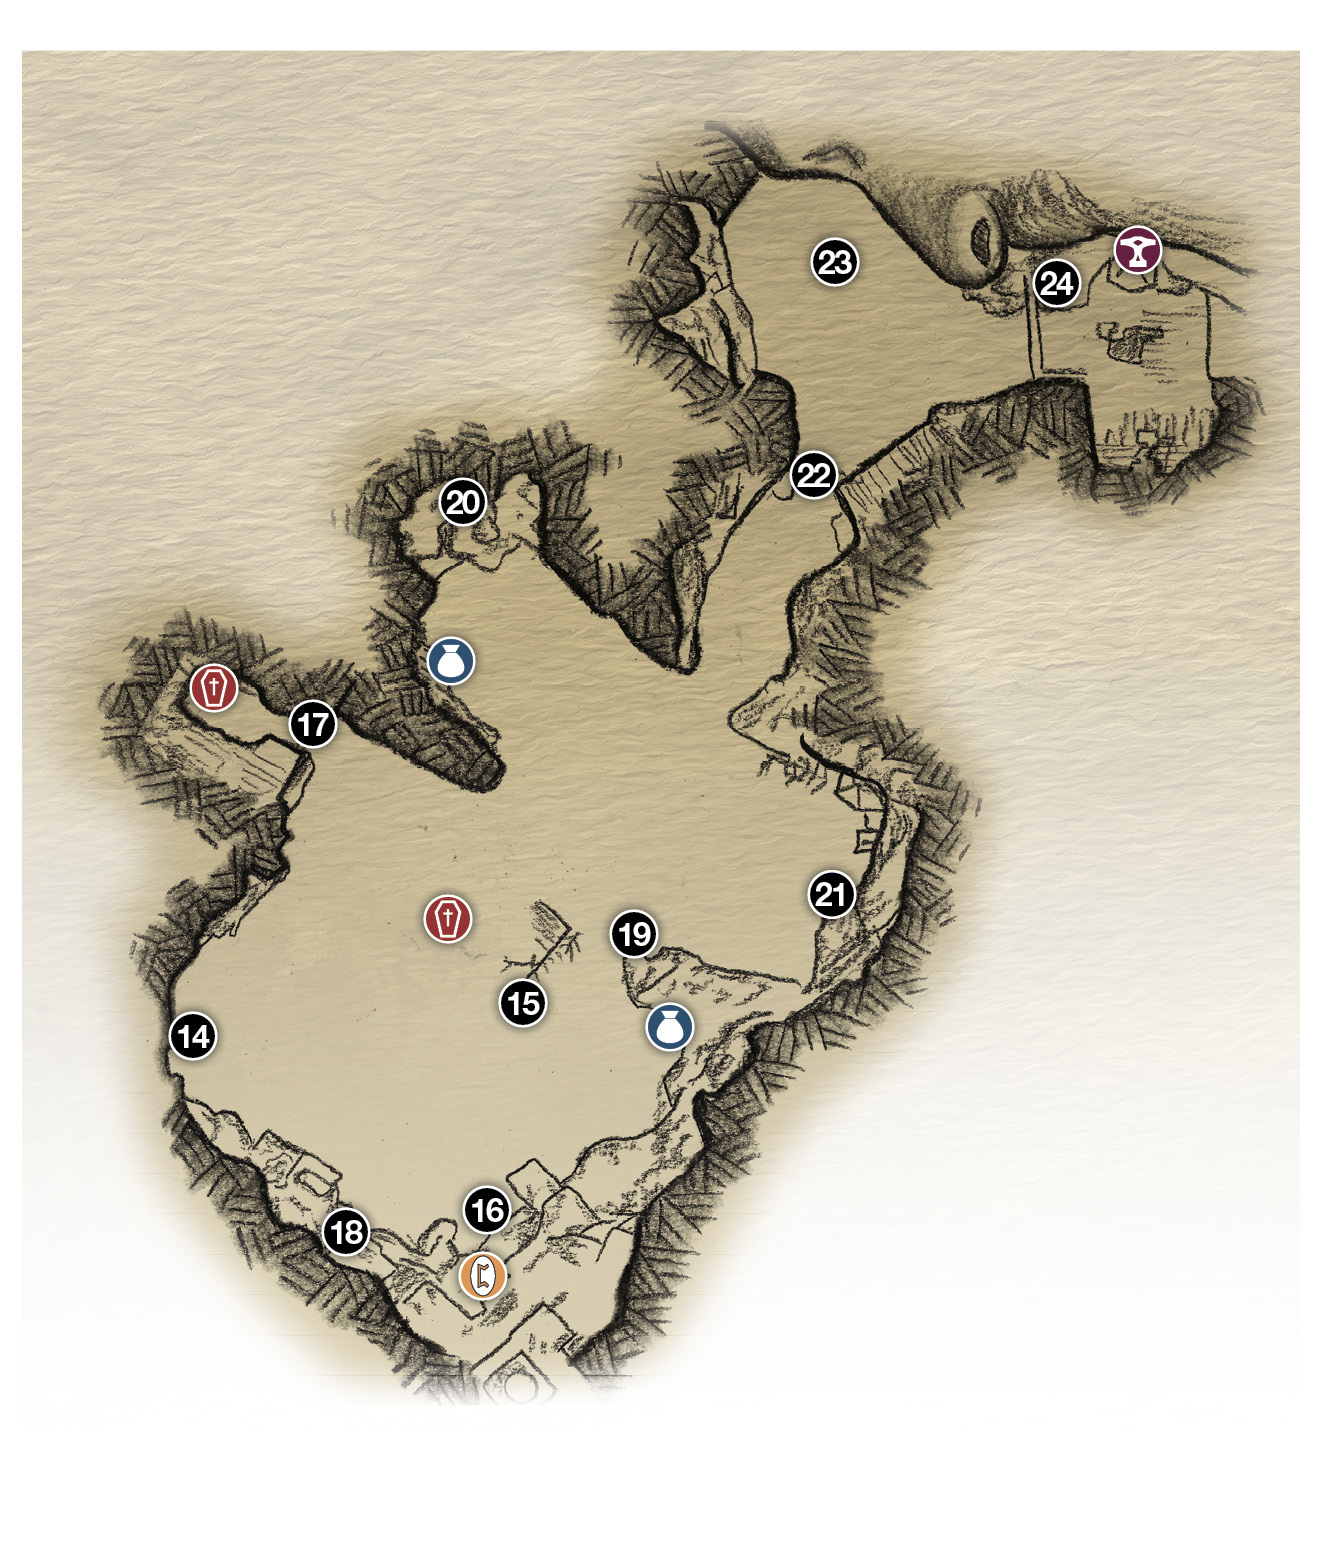
14. Exit from armory
15. Wulvers!
16. Lore Marker / Sap-embedded crystal
17. Runic Gate
18. Rune spinner
19. Shatter Crystal source
20. Rune spinner
21. Crystal base (bring crystal from (16))
22. Lift rock
23. Two-Ogre battle!
24. Climb chain to Sindri’s shop
 Chest
Chest
Coffin
 Lore
Lore
 Shop
Shop
OBJECTIVE: Retrieve a Piece of the Chisel
Clear the Frozen Lake
Another Wulver is feasting on flesh across the ice. Go terminate the creature, and be ready for a second Wulver to strike. (They often travel in pairs.)
When both Wulvers are deceased, explore the lake, looting the coffin in the center of the yard, and a couple of chests as well. Then go stand below the Lore Marker (16) inset on the wall of the ruins. Direct Atreus to translate.
Open the Runic Gate
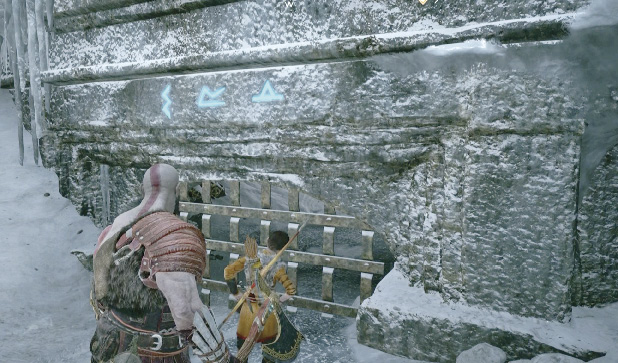
Approach the heavy gate (17) to see three runes glowing above it and a coffin glittering in the chamber behind the gate. This is not a standard Nornir Chest, but you solve it the same way—find and break all three runic seals to unseal the gate. To break the magic seal, you rotate three disc spinners until the correct rune is displayed on each one. Here’s the solution:
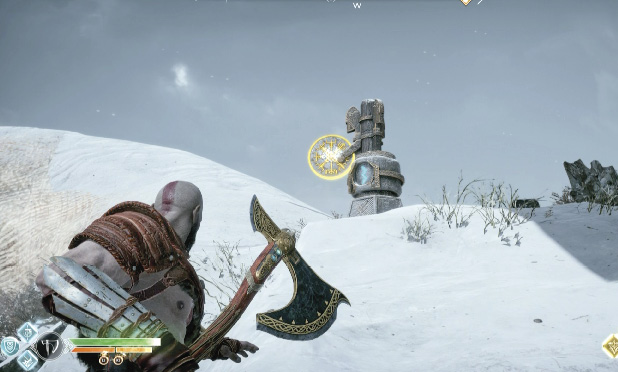
- One disc spinner is to the left of the sealed gate (17). Toss Leviathan at the glowing disc to turn the spinner once. But you need to turn it once more, and now the disc has rotated behind the spinner. Head over to the left until you get a throwing angle at the disc, then hit it a second time. Now the correct rune is displayed. One seal broken, two to go.
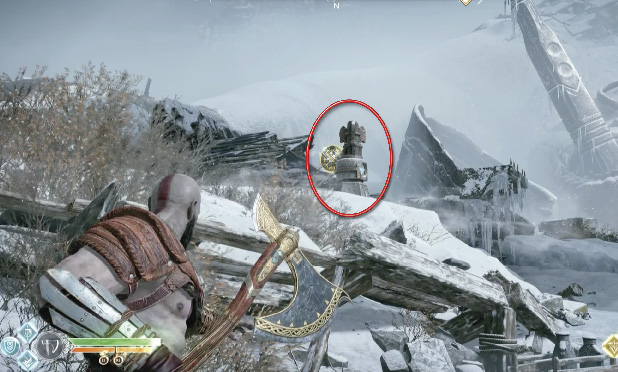
- Next, find a two-panel spinner (18) atop the ruins across the lake, not far from the Lore Marker. Throw Leviathan at the gouged wooden panel to rotate the spinner, and immediately recall the axe. Rotating this first spinner raises a disc spinner just to the left. Quickly toss Leviathan once at this second spinner’s right-side disc to display the correct rune.
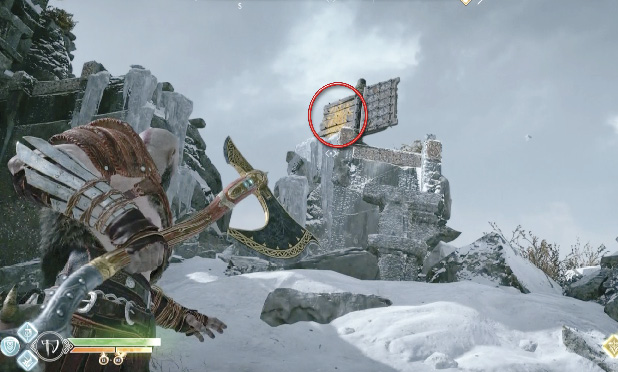
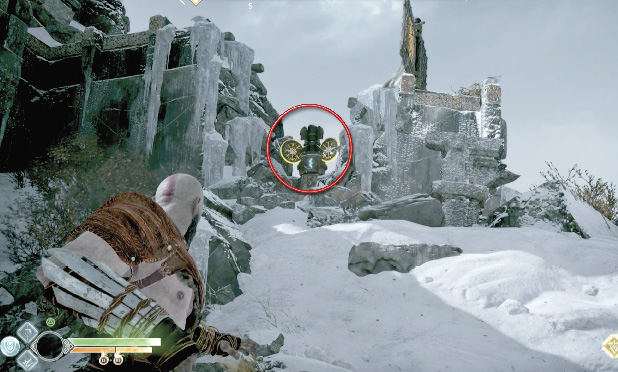
- Finally, find the Yggdrasil root (19) on the lake’s edge and grab a chunk of Shatter Crystal. Throw it at the red sap barrier across the lake (20) and detonate it with a Shock Arrow. This disentangles a disc spinner from the roots. Throw Leviathan once at the left disc to display the correct rune. The heavy gate automatically opens, and you can loot the coffin inside for a Legendary Enchantment.
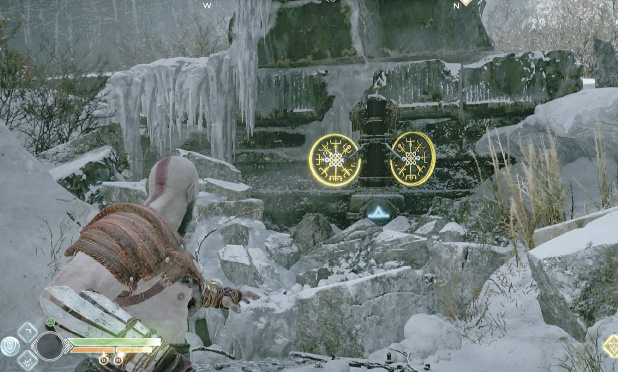
Find the Realm Tear
Return to the Yggdrasil root and grab another Shatter Crystal (19). Toss it at the red sap dripping down the ruins just to the left of the Lore Marker (16) and detonate it with a Shock Arrow. The blast frees a crystal that drops to the ground.
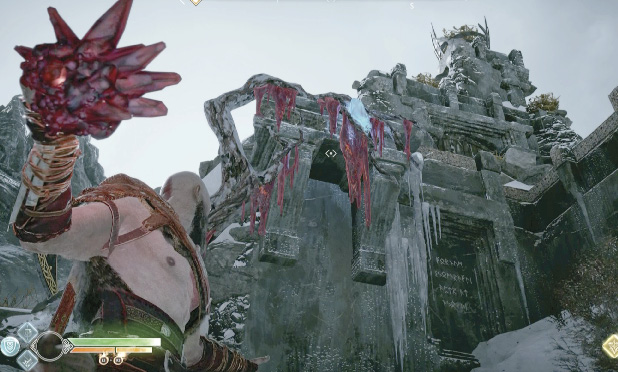
Pick up the loose crystal and go install it in the crystal stand (21) at the far edge of the lake. Toggle Atreus’ quiver to Light Arrows, and then fire one into the crystal. This activates a strange glittering energy sphere called a Realm Tear. In his journal, Atreus describes it as a “little tear in the fabric of reality.”
Approach it and press Circle when the button prompt appears; Kratos grabs the tear and pulls it closed. Doing this also bestows a rare substance, Dust of Realms, into your Resource inventory.
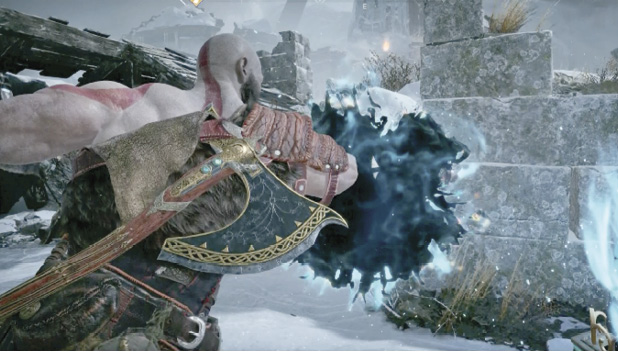
Get to the Thamur’s Head
Exit up the ravine to the northeast. As you approach a corner (22), a stone corner column falls over, blocking the passage, and a new flying foe hovers in to attack. The Ice Nightmare—the Hel-walker variant of the Nightmare—spits painful bluish projectiles that inflict both physical damage and slow you with freezing. As always with Nightmares, rely on Atreus’ uncanny marksmanship to knock them down.
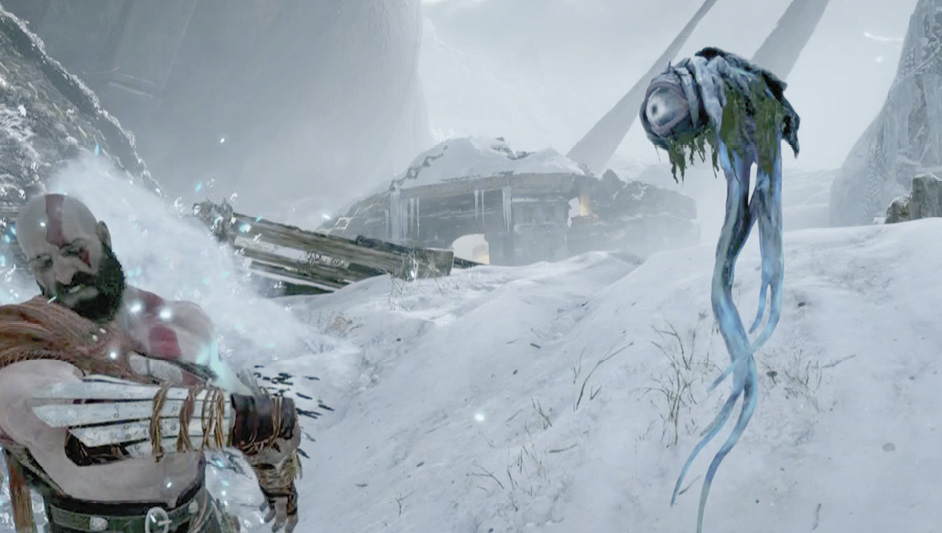
When the sky is clear of icy fliers, pick up the big rock and move into the next area (23). The travelers spot the glowing tip of Thamur’s great Chisel under the lake ice. It will take quite a powerful smash to break through that surface, but Kratos has an idea.
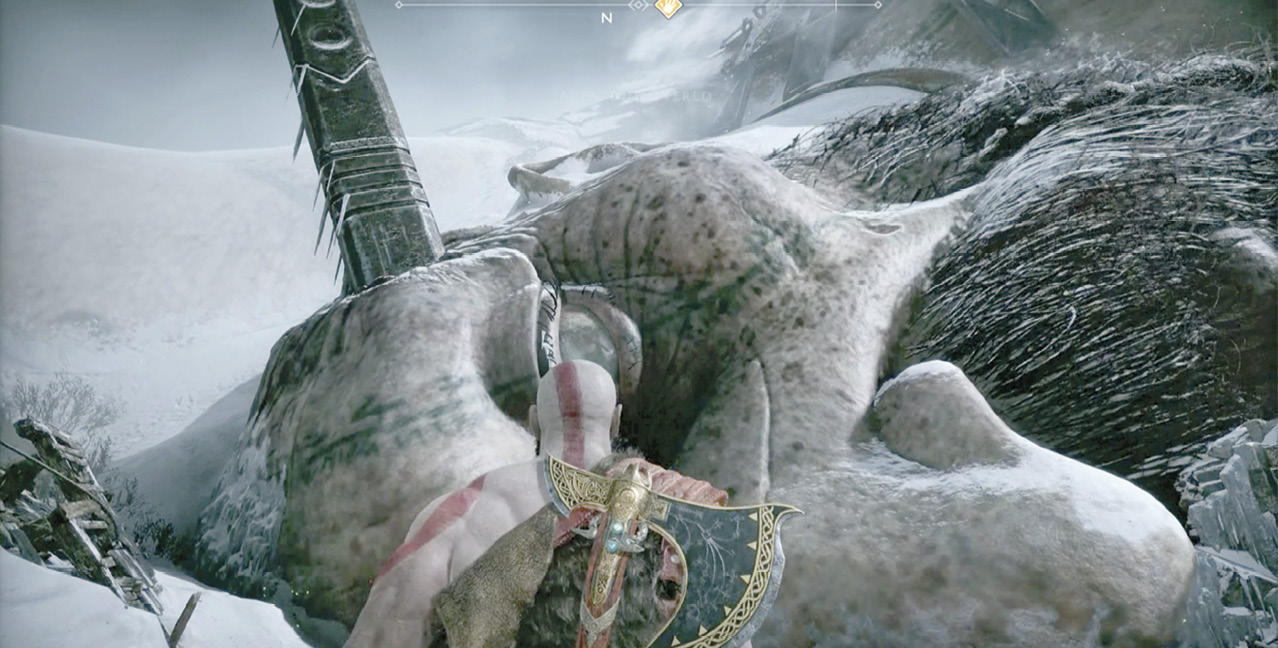
OBJECTIVE: Find a Way to Break the Ice
First, however, you’ve got some serious business to transact with a nasty mob of monsters. First up is a mixed squad of Draugr—a big Heavy Draugr swinging a two-handed hammer, a projectile thrower, and some speed-enhanced soldiers with shields to make things more difficult. This is not an easy fight, so use your agility frequently to roll out of trouble.
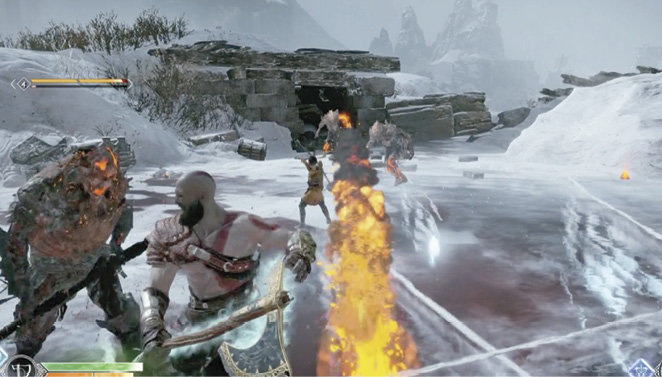
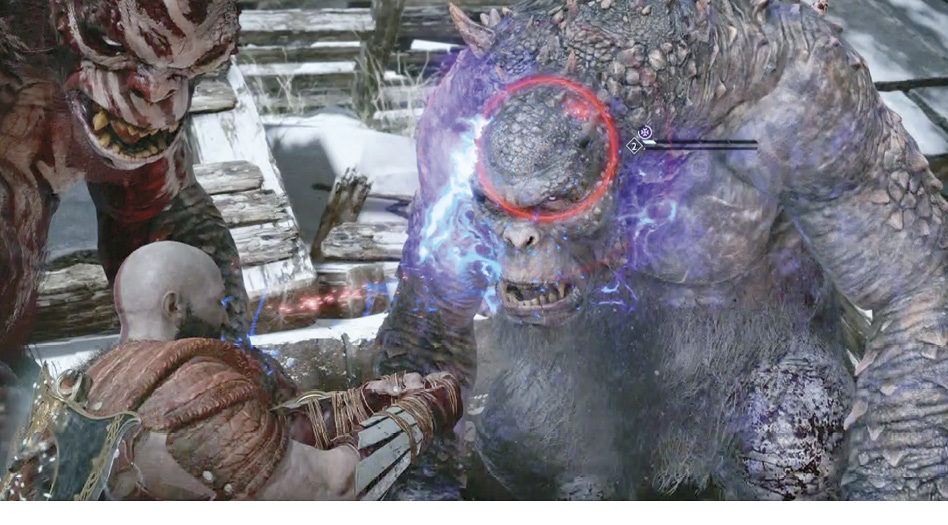
But that’s just the start. More Draugr warriors start pouring onto the ice, joined by two furious Ogres. To survive this onslaught, you need to do three things: keep hitting and rolling; keep stomping on green Healthstones, which are plentiful in this fight; and when it’s available and the time is right, unleash your Spartan Rage.
OBJECTIVE: Talk to Sindri
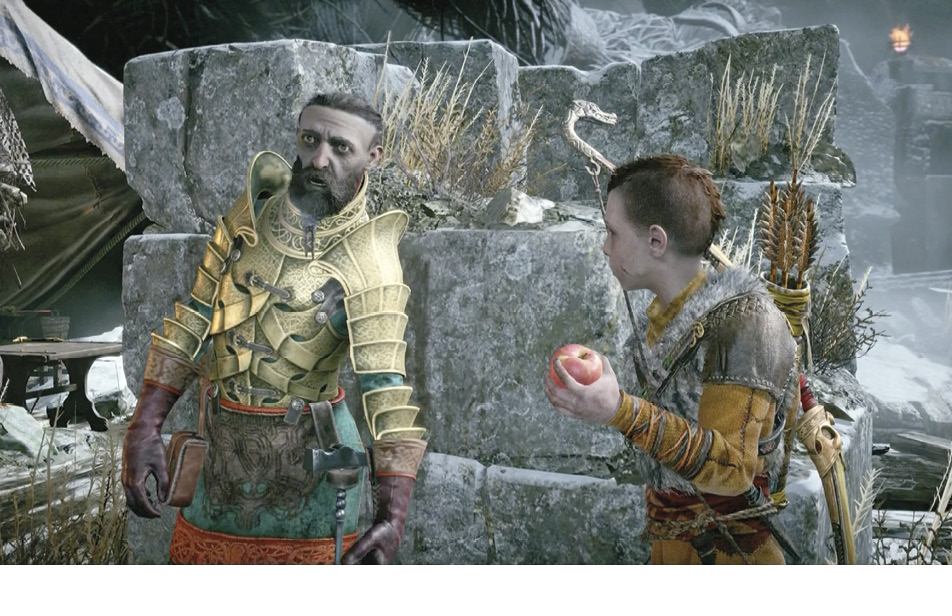
After the fight, Sindri appears and drops a chain down from a high platform (24). Climb up to trigger a scene: Sindri explains how it is that the Huldra Brothers can set up shop so quickly in so many places. Their ability to “slip between realms” at will lets them travel fast and pop out of sight. Then Sindri adds another Mark of the Dwarves to Leviathan.
Route to Thamur’s Hammer
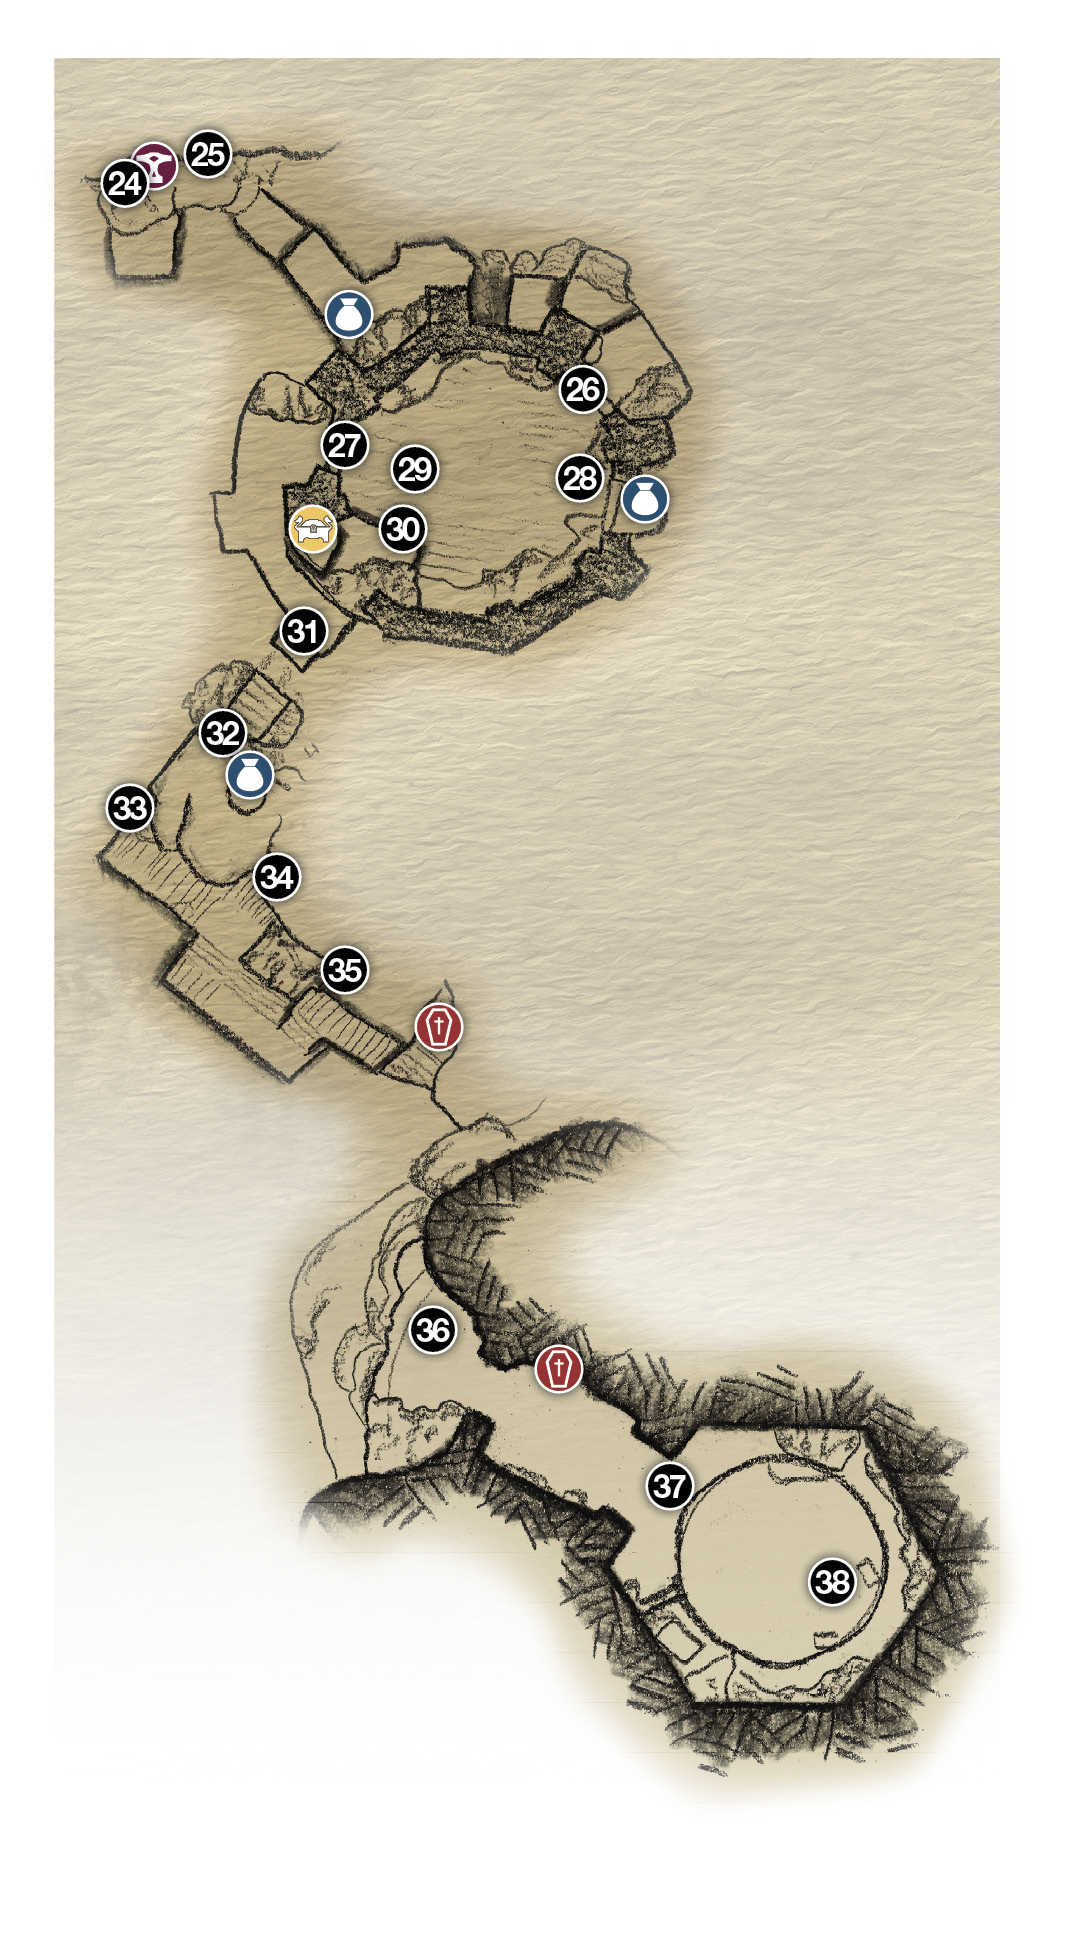
24. Climb chain to Sindri’s Shop
25. Braid-ring
26. Arena entry (Traveler fight!)
27. Movable stone block
28. Move block here
29. Move block here
30. Jump here from sword sculpture (coffin)
31. Jump point to (32)
32. Climb wall
33. Roof access
34. Shatter Crystal in buckle (start)
35. Buckle ends up here
36. Entry Porch
37. Rising floor (after puzzle solved)
38. Sand bowl
 Chest
Chest
 Coffin
 Legendary Chest
 Shop
Shop
OBJECTIVE: Find a Way to the Hammer
Kratos’ plan is to knock over Thamur’s gigantic Hammer onto the lake to smash through the ice. Spend some time at Sindri’s Shop upgrading stuff—make sure you get your chest armor’s socket filled with the best Enchantment to match your style, and upgrade the Talon Bow if you’ve got the resources—and then upgrade your Skills too.
Blast Thamur’s Beard Jewelry
When finished, look up to the right behind Sindri’s Shop tent. A bright red gem glows in a spinner ring that braids some of Thamur’s cable-thick beard hair. If you fire a Shock Arrow at the gem in the braid-ring, it explodes—it’s made of Shatter Crystal!
Turn right and note two more spinner braid-rings. The farthest ring has its gem spun toward you, but if you detonate it with another Shock Arrow nothing much happens. But the closer braid-ring (25) has its gem turned away. If you toss Leviathan at the ring’s spinner panel, it flips around in a full circle, giving you a brief glimpse of the Shatter Crystal gem.
Aim at the bottom-left edge of the spinner panel, toss the axe, and then quickly shoot a Shock Arrow as the gem spins into sight. The explosion knocks Thamur’s braid off the structure and clears a path forward.
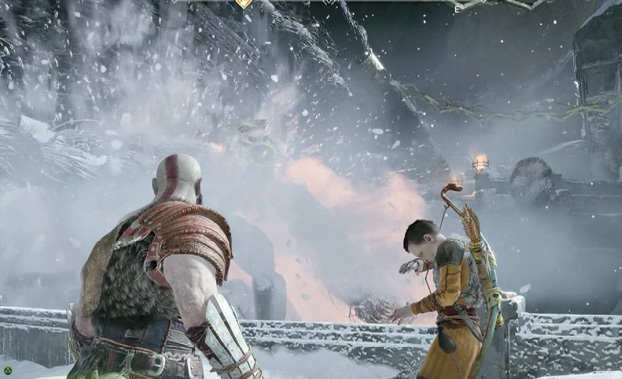
Hop across the gap between structures and follow the walkway up a pair of ledges. Approach the building where the giant chain enters and punch open the chest just outside. Then turn left and follow the walkway to the entry doors (26). Open the doors and step into the arena-like building.
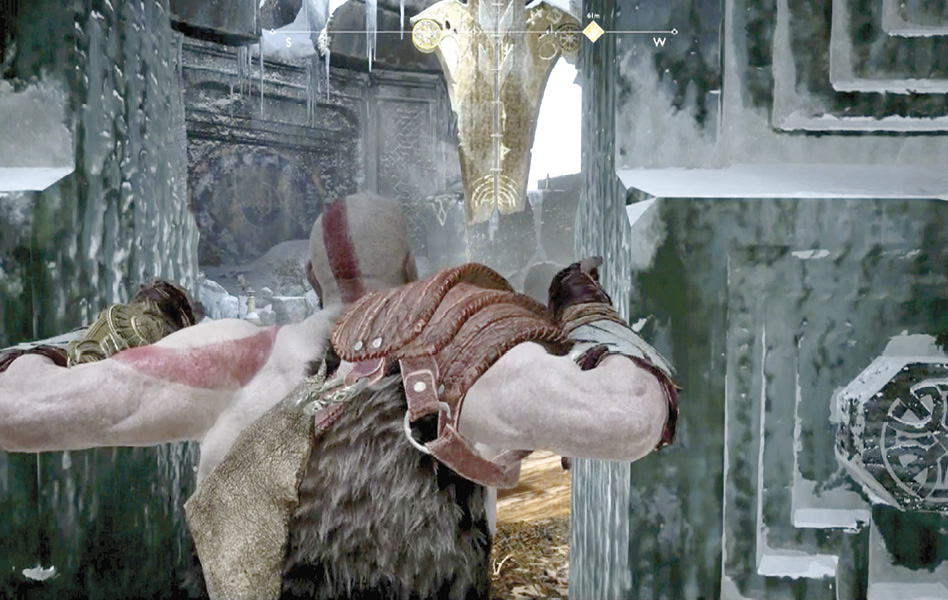
Defeat the Traveler CHAMPION!
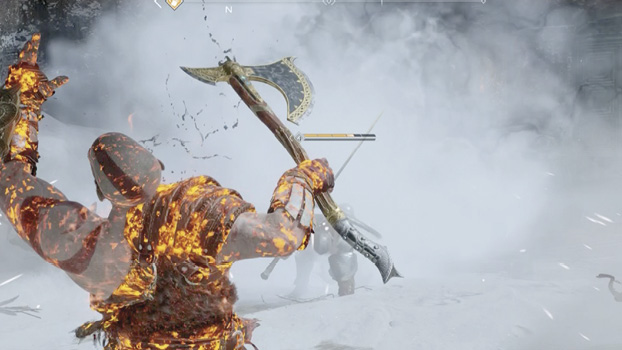
Inside, a new foe awaits—a powerful armored knight known as a Traveler Champion. (Check out our Traveler Champion notes on this page for an overview of his attacks and your best counters.) Don’t be fooled by the slow, backward march of his initial approach—when he suddenly swings, the strike comes lightning fast and hits with devastating force.
With a five-segment health bar, the Champion features impressive durability. To make matters worse, the shield slung across his back is impenetrable.
Traveler Champions have a devastating area attack as well. When the knight raises his glowing skull rune, try to nail it with a quick axe throw to interrupt the Seiðr spell he’s conjuring. Otherwise he slams the rune to the ground, unleashing a massive energy burst that inflicts heavy damage as well as Burning unless you can block it.
Once you knock down the Traveler Champion’s health bar a bit, he starts getting help from fellow Seiðr warriors, the poison-tossing Shadows. When their projectiles are flying, a good tactic is to make one or two quick hits on a target, then roll away and repeat. This keeps you from getting stung by Shadow throws while you’re engaging the Traveler. But watch out for the Champion’s sudden, blazing dash across the arena, sword extended.
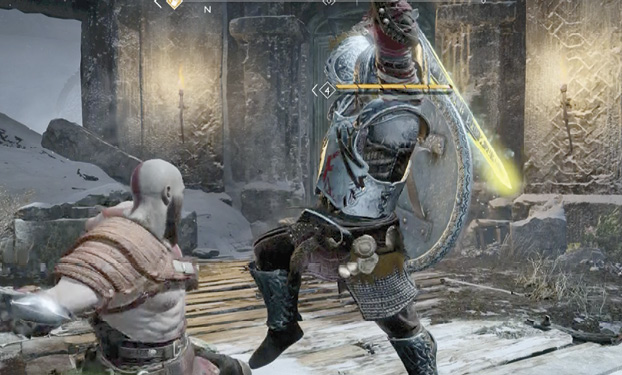
When the Traveler’s health bar drops into its final segment, the knight loses his helmet. Once the Traveler Champion finally falls and you’ve cleared out any remaining Shadows, scour the arena for pickups, including valuable new crafting items like the Traveler’s Armor Shards. (As Kratos says, “We will show them to the Dwarves.”)
Find Three Chests
Go grab the handle on the huge stone (27) and pull it out of the doorway it blocks. If you step out that doorway and head to the left, you reach a marked jump point (31). But before you make that leap, you can find a pair of chests back inside the arena structure.
First, pull the block as far as it will go (28) across the room. Climb on top and jump through the hole in the wall to loot a chest on the balcony just outside. Then hop back down and push the stone block back as close to the doorway as possible without barricading it (29).
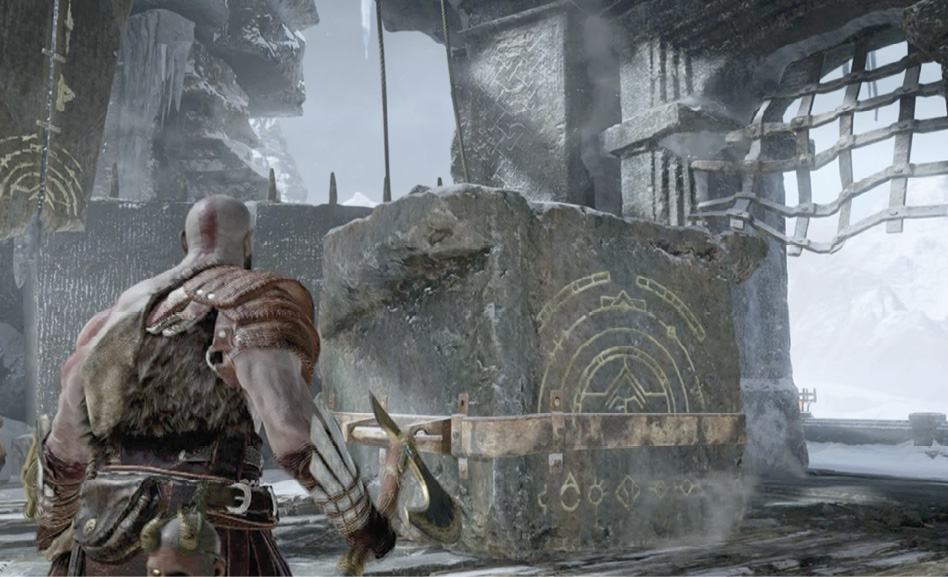
Face the giant sword sculpture and toss Leviathan at its rightmost disc (circled) to spin the sword rightward one turn. Climb back atop the stone block and leap across to grab a handhold on the big sword sculpture. Climb to the top, slide to the right, and then jump down onto the platform below (30) to find a gleaming Legendary Chest.
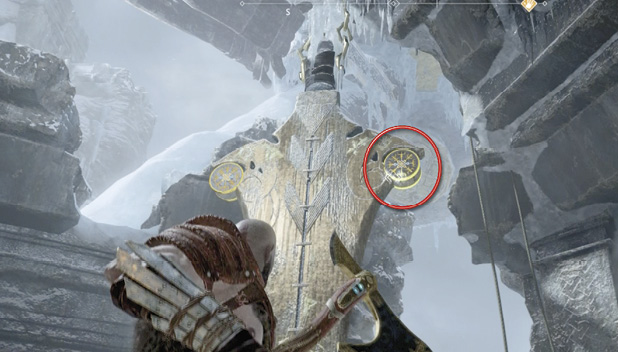
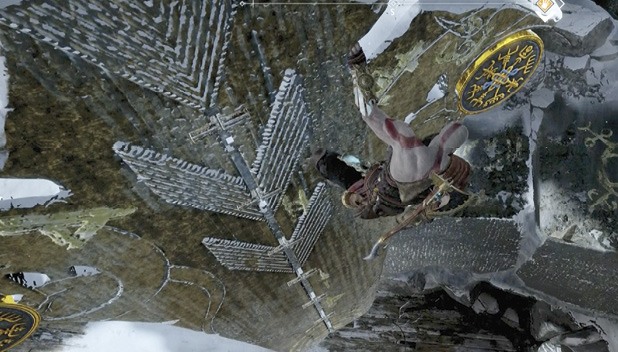
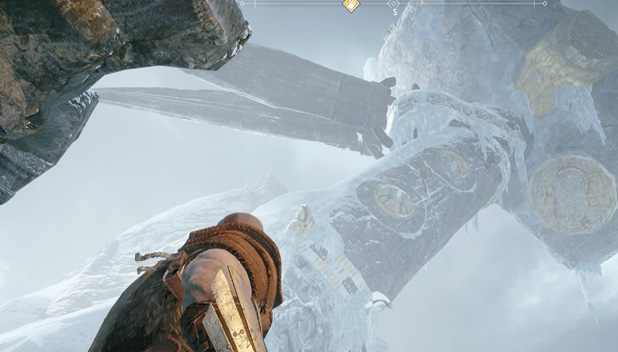
Drop back down to the floor inside, exit the doorway (27), and return to the marked jump point (31). (If you look up, you can see Thamur’s massive hammer looming above you, held in place by two restraining straps.) Hop across the gap to grab the wall (32). Shimmy to the left and down to reach a doorway into a small wrecked chamber with another chest inside.
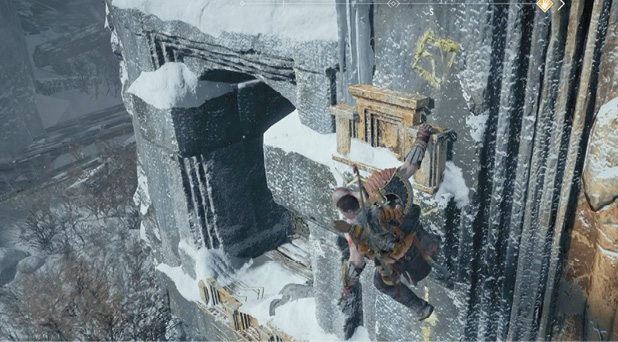
Break the Hammer’s First Strap
Exit the wrecked chamber and start climbing again. This time work your way upward and to the right, climbing around the corner of the structure until you can crawl up onto the roof (33). You see a gargantuan decorative strap hanging loose from the handle of Thamur’s hammer far above. At the strap’s bottom, it has a huge red gem embedded in a buckle (34).
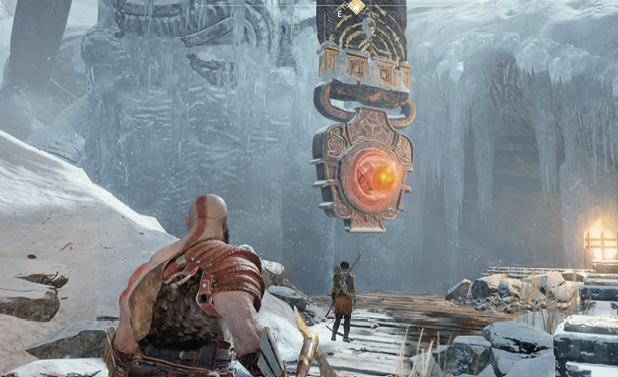
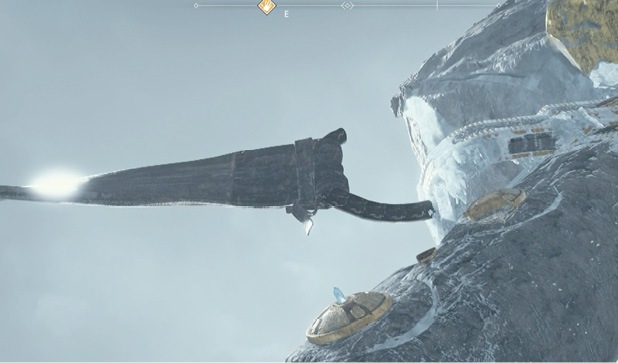
The gem, of course, is made of Shatter Crystal, the regenerating kind. Approach the buckle and press Circle to give it a push and watch it swing close to the ice-encrusted handle of the Hammer. Push the buckle again, but this time fire a Shock Arrow into the gem as it swings closest to the handle. The explosion shatters some but not all of the ice. Repeat this procedure a second time to shatter the remaining ice. Watch as one of the restraining straps on the hammer tears loose. Unfortunately, the other one remains attached, though barely!
OBJECTIVE: Make Your Way Up the Hammer
Follow the wooden walkway to the buckle (35) and shoot the gem with a Shock Arrow. This shatters a nearby curtain of icicles, opening a passage to a coffin. After you loot it, jump onto the buckle and climb the strap. When you reach where the strap connects to the handle, climb rightward around the handle’s curve. Then continue upward to the small tunnel-like opening through the handle. Enter the tunnel, proceed to the other end, and kick out the covering to see a spectacular overview of the frozen lake below.
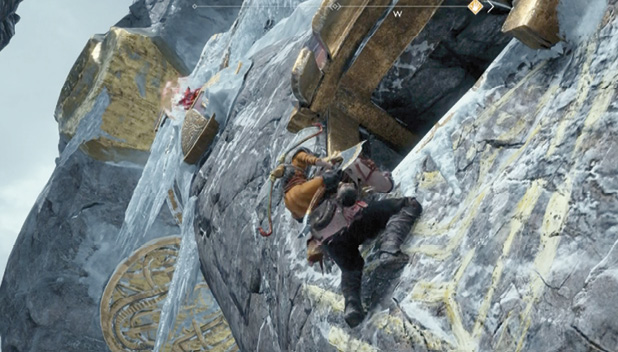
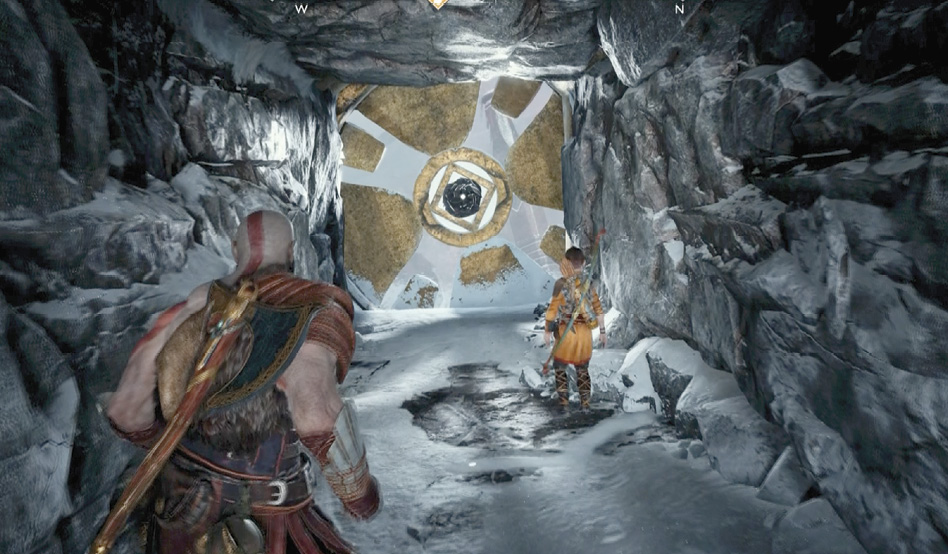
Turn left and grab the wall, then climb outside the handle again, working your way up until you reach another tunnel-like opening. Enter that to see a Shatter Crystal blocking the far end. Fire a Shock Arrow into that crystal to blast an opening. At the end, turn right and climb up the handle yet again.
OBJECTIVE: Release the Strap
At the top, you can see where the remaining strap is still attached to the hammer’s handle by a broken piece of the strap ring. Approach the ring and press Circle to grab it, then tap Circle rapidly to fling it off. As the strap falls away, Kratos and Atreus leap to the entry porch (36) of a nearby tower…but unfortunately, the Giant’s hammer falls sideways, and its head ends up leaning against the cliff next to it!
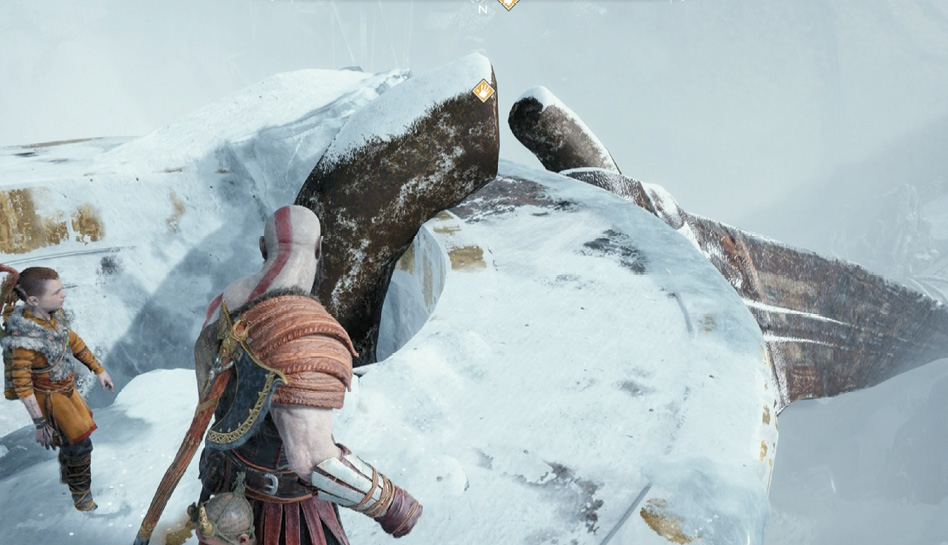
OBJECTIVE: Find a Way to the Hammer’s Head
Solve the “Seasons” Puzzle
Enter the tower to find a coffin just inside. Loot it and step to the edge of a big hexagonal chamber (37) with a collapsed circular floor and a sand bowl (38) on the far side. Four framed symbols depict the four seasons across the far wall; each frame has discs underneath that you can hit with Leviathan to change the season displayed. From the room entrance, veer right and smash the slats covering a small hole just big enough for Atreus. This gets the boy over to the sand bowl.
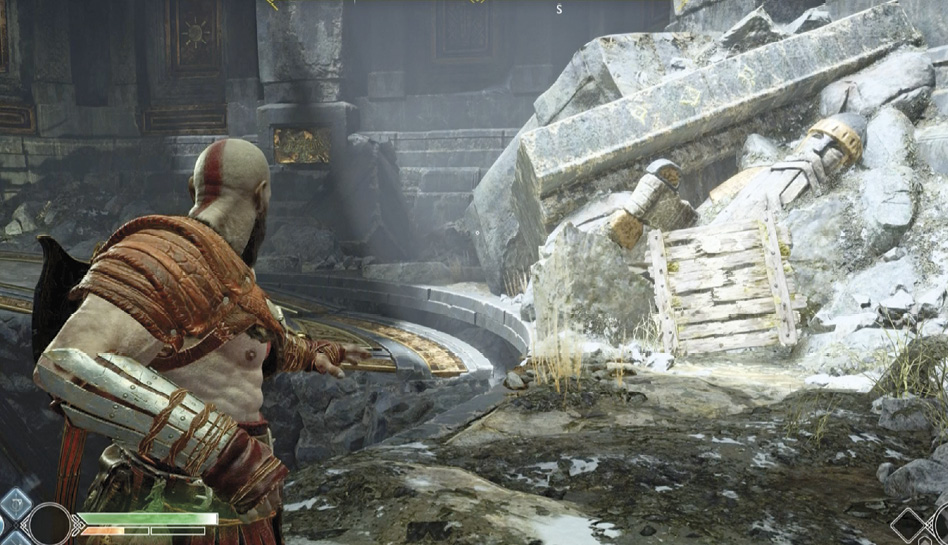
When Atreus reaches the bowl, press Square to have him read the riddle. Your task is to toss Leviathan at the discs underneath the portraits to change the seasons depicted until they’re arranged in reverse order—that is, from right to left—starting with Winter.
Here’s the solution pattern, from right to left:
- Under the first (rightmost) portrait, hit the discs to display the Winter snowflake symbol.
- Under the second portrait, hit the discs to display the Spring flower symbol.
- Under the third portrait, hit the discs to display the Summer sun symbol.
- Under the fourth (leftmost) portrait, hit the discs to display the Autumn leaf symbol.
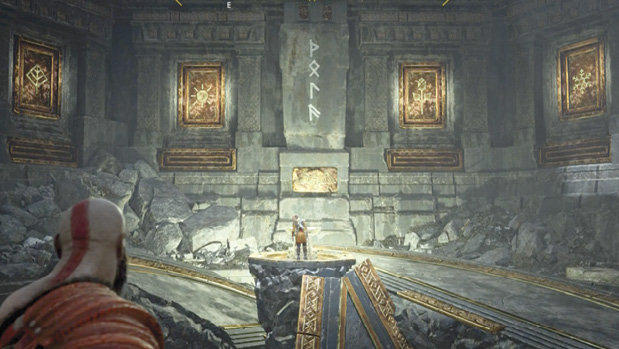
When you have the correct sequence, press Square to activate the puzzle—a rune word appears on the center column, and Atreus writes it in the sand to raise the floor, now reconstructed. Step aboard as the floor starts rising up the tower, powered by a strange sparkling energy.
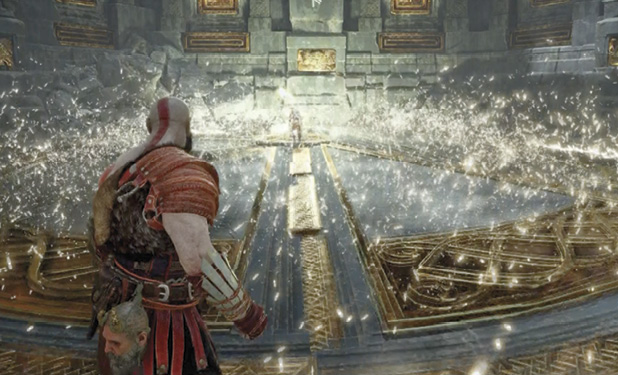
Defend the Platform…and Get Off in Time!
As long as Atreus keeps writing in the sand bowl, the strange Vanir energy lifting the platform remains constant. But like your earlier ride on the mining elevator back in the Mountain shaft, waves of attackers suddenly start dropping onto the rising platform, pulling Atreus away from the bowl to fight.
First Wave
First, a Draugr squad bursts through the symbol portraits on the tower wall. The first few attackers are lower-level swordsmen—some with Speed or Projectile enhancements added, but still relatively easy to crush swiftly. If you’ve been diligently upgrading Atreus’ bow level and Skills, he proves a stout ally in this kind of fight.
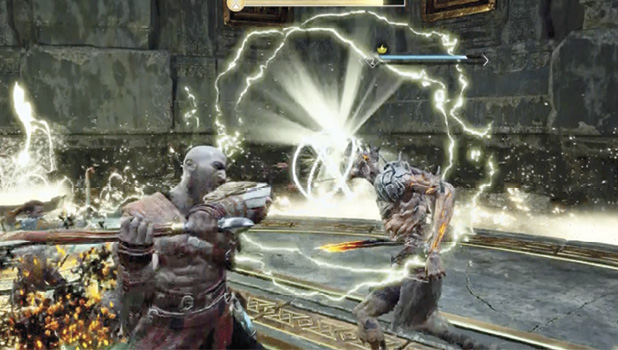
When the first enemy wave is finally broken, Atreus observes that the energy lifting the floor has depleted, and hustles back to write in the sand bowl to replenish it. During this breather, hurry around the platform grabbing pickups to boost your health and rage meters.
Second Wave
The next wave features more Draugr, including a dangerous Heavy with its two-handed battle axe. Once again, clear the platform before the timer bar runs out, or else the floor collapses under you.
Third Wave
The tough third wave starts with a swarm of Gloom Nightmares with their painful blinding spit. Popping Nightmares, of course, is Atreus’ specialty, so fire his bow at them as fast as he can generate arrows. Soon another Draugr squad drops in to join the wave attack—this time a crew of the Explosive type, followed by more Gloom Nightmares in support of a hissing Revenant. This is a good time to unleash your Spartan Rage, if available, to clear the platform quickly and cleanly.
Fourth Wave
As Atreus gets back to the sand bowl, look upward to see that you’re near the top of the tower now. Spot the pair of red Shatter Crystal gems hidden behind veils of icicles, one on either side of a stone balcony. Suddenly the icicles explode and a trio of Projectile Draugr step onto the balcony to fling fireballs down at you.
This projectile attack dislodges the sand bowl, which drops away. Atreus can no longer keep the Vanir magic flowing, and the yellow timer bar immediately drops close to zero. Your platform starts to grow unstable!
Now that Atreus is free to fight, quickly shoot a Shock Arrow into either one of the red gems up on the balcony to detonate it. The explosion rocks the tower, and a large chunk of the balcony drops away. Fire another Shock Arrow into the other gem to shatter the entire balcony under the Draugr, revealing a cracked wall. Sprint directly to the wall and climb it to escape the tower just as the floor collapses behind you.
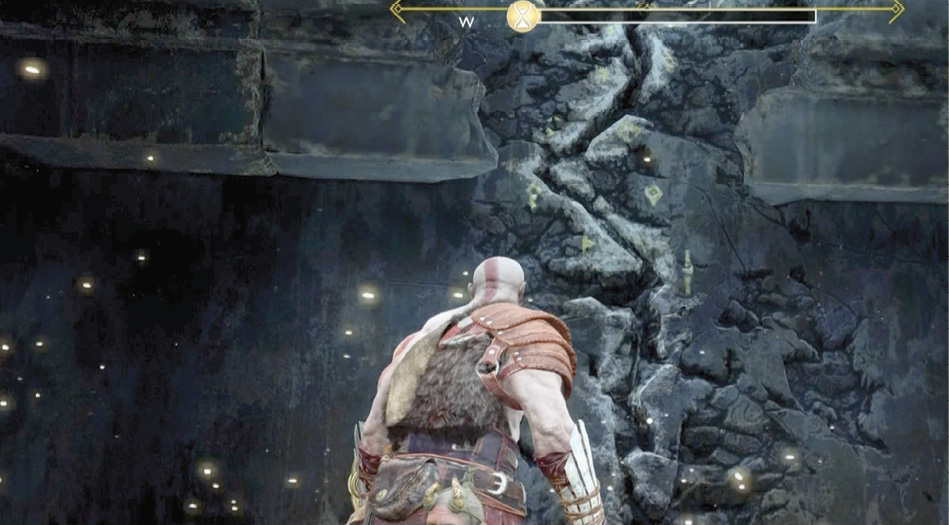
Jarl’s Stronghold
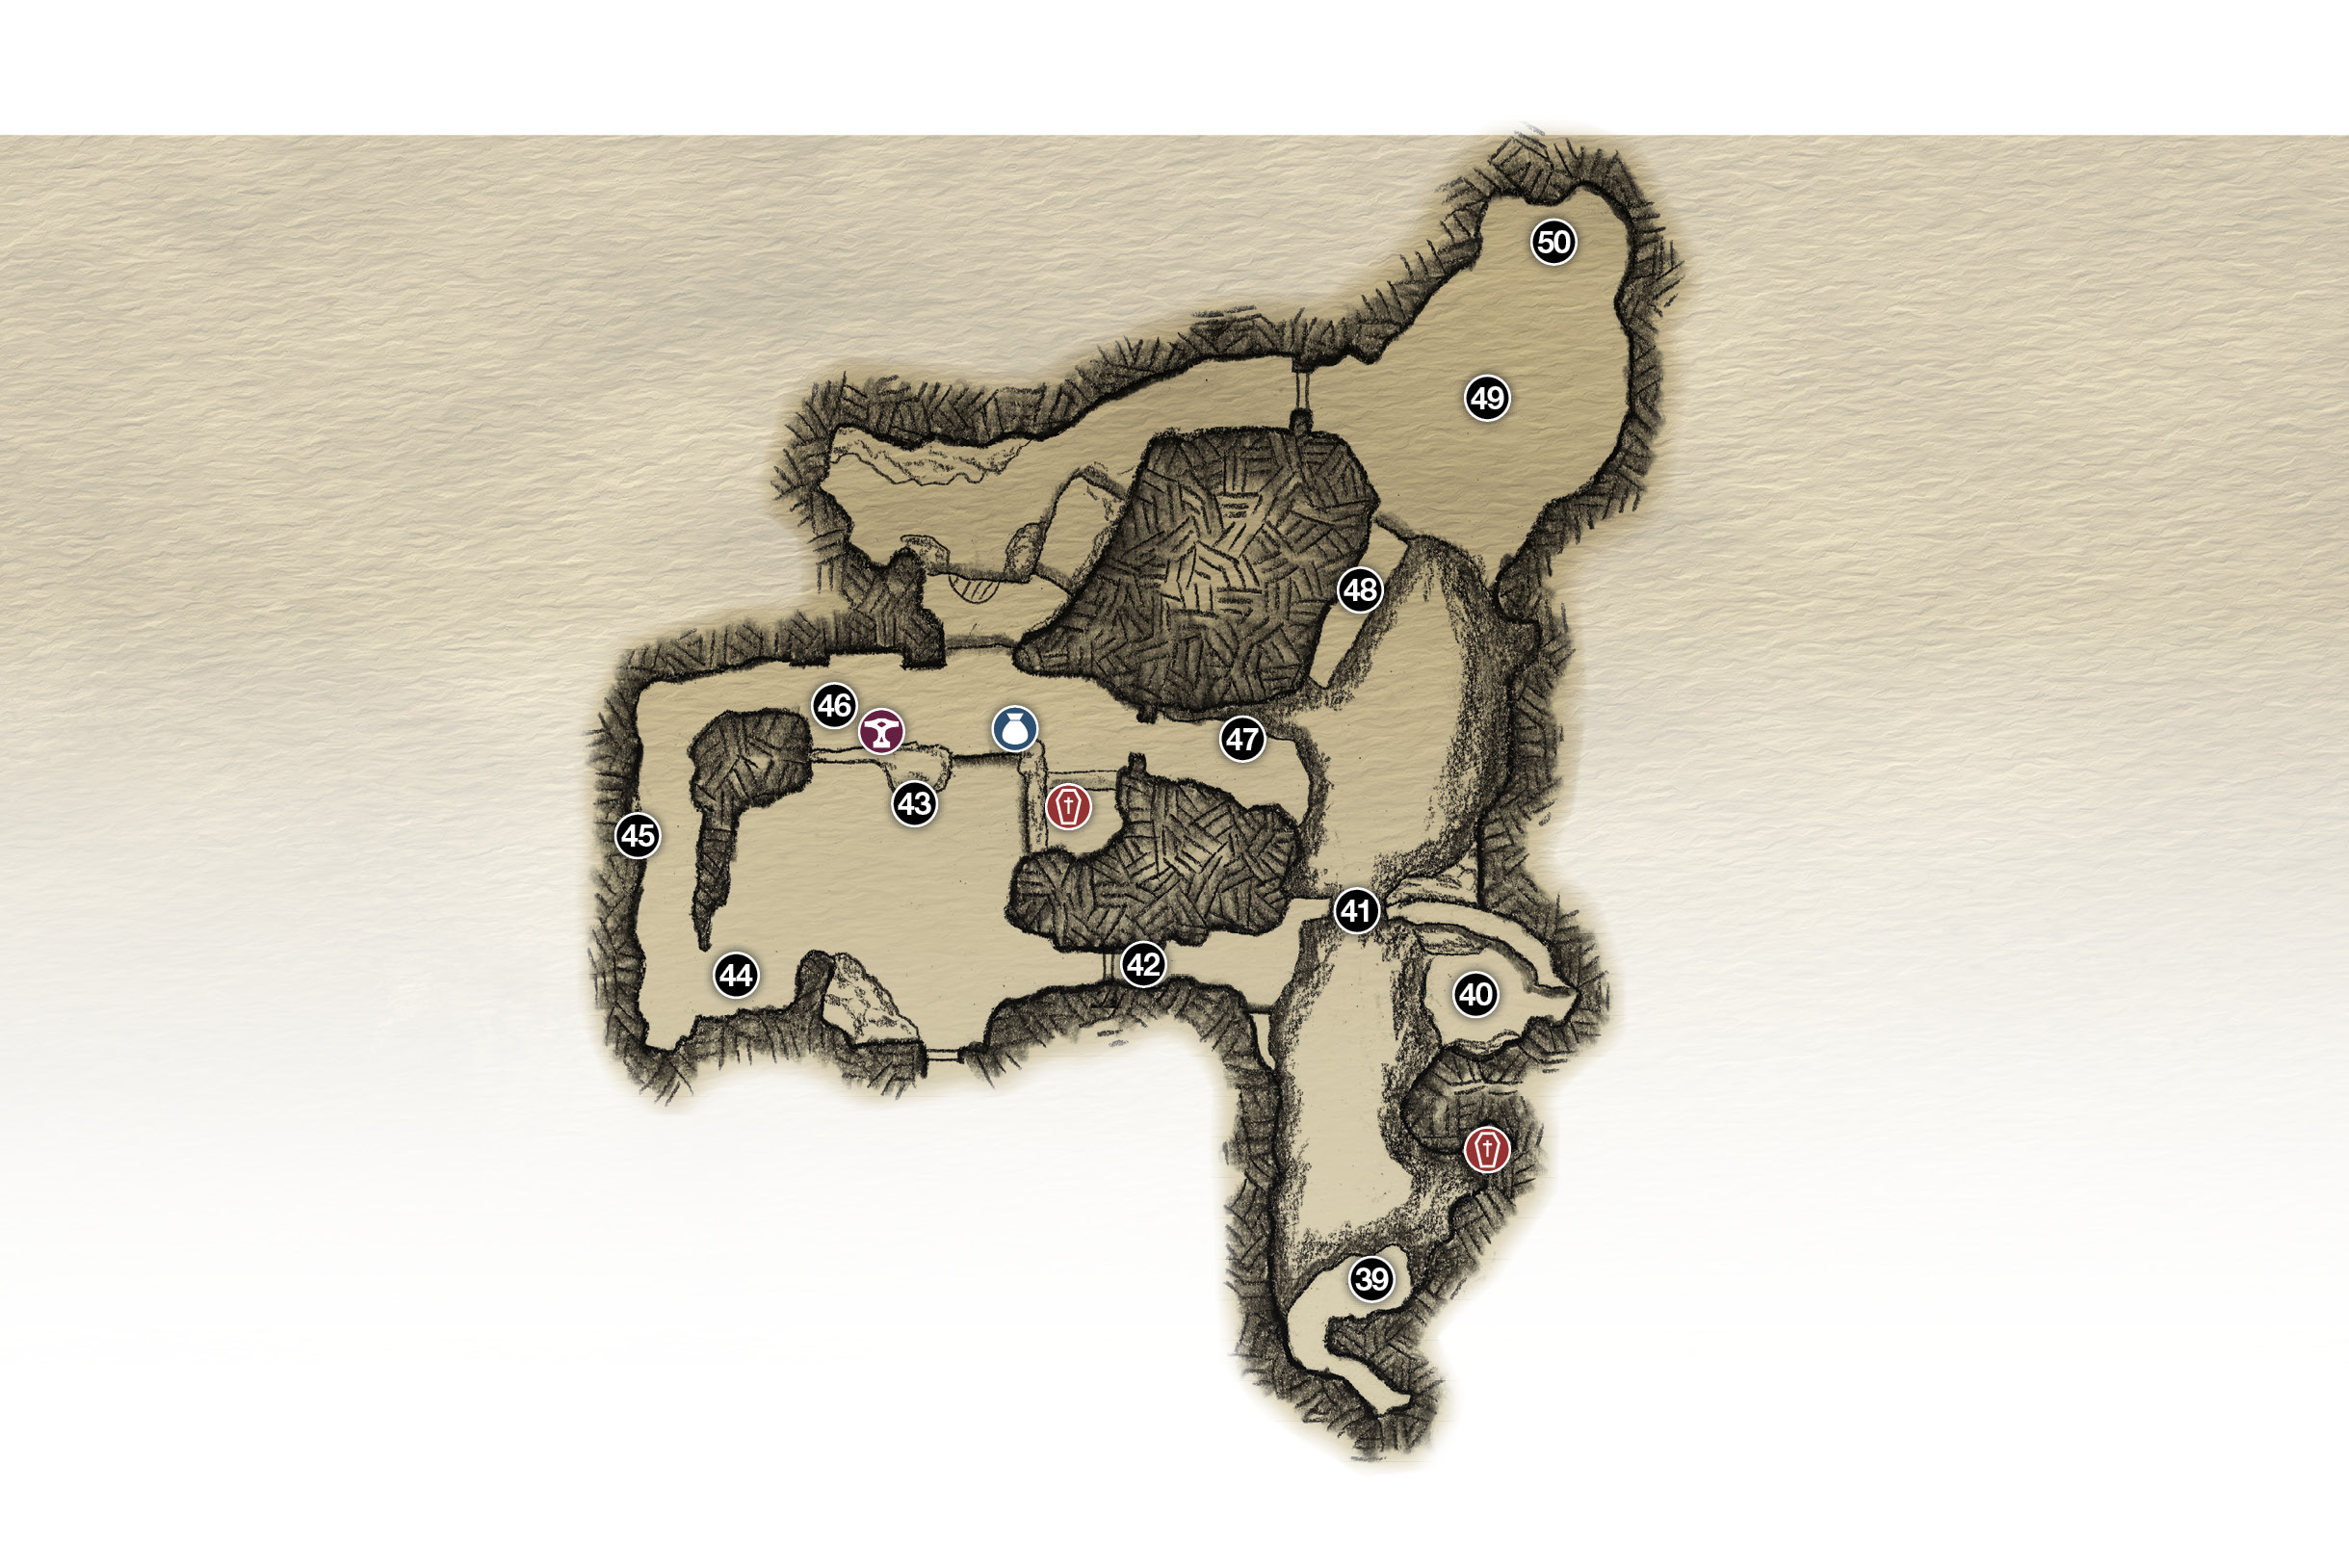
39. Emerge from under hammer
40. Old wooden platform
41. Jump across gap here
42. Dark tunnel
43. Banquet Hall
44. Climb block
45. Jarl’s throne
46. Sindri’s shop
47. Jump point
48. Wooden platform
49. Boss battle arena!
50. Magic Chisel
Chest
Coffin
Lore
 Shop
Shop
OBJECTIVE: Make Your Way to the Chisel
Get to the Banquet Hall
When the scene ends, creep out from underneath the hammer. When you emerge (39), you can see the glowing tip of the Chisel up ahead, protruding downward from poor Thamur’s head. Jump across to grab the pillar, and start climbing along the canyon. Just around the first corner, you can see a coffin in a grotto directly below you.
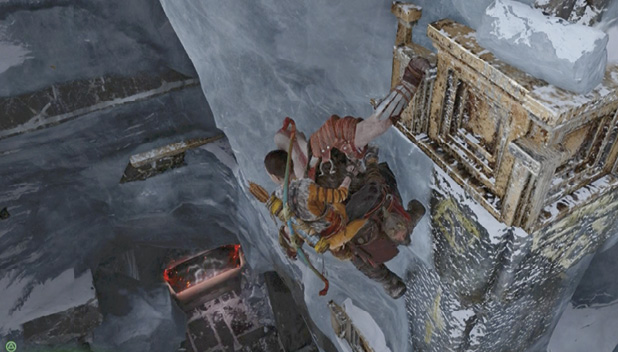
But to reach it, you must climb past it on the cliff above it (triggering a small avalanche), then swing around the next corner. You hear a conversation: two fellows, obviously looking for you. At the corner, drop down twice, then work your way back to the right to reach the grotto with the coffin. Then get back to climbing leftward until you can jump down onto a dilapidated wooden platform (40), where you find a green Healthstone.
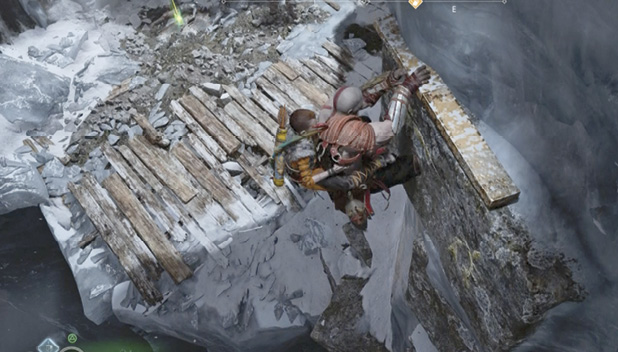
Cross the platform to the exposed pillar and climb up until you can jump off onto a marked rock ledge. Follow Atreus down the rocky path along the cliff’s edge and jump across the gap (41) left by a collapsed walkway. (Don’t miss the Hacksilver sack on the other side, to the left on top of a marked stone block.) Proceed through the doorsl (42) into a ruined, foul-smelling Banquet Hall.
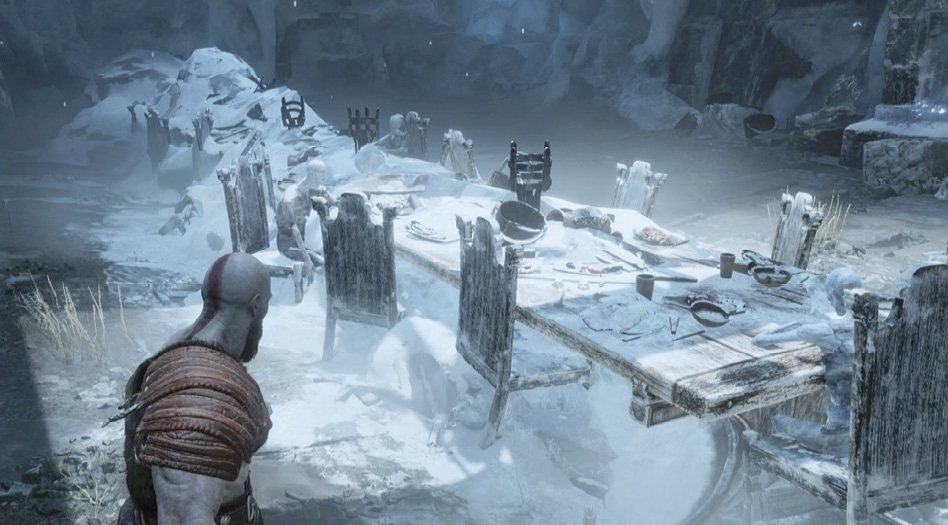
Blast Away the Ice Barriers
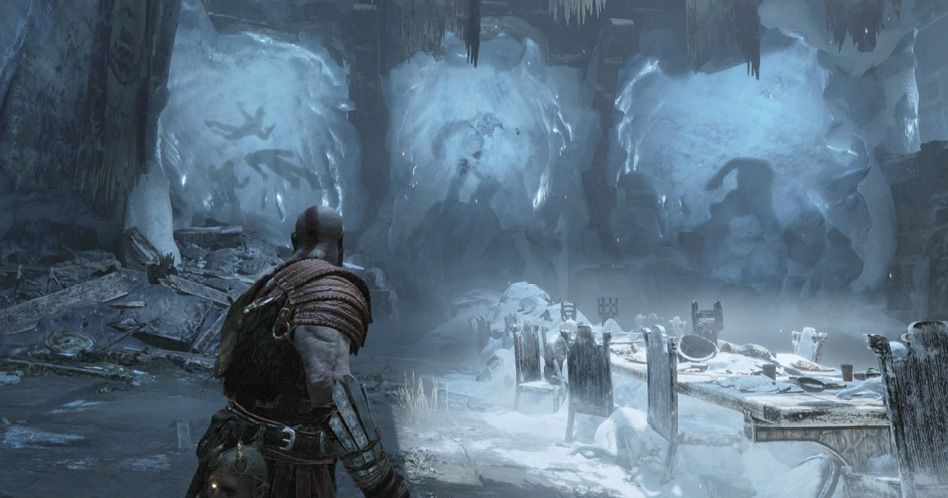
The Banquet Hall features an interesting (and disturbing) set of monster silhouettes frozen in the ice that seals shut three openings on the back wall. You also find another chisel door that you cannot open yet. Finally, note the explosive Shatter Crystal glimmering in the chandelier that’s frozen against the wall.
The solid, monster-filled ice wall blocks the way out of the hall, so you have to blast it out, section by section. Unfortunately, doing so thaws out the monsters, which emerge cold and angry about the whole situation. We describe how to take each section one at a time, but you can, of course, blast them all open for an extra challenge.
Here’s how to get the party started:
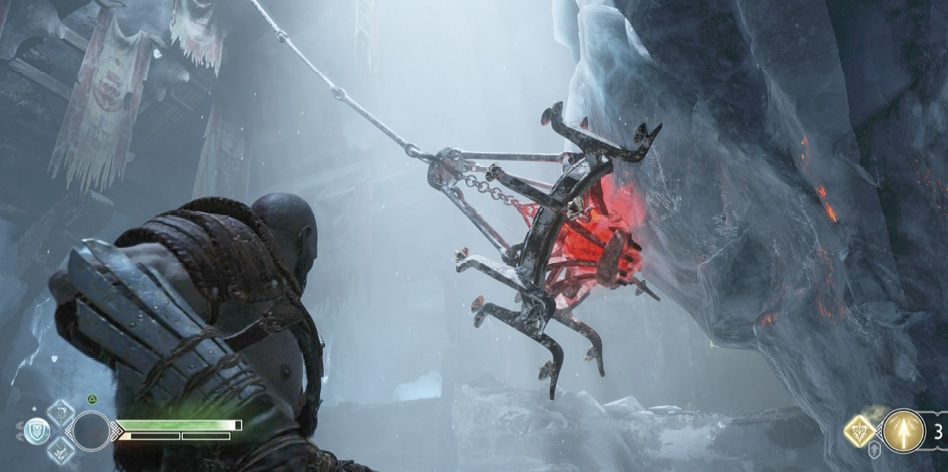
- First, shoot a Shock Arrow into the crystal on the chandelier to blast it loose from the near wall. It swings across the room and embeds in the center ice block with a Troll inside.
- Shoot the chandelier crystal again. The explosion cracks the ice around it, but the ice wall doesn’t break! The chandelier swings over to the Valkyrie monument and gets stuck again.
- Shoot the chandelier yet again. This time the explosion knocks the crystal out of the chandelier onto the hearth below (43). Now you’re ready to shatter some ice.
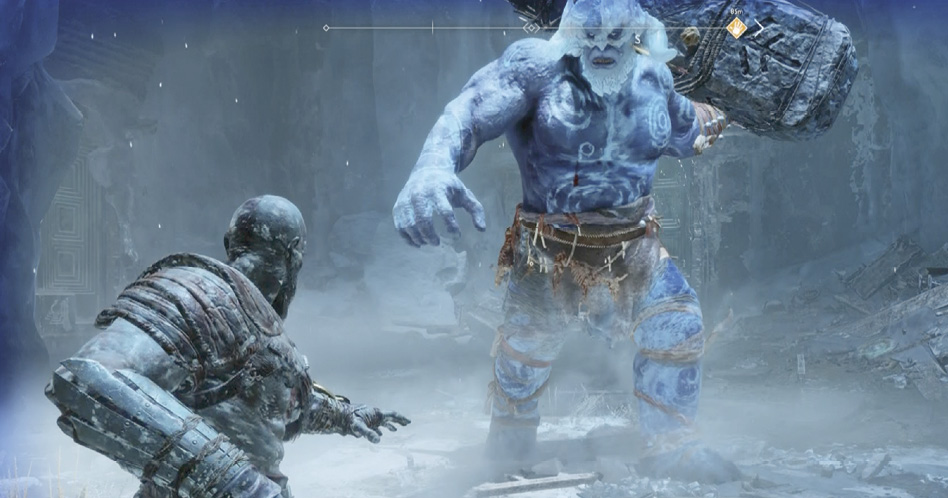
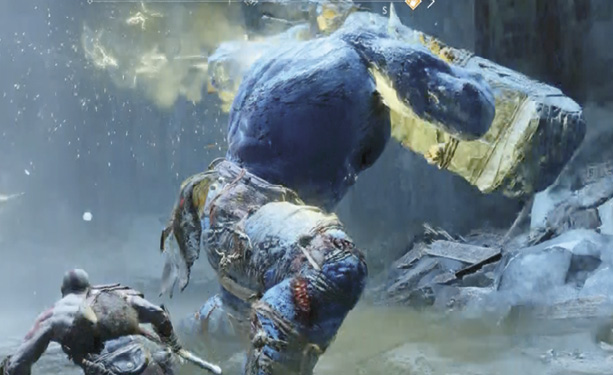
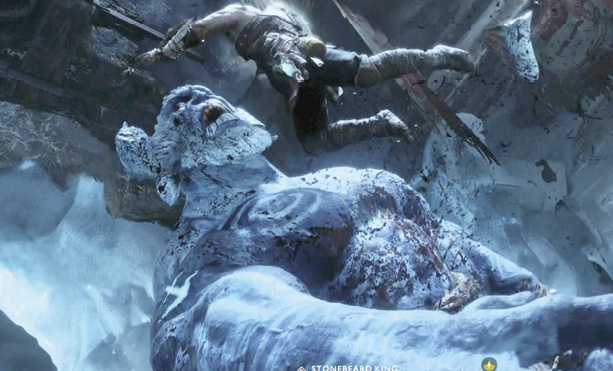
- Grab a chunk of the fallen Shatter Crystal, toss it at the center ice block, and fire a Shock Arrow at it. This blasts apart the ice and releases a towering Ice Troll called the Stonebeard King.
Release the Wulvers!
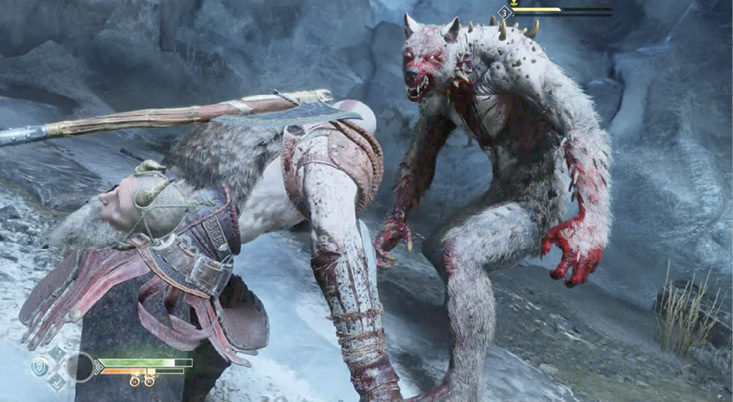
Use another Shatter Crystal to shatter the leftmost ice block, which frees a Wulver trio. Two of them are the same kind you fought earlier, but one is a Fierce Wulver, tougher and stronger than his cousins. He has a deadly dash attack that starts with a drop to all fours, then he unleashes a galloping dash that ends in a brutal shoulder slam or a grab. As with regular Wulvers, interrupt the howl with an arrow barrage from Atreus.
Release the Fierce Ogre!
Once the Wulvers fall, grab another Shatter Crystal, toss it at the rightmost ice block, and shoot a Shock Arrow to release the Fierce Ogre frozen inside. He’s accompanied by a pair of fliers—one Ice Nightmare and a flame-spitting Fire Nightmare. Pop the Nightmares with Atreus’ arrows immediately so you can focus on the Fierce Ogre.
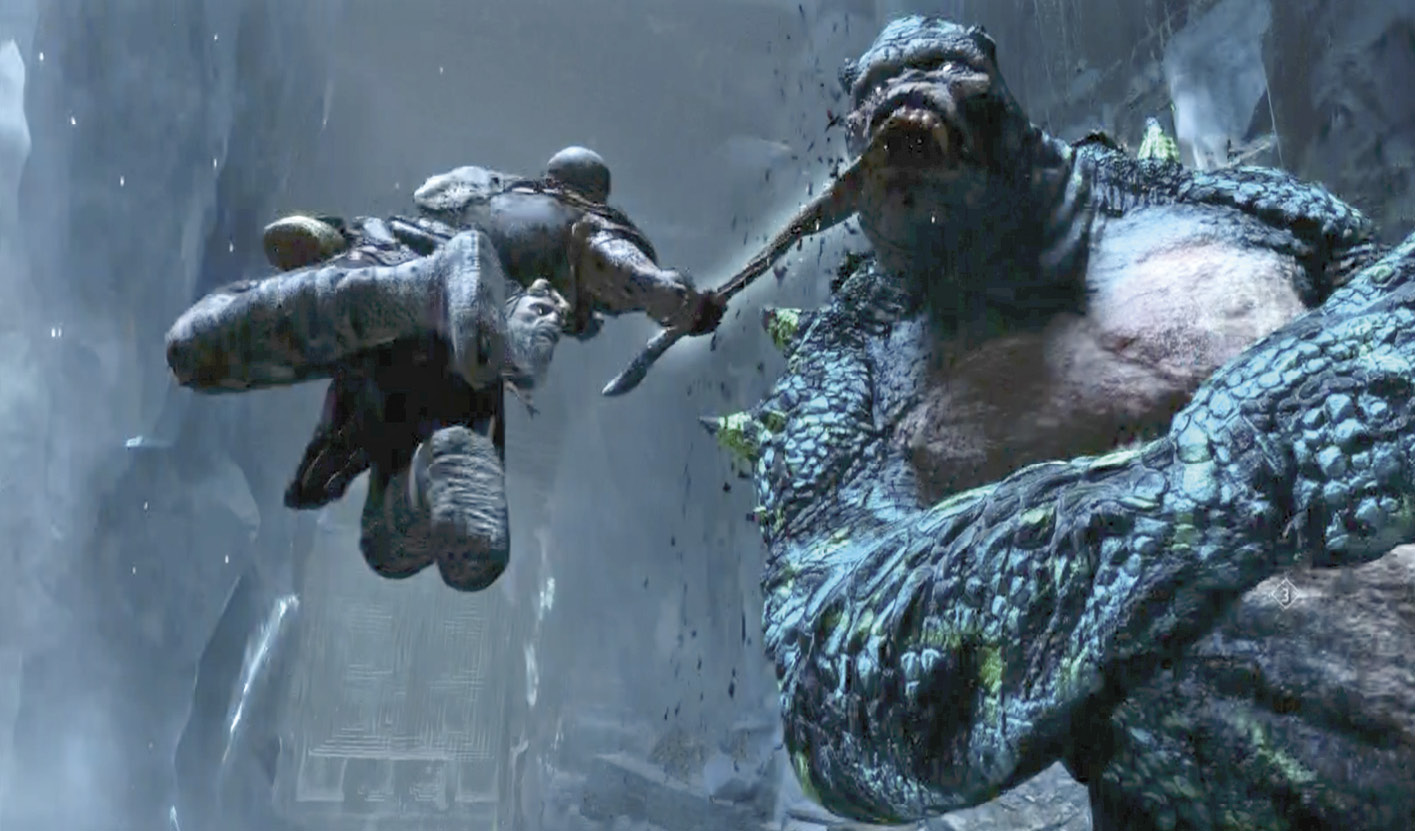
The Fierce variety of Ogre has the same punishing, double-fisted overhead slam as the standard Ogre. He can also rip boulders right out of the ground and fling them at Kratos from across the field, thus adding a long-range attack option.
Keep Atreus drawing the monster’s attention so you can hammer it from behind. If you manage to stun the beast for a stun grab, use the attack buttons to finish him off. (No need to steer him around, since there are no other ground foes to target.) Then gather all the valuable pickup items he drops.
Visit Sindri
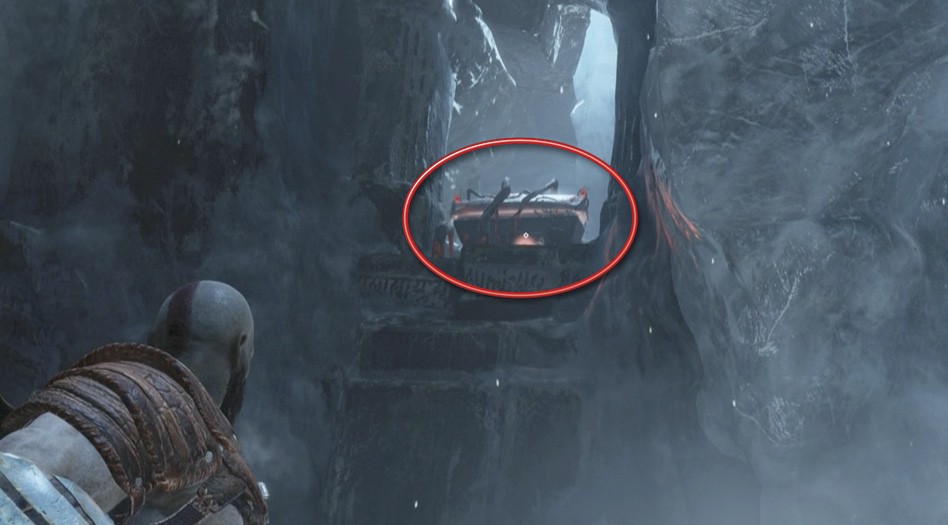
Before you head into the newly opened passage, grab one more Shatter Crystal (43) and toss it at the coffin covered in red sap that you can see in a high alcove overlooking the hall. Shoot the crystal with a Shock Arrow to blast off the sap; now you can loot the coffin when you reach it later. Climb up the yellow-marked ledge (44) and ascend the stairs past the frozen jarl’s throne (45).
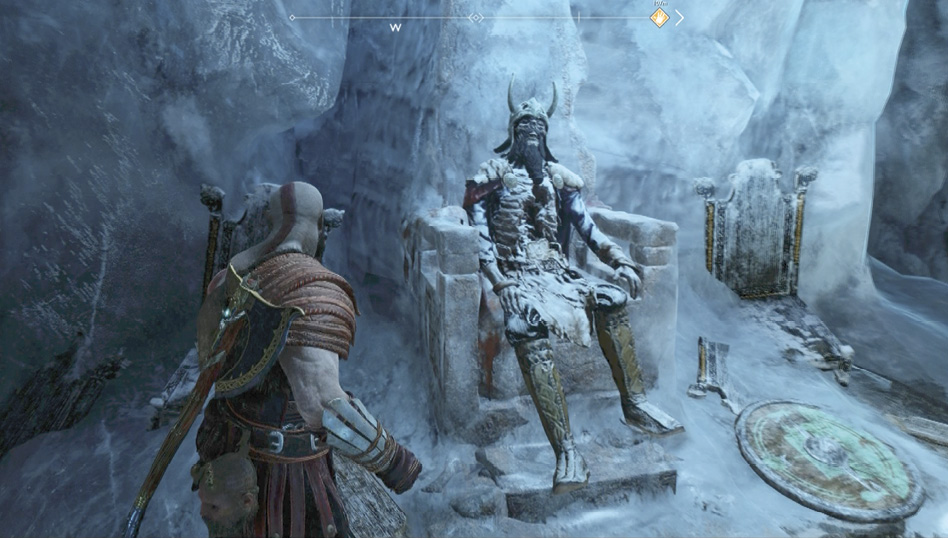
Continue upstairs to a large balcony area (46) where Sindri has set up another shop. Talk to Sindri to learn that the two “men” you overheard are actually gods—Magni and Modi, sons of Thor.
You get some tips on how they fight, too. Upgrade your equipment if you have the resources—you’ll need the best you can get for the upcoming fight. (The Dwarf can use the Traveler’s Armor Shards and Grisly Trophies to make some nice new chest armor.)
Proceed to the far door, stopping to punch open the chest near the doorway. Climb over the marked block on the right to find the coffin you disentangled earlier, and loot that, too. Follow the wooden walkway to a jump point (47) on the left, and leap across to the marked handhold. Climb around the corner to the right—you can see the glowing Chisel tip off to your right—then jump down onto another wooden platform (48) overlooking the Chisel.
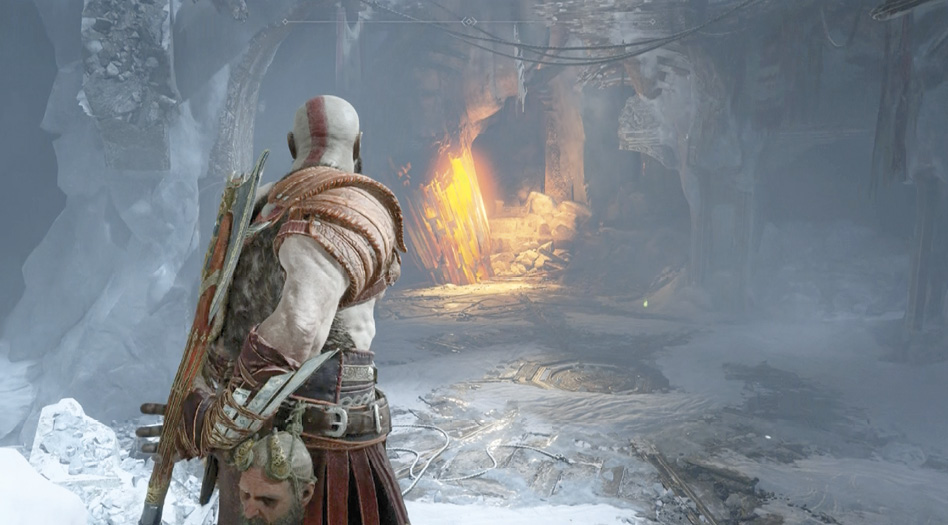
OBJECTIVE: Retrieve a Piece of the Chisel
Press Circle to hop down to the floor—and yes, it is an arena (49). Your arrival triggers a scene: you finally meet the sons of Thor. Magni drops in atop a slain Ogre and lightly tosses it aside like rag doll. He calls for your surrender: “The Allfather demands it.” Then Modi drops in, utters some insults, and the battle is on!
Acquire a Chisel Piece
After the fight with Thor’s sons, gather all of the pickups. You gain another invaluable Frozen Flame plus, a rare resource, Leiptr Alloy; you also get a lot of steel, Hacksilver, and XP.
Approach the glowing Chisel tip (50) and follow the on-screen directions to hack off a piece. Now you can carve the travel rune to Jötunheim. But of course, you haven’t found that yet.