
Free Dragons (Labor)
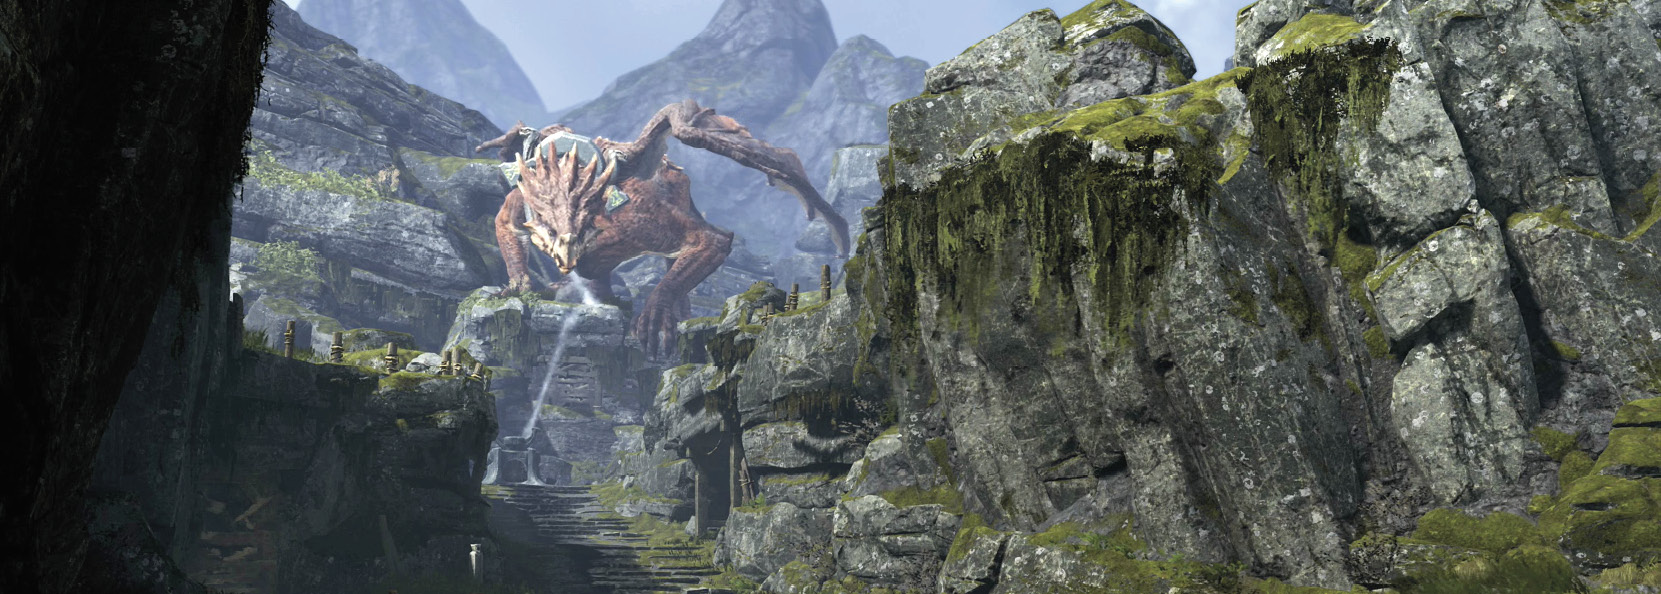
Veithurgard
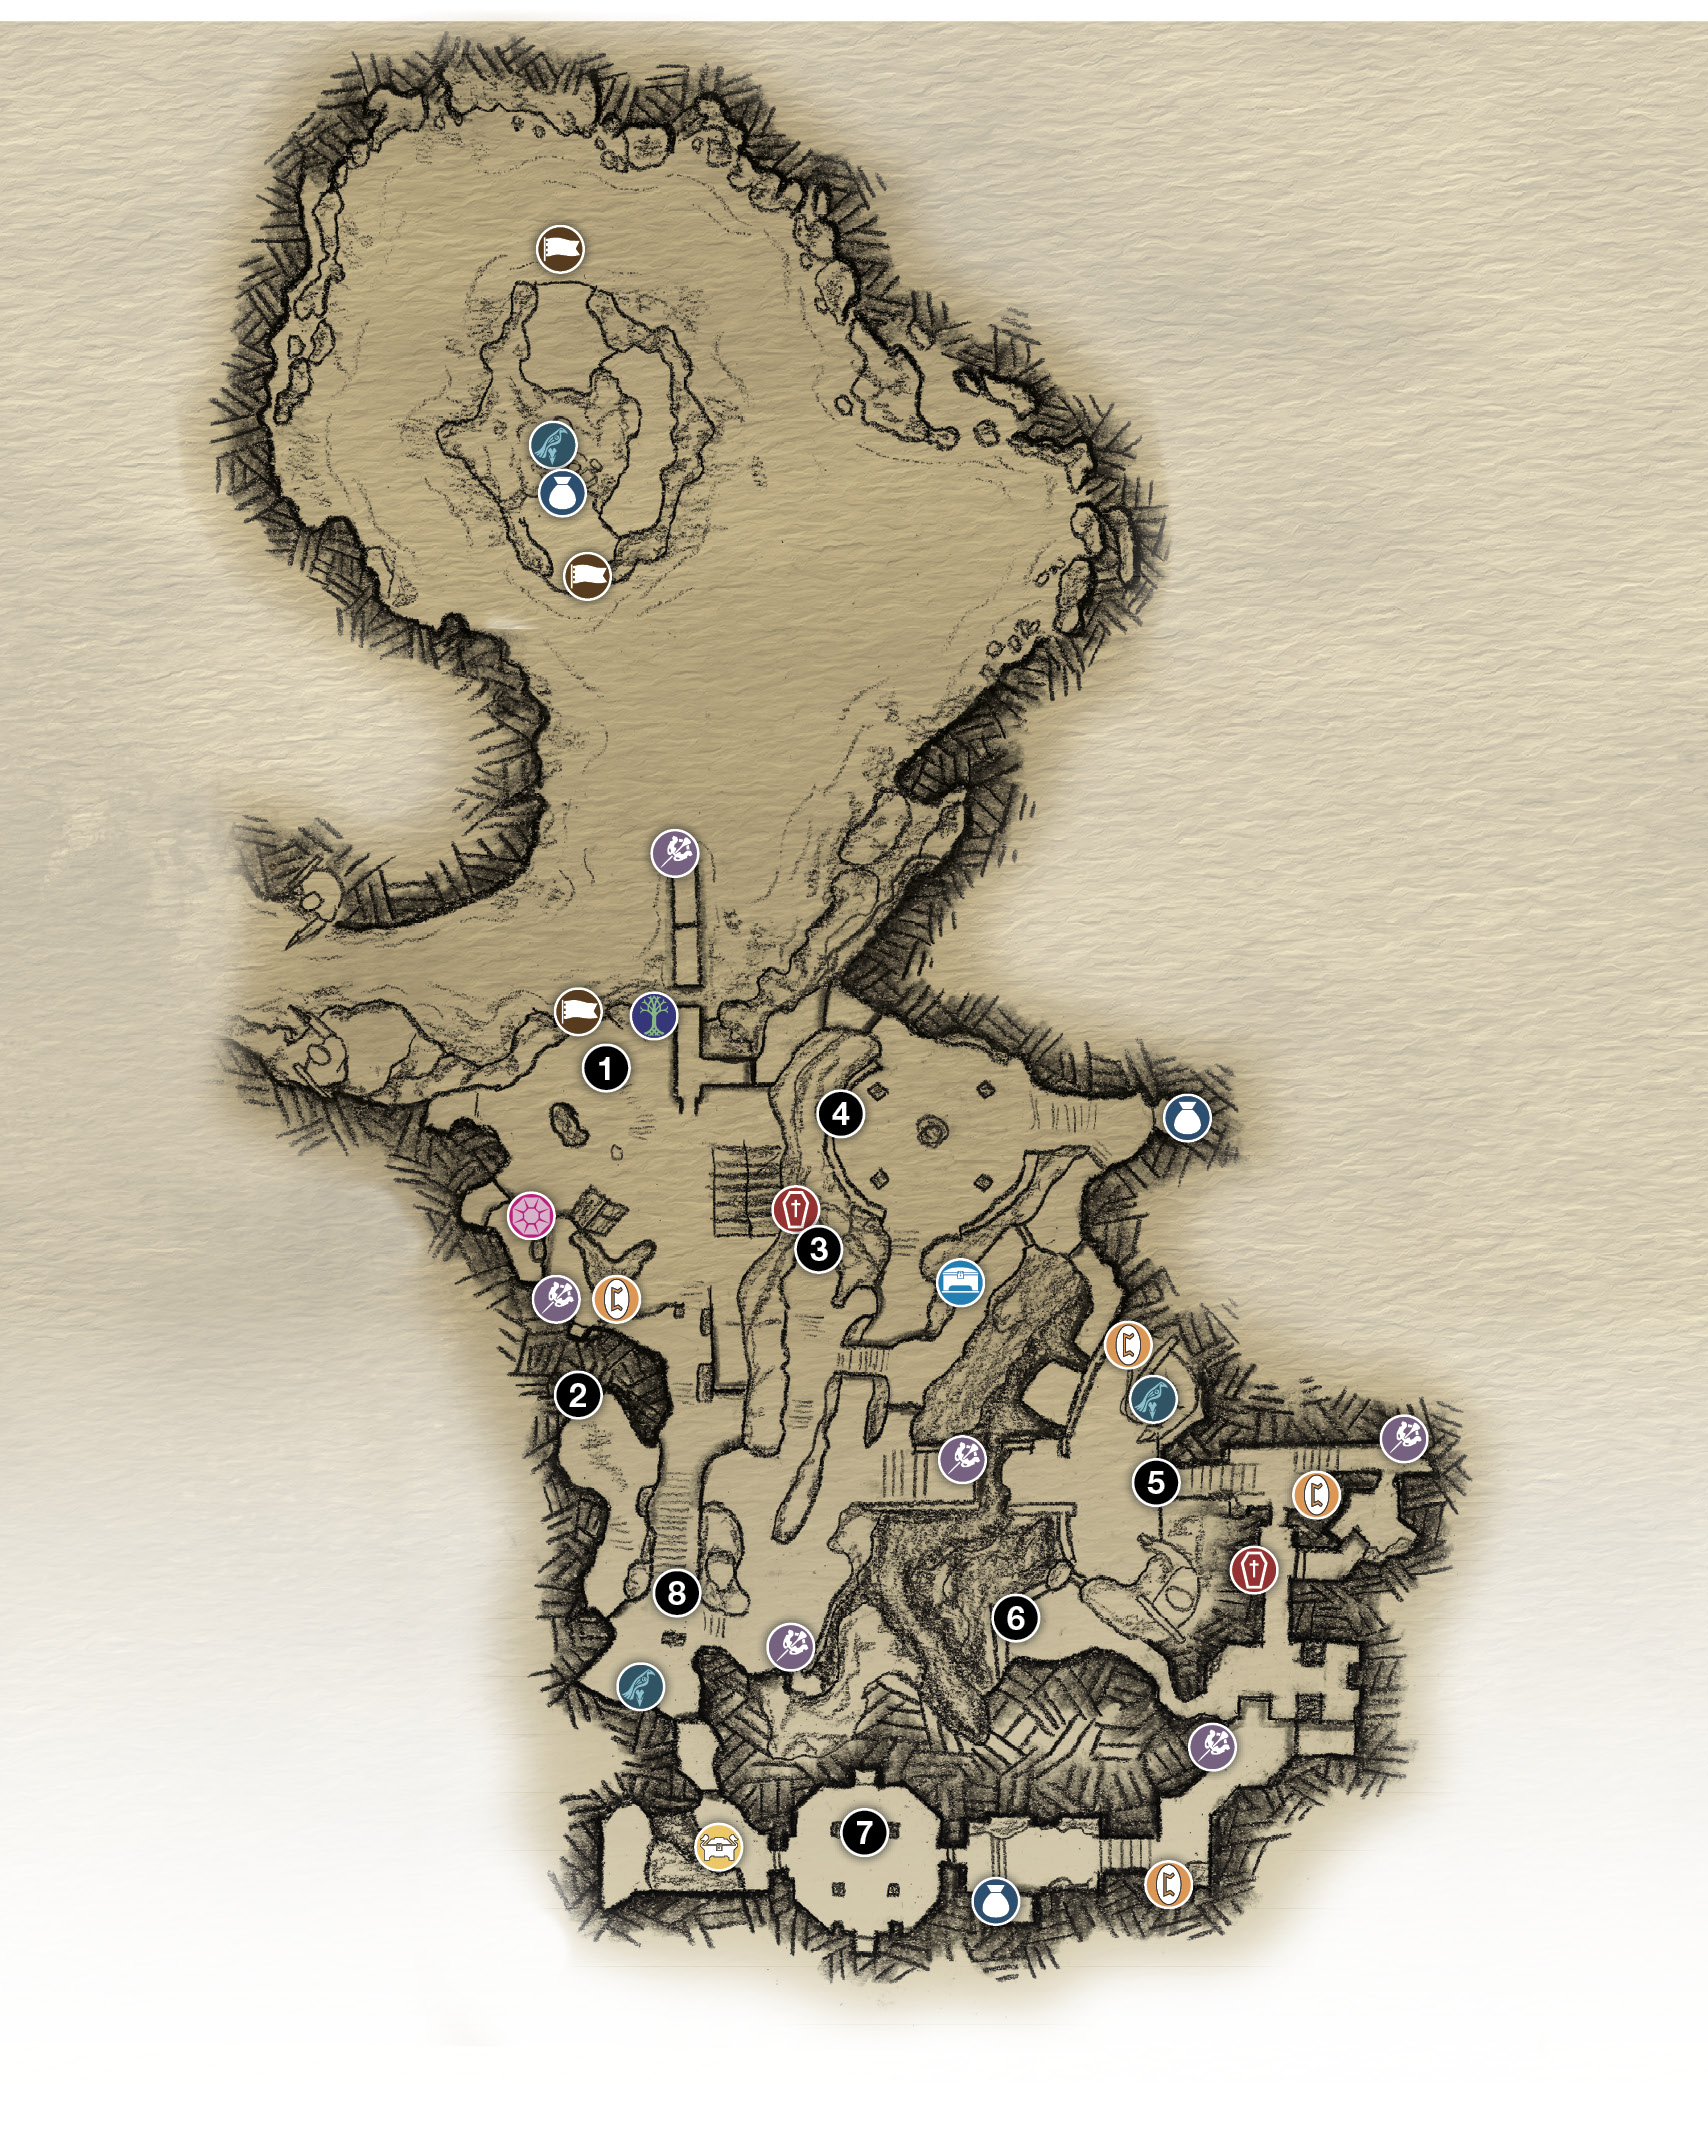
1. Disembark at Beach
2. Destroy Shrine 1
3. Destroy Shrine 2
4. Destroy Rune
5. Enter Castle
6. Destroy Shrine 3
7. Defeat Troll
8. Interact with Anchor
 Artifact
 Chest
Chest
 Coffin
 dock
dock
 Legendary Chest
 Lore
Lore
 Mystic Gateway
 Nornir Chest
 Raven
Raven
 Realm tear
|
Objective |
Free the three World Dragons |
|
Labor Reward |
101 XP & Resource—Dragon Tear, and an Enchantment per dragon; 615 XP once all three have been freed |
Three dragons are being held captive around Midgard, each chained to an anchor and bound by three shrines. Freeing the dragons, by destroying the three shrines, counts toward “The Dragon’s Curse” Labor, while also completing the following three Favors:
The Imprisonment of Otr
|
Quest Location |
|
|
First Available |
After first water drop of Lake of Nine |
|
Main Objective |
Destroy the shrines that bind Otr |
|
Levels of Enemies |
2 - 5 |
|
Reward |
100 XP, Resource—Dragon Tear, Enchantment—Brilliant Mark of the Dragon |
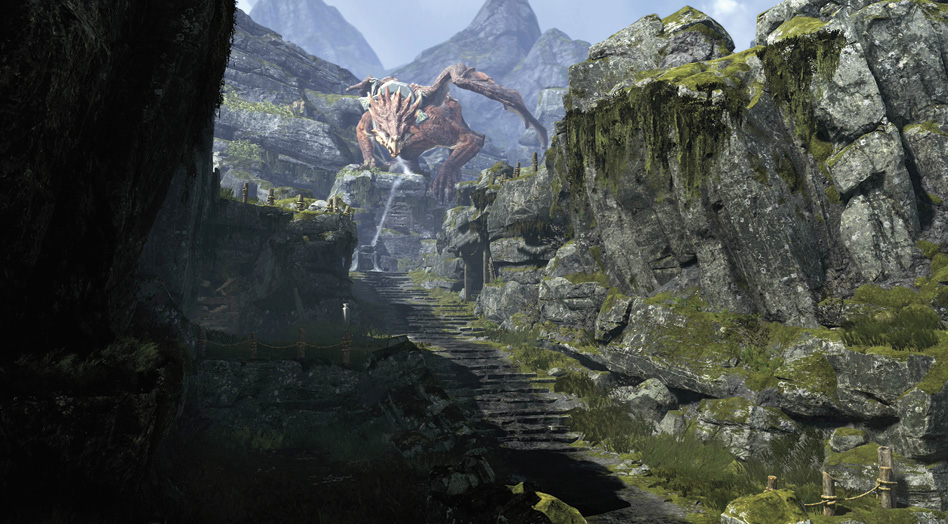
Otr the Dragon is chained up in Veithurgard, located in eastern Midgard. In order to reach Veithurgard, you must open a big gate by using the wheel at Stone Falls, then navigate Veithurgard Pass. This area is covered in more detail in the Lake of Nine Exploration chapter. Coverage of this Favor begins at the dock, but we cover everything located in southern Veithurgard here, including the Artifact quest, “Horn of Kings.” If you wish only to find the Viken Horn Artifacts, refer to the Artifacts chapter.
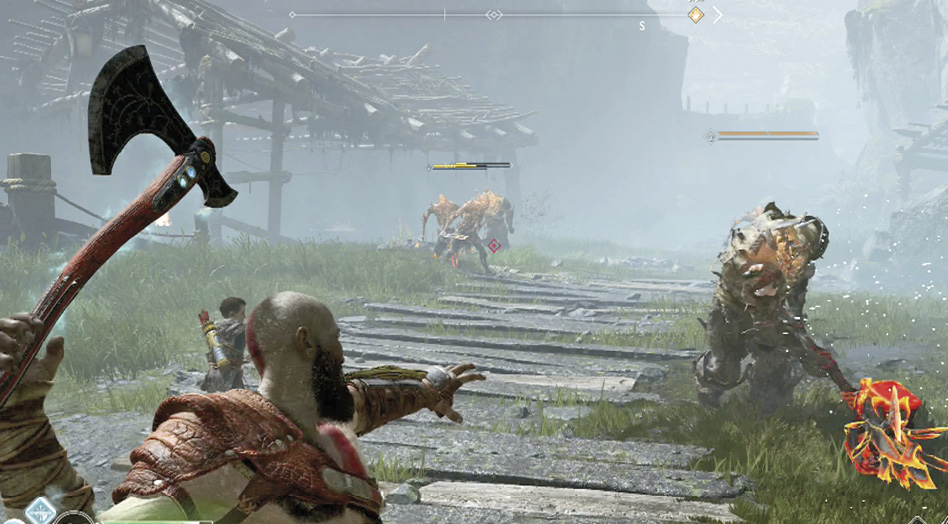
Debark at the beach (1) and pick a fight with one of the Draugr scattered around the area; this attracts the attention of other nearby enemies, Speed Draugr and a Heavy Draugr included. If the fight takes you east under the shelter, a Tatzelwurm joins the fight.
Find the Viken Horns
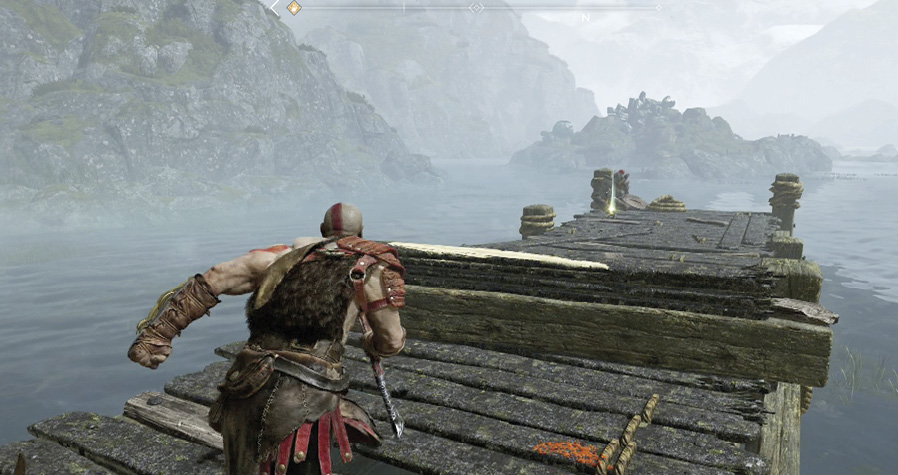
Once the area has been cleared out, loot the coffin under the shelter and then run to the end of the pier to find the first of six Veithurgard Artifacts. Watch out for the Projectile Draugr that attempts to keep you away from the collectible.
Return to the beach, follow the westward footpath, and vault over the downed tree. Grab the chain and pull it all the way down. While still holding the chain, look up to the right and stick the Leviathan Axe into the disc. This opens a gate just south of your location.
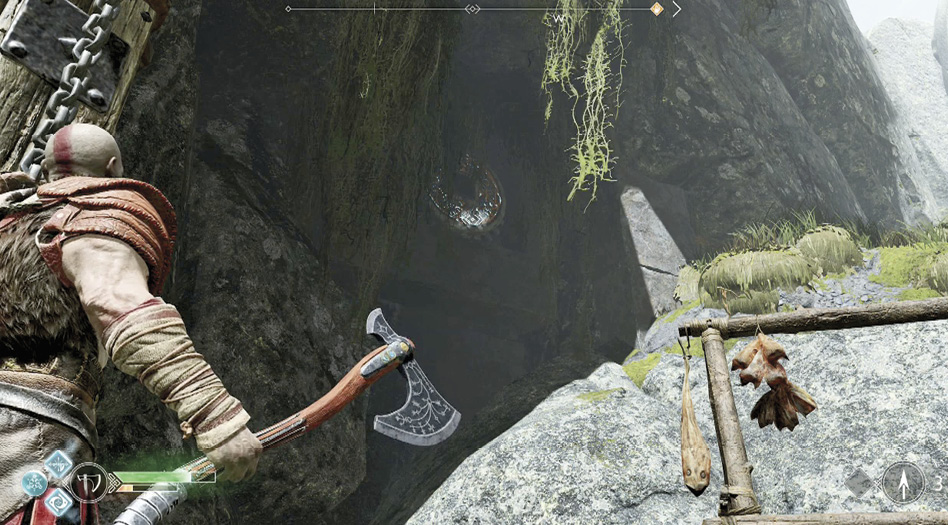
Give Atreus a boost through the new opening and follow him up, where he pulls a lever that locks the gate open; now you can recall the axe. Scale the southern wall to find a Realm Tear. Reach inside the tear and close it to receive Dust of Realms.
Drop off the nearby ledge and bust through the boards to the right to find the second Artifact. Kill the Projectile Draugr that appears, and drop to the ground.
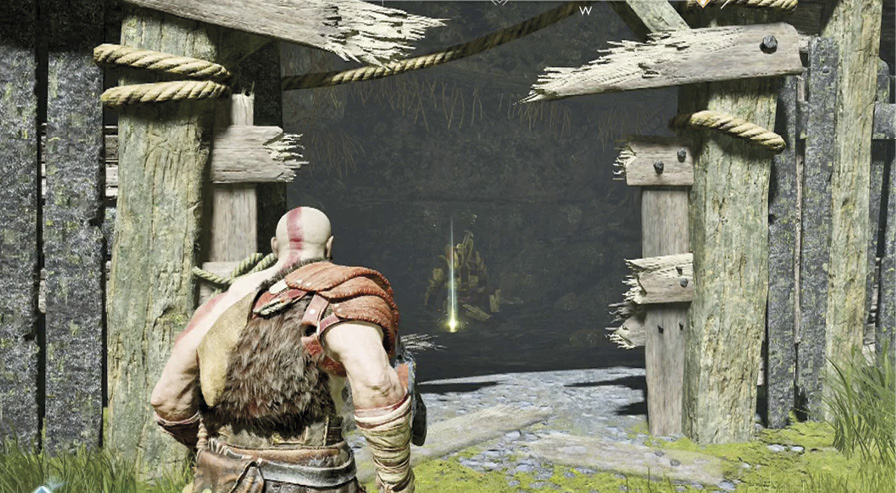
OBJECTIVE: Destroy the Shrines That Bind Otr
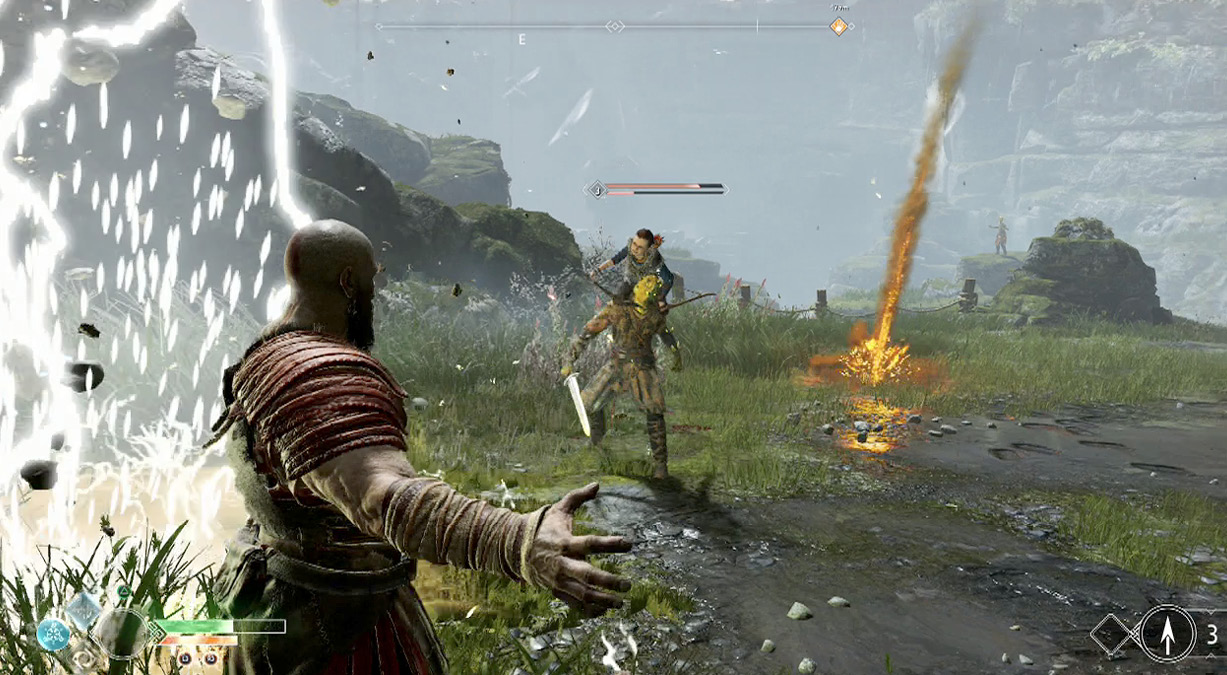
Head south to the steps, but wait before climbing them; Otr the Dragon breathes lightning down the length of the stone steps, as evidenced by the scorch marks. When safe to do so, sprint up to a clearing on the left as a Draugr emerges from a small room.
Shrine 1
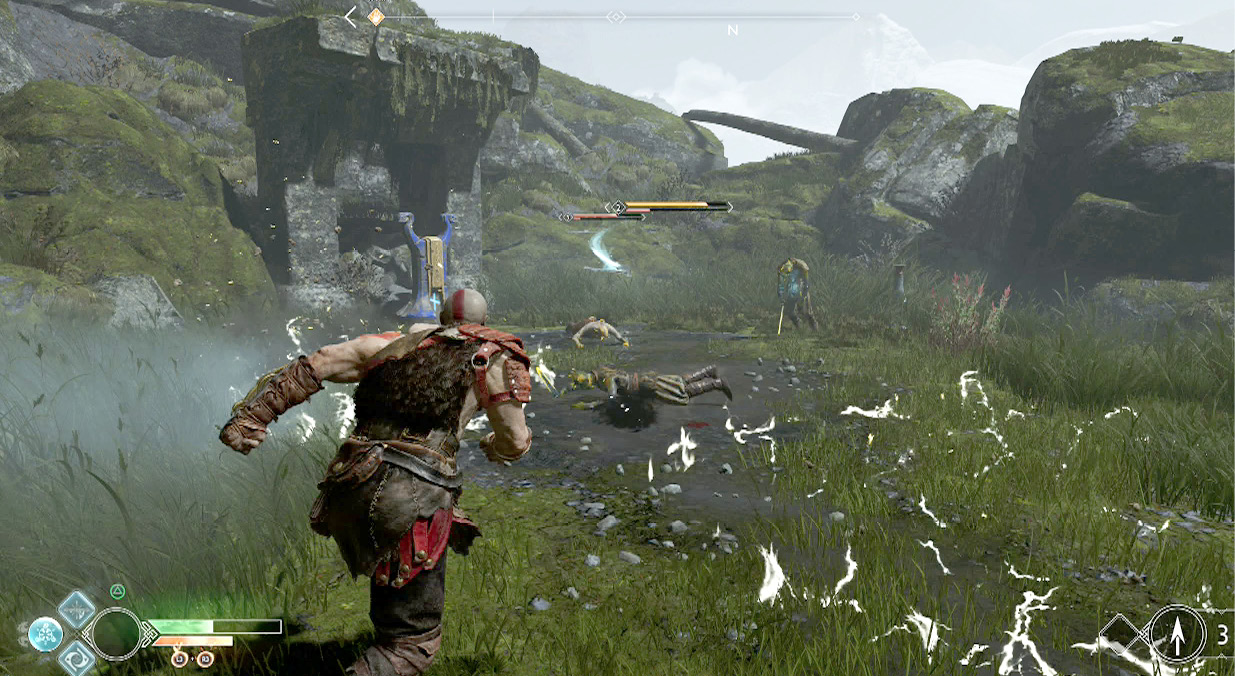
During the dragon’s next pause, kill two more low-level Draugr as you sprint up to a small opening on the right. From there, sprint south, turn right at the anchor, and quickly climb a small ledge ahead. Follow the trail up the hill to find a lone Shadow and the first shrine (2). Destroy them both, as well as a couple of reinforcement Reavers.
Shrine 2
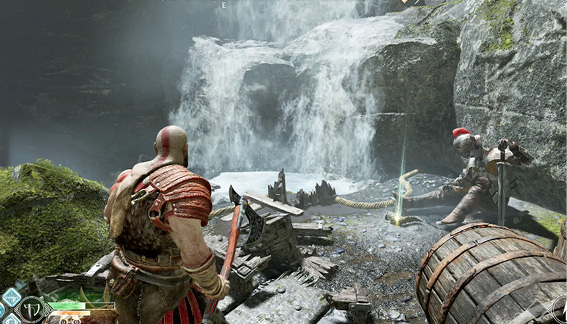
Head east past the anchor to find more Reavers and Shadows. Another Artifact sits to the right, but you must deal with the enemies before collecting it. Turn north and follow the trail to the far end to find the second shrine (3). Demolish it and kill the Reavers that have been agroed.
Loot the Nornir Chest
Across the narrow ravine from the second shrine sits a Nornir Chest. The three runes are scattered throughout eastern Veithurgard.
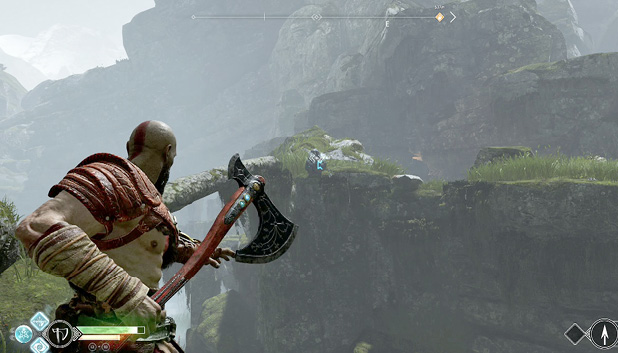
 The first rune sits on the edge of a cliff directly east of the second shrine. Look for the log that stretches across the aforementioned ravine, as it nearly points out the rune. Hit it with your axe to destroy the seal.
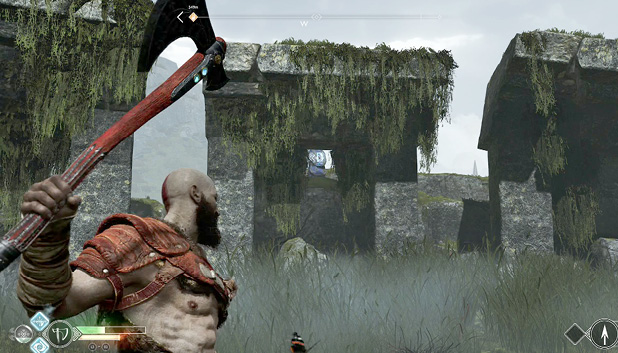
 Drop into the ravine and head north into the circle of standing stones. Dispose of the Shadows that occupy the area, including the ones that launch projectiles from atop the stones. From the point where you entered, count over four stone structures to the left and look directly west so that you can see the rune (4) in the middle of that structure—destroy the seal.
 There’s a chain to the north for easier access between the boat and eastern Veithurgard. Kick it over the edge in case you wish to return to this area later on. Exit the standing stones to the east and bust through the boards ahead to find a coffin and lone Draugr. Next, head south toward a one-way gate and look to the right to spot the final rune. Break it before passing through the gate and looting the Nornir Chest (Horn of Blood Mead).
The third shrine is just on the other side of the busted bridge, but you must traverse part of the castle to reach it. Move back through the previous gate and turn right. At the end of the trail, hop over to the bridge and climb up. Hit the explosive on the right to destroy the molten rock that blocks the path. Sitting across the gap next to a corpse is another Artifact.
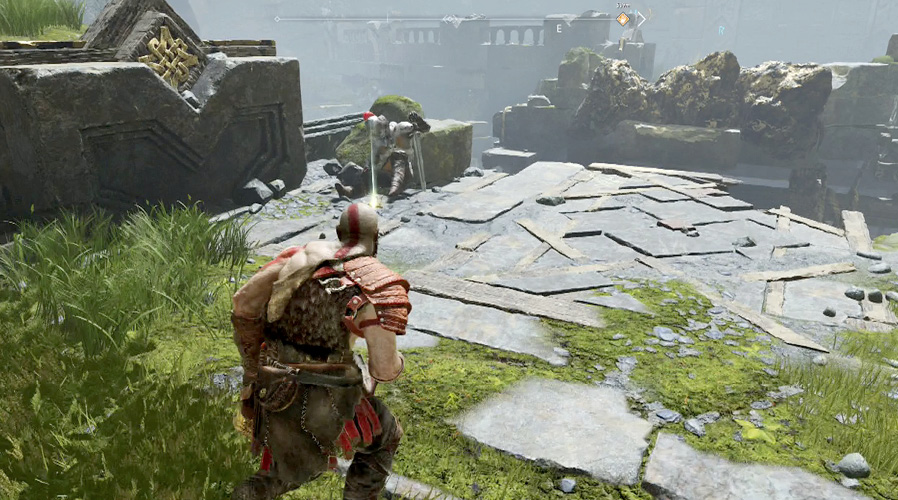
Enter the Castle
To the east, a large, majestic gate (5) keeps you out of the castle. Before solving the rune puzzle to unlock the gate, kill the two Vikens and translate a Lore Marker to the south.
Step up to the gate to find two runes on the left side and indentions on the right, where two more once hung. Lying on the ground nearby are the two missing runes. Use the paddles on each side of the gate to match the runes.
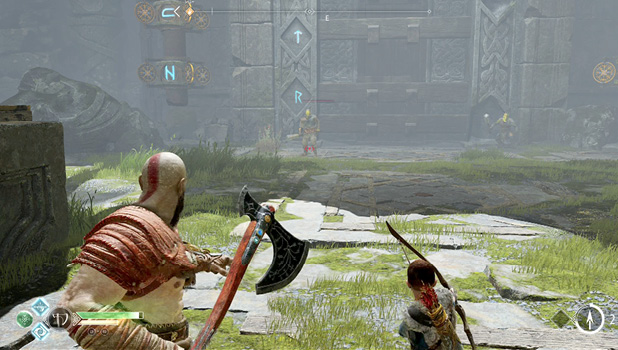
 The runes on the left are easy to figure out, as they’re still displayed on the gate.
 The right runes must be matched up with the two tiles that lie on the ground. Flip the runes around to display as shown in this image.
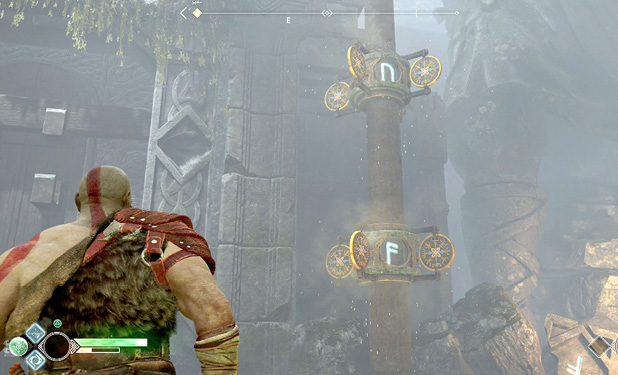
Once the massive gate is open, slowly move up the left side of the steps as you look to the right. Ready your axe, and once you spot a hanging lantern above another entryway, knock it down to kill off a pair of Reavers. Open the Jötnar Shrine in the corner to learn about Skaði, the great huntress.
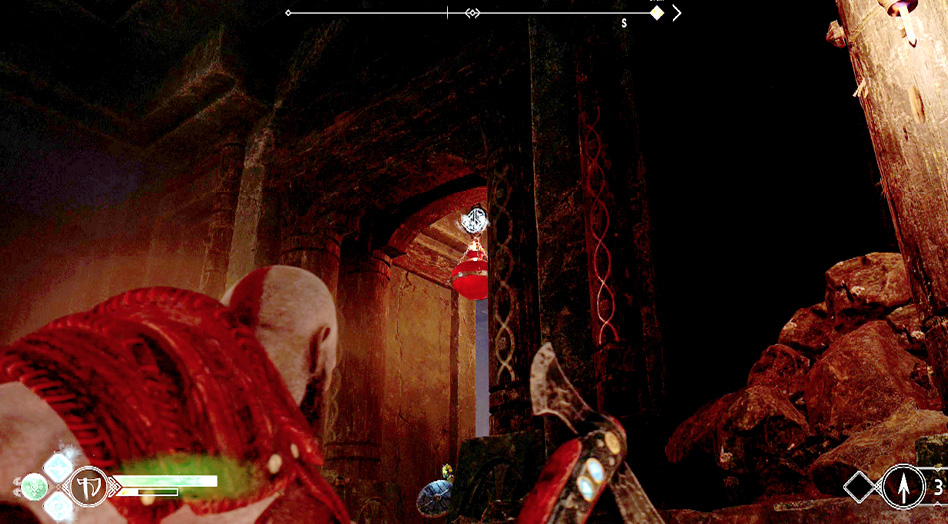
Move up the left steps and take out the Shadow and Reaver before collecting another Artifact. Proceed through the doorway and descend the stairs to find the route blocked. Detonate the red explosive to gain access to a lever. Pull it back to raise the grill ahead and loot the coffin.
Shrine 3
Descend deeper into the castle and take out the two Reavers near the water; a red jar on the right makes quick work of one enemy if you’re fast enough with the axe. Exit through the right corridor to reach the third shrine (6). Kill the Reavers and destroy the shrine to complete the first objective. Remain alert, as the dragon can once again hit you with his lightning area-of-effect attack.
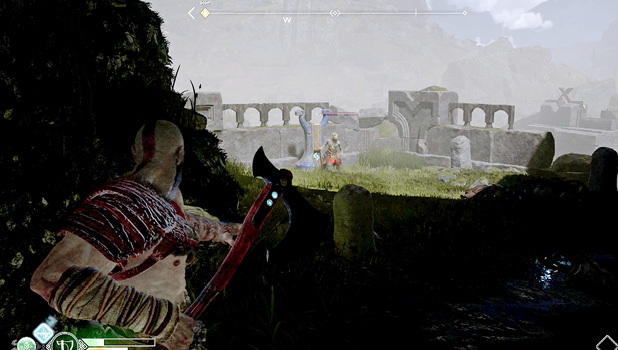
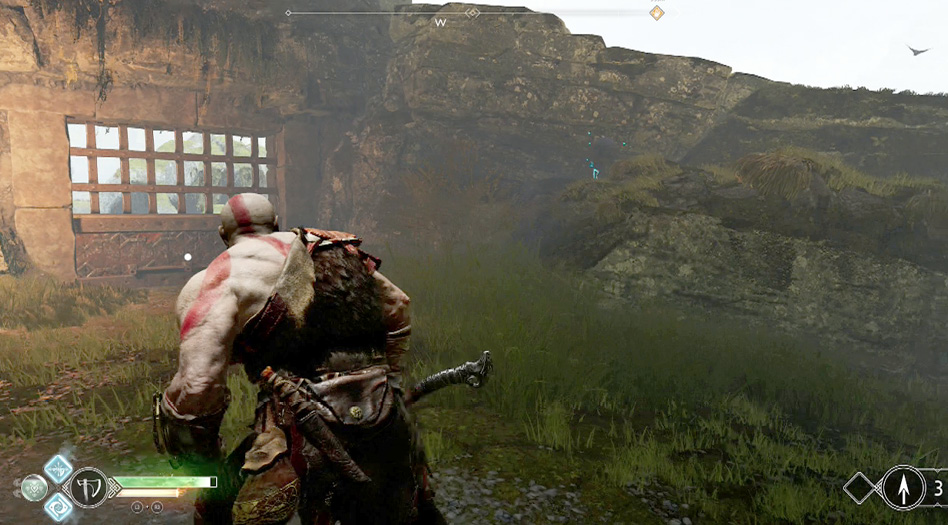
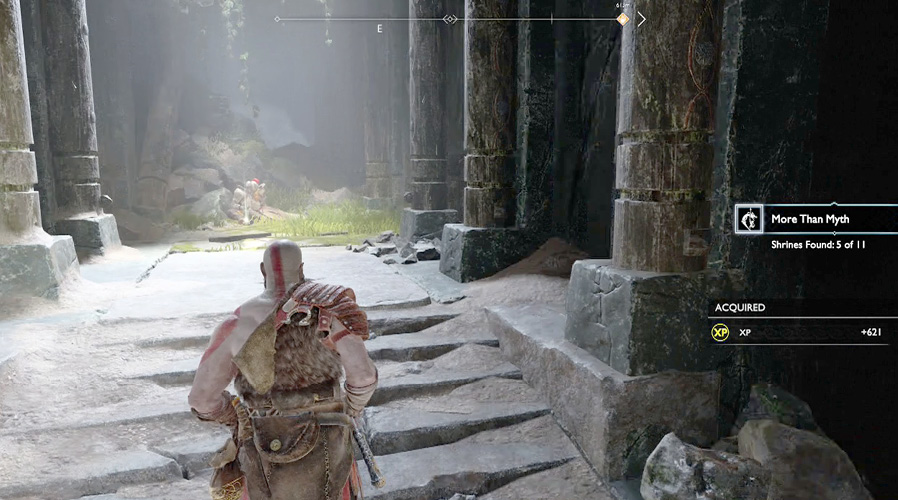
The northern gate leads back to the castle entrance, and if you wish to complete the Favor now, you can exit this way. There’s much more to see and do in the castle, so venture back inside.
Defeat the Troll Miniboss, Dauði Hamarr
Interact with the lever to drain the water and descend into the lower area. A pair of Tatzelwurms enter the room, so quickly deal with the burrowing hybrids before grabbing the final Artifact.
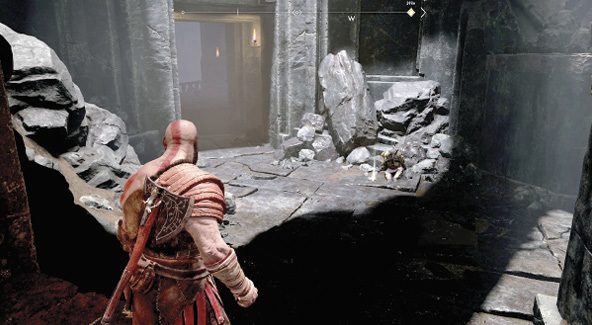
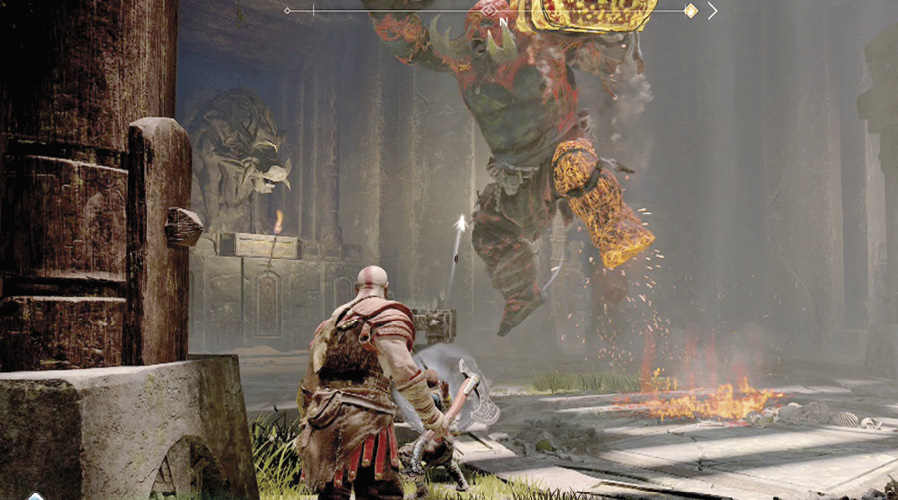
Inside the next room, translate the Lore Marker, defeat the trio of Reavers at the far end, and then climb the left ledge to score the contents of a chest. Pass through the next door to find a lever next to a circular grill and a pedestal next to the exit. You need a Key Orb to get through the exit, and you must defeat a Troll miniboss (7) to get that stone. Turn the lever to free Dauði Hamarr the Troll.
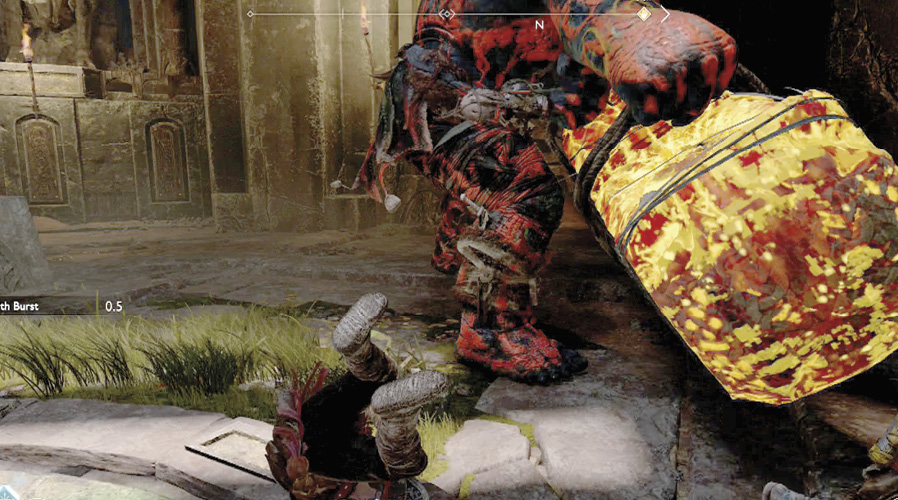
Atreus can interrupt some of the Troll’s moves, so let the arrows fly throughout the battle. When its health gets below the final two segments, it collapses, and the Stun Grab icon appears. Move in and click the R3 button, finishing it off with light and heavy attacks when prompted.
OBJECTIVE: Return to the Anchor
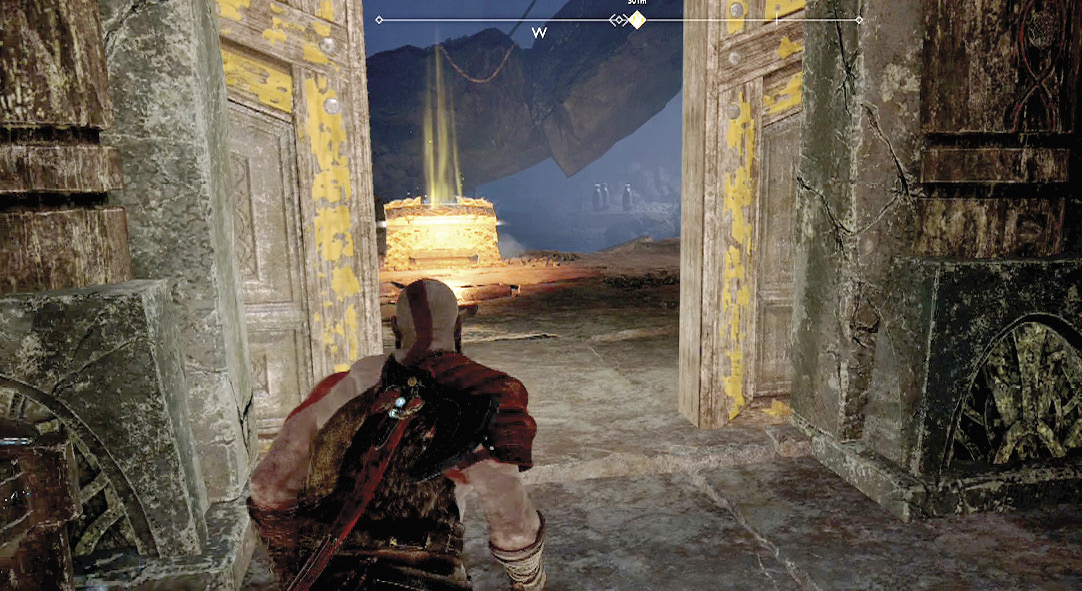
Grab the loot dropped by the Troll, including a Talisman—Horn of Heimdall, then collect the Vivarium Key Orb from the middle of the arena. Place the orb in the pedestal to open the exit. Pilfer Light Runic Attack—Leviathan’s Wake from the Legendary Chest before scaling the right wall to exit the castle.
Slide down the chain to return to the anchor (8), and interact with it to free Otr and complete the Favor.
The Flight of Fáfnir
|
Quest Location |
North of Lake of Nine (near Alfheim Tower) |
|
First Available |
After second water drop of Lake of Nine |
|
Main Objective |
Destroy the shrines that bind Fáfnir |
|
Levels of Enemies |
4 - 5 |
|
Reward |
100 XP, Resource—Dragon Tear, Enchantment—Brilliant Scale of the Chained |
North Side of Lake of Nine
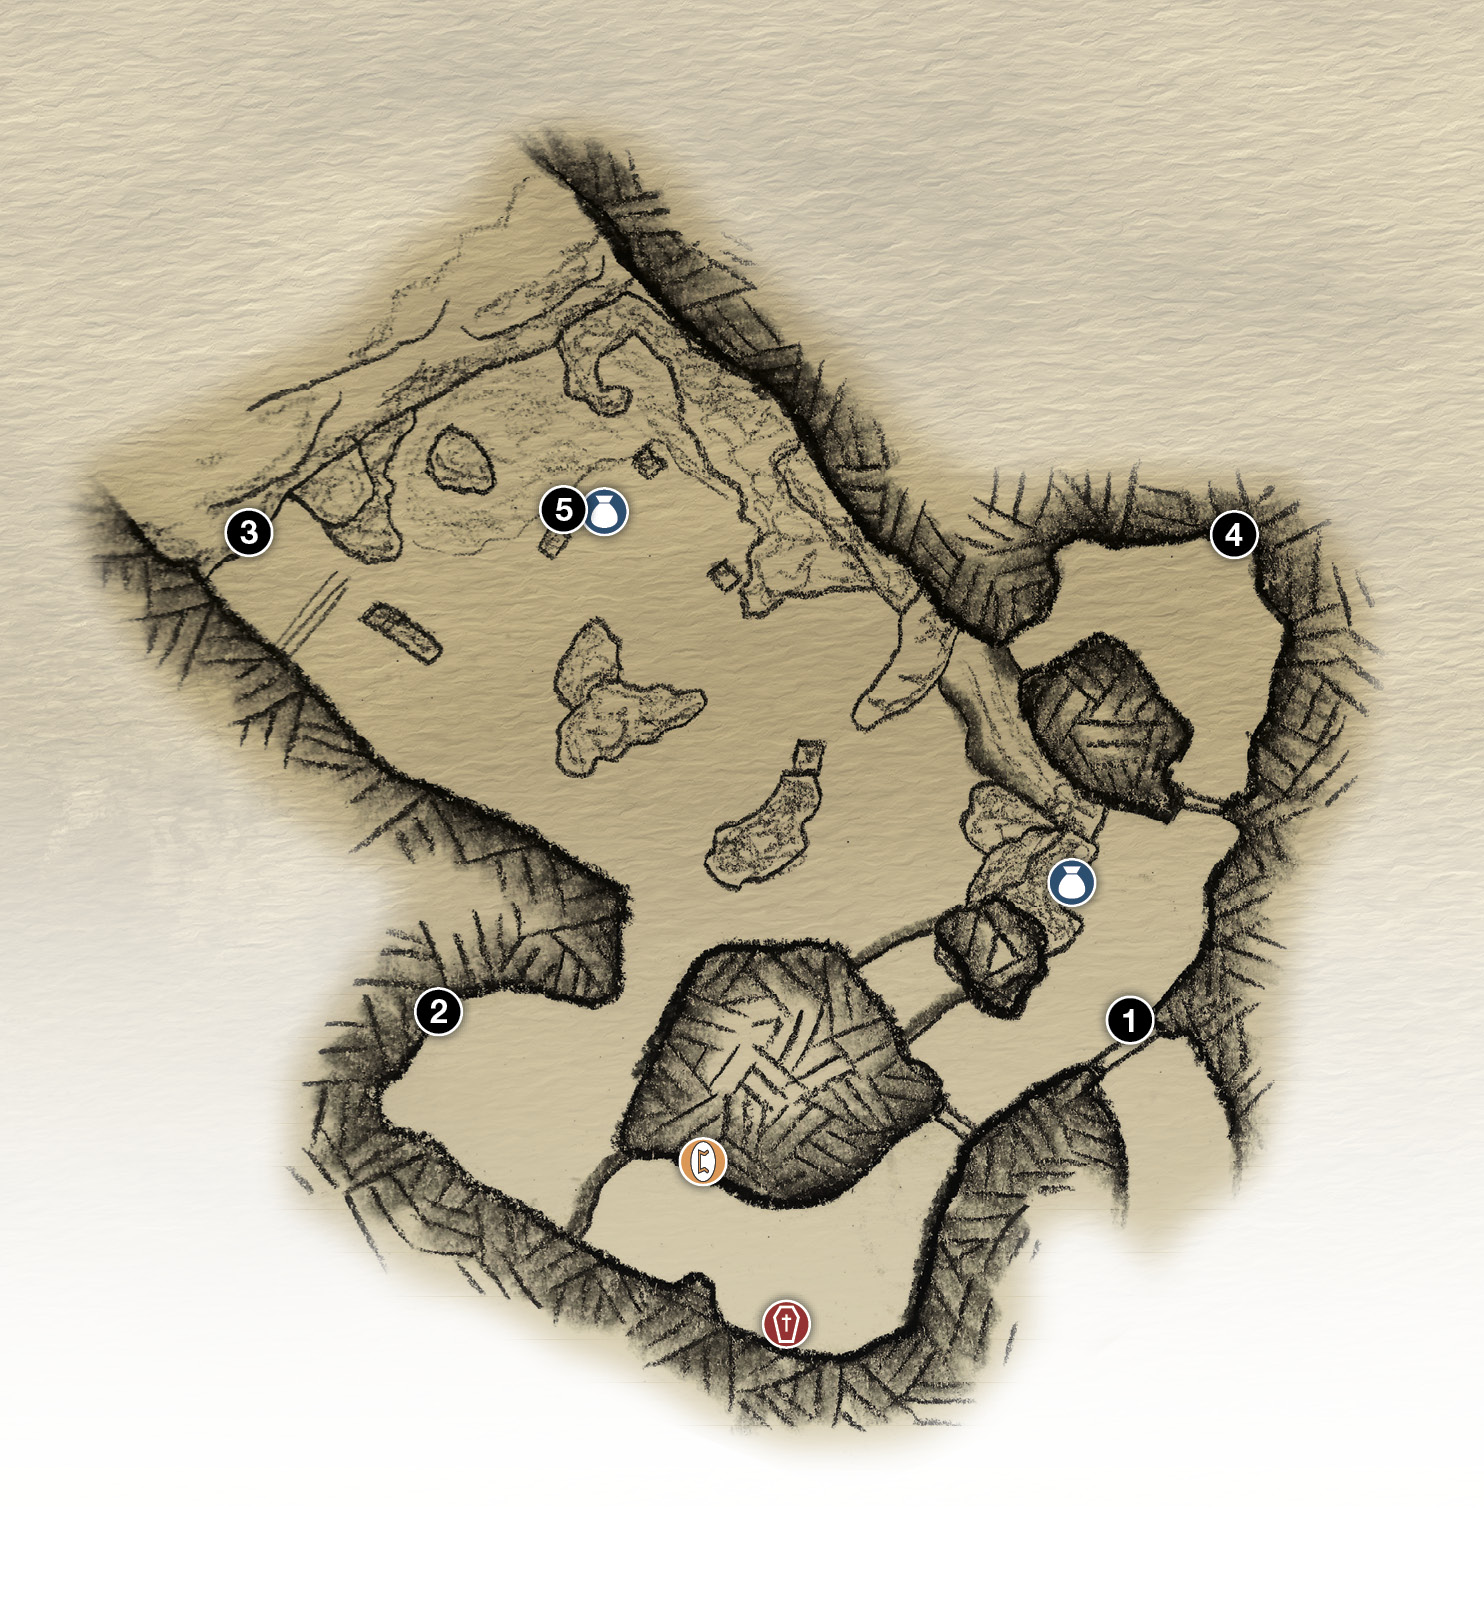
1. Enter through Big Door
2. Destroy Shrine 1
3. Destroy Shrine 2
4. Destroy shrine 3
5. Interact with Anchor
Chest
Coffin
 lore
lore
Paddle a boat to the north side of Lake of Nine and glide onto the beach situated between Alfheim Tower and Njörd’s Oarsmen. Use a Shock Arrow on the Shatter Crystal at the base of the cliff and climb to the next level. Descend another short climb and continue up to the big door (1).
OBJECTIVE: Destroy the Shrines That Bind Fáfnir
Just inside, a dragon named Fáfnir has been chained to an anchor. Three shrines bind the dragon to that anchor; destroy all three to set Fáfnir free. These shrines can be demolished in any order.
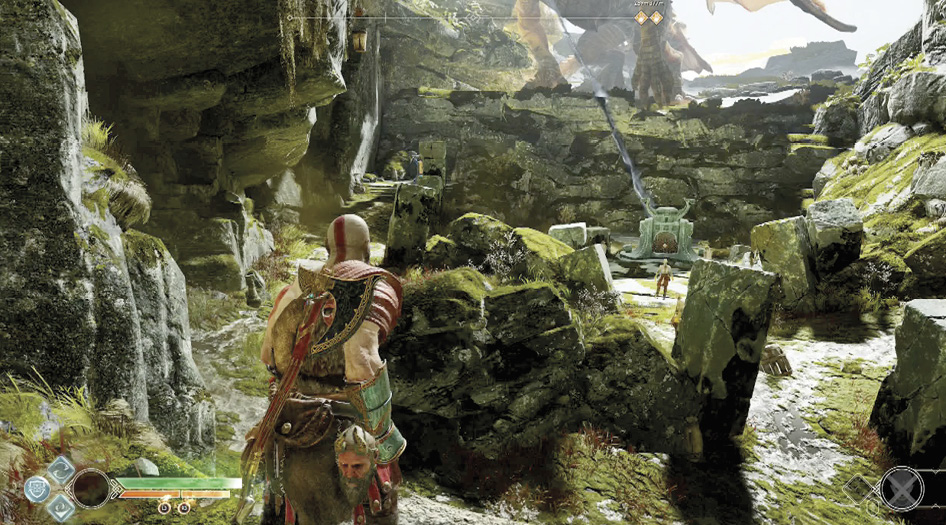
Shrine 1
Loot the chest, drop to the ground level, and immediately turn left when the footpath splits. Kill the Shadow, Reavers, and Nightmare that show up. Destroy the shrine, climb the west wall, and translate the Lore Marker for a message from Fáfnir. Pilfer the resources from the nearby coffin above before exiting through the one-way gate and returning to the central area.
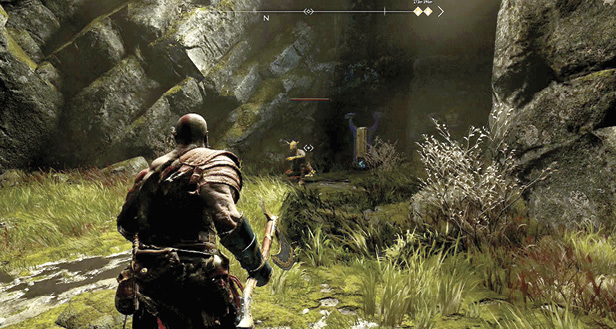
Shrine 2
Reavers, Shield Reavers, Vikens, and a Revenant attack throughout the lower area. Avoid becoming surrounded by cautiously moving up the left side, killing the monsters as you progress forward. The second shrine (3) is found at the end of the footpath. Destroy it while fending off the Reavers and keeping an eye out for incoming attacks from the dragon. Clear out the enemies in the lower area before moving toward the next objective.
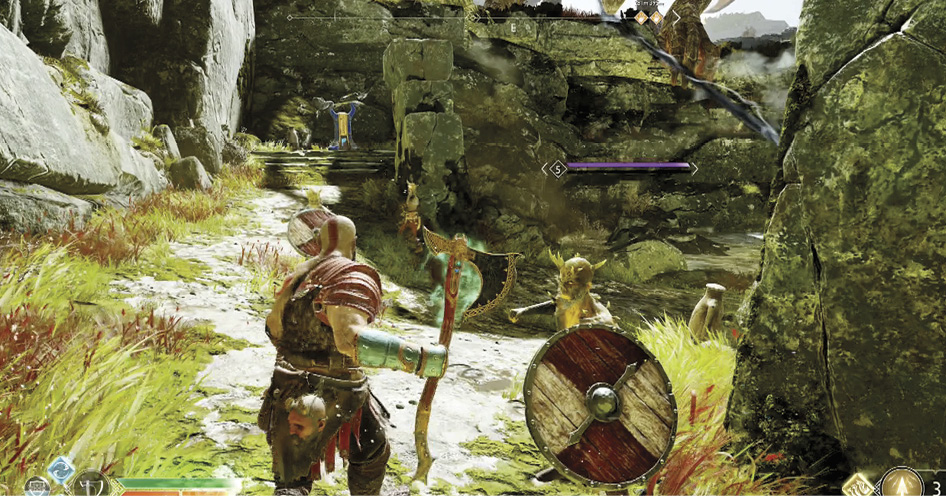
Shrine 3
Scale the southern wall to find a Shadow praying to a shrine (4) in the corner, while a Champion Traveler stands ready to pounce on any uninvited guests. His shield protects him from most attacks, so wait for him to open up with his own move before going after him. A Reaver may also show up as you take down the Traveler. You can go ahead and open the nearby gate that leads to the entrance, but you need to return to the lower level.
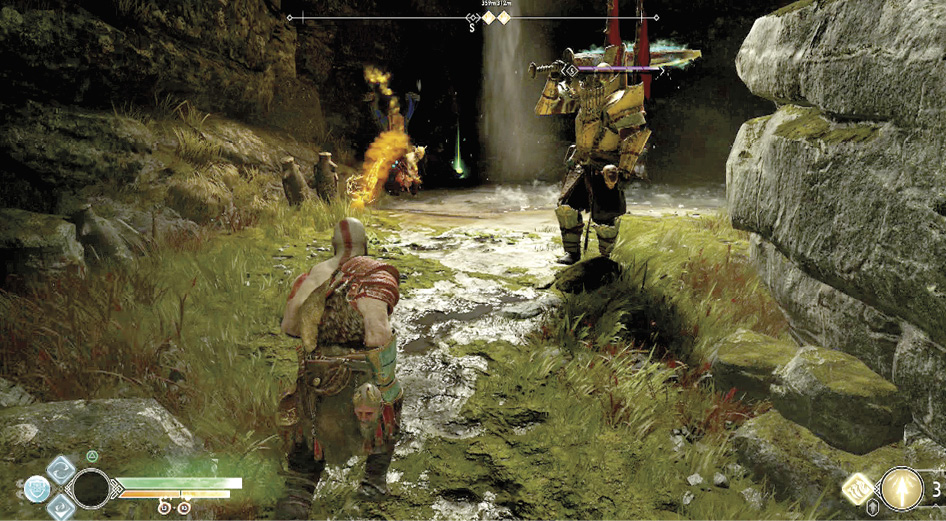
OBJECTIVE: Return to the Anchor
Watch out for a powerful Viken and Revenant who have moved into the vacant space. Once they have been dispatched, wait for the dragon’s breath to subside before approaching the anchor (5). Atreus releases the dragon, completing the quest. Loot the nearby chest before returning to Lake of Nine.
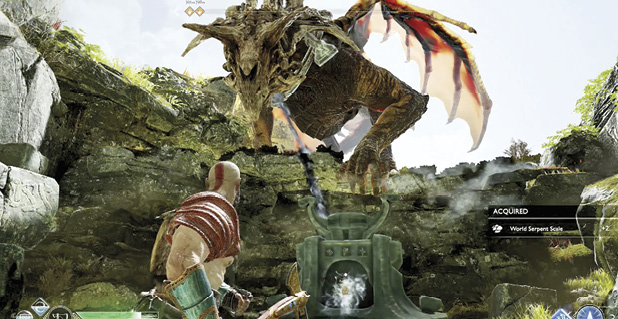
The Fire of Reginn
|
Quest Location |
Konùnsgard Stronghold |
|
First Available |
After second water drop of Lake of Nine |
|
Main Objective |
Destroy the shrines that bind Reginn |
|
Levels of Enemies |
4 |
|
Reward |
100 XP, Enchantment—Scale of the Mighty 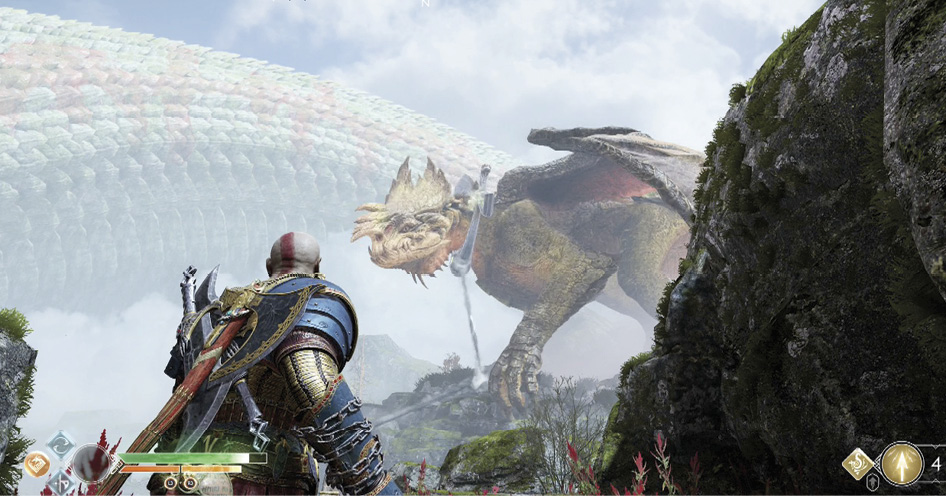 |
Reginn is found chained up in Konùnsgard Stronghold, the same location where the Huldra Brothers’ final quest, “Hail to the King,” takes place. Refer to that Favor earlier in this chapter for full coverage of both quests.