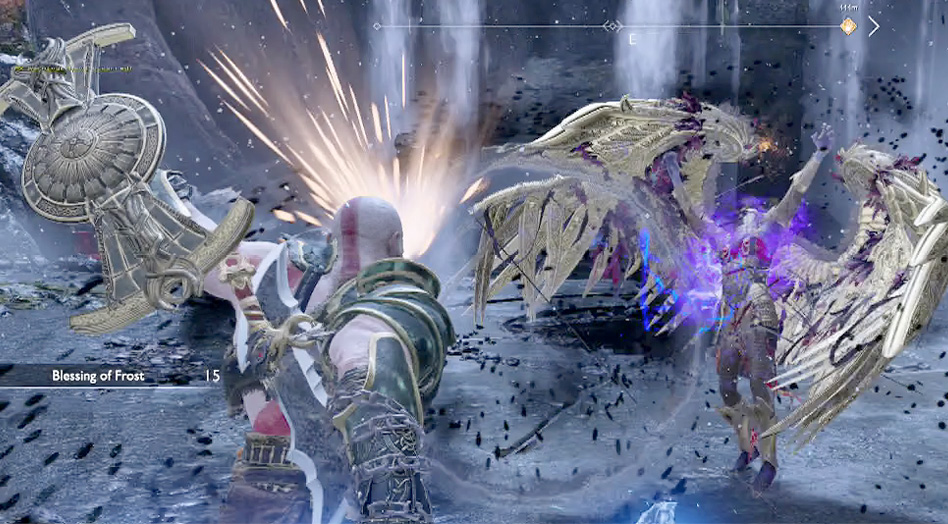
Valkyries
At four discrete locations throughout Midgard, four Valkyries have been imprisoned deep inside Hidden Chambers of Odin. Two more Valkyries are held in Odin’s chambers within the realms of Alfheim and Helheim. In Muspelheim, survive numerous trials to reach the seventh Valkyrie. Then search through the Cursed Blight of Niflheim to find the eighth. All eight must be defeated and freed from their corrupted forms before you face the Valkyrie Queen at the Council of Valkyries.
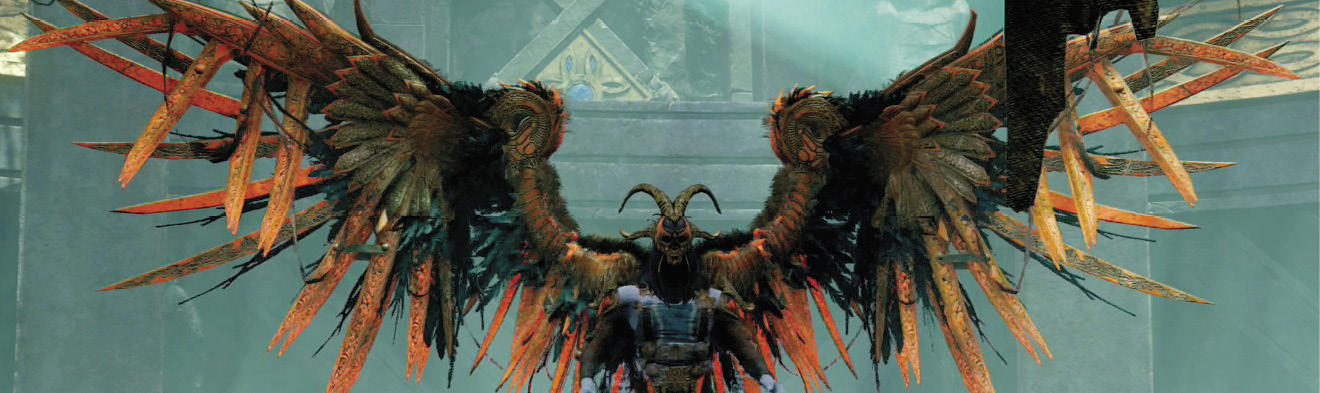
It’s possible to face Göndul in Muspelheim as soon as you discover the four pieces of the Muspelheim Language Cipher and travel to that realm. It’s an extremely tough challenge through five Normal Trials and five Hard Trials before you can face the Valkyrie, making it best left until you upgrade Kratos’ weapons and armor to a high level.
Less-challenging Valkyries are found within the Hidden Chambers of Odin, and the first chamber you come across is just outside Thamur’s Corpse, soon after finding the Chisel. Gunnr presents a nice introduction to these formidable foes. Progress through the sub-boss fights as we’ve listed below, and the difficulty ramps up considerably.
Three Favors lead you through this massive undertaking. These quests, as well as strategies for all nine Valkyries, are found in this chapter. For more information on where to discover the Hidden Chambers of Odin and what else is found inside, refer to the Labors chapter. More information on how to access the Valkyries in Niflheim and Muspelheim is found in their respective sections. While the Equipment you receive from each Valkyrie is determined by which one you defeat, the upgrade materials and other loot scale with the number of Valkyries slain.
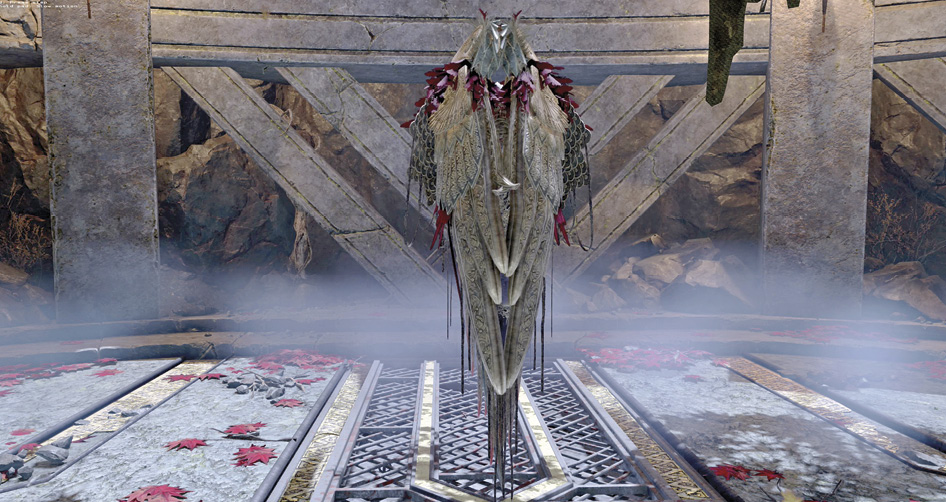
Valkyries tend to be resistant to Frost and Burn, except Göndul is weak to Frost and Hildr has a weakness to Fire. All Valkyries are weak to axe throws while flying, so interrupt their attacks when possible. This weakness is not present on the highest difficulty.
Meet the Eight Valkyries
Gunnr
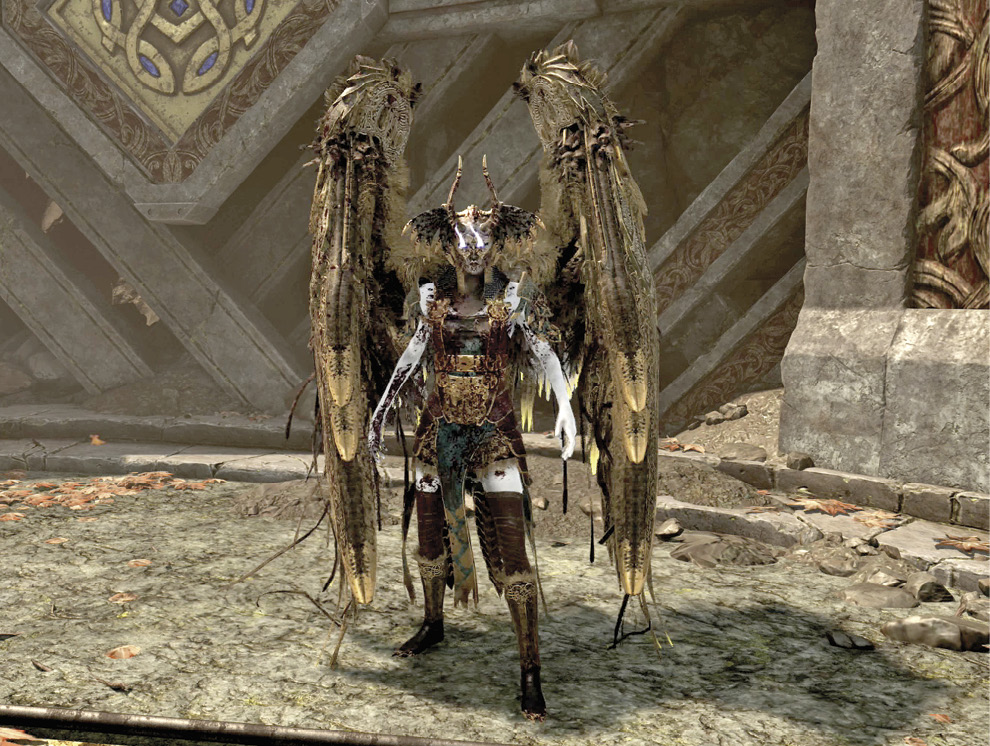
Gunnr is a good Valkyrie to fight first, as she telegraphs four basic attacks, plus her location is closest to where you collect the Chisel. Immediately hit her with a heavy attack combo, since she begins the fight in a vulnerable state.
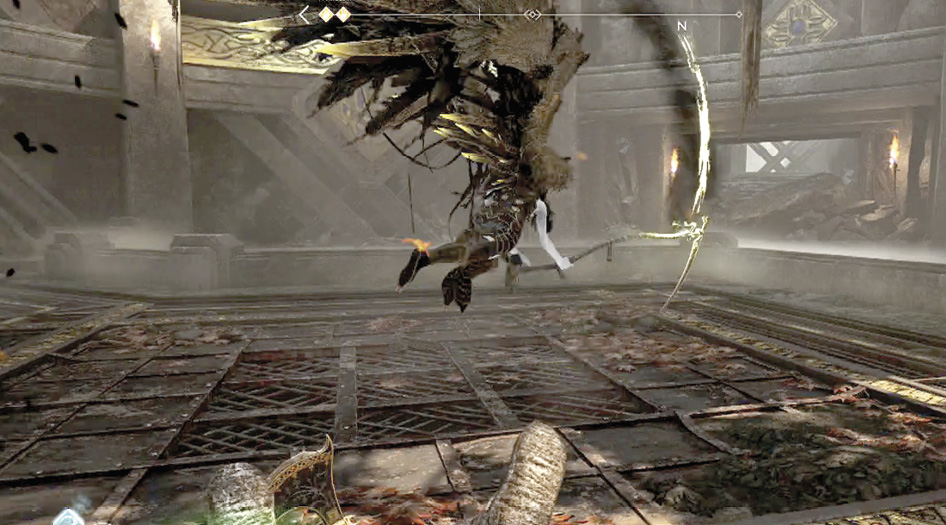
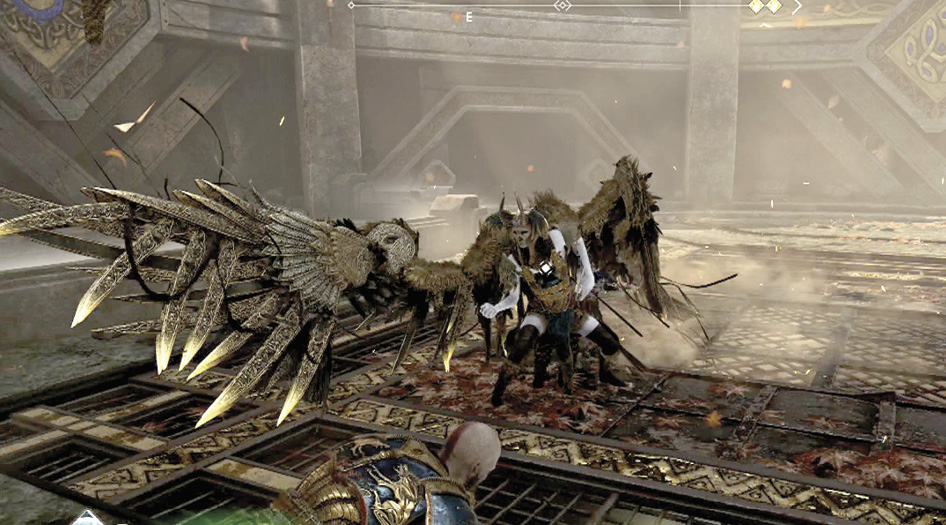
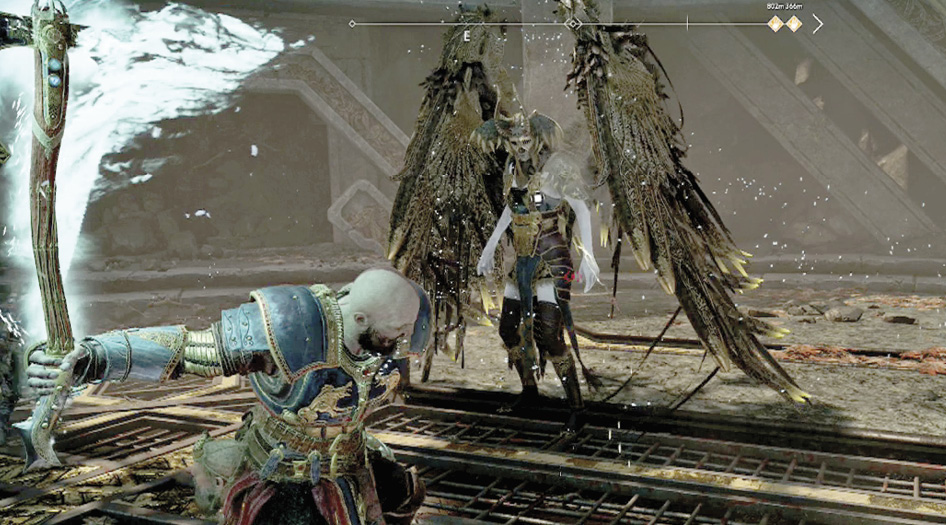
Wing Combo: When she rears back with a wing in the air, watch out as she follows through with a wing combo (possibly adding in a couple swings of the scythe). Every Valkyrie uses a four-hit wing combo, slashing twice with each wing. The attack cannot be blocked, as it will break. Learn how to dodge this attack as early as possible. Wait for the first swing and dodge diagonally backward. Immediately dodge the second hit.
Double Scythe Swipe: Watch for her to spin her scythe counterclockwise in front of her. She quickly lunges forward and swings the weapon in two big, sweeping motions. Be ready to parry her attack or dodge each swipe.
|
Location |
Thamur’s Corpse (near dock) |
|
How to Access |
Use the Chisel to unlock the Hidden Chamber of Odin |
|
Fighter Type |
Slugger |
|
Loot |
10,125 XP, Gunnr’s Helmet |
Scythe Chop: If she lifts into the air with her scythe out, she swings the weapon downward in a powerful motion. Step to the side to avoid the maneuver, and hit her hard, as her recovery is long after the swing.
Wing Stab: Don’t let your guard down after her wing combo, as she may perform a backhand into a wing stab. This stab move does comparatively low damage; later Valkyries have the potential to kill with one hit. Move to the side to avoid this attack, and quickly punish her, though the window is brief. Note that the stab move is global across all Valkyries.
Use Atreus to knock Gunnr out of the air with his Shock Arrows, which gives you great opportunities to hit her from behind. Continue to evade Gunnr’s telegraphed attacks, and punish her anytime there’s an opening. All Valkyries are susceptible to heavy attack, with every other heavy staggering the foe. She recovers after four attacks.
Eventually, after you cause enough damage, she becomes stunned. Quickly move in and perform a stun grab to free the Valkyrie. If you wait too long before finishing her off, she recoups a good portion of her health. Collect the helmet before leaving the chamber.
Geirdriful
|
Location |
Foothills (right at the split) |
|
How to Access |
Use the Chisel to unlock the Hidden Chamber of Odin |
|
Fighter Type |
Shooter |
|
Loot |
10,125 XP, Geirdriful’s Helmet, Axe Hilt—Guardian Valkyrie’s Hilt |
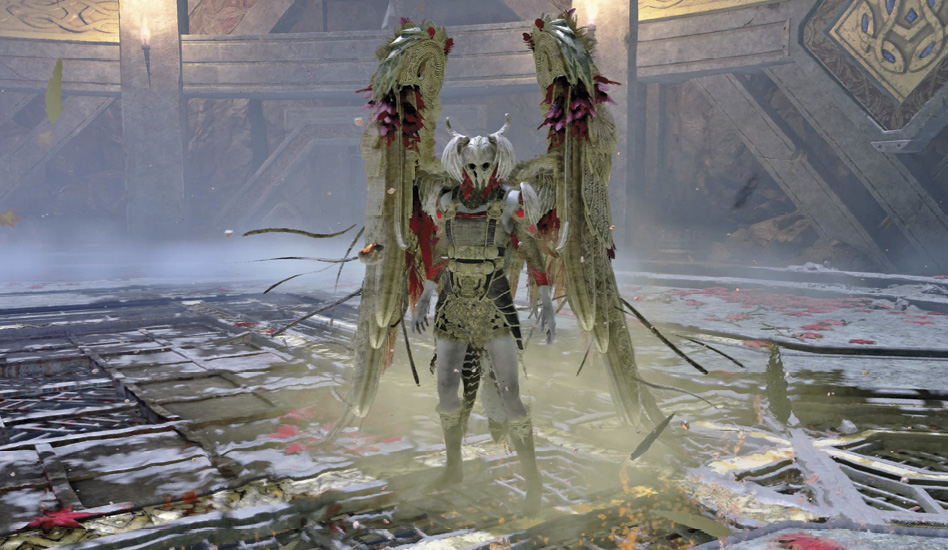
Geirdriful is a little more mobile than Gunnr and performs the same wing combo, backhand, and stab attacks. She mostly fights from distance with projectile attacks, introducing a few new ones.
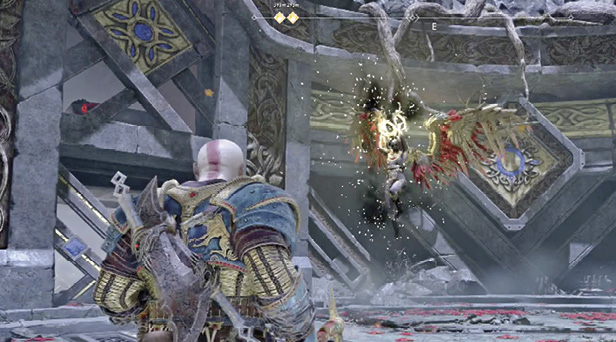
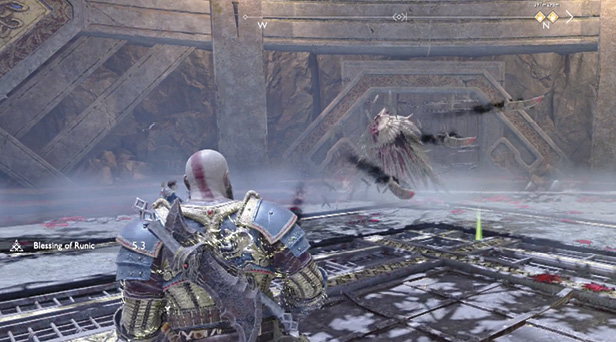
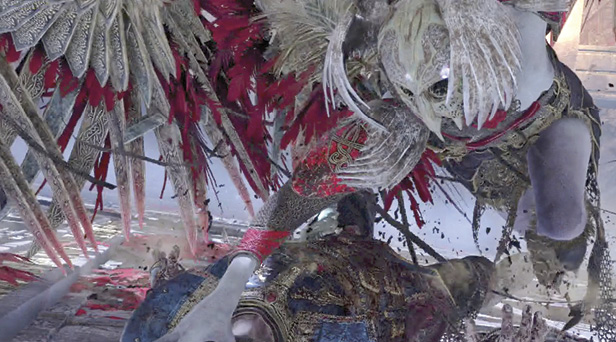
Blinding Shockwaves: Geidriful rises in the air and flaps her wings, launching shockwaves toward her target. The attack causes a few seconds of blindness. Avoid this attack by quickly looking away, using quick turn. Keep your distance and stay on the move if the lights go out. She tends to close in for her combo during this vulnerable time.
Scythe Uppercut: After spinning her Scythe in front of herself, she swipes the ground in an uppercut motion, sending a shockwave out in a straight line. This can be avoided with a well-timed sidestep.
Chakram: Watch for her to raise a pair of chakrams above her head and fling them as one projectile straight ahead. The weapon is linear but incredibly fast. It’s possible to dodge at long range by stepping to the side. The chakrams are nearly impossible to avoid up close due to tracking.
Swoop Grab: If she performs a barrel roll in place, prepare to move to one side or the other, as she swoops in and attempts to grab you. If successful, she drags Kratos along the ground, causing severe damage. After a miss, she pauses on the ground, providing a great opportunity to get in a few big hits.
Spin Attack: Watch out for her to lunge toward her target and quickly spin around four times with wings spread. This move sucks you in if you’re caught too close and can cause serious damage.
Eir
|
Location |
The Mountain (near corner elevator) |
|
How to Access |
Use the Chisel to unlock the Hidden Chamber of Odin |
|
Fighter Type |
Defender |
|
Loot |
10,125 XP, Eir’s Helmet, Axe Pommel—Valkyrie’s Might |
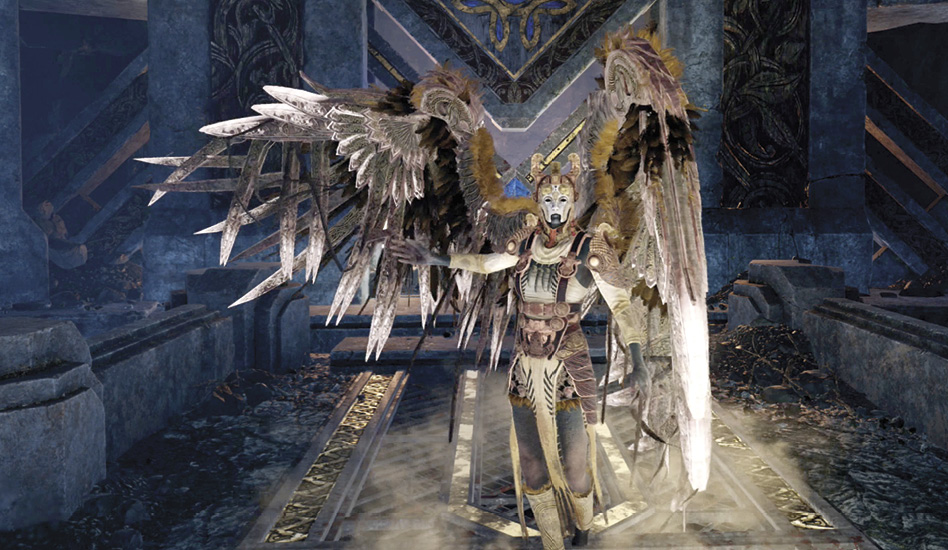
Eir introduces a block that defines her defensive tactics. She adds the block after many of her moves, keeping you from punishing her. She also adds a mace to the fight, introducing a few new attacks. Watch for her to perform the wing combo back-to-back, followed by a mace attack.
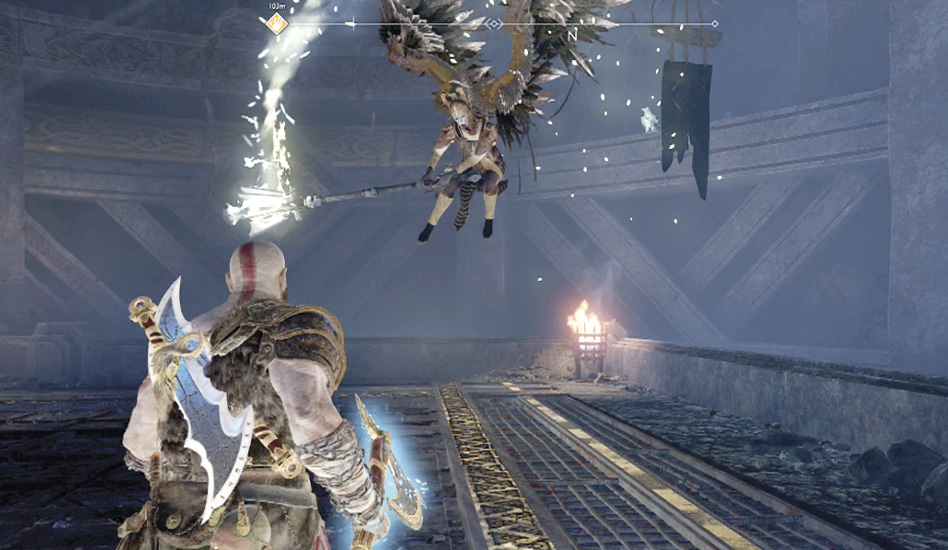
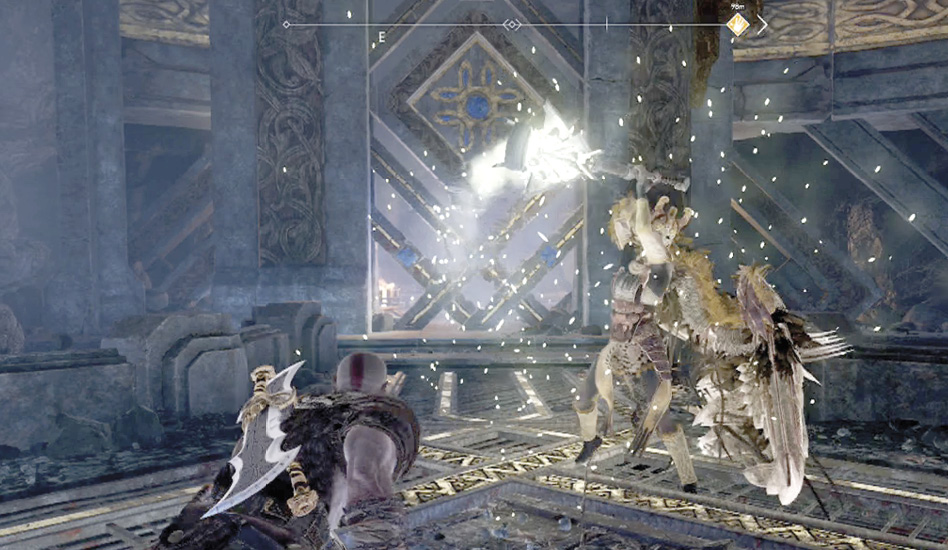
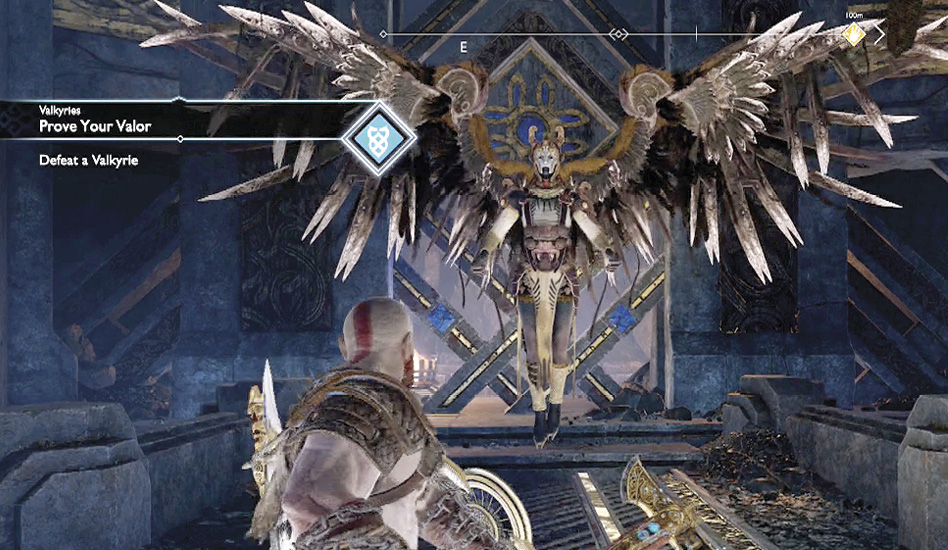
Block: She closes up with her wings protecting her from attack. This negates physical attacks, and if she’s provoked enough, her quills open up and knock you back. This is often followed up with the powerful stab attack. Perform a Block Break for a huge stun when she closes her wings.
Mace Wave: Eir swings around in the air and raises her mace before launching an unblockable mace attack. This move can kill in one shot if you face this Valkyrie as soon as she’s available; at the least, it dazes you. Use a light axe throw to knock her out of the air and stun her. Quickly recall your axe and punish her.
Mace Combo: The Valkyrie dashes in and hits with an overhead swing, following up with a second overhead smash. Roll away from the first swing to avoid the shockwave, quickly dodge the second hit, and then move in with your own attack.
Kara
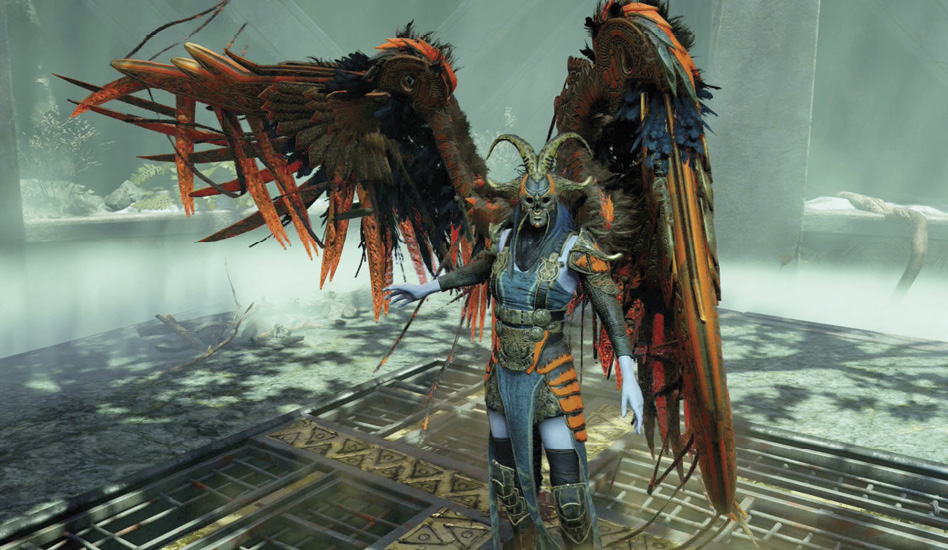
|
Location |
River Pass (Witch’s Basement, requires Shock and Light Arrows) |
|
How to Access |
Use the Chisel to unlock the Hidden Chamber of Odin |
|
Fighter Type |
Summoner |
|
Loot |
10,125 XP, Kara’s Helmet, Talisman—Talisman of the Realms |
Kara is the most unique Valkyrie, with the ability to summon Draugr to her side. She’s not much of a brawler, instead opting to let her minions do much of the work. She possesses a couple of the long-distance attacks from previous Valkyries: the scythe chop, shard projectiles, and chakram throw. Take advantage of her long recovery from these attacks with a heavy dose of punishment.
DraugrSummon: Kara typically begins the fight by spawning four to five Level 3 Draugr. Due to the layout of the arena, you can use powerful attacks to knock a couple of the foes off the edge right from the start.
She doesn’t summon more if at least two Draugr remain, so it’s best to leave a couple around at all times. If you reduce the number to one Draugr, she summons up to four more. Allow Atreus to pull agro on the Draugr while you deal with Kara.
Chakram Variation: Her chakram throws come in two variations. The heavy straight-line throw that you’ve seen before is unblockable but can be sidestepped. If she holds the chakrams out to her sides for a moment, she throws them in a curved pattern—hitting you on both sides. These are blockable, but you can’t avoid Draugr in the meantime. It’s best to parry the throw, though if you’re too early with the first, the second is already coming.
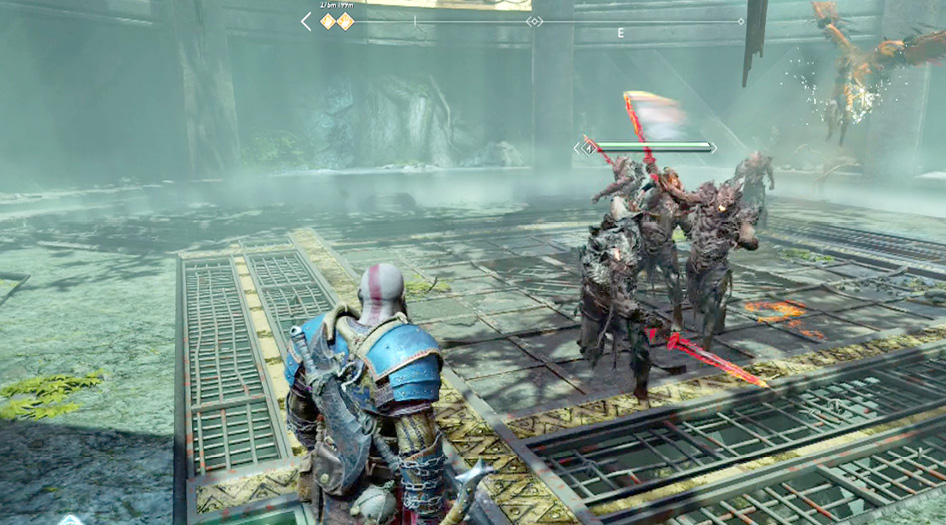
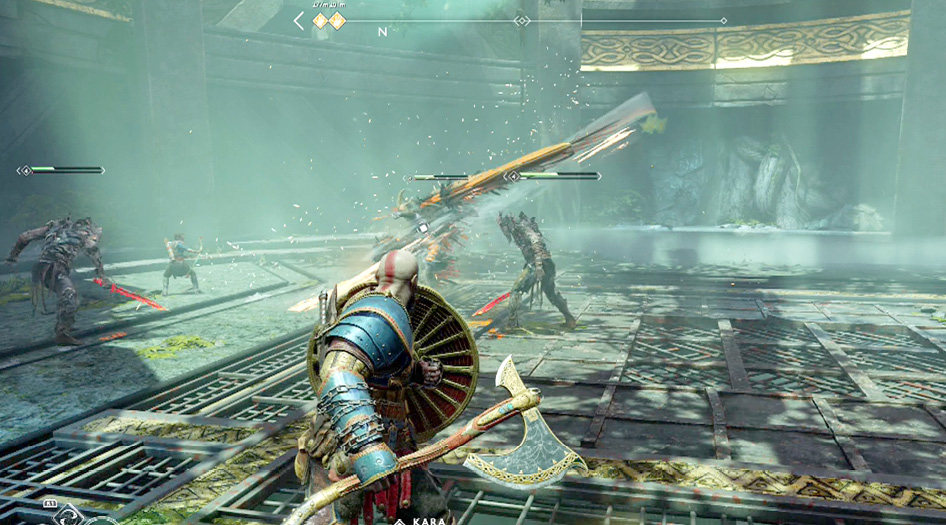
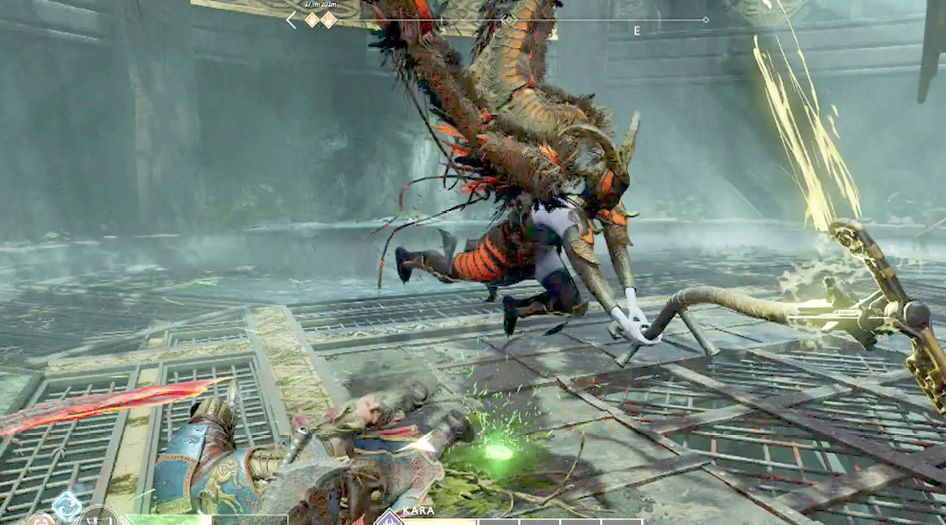
If attempting this fight at a low level, use quick flash to stun her, and perform a light combo—R1, R1, R2. Kite her around until she uses a big attack, and repeat.
Rota
|
Location |
|
|
How to Access |
Fire a Shock Arrow at the Shatter Crystal to find the Hidden Chamber of Odin |
|
Fighter Type |
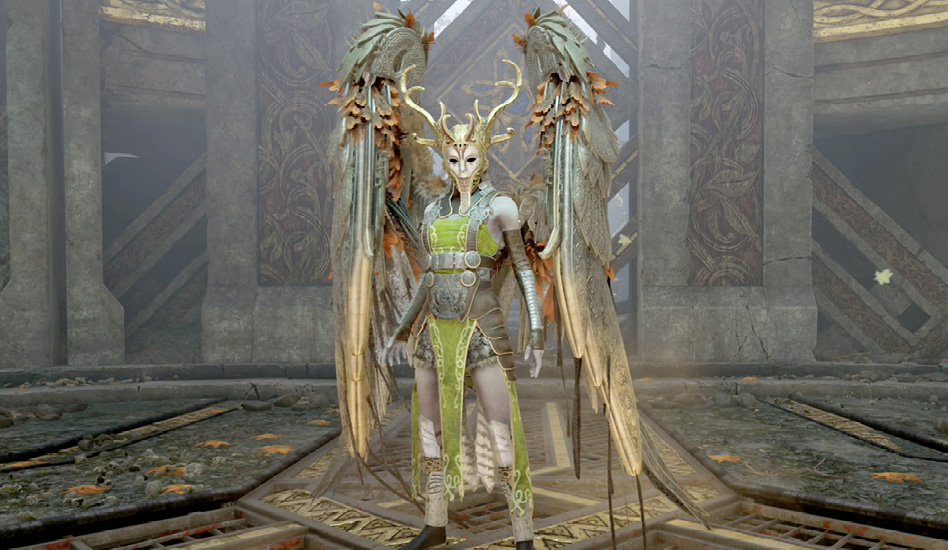
Grappler |
|
Loot |
10,125 XP, Rota ’s Helmet, Blades Pommel—Grips of the Valkyrie |
Rota works hard to get ahold of Kratos and cause massive damage up close. Don’t get too comfortable with the fight, because she changes things up as the fight progresses, becoming more aggressive. She possesses the same wing combo and stab attacks as previous Valkyries, as well as the dash spin attack that Geirdriful has and chakram variations from Kara. Without the Draugr to deal with, it’s possible to interrupt the chakram attack with a quick Shock Arrow from Atreus.
Swoop Grab Variations: You may have seen Geirdriful attempt the swoop grab, but Rota takes it up a notch. If you see her barrel-roll, get ready to dodge-roll or step out of the way. Don’t let your guard down, because she may attempt this move three times in succession (always one swoop or three). If successful, she drags you along the ground, causing severe damage. Keep her in view and pause before dodging the second and third swoops. Get used to the dodge timing with this attack, as you’ll see it again.
Heel Stomp: Watch for her to shoot high into the air—this means the devastating stomp attack is incoming. If not avoided, she lands on Kratos and digs her heel into him. She continues to stomp until you’re able to counter her kicks with the Circle button. Mashing the button also facilitates an escape, but it’s possible to get out sooner with a successful counter. As with the swoop grab, she may attempt the stomp up to three times in quick succession.
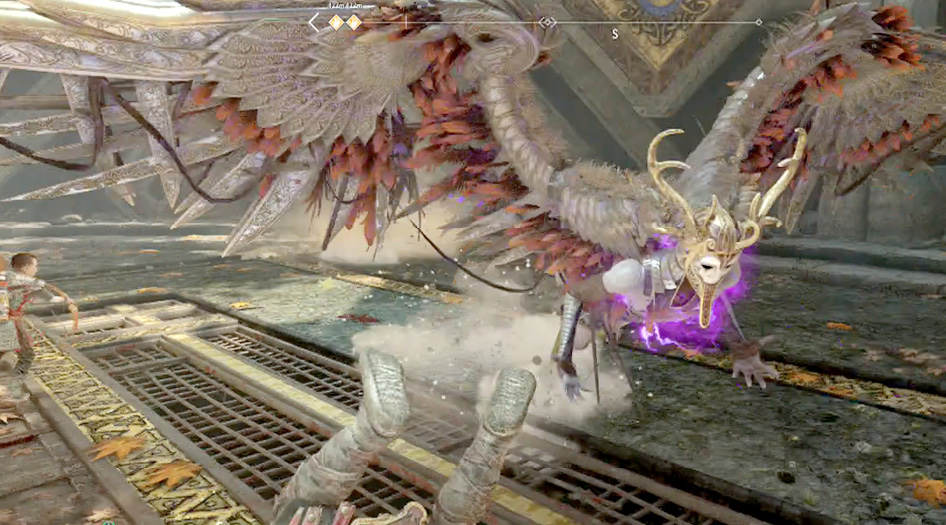
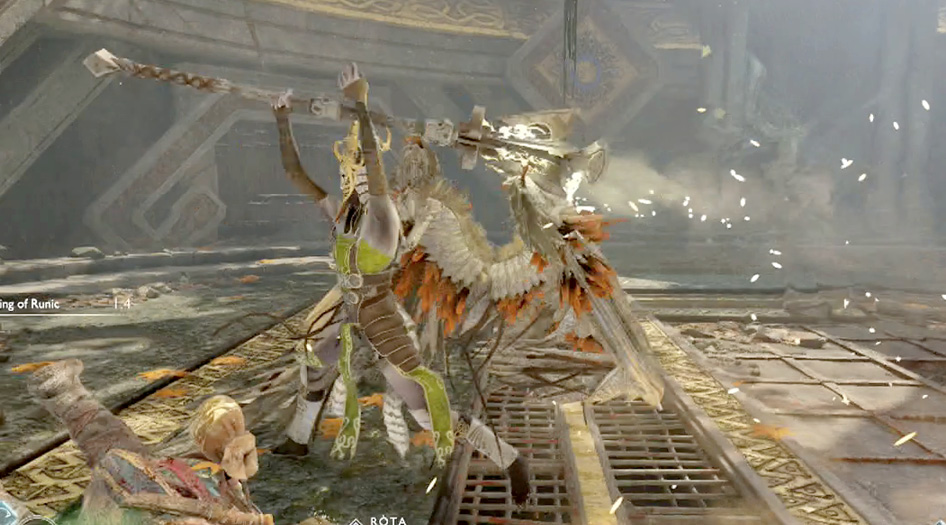
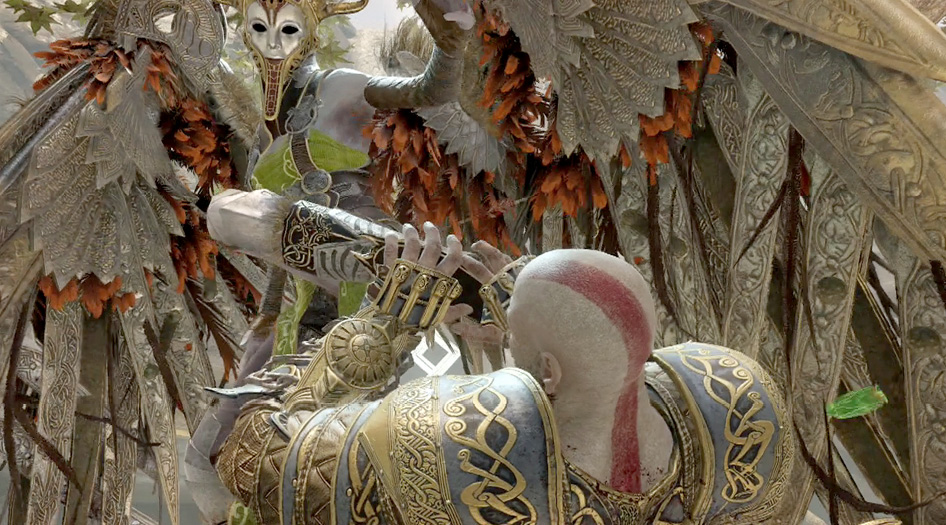
After her grab attempts, quickly close in and hit her hard during the brief period of vulnerability. Late in the fight, watch out for her to pull out a mace or scythe at the ends of her combos.
Olrun
|
Location |
Alfheim (Hidden Area: Light Elf Shore) |
|
How to Access |
Use the Chisel to unlock the Hidden Chamber of Odin |
|
Fighter Type |
Evader |
|
Loot |
10,125 XP, Olrun’s Helmet, Waist Armor—Waist Guard of the Valkyrie |
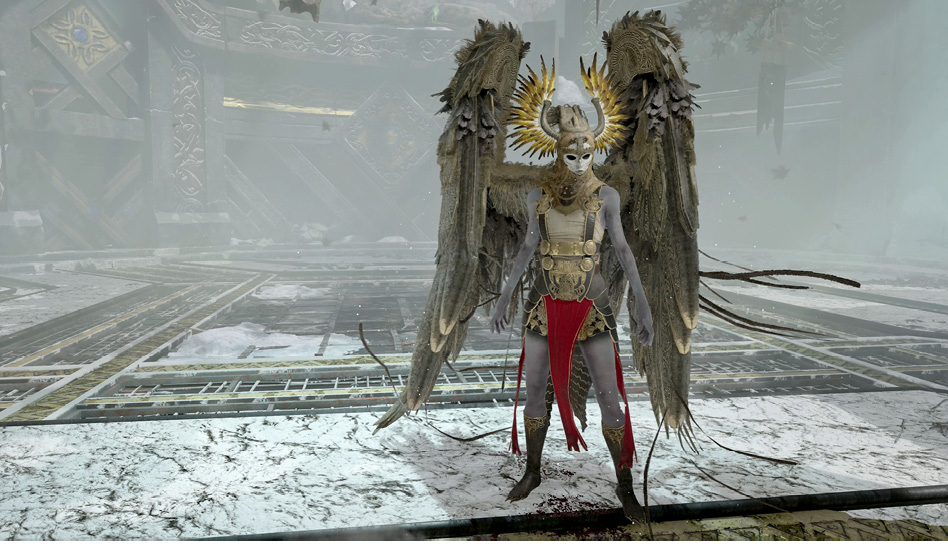
Olrun may be the hardest to adapt to and most difficult to punish, as she’s able to dash away much more quickly than previous Valkyries. Knowledge of the others is imperative, as she attacks rapidly and mixes her attacks extremely well. She possesses the wing combo, stab, and the blockable chakram throw. Remember that you can hit her with an arrow to knock her out of the air as she prepares to throw the chakrams. Later in the fight, she may attempt the stomp attack, so watch for her to shoot into the air.
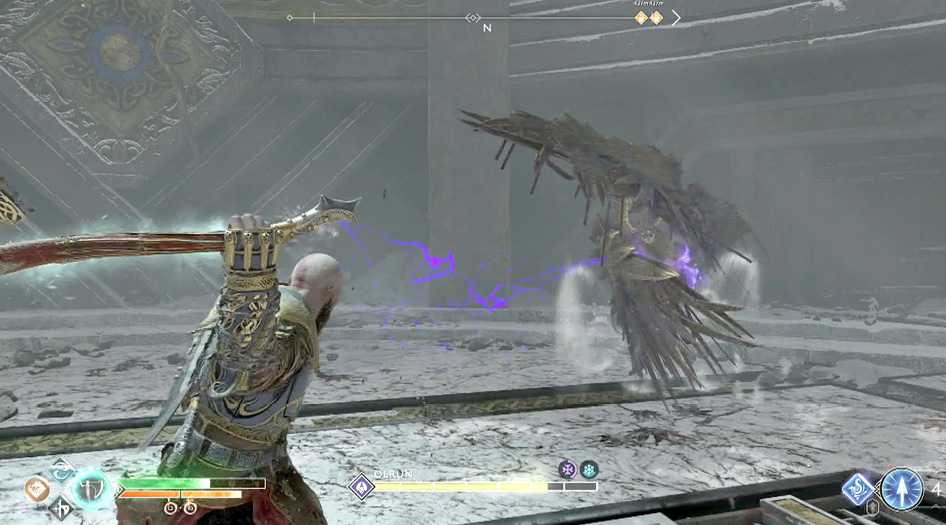
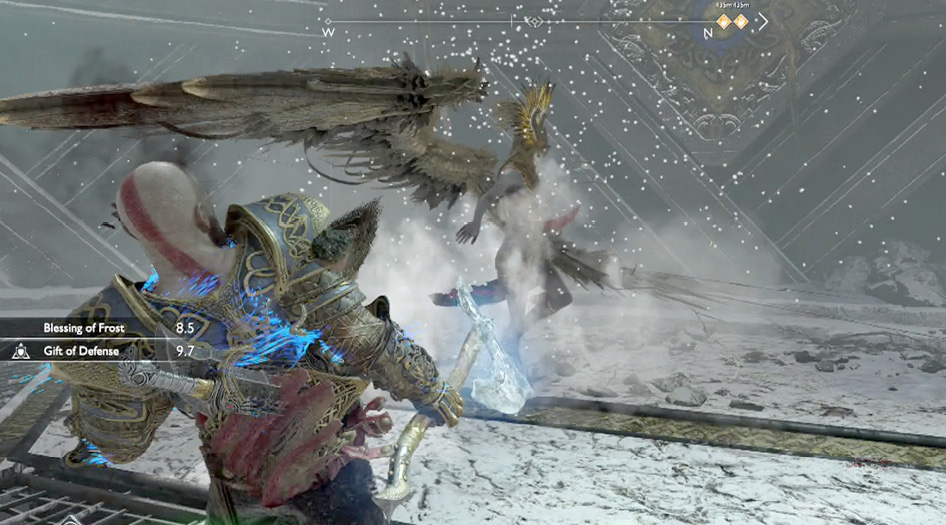
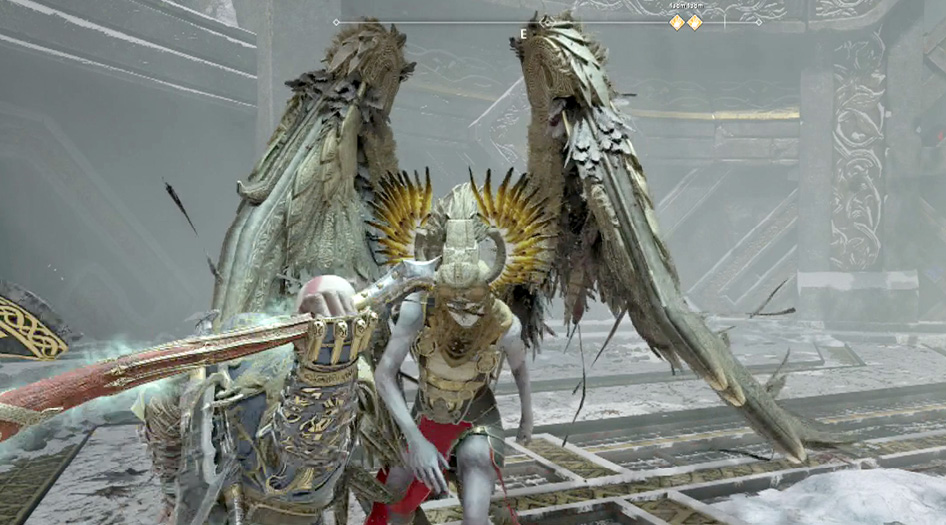
Evade: Evading isn’t new to the Valkyries, but Olrun does it much better than the rest. After dashing away twice, she runs or dashes right at you. For example, she may finish the wing combo with a double evade, then follow up with another move—possibly a second wing combo or the devastating stab. Always keep her in sight and stay on the move. Use quick turn to keep her in your sights if she tries to loop around behind you.
Spin Projectile: She introduces a projectile attack after her spin attack if farther away, sending shards out in a straight line. These can be blocked, but if you’re too close, the spin sucks you in.
Göndul

|
Location |
Muspelheim (Trial VI) |
|
How to Access |
Complete Normal and Hard Trials 1-5 |
|
Fighter Type |
Fire |
|
Loot |
10,125 XP, Göndul’s Helmet, Wrist Armor—Gauntlets of the Valkyrie, Enchantment—Leviathan’s Eye, 2 Asgardian Steel, Perfect Asgardian Steel, Raging Inferno of Muspelheim |
Survive the 10 trials (five Normal and five Hard) as you climb Muspelheim Volcano to earn a chance to fight the seventh Valkyrie. Göndul’s move set includes all the mace moves of earlier Valkyries, plus a two-hit combo. She’s the first to combine the wing combo with a mace area-of-effect attack.
Göndul is able to perform the spin attack, which she may combine with a stomp. She also introduces a powerful meteor summon to her repertoire. Combine all this with a heel-stomp variation, harder hits, and more health, and this makes for a giant leap in difficulty.
Meteor Summon: Göndul has the ability to summon meteors from the sky, dropping them in a straight line. She begins the battle with this move, so it’s best to throw your axe from a distance to get her attention. This attack divides the arena, since you take damage if you attempt to move through the fire. Make her aim at you at one side or the other so less of the arena is cut off.
Keep an eye on her as the meteors fall; she likes to mask her dash-ins with this attack. While you’re focused on the meteors, she follows up with another move—such as shard projectiles, wing combo, wing stab, or mace attack. Evade to the side, away from her and the fire, then follow up with a couple of light attacks.
Heel-Stomp Variation: Göndul performs the same stomp attack as earlier Valkyries, but just after shooting into the sky, she drops lava before her stomp. Therefore, you must evade the fire before evading her. After the stomp, there’s a huge opening to punish her. If she catches you with the stomp, counter her kicks to escape.
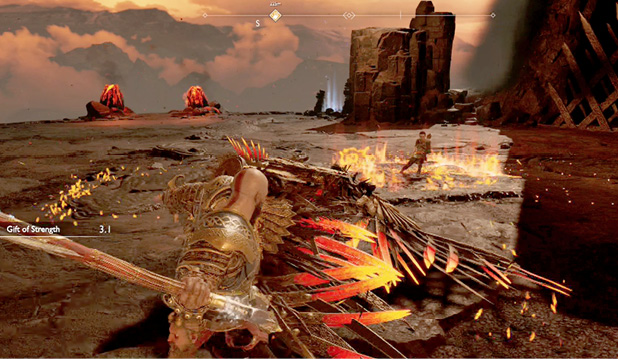
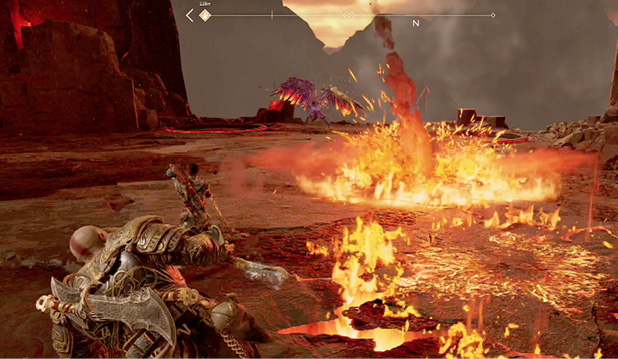
Avoid evading or attacking into the fire that remains from Göndul’s meteors, and don’t let your guard down after evading the burning rocks. Hit her hard during her brief vulnerabilities, such as after a missed stomp or stab. When she raises her mace in the air, hit her with a light axe throw and punish her as she falls to the ground. With patience and persistence, the Valkyrie finally collapses in defeat. Perform a stun grab to finish her off.
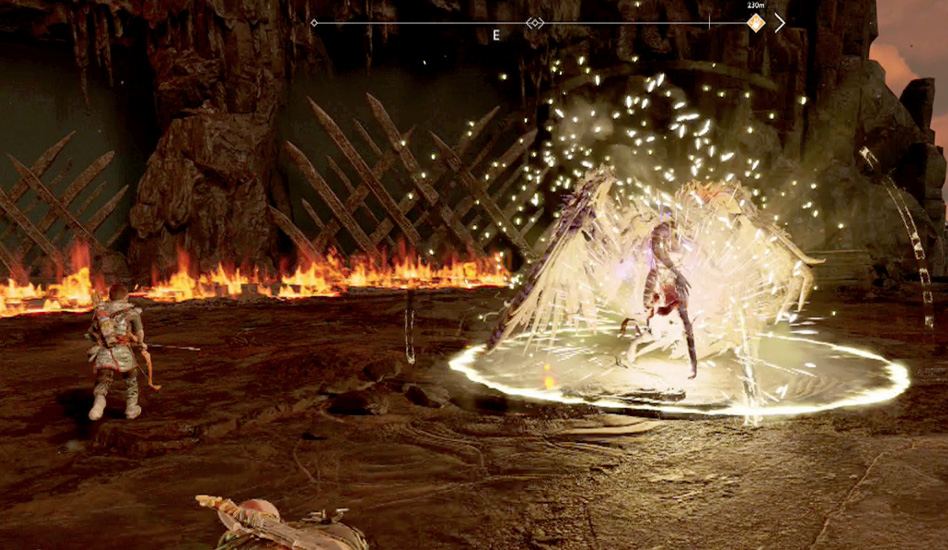
Hildr
|
Location |
|
|
How to Access |
Enter the northwest area (Cursed Blight limits time) |
|
Fighter Type |
Ice |
|
Loot |
10,125 XP, Hildr’s Helmet, Chest Armor—Cuirass of the Valkyrie, Axe Pommel—Wing of the Fallen |
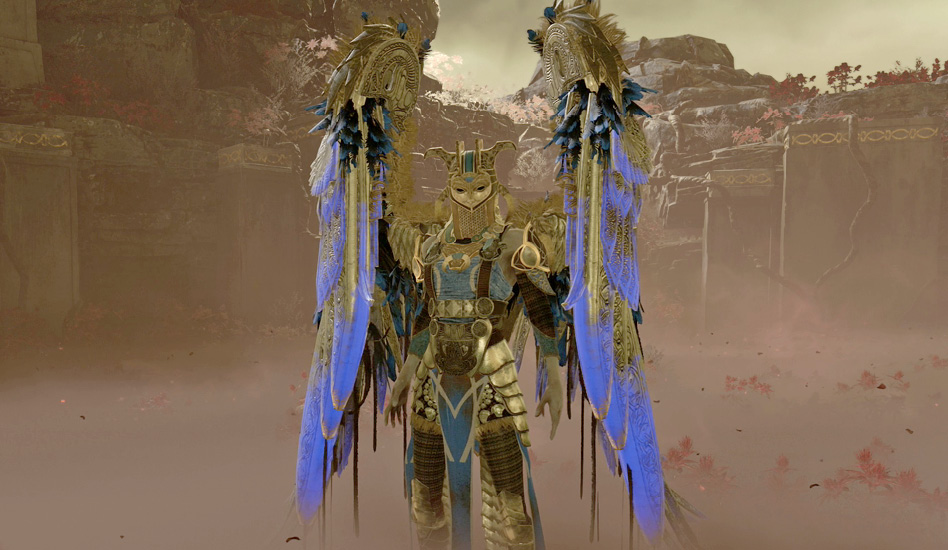
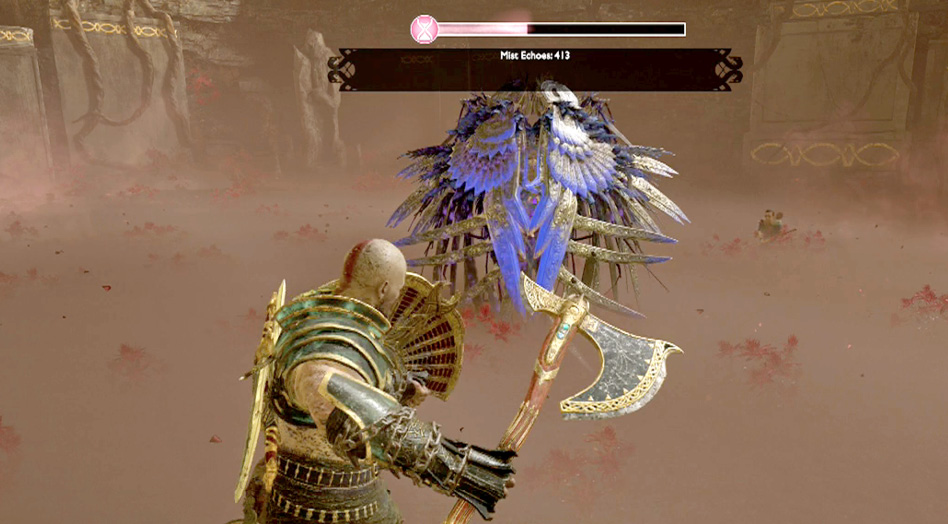
Hildr is found in the most distant area of Niflheim, so it’s best to equip gear that extends the time you can spend in the Cursed Mist. For maximum time with Hildr, ignore the monsters in the first area and move past the traps on the left. When the path splits to the left, avoid more traps as you enter a dead end. Once you step into the area, the Valkyrie drops in.
Hildr possesses all the scythe attacks of earlier Valkyries, including the uppercut, double swipe, and two-hit combo. She also uses the wing combo and swoop attack, though she only makes one pass. Similar to Eir, she sometimes transitions into a block after an attack. She introduces a hail attack that sends a slew of ice projectiles at her target.
Hail Projectiles: Watch for Hildr to summon hail projectiles from her midsection, which track toward you. The ice particles can be blocked until the final clump. This clump is unblockable, causes severe damage, and adds the slowed status effect. Block until you see the red flash that indicates the final projectile, and then mash Evade to avoid taking damage. She begins the fight with this attack.
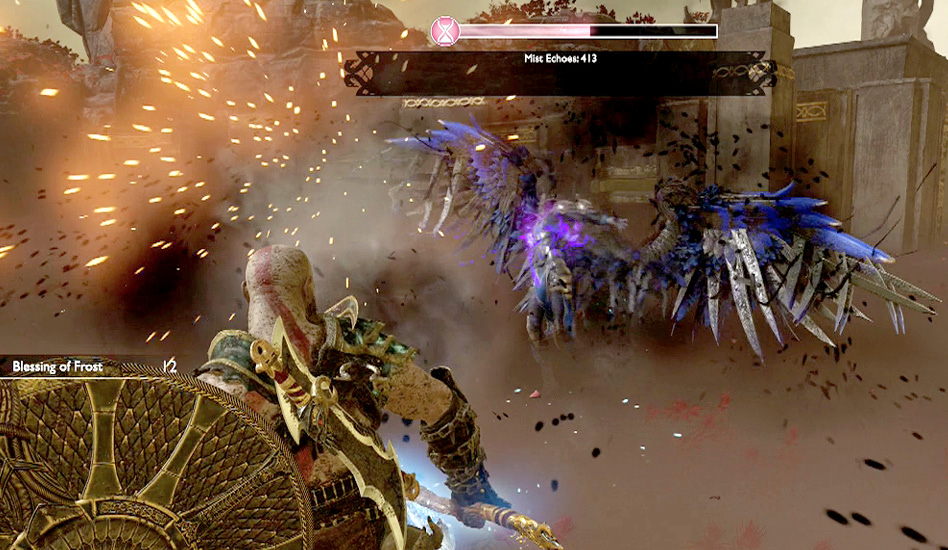
If there’s not enough room between you and her, she dashes backward before launching the hail. She tends to use the scythe uppercut after this attack and often follows up with a two-hit scythe combo, so remain on alert.
Use a Block Break to stagger Hildr when she closes up, avoid taking damage from her hail projectiles by evading the final clump, and punish her after dodging her scythe attacks.
Favor: Prove Your Valor
|
Objective |
Kill a Valkyrie |
|
First Available |
After recovering the Chisel |
|
Reward |
On kill, chance to drop: Valkyrie Armor, Epic Loot, Upgrade Materials (Asgardian Steel and Perfect Asgardian Steel) |
OBJECTIVE: Kill a Valkyrie
To complete this objective, you must defeat one of the eight Valkyries. Any Valkyrie will do, but Gunnr is a decent challenge to begin this endeavor. Be sure to collect the Helmet dropped when each Valkyrie is defeated.
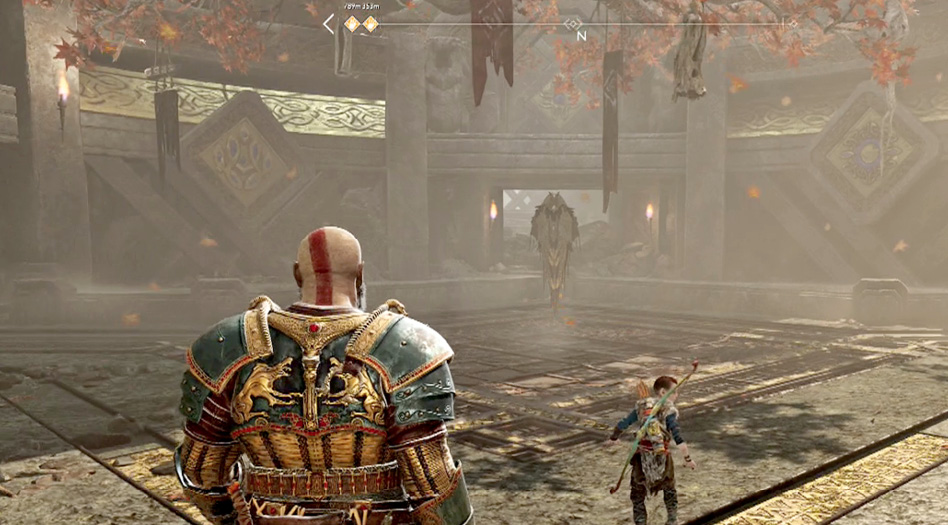
OBJECTIVE: Search for and Kill the Remaining Valkyries
The Favor continues as you search for the remaining seven Valkyries and free them from their corrupted forms. Your reward is the valuable loot dropped by each of the sub-bosses.
|
Objective |
|
|
First Available |
After defeating a Valkyrie |
|
Reward |
On kill, chance to drop: Valkyrie Armor, Epic Loot, Upgrade Materials; 1880 per Helmet and 1075 XP for completing quest |
OBJECTIVE: Journey to the Valkyrie High Council
Once you defeat the eight Valkyries and collect their helmets, journey to Council of Valkyries on the north side of Lake of Nine.
Take a boat to the beach located on the west side of the Njörd’s Oarsmen and climb the cliff. Shimmy to the left and continue to climb up until you reach the massive door that leads to the Valkyrie High Council.
OBJECTIVE: Place the Eight Helms
Move into the main clearing and interact with the eight thrones around the perimeter. Once all eight helmets have been placed, a Realm Tear appears in the center of the arena. Interact with it to bring out Sigrun, the Valkyrie Queen.
Favor: God vs. Queen
|
Location |
Council of Valkyries |
|
Objective |
Kill the Valkyrie Queen |
|
First Available |
After completing “The High Council” |
|
Loot |
50,000 XP, Sigrun’s Helmet, Axe Pommel—Retribution |
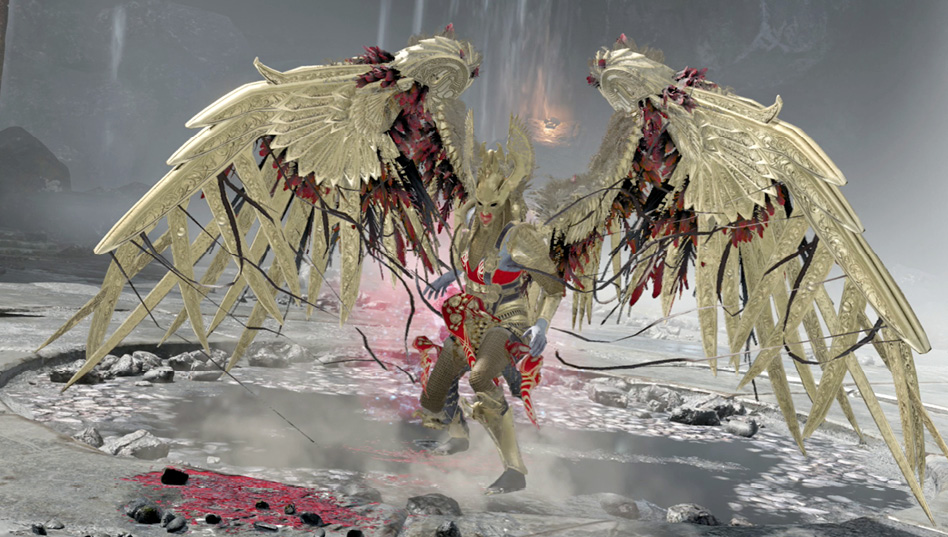
OBJECTIVE: Kill the Valkyrie Queen, Sigrun
Sigrun possesses all of the moves used by the other Valkyries, except she’s unable to summon monsters; therefore, this fight requires knowledge from all other fights. You can only punish her on blocks and missed stomps and swoops. If that isn’t enough, she’s as fast as Olrun.
The Queen pops out of the Realm Tear and immediately shoves you into the ground. Be ready to evade her hail projectiles, meteors, shards, stabs, chakrams, scythe attacks, wing combos, mace, swoop grabs, and stomps. Stay on the move, especially when blinded, and if possible, don’t let the boss out of your sight. The key to victory is in reading her moves and knowing when to attack. Hit her with an arrow when she twirls in the air with her mace out.
Use a Block Break when she blocks. If caught in her heel stomp, quickly counter the kicks. This arena is bigger than the Hidden Chambers of Odin, so it’s possible to miss moves that would be otherwise unavoidable, such as the blinding shockwaves and mace wave.
The final Valkyrie is an extremely tough fight, but at this point, you’ve played a lot of the game and Kratos should be decently upgraded. Since it’s possible to avoid damage from all of Sigrun’s attacks, you can defeat her without the best gear, but it requires much patience.