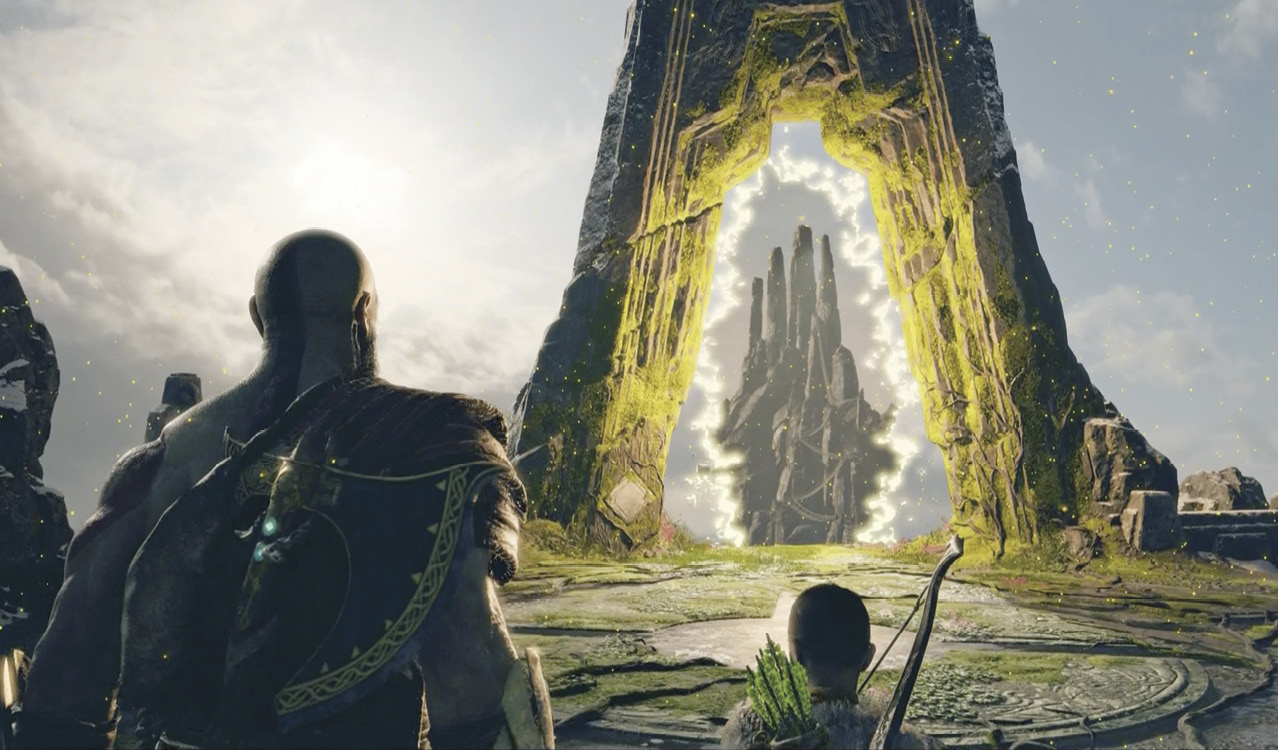
Chapter 5: Inside the Mountain
The route to the Mountain’s Summit runs through a vast complex of caves and mining shafts in the Mountain’s interior. The ascent features thorny puzzles, wicked combat, and a perilous encounter with a legendary foe.
Mountain Interior: Lower Level
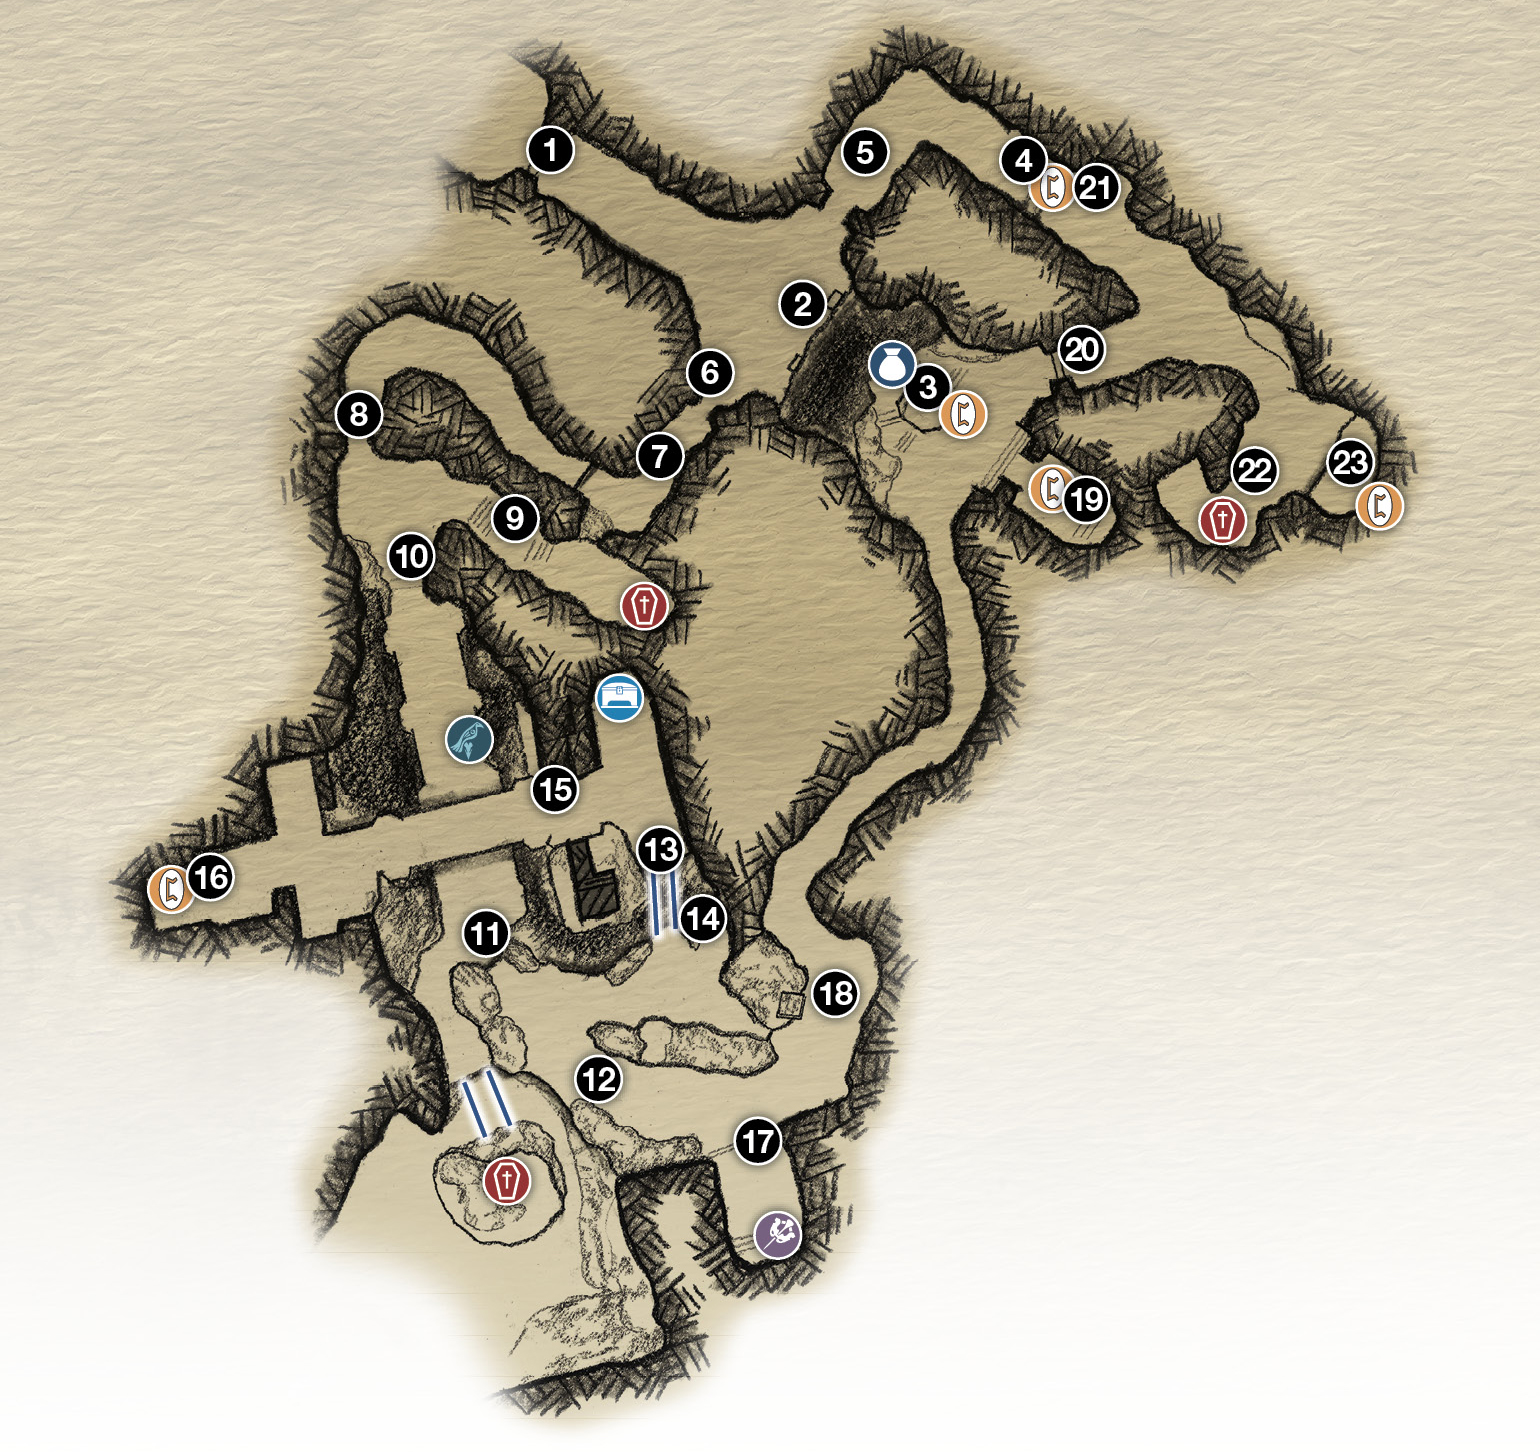
1. Mountain entrance
2. Sand bowl
3. Stag statue
4. Red sap barrier
5. Crystal (up high)
6. Cracked wall (after floor puzzle solved)
7. Drop-off
8. Low tunnel
9. Stairs to coffin
10. Lift rock
11. Boost up wall
12. Target crystal with Light Arrow (activates bridge)
13. Crystal (activates bridge)
14. Loose crystal
15. Bridge to Lore Marker (look up/left for rune spinner)
16. Lore Marker
17. Break wall (to Ornate Cup)
18. Low tunnel entrance
19. Alternating Runestone
20. Doors
21. Lore Marker (need crystal)
22. Low tunnel (to coffin)
23. Climb wall (Lore Marker partway up)
 Artifact
 Chest
Chest
 Coffin
 Lore
Lore
 Nornir Chest
 Raven
Raven
Journey Objectives
- Ascend the Mountain
- Traverse the dark caves
- Ascend the cave shaft
- Free the chain
- Find a way to ascend
- Reach the Summit
New Enemies
- Revenant (Summoner)
- Draugr (Dual-Wield)
- Draugr (Power Weapon)
- Draugr (Explosive)
- Miniboss: Járn Fótr
- Boss: Hræzlyr
- Hel-Shadow Archer
- Nightmare Parasite
- Hel-Viken
- Hel-Reaver Guard
Objective: Ascend the Mountain
Jump across to grab the yellow-marked ledge. Climb left, up, right, then up again to reach the cave entrance into the Mountain, where you find more of the foul Black Breath magic. Again, use the Bifröst. to dispel it as you advance into the mist. Soon you reach huge wooden doors carved with an emblem. Atreus points out that it matches the one on the door to Jötunheim in Týr’s Temple.
Solve the Rune Floor Puzzle
From the entrance door (1), climb the stairs to a semicircular platform (2) that looks across a chasm to a far platform with a statue of a great stag on a throne (3). Look around your platform to see floor panels, a sand bowl, a handle, and two crystal stands—one with a crystal installed and one without. If you pull the handle, the floor panels slide together.
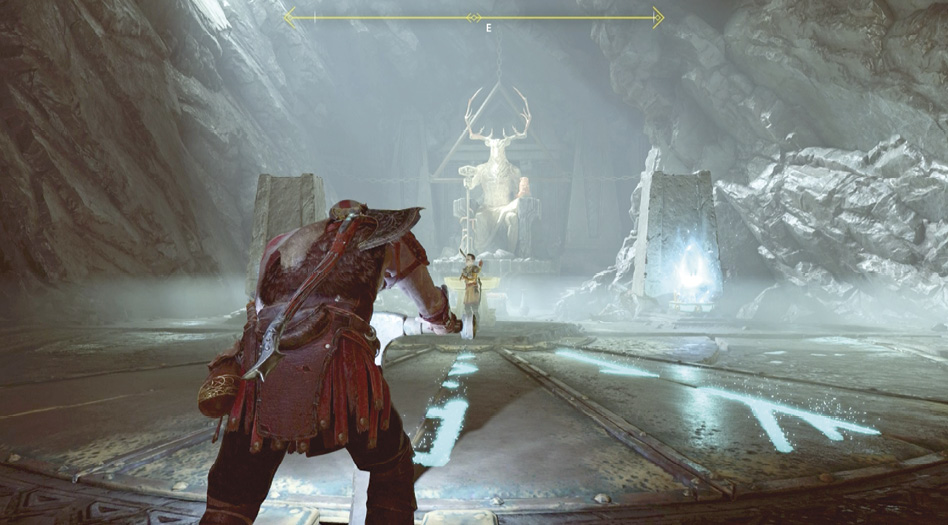
Shoot a Light Arrow at the installed crystal to power it up and reveal rune fragments on half of the floor panels. Now you need to place a crystal in the empty stand so you can activate the other half of the rune message.
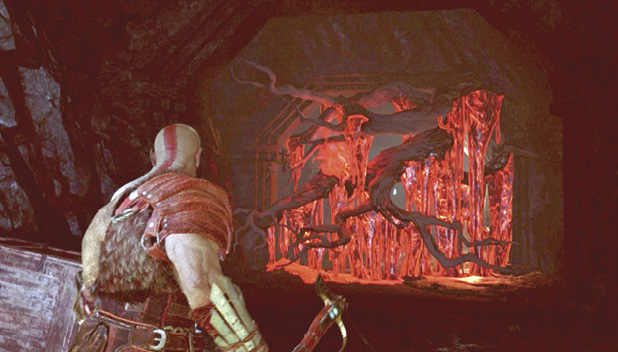
Facing the chasm, turn left and head down the tunnel. Take out the two Speed Draugr that rush up the cave, then step around the corner to find the way blocked by a barrier of weird red sap (4). You can’t get past this sap yet.
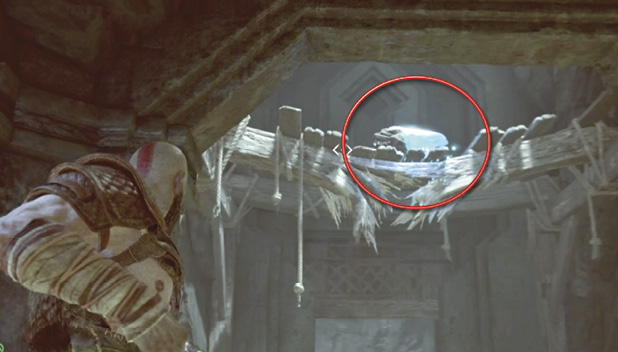
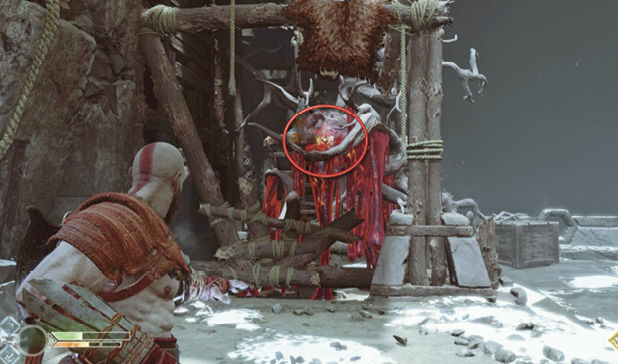
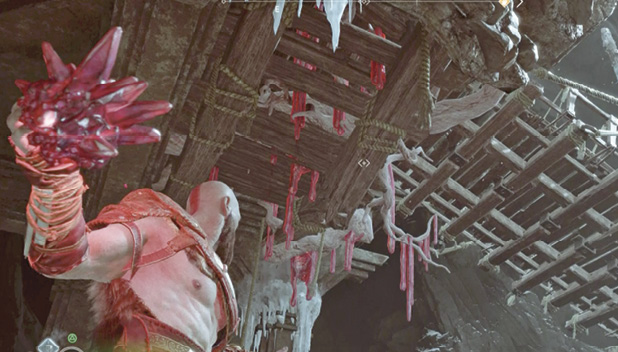
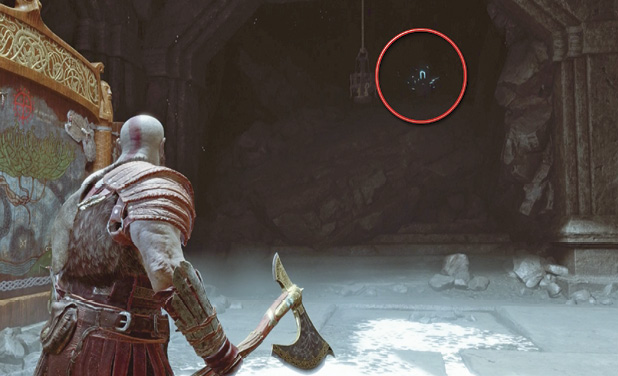
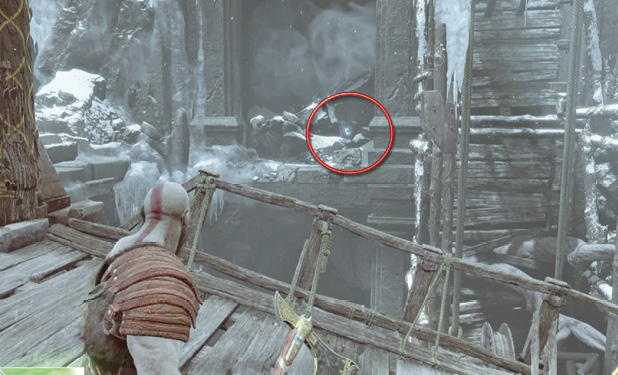
Instead, go back around the corner and look up to see a crystal (circled) sitting on a rickety-looking rafter (5). Toss Leviathan at the rafter to shatter it, then pick up the crystal and install it in the empty crystal stand back on the puzzle platform. Shoot the crystal with a Light Arrow to illuminate more rune fragments on the floor panels.
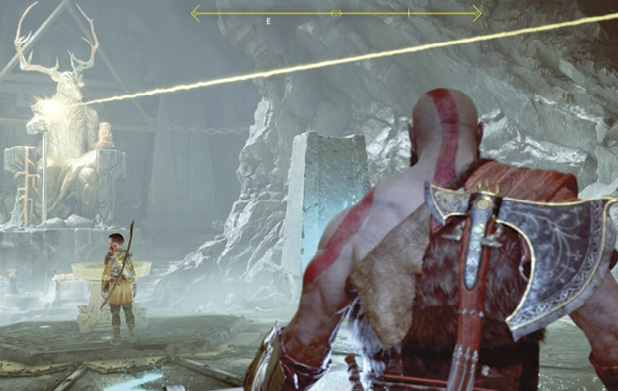
Pull the handle again to slide the floor panels together. Atreus says the resultant runes spell the word “Freedom,” and he enters it in the sand bowl. This activates the stag statue, which fires a beam at the wall, burning a crack in it (6).
Objective: Traverse the Dark Caves
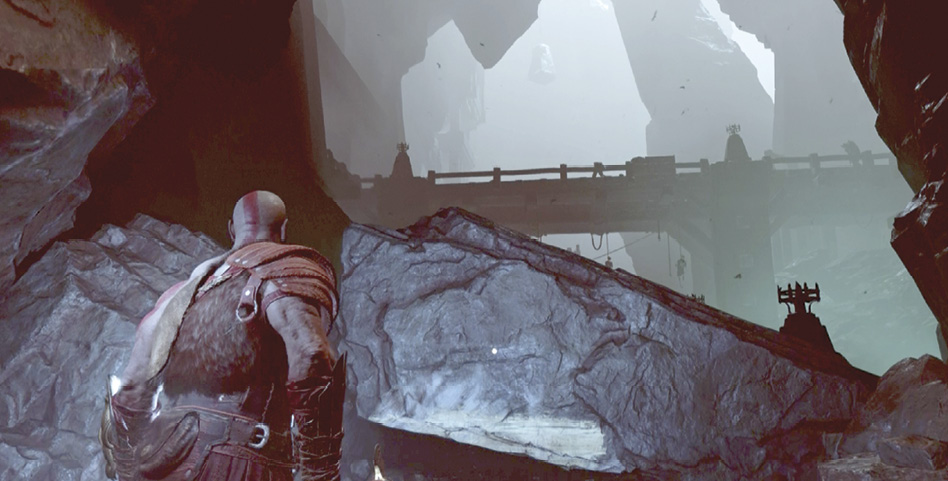
Go to the cracked wall (6) and push it open. Atreus points out the crystal in a torch holder up ahead; shoot it with a Light Arrow to light up the tunnel, and then hop down the drop-off (7). Proceed along the passage, lighting crystals with Atreus’ arrows as you go. Crouch through the low tunnel (8) and emerge to see a huge cavern ahead with a bridge and other structures. A large fallen rock (10) blocks the way in.
Work Around Behind the Stag Statue
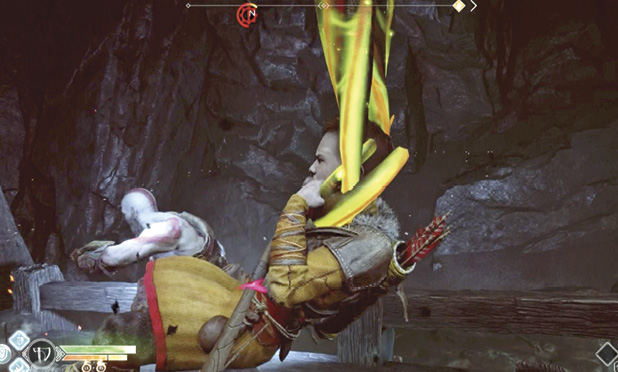
Before you lift the rock, turn left up a staircase (9) that leads to a coffin and Hacksilver bucket hanging from the ceiling. Then return downstairs, lift the rock, and head across the elevated walkway, ready to fight. A new foe, a Revenant Summoner, conjures up a quartet of another new foe, the Fire Nightmare, then spews smokescreen clouds that can blind Kratos if he steps into one. Fire Nightmares are aggressive about scooping up Atreus with theirdangling tentacles too, so listen for the boy’s calls for help.
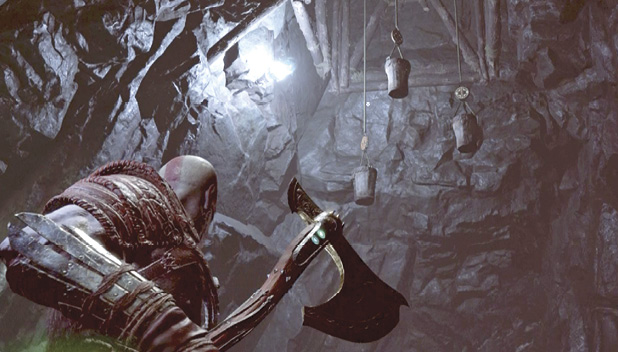
After you clear the walkway, look up high to spot the silhouettes of three more Hacksilver buckets hanging from the ceiling. Shoot a Light Arrow at the nearby crystal to light up the high space then toss your axe to knock down the buckets. Then scoop up the rich Hacksilver pickups that drop to the ground.
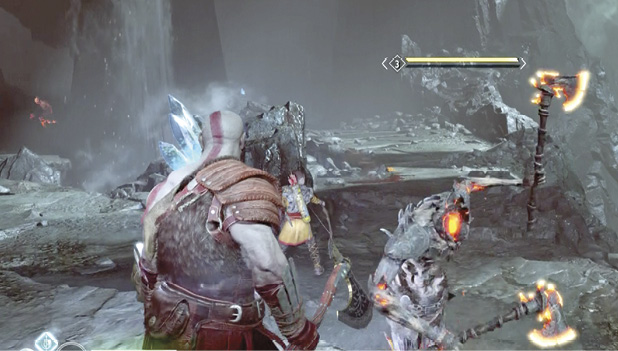
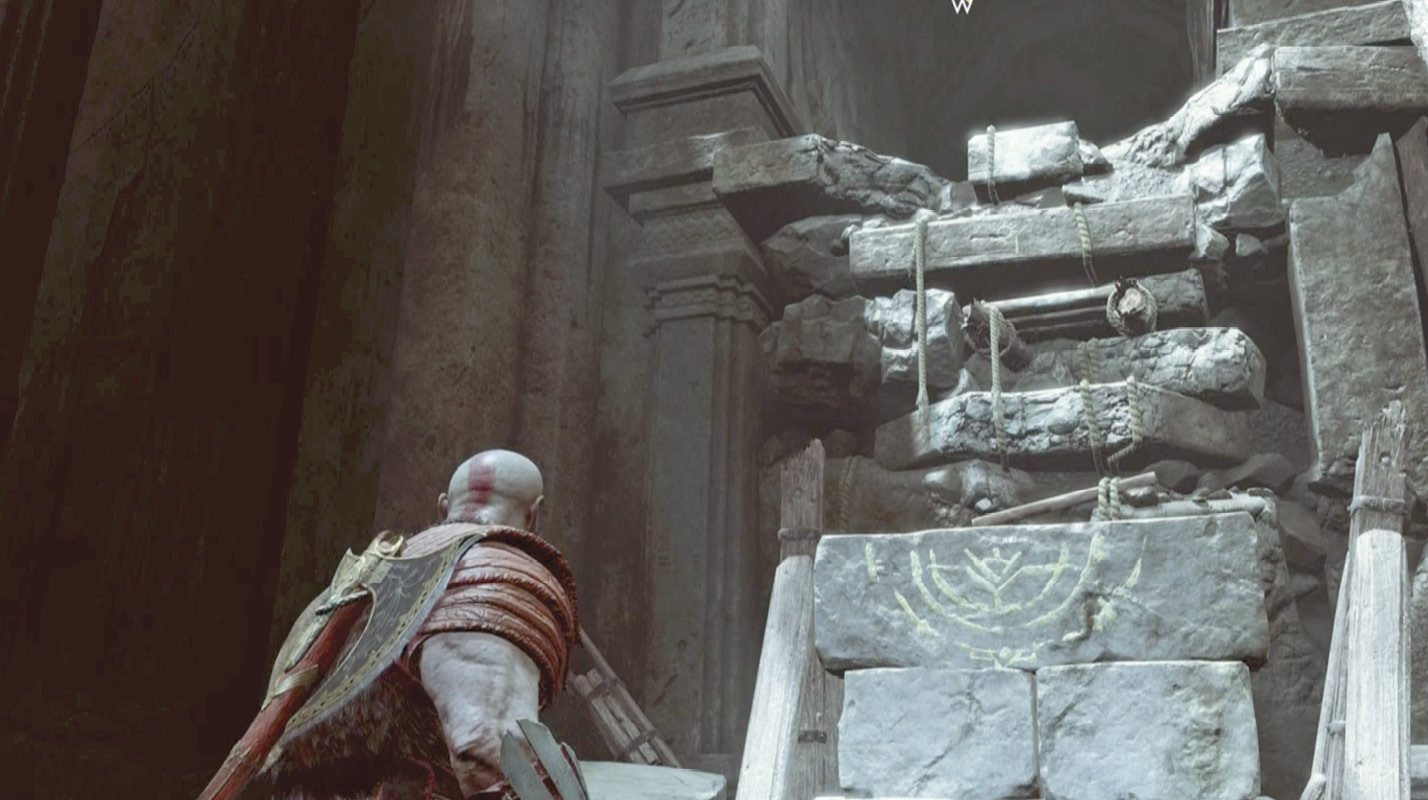
Proceed to the yellow-marked wall (11) and note the runic seal spinner to the left. Boost Atreus up the wall, and get ready to face yet another new variety of Draugr.
Up ahead, the path splits in two forks. Each fork has a Draugr approaching with an axe in each hand. This Dual-Wield Draugr variant also has the Speed enhancement, so watch out for its one-foot stomp followed by a blazing dash, straight at Kratos. If you Weaken them with Light Arrows, they’re easy to stun and grab for quick kills. A big Heavy Draugr joins them as the fight progresses, so don’t get caught by surprise. (Note: If you tried exploring the Lake of Light beaches earlier in Alfheim, you may have already met Dual-Wield Draugr.)
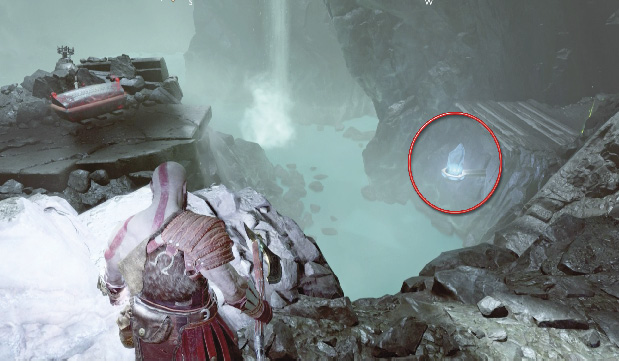
After the fight, go halfway up the right fork (12) and look across the chasm to spot a coffin sitting on a rock island. Swivel slightly to the right to spot a crystal (circled in our shot) at the end of a wooden ramp. Power the crystal with a Light Arrow to activate a light bridge from the wooden ramp to the rock island. Then go around the rocks and smash through the wooden debris to cross that bridge and loot the coffin.
Unlock the Nornir Chest and Lore Marker
Return to the path split and head up the left fork. Spot the crystal (13) glowing from behind a rickety wooden barrier across a gap. Toss the axe to break the barrier, and then shoot the crystal with a Light Arrow to activate another light bridge. Before you cross the bridge, however, move around the big rock to its right and grab the loose crystal on the ground (14).
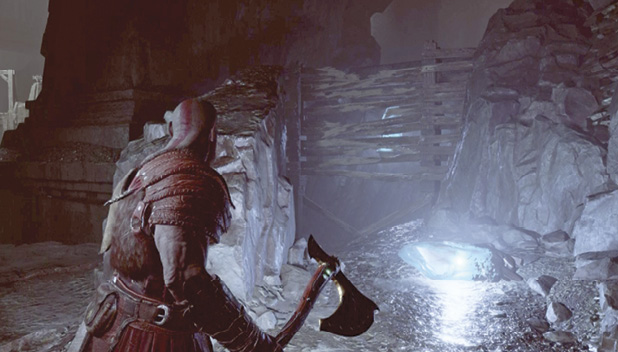
Carry the crystal across the light bridge into a chamber with a Nornir Chest. However, this chest doesn’t have its three runic seals illuminated on it! Set down the loose crystal and fire a Light Arrow at the crystal in the torch holder above the chest. Now look closely—the three runes of the Nornir Chest’s magic seal are scrawled faintly on the wall above it. The runes roughly resemble the letters B, small n, and R.
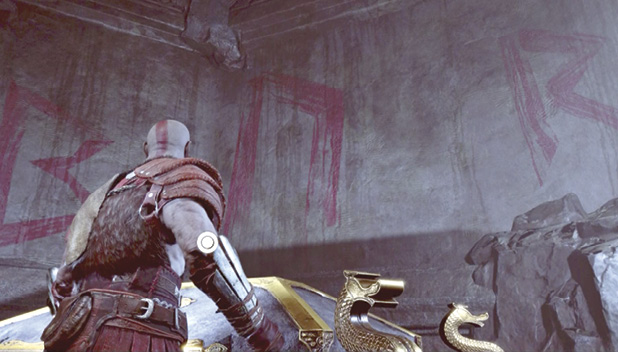
To unlock this Nornir Chest, you must find three spinners and set the runes displayed on them to match the three scrawled on the wall. Here’s how to find the three spinners and set their runic seals correctly:
- One spinner is next to the marked wall (11), back where you boosted Atreus up. Make sure the spinner displays the n-shaped rune. (It is initially set in the correct display.)
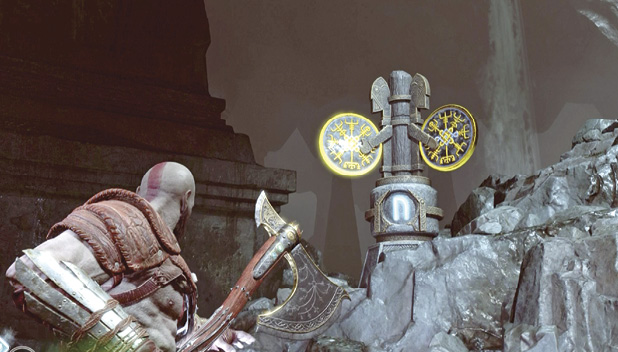
- Another spinner is on the rocks to the right of the light bridge leading to the Nornir Chest, just above where you found the loose crystal (14). Toss Leviathan at the spinner panels until the R-shaped rune is displayed.
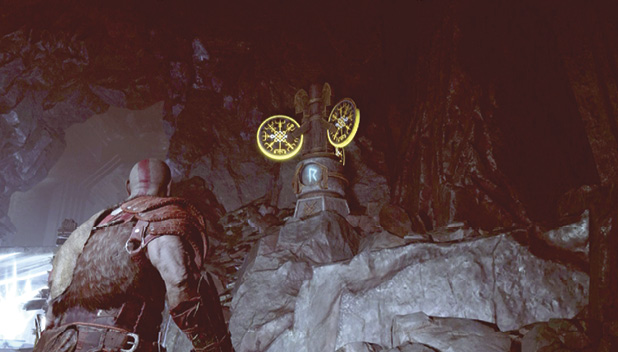
- Climb the light bridge to the Nornir Chest chamber, turn left, and take a few steps through the side exit onto the bridge (15). Look up to the left of the bridge to spot the spinner in a cleft between rock pillars. Toss Leviathan at the spinner panels until the spinner displays the B-shaped rune. Now you can open the Nornir Chest to get another Horn of Blood Mead.
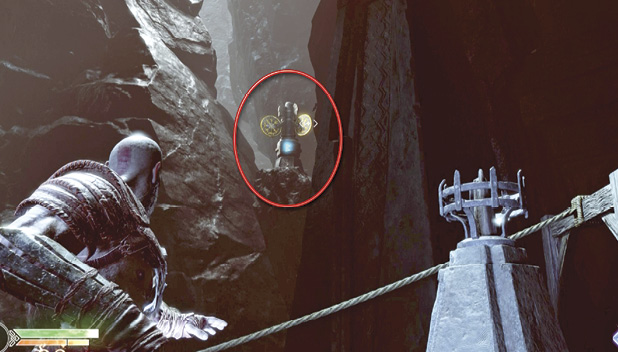
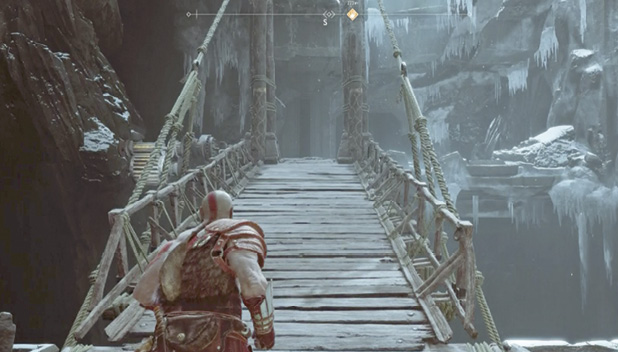
Pick up the loose crystal you left in the Nornir Chest chamber and carry it through the chamber’s side exit. Continue across the long bridge to its far end (16). Place the crystal in the crystal stand next to a dormant Lore Marker. Shoot a Light Arrow at the crystal to power it up and activate the marker. Direct Atreus to read the marker. Watch out for Draugr as you head back across the bridge.
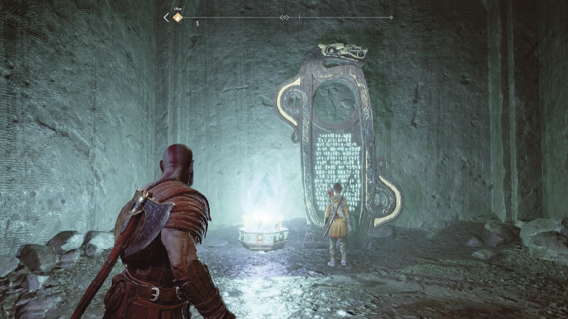
This Lore Marker is at the end of the long bridge, reached via the side exit of the Nornir Chest chamber. Use the loose crystal (first found on the ground next to the light bridge leading up to the Nornir Chest chamber) to power up this marker.
Get to the Stag Statue
Return to the Nornir Chest chamber, descend the light bridge, and veer leftward between the pillars. Light the crystal in the torch holder to see the decaying wood section of the wall (17). Smash through it into a storage chamber, where you can find a Cup, part of the Artifact set called “Bottoms Up.”
Exit the storage chamber, turn right, and follow the passage to a low tunnel entrance (18) lit by a burning torch. Crouch through the tunnel until you emerge on the platform behind the great stag statue (3).Direct Atreus to read the rune message on the back of the stag statue’s base. Then go around to the front of the statue and punch open the chest there.
Climb the stairs behind the stag statue and smash through the dilapidated wall section to discover a chamber with a Scroll on the floor and an alternating Runestone (19). Wait until the Runestone’s color cycles to the type of rune you most need, then grab it.
Climb to the Mountain’s Center Level
Exit via the tall doors (20) and get ready to dodge a burning lava fissure that rips across the cave floor toward you! This comes courtesy of a new Draugr type enhanced with the Power Weapon upgrade. The shockwave inflicts heavy damage if it hits, but the Draugr itself is not tough to take down with standard attacks…if you can reach him!
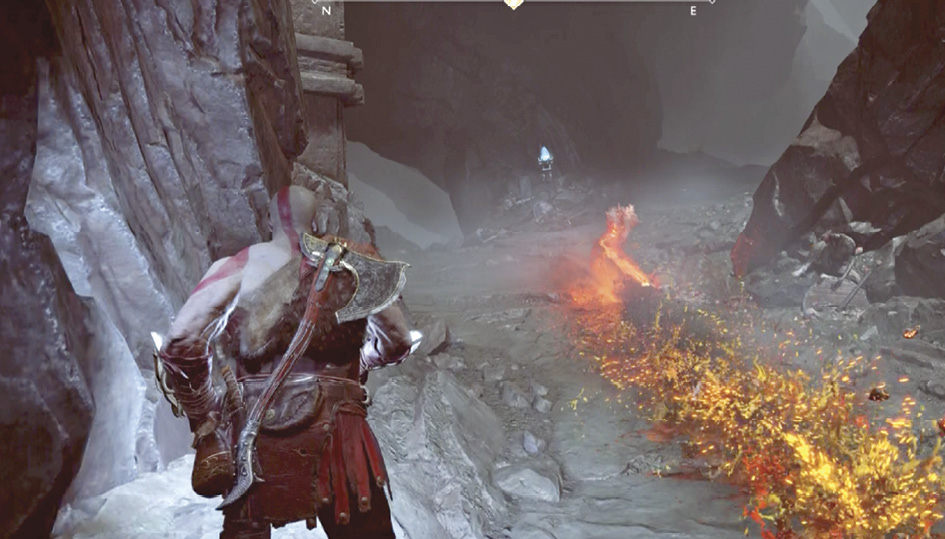
If you nail the foe with an axe throw during its windup, you can interrupt the move. But once the shockwave is on the way, all you can do is dodge to the side.If you take the next left turn, you encounter a red sap barrier blocking the tunnel; this is the same one you saw earlier from the other side (4). (You still can’t cut through it.) A Lore Marker (21) sits to the right of the barrier, but you need to install a crystal in the stand to activate it, and there’s no crystal available until you can destroy the sap later.
For now, turn around and follow the tunnel (lighting crystals as you go) until it opens into a tall cavern with platforms visible way up high, lit by a lantern. Watch out for more Power Weapon Draugr supported by another new Draugr type, one wielding a shield. Throw your axe at his legs for a knockdown, letting you rush in for melee hits that bypass the shield.
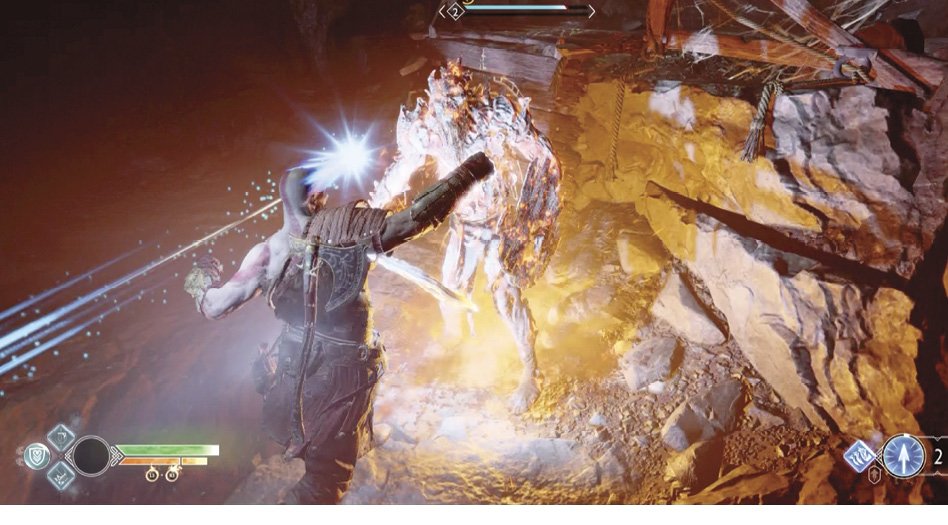
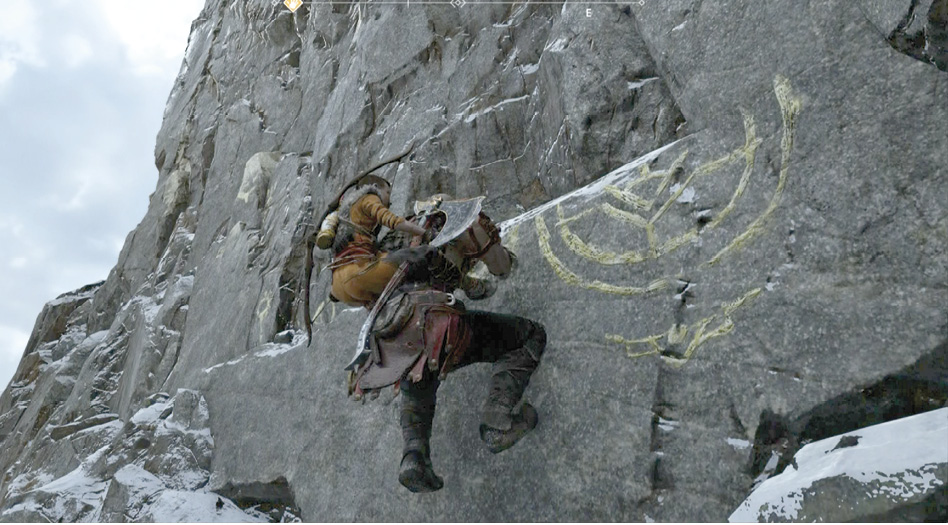
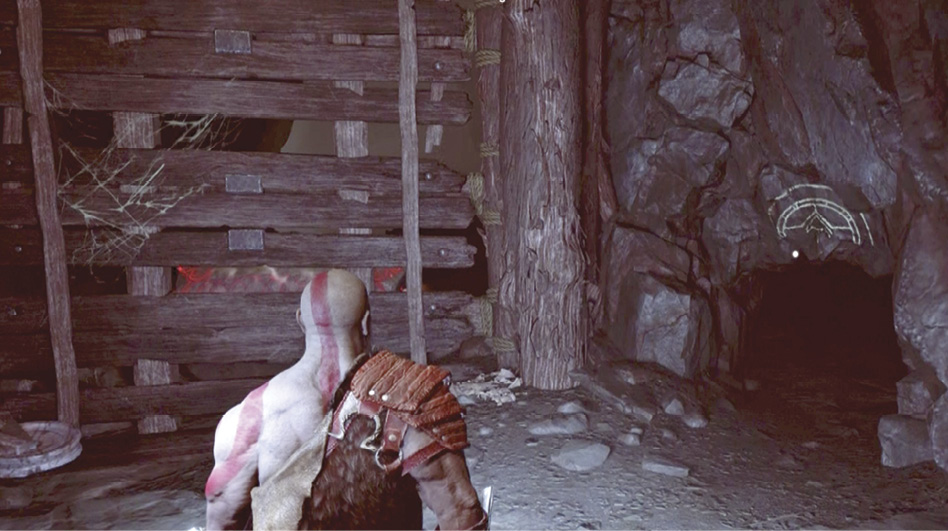
Look up at the scaffolding on the right-hand wall to spot a hanging bucket (22) you can knock down for Hacksilver. Near where the Hacksilver falls, find another low, yellow-marked tunnel opening (see our shot) in the cave wall. Crouch through it into a small chamber, where you find a coffin to loot.Exit the coffin chamber and climb up the marked wooden platform to find a crack in the cliff ahead (23), also marked. Start climbing. Partway up you find more runes etched in the cliff face. Direct Atreus to read them. He says it’s a name that means “terror”: “Hræzlyr.” That doesn’t sound good. Slide rightward across the cliff and jump down onto the lantern-lit platform.
Reach the Heart of the Mountain
Atreus rushes ahead and finds a strange, unlit lantern on the ground. If you want, turn right first and kick the chain down the scaffolding, which gives you a way to get back down to the lower level. Then follow Atreus up the path until you see another chain anchor hidden behind some debris (24). Smash the debris and climb down the chain to find a chest.
Heart of the Mountain
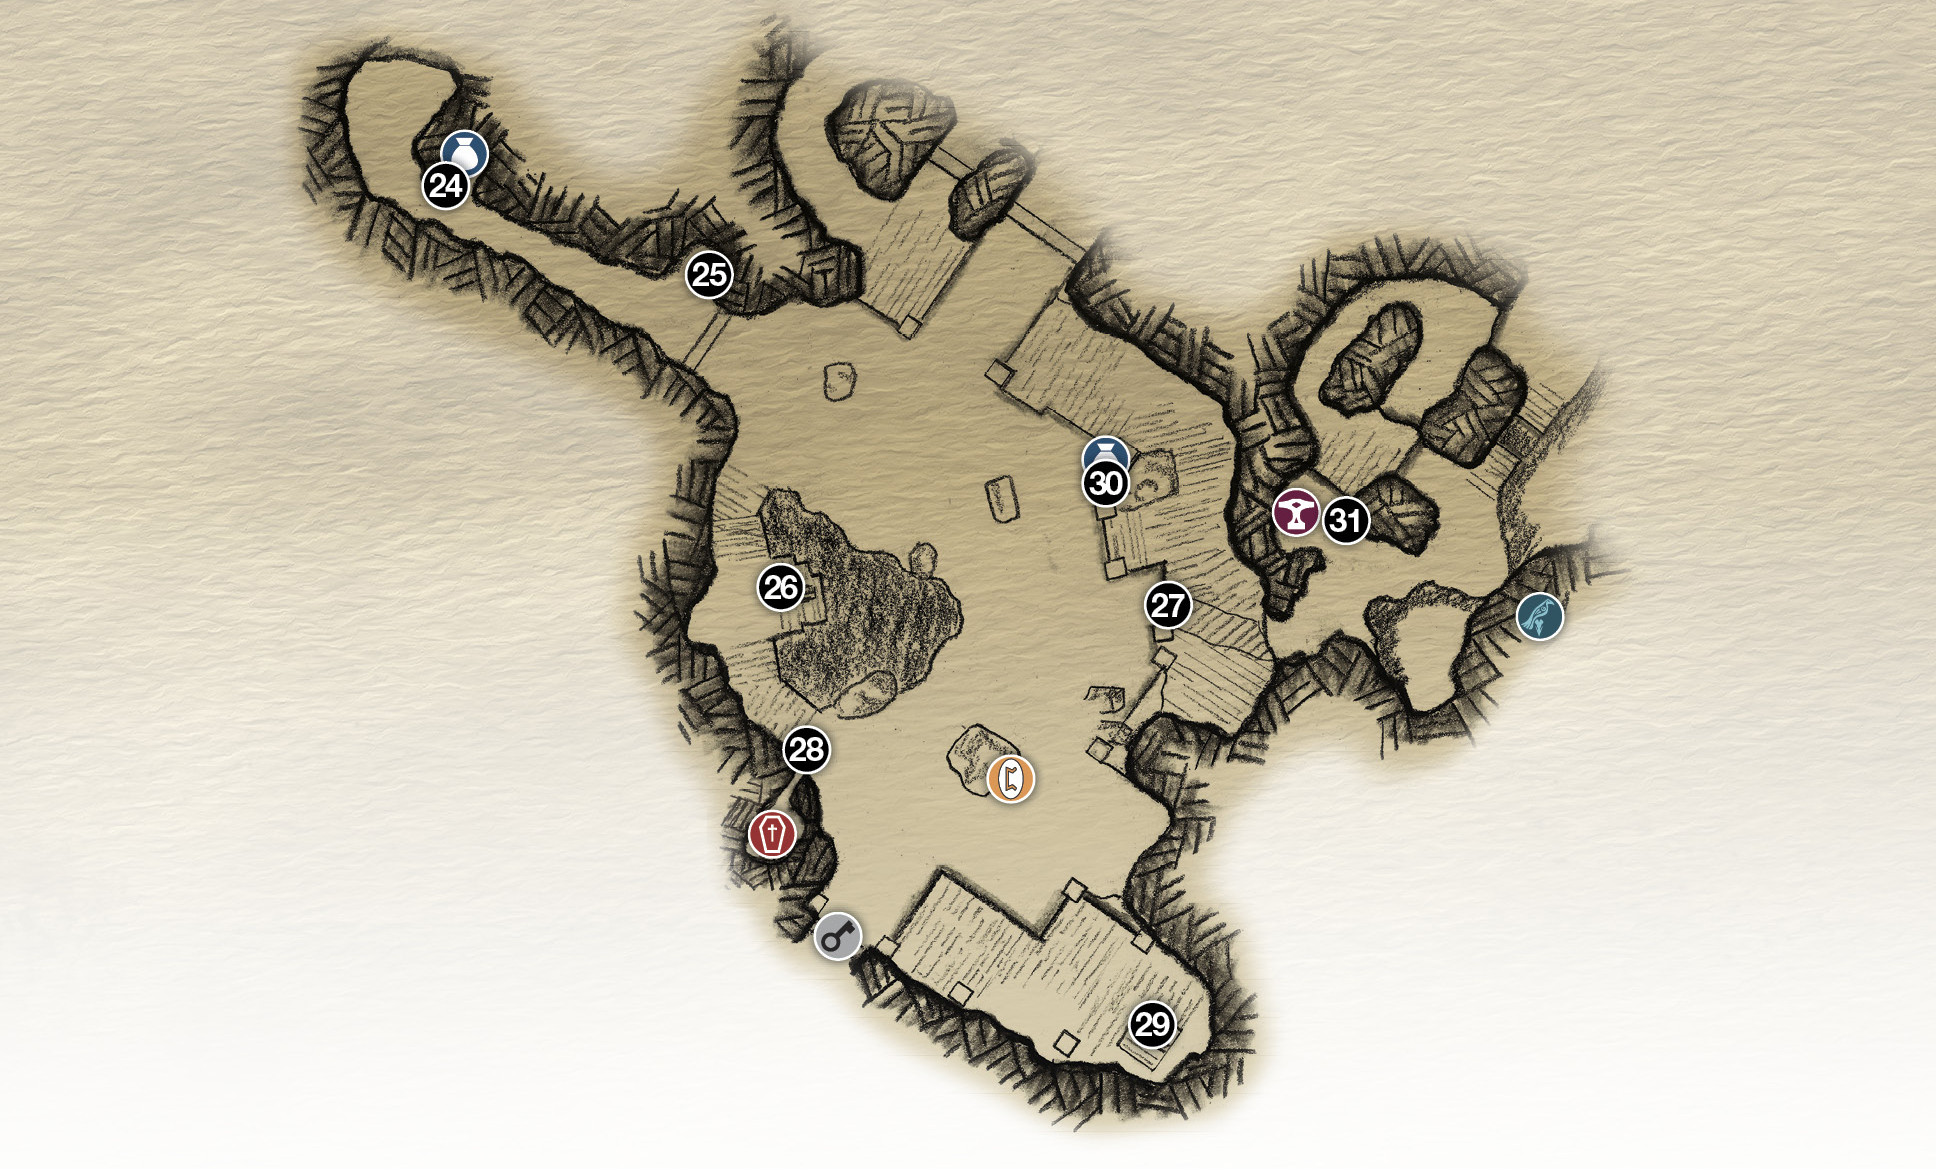
24. Chain down (hidden)
25. Gate switch
26. Lifting claw’s crank-wheel
27. Passage (Draugr squad!)
28. Enter secret alcove here (Coffin)
29. Elevator (unavailable)
30. Breakable wall (to chest)
31. Brok’s shop
Chest
 Coffin
 Hidden Chamber
 Lore
Lore
 Raven
Raven
 Shop
Shop
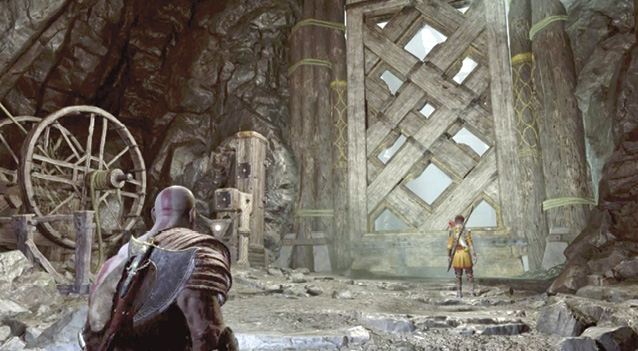
Climb back up and follow the path to the gate switch mechanism (25) on the left. Turn the switch to open the gate into a vast mining cavern filled with massive machinery. Walk through the gate to enter the “Heart of the Mountain” and pick up a new objective.
Objective
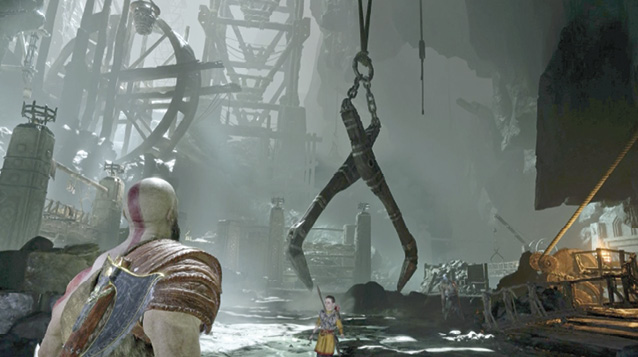
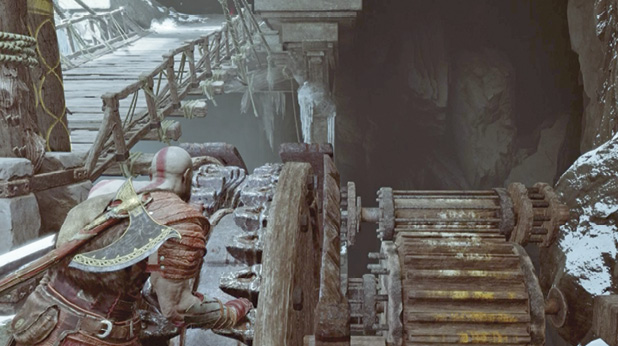
: Ascend the Cave ShaftThe mine features a towering shaft that rises up the center of the Mountain. Kratos suggests that a huge lifting claw hanging in the shaft may reach the Summit. Atreus points out that a track runs on the cave floor from a heavy gate to the spot under the claw. This will be important later. For now, climb the ramp to the right that leads up onto a torchlit platform with a crank-wheel (26).
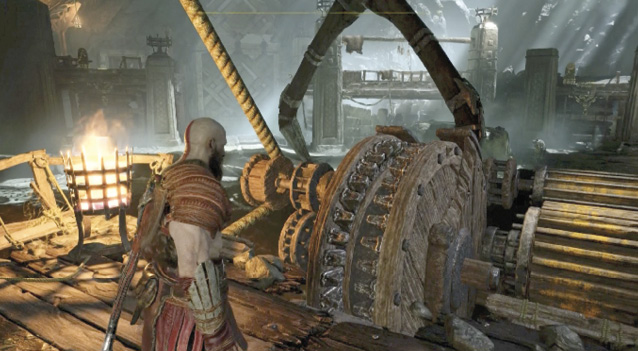
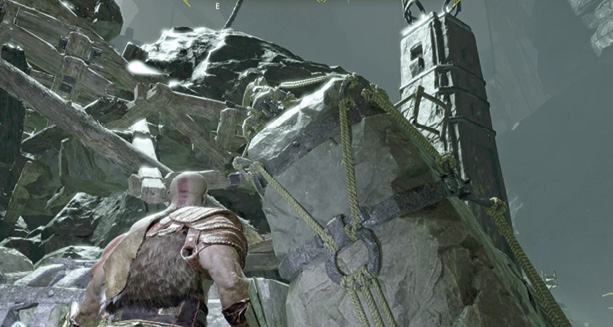
Approach the wheel and press Circle to trigger a quick scene: Atreus jumps in to turn the crank but loses control. As a result, the lifting claw’s massive counterweight crashes down across the cavern. A huge boulder falls from above as well, pinning the counterweight’s chain on a high platform.
Objective
: Free the ChainDefeat the Enhanced Draugr SquadTry to turn the wheel. It’s stuck, but as you pull, a sizable Draugr squad suddenly bursts through the wall beneath the platform directly ahead (27). The squad includes some Projectile Draugr that deploy onto elevated positions atop platforms to toss fireballs, as well as Speed Draugr that zip around the cave floor on their glowing legs. The squad also includes a new kind of Draugr with a deadly new power-up: glowing torsos that detonate, inflicting damage and Burning status to targets within the blast radius.
The Explosive Draugr can also leap far and explode on landing. Note that it flashes red just before it jumps. When you spot this telltale sign, nail the foe with an axe toss to interrupt; if it’s too late and the Draugr leaps, roll immediately to get out of the blast radius of its landing zone.
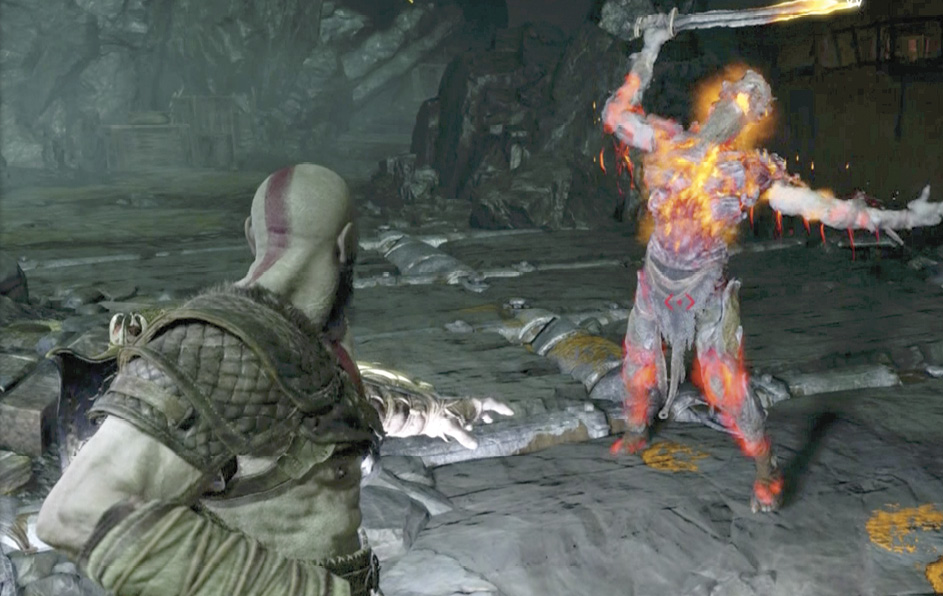
Keep moving to avoid projectiles, speed rushes, and explosive leaps from these three types of Draugr. Nail the Explosive Draugr from afar whenever possible, then rush in to land blows during the brief follow-up period when its explosive ability is deactivated. Keep Atreus firing his arrows! They can stun the Draugr so Kratos can use stun grabs for quick kills. After the fight, Kratos looks at the rope trapped under the fallen boulder.
Explore the Main CavernBefore you follow Atreus’ suggestion and check out the newly opened passage (27), explore the cavern area for pickups. A door to another Hidden Chamber is on the far wall, but you can’t unlock it yet. Not far away, at the bottom of the ramp from the wheel-crank, find a narrow, cobweb-covered cleft in the rock-face (28) that leads back to a coffin. A platform over in the corner features an elevator (29) overgrown with glowing, unbreakable Brambles that render it unusable. Look above the elevator to see a hanging bucket of Hacksilver that you can knock down and collect. Then find the nearby breakable planks and smash through them to discover a nice stash of Hacksilver.
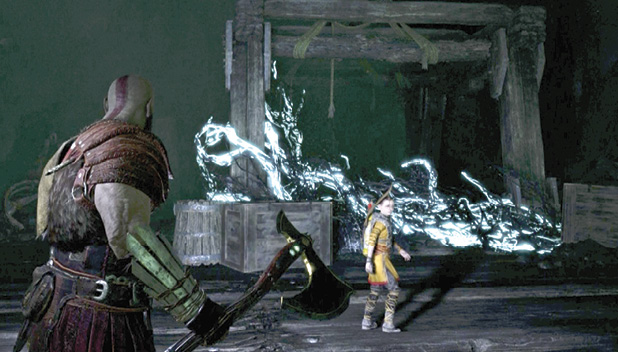
Hop off the elevator platform and direct Atreus to read the runes written on the side of the broken mining cart. Go find the chest tucked behind another breakable wall (30) to the left of the newly opened passage. Then go enter the yellow-lit passage (27) and follow it to another one of Brok’s Shops (31).
Heart of the Mountain
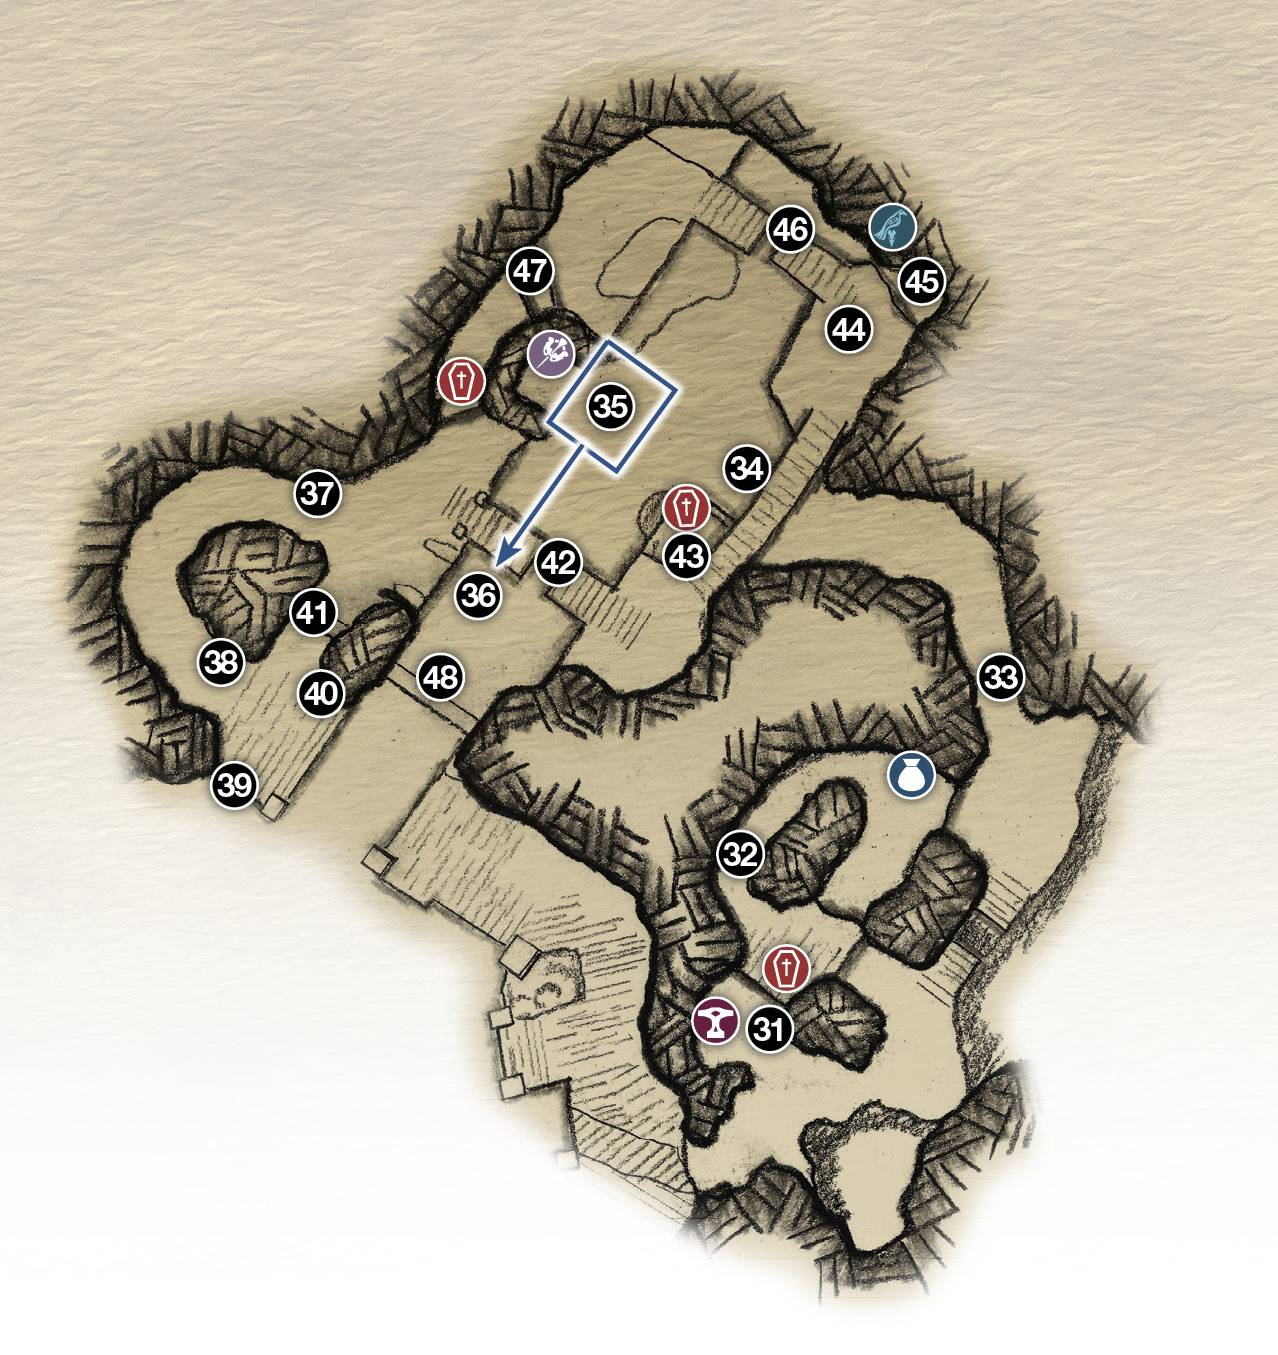
31. Brok’s shop
32. Low tunnel (to chest and coffin)
33. Spiked traps
34. Door to cart track
35. Mining cart start (door behind it)
36. Push cart here
37. Breakable slats
38. Lift rock
39. Climbing chain
40. Gate pulley-chain
41. Small gate
42. Drawbridge
43. Floor hole (to coffin)
44. Draugr fight!
45. Lizard
46. Drawbridge
47. Climb ledges (to coffin)
48. Heavy gate
Artifact
Chest
Coffin
Raven
Shop
Get Past the Traps
Upgrade your equipment at Brok’s Shop; at this point, you may have the resources you need to upgrade Atreus’ Talon Bow. Then approach the marked wooden platform nearby to see a coffin sparkling behind the slats under the platform. To reach this coffin, climb up the platform and smash debris on the left wall to reveal a low tunnel (32). Duck into the tunnel and follow the passage to a chest on the left wall. Punch open the chest, then turn completely around to spot a crystal holder on the opposite wall; light it with a Light Arrow to see a passage leading back to the coffin hidden under the platform.
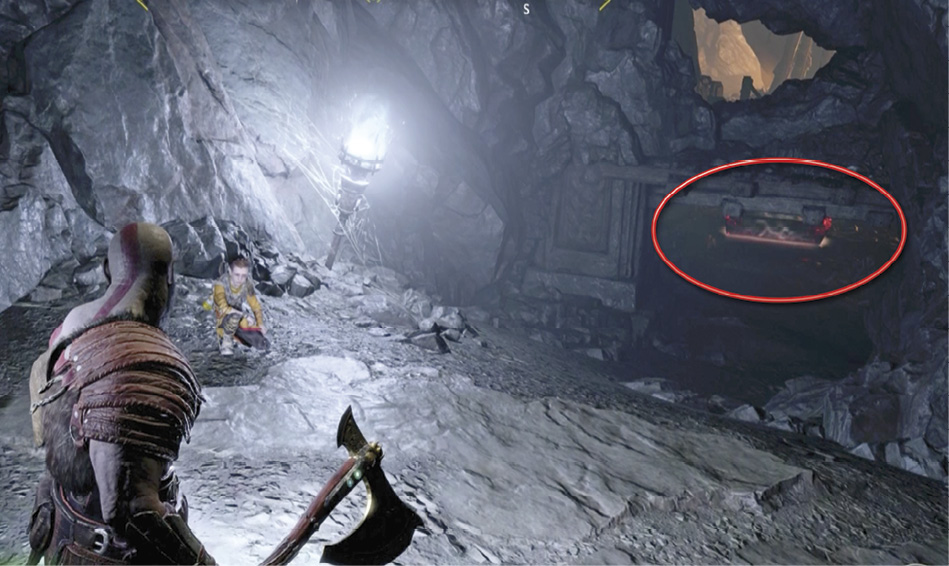
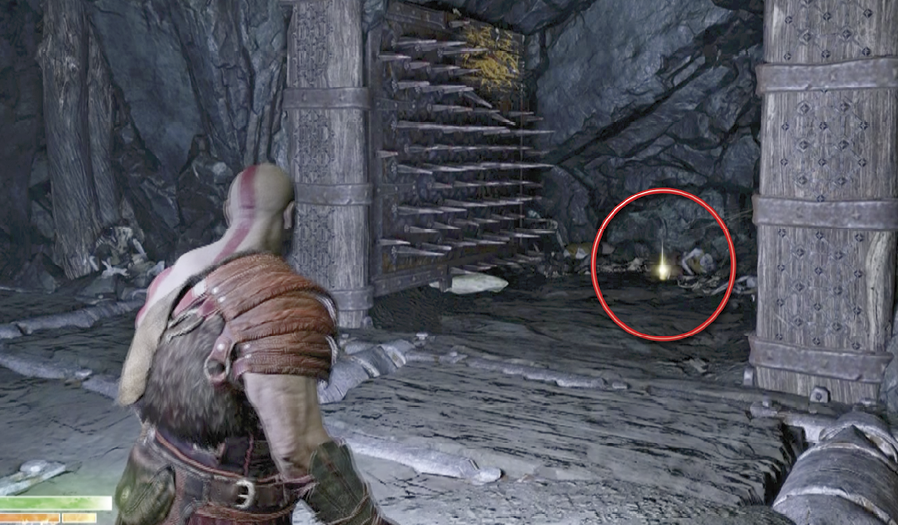
After you loot the coffin, go back past the looted chest and hop down onto the torchlit rock path. Turn left to see a passageway (33) blocked by dozens of spears. Atreus automatically enters a tiny tunnel nearby to bypass the spear trap, but Kratos can’t fit. Look above the tunnel to see a spinner. Turning that spinner retracts the spears blocking the passage.
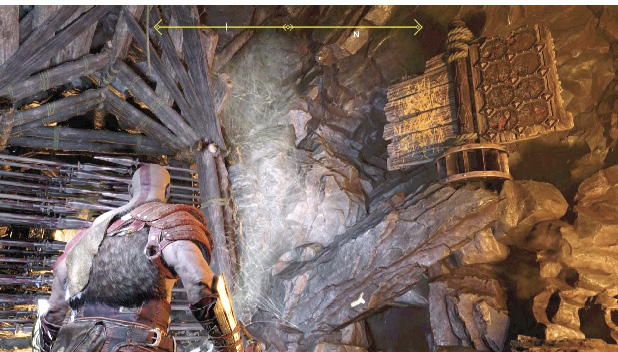
Toss Leviathan at the scarred wooden panel on the spinner’s left side. Keep recalling and tossing the axe at that panel until the spinner won’t turn anymore. Immediately hustle into the passageway, but be careful—the first half of the spears have retracted into the side walls, but the second half, farther down the passageway, retract much more slowly. Don’t run into them or you’ll take damage! Wait at the halfway point in the passageway until the way is clear, and then hurry past the last retracted spears.
Once you get past the spear-trap passageway, Kratos reunites with Atreus at a spiked door (34). Recall Leviathan, then toss the axe twice at the bare wood on the door’s upper right corner to force the door open. Step through the now-open doorway into another area of the mine: a mining cart track.
Open the Gate for the Mining Cart
Your overall goal in this area is to open the heavy gate at the end (48) so that you can push the big mining cart (35) down the track and underneath the lifting claw back in the open shaft area of the mine. But first, you face a tough pair of Dual-Wield Draugr, both enhanced with the Explosive upgrade. This deadly combination means it’s best to engage these foes from a distance. Look out for a Projectile Draugr on a high platform too.
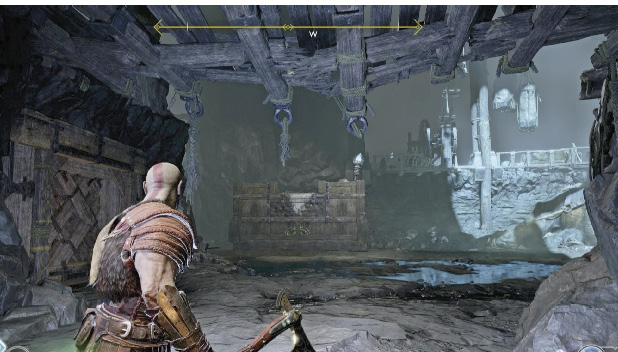
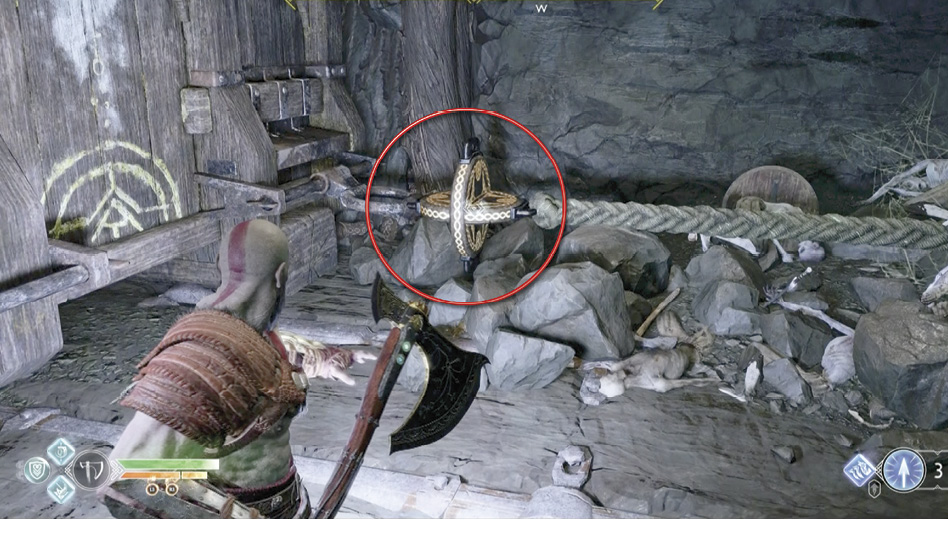
Once the area is clear of hostiles, grab the glowing handle on the big mining cart (35) and try to push it. You discover that the cart is still attached to an anchor post. Toss Leviathan at the disc (circled in our shot) on the attached cable to break it.
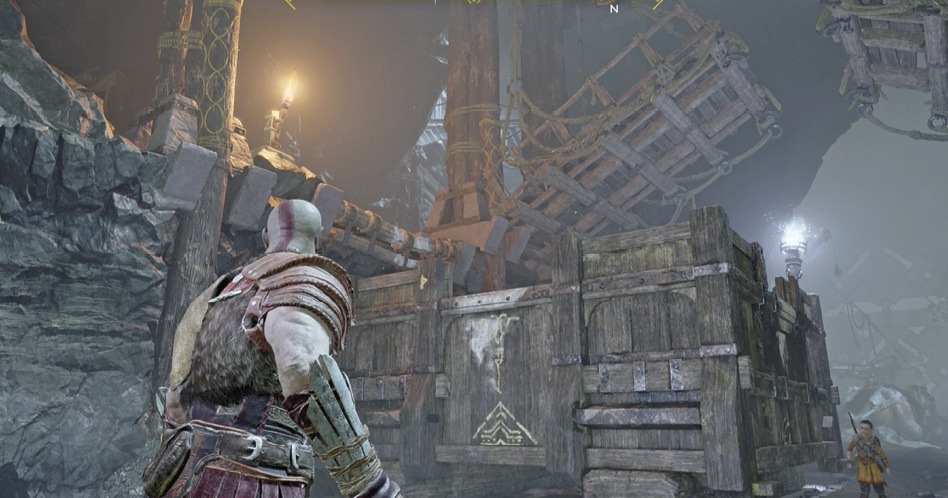
Then push the cart down the track toward the heavy gate then stop when the cart is next to the yellow-marked wall (36), just past the drawbridge overhead.
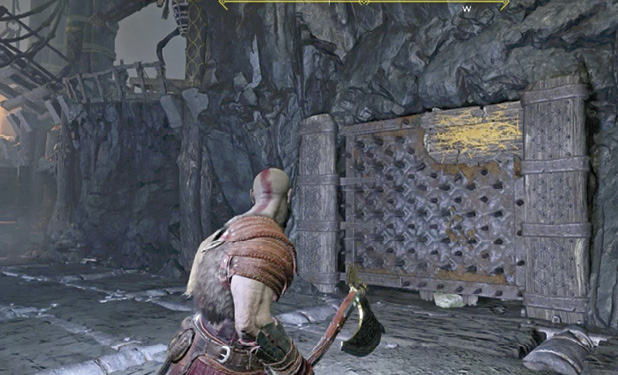
Note that pushing the mining cart uncovers a spiked door on the wall back where the cart first sat (35). Return to that spot and throw Leviathan twice at the bare wood in the door’s upper right corner to open it and find an Artifact inside an alcove.
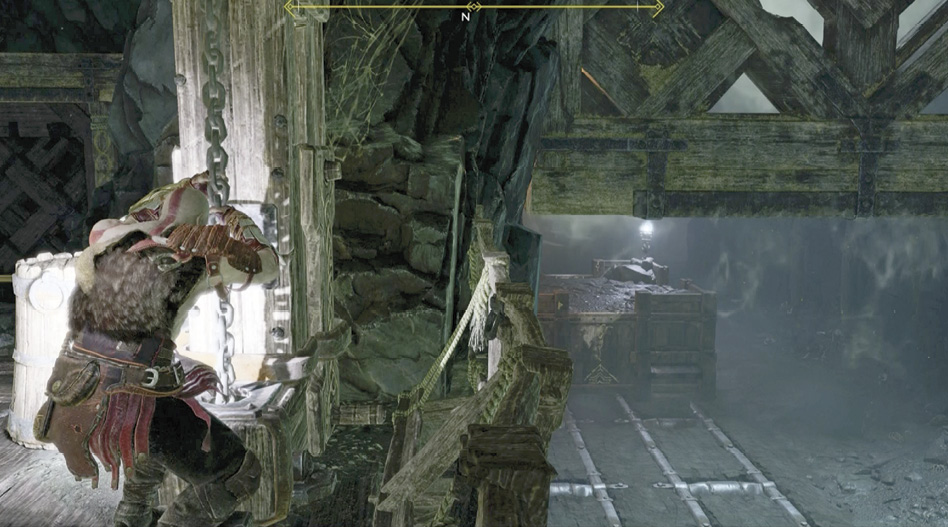
Return to the mining cart (36), climb on top, and then climb up onto the ledge. Smash through the breakable slats (37) illuminated by the fallen torch, and follow the passage to the fallen rock (38). Lift the rock and step out onto a platform that overlooks the mine’s open shaft area—you can see the lifting claw’s crank-wheel that you used earlier.
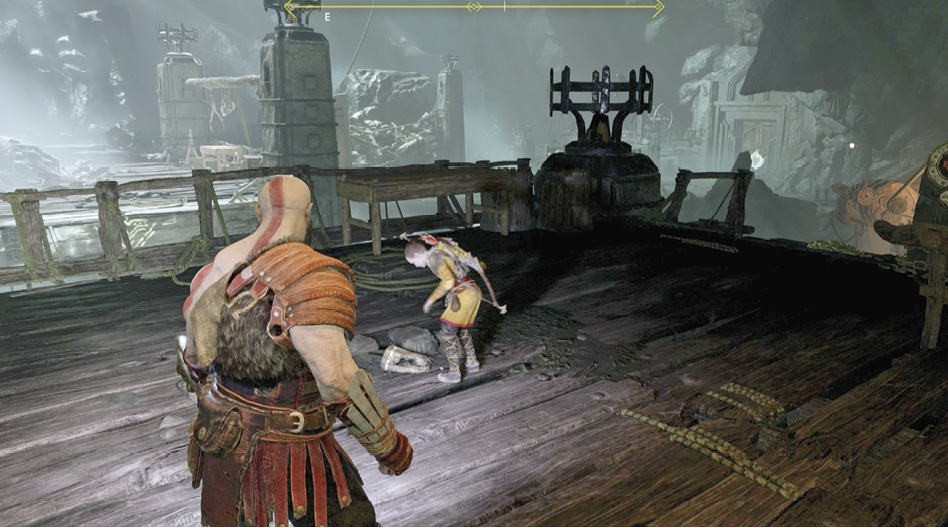
Atreus also finds another lantern and says, “There’s something special about it. I can feel it.” Kick down the chain (39) to create access between the two mine areas, but don’t crawl down. Instead, cross the platform and pull the gate’s pulley-chain (40) to open the heavy gate (48).
Explore the Rest of the Upper Areas
Pull open the small gate nearby (41) and step back onto the ledge above the mining cart. Proceed to the raised drawbridge (42) and toss Leviathan at the two discs on the cables holding up the bridge halves to drop them into place.
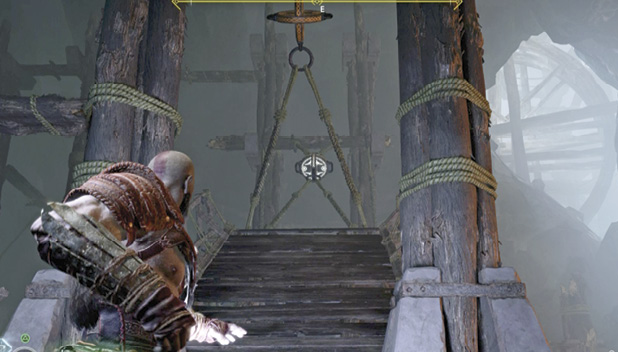
Head across the now-lowered drawbridge and fire a Light Arrow at the crystal on the wall to illuminate the area. Then hop down the red-lit hole in the corner (43) to find a coffin down below. After you loot the coffin, open the exit gate and step out onto the mining cart track.
Go back to the mining cart (36), climb back up to the ledge, and cross the drawbridge (42) again. This time turn left and head across the rickety walk-bridge to encounter another pair of Dual-Wield Draugr (44). Take them out!
Bonus: Pop the Purple Lizard!
Hop down at the yellow-marked spot (45) by the head of the next drawbridge. If you explored the minecart track area, you might have seen a purple lizard crawling around. When you try to hit this creature it burrows quickly underground, then pops up again nearby. He’s hard to hit, but if you can manage to nail the purple lizard with an axe toss, the creature drops a large amount of Hacksilver plus other goodies!
Toss your axe at the disc above the drawbridge (46) to drop it, and then cross that bridge to take out two more Draugr. Climb up a pair of marked ledges (47) to find a coffin and an alternating runestone pickup. Hop down to the ledge and return to the mining cart (36).
Get to the Claw’s Pinned Cable
Push the mining cart through the now-open heavy gate (48) until it’s directly across from the yellow-marked high ledge on the left. Climb atop the cart and jump across to that ledge (49).
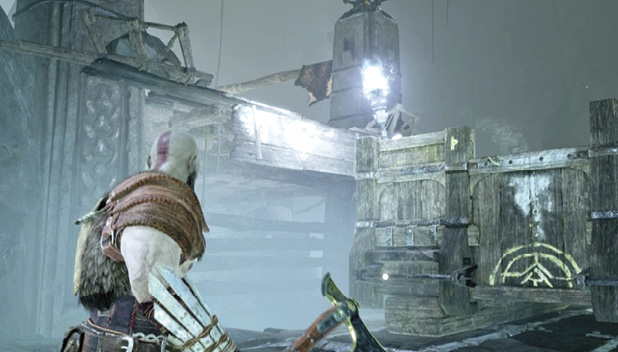
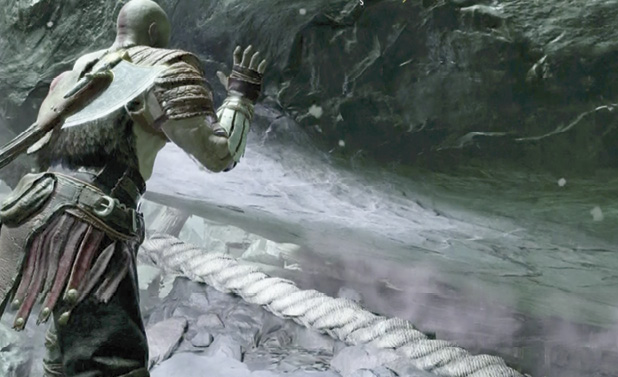
Follow the platform to a Legendary Chest, then continue on to the huge boulder (50) that has pinned the big cable attached to the lifting claw’s counterweight. Grab the rock and rapidly tap Circle until Kratos lifts and tosses it, freeing the cable.
Objective
: Find a Way to Ascend
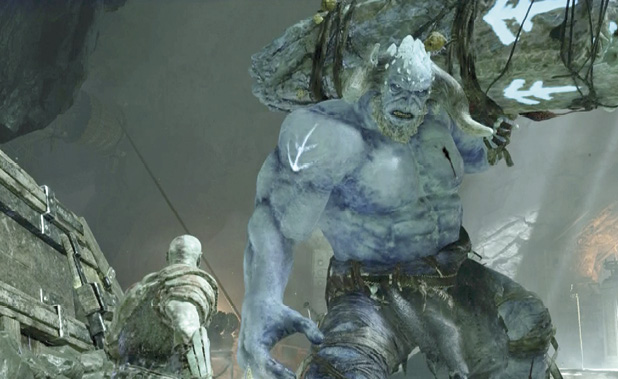
Head back across the upper walkway to the mining cart and push it as far as it will go down the track (51). As you reach that spot, a giant Ice Troll named Járn Fótr suddenly lumbers across the cavern looking for a fight.
Heart of the Mountain
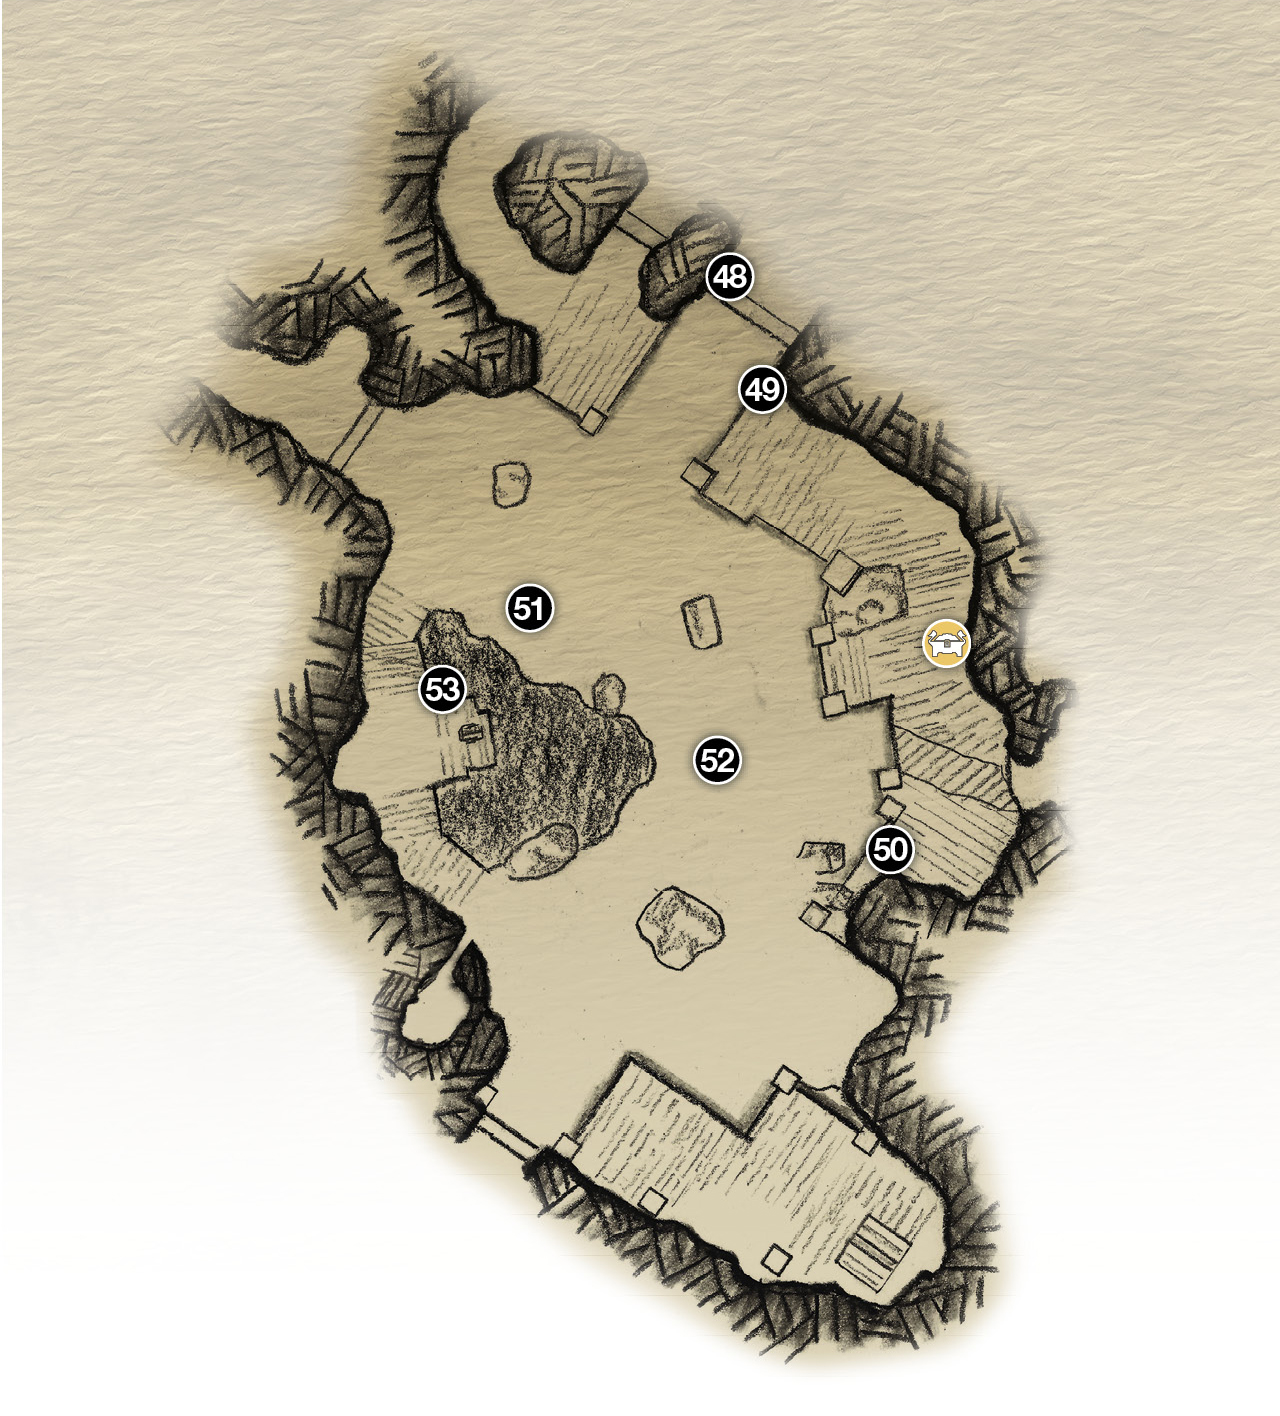
48. Heavy gate (opened)
49. Ledge (jump from cart)
50. Cable pinned under rock
51. Push cart here
52. Troll fight!
53. Crank-wheel
 Legendary Chest
Drop the Claw on the Cart and Ride Up
After Brok upgrades Leviathan for you, return to the main cavern and head back to the lifting claw’s crank-wheel (53). (If you haven’t pushed the mining cart all the way to the end of the track yet, go do that first.) Crank the wheel until the claw drops onto the mining cart. Before you let go of the wheel, toss Leviathan at the pulley gears slightly to the right of the crank to freeze the mechanism in place.
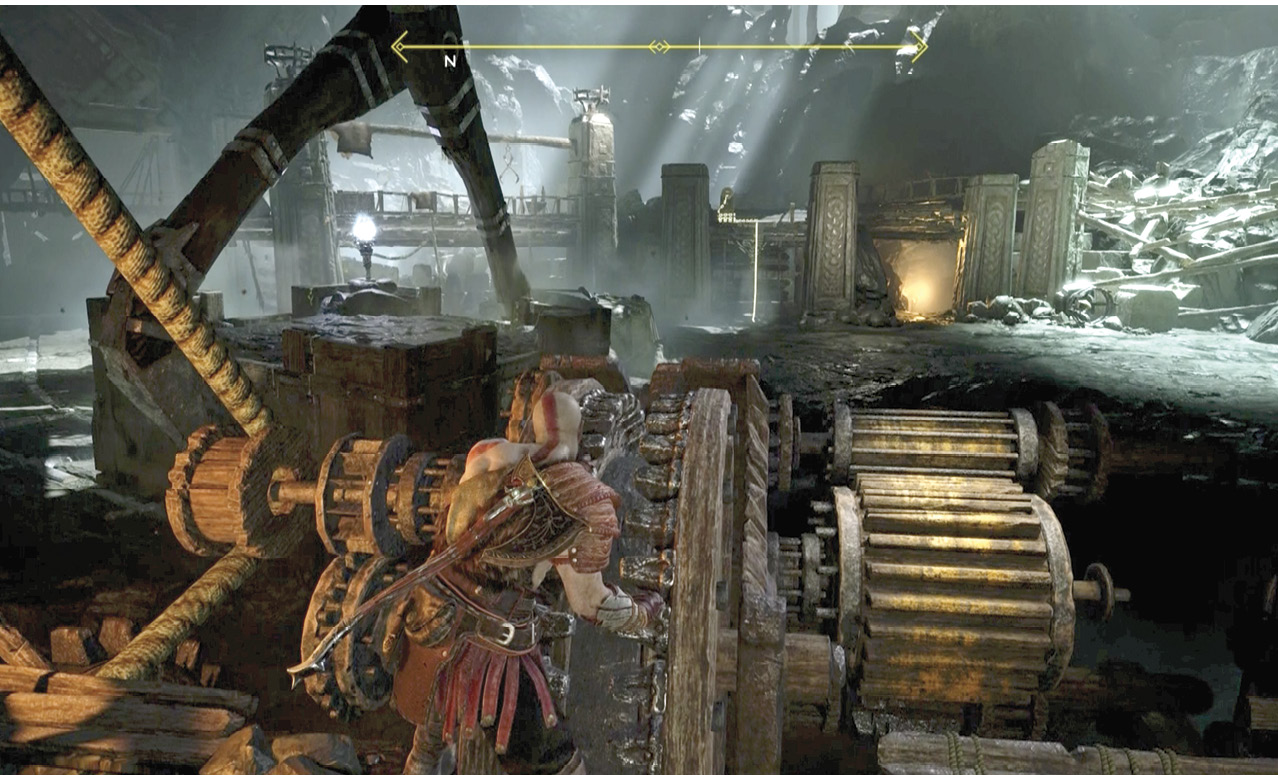
Go climb atop the mining cart, then recall Leviathan to unfreeze the gears. The claw pulls the cart straight up the shaft! When the claw stops rising, hop off the cart and watch the scene: Atreus finds another odd lantern, but this one is intact.
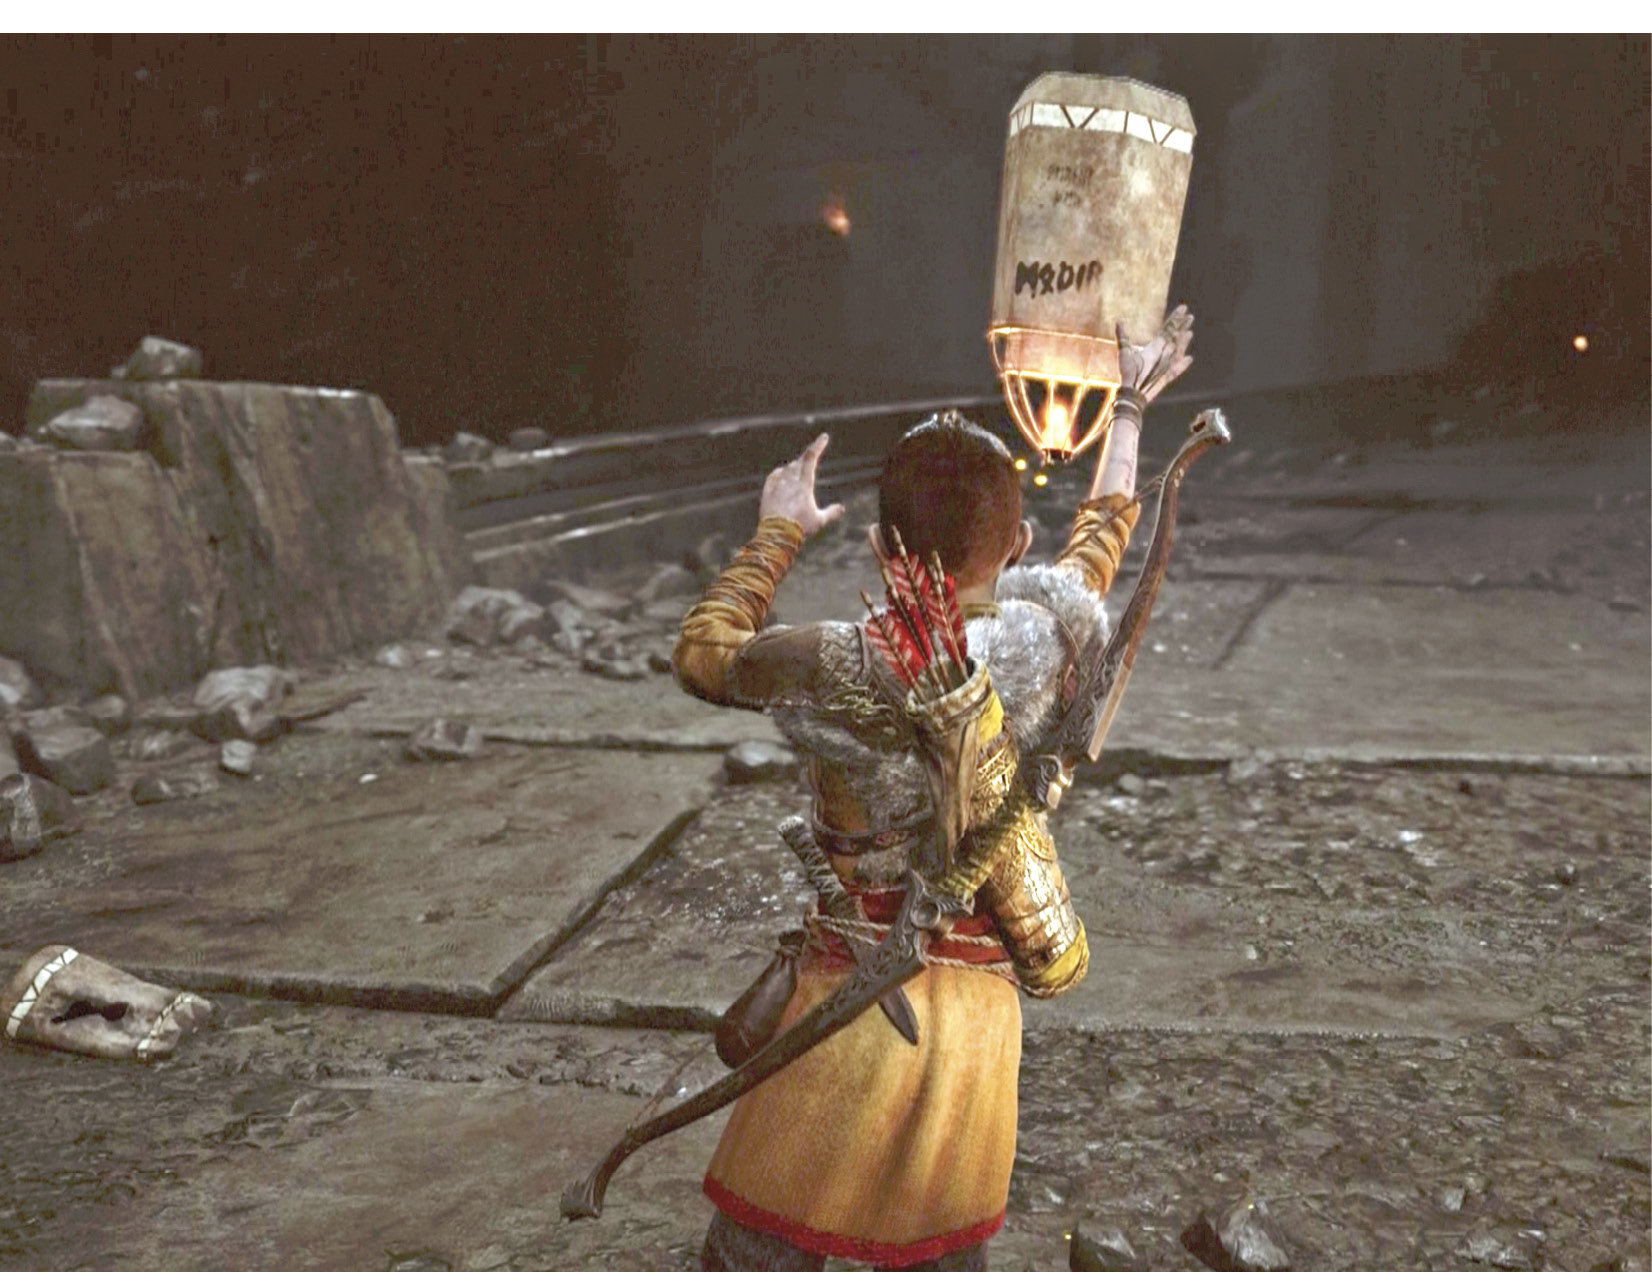
Heart of the Mountain
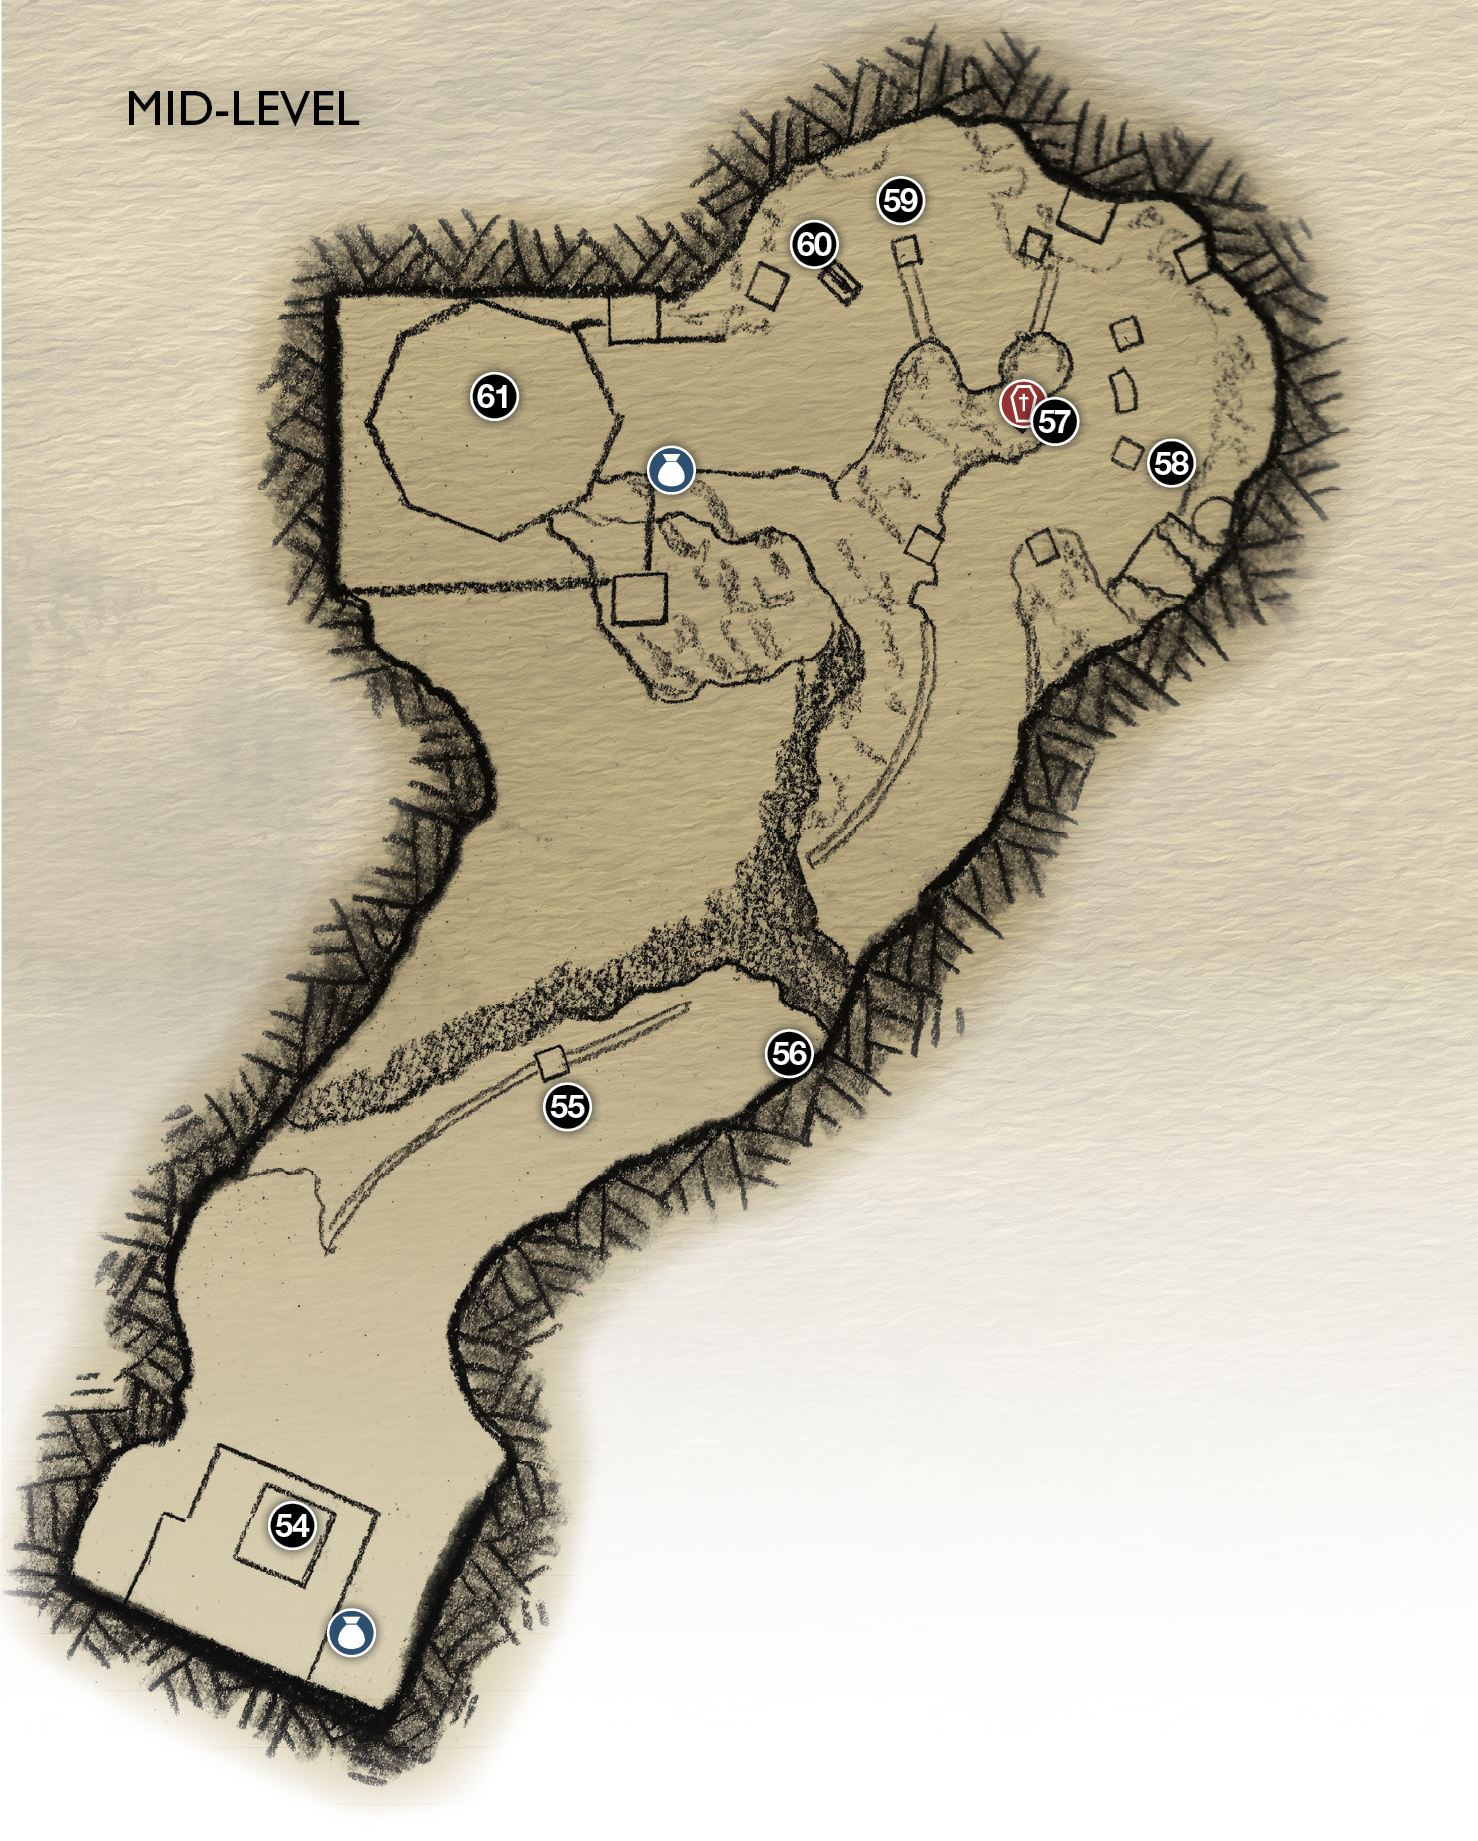
54. Cart (top of shaft)
55. Flame-jet nozzle
56. Flame-jet nozzles (3)
57. Rotating flame-jet podium (coffin on top)
58-59. Pillar cuts off flame
60. Crank-wheel
61. Lift platform
 Chest
Chest
Coffin
Objective: Reach the Summit
Get Past the Flame-Jet Traps
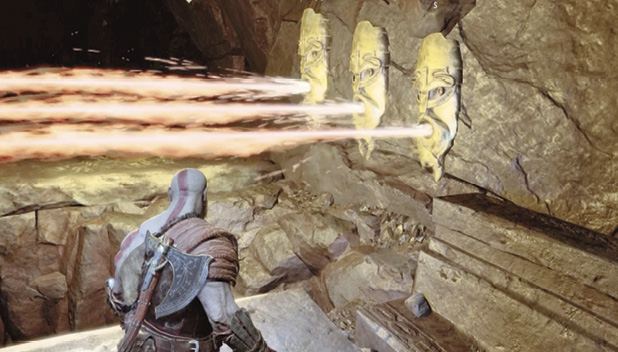
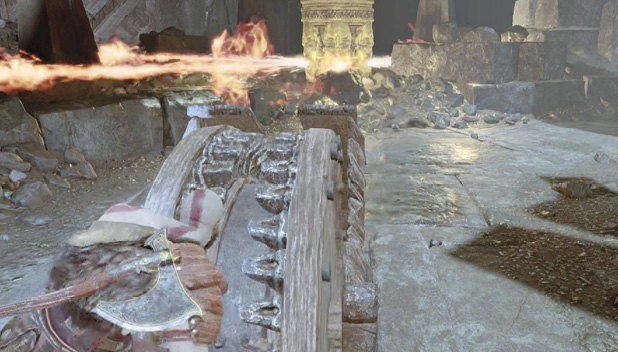
Before you head up the curving walkway, explore the area around the top of the shaft (54) to find some Hacksilver and a chest hidden behind breakable debris next to the cart. Follow Atreus to the flame-jet nozzle (55) shooting a stream of fire across the walkway. Time your sprint past, running when the nozzle briefly shuts off. (Atreus gets past by using a tiny side tunnel.) Do the same at the next set of three flame-jet nozzles (56), leaping across the gap right after them.
Up ahead, the next flame-jet trap is a rotating podium (57) with a set of four nozzles shooting fire nonstop, plus a coffin on top. Walk between the moving jets, then peel off to the right and duck behind the pillar (58) to cut off the flames. Here you find a Hacksilver pickup tucked into a raised alcove against the back wall. Use Leviathan to nail the Projectile Draugr that starts tossing fireballs from a small platform to the right of the flame-jet pillar.
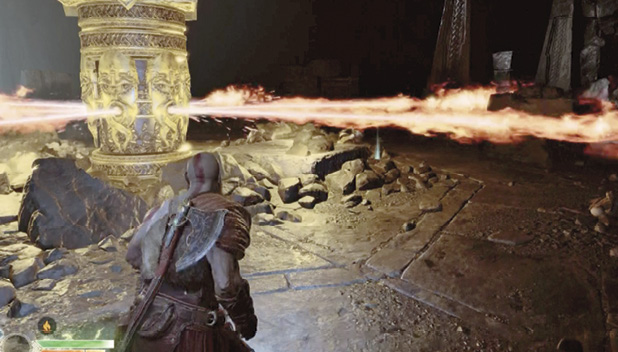
Time your move along the right-hand wall, staying between the flame-jets, and veer to the right behind another rock pillar (59) to cut off the flames again. But watch out: another Draugr starts
tossing projectiles just to your right, so pick him off. Then move to the crank-wheel (60) and quickly crank it to lower the rotating podium into the floor, cutting off the painful flames. Now you can safely open the coffin atop the podium.
Defend the Lift from Enemy Waves
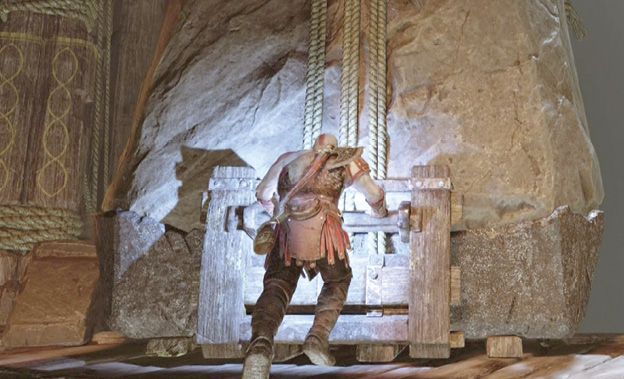
Follow Atreus onto the wooden lift platform (61) and push off one of the huge stone weights to start the ride upward. After a few seconds, the lift stops. Turn around and spot a chest next to a corpse on a small platform. Go smash open the chest then return to the elevator. Push off the second stone weight to send the lift up again. As the lift rises, listen to Kratos and Atreus discuss the situation.
After about 40 seconds, the lift catches on the side of the shaft, and a Draugr trio hops down onto the platform—a big two-handed Heavy Draugr, plus Dual-Wield and Power Weapon Draugr as well. The platform is a small arena, so keep on the move! After you eliminate the first three foes, another Draugr pair drops in. This time the two-handed Heavy Draugr has the Explosive upgrade, making him particularly formidable.
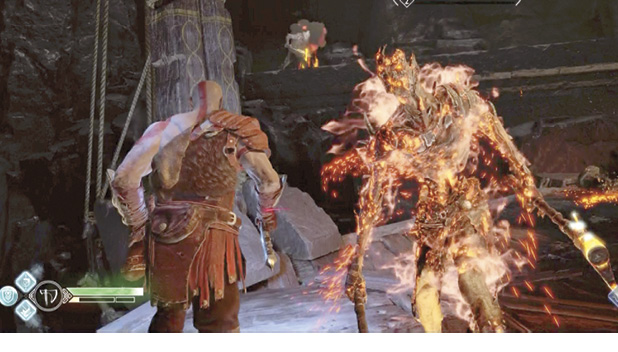
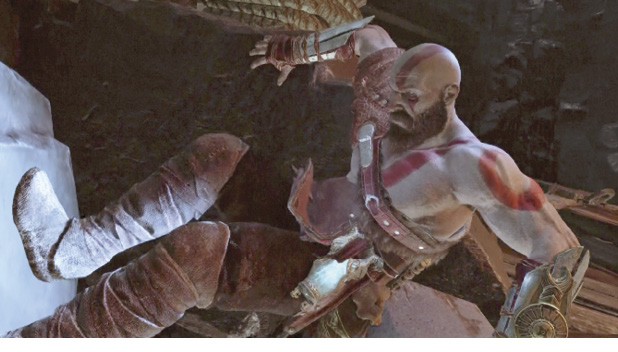
Use Atreus to defuse or detonate the monster’s glowing torso before you send Kratos close for inside work. As you clear the platform, a pair of Projectile Draugr start flinging fireballs down at you from the ledge above. Nail them with axe throws or Light Arrows. When the area is finally clear all around, go examine the spot where the lift is stuck on the shaft wall. When Kratos is in place, rapidly tap Circle until he kicks the lift free of the obstruction and you start rising again.
Soon another pair of Draugr drop onto the platform, which is still moving upward. After a few more seconds, the lift stops again. Here, a big hungry Ogre hops aboard. Like other Ogres, this one has a powerful ground slam and a surprisingly long reach with his power punch. Distract him with Atreus’ arrows and hit his backside a few times. But be ready to roll away quickly—his spinning counterattack swipe is swift for such a big galoot.
Keep hitting the Ogre with Atreus’ arrows to help stun him. When Kratos performs his stun grab, remember that you can either pummel the Ogre to death or steer him into any remaining Draugr on the platform. After the Ogre falls, clean up the remaining foes, including a Projectile Draugr up on the ledge. Then go to the wall and push the lift free of the rocks again.
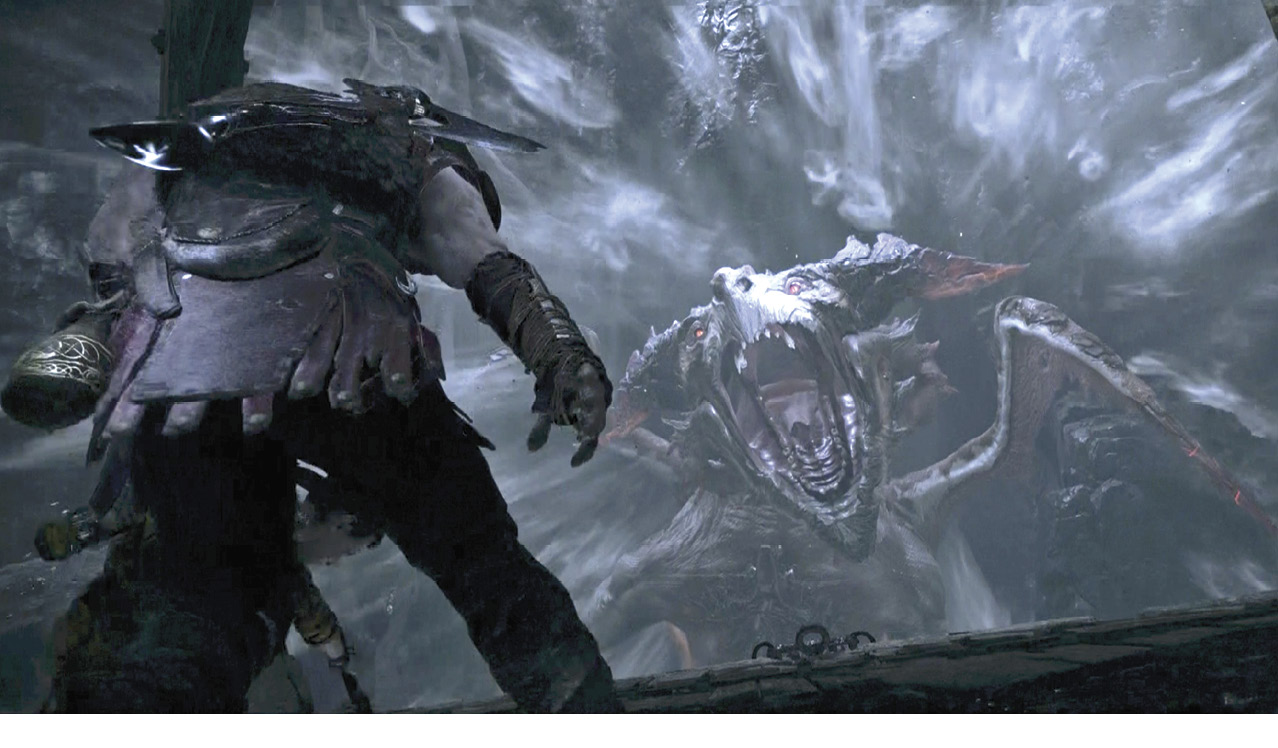
Just as the lift finally reaches the top of the shaft, a massive lightning-spewing dragon—the dreaded “Mountain Terror” known as Hræzlyr—bursts out from a side cave!
Fend off Hræzlyr
Hræzlyr starts out with his left arm extended onto the platform, claws dug in. Attack the claws, but be ready to dodge-roll away the moment the dragon lunges at you with either his massive jaws or his other arm. After you damage the claws a few times, the beast howls and scurries around the circular shaft wall to the other side of the lift.
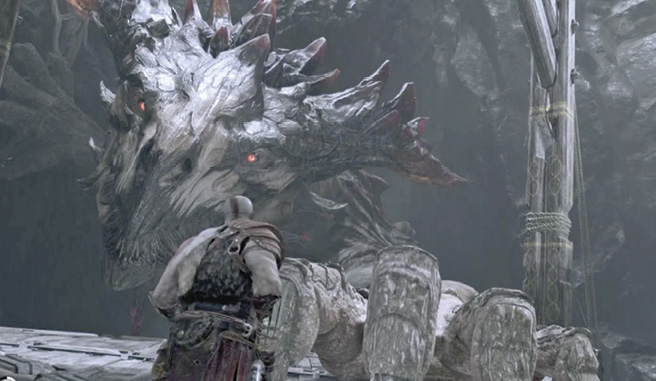
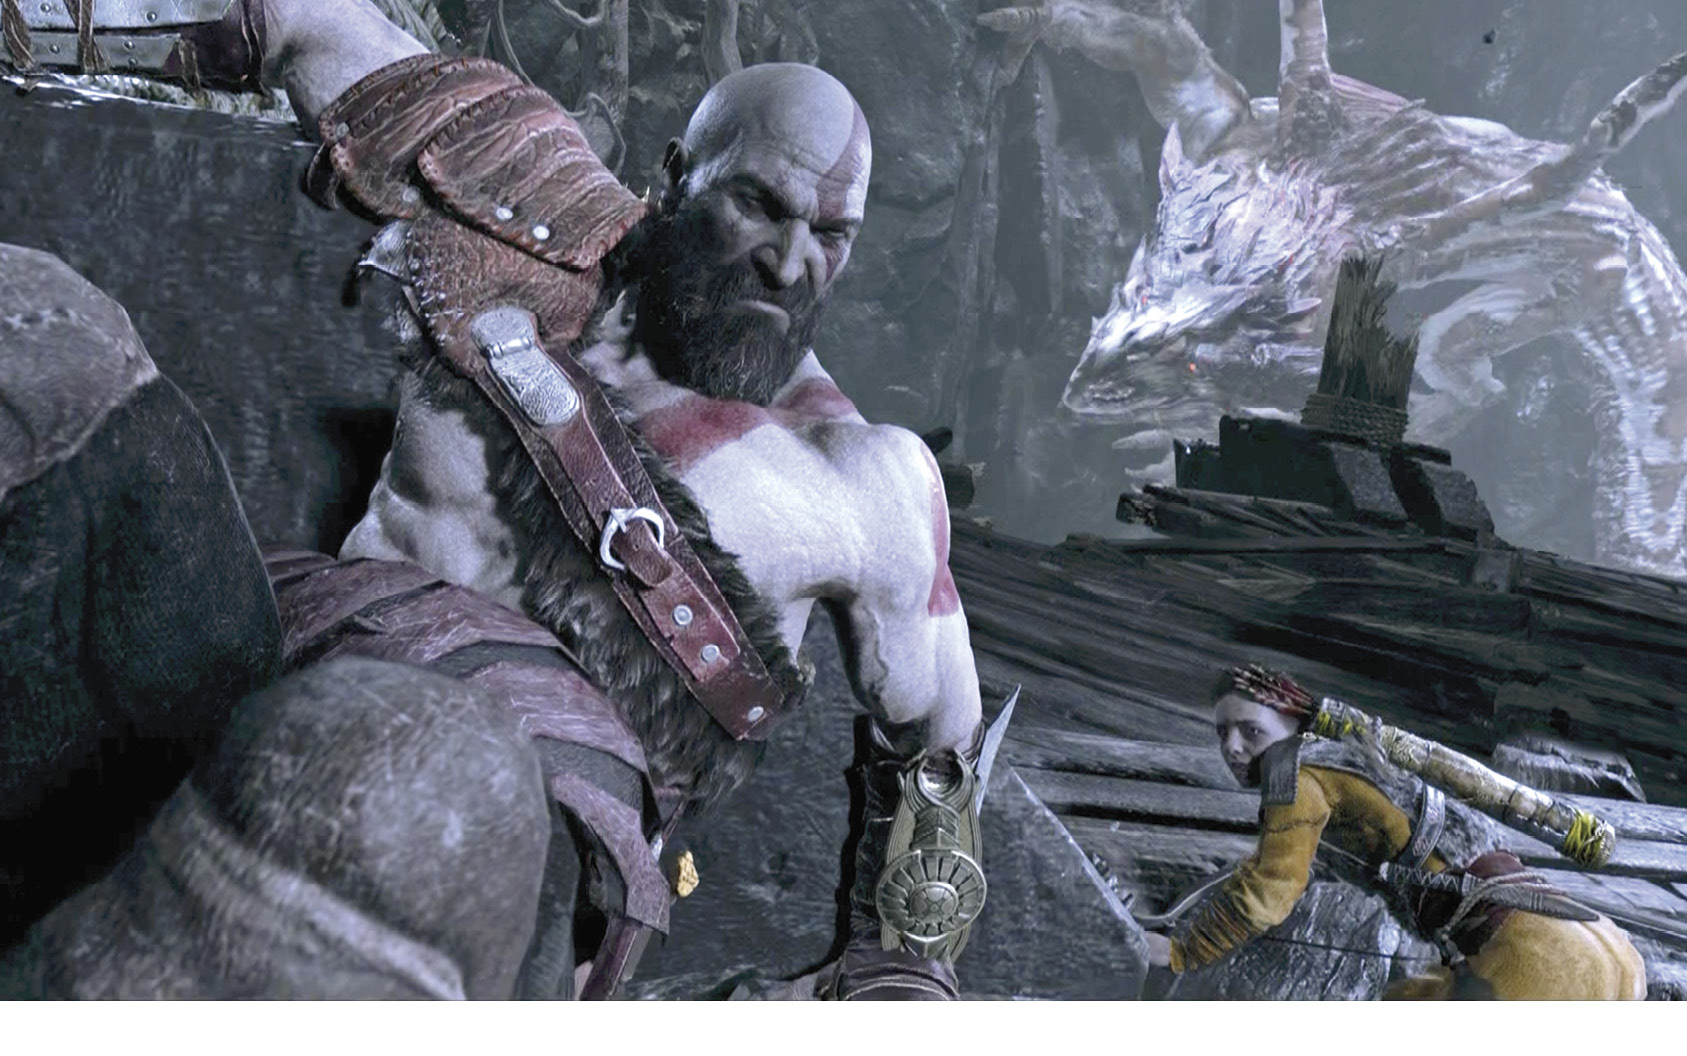
As the lift shakes and swivels, Kratos grabs the end opposite the dragon and starts pushing off the wall with his feet. Tap Circle rapidly to kick the heavy lift into Hræzlyr’s ugly face. This prompts the dragon to blast a hole in the shaft wall and crawl through to escape. But Hræzlyr’s tail hooks the lift strut, and thus the dragon pulls father and son out of the Mountain’s shaft into a side cave.
Hræzlyr’s Arena
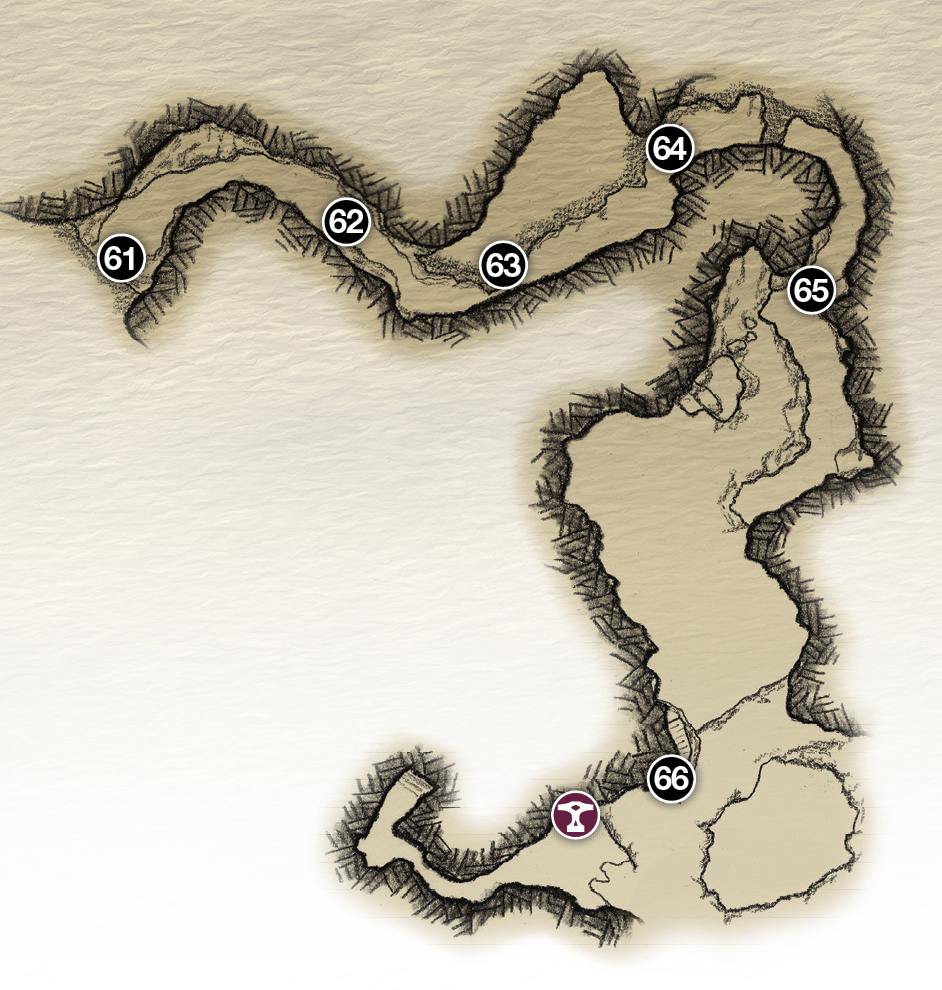
61. Top of elevator shaft
62. Yggdrasil root (Shatter Crystal)
63. Narrow ledge
64. Red sap barrier
65. Tunnel exit
66. Crane platform
67. Tunnel entrance (red sap barrier)
68. Scaffolding ladder
Shop
Get Past the Tree Sap Obstacles
Up ahead, you see a tangled barrier that drips with glowing red sap and crackles with electricity. Step toward the barrier to trigger a quick event: a jagged red chunk of crystal tumbles into the sap and, ignited by the electricity, explodes to clear the passage. Continue up the passage. On the tunnel’s right side, Atreus spots a torn root of the Yggdrasil tree (62), with its crystallized sap exposed. Grab a chunk of this stuff, called Shatter Crystal, and proceed up the tunnel to another dripping red sap barrier. Toss the Shatter Crystal at the barrier to ignite another explosion that clears the passage again.
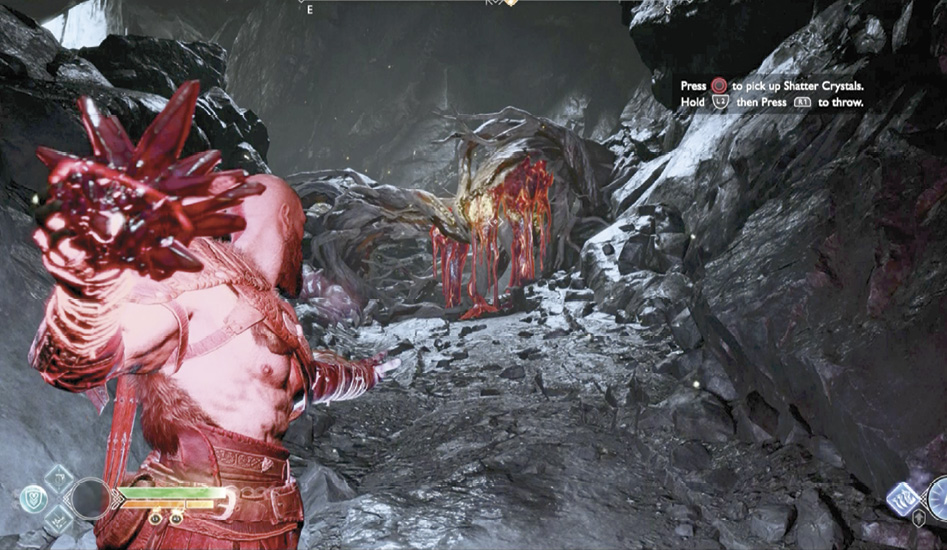
Continue up the tunnel to the narrow ledge (63) and shimmy sideways to the other side. Grab another Shatter Crystal from the root on the left and toss it at another red sap barrier ahead (64) to destroy it. Keep following the tunnel, climbing ledges and leaping across the gap, until you exit into an open area (65). This triggers a scene: Kratos and Atreus spot Sindri up ahead. The Dwarf craftsman is trapped by the huge dragon you just faced!
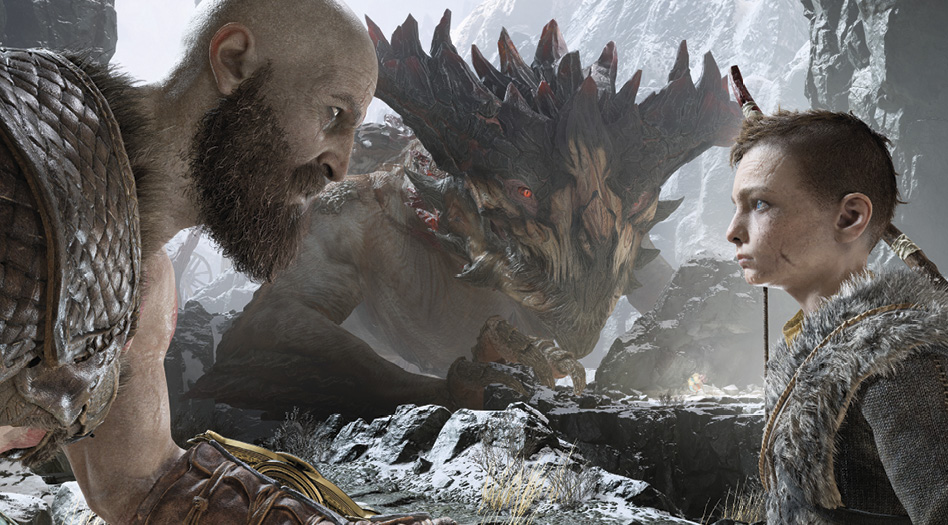
Rescue Sindri
As Atreus heads up the right side of the ravine, direct Kratos up the rocky path on the left side and press Circle to leap onto the dragon’s back. Watch the scene as Hræzlyr shakes his rider onto a cliff, then inhales, sucking Kratos right into his open mouth! When control returns, start pressing R1 or R2 to unleash some nasty attacks on the dragon’s choppers. You end up in a mountaintop clearing with an angry Hræzlyr looming over the arena!
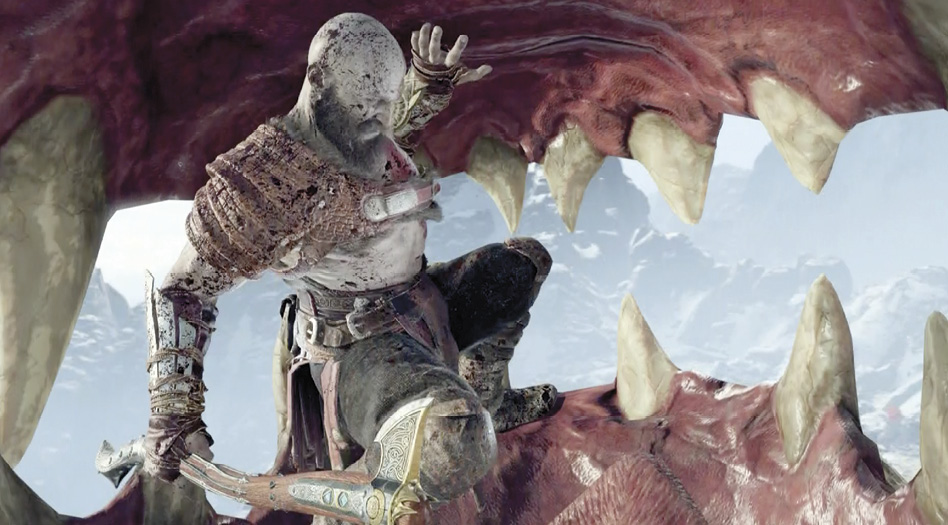
Acquire and Use Shock Arrows
After the dragon falls dead, a grateful Sindri presents his rescuers with a pair of valuable gifts. First, he hands Atreus a set of green, braided mistletoe arrows: “Straighter than Heimdall and perfectly weighted!” Then he sends Kratos to extract a dragon’s tooth. Walk into the dragon’s mouth and follow the on-screen instructions, noting that you automatically acquire large rewards of XP, Hacksilver, and precious resources as well.
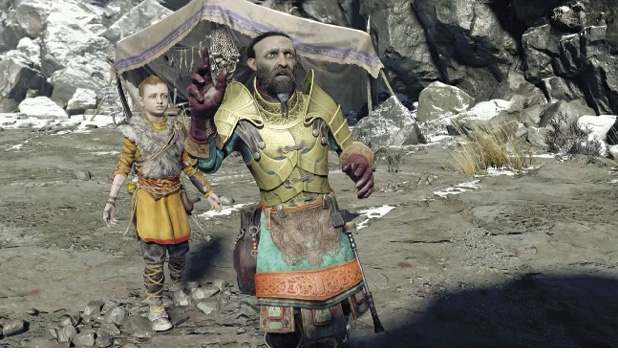
Then approach Sindri at his shop table to trigger a scene: the Dwarf directs Kratos to run the tooth along the string of his son’s bow. This imbues the bow with the Shock Arrow ability. Now you can fire arrows into Shatter Crystals to detonate them with electrical energy. This will be particularly useful for destroying the red sap barriers scattered around the realms.
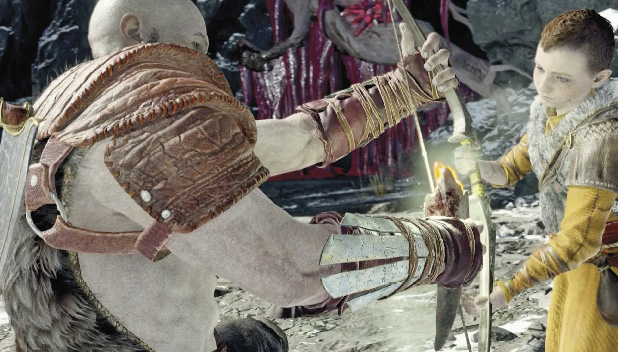
For example: A red sap barrier with a Shatter Crystal in the middle blocks the nearby cave entrance. Aim at the glittering crystal, then shoot one of the new Shock Arrows into it. The explosion clears the entrance.
Before you explore further, visit Sindri to upgrade your gear, and spend your new XP motherlode on new and upgraded Skills. Then enter the newly unblocked cave and follow the dark tunnel to the end (68), where you see a crude scaffolding ladder leading up a wall.
Mountain Interior
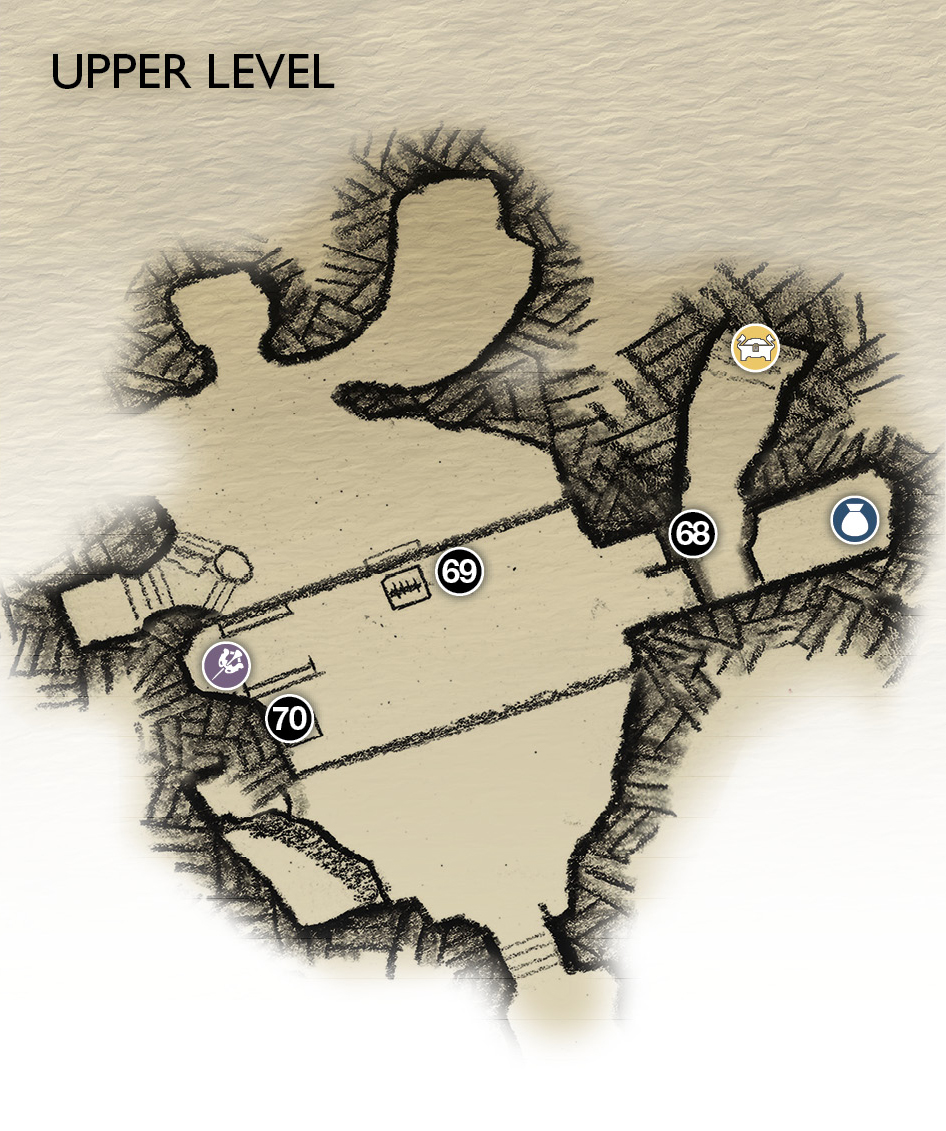
68. Climb scaffolding ladder
69. Crane bucket crank-wheel
70. Climb blocks (after they drop)
 Artifact
 Chest
Chest
Legendary Chest
Get Past the Crane Tower
Before you climb the ladder at the dark tunnel’s end (68), turn right to see a Legendary Chest covered in sappy roots down a short corridor. Fire a Shock Arrow at the glowing Shatter Crystal to blast away the roots, and then go loot the chest. Return to the scaffolding ladder and make the long climb up.
At the top, a hostile Hel-Reaver with an unusual companion awaits your arrival in front of a towering crane structure that overlooks a mining track below to the right. A variant of flier called the Nightmare Parasite suddenly glows bright yellow and dives into the Hel-Reaver to “possess” him! The possessed fighter still looks and fights like a Hel-Reaver, but with constantly regenerating health, greater strength, and an eerie sparkling glow. Stun the Hel-Reaver to knock the Parasite out of him, and then kill the little flier before it can dive-bomb you.
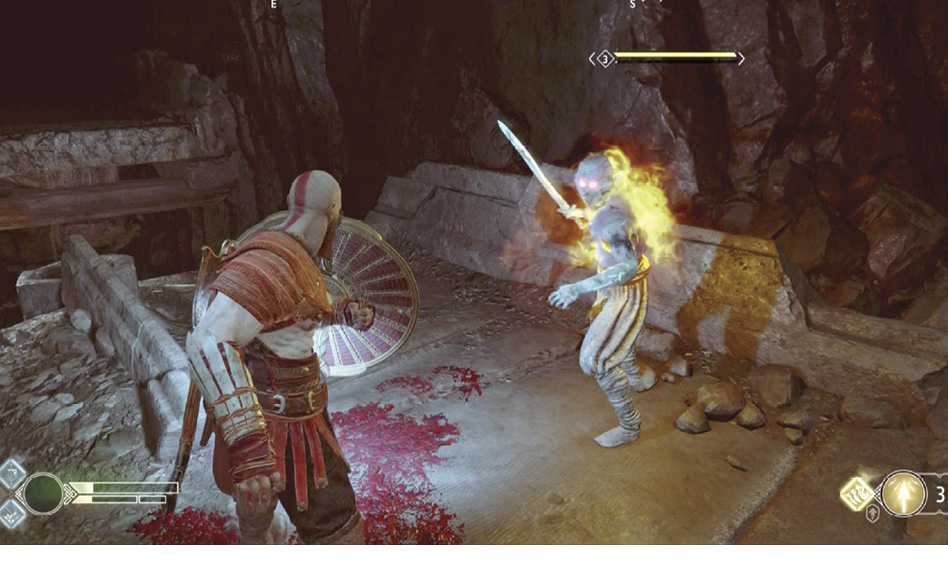
After you defeat these foes, head back toward the wall you climbed up (68) and hop across the gap at the rightmost yellow marker to find a regular chest on the far platform. Then hop back and approach the crane structure. If you look directly upward, you see a raised bridge entwined in sap-covered roots far above you. This is your ultimate destination.
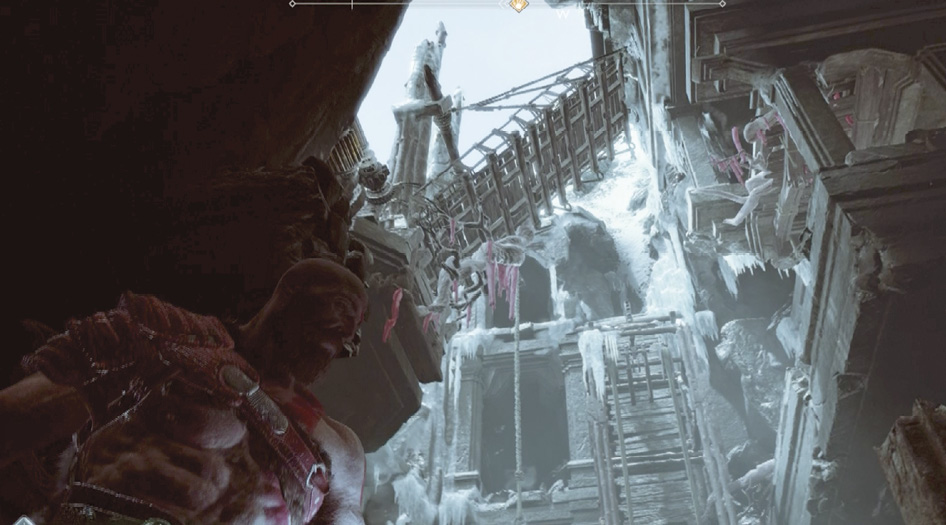
Move around the side of the crane bucket encrusted in red sap to find a spot where you can target the Shatter Crystal (circled in our shot) that sits inside the bucket. Shoot a Shock Arrow to detonate the crystal and free the bucket for lifting. Note that the Shatter Crystal in the bucket isn’t destroyed by the explosion—this crystal renews itself! Look for an Artifact in an alcove behind the bucket as well.
Go to the crank-wheel (69) and raise the crystal-filled bucket to the top so it hangs next to a lift pallet that’s loaded with stone blocks and covered in red sap. While still holding the wheel to keep the bucket raised, aim and fire a Shock Arrow at the bucket’s Shatter Crystal to detonate the sap and shatter the pallet. This drops the stone blocks to the floor. It also releases a swarm of Nightmare Parasites who start ramming Kratos! Atreus can eliminate them quickly with his arrows. Climb these fallen blocks and the wall section above them (70) to reach the staircase of an upper corridor.
Mountain Interior
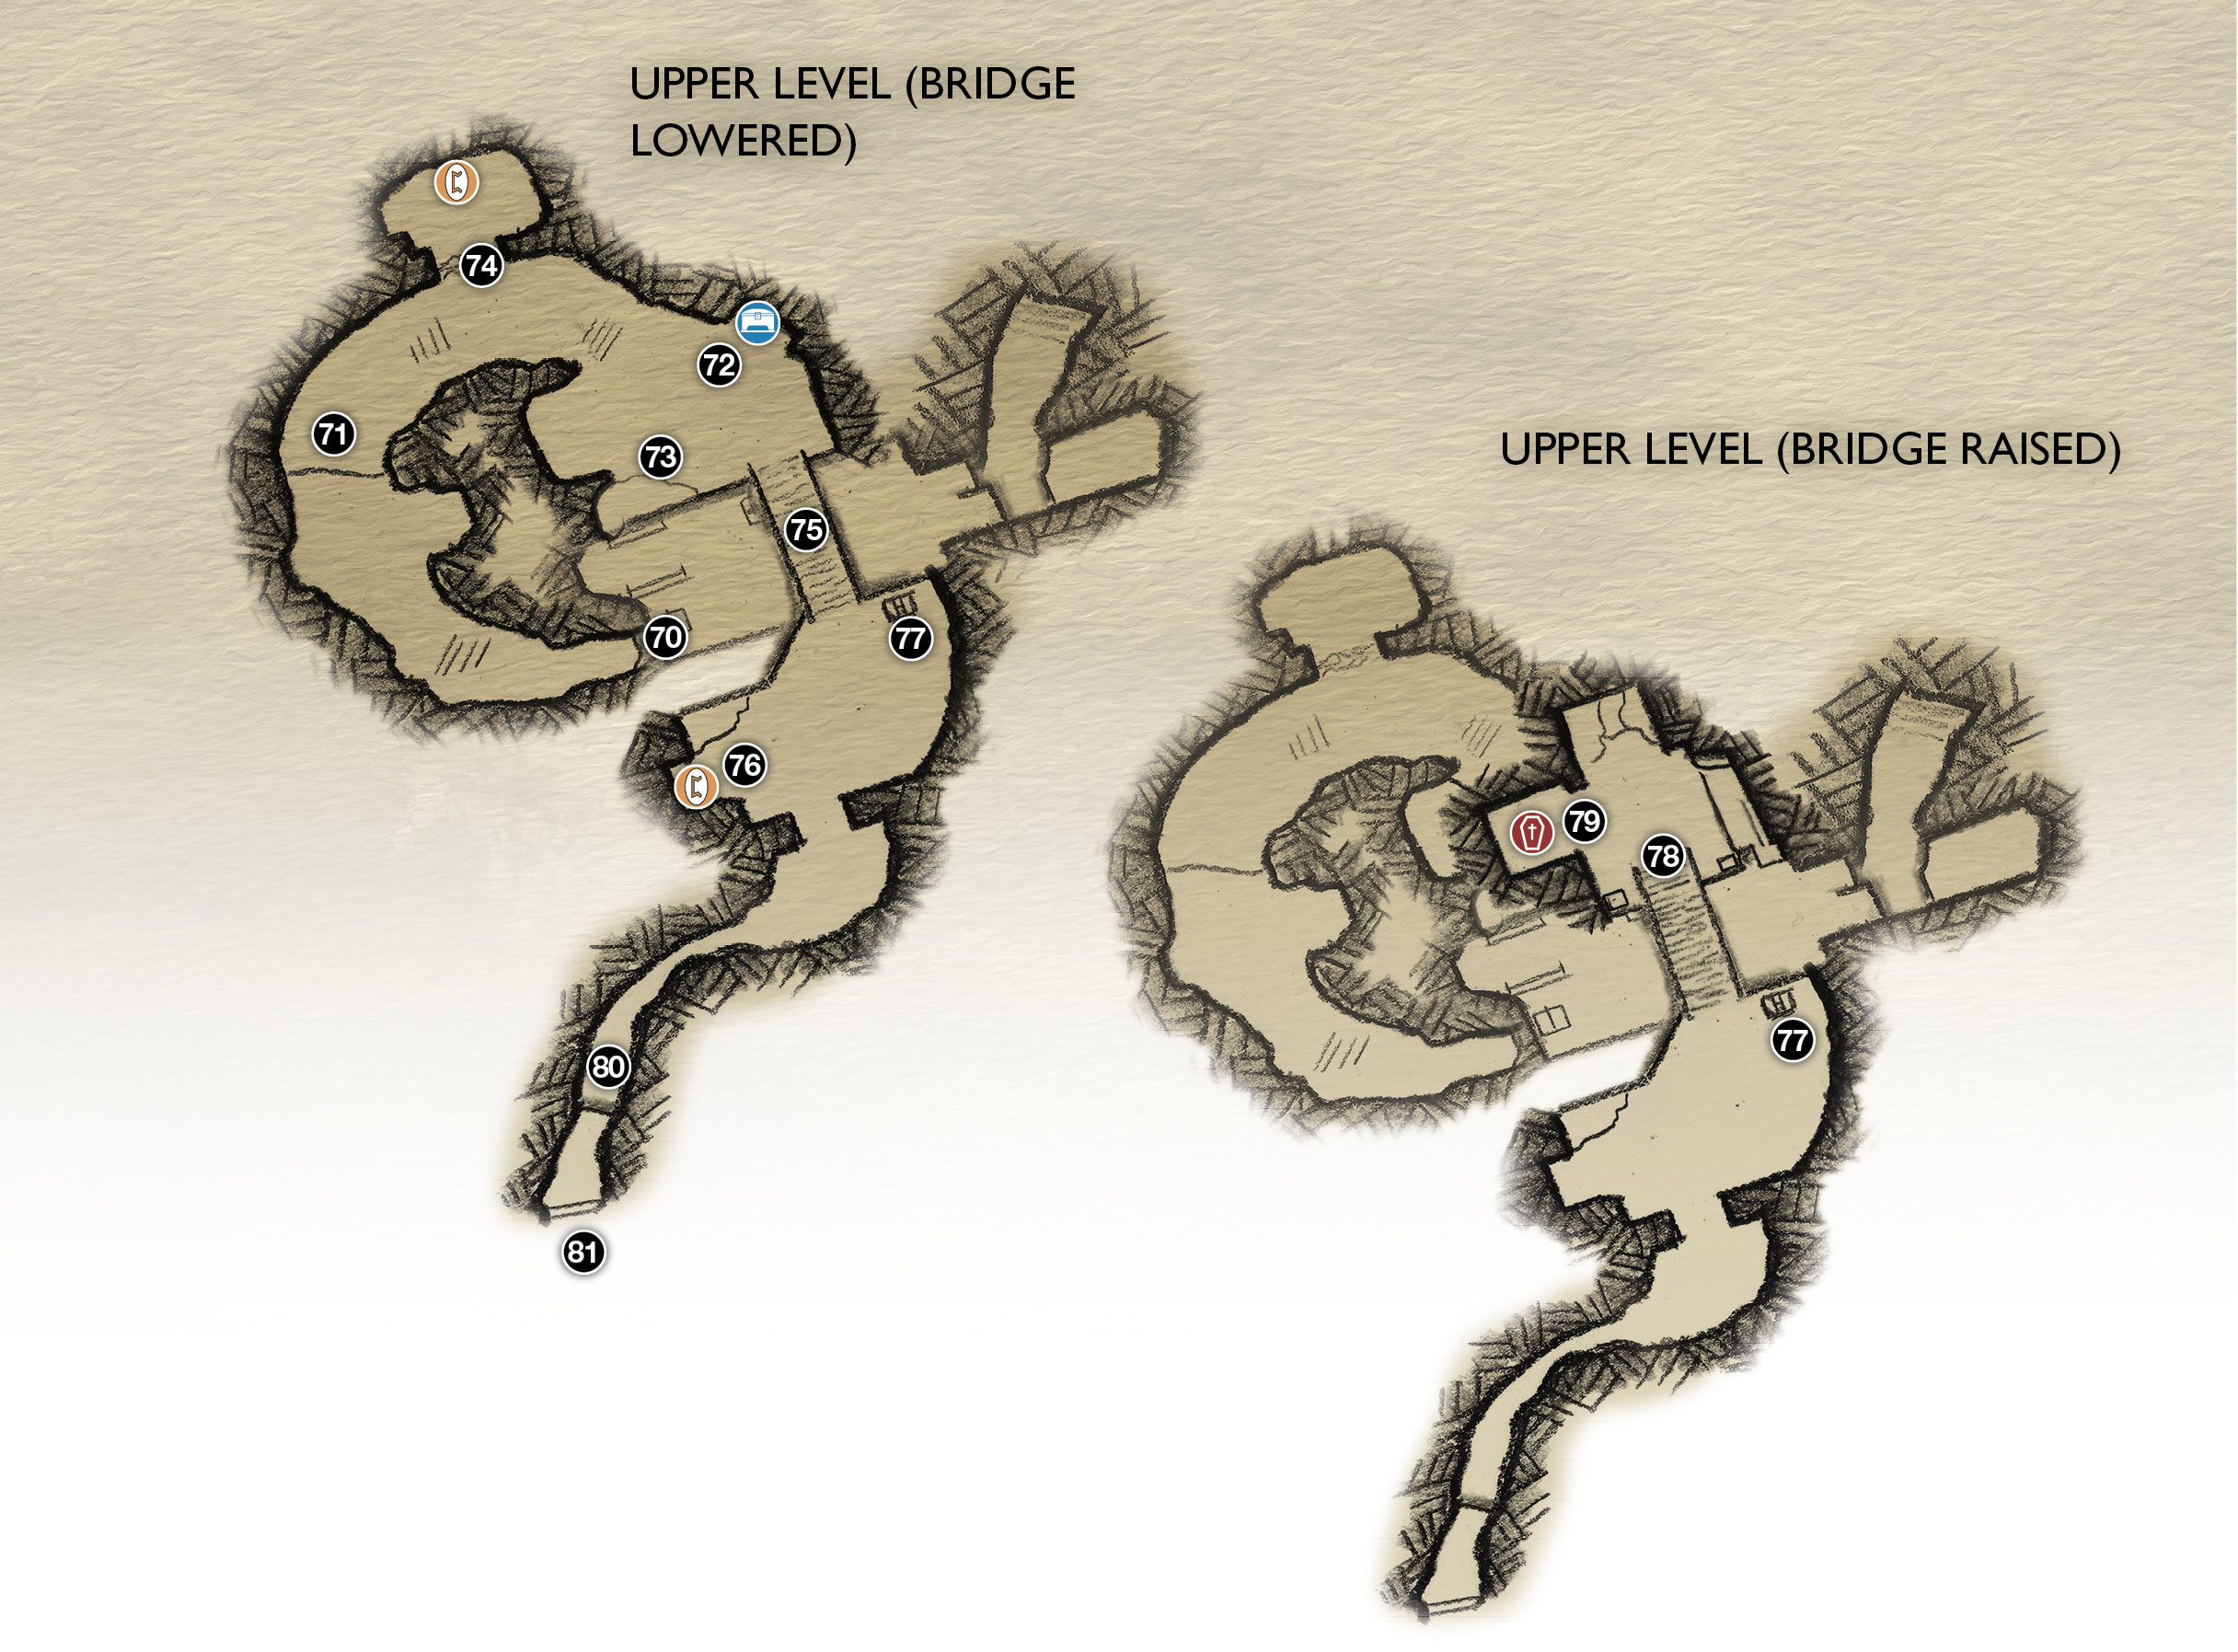
70. Climb blocks
71. Climb ledge (Hel-Shadow Archer)
72. Nornir Chest
73. Shatter Crystal root
74. Red sap barrier (to Jötnar Shrine)
75. Drawbridge (lowered)
76. Red sap barrier (to Lore Marker)
77. Bridge crank-wheel
78. Drawbridge (raised)
79. Coffin (Hel-Reaver inside!)
80. Climb wall
81. Path to Summit
Coffin
Lore
Nornir Chest
Find the Jötnar Shrine and Nornir Chest
Switch Atreus to Light Arrows and climb the first two flights of stairs in the curving corridor, stopping when you spot the crystal up ahead. Shoot a Light Arrow to power the crystal and illuminate the corridor. Toggle back to Shock Arrows, then step forward to trigger a Hel-Walker ambush. One sword-wielding Hel-Reaver bursts through the wall on your right, and another Hel-Reaver advances down the corridor.
The enemy swordsmen get ranged support from a new type of Hel-Walker, the Hel-Shadow Archer, who flings icy spears from atop the ledge (71) near the crystal. His spears inflict slowing status if they hit, so roll aside fast. Use Atreus to interrupt the Archer’s throws as you rush to climb the ledge for a melee attack. Then drop back down and finish off the Hel-Reavers. Be sure to scoop up the green Runestone in the nook from which the attacker burst through the wall.
Climb the ledge again (71) and examine the doorway blocked by red sap (74). You can’t open it yet, but note the Jötnar Shrine cabinet inside. Continue up the corridor to the next doorway to see two Hel-Shadow Archers on their knees, seemingly worshipping a Nornir Chest. Behind them stands a brutish guard: the Hel-Walker version of a powerful Viken warrior.
Defeat the Hel-Viken!
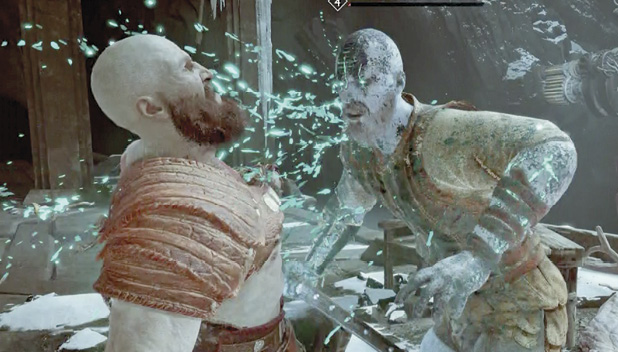
The Hel-Viken isn’t quite a “miniboss,” but he’s certainly an extra-tough adversary. Your attack options are limited from long range—axe tosses can’t trip him, and he can raise his heavy mace to block your throws. Although your raised shield can mitigate his sideways mace swipe, the hit can break your block, and his follow-up strike—a thunderous, two-handed, overhead mace slam—inflicts massive damage if it lands.
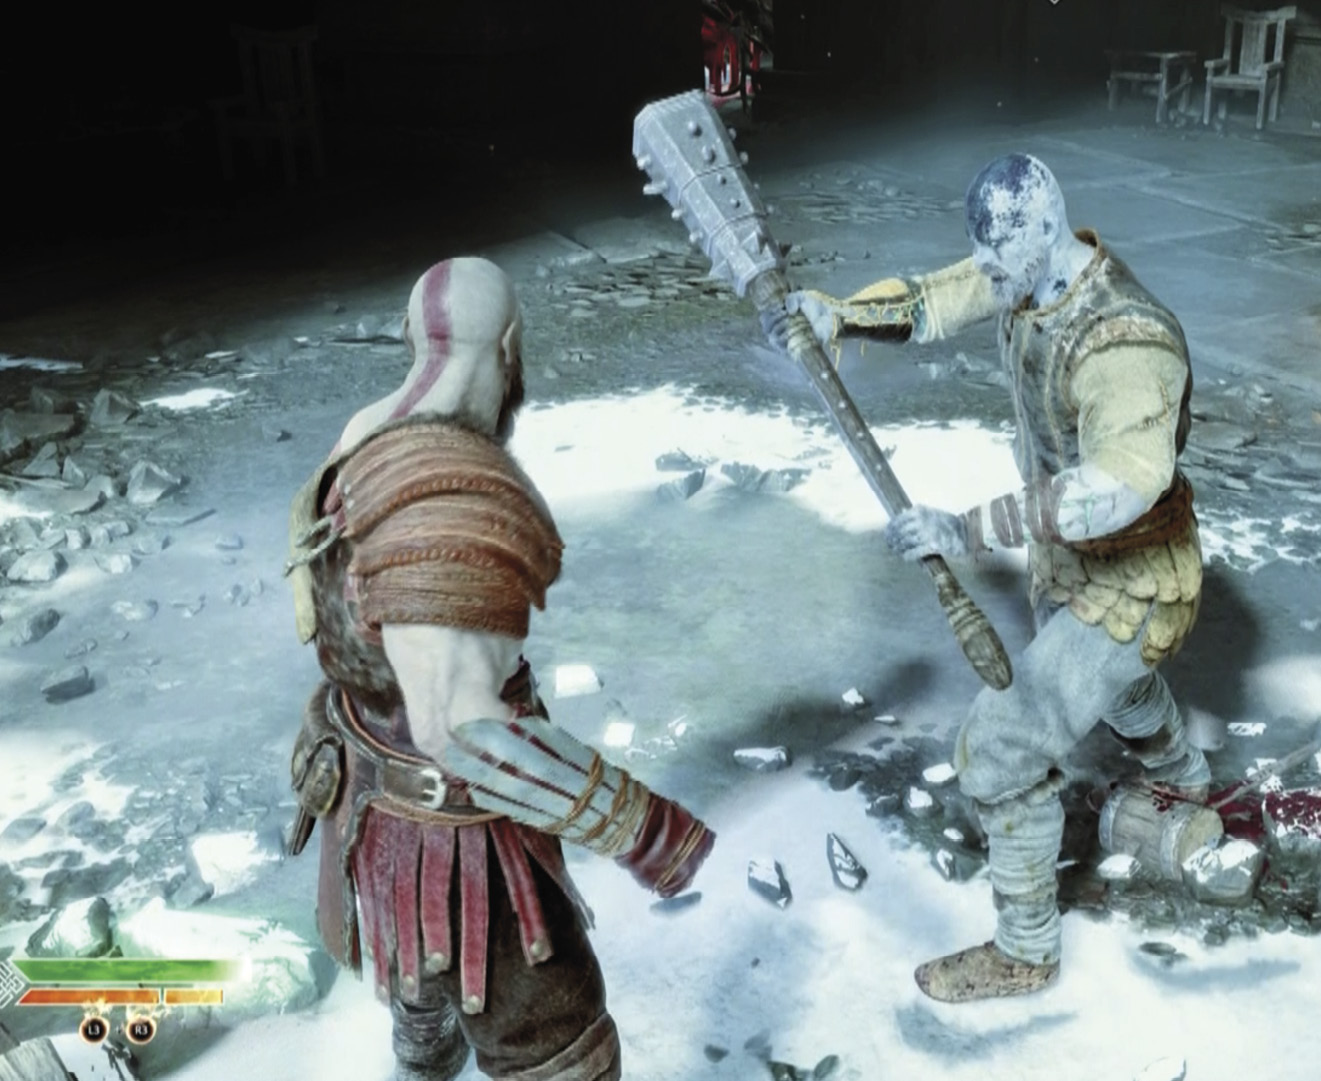
Thus, your best bet is to distract the Hel-Viken with Atreus’ arrows, then hammer him with close-range hits and punches, preferably from behind, until you can stun him. He has enough health that a stun grab may not kill him, but Kratos’ head-butt and toss move degrades his health significantly. The fight is complicated by harassment from the two Archer supplicants, so KO them early.
Open the Jötnar Shrine
After you finish off the Hel-Walkers, Atreus points out the raised drawbridge that connects to the opposite platform—the same sap-entangled bridge you saw from the crane platform below. Note the Nornir Chest nearby, then grab a chunk of Shatter Crystal from the root by the rock wall (73).
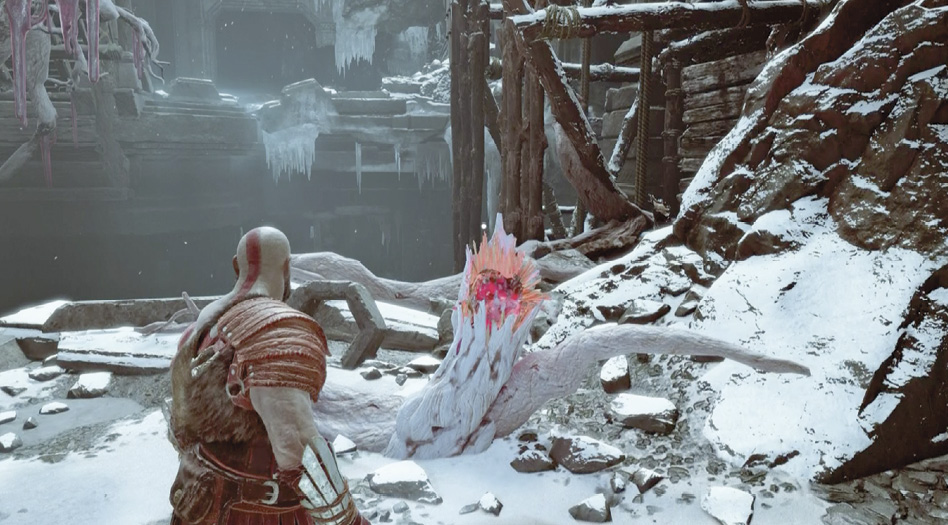
Head back through the door and toss the crystal at the red sap barrier (74) you passed earlier, and then detonate it with a Shock Arrow. Enter the chamber and open the Ymir Jötnar Shrine. Before you leave this chamber, check out our Nornir Chest directions a little farther on—there’s a runic seal stone in here too.
Lower the Bridge to Your Level
Return to the bridge cavern and grab another chunk of Shatter Crystal from the root (73). Throw it across the gap at the red sap on the drawbridge and fire a Shock Arrow to shatter the sappy roots and drop the bridge.
The drawbridge doesn’t fall all the way to your level, though; it sticks on the platform above you. Grab another Shatter Crystal and throw it at the red sap drippings on that platform above your head. Shoot the crystal with a Shock Arrow to blast the drawbridge free; the bridge drops down to your level.
Before you get to work unlocking the Nornir Chest, cross the drawbridge and take out a pair of Hel-Shadow Archers, supported by a sword-wielding Hel-Reaver, neutralizing them with Atreus’ arrows, then rushing Kratos close to beat them silly. Watch for another Nightmare Parasite trying to possess and strengthen the Hel-Walker troops.
After you clear the area, find another red sap barrier (76) with a Lore Marker behind it. Go back across the drawbridge to the Yggdrasil root and grab a Shatter Crystal. Then return to toss it at the barrier, shoot it with a Shock Arrow, and send Atreus to read the Lore.
Raise the Bridge to the Upper Level
Turn the bridge crank-wheel (77) to raise the opposite side of the bridge to the upper level. Before you let go of the wheel, toss Leviathan into its pulley gears to freeze them; this keeps the bridge locked in the raised position when you do let go.
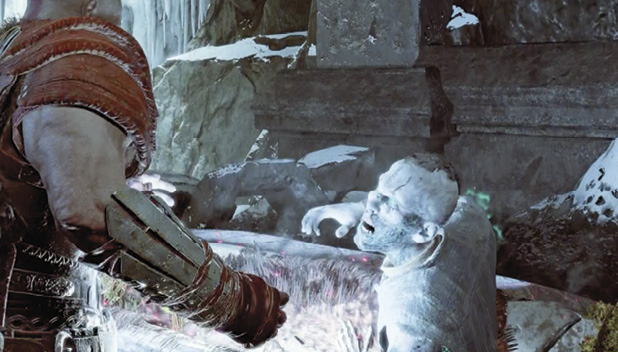
Climb the now-raised bridge (78) and, at the top, note the runic seal stone on your right. Then get ready for a surprise. When you open the coffin (79), a nasty Hel-Reaver pops out. Kratos dislikes surprises; kill the creature and pick up the trove of good stuff he drops.
Unlock the Nornir Chest
The Nornir Chest on the bridge platform is unsealed by breaking three runic seal stones with axe tosses. Here’s where to find these stones:
- One stone sits on a ledge on the upper level of the drawbridge cavern. To reach it, use the crank-wheel to raise the drawbridge up to that level, then freeze the gears with Leviathan. (You just did this in the previous section.) Once that’s done, climb the bridge; the runic seal is easy to find and break; you can just punch it, if you want.
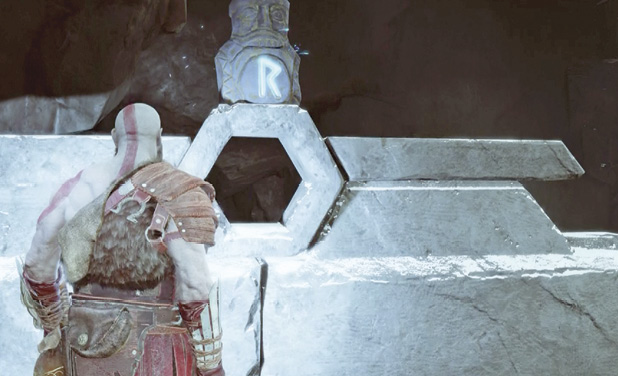
- Another stone is back in the same chamber (74) where you found the Ymir Jötnar Shrine. You have to recall Leviathan to lower the bridge again, then drop down and return to the chamber. Facing the Jötnar Shrine, swivel to the right to spot the runic seal glowing up high in the darkness of the cave.
- The third stone sits next to a pillar on the crane tower off the side of the drawbridge. After you lower the drawbridge, walk halfway across the bridge (75) and swivel to the right. Spot the runic seal stone by the pillar and smash it with an axe toss.
Now return to the Nornir Chest to collect a nice reward: an Iðunn Apple to help raise your maximum Health again. Cross the drawbridge again and follow the dark exit passage to the crude ladder on the marked wall (80). Climb to the top and push open the big exit doors to step out onto the Mountain’s snowy Summit approach (81).Climb to the Summit.
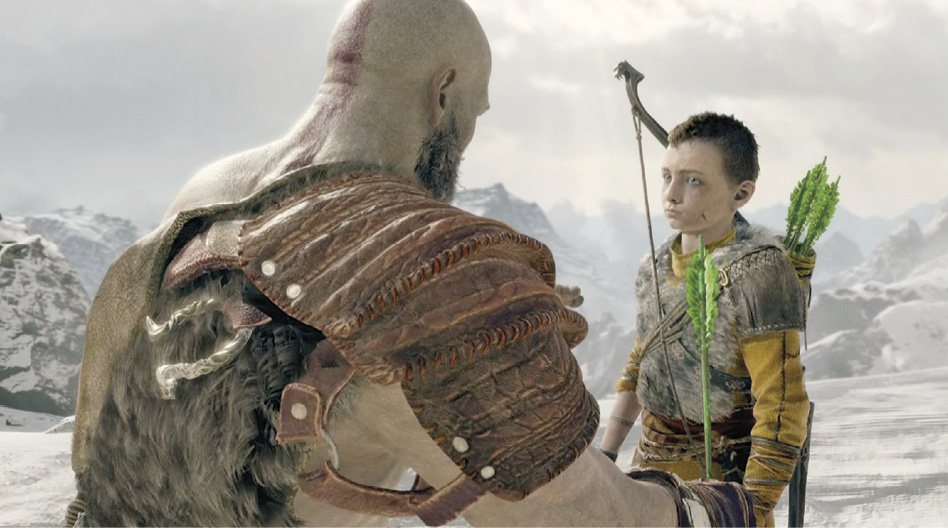
After you emerge, a short cut scene plays: Kratos notices that Atreus’ quiver strap is broken. When control returns, approach Atreus to trigger a seemingly small moment: Kratos uses one of the new braided mistletoe arrows to repair the strap. (This repair will prove critically important later.)
Push forward through the thick snow. About halfway up the ridgeline (82), a sizable squad of Hel-Walkers rises up to halt your progress. Pepper them with Atreus’ Shock Arrows as Kratos decimates them one by one. Most are standard Hel-Reavers, and they go down easy enough. But a new unit called a Hel-Reaver Guard supports the others by wielding a sturdy ice shields that blocks your melee strikes.
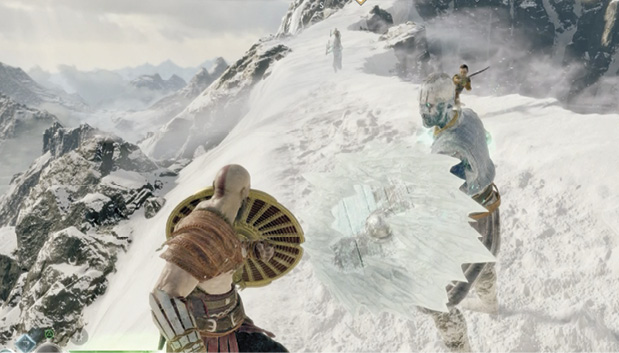
Break through the Guard’s block by brandishing your own shield, then using your Block Break Skill (double-tap L1) to strike his shield with it. When you administer a shield-to-shield blow this way, the Guard staggers backward and lowers his shield. Take advantage of this lapse to pounce with a string of melee attacks!
The Summit
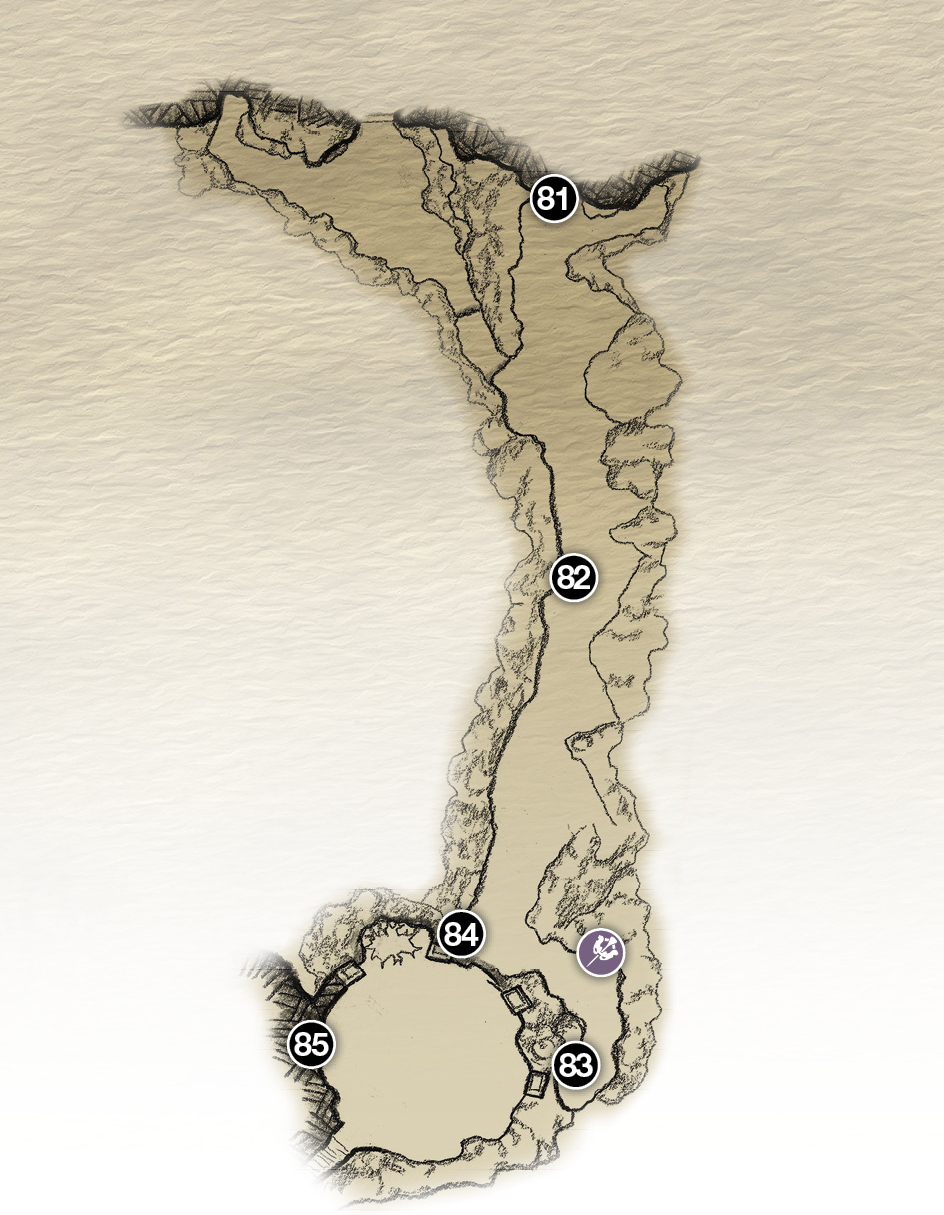
81. Path to Summit
82. Hel-Walker squad!
83. Bramble-covered coffin (inaccessible)
84. Climb wall
85. Summit arrival
Artifact
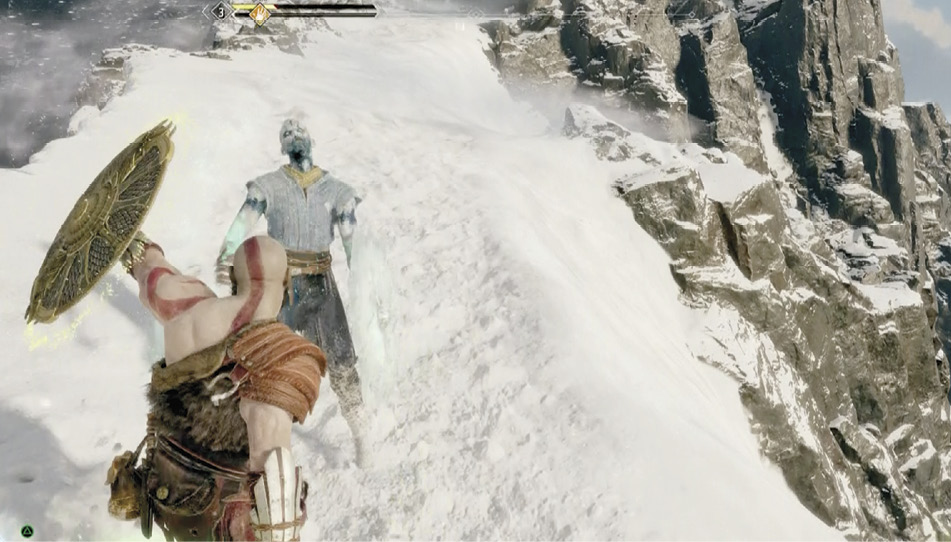
After you wipe out the Hel-Walkers, push up the ridgeline to the Summit structure ahead. Look for an Artifact around the corner to the left, in a snowy alcove. The path ends at a coffin (83) covered by Brambles you can’t cut open yet. (You’ll return with the right tool later.)
Backtrack to another Bramble bush at the base of the Summit structure, and turn right to spot a yellow-marked crack in the wall (84). As you climb it, you hear voices. Near the top you see three men facing someone blocked by the tree trunk. One speaker is the Stranger you faced outside Kratos’ house near the beginning of the game. You learn that his name is Baldur…and that his father is Odin himself!
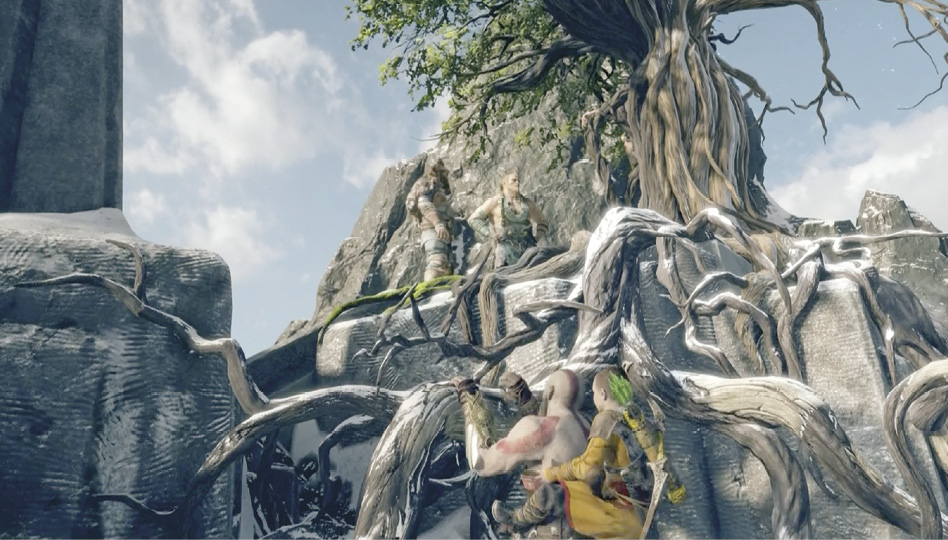
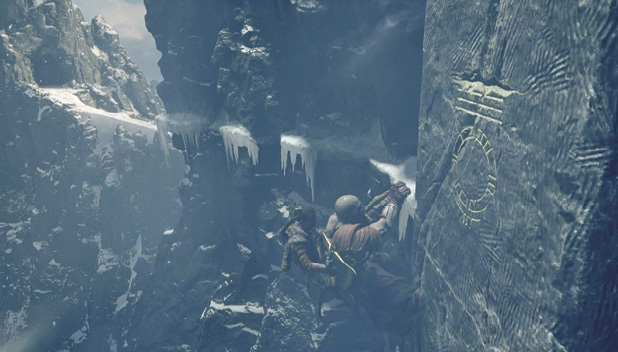
Keep working your way rightward along the wall. When you reach the pillar to the right of the big tree, you must angle downward a bit, then climb straight down—keep following the line of hanging icicles. At the corner, head right until you reach another marked wall. Here you can finally climb up onto the Summit plateau.
Watch the Chapter-Ending Movie
Reaching the Summit triggers a long cinematic sequence that ends the chapter. Kratos and Atreus meet a fellow known as Mimir, who introduces himself as “the smartest man alive.” He is indeed legendary for his extensive knowledge and wisdom, but an ancient disagreement with Odin has led to his imprisonment, which is going on 109 years now.
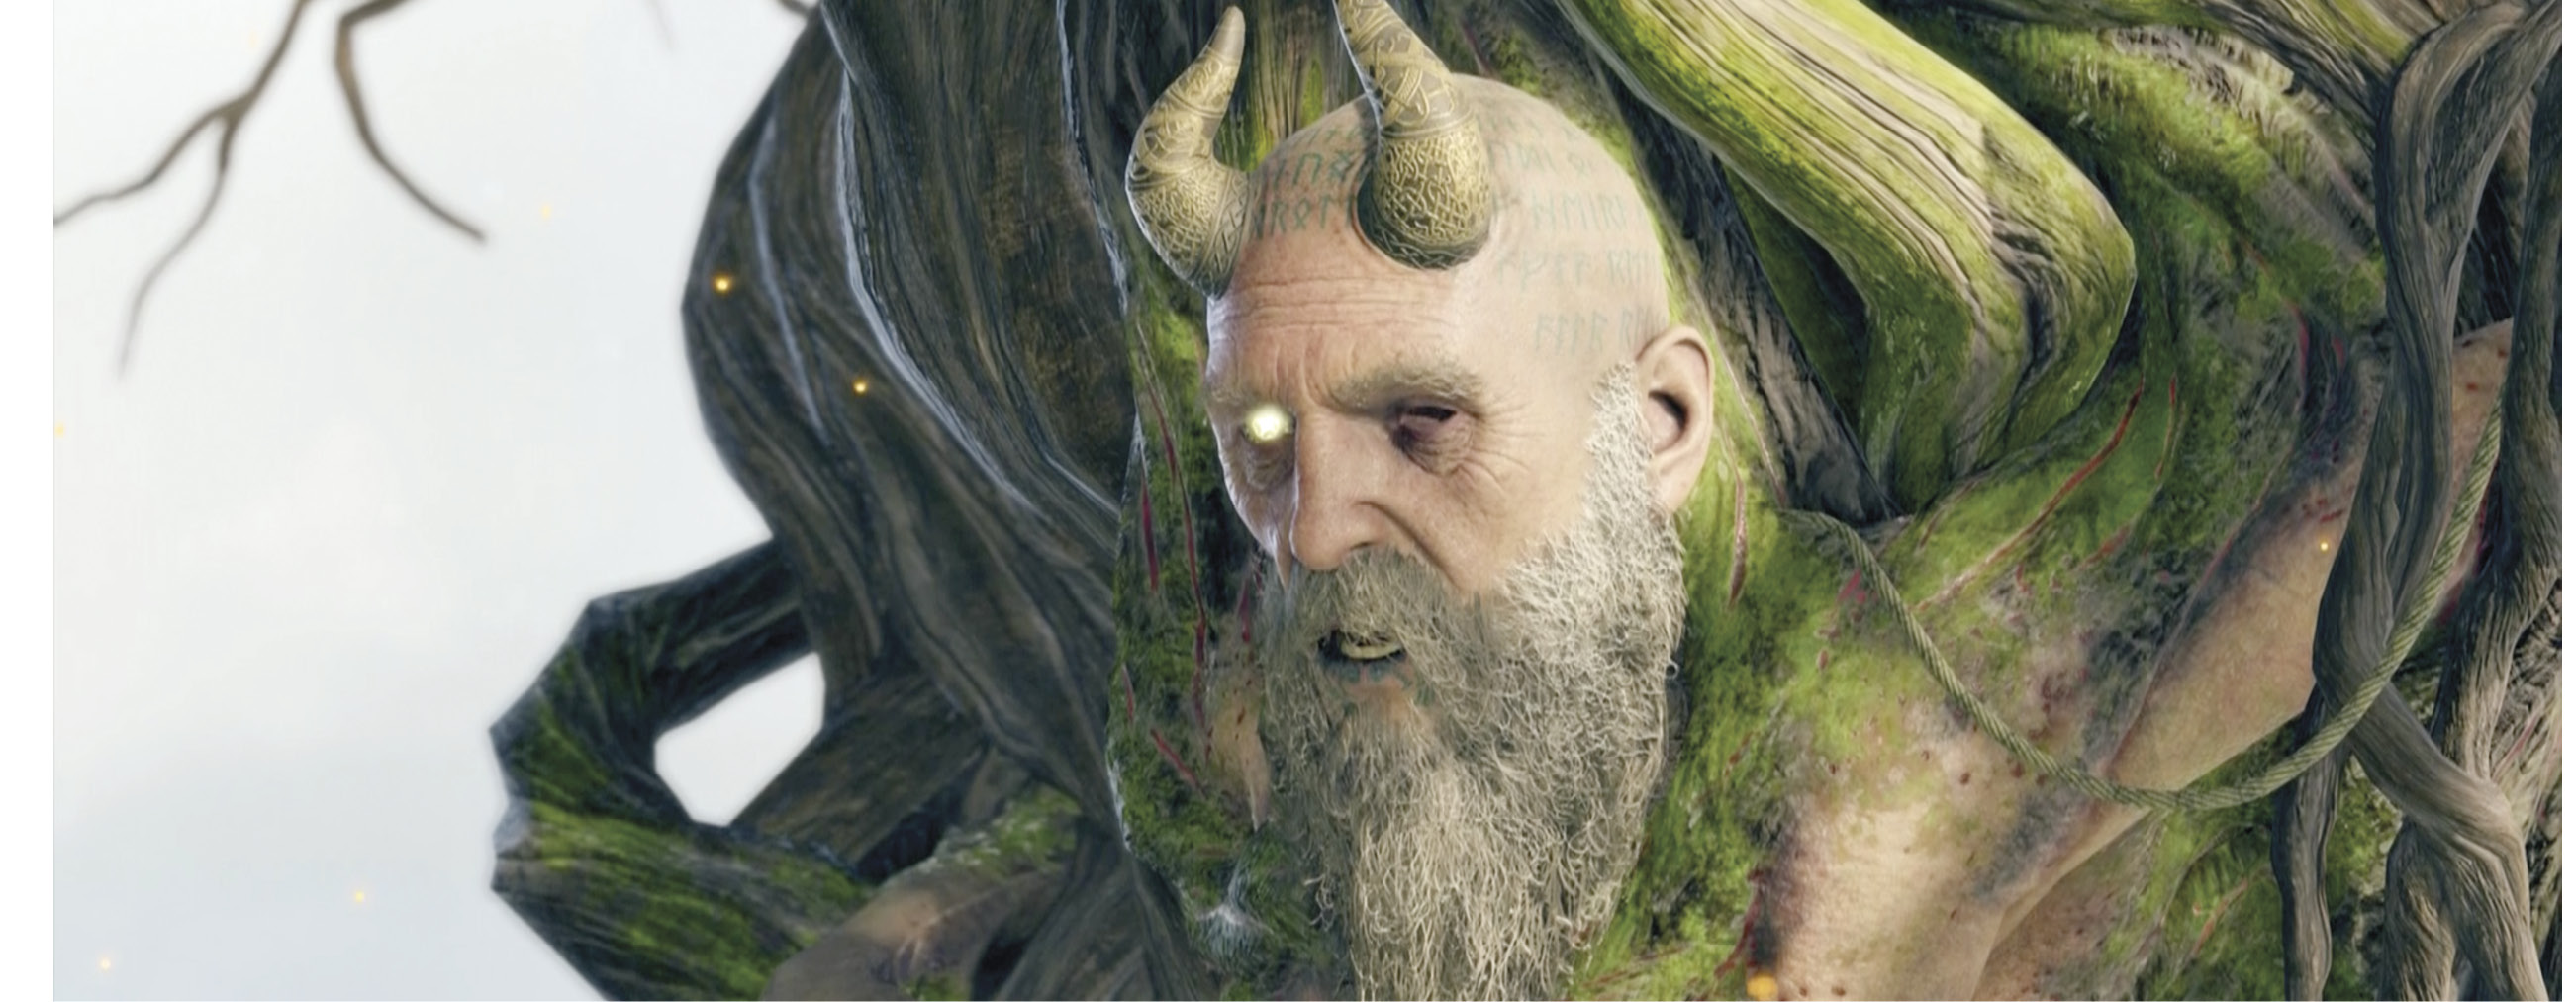
Mimir delivers the surprising news that this Midgard Mountain is not the highest peak in the realms! That peak would be found in Jötunheim, realm of the Giants. Mimir displays a glimpse of the peak and claims he’s the only one who can get them there. But nothing can break the bonds of the tree that holds his body, so they need to…well, cut off his head. After that, the next task is to haul Mimir’s head to the Witch of the Woods, who can reanimate it using “the old magic.”