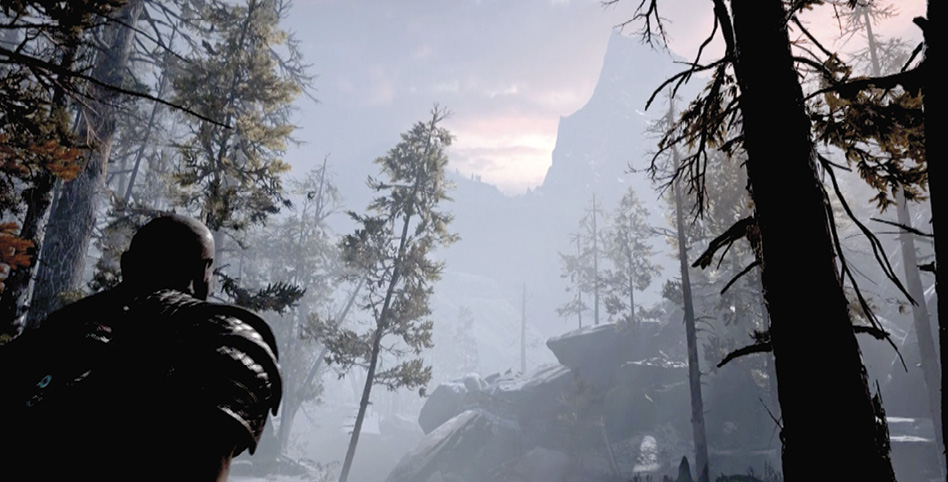
Chapter 1: The Marked Trees
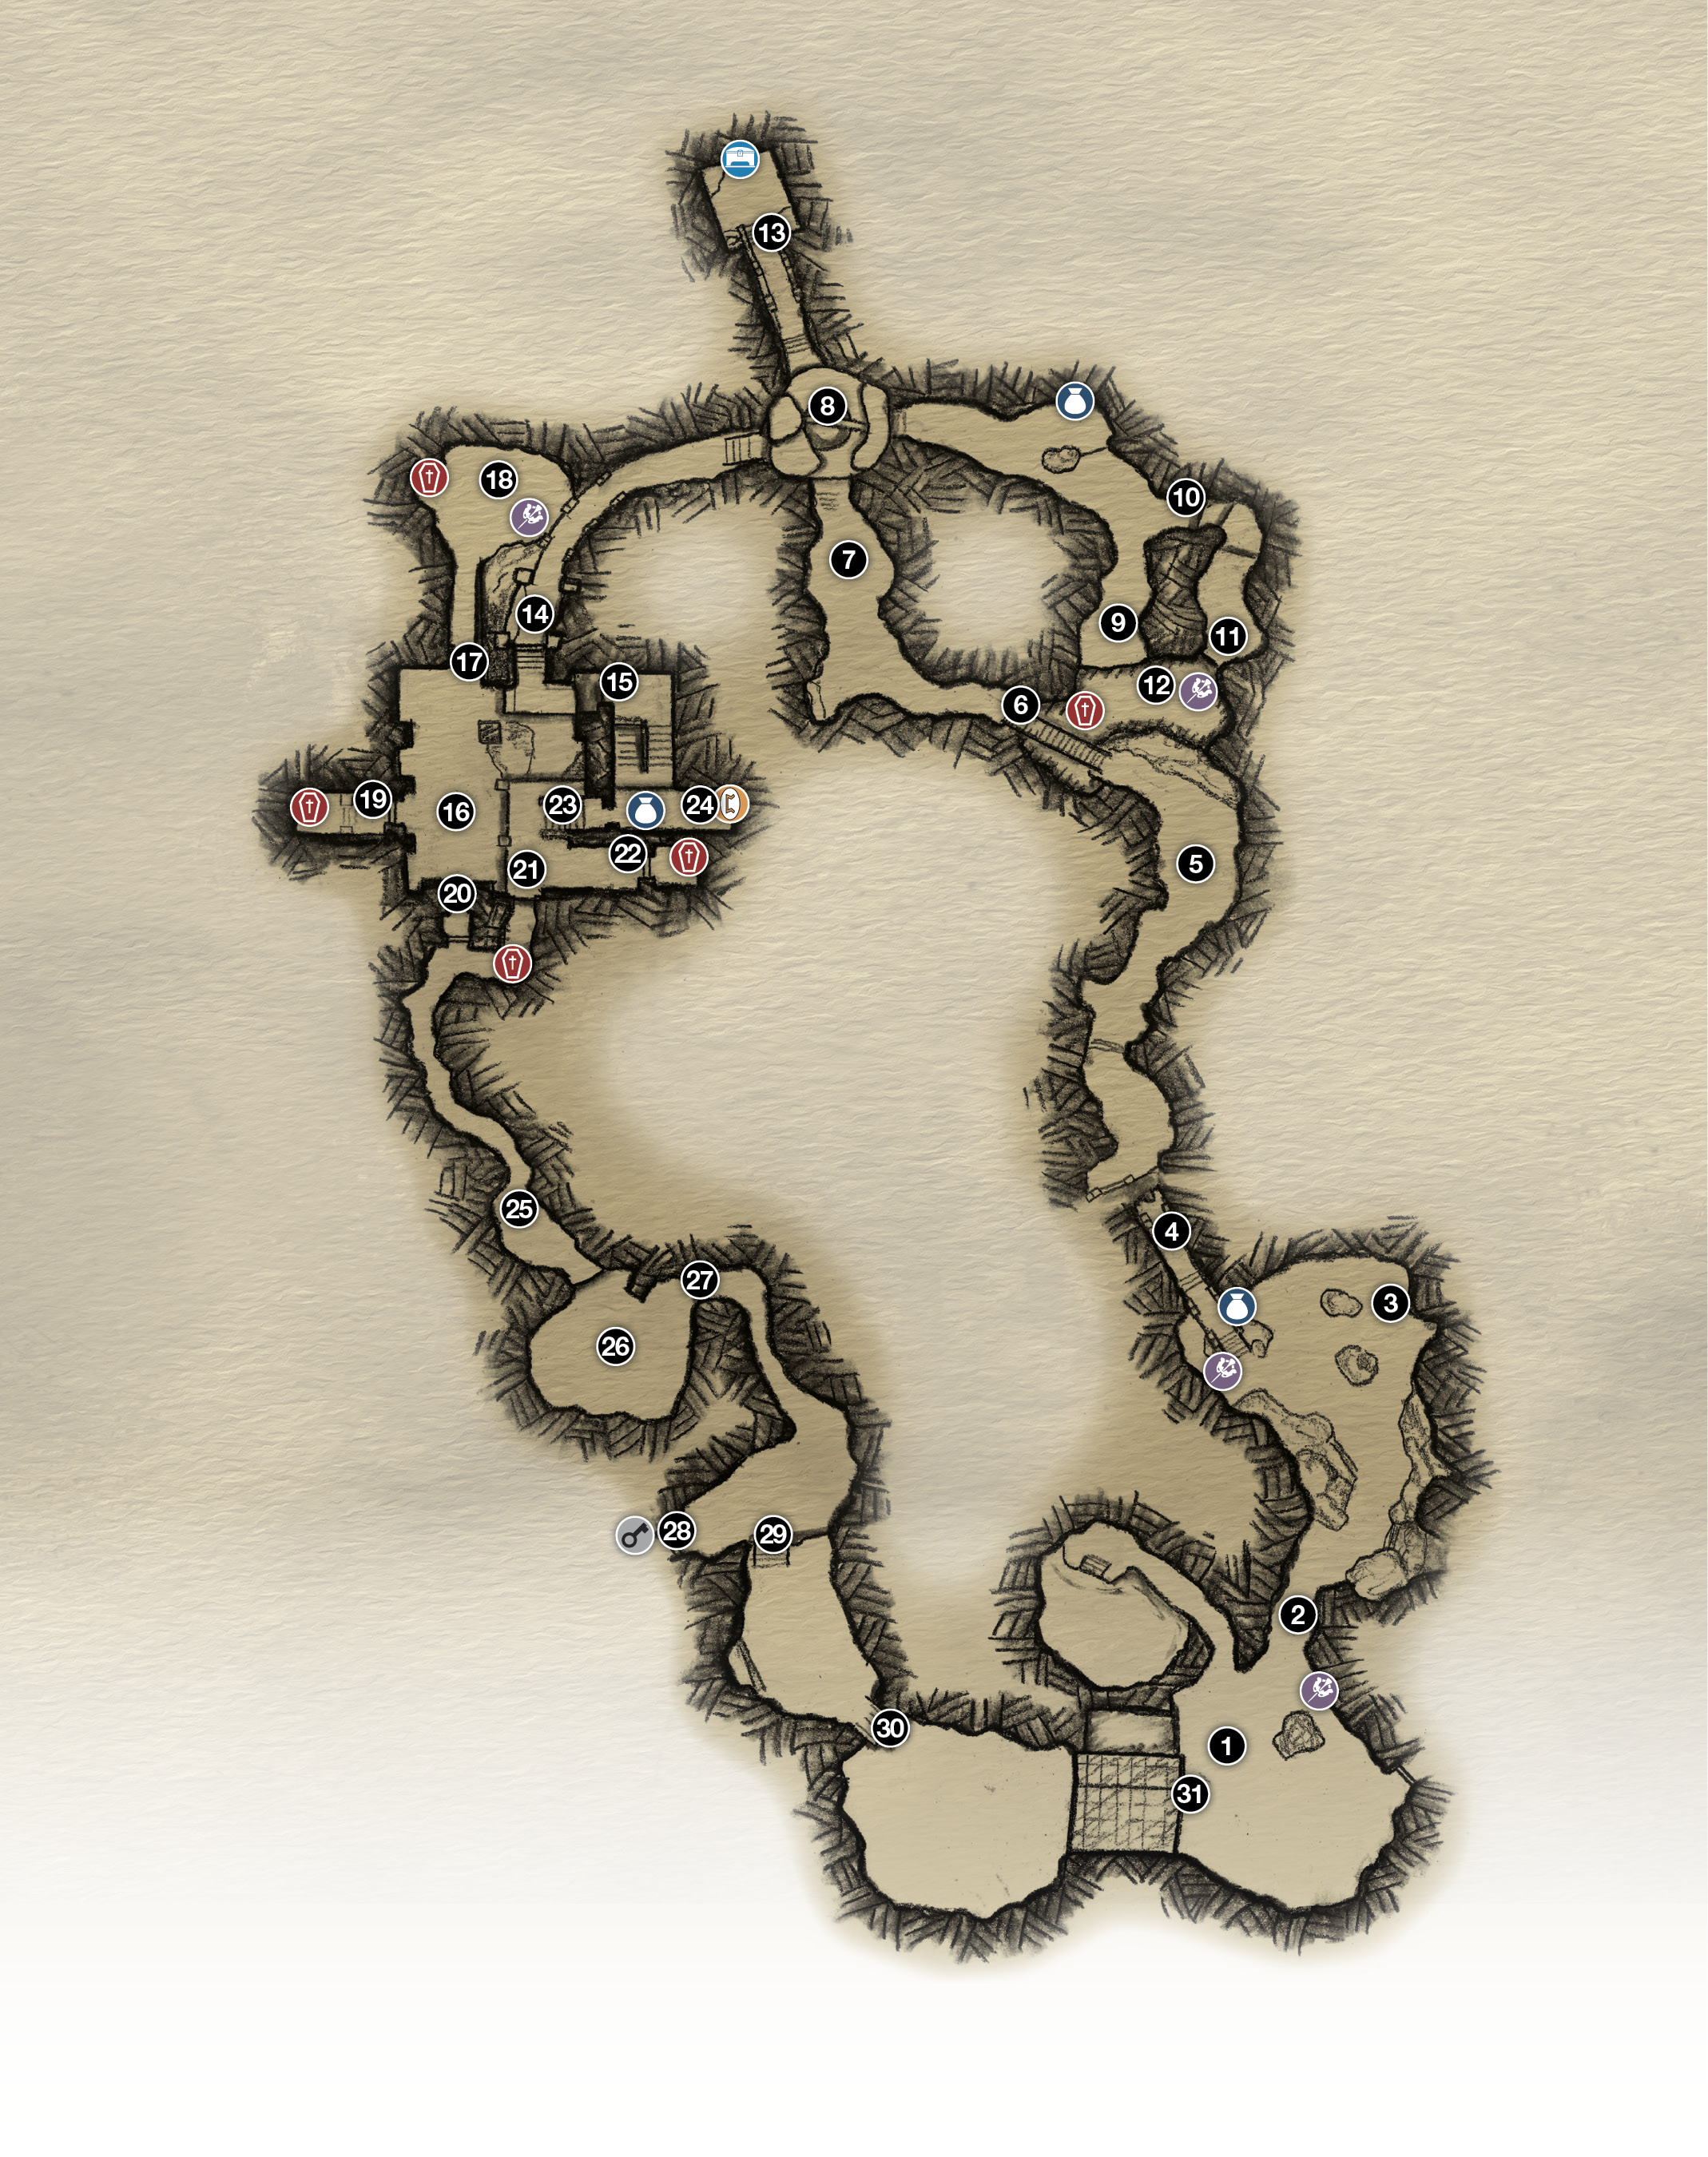
Wildwoods
- Start at pyre
- Exit gate
- Tracks
- Bridge gap
- Deer appears
- Bridge obstruction
- Draugr ambush!
- Green Healthstone
- Stream’s end
- Climb ledge
- Climb chain
- Wolves!
- Barrier to Nornir Chest
- Temple entrance
- Broken gap
- Temple yard (Draugr!)
- Tall doors
- Frozen pond
- Side chamber
- Yard exit passage
- Climb chain
- Iron gate
- Stairs
- Jötnar Shrine (Sköll & Hati)
- Deer reappears
- Fire Troll battle!
- Climb ledge
- Sealed door
- Climb wall
- Lift platform
- House entry
 Artifact
 Chest
Chest
 Coffin
 Hidden chamber
 Lore
Lore
 Nornir Chest
The story opens in a moment of melancholy: Kratos, once the raging, pitiless Ghost of Sparta, gazes in sadness at the trunk of an ancient tree marked with a yellow handprint. Press Circle to trigger a scene: Kratos wields his great axe. Press R1 several times to slice through the trunk. Kratos then hefts the fallen tree onto his shoulder.
Journey Objectives
- Follow the River Downstream
- Hunt with Atreus
- Defeat the Troll
- Return to the House
- Defeat the Stranger
- Return to the House
New Enemies
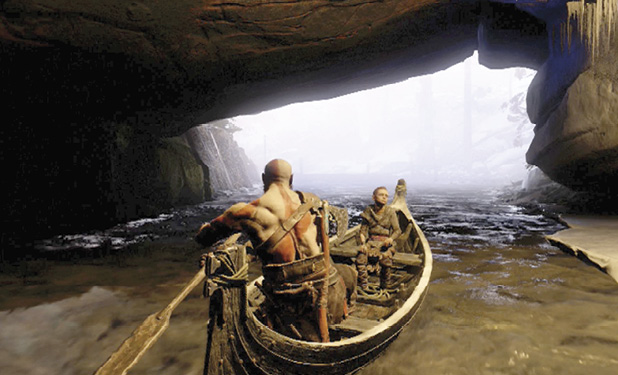
Push the left stick forward to follow the boy, Atreus, to the flag-marked dock. Approach the canoe moored there and press Circle: father and son lash the tree to the boat, then Kratos tosses the great trunk into the river and joins Atreus in the canoe. Here, your first official objective appears on-screen.
OBJECTIVE: Follow the River Downstream
Kratos starts out clad in minimal armor, but he’s armed with his mighty axe, Leviathan. Use the left stick to steer the boat downstream. Listen to the conversation as you travel. Atreus says the forest feels somehow different; Kratos replies, “Everything is different now, boy.” After you pass through the rock tunnel, steer toward the dock marked with a flag, and press Circle to debark.
Kratos automatically pulls the tree from the water and hoists it on his shoulder again. Follow Atreus along the path until you reach the house, triggering another scene: Kratos chops the tree into kindling for a pyre (marked as (1) on our mission map).
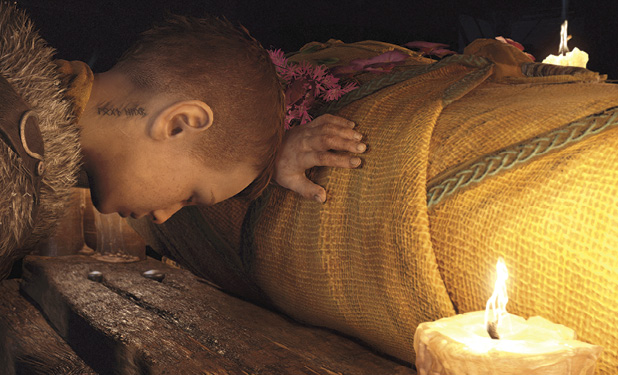
Father and son bid farewell to the great love of their lives. Then Atreus retrieves his bow and a quiver of arrows.
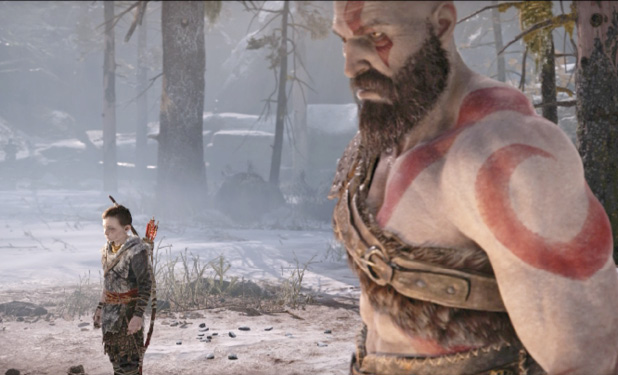
OBJECTIVE: Hunt with Atreus
Find the Artifact
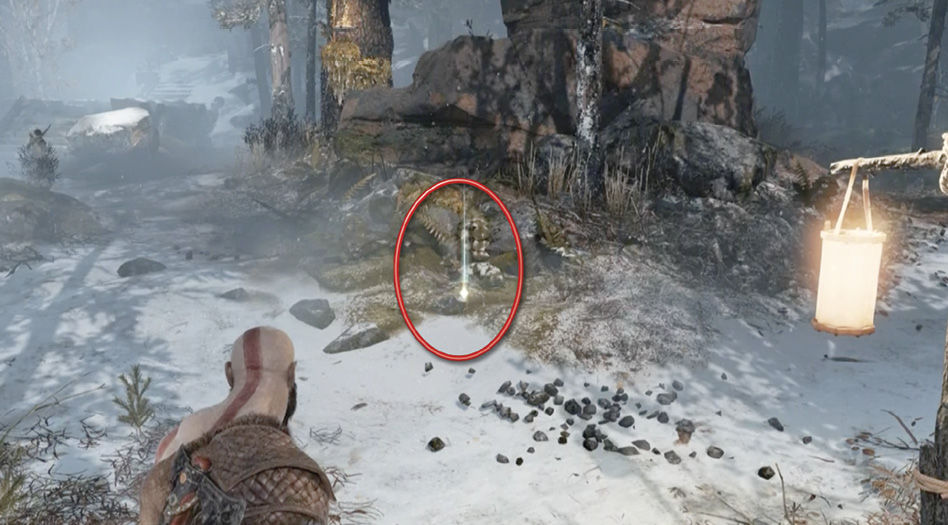
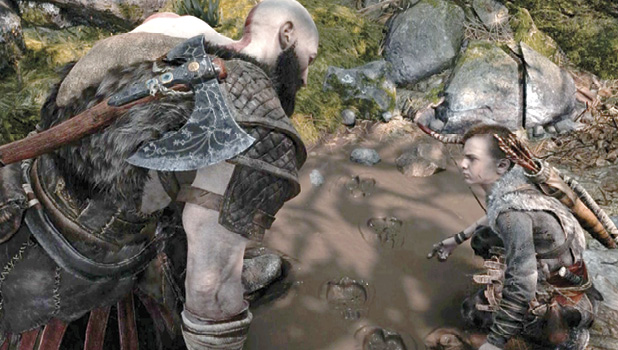
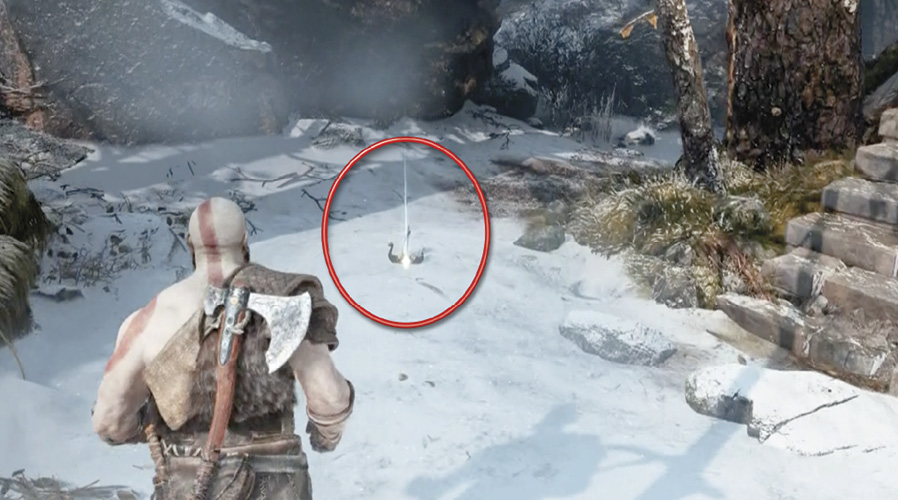
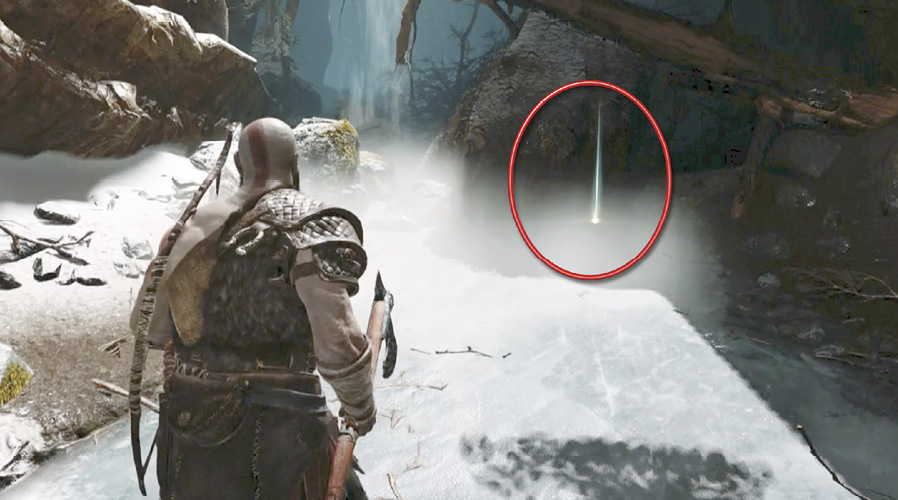
Exit the compound via the gate (2) and follow Atreus up the path as he hunts for deer. Keep an eye out for the bluish glow of pickup items—one item, a sack of Hacksilver (circled in our screenshot), sits where the path splits just past the waterfall. Veer up the rightmost fork and find the tracks on the ground (3). Examine them to trigger a quick scene: Atreus identifies them as “not deer.”
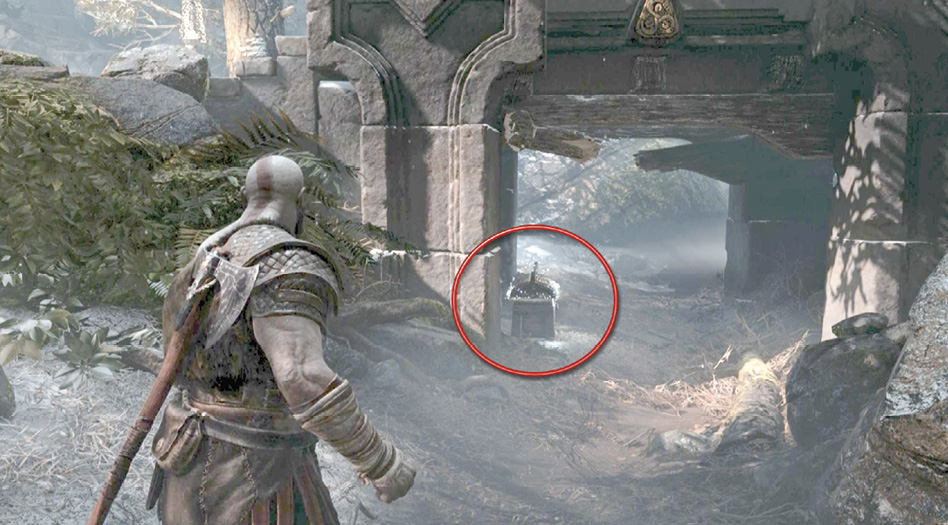
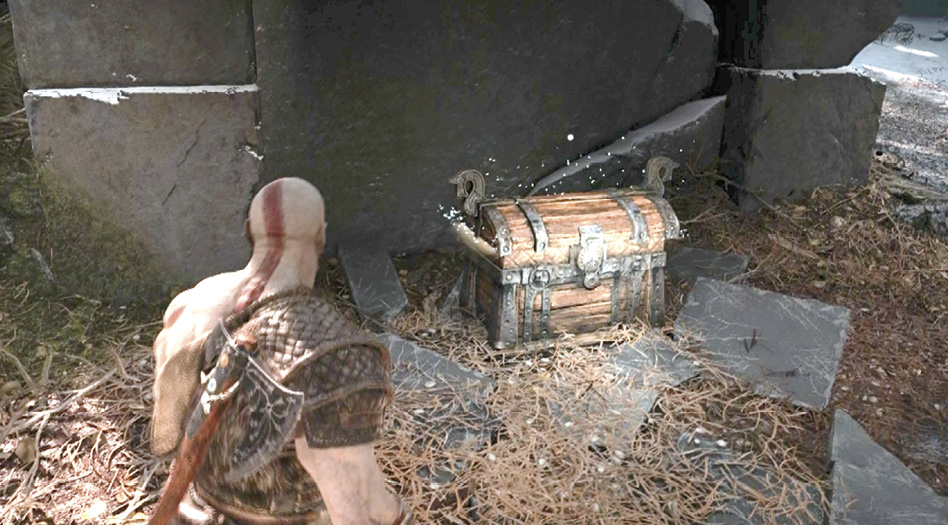
Before you take the other path fork up the staircase onto the bridge, follow the ravine leading under the bridge to find the chest (circled in our shot) stashed there. Press Circle to punch through the lid and loot its contents.
Keep following the ravine to find the glowing Lost Toy (a toy boat) on the ground just past the bridge overhead. This is the first of numerous valuable Artifacts you can collect in the game. Grabbing this one bestows a reward of 10 XP.
Find the Deer
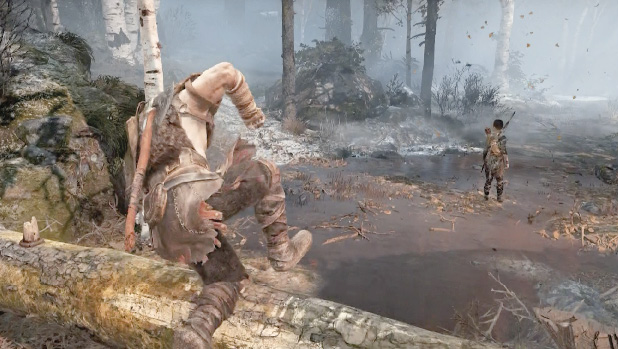
Climb the stone staircase to find more tracks; Atreus suggests they could be wild boar. At the top, follow the on-screen directions to make a running leap across the broken gap (4) in the bridge. Follow Atreus down the path, and use the same technique to vault over the fallen tree trunk. Up ahead, Atreus nearly runs into a magnificent buck (5).
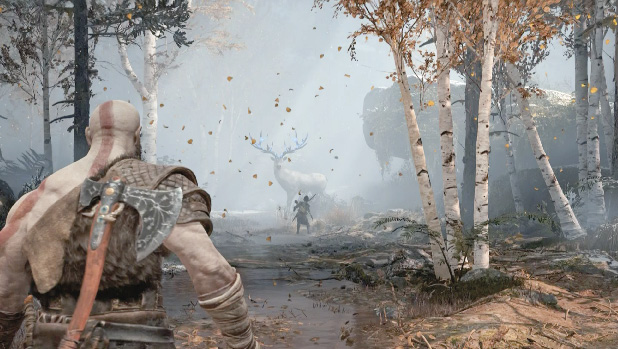
Take up the chase, but don’t miss the sacks filled with Hacksilver stashed along the path, plus another chest under a fallen tree to the right. (Don’t worry—the deer won’t escape if you take time to explore.) When you reach the suspension bridge, Atreus points out that the fleeing deer “broke the bridge”; a fallen chunk of the bridgehead obstructs passage over on the far side (6).
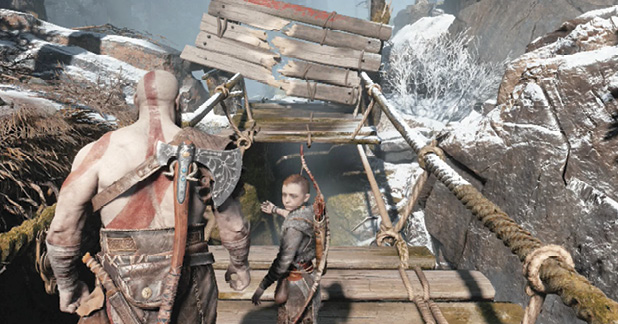
Clear the Bridge Obstruction
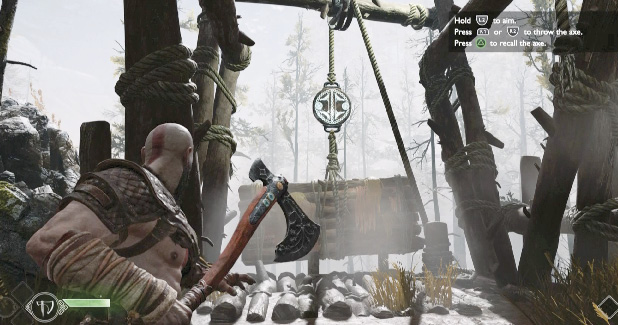
Use your Leviathan Axe to clear the obstruction. Here’s how:
- Press the right D-pad button to wield the Leviathan Axe (if you’re not already holding it).
- Hold in L2 to activate a white on-screen targeting reticule.
- Use the right stick to aim—that is, to move the white targeting reticule over the fallen obstruction on the far side of the bridge.
- Press R1 or R2 to fling the axe, which shatters the wooden boards of the obstruction.
- Then press Triangle to recall the axe. It zooms straight back into Kratos’ hand!
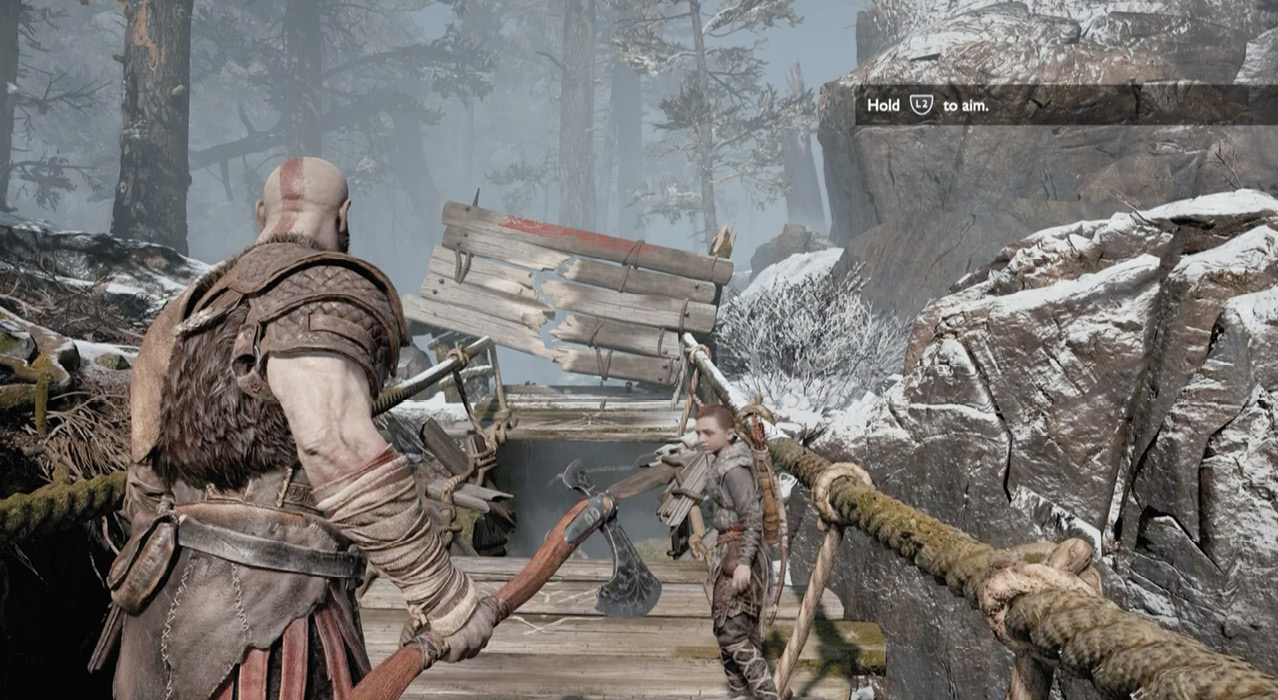
Hop across the broken gap. Ahead, the buck reappears; Atreus fires a hasty arrow and misses his shot. A disappointed Kratos confiscates the boy’s bow and orders him to find the deer again.
Defeat the Draugr Squad
Continue down the path, following Atreus into the clearing (7) ahead. When the Draugr appears, fling your axe through it from a distance. If the creature manages to get into melee (close) range, nail it with a quick string of light attacks to knock the beast off-balance, then kill with a follow-up heavy attack. Your Leviathan slices up Draugr quickly, but Kratos’ bare-handed punches are nearly as deadly.
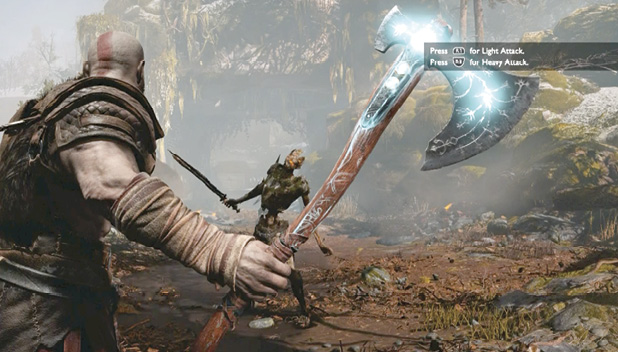
After you terminate the first threat, a second Draugr leaps from atop a boulder down into the clearing. Try to nail him from range with axe tosses. Then two more Draugr pairs rush in to attack, one after another. Hold in L1 to block Draugr blows, then follow up with a heavy attack by pressing R2. Experiment with these three attacks (axe toss/recall, light attack, heavy attack), interspersed with blocks.
Explore the Canyon
Once all Draugr are destroyed, follow Atreus again as he heads toward an ancient ruin featuring great stone towers. Proceed through an archway etched with odd letters, into a stone-paved courtyard (8) with stairs leading in four directions.
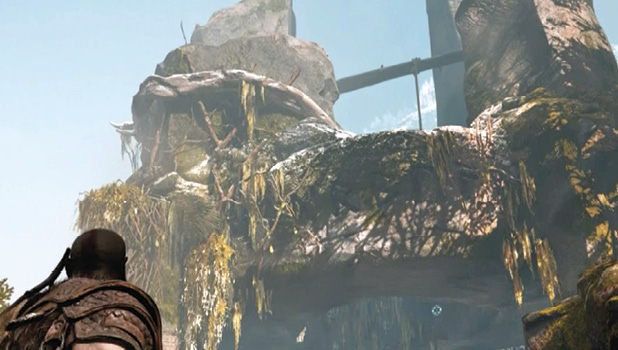
Snag the glowing green Healthstone in the center to replenish your health. Then look up to spot a bucket hanging from the ceiling. This is an “offering cask” and you’ll find many of these throughout Midgard. Each holds Hacksilver, hung up by Odin’s disciples as an offering to the gods. Target the glowing disk above the bucket and toss Leviathan to knock the cask to the ground. Then go pick up the Hacksilver drop.
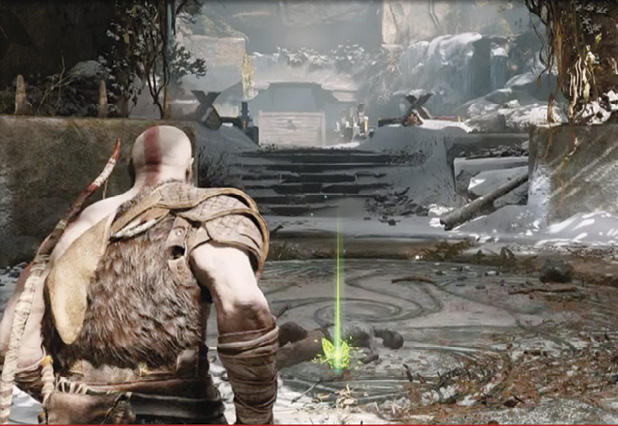
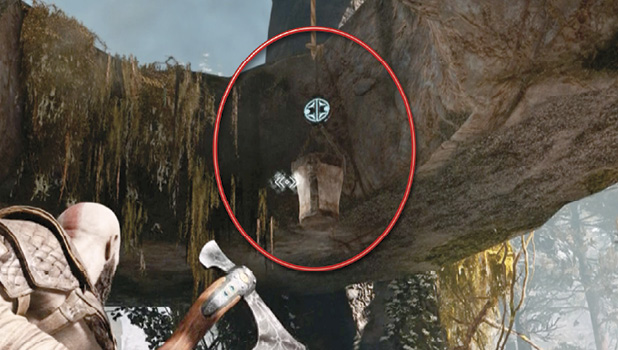
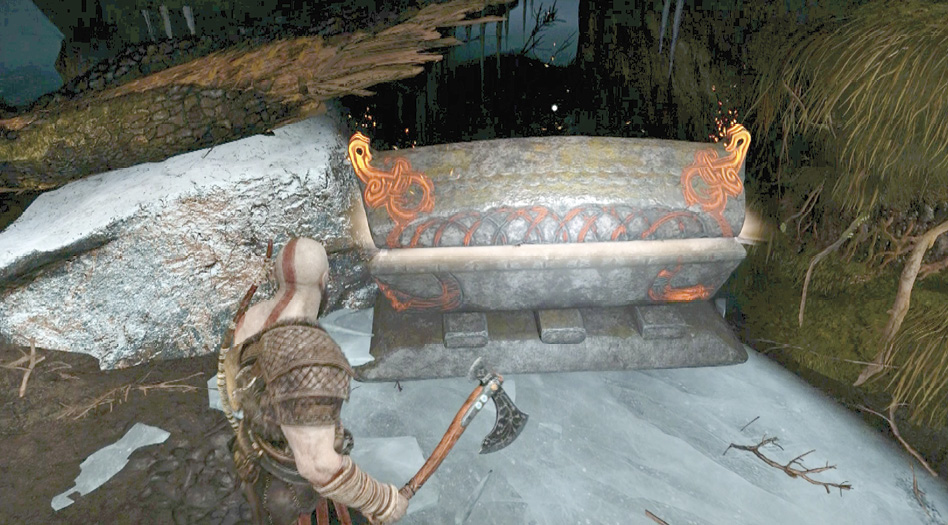
Atreus heads to the leftmost staircase, but let’s fully explore these ruins before moving on. Turn up the rightmost staircase and follow the path downhill toward the waterfall. Don’t miss the chest tucked into a grotto on the ravine’s left side. Follow the stream to the end (9) to find a Hacksilver sack next to another corpse. Then go back directly toward the waterfall and veer right to climb the low ledge (circled in our shot) marked with symbols (10).
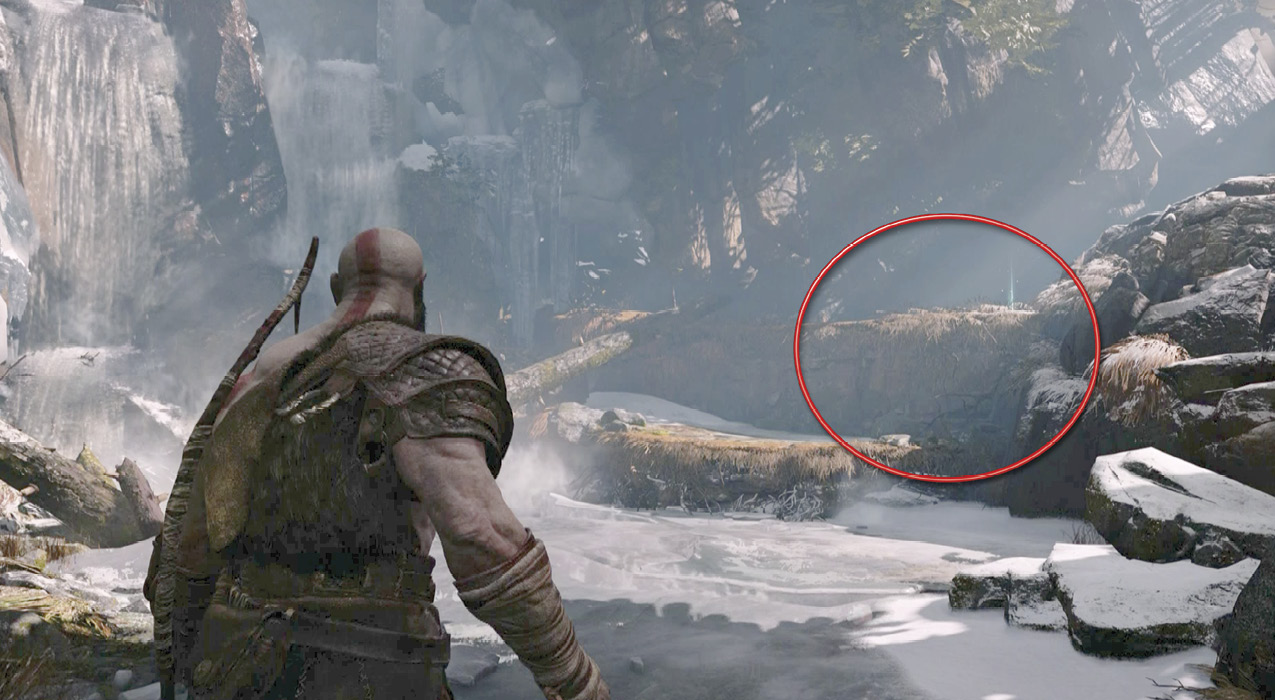
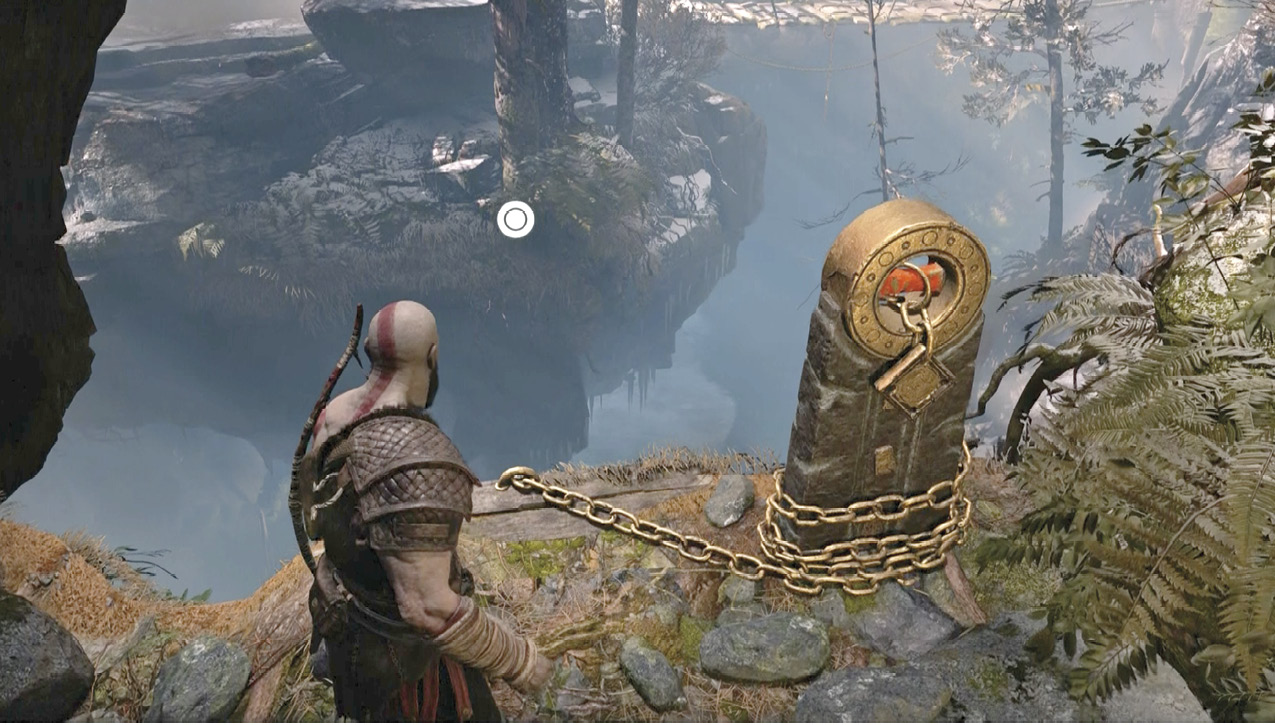
Follow the route to the canyon drop-off where you find a chain wrapped around a podium (11). Press Circle to slide down the chain to the ground below. (Atreus automatically jumps on his father’s back for the ride down.) At the canyon’s bottom (12), two Rabid Wolves guard a coffin.
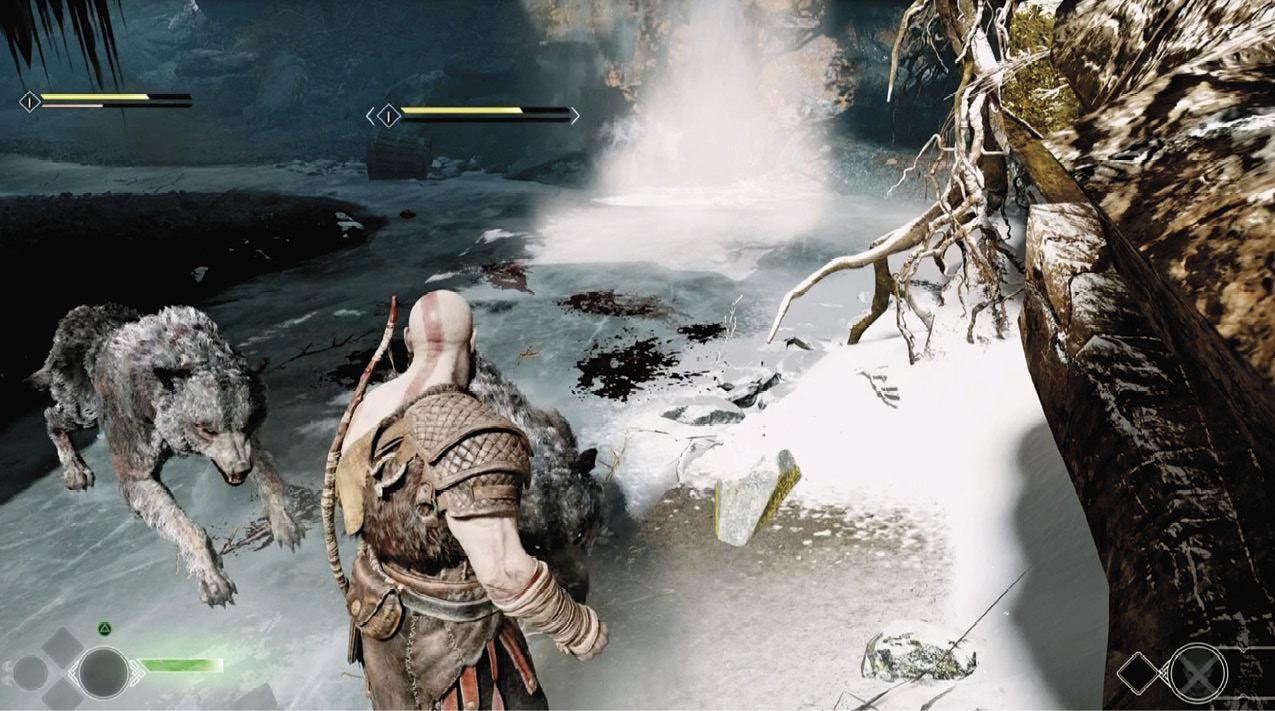
After you kill both animals, open the coffin to find a large stash of Hacksilver. Before you return to the chain hanging down the canyon wall, be sure to find the Lost Toy (a toy horse) on the ground nearby. Then climb the chain out of the canyon and return all the way back to the stone courtyard (8).
Open the Nornir Chest
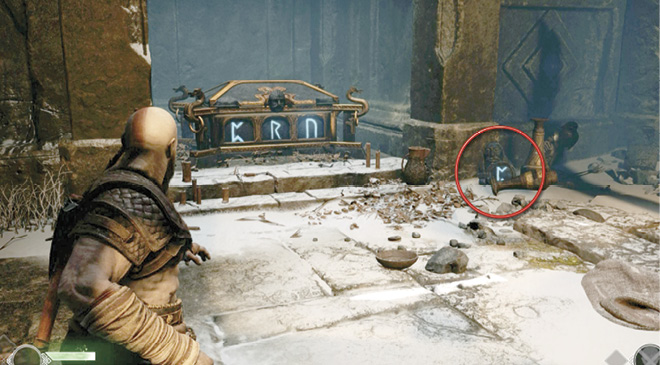
Back in the courtyard, go up the next staircase to your right and toss Leviathan to shatter the wooden barrier ahead (13). Proceed into the cave-like chamber beyond to find a Nornir Chest—that is, a chest sealed shut by three glowing blue runes.
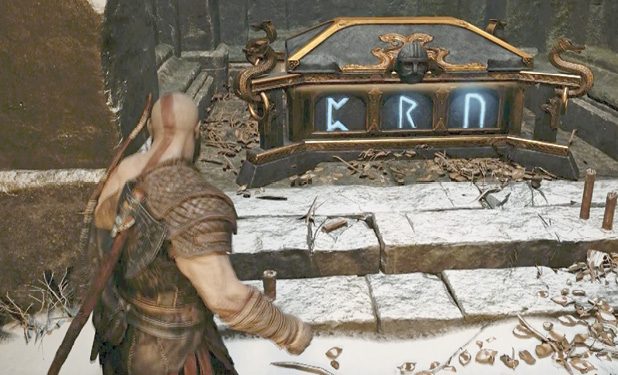
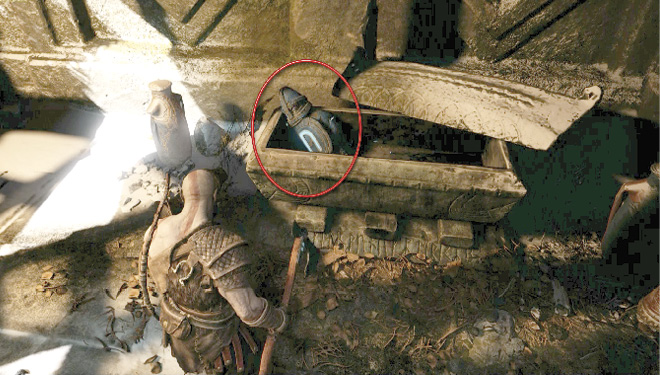
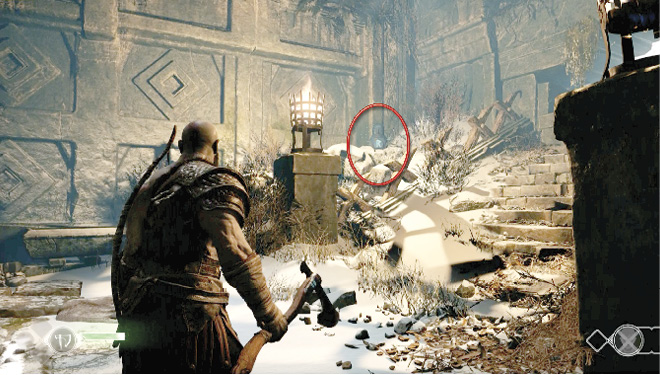
You can’t open a Nornir Chest unless you break all three runic seals. To do this, find the three matching runes etched on stones elsewhere in the area, and toss Leviathan at each one.
- Smashing each runic seal breaks the corresponding seal on the chest:
- One matching runic seal is on the floor, just right of the Nornir Chest.
- Another one is stashed inside an open chest that sits against the side wall to the left of the Nornir Chest.
- The third runic seal sits atop some rubble in the front left corner of the chamber as you face back toward the entrance.
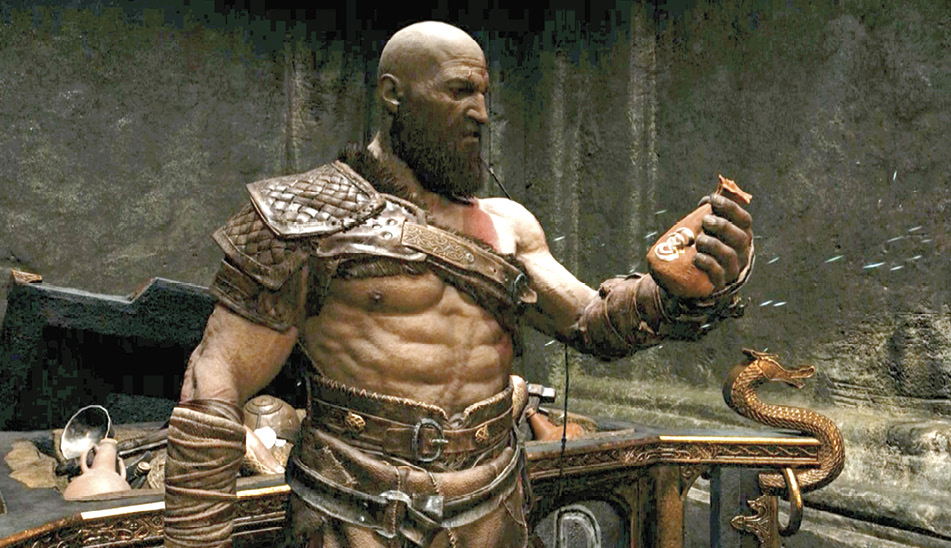
When all three runic seals are broken, open the chest to claim the substantial treasure inside: an Iðunn Apple, one of nine in the game. These apples are found only in magically locked Nornir Chests. Every three Iðunn Apples you collect increases your maximum Health, a valuable boost.
Enter the Temple
Return to the central courtyard (8), turn right, and head up the last staircase. Follow the walkway to see the deer leap up into the ancient temple ahead. Continue to the temple entrance (14) and open the great red doors. This triggers a short scene: father and son spot the deer atop a low ridge up ahead, but it’s out of Atreus’ bow range.
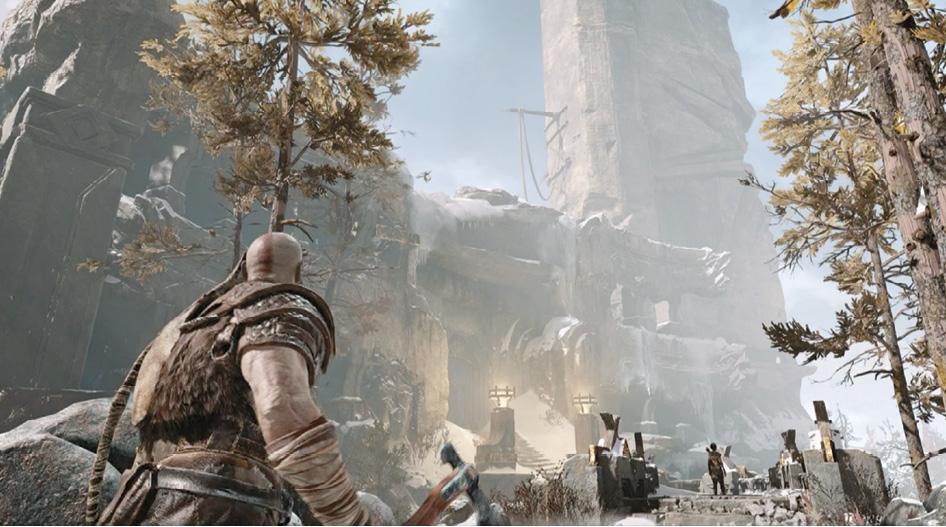
Hop across the walkway gap (15), descend the staircase, and turn left. Follow Atreus into the side hall with glowing embers in the middle. Up ahead, just around the corner, some Draugr loiter in an open yard (16).
Clear the Temple Yard
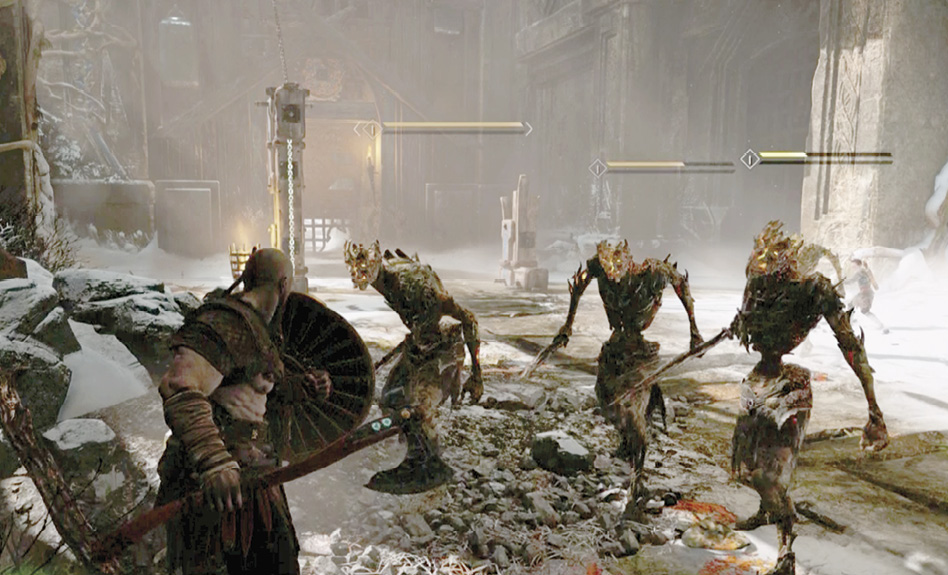
Nail them from afar with a few axe throws, then close in fast and hack them into cinders. Don’t get cornered, and don’t let them flank you—keep moving! More Draugr soon join the fight. Be ready to roll away if they attack from behind, and then eliminate them in the same manner.
Clear the Frozen Pond
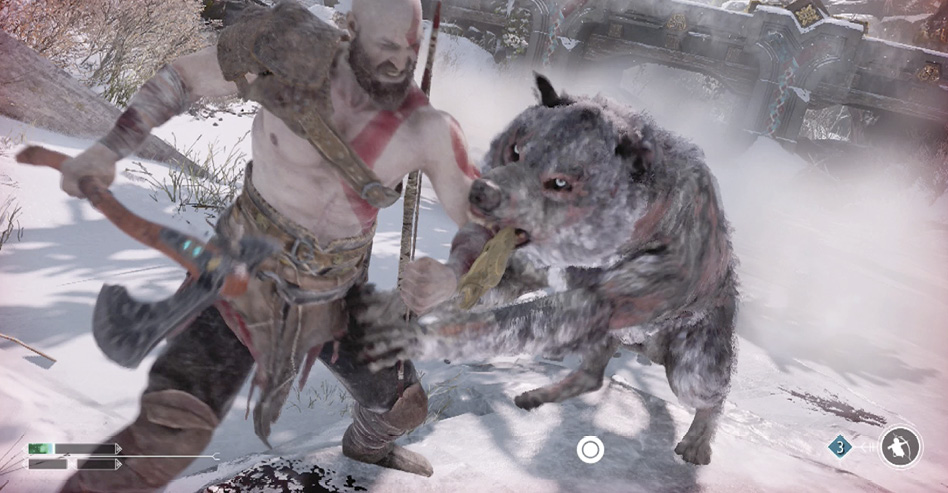
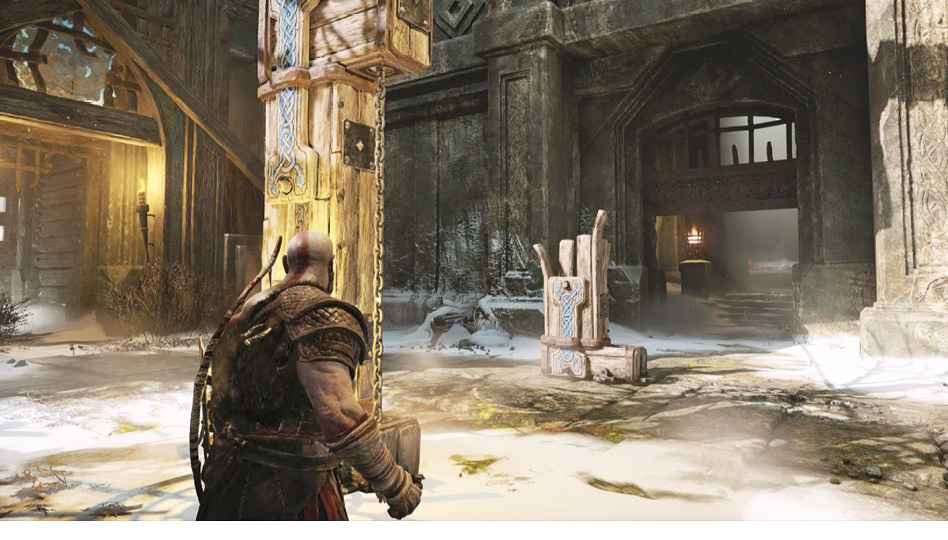
Note the big chain attached to the vertical strut in the yard’s center. This mechanism opens two nearby gates (19, 20) leading west and south out of the yard. But before you use it, first open the tall doors (17) that exit to the north. Head down the exit tunnel to see a frozen pond (18) with another coffin at the left and a nasty Rabid Wolf pack lurking to the right, soon joined by more Draugr. If a Wolf manages to clamp its jaws on Kratos, just start tapping Circle to break free.
Remember that you can trip Draugr easily by targeting their legs with a quick axe toss. Once a tripped Draugr is on the ground, rush in and launch it upward with a heavy attack, then follow up with rapid light attacks to “juggle” the foe in the air until dead. Or you can keep your distance and use the Leviathan toss-and-retrieve method to hit them repeatedly.
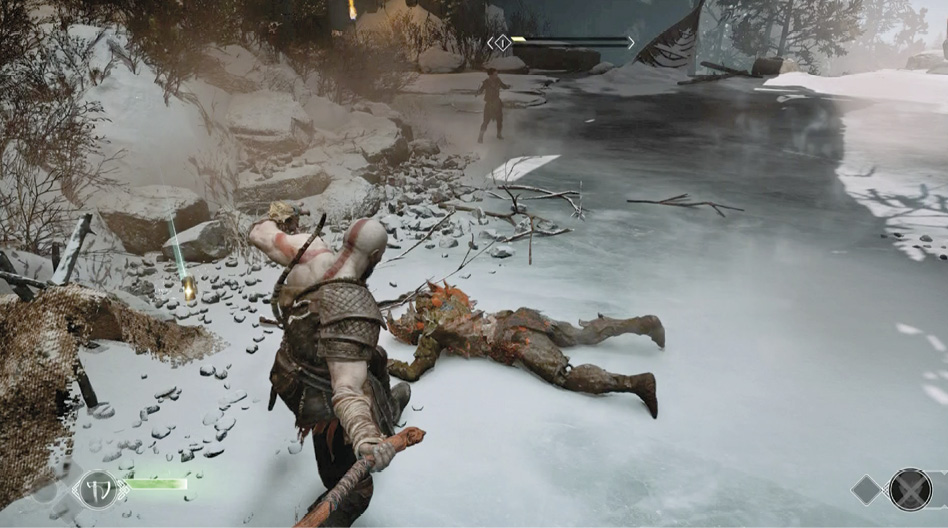
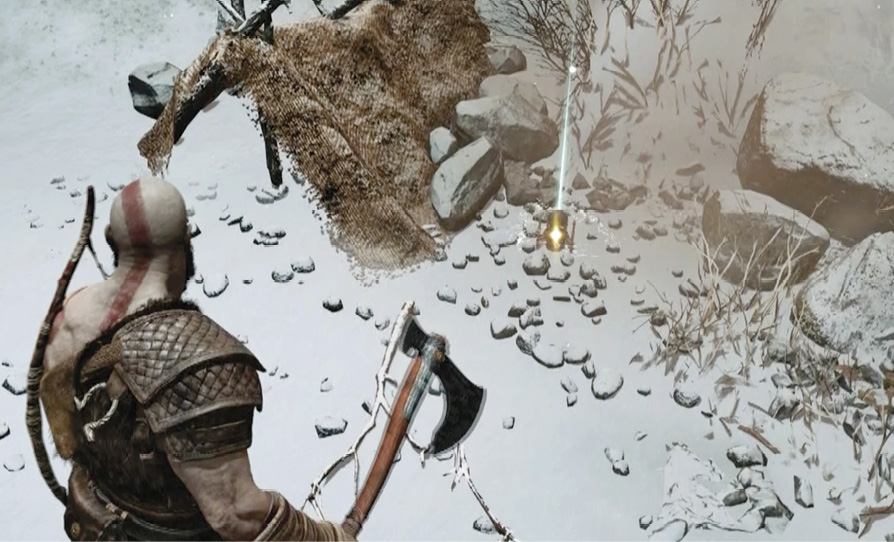
Once the fight is over, collect all pickups from the area (including another Lost Toy Artifact), then open the coffin to loot it for a substantial reward. Now you can go back through the tall doors and return to the yard (16).
Open the Temple Exit Gates
Approach the big chain attached to the vertical strut and pull it. This turns a gearwheel (circled in our shot) above the exit passage across the yard (20), which raises the exit passage’s inner gate and lowers its outer gate. It also raises a gate leading to a side chamber (19).
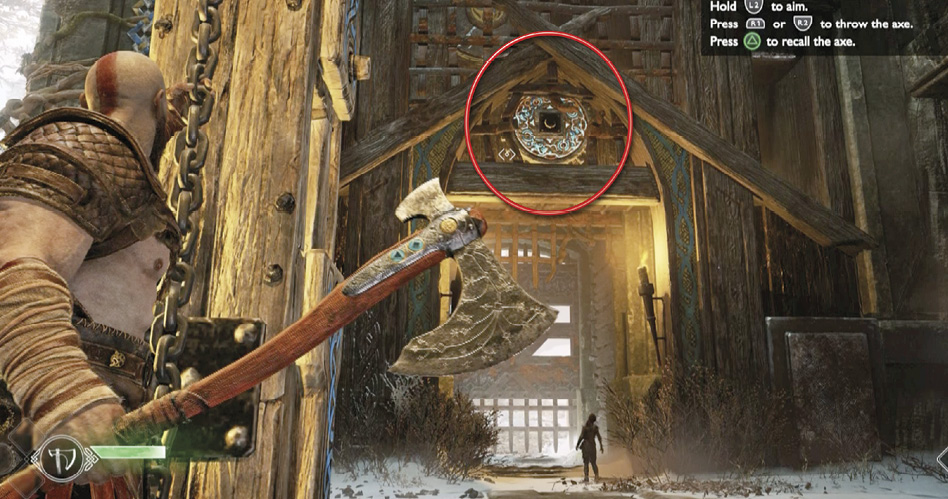
If you let go of the chain and try to run toward either of the newly opened gates, both crash back to the ground before you can reach them. Instead, while the gates are up, use L2 to target the gearwheel above the exit passage, and then toss Leviathan. The axe strike freezes the gear, keeping both gates raised. Don’t recall the axe yet! First, turn right, enter the side chamber (19), and open the coffin for some Hacksilver.
Return to the temple yard and step into the exit passage (20). Once you step past the raised inner gate, recall Leviathan. This unfreezes the gearwheel so the inner gate crashes down behind you. But now the outer gate rises, letting you exit the temple yard at last!
Unblock the Iron Gate
Outside, veer a bit left to raid another coffin full of loot tucked under a ledge. Turn left again and spot the chain hanging down a wall (21). Climb the chain up the wall.
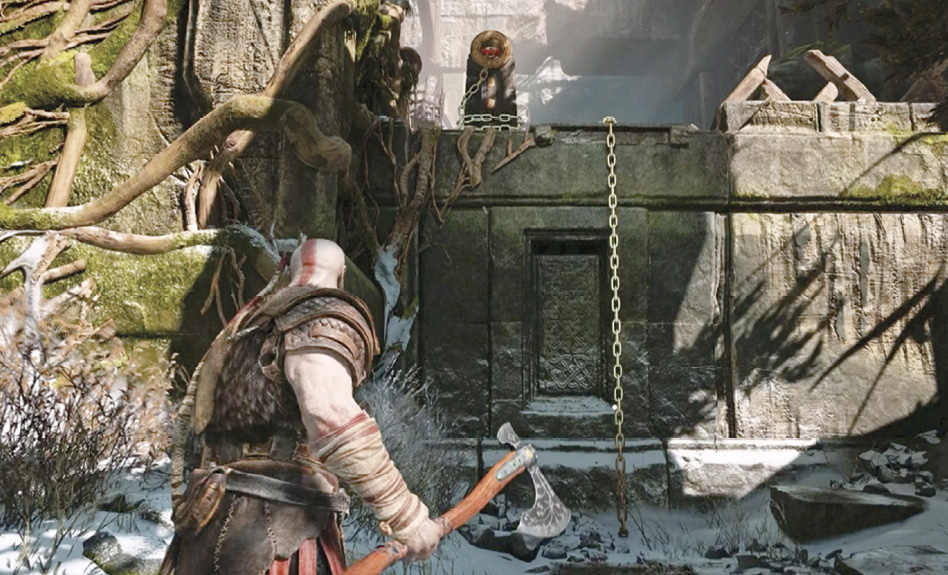
At the top, turn right to see an iron gate blocked by debris (22). Note that if you toss Leviathan at the red firepot on the right, it explodes and destroys a pile of debris next to it.
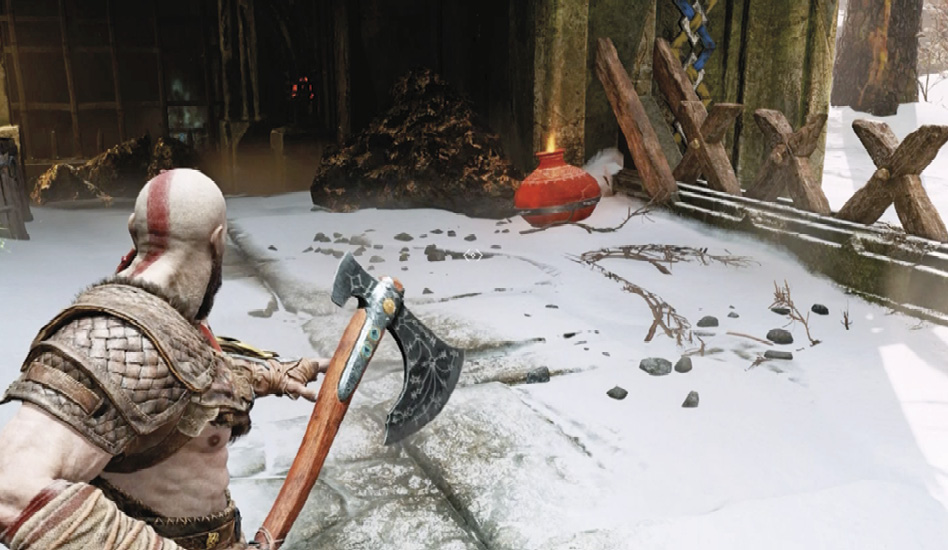
Another red firepot hangs on the other side of the closed gate. If you can detonate that lantern, it will clear the debris blocking the gate. Unfortunately, the firepot is behind the iron gate, which blocks your axe toss.
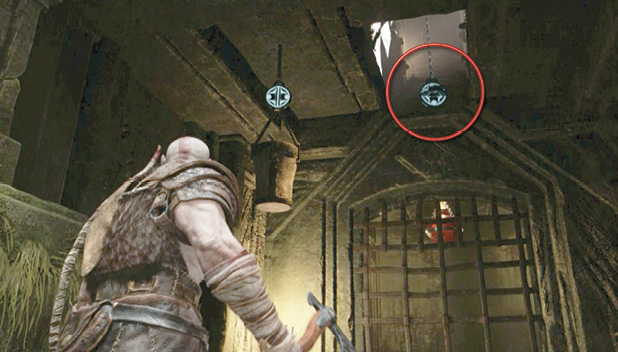
Step toward the gate and look up through an opening in the ceiling to spot a blue glowing disc (circled); the firepot lantern is hanging from that disc. Throw Leviathan at the blue disc to shatter it, causing the lantern to drop and explode. (You can hit a hanging Hacksilver bucket here too.) This clears out the debris. Open the gate and go loot the chest inside for a nice Hacksilver haul.
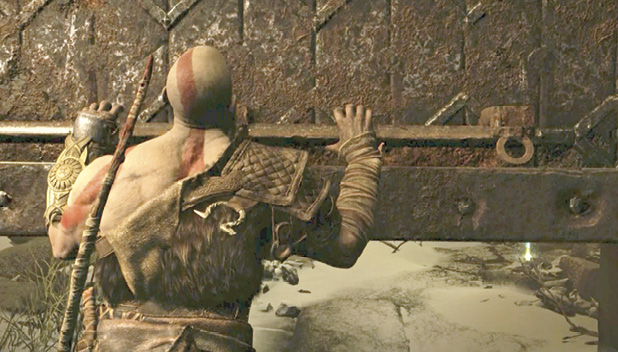
Find the Jötnar Shrine
Ascend the stairs (23) to find a chest nestled against the right-side wall. You also see a crude wooden barrier (24) directly ahead. Open the chest to snag the reward inside. Then toss Leviathan to smash the wooden barrier.
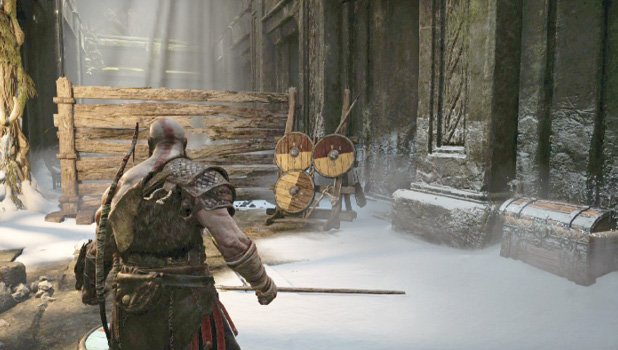
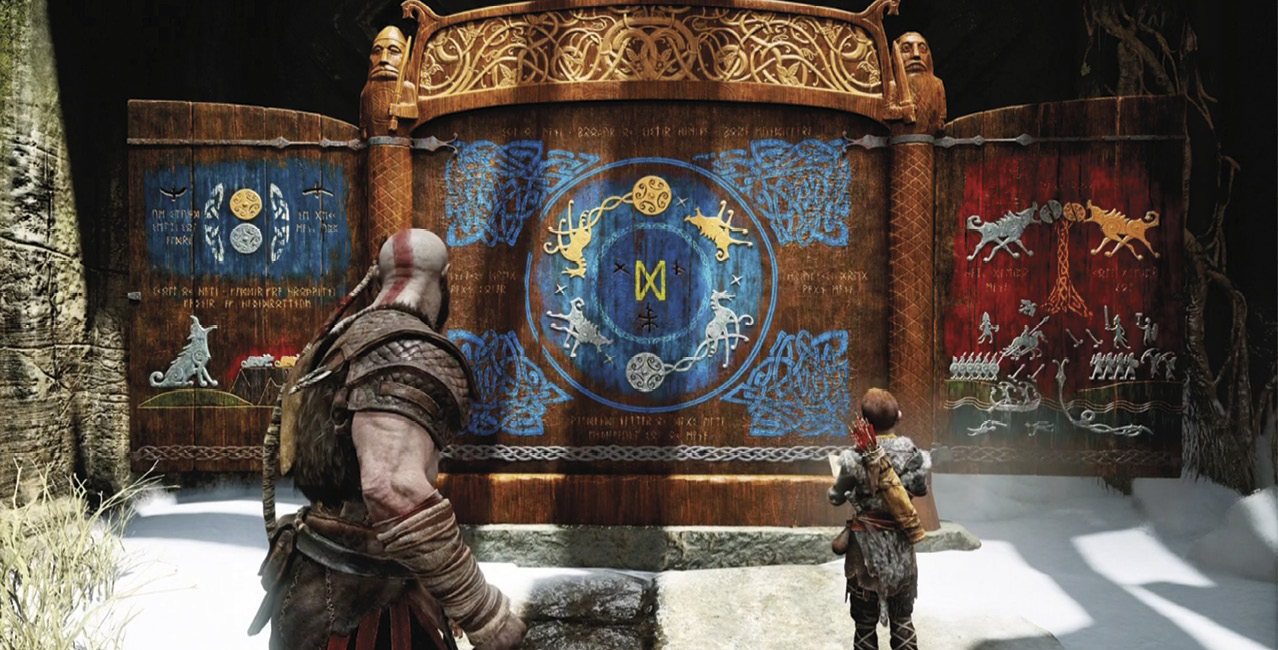
This reveals an ornate cabinet sitting at the end of a short corridor. Open the cabinet to reveal a Jötnar Shrine, a set of ornamental carvings on three wooden panels hinged together side by side. This is your first Lore collectible. Each one tells a pictorial tale that provides mythic background for the story.
Atreus recognizes the images as Sköll and Hati, the two giant wolves said to have chased the sun and moon. Listen as he tries to puzzle out what the images mean. Note that this adds a new Jötnar Shrine entry under the Lore category in your Codex (accessed via the Pause Menu).
Find and Shoot the Deer
Return to the wall where you climbed up the chain (21), and use it to climb back down. Follow Atreus up the trail past the red banner flapping between boulders (25) to trigger a scene: Atreus spots the great stag up ahead, so Kratos hands back the boy’s hunting bow.
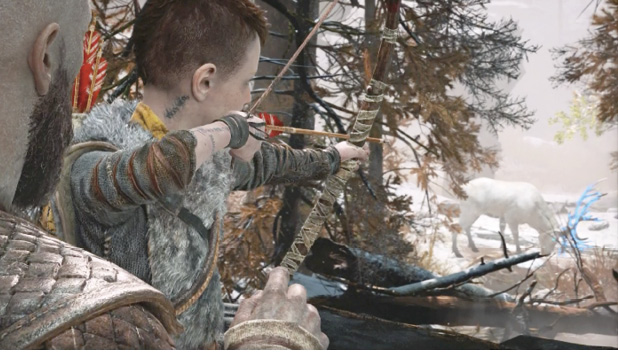
Hold in L2 to “aim”—a white targeting reticle appears on-screen. Use the right stick to move the reticle over the deer. Note how the reticle’s center turns red as you guide it closer to the stag’s heart. When the reticle turns completely red, press Square to fire the arrow into the deer.
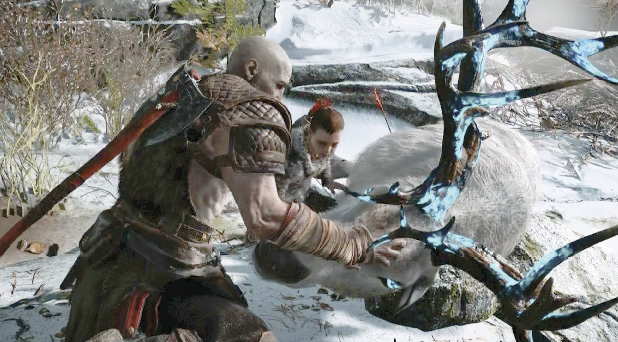
Follow Atreus down to the fallen but still-breathing deer to trigger another scene: Kratos guides Atreus to finish the job, but the father-son moment is shattered by the sudden attack of a massive Fire Troll named Dauði Kaupmaðr. As the brute seizes the stag, both father and son end up down in an open arena below (26).
OBJECTIVE: Return to the House
Stun the Draugr
Head to the glyph-marked wall (27) to boost Atreus up, then follow him and snag the nearby green Healthstone if you need a health boost. Proceed through the narrow passage and take out the Draugr standing guard in the next clearing.
Kratos’ bare-handed attacks in quick succession and Atreus’ arrow strikes can rapidly fill up an enemy’s stun bar, located directly underneath its health bar. Once the stun bar is full, the “stunned” foe is unable to fight for a few seconds. Now you can rush in close and press R3 to execute a brutal stun grab attack. With most Draugr, the result in an instant kill—Kratos literally tears them apart.
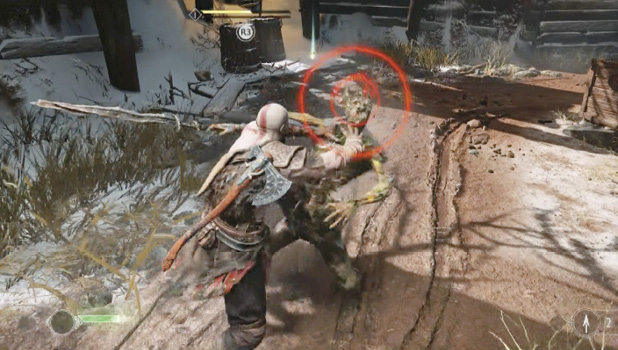
After the fight, find any pickups, then check out the entrance on the cliff face (28) across the clearing. Kratos can’t open it yet—a glowing metal lock plate seals the doors shut for now.
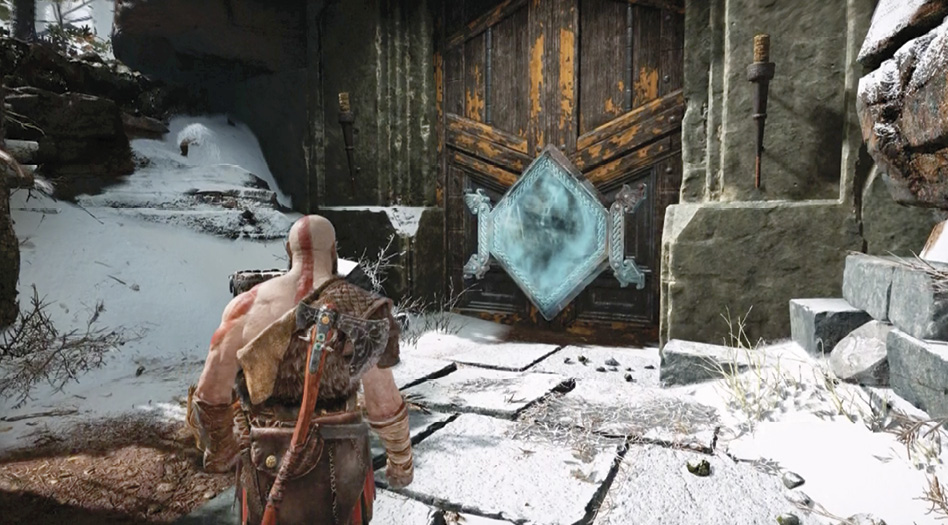
Climb the wall marked with yellow glyphs (29) to find another large Draugr squad posted in a walled area filled with burning debris. Again, bare-handed attacks combined with arrows from Atreus quickly stun Draugr so Kratos can tear them apart with his stun grab.
Defeat the Hel-Walker
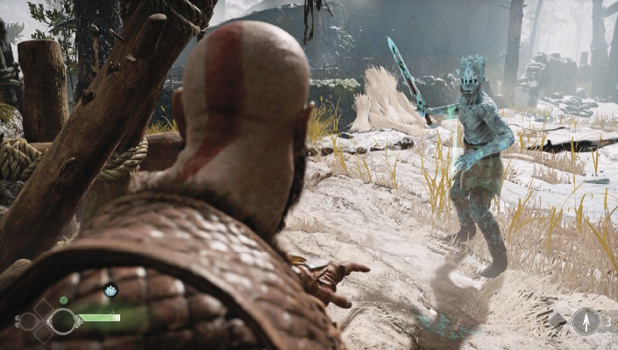
Soon a new foe, a bluish breed of Hel-Walker called a Hel-Reaver Lord, rises from a pile of rocks near the lift platform (30). This creature is encased in ice armor that makes it resistant to your Leviathan’s attacks! Put the axe away and switch to bare-handed mode to take it down.
Find the Final Lost Toy
Approach the lift platform (30) to see a load of lumber lashed to the lift rope, blocking the way. Toss Leviathan at the glowing disc on the rope to smash it and detach the load, which crashes to the ground. Now you can jump down to the backyard below.
Approach the house and proceed under the awning on its right side to reach the front yard. Keep to the right edge of the yard until you see the glowing Artifact on the ground. Pick it up to complete your Lost Toy collection!
Enter the House
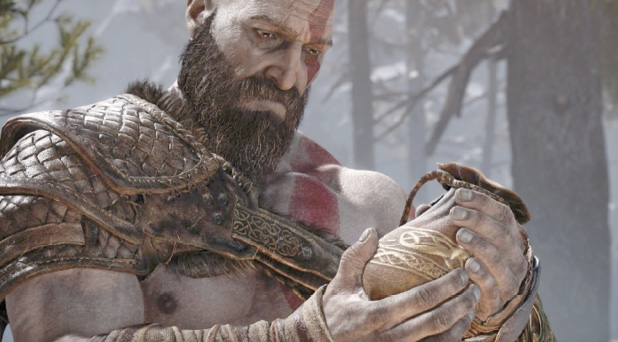
Approach the house and open the front door (31) to trigger a scene: Kratos gathers ashes from the smoking pyre, then enters the house. Approach Atreus and press Circle to trigger another scene: a tense father-son exchange about the value of anger is interrupted by a rude intruder.
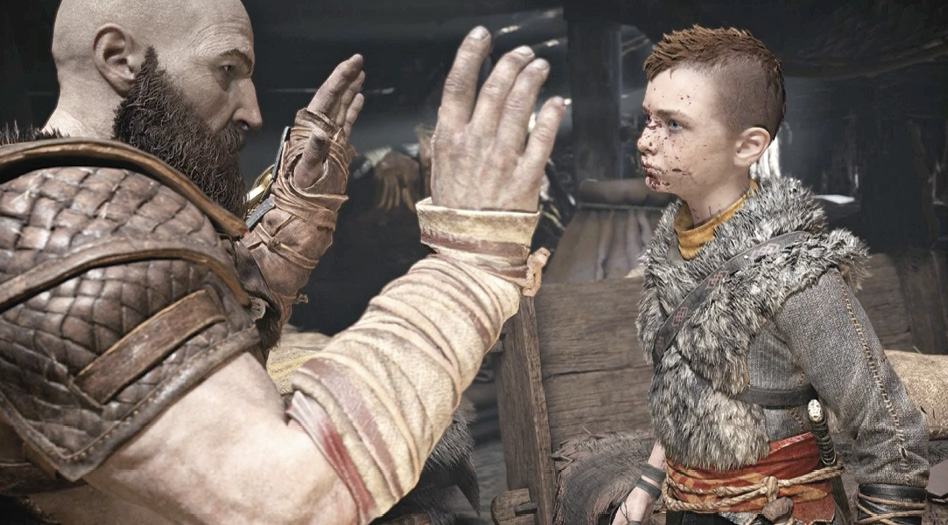
OBJECTIVE: Return to the House
Afterward, stagger back to the house to trigger the chapter-ending scene with Atreus. And here the Journey truly begins.