Chapter 8: Behind the Lock
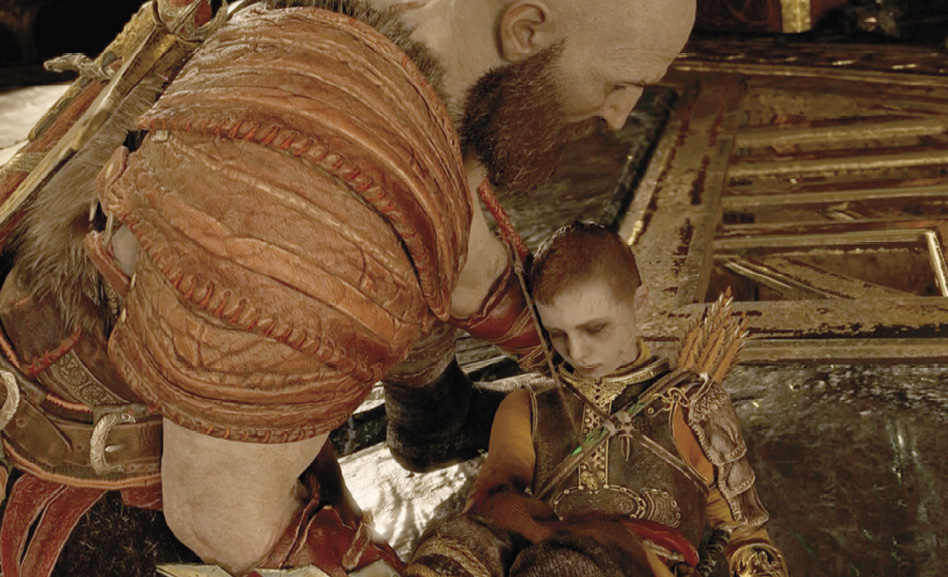
Kratos grows concerned as Atreus shows more signs of the strange illness, triggered by rage, that has afflicted his childhood. But the boy insists that he’s fine, and pushes to continue the Journey. As Mimir explains, the Chisel lets you open all of those magically sealed doors you’ve encountered across the realms. One such door is near the Chisel, and it provides an exit from the arena.
Jarl’s Stronghold
Journey Objectives
- Return to the boat
- Return to the Lake of Nine
- Go to Týr’s Vault
- Explore the vault
New Enemies
- None
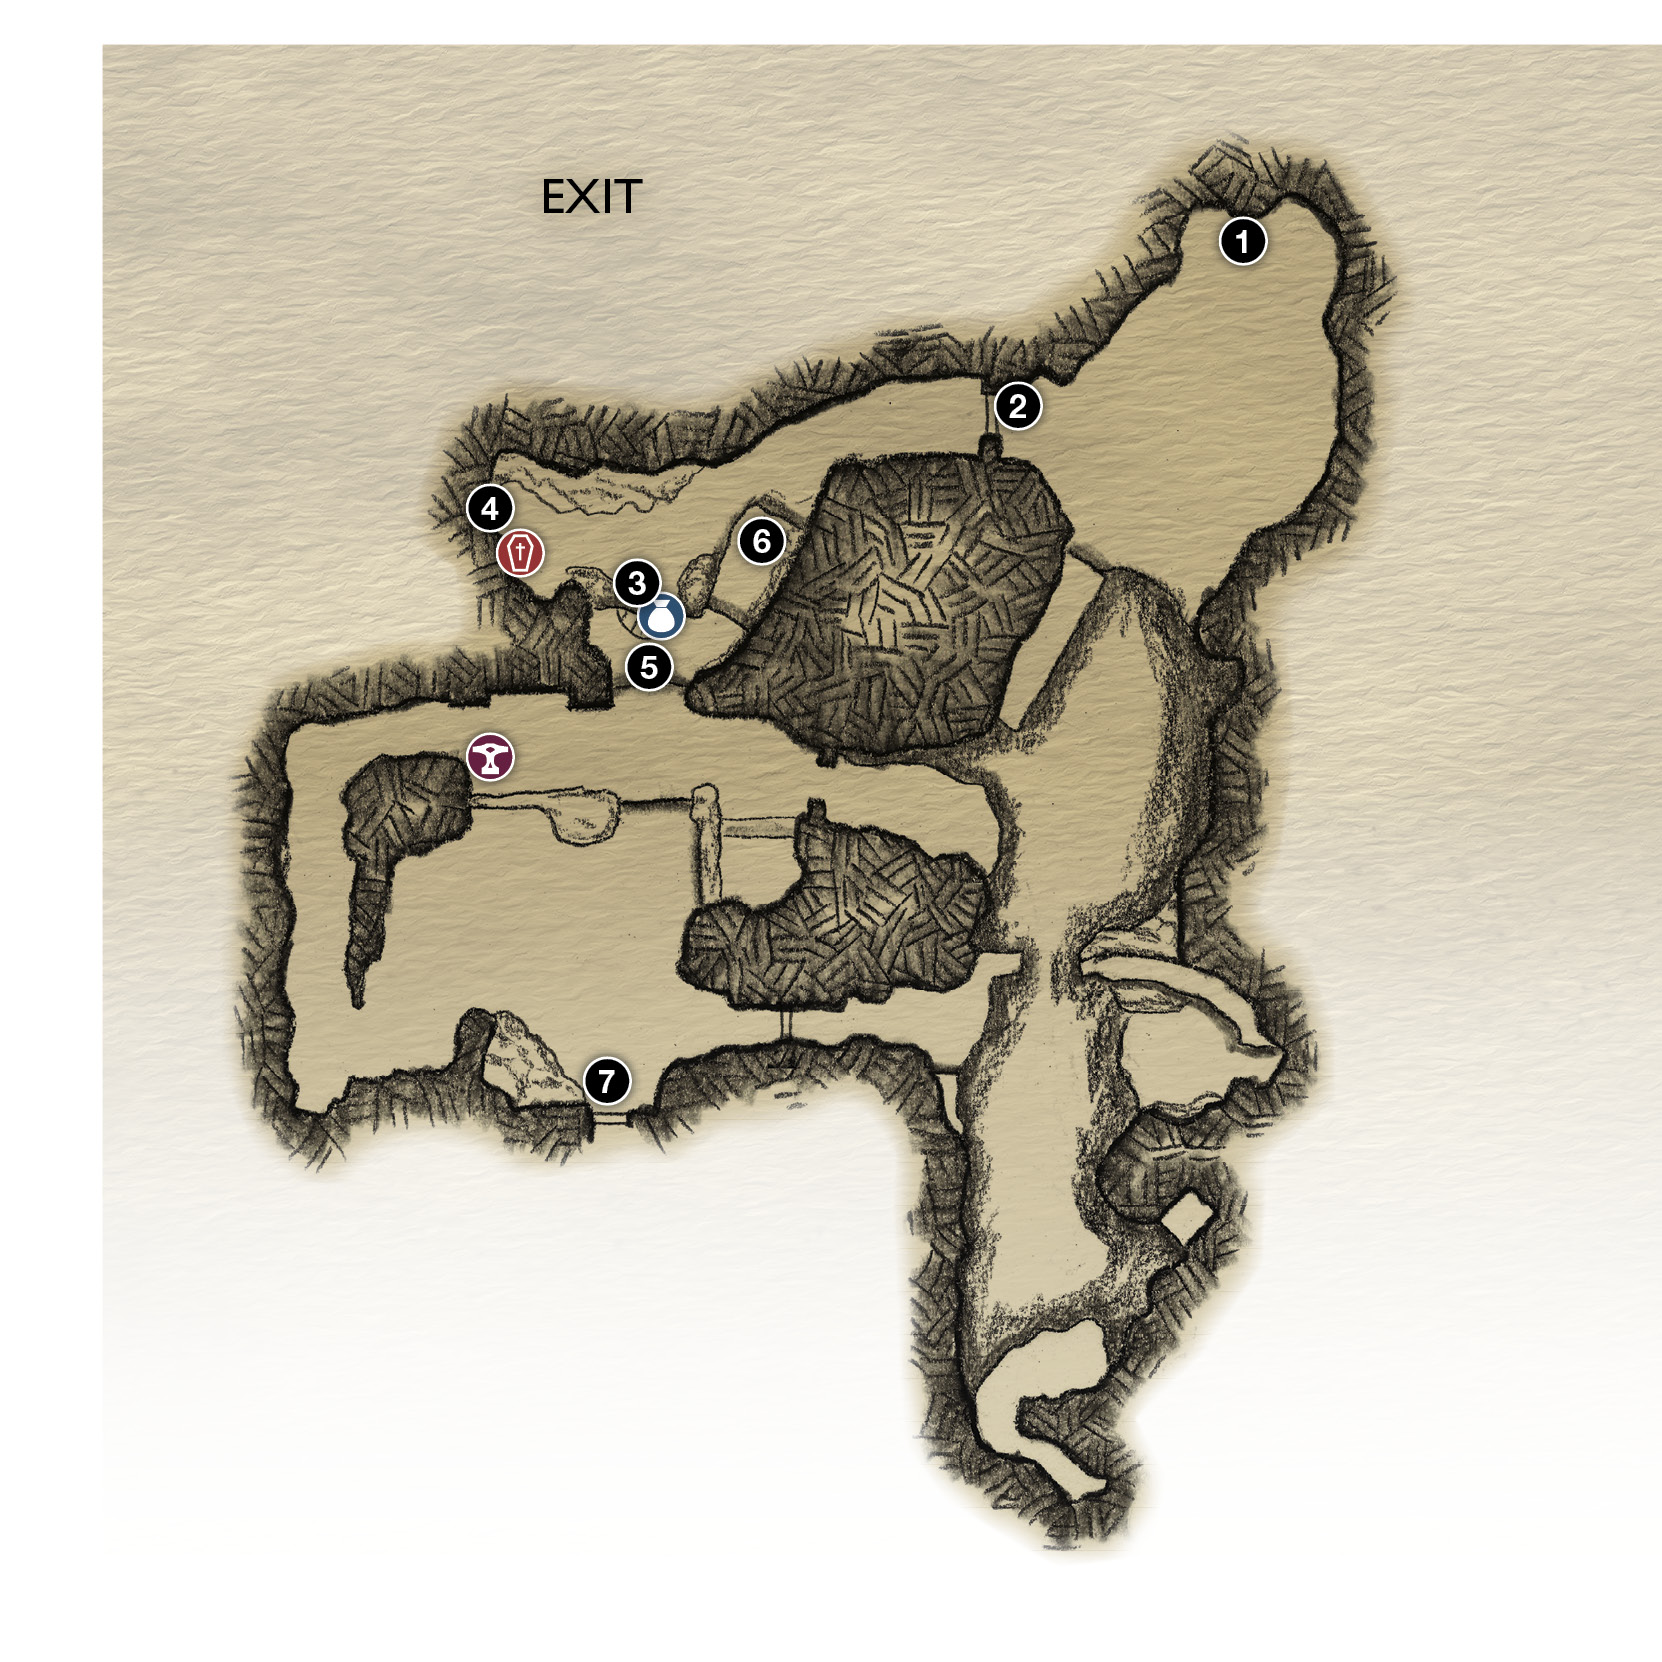
1. Magic Chisel
2. Locked door (use Chisel)
3. Runic Gate
4. Climb tower
5. Main balcony / Climbing chain
6. Lower balcony
7. Locked door (use Chisel)
 Chest
Chest
 Coffin
 Shop
Shop
OBJECTIVE: Return to the Boat
Break the Exit Door’s Magic Seal
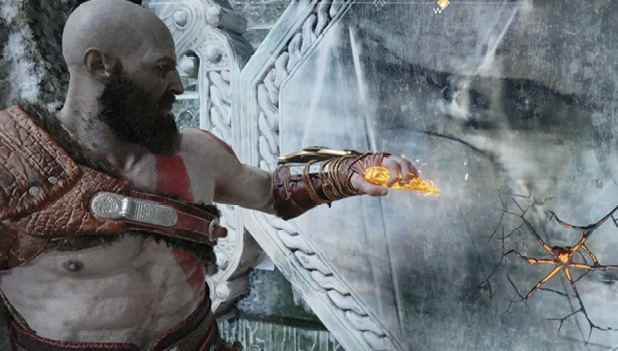
From the Giant’s chisel (1), approach the magically sealed door (2) and press Circle to start a chiseling sequence. Use your left stick to move your Chisel piece around the lock plate. When the Chisel glows, press R2 to strike the plate.
If you hit the right “binding points,” the seal is broken and the lock plate shatters. Now Kratos can pull open the door.
Get Through the Runic Gate
Proceed down the rocky tunnel. It leads through an archway into a short, steep canyon with a heavy iron gate (3) locked by runic seals. You must find and break the three runic seal stones around the area to unlock it. Here’s how to find them:
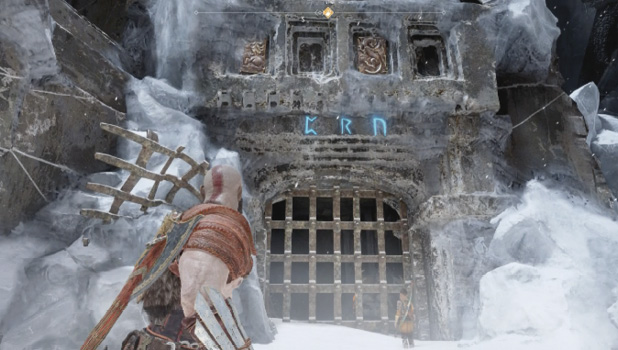
One runic seal stone sits on a high balcony overlooking the canyon. Facing the heavy gate, back up a few steps, turn left, and look up to find it three levels above the archway from which you emerged. It looks pretty far, but you can reach it from here with an axe toss. One down, two to go.
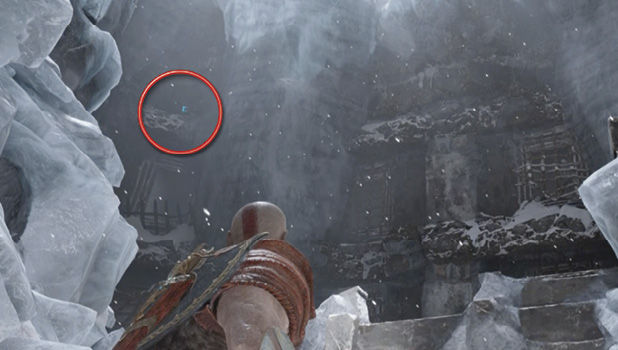
To the right of the gate, look up to spot a Shatter Crystal (circled) glowing in a metal basin on a ledge. Detonate it with a Shock Arrow to shatter the ledge and drop the basin; it falls conveniently behind a coffin covered in red sap. Shoot the crystal again to blast away the sap, and then loot the coffin.
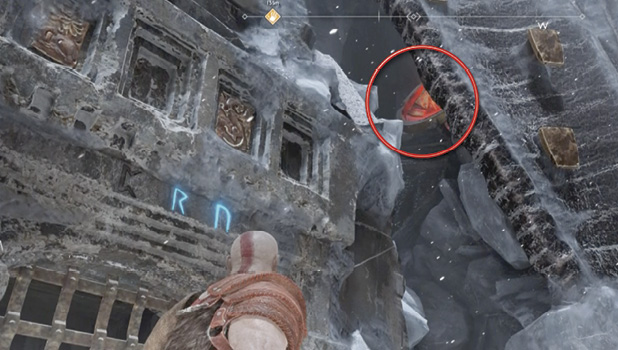
Next to the coffin is a tower (4) with a series of odd decorative rocks running up it. Grab the lowest one and hop upward from rock to rock until you can jump down onto the balcony (5) to your left.
From here, look at the canyon’s far wall and spot the decorative wall section with a hole in it. (This one is tricky; see our screenshot.) If you look closely, you see the blue sparkle of the runic seal stone inside the hole. Nail it with an axe toss. Two down, one to go.
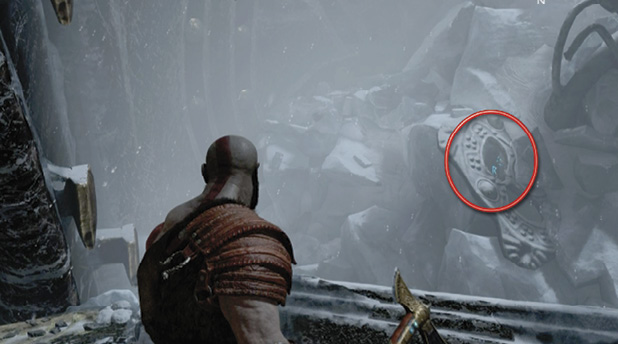
This balcony also contains a chain anchor; kick down its chain for access to Sindri’s shop below, in the area you passed earlier. But before you climb down, cross the balcony and hop down to a lower balcony (6) outside. Step to where the railing opens up and scan up the opposite canyon wall to spot another runic seal near the top of an icefall. Nail it with Leviathan.
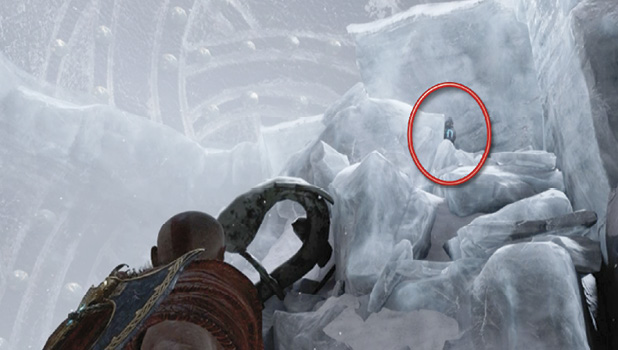
Done! Now you can hop down and go through the now-open Runic Gate (3) to find a dead Troll, an XP pickup, and a large stash of Hacksilver in a chest.
Visit Sindri
Climb back up the tower wall (4) to the balcony (5) and drop down to visit Sindri’s Shop. Upgrade Leviathan to the next level and check out the newly available Skills. Upgrade your equipment, too! When finished, cross the Banquet Hall to the magically sealed door (7). Play the Chisel minigame to smash the lock. Then open the door and proceed.
Jarl’s Port
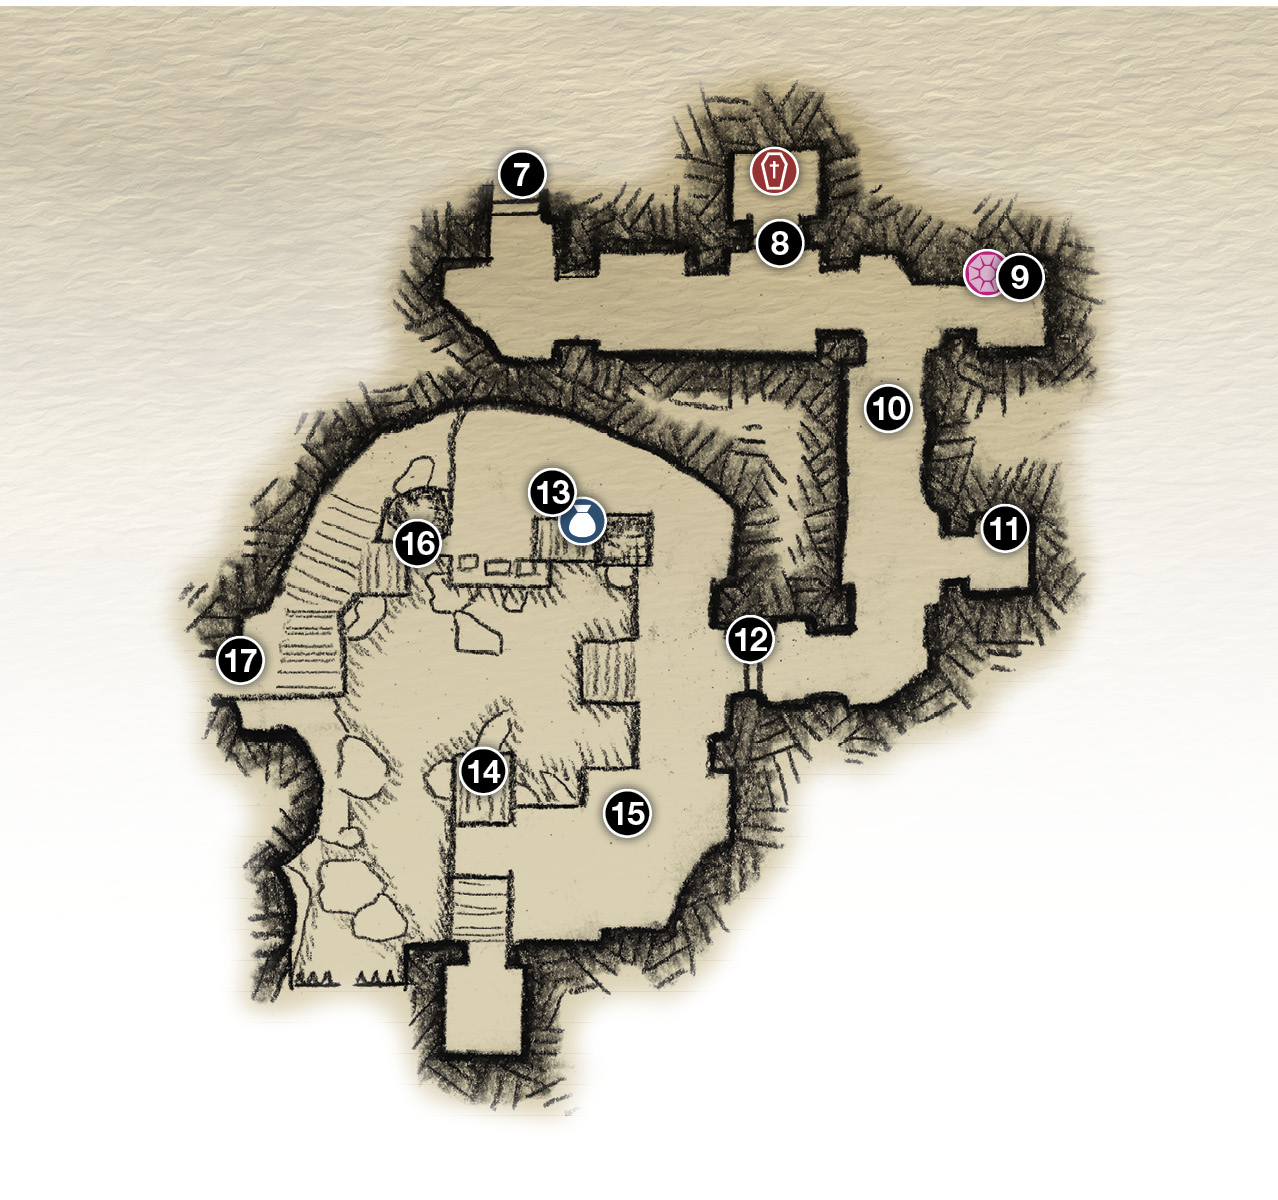
7. Exit door (use Chisel)
8. Sap-covered coffin
9. Crystal stand (Realm Tear)
10. Crystal (ceiling)
11. Yggdrasil root
12. Port entry
13. Lower tram platform
14. Upper tram platform
15. Tram crank-wheel
16. Gap jump
17. Exit door (use Chisel)
Chest
Coffin
 realm tear
Explore the Corridor
From the magic door (7), follow the corridor. A coffin covered in red sap sits behind some debris in one side alcove (8), and an empty crystal stand sits in another alcove (9). Continue around the corner and look up to see a huge decorative plate (the one you kicked out of the hammer handle) (10) held up by dripping red sap on collapsing ceiling beams. It has a blue crystal in the center.
A little farther down the hall, you find an Yggdrasil root (11) full of Shatter Crystal sitting behind some wooden debris in yet another alcove. Smash through to reach the root, grab a chunk of crystal, and then go back to the plate (10) in the rafters. Toss your Shatter Crystal at the red sap and shoot it with a Shock Arrow to blast the blue crystal out of the plate. Grab it and go install it in the empty crystal stand (9). Toggle Atreus’ quiver to Light Arrows and shoot one into the crystal. A Realm Tear appears. Close it!
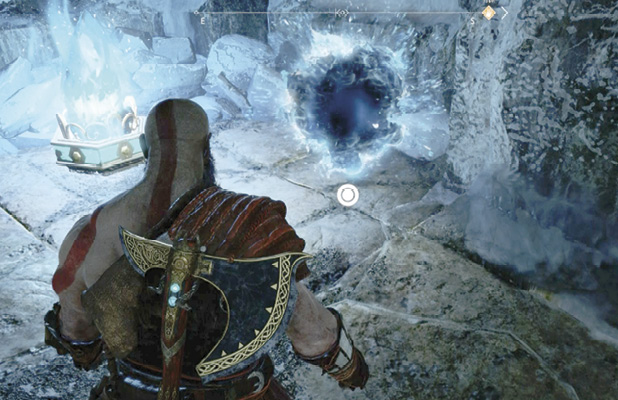
Go back to the Yggdrasil root (11) and grab another chunk of Shatter Crystal. Return to the sap-covered coffin, toss the crystal, toggle Atreus’ quiver back to Shock Arrows, and shoot one into the crystal to blast away the sap. Loot the coffin to find some nice rewards.
Continue to the corridor’s end and open the doors to discover a shipping port (12) facility. Kratos spots an exit on the far side—another magically sealed door, this one directly beneath Thamur’s massive thumb.
Find a Way Across the Port
From the entrance, head to the right, go around the corner, and boost Atreus up the yellow-marked wood planks onto the lower tram platform (13). Then head to the far side of the port and look up at the tramcar (14). Toss Leviathan at the discs on the cable connecting the car to the upper tram platform. This sends the car sliding down the tramline to the lower platform.
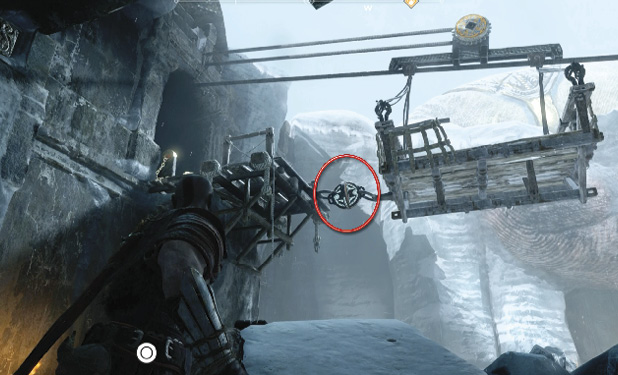
Atreus automatically hops onto the tram. When he’s aboard, turn the crank-wheel (15) to pull the tram back up the tramline to the upper platform. Before you let go of the wheel, throw Leviathan at the gearwheel on top of the tram to freeze it in place. (If you don’t, the tram slides back down to the lower platform when you let go of the crank-wheel.)
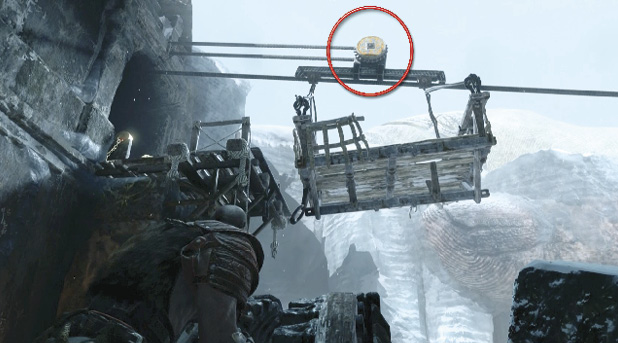
Don’t recall Leviathan just yet; you need the tram to stay frozen in place for a minute. Approach the upper platform and press Square to have Atreus toss down a climbing chain. Climb up and step onto the tramcar. Then recall your axe to release the gearwheel and send the car careening down to the lower tram platform.
When you arrive, punch open the chest to the right, and then go leap across the gap (16) in the walkway. Follow the walkway down to the exit door (17) and use the Chisel to open it. Then step into the same collapsed armory you passed through earlier.
northern dock and lake of Nine
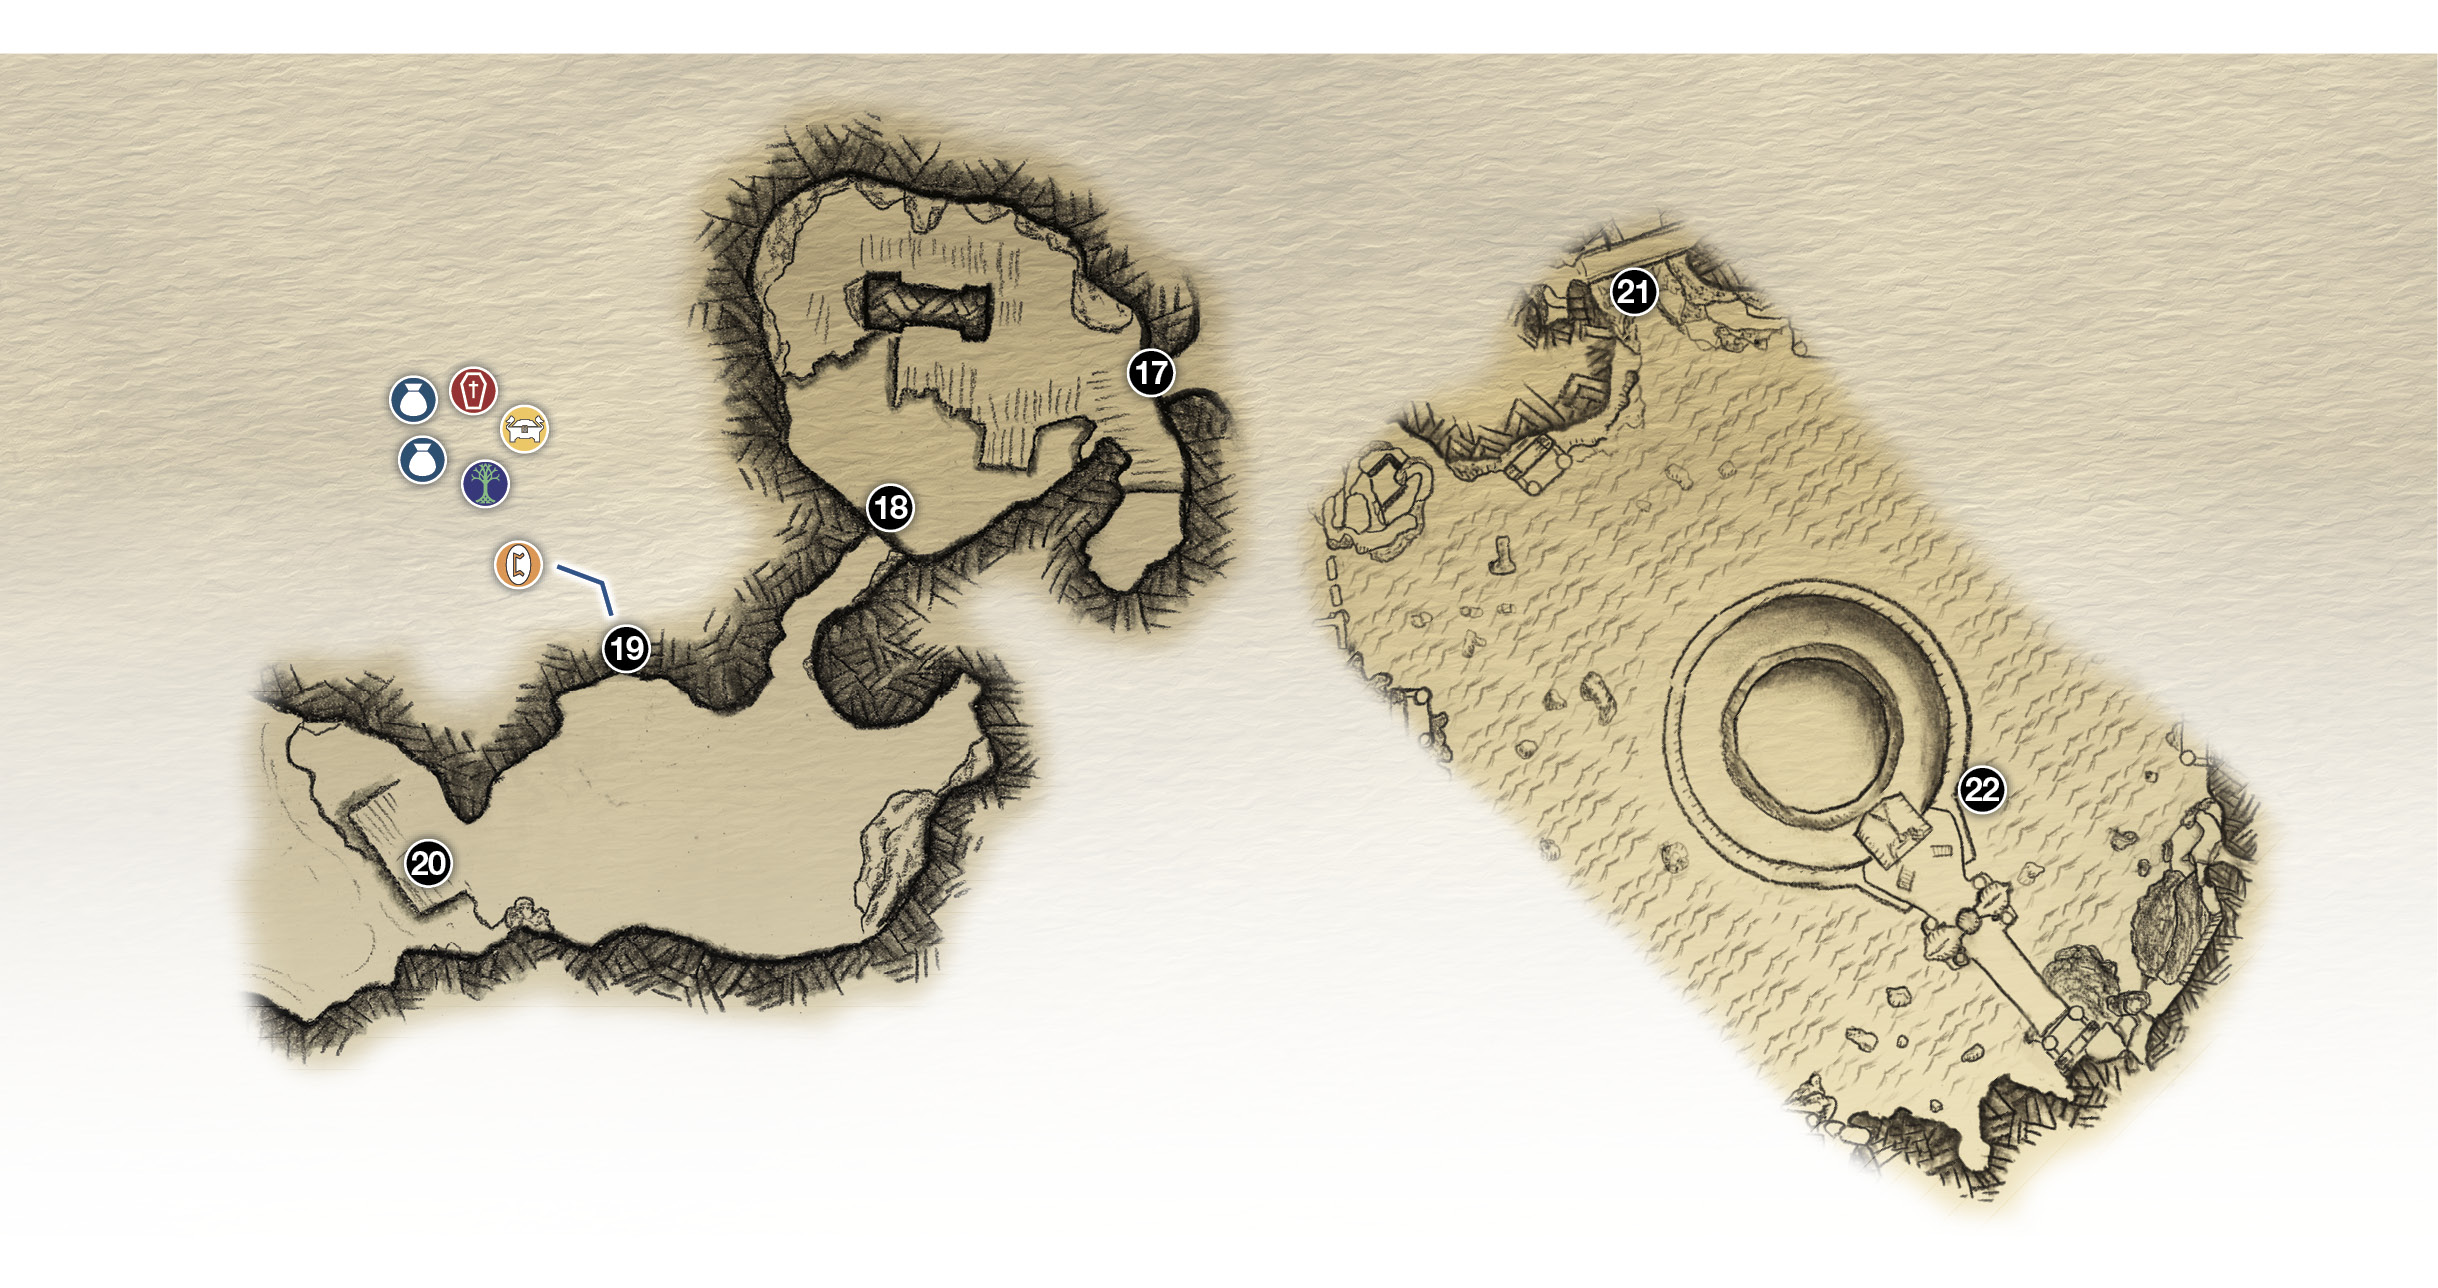
17. Door from port
18. Climb chain
19. Hidden Chamber of Odin (to Jötnar Shrine)
20. Northern dock (boat)
21. Oarsmen statues
22. Temple dock / Týr’s Vault entry
Chest
Coffin
 Legendary Chest
 Lore
Lore
 Mystic Gateway
Optional
: Explore the Hidden Chamber of Odin
After you open the door from the port (17), cross the armory to the chain (18) and climb out of the room. Follow the passage to emerge onto the Northern Dock area where you first arrived. Here you can veer rightward to another magically sealed door (19) and chisel it open. This door leads into one of the seven Hidden Chambers of Odin scattered throughout the realms.
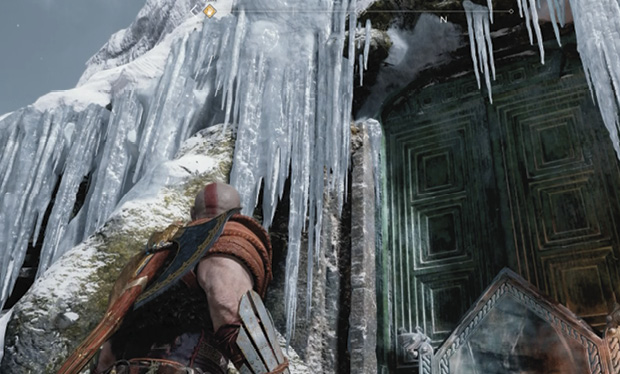
The chamber ultimately leads to a powerful Valkyrie named Gunnr, and approaching her begins the first Valkyries challenge, “Prove Your Valor.” We cover this optional encounter (and all Valkyrie encounters) in the “Valkyries” section of our Favors chapter.
But for the purposes of this main story walkthrough, we enter the chamber for two reasons: one, to introduce the concept of the Hidden Chambers; and two, to find an interesting piece of Lore. Just inside the door you find a Jötnar Shrine telling the story of Thamur, the Giant stonemason.
If you ride the chamber’s elevator down, you can also find a Mystic Gateway, a coffin, and two regular chests, all of which you can loot without facing the Valkyrie if you want. But if you feel up to the challenge…
Return to the Boat
Exit the Hidden Chamber of Odin, turn right, and head down the slope to the Northern Dock (20) where your boat is moored.
OBJECTIVE: Return to the Lake of Nine
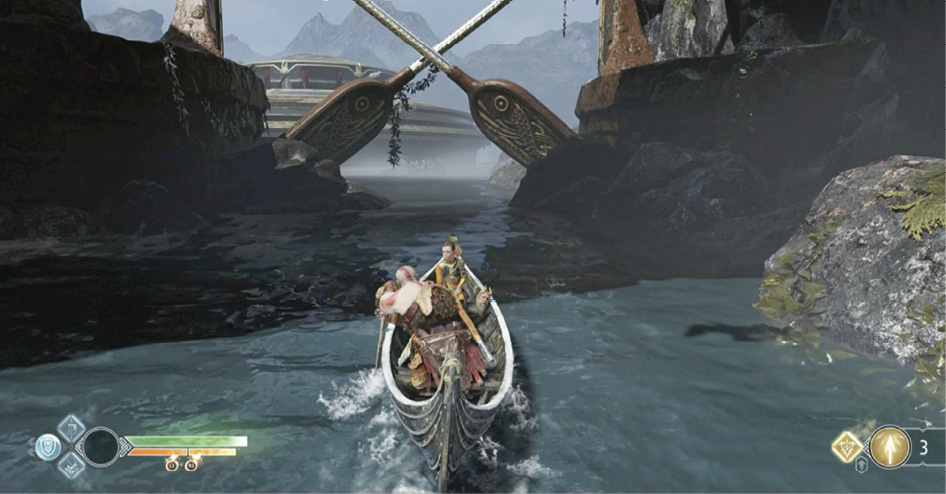
Hop in the boat and retrace your route down Mason’s Channel, then out through the oarsmen statues (21) into the Lake of Nine. As you paddle, listen to Mimir describe your next destination. This vault is where you’ll find the Black Runestone, the one that allows realm travel to Jötunheim.
OBJECTIVE: Go to Týr’s Vault
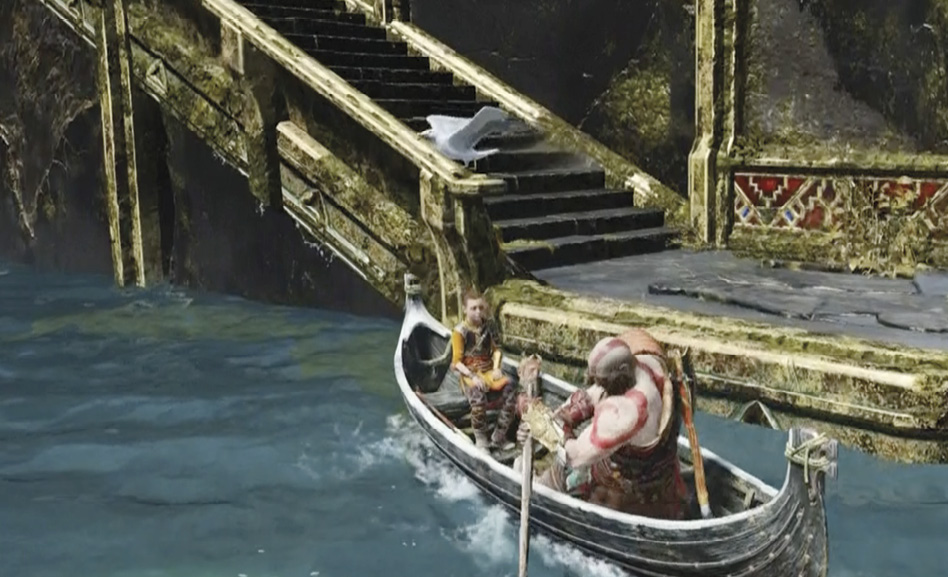
Row across the lake and veer around the left side of the temple to the flag-marked boat dock (22) to debark. The magically locked door to Týr’s Vault is just a few steps down the walkway from the dock. Use the Chisel method to break the lock plate, then open the doors.
Explore the Vault
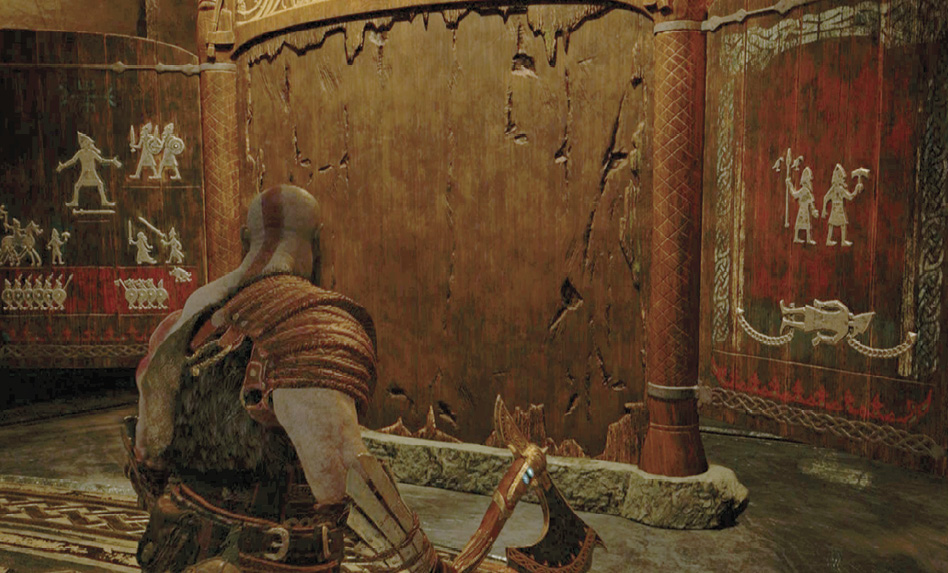
Proceed upstairs into the big round hall—the game calls it “Týr’s Bridge Interior,” so you’re not in the actual vault yet. Approach the already opened Jötnar Shrine cabinet on the left to discover that the entire center panel has been torn off! (Note that the Jötnar Shrine doesn’t get logged in your journal.) Then go check out the nearby sand bowl.
Atreus’ attempt to give his father a rune-reading lesson is interrupted by Modi, who gets the drop on Kratos and induces a rage overload in Atreus. Watch the dramatic scene unfold until the Spartan Rage prompt (R3 + L3) appears on-screen, and hit that button combination. Watch as Kratos first un-maces Thor’s sniveling son, and then ends up holding his own stricken son.