
Close Realm Tears
|
Objective |
Close 18 Realm Tears |
Reward
| Goal | # Realm Tears | XP Earned |
|---|---|---|
|
Bronze |
5 |
615 |
|
Silver |
10 |
1075 |
|
Gold |
18 |
1880 |
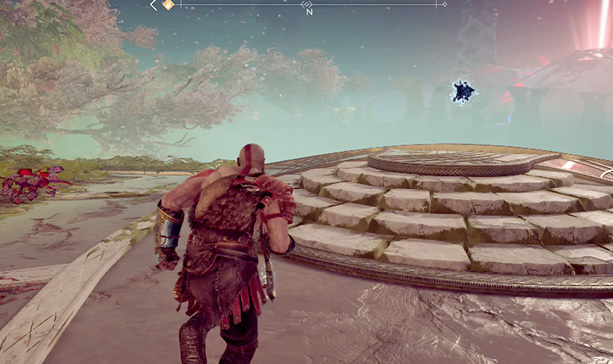
Throughout your adventures, watch for small tears in the fabric of reality and close them. These are represented by little blue blobs, and most of the time, powerful monsters spawn out of them. All of the tears are listed below with their locations, as well as the types of enemies that spawn from the tears. L# indicates the levels of the spawned enemies. Note that enemies that spawn from these Realm Tears are Elite, so they are more powerful than standard enemies.
Each Realm Tear rewards Kratos with varying amounts of the Legendary Resource—Dust of Realms. You may also earn a Pure Essence of Realms. Extra rewards are earned from a few tears and are listed below.
Note that there are 21 Realm Tears in all, but you need to close 18 to complete the Labor. Two of the tears are not accessible after a certain point in the game, and a third is well hidden and not required for the Labor.
1 Lake of Nine: Alfheim Tower
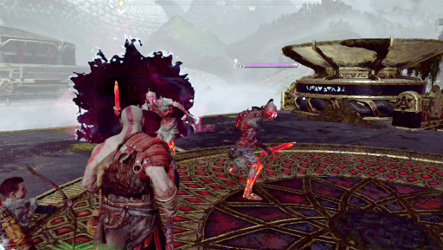
Boat over to the Alfheim Tower and ride the elevator to the top.
The Realm Tear can be closed just after you speak with the World Serpent, though three Level 4 Draugr may be a challenge at that point in the game. Dodge the big guy’s attacks while focusing your attention on the speedier foes.
2 Lake of Nine: Niflheim Tower
|
First Available |
After first water drop |
|
Enemies Spawned |
L6 Heavy Draugr x2 |
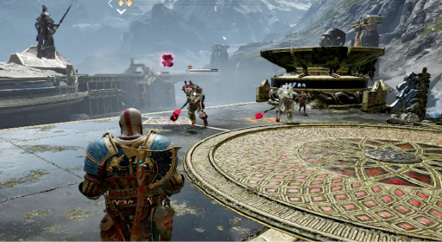
Paddle a boat to the Niflheim Tower and take the elevator to the top.
This tear is available early in the game, but beware the powerful duo that spawns from it. Their attacks hit hard but are telegraphed as they wind up their hammers.
3 Veithurgard
|
First Available |
After first water drop |
|
Enemies Spawned |
None |
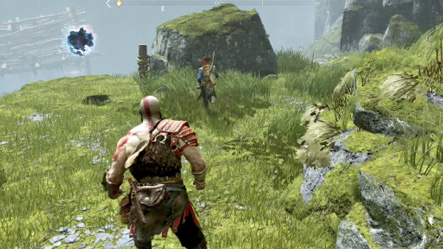
Use the wheel at Stone Falls to open the big northeastern gate and gain access to Veithurgard Pass. Navigate through the pass, grab the boat next to the lake, and paddle south to a beach. Clear out the enemies before following the westward trail to a chain. Use the chain to open a gate a short way south. Climb into the new opening and scale the wall to the cliff above, where the Realm Tear floats on the cliff’s edge.
4 Foothills: Just Inside Vanaheim Tower Gate
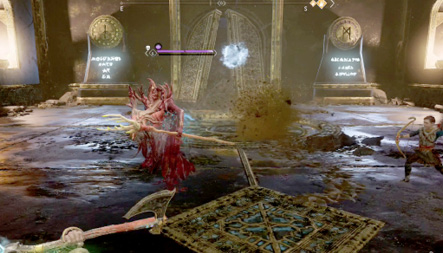
After returning from Alfheim with Light Arrows, pass through the Vanaheim Tower gate. Fire a Light Arrow up at the crystals on the wall ahead and to the left to reveal a Realm Tear in the middle of the room.
Use Atreus’ arrows to drop the Revenant’s shroud, and then let the creature have it. You may want to attempt this Realm Tear much later in the game. These high-level Revenants can overwhelm with their rake fissures.
5 Alfheim 1: Light Elf Shore
|
First Available |
Exit the Ringed Temple with Light Arrows |
|
Enemies Spawned |
L4 Dual-Wield Draugr x2 |
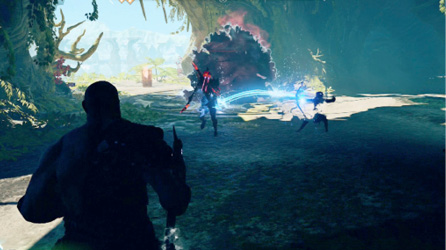
Cross the bridge into Alfheim, paddle into the Lake of Light, and head northwest to find a hidden beach, Light Elf Shore. Move underneath the big tree and clear out the Nightmares inside. Once the area is clear, spot the three crystals embedded in the ground under the tree. Hit all three with Light Arrows, and the Realm Tear appears.
These guys are quick and carry a pair of axes each. Stay on the move and have Atreus distract one of the Draugr to make the fight more manageable.
6 Alfheim 2: Light Elf Sanctuary
|
First Available |
Gain access to the realm of Alfheim as part of the Journey |
|
Enemies Spawned |
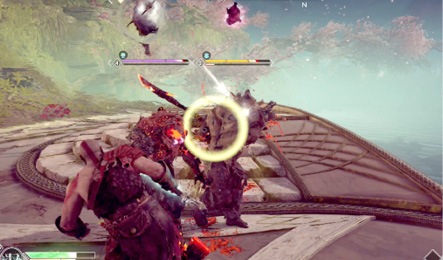
After crossing the bridge into Alfheim, take the boat into the Lake of Light. Paddle southeast to find a hidden beach, Light Elf Sanctuary. Make your way through the two gates to access the Realm Tear.
Hit one of the heavies with Shock Arrows, while dealing with its partner. Space is tight, but you can move farther down the path if necessary. Evade their slow, powerful strikes and counter with Leviathan.
7 Lake of Nine: Light Elf Outpost 1
|
First Available |
After second water drop |
|
Enemies Spawned |
None |
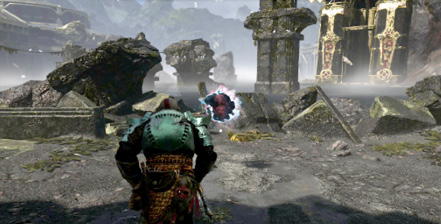
After the second water drop, dock at the newly revealed beach, kill the Ogre and friends, and use a Light Arrow to create a bridge up to the Nornir Chest. Head right and then left to reach a chain. Climb down to reach the Realm Tear.
8 Lake of Nine: Light Elf Outpost 2
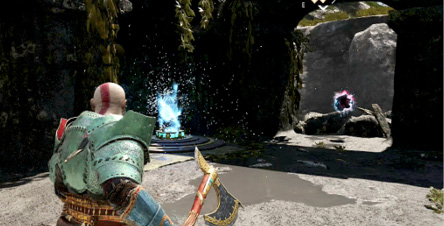
Make your way up to the dock high up on Light Elf Outpost and climb the short ledge. Use Light Arrows to extend light bridges to the right and left. A crystal sits just beyond the left bridge. Carry it to the top past a gate and place it in another base. Hit it with a Light Arrow, as well as two more crystals high up on the ruins, to spawn the Realm Tear. Use a shield break against the guards to open them up for attack. Watch out for the Hel-Viken’s strong attacks.
9 Lake of Nine: Svartalfheim Tower
|
First Available |
After second water drop |
|
Enemies Spawned |
L7 Wulver x2 |
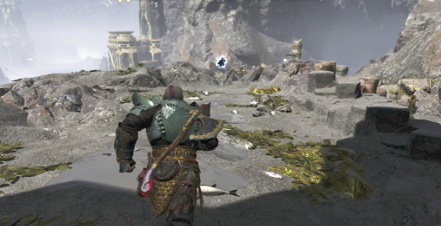
Take your boat through the opening behind Sartalfheim Tower and dock at the small beach on the left. Scale the wall to reach the backside of the tower and interact with the Realm Tear to the right.
The Wulvers are quick and powerful. Use Runic Attacks and Rage Mode when available, and be ready to sidestep their swipes.
10 Lake of Nine: Isle of Death
|
First Available |
After Second Water Drop |
|
Enemies Spawned |
None |
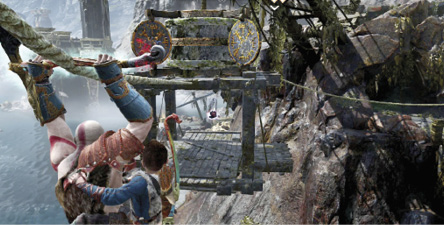
Climb the Isle of Death until you reach the upper dock on the northwest side. Face the hanging platform to the right and hit the left paddle twice with Leviathan to lower it all the way. Slide down the rope and use the lever to raise it back up. Now use the rope on the left to slide to the next platform.
Interact with the lever to cause the platform to raise to the top, and turn back to the first platform. Hit the left paddle to drop it once and then slide down the rope to reach the first platform. Now you can close the Realm Tear.
11 Lake of Nine: Cliff near Alfheim Tower
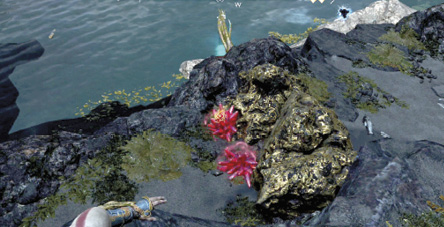
After the second water drop, dock at the beach between the Alfheim Tower and the Njörd’s Oarsmen. Clear the path with a Shock Arrow and scale the cliff. The Realm Tear sits to the right.
Space can be tight here, but you can climb the next ledge and hit an explosive below to clear out the blockade. Stay on the move to avoid the Hel-Viken while finishing off the Reavers.
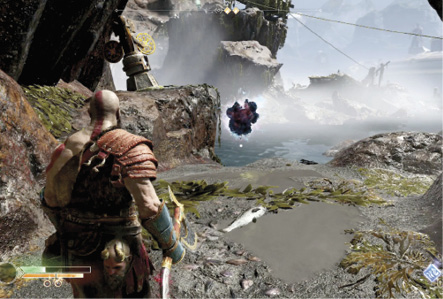
12 Lake of Nine: Iron Cove
|
First Available |
After second water drop |
|
Enemies Spawned |
None |
Paddle a boat onto the western beach of Iron Cove. The Realm Tear is up the slope past two Poison Wolves.
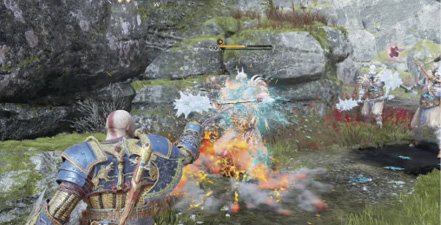
13 Konùnsgard Stronghold
|
First Available |
After second water drop |
|
Enemies Spawned |
L7 Hel-Viken x3 |
This Realm Tear is available during and after Brok and Sindri’s final Favor, “Hail to the King.” After collecting the required resources in the stronghold, exit out the back and follow the footpath up the steps and on past the structure. The tear sits on the right side of the path before the chain. If returning to close the tear, simply fast-travel to the Mystic Gateway and climb the nearby chain.
These guys hit hard, and every successful hit adds to your slow meter. Once the meter fills, it becomes tougher to avoid all three.
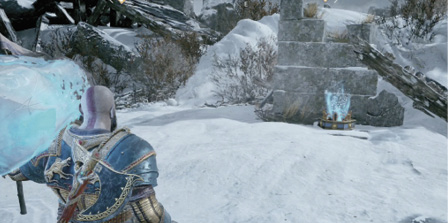
14 Thamur’s Corpse 1
|
First Available |
After second water drop, travel to Thamur’s Corpse as part of the Journey |
|
Enemies Spawned |
None |
Shortly after arriving at Thamur’s Corpse, you climb up a chain and get a good shot of the Hammer and Chisel through Thamur’s head. Kill the Wulver, then grab a Shatter Crystal from the dispenser near the middle of the area. Take it south to the corner and fling it up at the sap on the left wall, followed by a Shock Arrow. Carry the light crystal northeast past the dispenser and then right to find a base. Once it’s placed and hit with a Light Arrow, a Realm Tear appears.
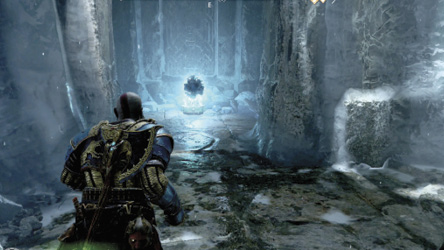
15 Thamur’s Corpse 2
|
First Available |
During the Journey, retrieve the Chisel and exit Thamur’s Corpse |
|
Enemies Spawned |
None |
On your way back from retrieving the Chisel, use the tool on the magic door in the Banquet Hall. At the intersection ahead, look up and to the right to spot a light crystal. Grab a Shatter Crystal from the nearby dispenser, fling it onto the busted beam that holds the light up, and then fire a Shock Arrow at the Shatter Crystal. Pick up the light crystal and carry it back to the intersection. Place it into the base to the right and hit it with a Light Arrow.
16 Mountain Summit
|
First Available |
During the Journey, return to Summit with Chisel |
|
Enemies Spawned |
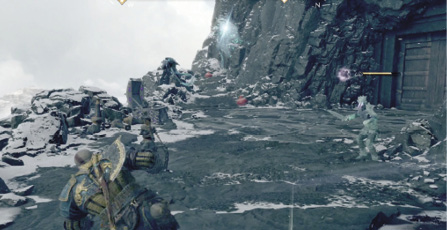
L6 Hel-Reaver, L7 Hel-Reaver, L4 Hel-Reaver Guard, Ice Nightmare x2 |
On your return visit to the Mountain, you run into Sindri just before exiting to the Summit. Once outside, interact with the Realm Tear ahead.
Be careful not to become surrounded by the Reavers. Keep them in the open area and keep an eye out for their ice attacks.
17 Wildwoods Hidden Chamber of Odin
|
First Available |
After obtaining the Chisel |
|
Enemies Spawned |
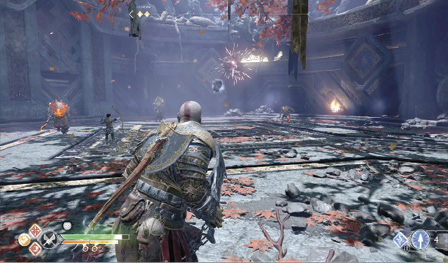
L8 Revenant Summoner, L3 Heavy Explosive Draugr, L3 Speed Draugr |
|
Reward |
Enchantment—Heart of Svartalfheim |
From the Wildwoods Mystic Gateway, run into Kratos’ backyard, cut away the Hel’s Bramble with your Blades, and climb the ladder. Fight your way through the enemies, drop off the opposite side and turn left to find a Chisel door. Once inside, take the elevator down and move into the back room to find the Realm Tear.
The high-level Revenant summons four Nightmares to join the Heavy Draugr and Speed Draugr. Make the Revenant your priority, but keep an eye on the Heavy Draugr. If it charges up its midsection, immediately hit it with a light axe throw. Keep Atreus’ arrows aimed at the Revenant to lower her shroud, but whenever possible, take out a couple of Nightmares. As long as you keep one Nightmare around, the Revenant will not add any more. Once the Revenant has been taken care of, the fight calms down considerably.
18 Niflheim 1
|
First Available |
Complete Sindri’s Favor, “Ivaldi’s Workshop” |
|
Enemies Spawned |
|
|
Reward |
Blades of Chaos Heavy Runic Attack—Gift of Apollo |
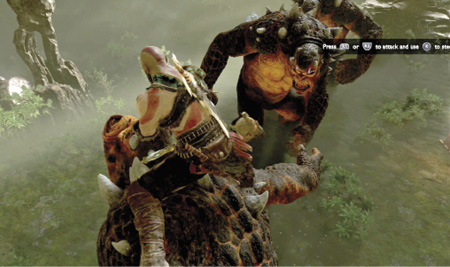
Complete the “Ivaldi’s Workshop” Favor for Sindri by collecting enough Mist Echoes to craft a Niflheim Entry Stone and entering the center chamber. Access the left Realm Tear at a cost of 10,000 Mist Echoes and one Anchor of Fog. The fight starts out with a Level 8 Ogre, who’s joined shortly by a Level 7 Ogre. A Level 6 Ogre joins in after a while. Work one of the beasts down until stunned and then ride it into the others. Continue to do this until only one remains, and then finish it off.
19 Niflheim 2
|
First Available |
Complete Sindri’s Favor, “Ivaldi’s Workshop” |
|
Enemies Spawned |
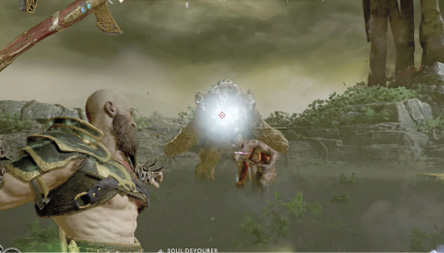
Soul Devourer, L1 Wulver x2 |
|
Reward |
Axe Pommel—Mistbourne |
Complete the “Ivaldi’s Workshop” Favor for Sindri by collecting enough Mist Echoes to craft a Niflheim Entry Stone and entering the center chamber. Access the right Realm Tear at a cost of 20,000 Mist Echoes and one Anchor of Fog.
The two Wulvers start as weak Level 1 Wulvers. Defeat a Wulver, and another spawns at one level higher, eventually reaching Level 8. Defeat the highest-level Wulver, and it no longer respawns. It’s best to concentrate on the Soul Devourer. Once the boss has been defeated, the Wulvers go away.
Defeating the Wulvers can provide Rage stones; Rage can be used to stun the boss. If you’ve done the “Hail to the King” Favor for the Huldra Brothers or fought the miniboss at Ruins of the Ancient, you’ve already faced a Soul Devourer.
20 Niflheim 3
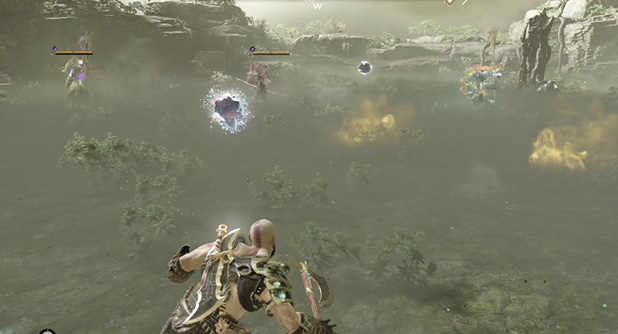
|
First Available |
Complete Sindri’s Favor, “Ivaldi’s Workshop” |
|
Enemies Spawned |
L8 Revenant, L8 Hel-Revenant, L8 Revenant Summoner, L8 Nightmares (summoned during fight) |
|
Reward |
Talisman—Talisman of Cursed Power |
Complete the “Ivaldi’s Workshop” Favor for Sindri by collecting enough Mist Echoes to craft a Niflheim Entry Stone and entering the center chamber. Access the back Realm Tear at a cost of 15,000 Mist Echoes and one Anchor of Fog.
The battle consists of the three types of Revenants, including a Hel-Revenant and Revenant Summoner. The summoner continues to pump out more Nightmares, so focus on her while managing the fliers. The Hel-Revenant is able to slow you down, making it tougher to evade the numerous projectiles.