Chapter 6: A New Destination
Mountain’s Summit: Descent
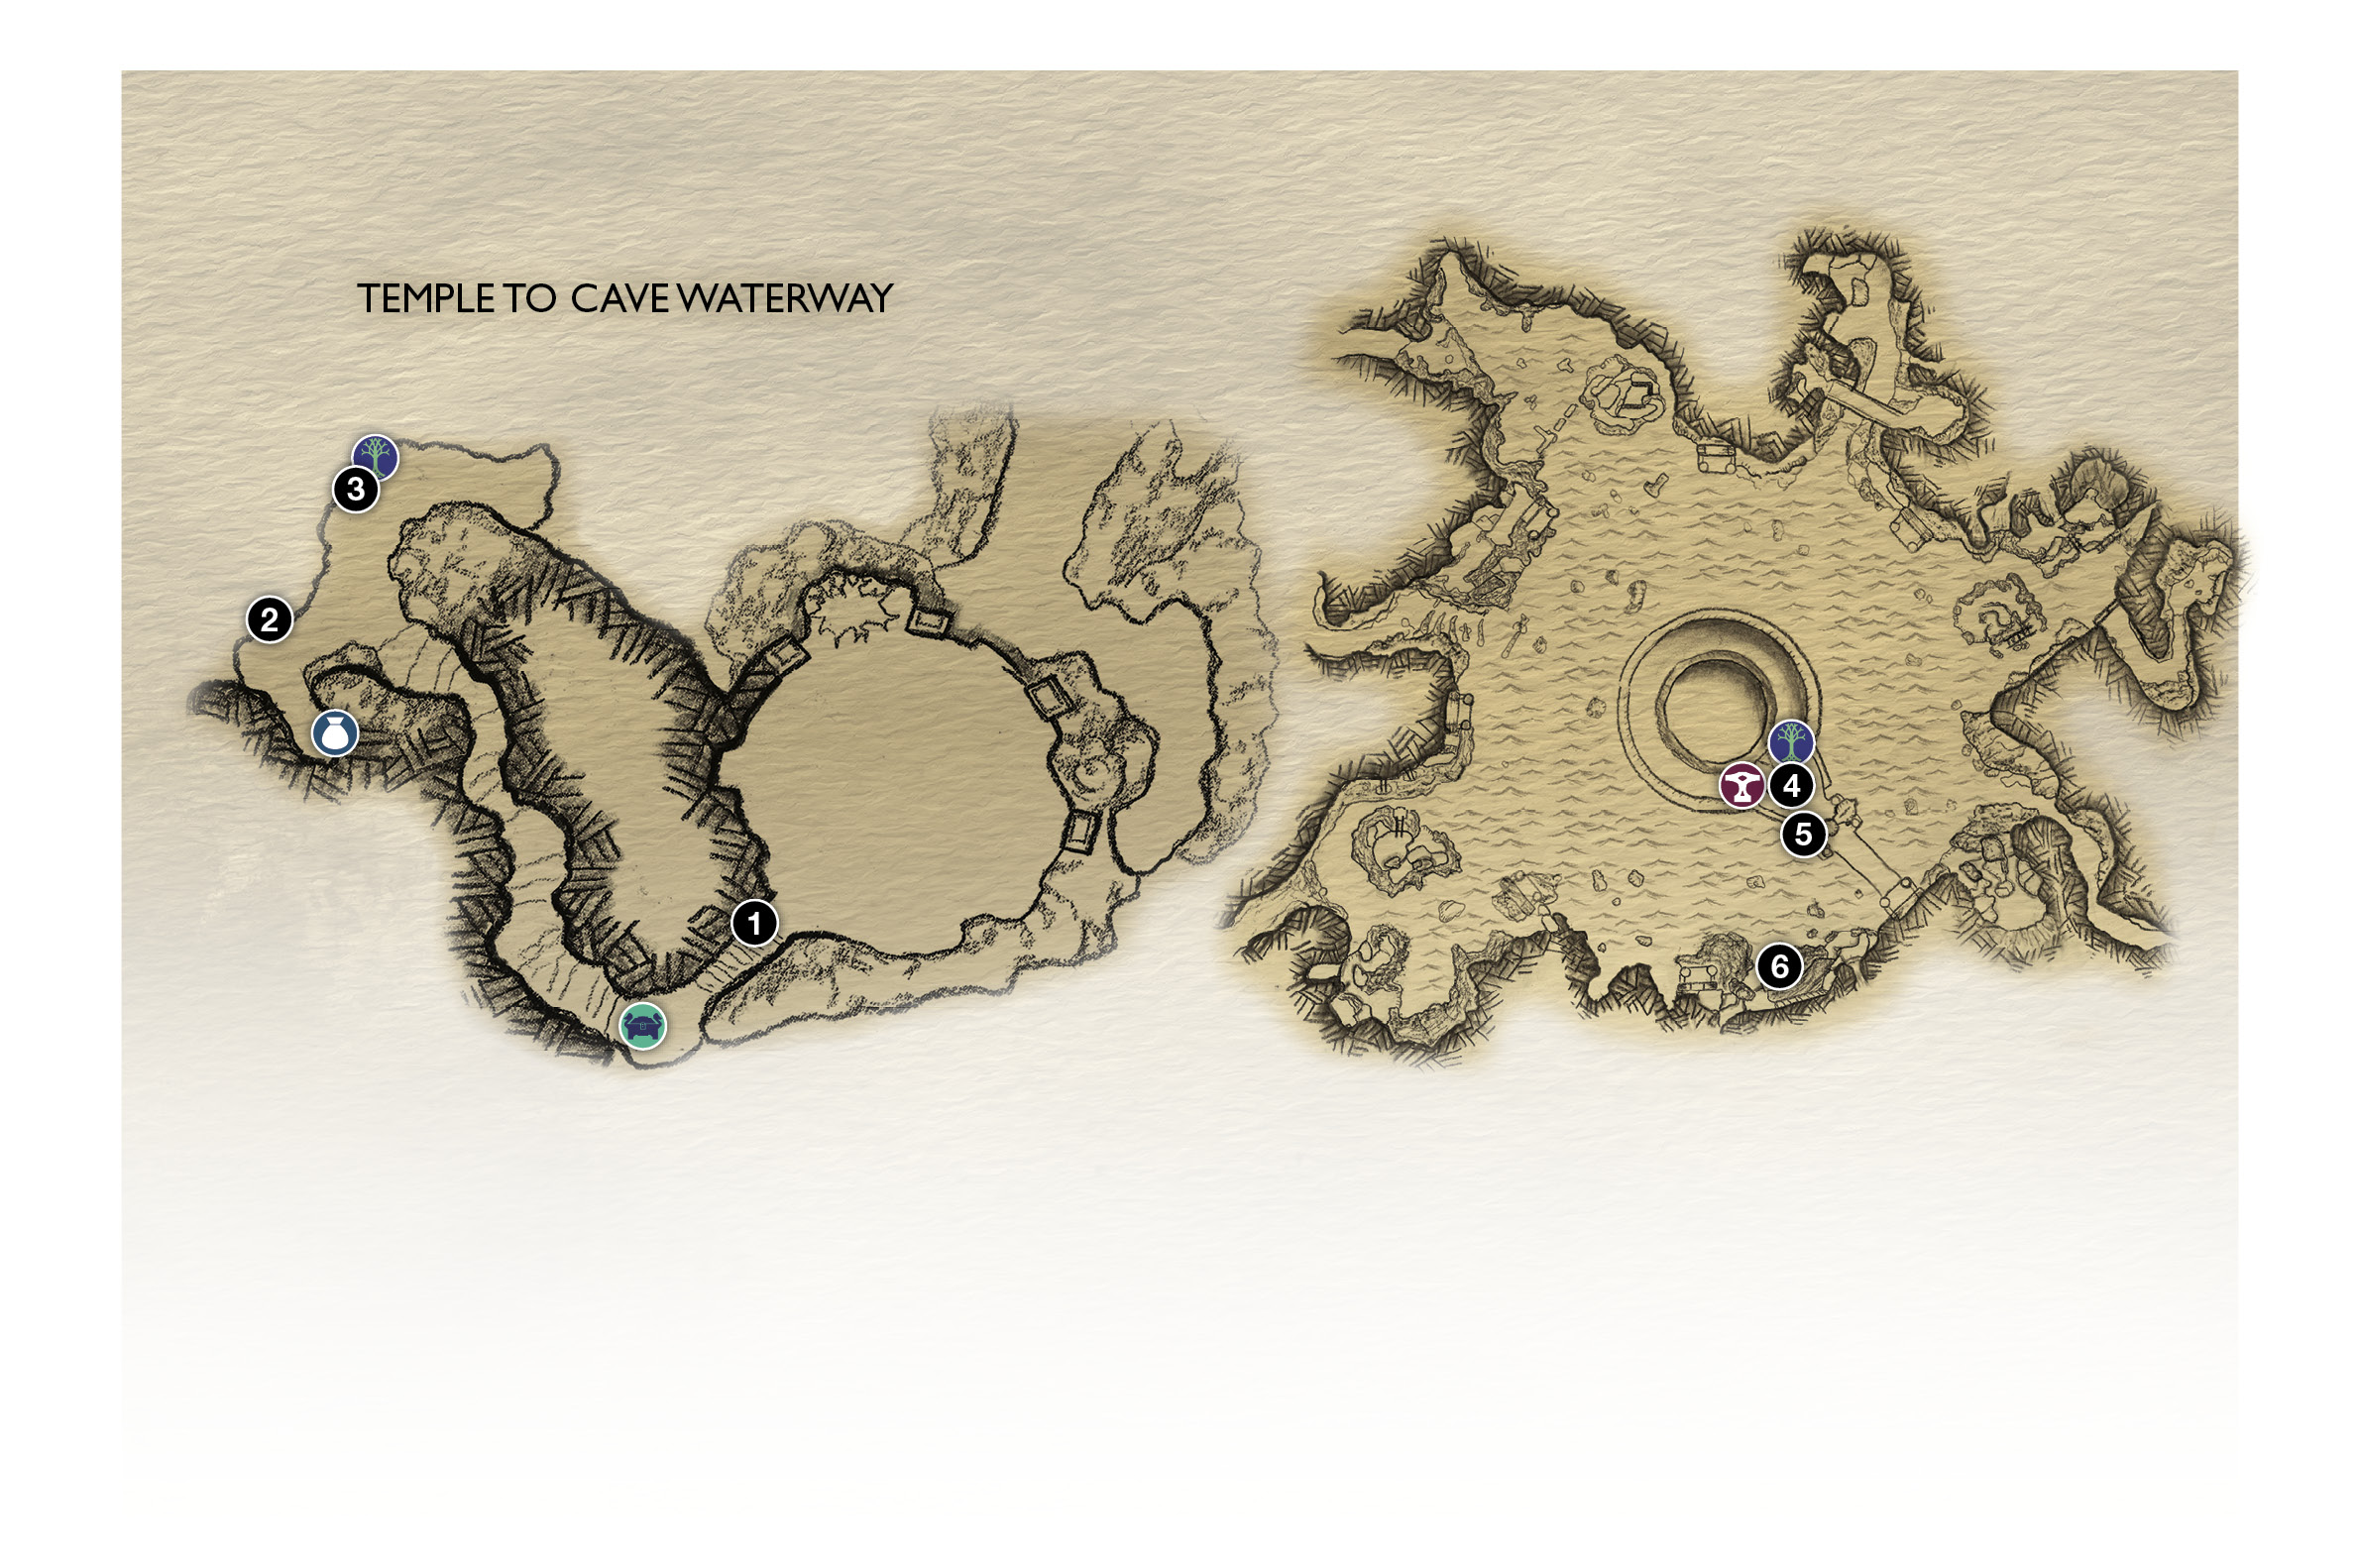
1. Summit exit stairs
2. Overlook
3. Mystic Gateway
4. Týr’s Temple
5. Boat dock
6. Waterway to Witch’s Cave
 Chest
Chest
 Cipher Chest
 Mystic Gateway
 shop
shop
Journey Objectives
- Take Mimir’s head to the Witch
- Return to the Witch’s Cave
- Talk to the Witch in her house
- Return to the Boat
- Go to the Serpent’s horn
- Speak to the World SerpentNew Enemies
- None
In a strange twist, Kratos sets off to revisit the Witch of the Woods with a severed head hanging on his belt. The mountainous descent is swift thanks to a new gateway, but the travelers carry the additional burden of knowing that Asgardian gods are now hunting them.
OBJECTIVE: Take Mimir’s Head to the Witch
Take the Gateway to Brok
Descend the stairs (1) leading down from the Summit and open the Legendary Chest to find another Muspelheim Language Cipher piece. Descend farther through the tunnel to an overlook (2) where you can see your next destination far below.
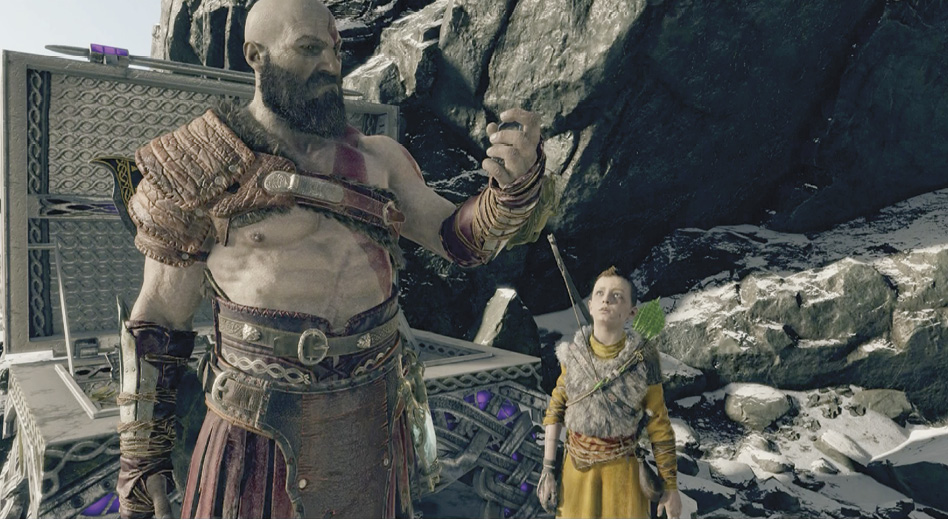
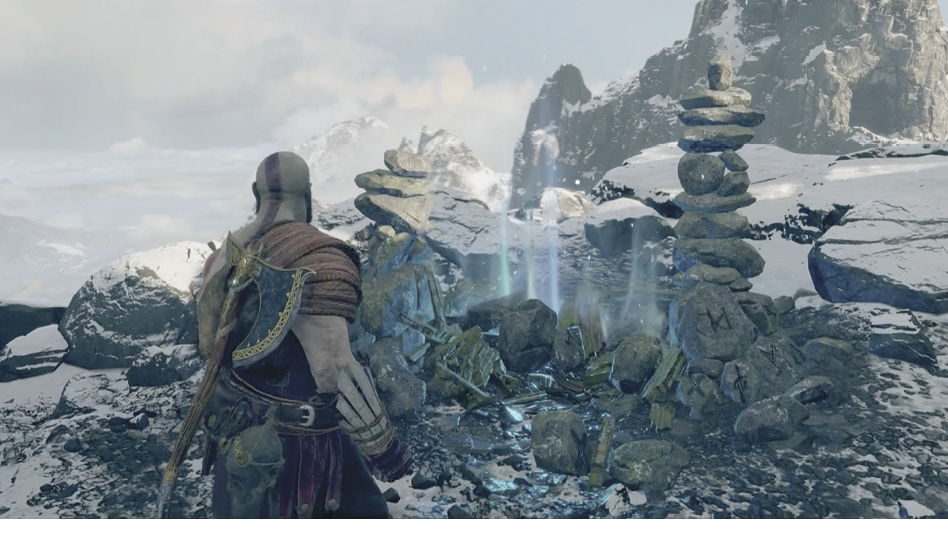
Find a chest at the end of the short path behind you, and then continue along the main path to the pile of rocks glowing with blue light (3). Simply approach the gateway and press Circle to activate it. When the map screen appears, move the cursor over the Mystic Gateway at Brok’s Shop in Týr’s Temple. Then press X to confirm your travel.
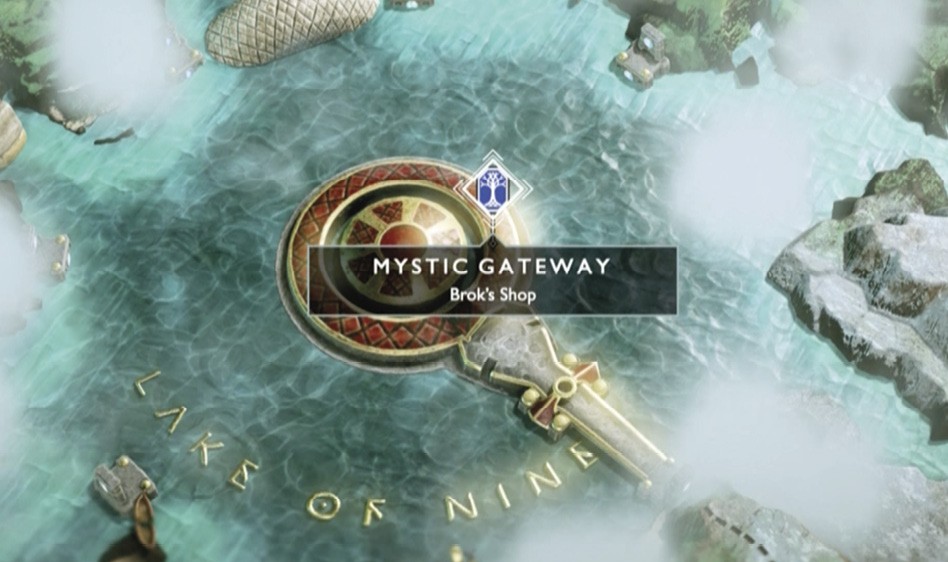
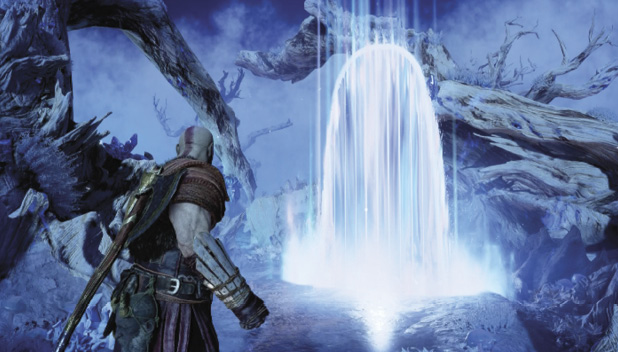
First, you transport to an ethereal path between the realms, a branch of the World Tree. As you wait for the next gate to appear, listen to Atreus and Kratos converse. Soon the bluish gate appears ahead. Use it to travel to the gateway in the temple on the lake.
Upgrade Equipment and Skills
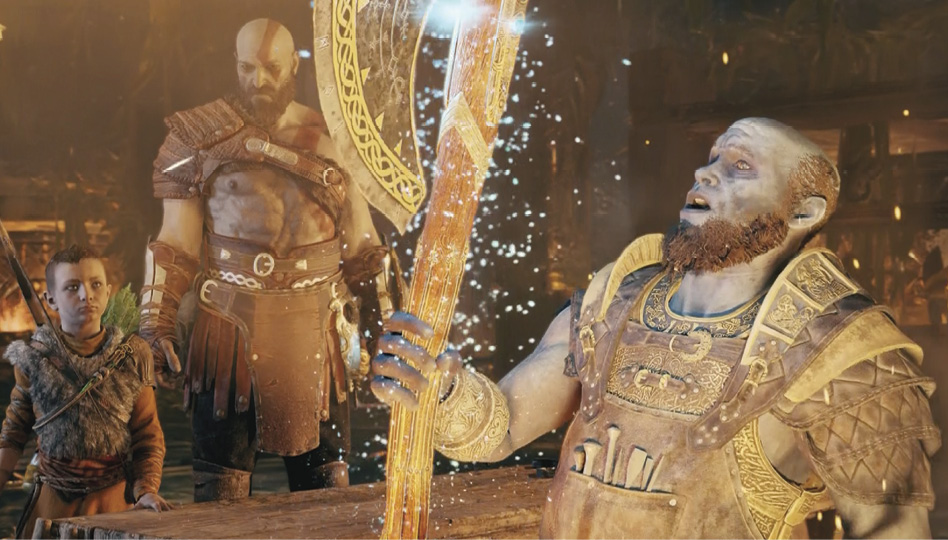
Kratos automatically approaches Brok to trigger a scene: the churlish Dwarf is on break, but he agrees to buff up Leviathan just a bit more. Afterward, use Brok for equipment upgrades and take some time to spend your stockpile of XP on new and upgraded Skills. When finished, exit onto the bridge to get a new objective.
OBJECTIVE: Return to the Witch’s Cave
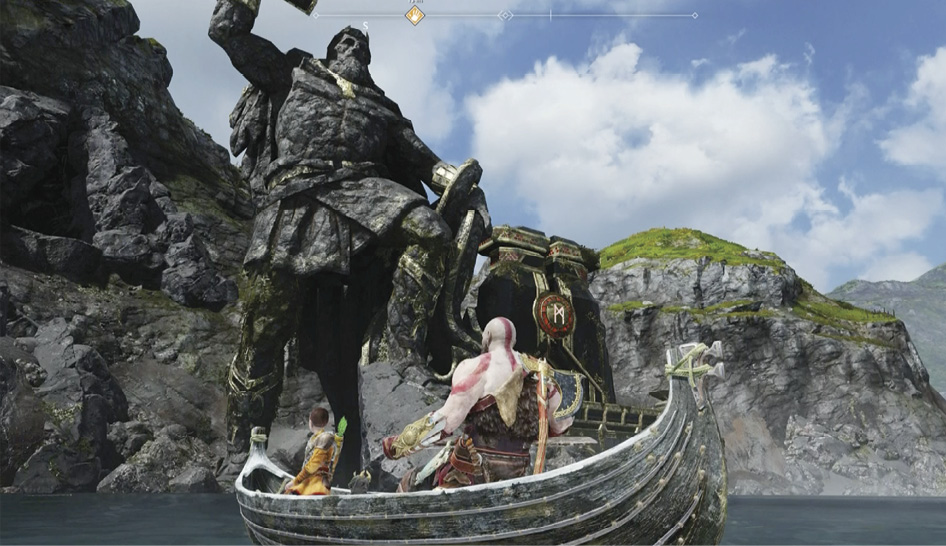
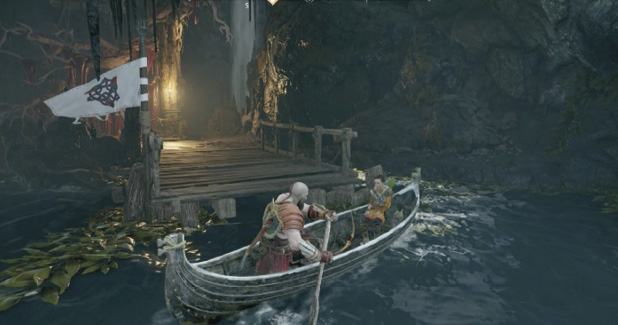
Outside, veer rightward and descend the stairs to the dock (2). Hop into the boat and follow Atreus’ directions: row between the legs of the huge Thor statue to enter the waterway (3) that leads back to the Witch’s Cave.
OBJECTIVE: Talk to the Witch in Her House
Paddle up the waterway to discover that when the World Serpent rose from the lake, the water level dropped so far that you arrive at a different dock! Debark and approach the sap-covered elevator. (There’s also a Mystic Gateway here that you can use to travel back to Brok in Týr’s Temple if you want.)
Fortunately, the sappy roots have a chunk of Shatter Crystal embedded in them. Target the crystal with one of Atreus’ Shock Arrows to blast away the obstruction. Then step aboard and pull the switch to ride the lift to the top.
Unfortunately, you soon discover another change: the great tortoise has lifted the Witch’s house. Its doorway is no longer level with the top of the wooden walkway, so you’ll have to find another way in. But before you do, you can explore the cave a bit more now that the water level has changed.
Witch’s Cave
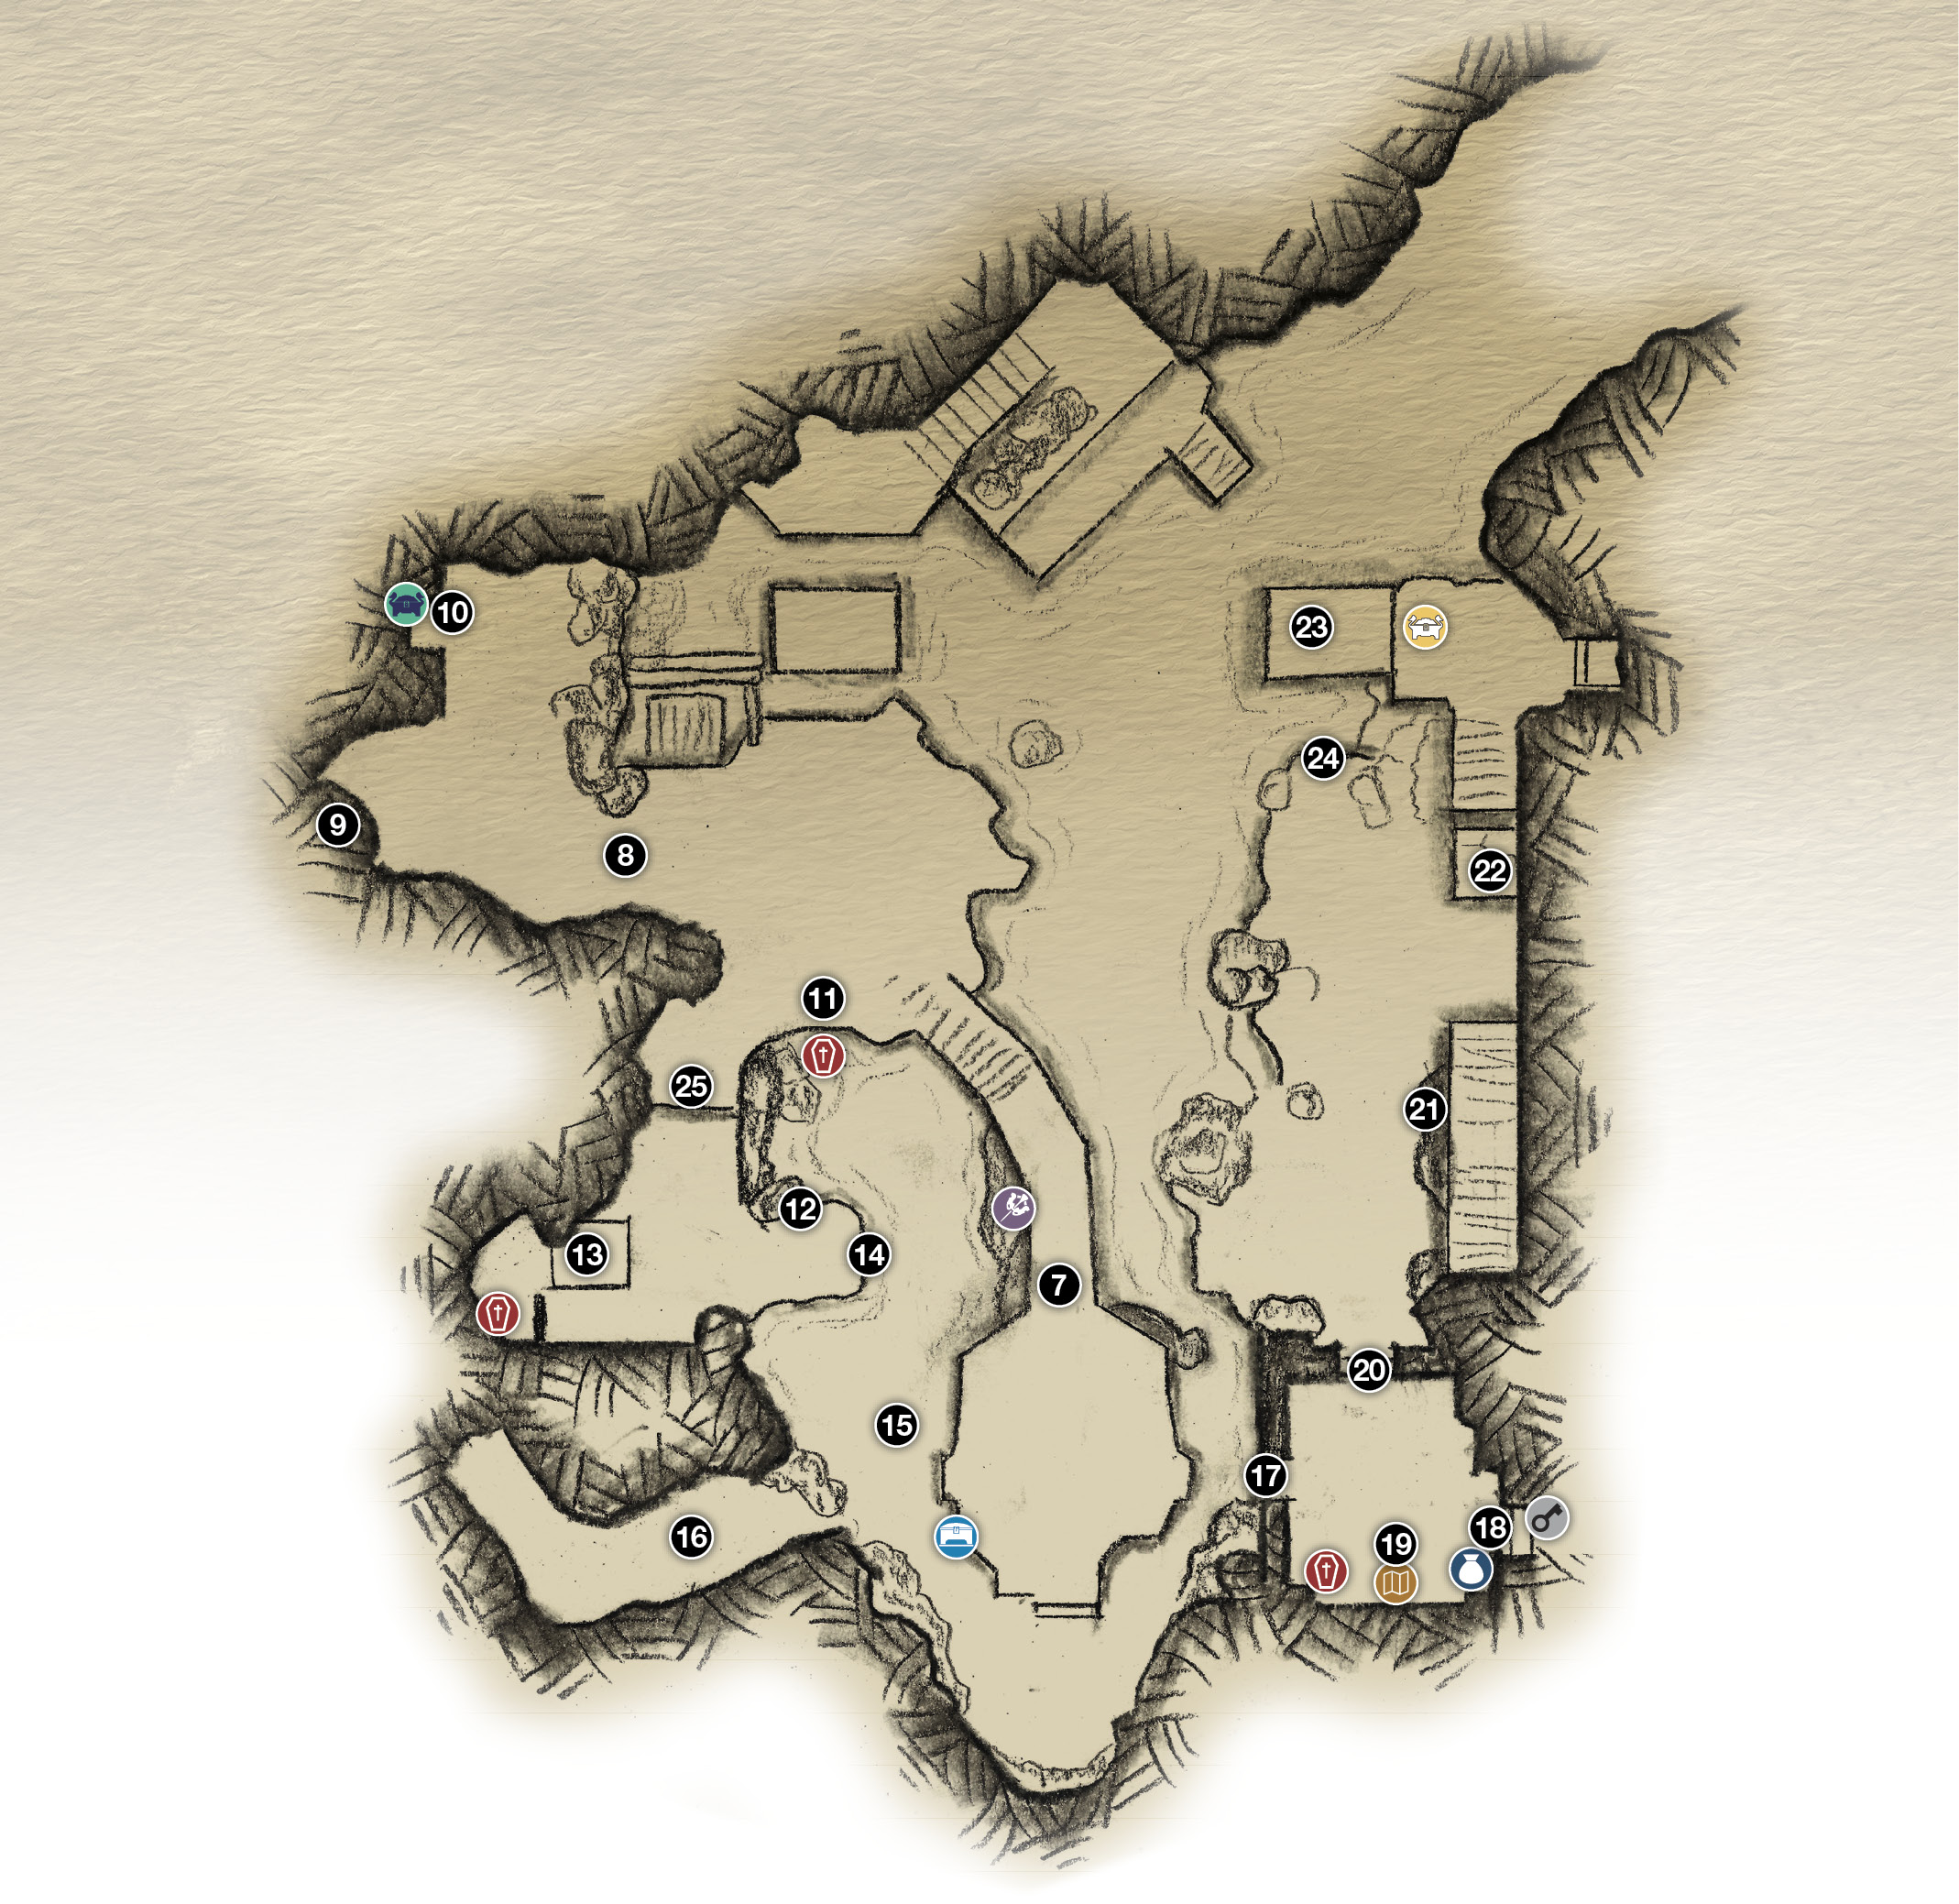
7. Top of walkway
8. Red sap barrier
9. Old stone well (bottom)
10. Legendary Chest
11. Rock ledge
12. Crystal (activates bridge)
13. Push pallet to (14)
14. Push pallet here from (13)
15. Crystal (activates bridge)
16. Crystal / Shatter Crystal
17. Red sap barrier
18. Treasure Map
19. Hidden Chamber of (locked)
20. Grated iron gate
21. Boost Atreus up wall
22. Push pallet
23. Sand-bowl platform
24. Walkway’s end
25. Climb Ledge
 Artifact
 Chest
Chest
CIPHER CHEST
 Coffin
 HIDDEN CHAMBER
 Legendary Chest
 Nornir Chest
 Treasure Map
Optional: Explore the Witch’s Cave
From the top of the walkway (7), spot the Nornir Chest below on the cavern floor. You can reach it now. Along the way, you’ll make a few other interesting discoveries as well. Here’s how to unlock the chest.
Find the First Runic Seal Stone
First, head back down the walkway. Just to the left of the lift platform is a red sap barrier (8) with a Shatter Crystal in the middle. Fire a Shock Arrow at the crystal to destroy the barrier…and get ready for a tough fight against a pair of Reavers with shields, soon joined by a Poison Revenant tossing poison bombs and raking up lethal fissures that track you around obstacles.
After you terminate them all, enter the cave you’ve opened and approach the hole at the bottom of an old stone well (9) in the back. The runic seal stone sits on a ledge a few feet up. Sling your axe at it!
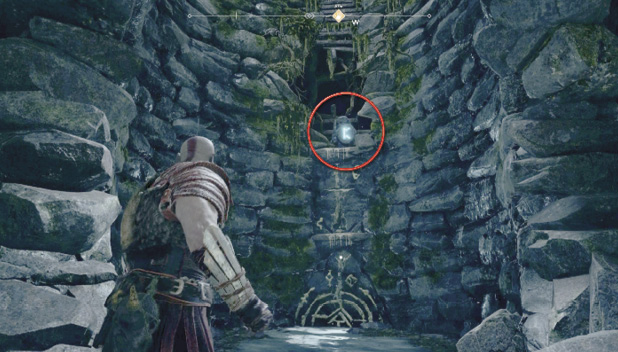
Before you leave this cave, head down the side corridor (10) to find a Cipher Chest in a nook with two strange green light sources above it. (You’ll learn what these are later.) The chest contains another Muspelheim Language Cipher piece.
Find the Second Runic Seal Stone
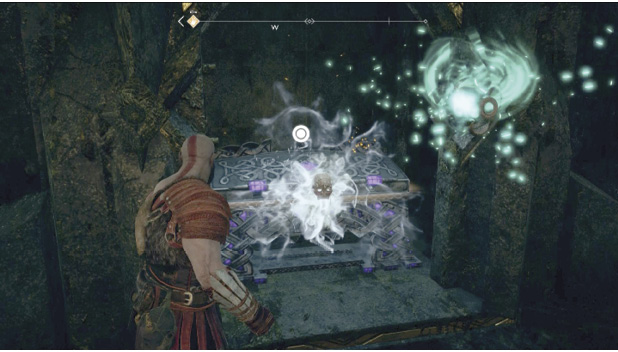
To find the next runic seal, exit the cave and go to the rock ledge (11) just to the right of the wooden walkway. Spot the crystal (circled) on the rock platform (12) across the gap and shoot it with a Light Arrow to generate a light bridge that extends to a platform below you.
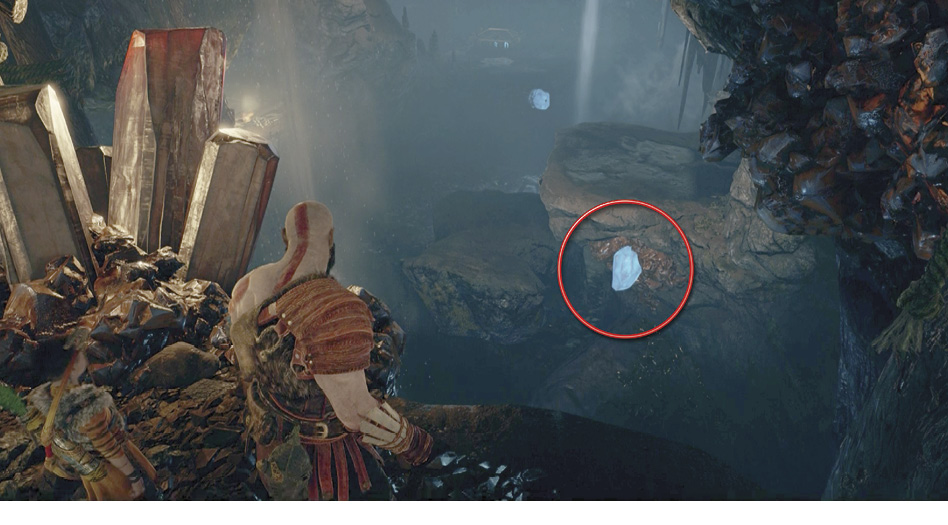
Run around near the pallet to drop down. You see a small alcove sheltering a coffin dripping with red sap. You need to find some Shatter Crystal before you can clear the sap. For now, spot another runic seal to the right of the coffin. Nail it with your axe. Two seals broken, one to go.
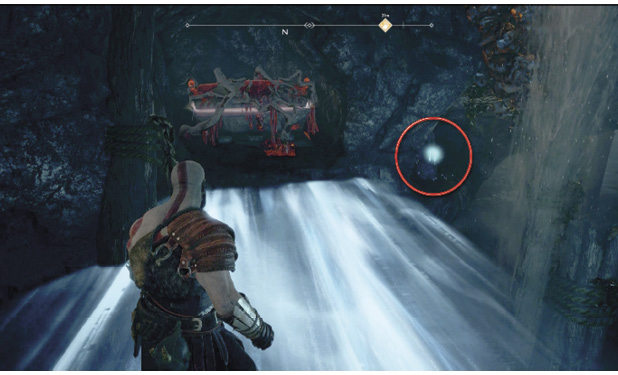
Push the Pallet to Find Stuff
Before you track down the third runic seal, do a bit of exploring. From the rock platform, head through the cut in the rocks to find a pallet (13) loaded with timber and stone. Go around its left side, grab the handle, and pull the big pallet sideways toward the gap until Kratos can’t go any farther. Release the pallet and go back where it originally sat (13) to find a coffin stashed behind a wooden partition.
Then return to the pallet and push it all the way until it drops into the water (14). Step onto the pallet and jump across the water to the platform underneath the rock arch to pick up an Artifact. Then jump back over to the pallet.
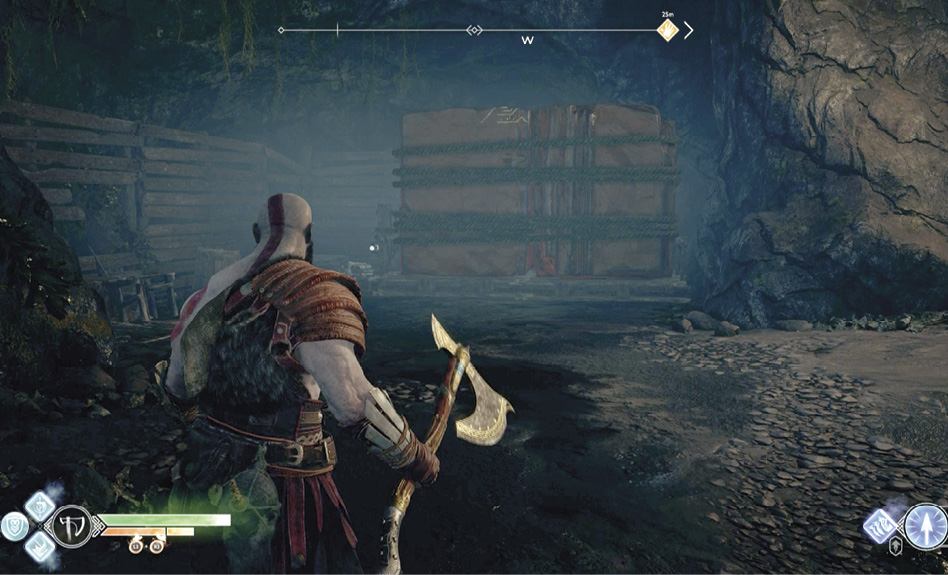
Find the Third Runic Seal Stone
Shoot a Light Arrow at the crystal (15) on the edge of the next platform (where the Nornir Chest sits) to activate another light bridge. Cross that bridge and turn right to see one more crystal (16) across the gap. Zap that crystal with a Light Arrow too and cross the light bridge created. It leads to an Yggdrasil root full of Shatter Crystals behind a narrow waterfall.
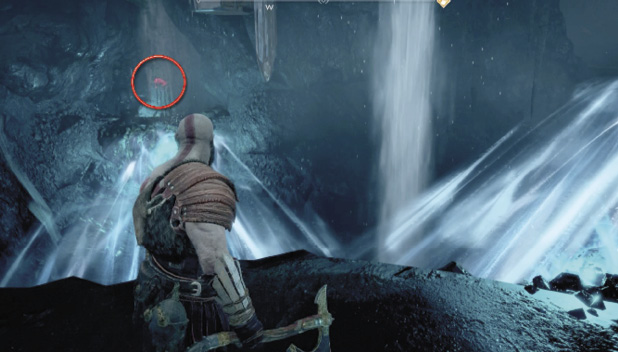
Grab a chunk of the explosive red crystal, head back to the sap-covered coffin (11) and fling the Shatter Crystal at it. Toggle Atreus’ quiver back to Shock Arrows and shoot one at the Shatter Crystal to detonate the sap. Now you can loot the coffin.
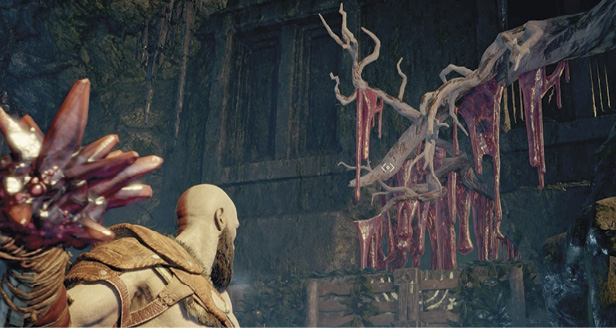
Return to the Yggdrasil root (16), grab another Shatter Crystal, and proceed past the Nornir Chest all the way to the yellow-marked wall (17) with a red sap barrier at the top. Toss your Shatter Crystal at the sap and fire a Shock Arrow at it to blast apart the barrier. Climb the marked wall to find a nice collection of stuff: a coffin, a chest, and a hanging Hacksilver bucket. You also see another magically locked chisel door (18) and an object glowing on the floor (19). Approach the object and press Square to have Atreus pick it up—it’s a Treasure Map!
Turn toward the opposite wall with the grated iron gate (20). Up high, to the right of the gate, is the third runic seal. Smash it with an axe toss and return to the Nornir Chest for your reward: a Horn of Blood Mead.
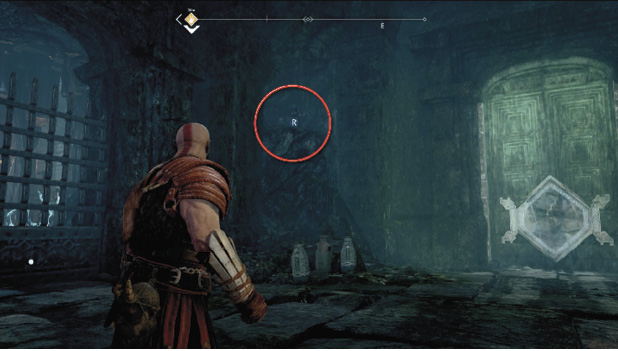
Solve the Sand-Bowl Puzzle
Return to open the grated iron gate (20); Atreus spots a sand bowl over on a raised platform. But as you proceed toward it, two chanting Poison Revenants pop up to attack. Team up with Atreus to defeat them, and then
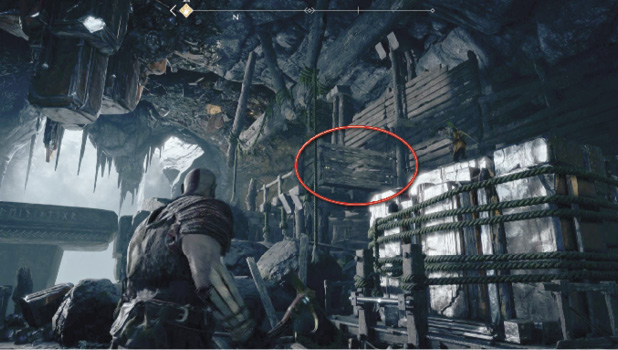
find the tall marked wall section (21) with rotting wooden slats (circled) near the top. Toss Leviathan to smash the slats and boost Atreus up the wall. He moves to the platform’s end and says, “That’s way too far to jump.”
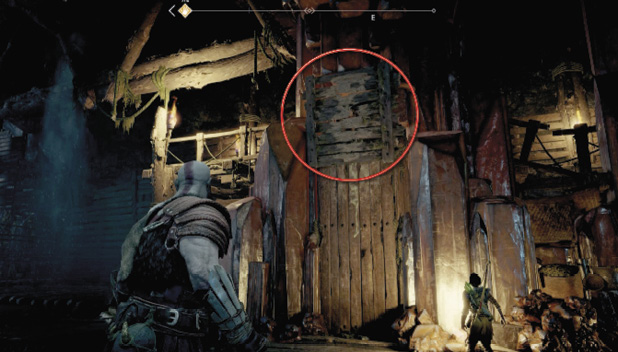
Smash the boards stacked against the loaded pallet (22), then grab the pallet’s handle and drag it rightward toward the platform where Atreus waits. When you get there, the boy jumps atop the pallet. Now drag the pallet all the way left, back to where it started (22). Release the pallet and toss Leviathan through the wood slats (circled in our shot) blocking Atreus’ way onto the far platform.
Atreus automatically runs over to the sand-bowl platform (23). Proceed to the end of the walkway (24) facing Atreus and press Square when the on-screen prompt appears. Atreus reads the rune riddle and suggests that the answer must be nearby. Look up at the dilapidated boards on the cavern ceiling directly across from the sand bowl. Toss your axe at the top and bottom sections to shatter all of the boards and reveal a three-rune message.
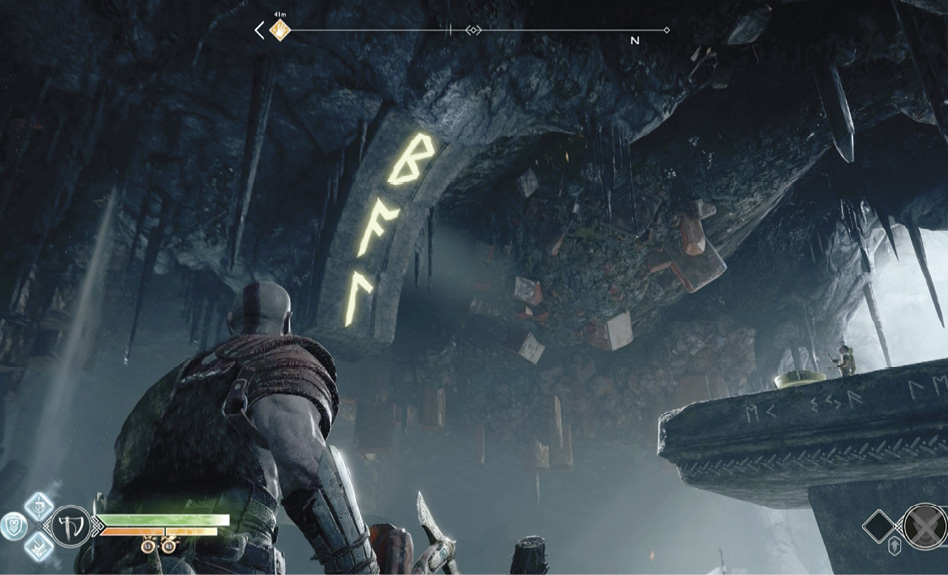
Atreus enters that newly revealed message into the sand bowl. The bowl platform lowers, revealing a small niche with a Legendary Chest inside! Now you can jump across to the lowered platform and loot the chest.
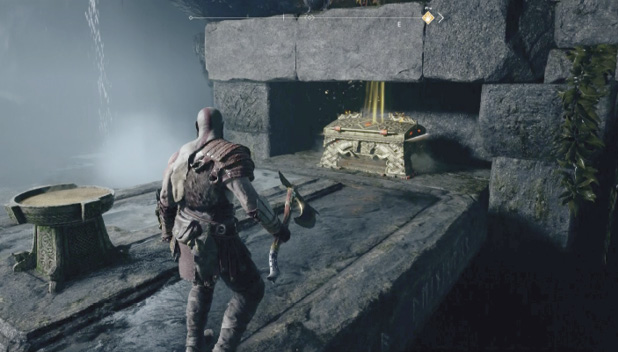
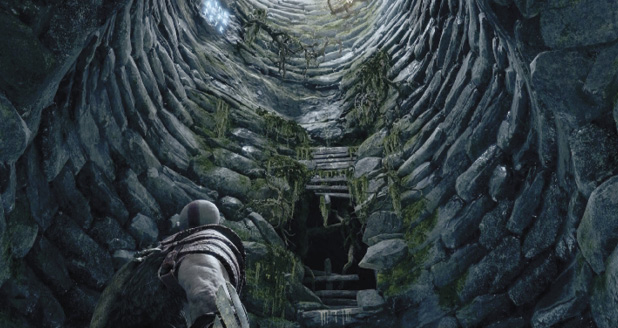
Backtrack across the cave, all the way to the bottom of the old stone well (9). En route, note that you cannot climb up from the first light bridge you activated and dropped onto earlier; instead, veer left to a low ledge (25) that you can crawl up instead. When you finally reach the stone well, start climbing at the marked spot.
Witch’s Sanctuary and Lake of Nine
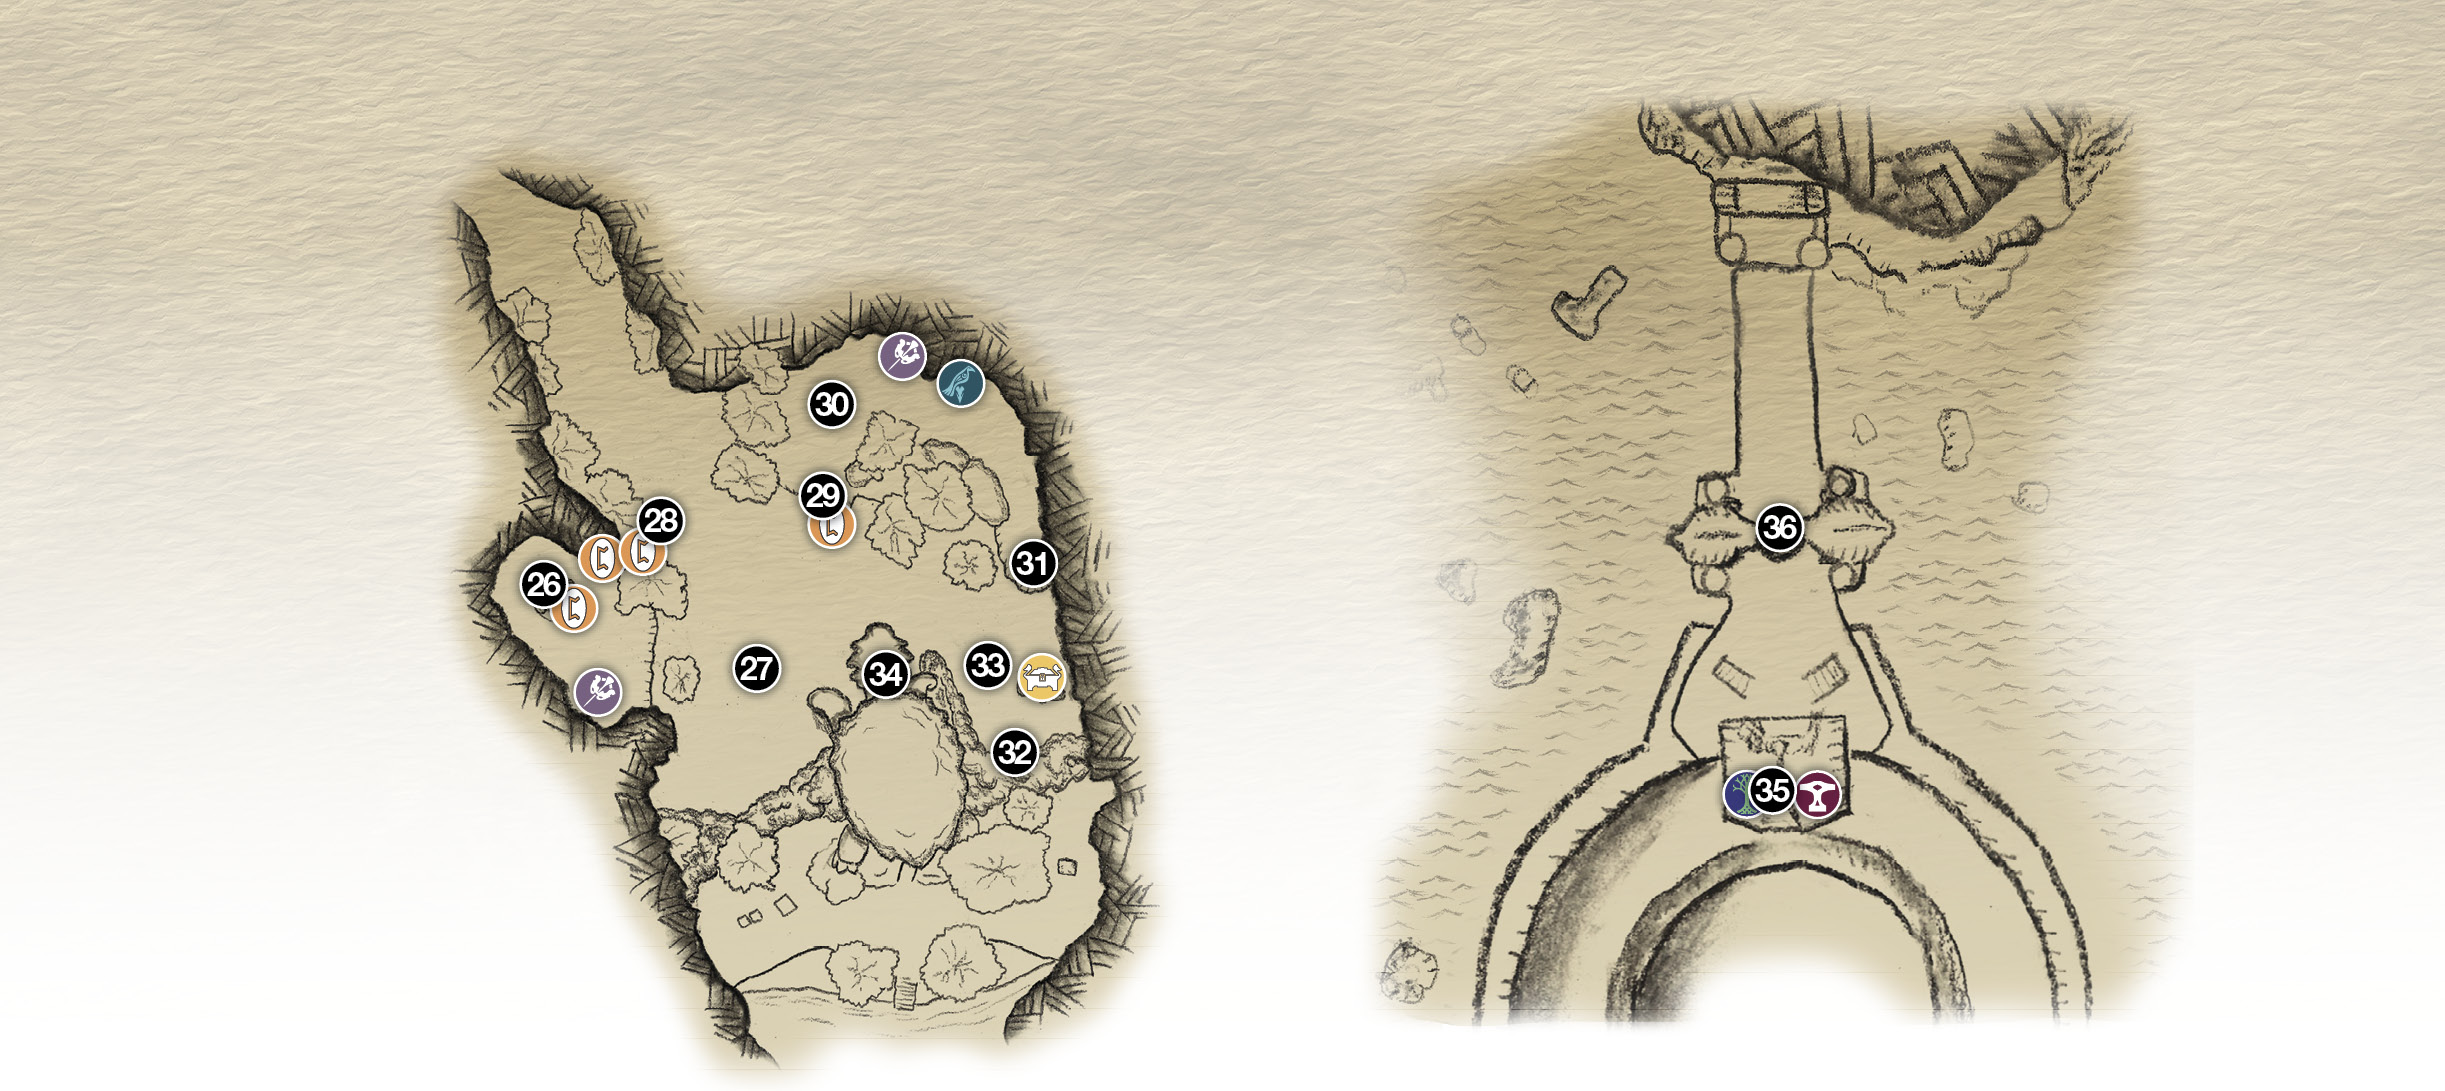
26. Old stone well (Rune Read Inside)
27. Treasure pickup
28. Lore Read on wall
29. Climb chain (Lore Read)
30. Heavy Draugr!
31. View of five Runestones
32. Sand bowl
33. Runes on stones (seen from (31)
34. Witch’s door
35. Arrival at Mystic Gateway
36. Serpent’s Horn platform
37. Boat dock
 Artifact
 Legendary Chest
 Lore
Lore
 Mystic Gateway
 Raven
Raven
 shop
shop
Get Access to the Witch’s Front Door
About halfway up the well (26), you must slide sideways to the left. There you find a Lore Read etched on the wall—a warning message that Atreus translates as “Turn back, Aesir.” A warning to the Aesir gods! At the top, you can see the great turtle just ahead. The creature is indeed raised up, holding the Witch’s house above ground level.
Look behind the stone top of the well to find a loose crystal. Install the crystal in the empty stand next to the nearby Lore Marker, toggle Atreus’ quiver to Light Arrows, and shoot one into the crystal. Direct Atreus to translate the marker.
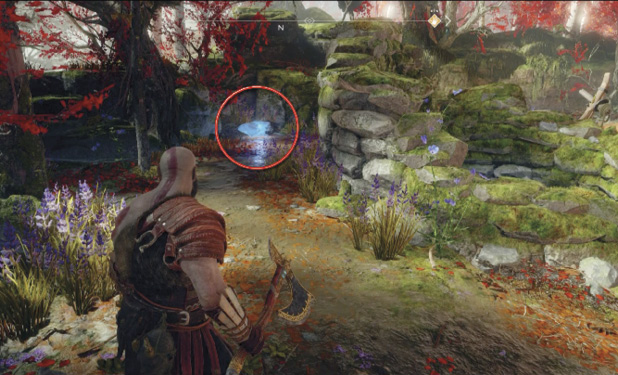
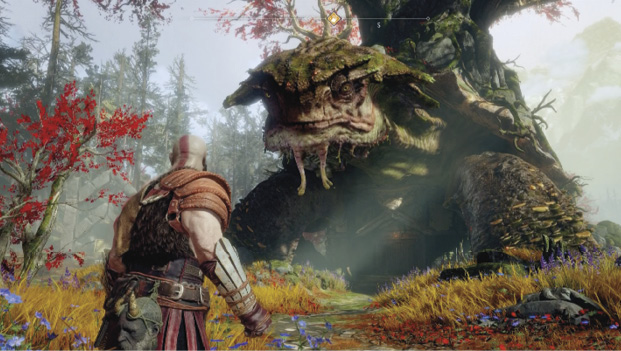
Head down the path to the meadow. Be sure to snag the Artifact on the ground just before the fallen trunk. Proceed into the meadow (26) around the turtle.
Your arrival in the meadow triggers the emergence of a large squad of marauding Draugr. About half are standard Draugr soldiers, and the other half are agile Speed Draugr that zip around the field on glowing, enhanced legs. Although their numbers are large, they all lack durability and can be stunned easily with a few arrow strikes. After you clear the meadow, the great turtle lowers the Witch’s house to ground level.
Optional: Explore the Sanctuary
Before you go to the Witch’s door, take some time to explore the area around the lush sanctuary for a number of items. First, find the treasure pickup indicated in “The Turtle’s Tribute” map you found in the Witch’s Cave. It sits just off the path (27) between two gray rocks next to the turtle’s left front foot (see our shot for the exact location). Grab it to score a Legendary accessory plus a nice haul of Hacksilver and valuable resources.
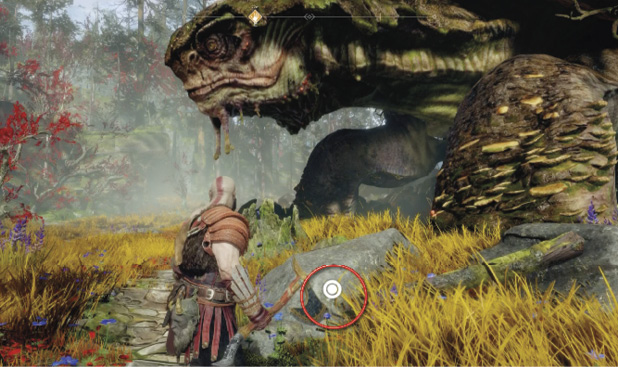
Next, find the runes written on the low cliff (28) on the left side of the meadow’s central pathway. It speaks of a Seiðr curse “upon all who trespass.”
Head back toward the house, then veer left to find the chain (29) hanging next to another wall etched with a rune message. Atreus translates it as “Death to the Raven God.”
Climb the chain to an upper terrace of the sanctuary, where a pair of tough two-handed Draugr arise (30), swinging their heavy axes. Take them out and note the Nornir Chest nearby in a shady nook. Continue along the path to find an Artifact.
Solve the Sand-Bowl Puzzle
Keep following the path around the curve to an overlook at the end of the plateau (31). Note that large runes are painted on five boulders around the area (32). Atreus says the runes form the word for “wind.”
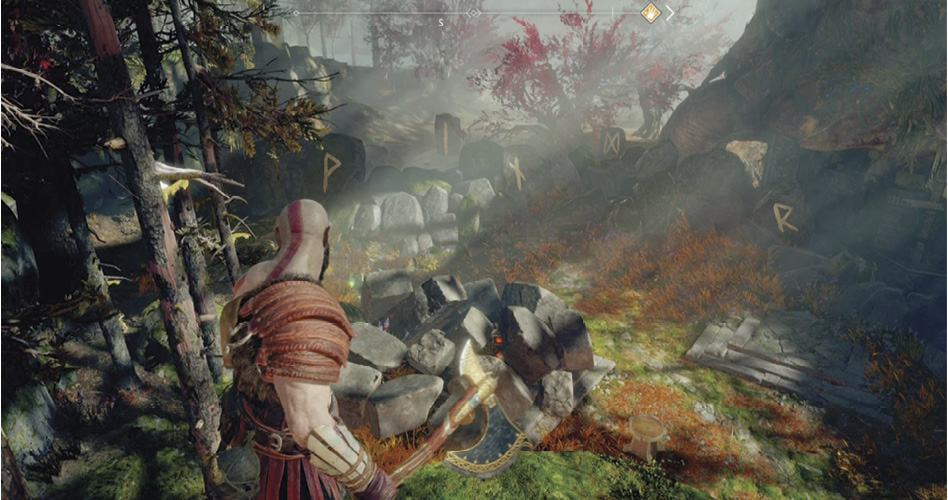
Retrace your way back to the chain and climb down. When you approach the sand bowl (33), Atreus automatically traces the runes. This triggers a magical rearrangement of the nearby rock pile, revealing a gleaming Legendary Chest with a Runic Summons inside.
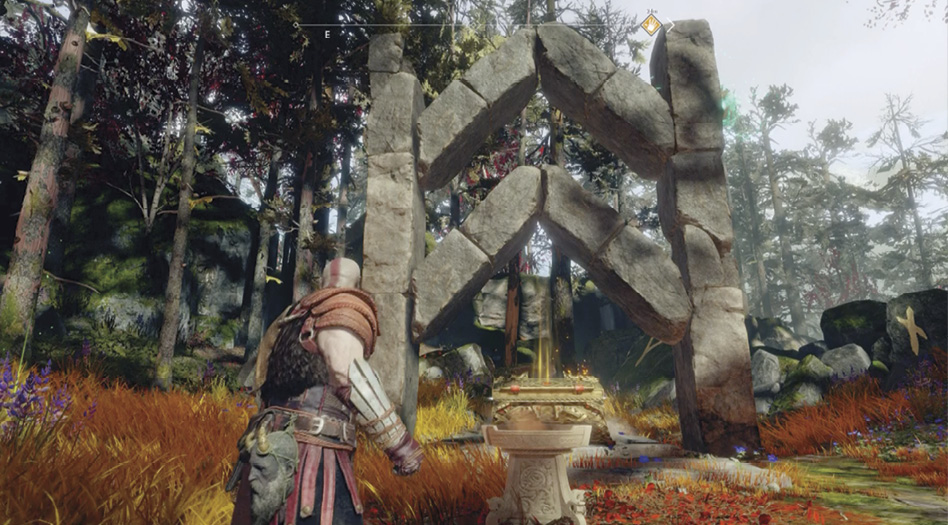
Visit the Witch
Head to the Witch’s front door (34) and enter to trigger a long cinematic sequence revealing that she is indeed much more than a “Witch.”
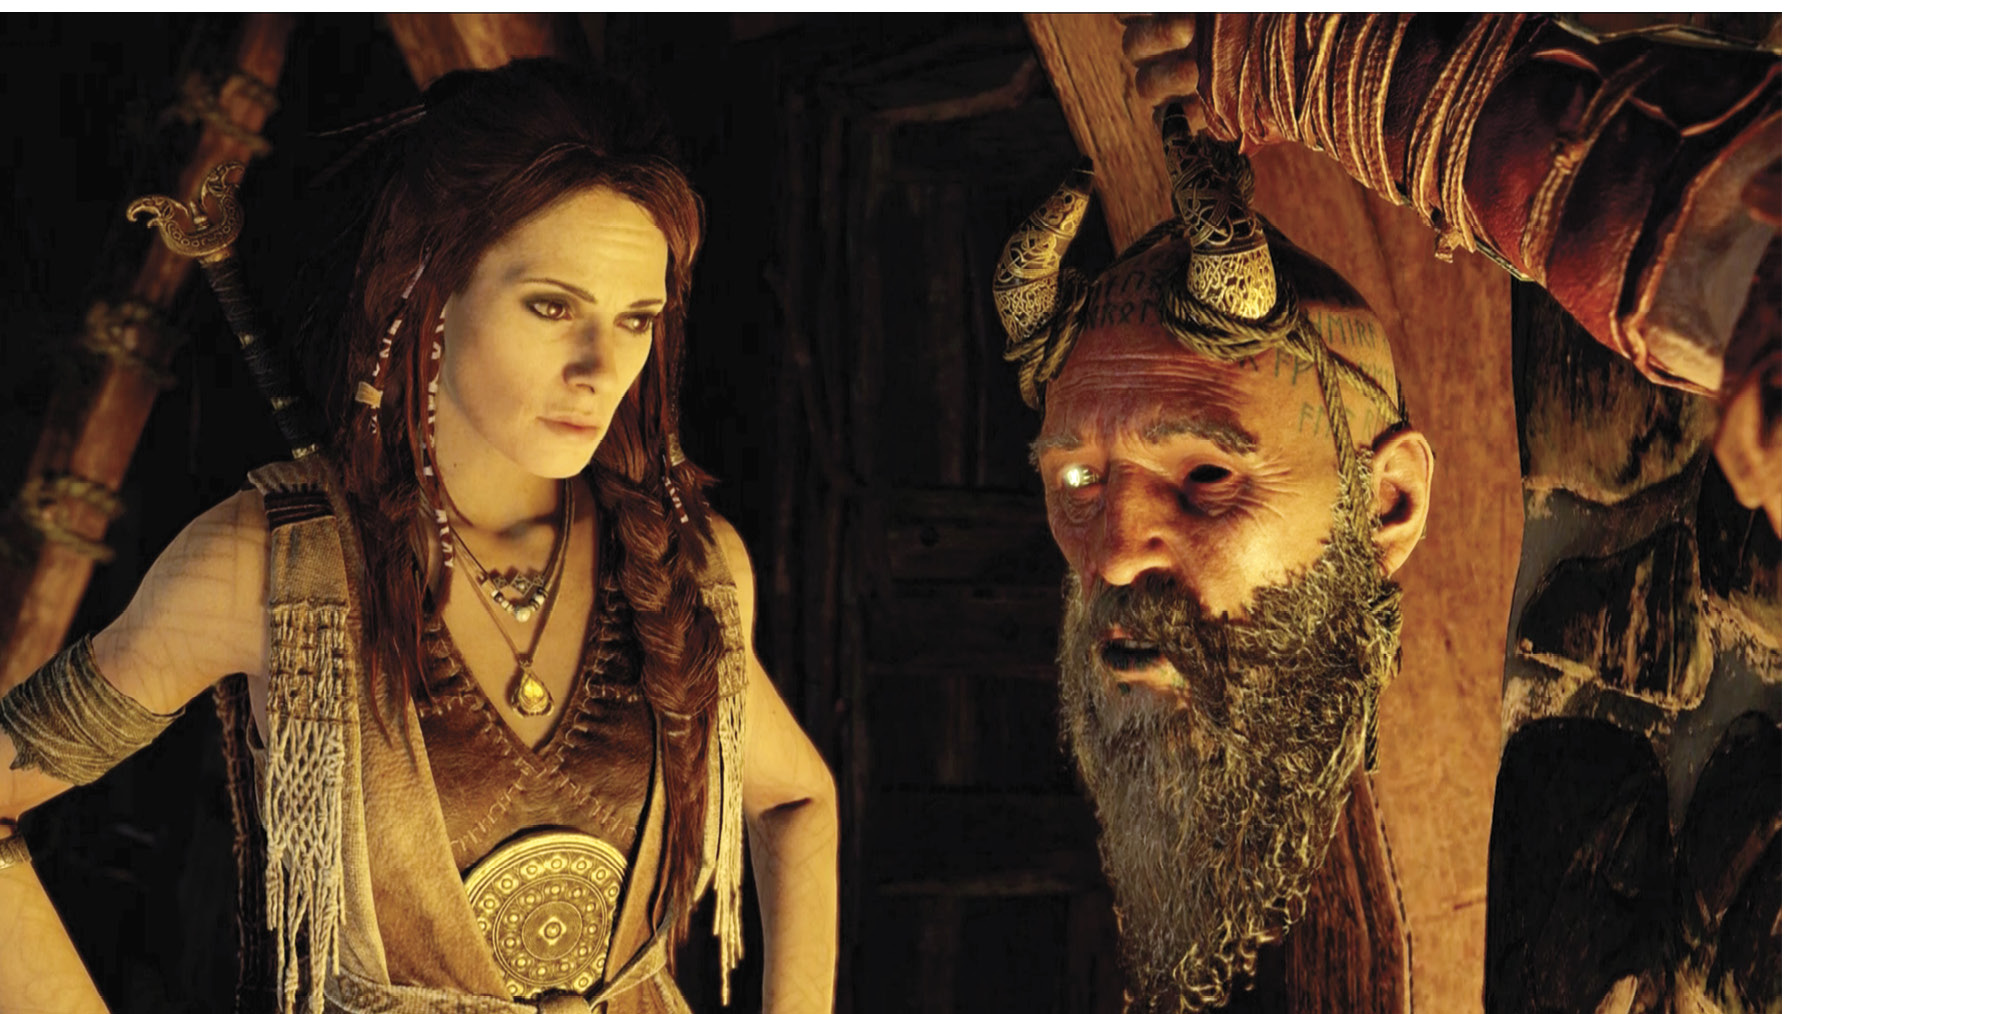
OBJECTIVE: Go to the Serpent’s Horn
After the scene with Freya, you end up in what is now called “Freya’s Cave.” Mimir says he’ll get you to Jötunheim as promised; the first stop is at Týr’s Temple on the Lake of Nine.
Head down the walkway from the house to the elevator and ride it down to the cave’s lower level. You can use the boat or the Mystic Gateway next to the dock to travel back to Týr’s Temple, arriving at the gateway (35) across from Brok’s shop. (Remember, you must make a brief stop between realms until the bluish portal appears, then use that to travel to the temple.)
As you travel, listen to the conversation with Mimir to learn more about Baldur’s blessing of invulnerability to all threats, physical or magical. Once you arrive at the temple, exit the building and follow the bridge to the switch on the circular lift (36) at the middle point of the bridge. Turn the switch to ride the lift up to the horn platform.
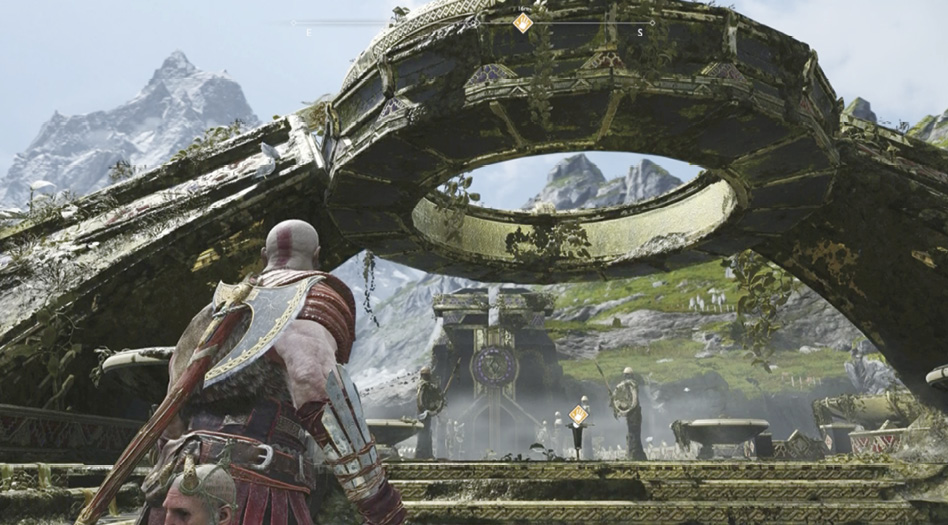
OBJECTIVE: Speak to the World Serpent
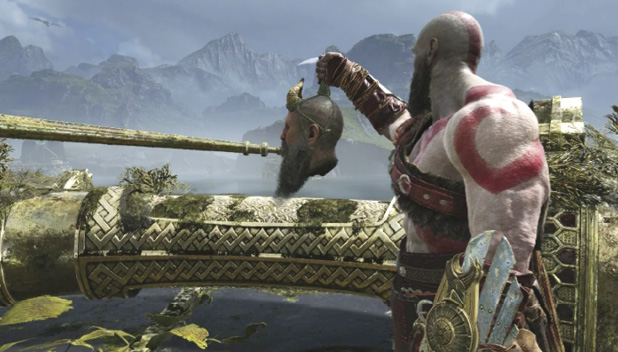
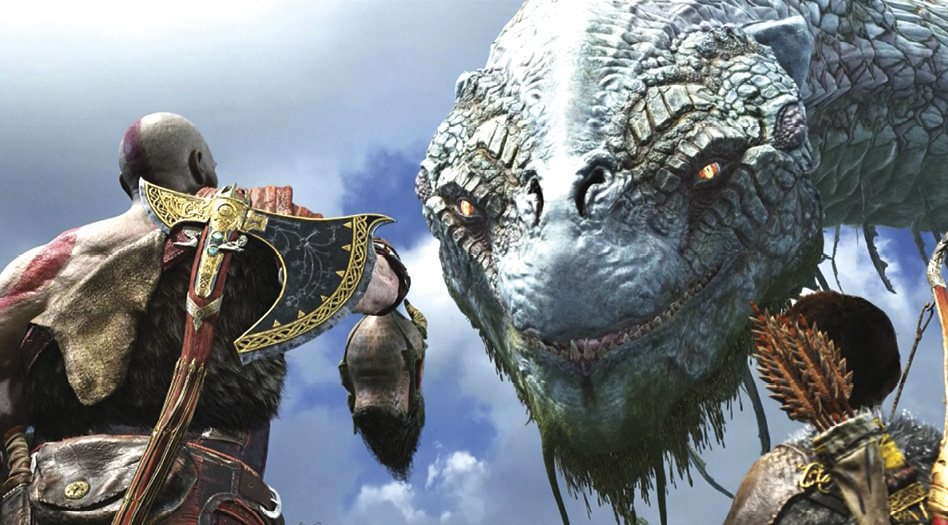
Approach the end of the horn and press Circle to hold Mimir’s lips to it. This triggers a long and amazing cinematic sequence.