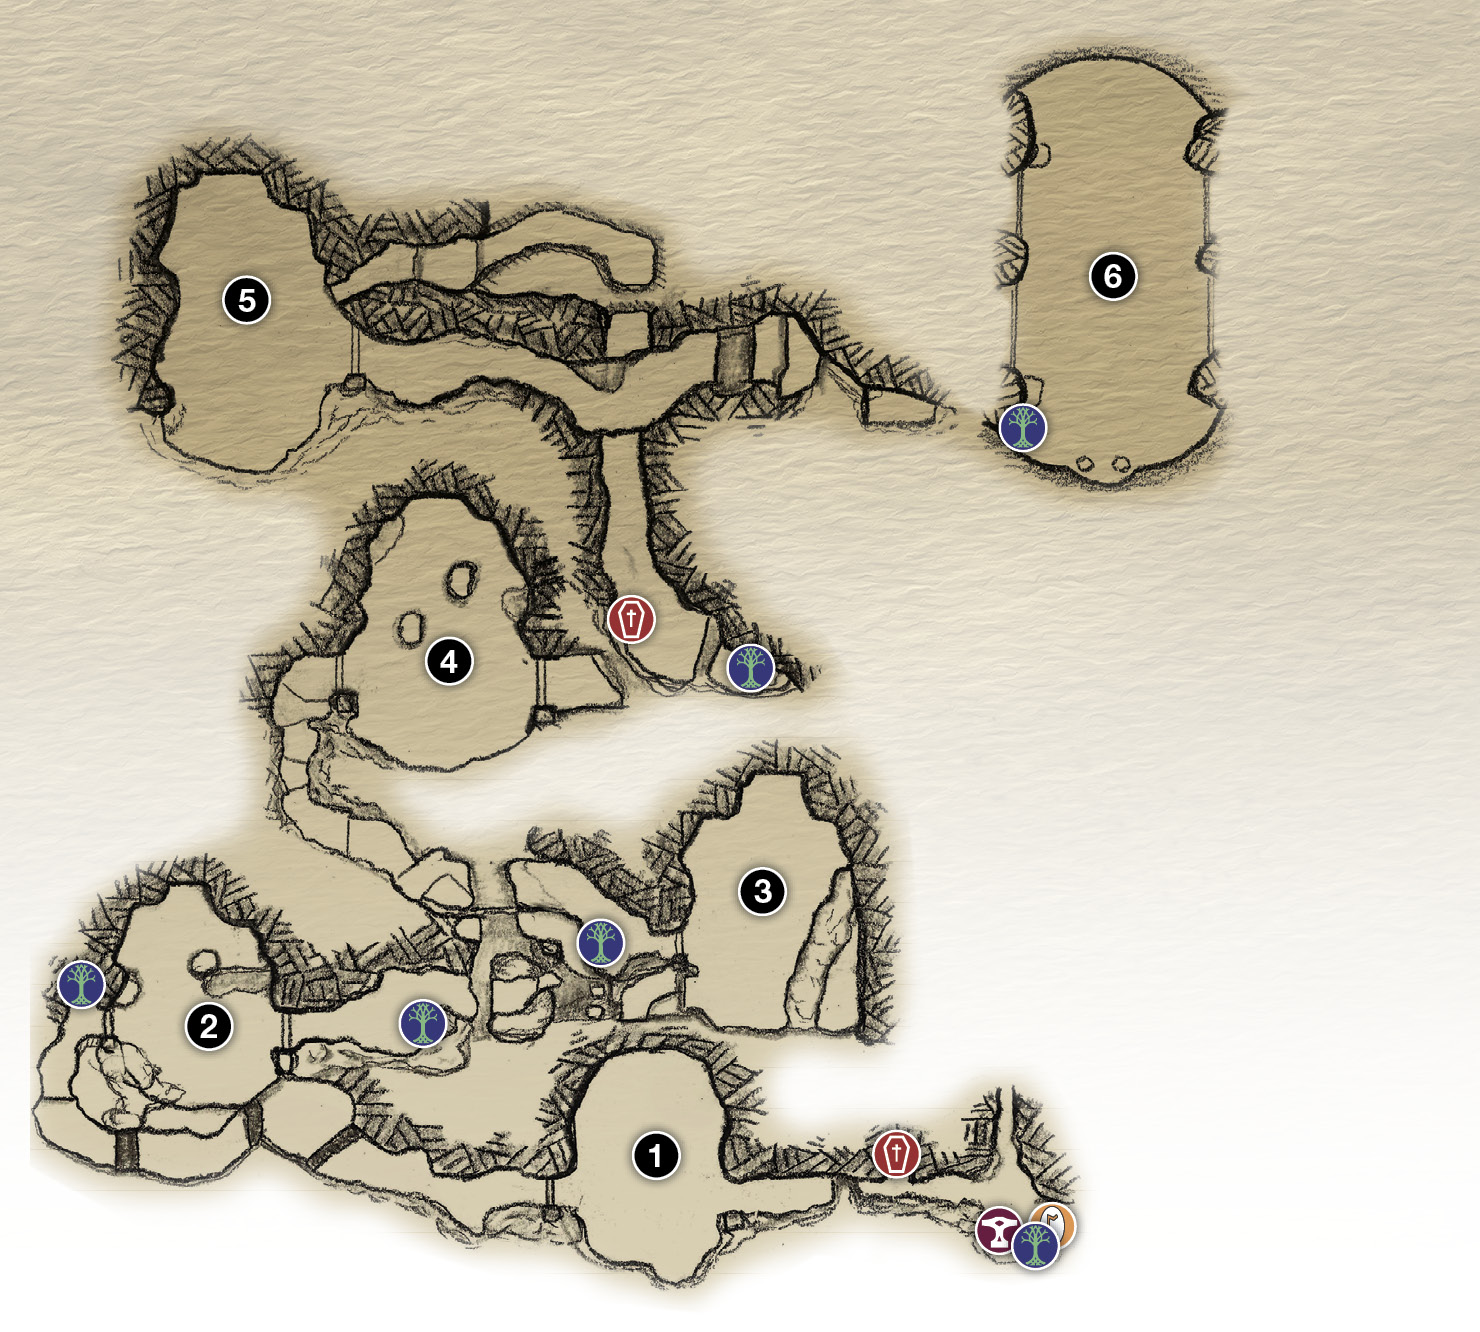
Muspelheim
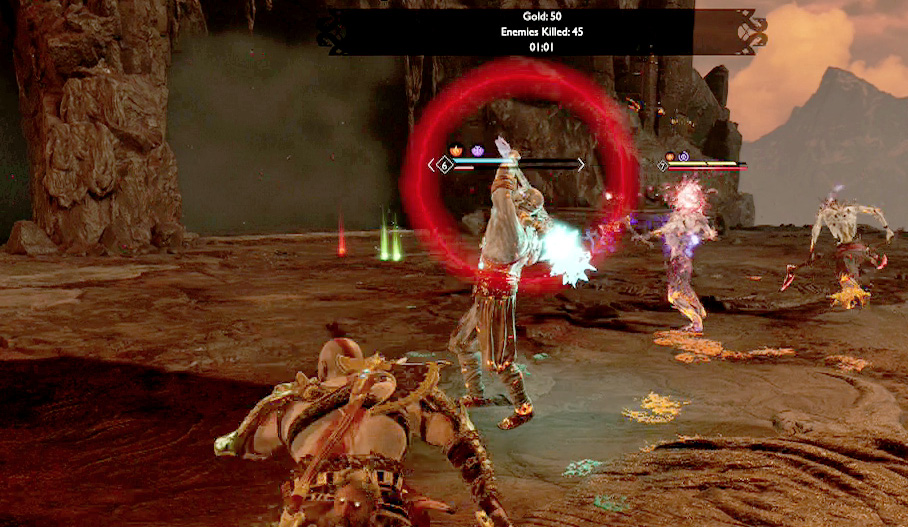
By collecting the four Muspelheim Language Ciphers, required for “The Realm of Fire” Favor, you unlock a new realm in Tthe Realm Travel Room. Select Muspelheim and exit the temple to enter the realm of fire and brimstone. The main objective in this realm is to climb to the top of the volcano, but in order to do so; you must complete 10 trials (five Normal and five Hard). Then, once you reach the top, you must defeat a fire-summoning Valkyrie named Göndul. Freeing the Valkyrie unlocks a series of Impossible Trials that lead to the final Gauntlet, where extremely valuable resources are rewarded for exceptional results.
 Coffin
 lore
lore
 Muspelheim Trial
 Mystic Gateway
 Shop
Shop
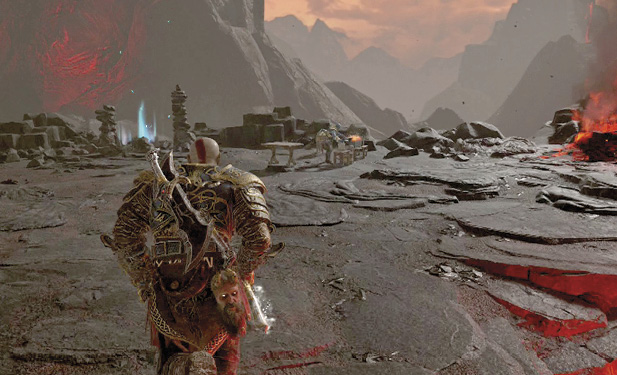
Cross the bridge to find Brok, who has set up a shop next to a Mystic Gateway and Jötnar Shrine, which Atreus interprets as a story about a Fire Giant named Surtr.
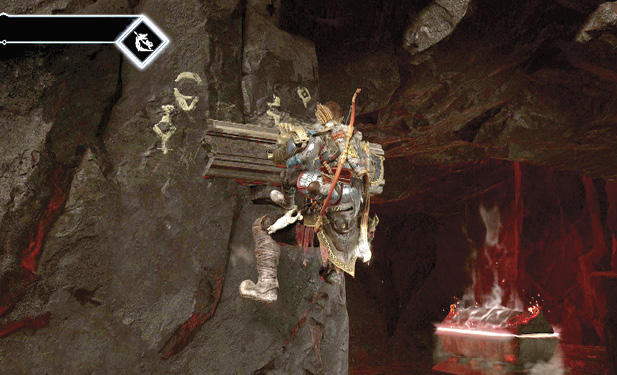
Head west and scale the wall, up and to the right, to find a coffin. Loot the Smoldering Ember and continue your climb back to the left. Once past the river of lava, drop down and run into the first arena, where the first two trials take place.
Smoldering Ember is the main resource of the realm and is necessary for crafting and upgrading all Muspelheim gear. It’s found in containers throughout your climb. The following table lists the Muspelheim gear that can be crafted or bought from Brok or Sindri. These items provide bonuses that are beneficial during your time in Muspelheim. They become available once you collect the four Muspelheim Language Ciphers.
Epic Muspelheim Gear
| Type | Name | Description | Bonuses |
|---|---|---|---|
|
Armor Set |
Smoldering Brimstone Pauldron/Gauntlets/Battle Belt |
Offensive armor with bonus to normal attacks |
Chance to grant a burst of Runic and Strength when damaged |
|
Armor Set |
Breastplate/Gauntlets/War Belt of Fallen Ash |
Defensive armor |
Chance to inflict concussive fire damage to nearby enemies when damaged |
|
Armor Set |
Blazing Magma Pauldron/Wrappings/War Belt |
Defensive armor with faster cooldowns for Runic Attacks |
Chance to create a fiery shield when damaged |
|
Talisman |
Sinmara’s Cinder |
Summon raging inferno of Muspelheim, increasing Defense, preventing interruptions, and causing damage and burn to all nearby enemies |
|
|
Enchantment |
Muspelheim’s Eye of Power |
Increased resistance against burn damage |
|
|
Axe Pommel |
Surtr’s Grip of Flame |
Low chance to gain Aura of Fire on any hit |
|
|
Blades Pommel |
Grips of the Forgotten Flame |
Low chance to gain Aura of Fire on any hit |
There are 15 Favors associated with Muspelheim. There are 6 arenas, five of which hold one Normal and one Hard Trial. Complete all 10 to access the top trial, a fight with the Valkyrie. This unlocks five more Impossible Trials. Complete three of these to unlock the final trial at the top.
Trial I (Normal): Time Attack
|
First Available |
Begin “Mountain High” Labor |
|
Objective |
Defeat 15 enemies within 3:00 |
|
Reward |
615 XP, Hacksilver, Smoldering Ember |
Interact with the Arena Sword in the center of the first arena and accept the challenge to begin the first trial. The objective is to kill 15 Draugr before the three-minute timer runs out. The Draugr enter through the openings on the side of the mountain and the south ledge. A variety of Draugr, many of which possess a power-up, join the fight.
You must take the enemies out as rapidly as possible. For the Draugr that climb the cliff, quickly knock them over the edge.
Otherwise, use area-of-effect Skills and Rage Mode as soon as you can.
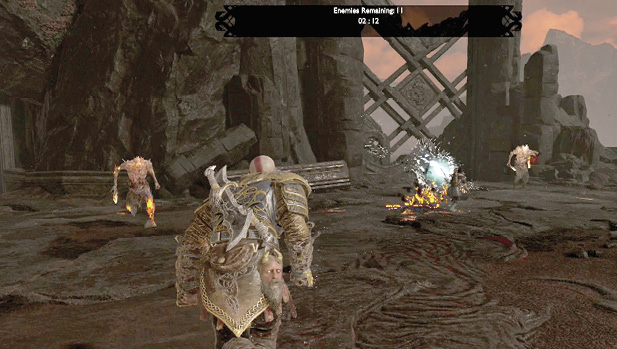
After each trial, a Legendary Chest appears with your reward of Smoldering Ember, which is used to craft and upgrade Muspelheim gear.
Trial I (Hard): Resurrection
|
First Available |
Complete Trial I (Normal) |
|
Objective |
Defeat enemies in quick succession (three waves) |
|
Reward |
1075 XP, Hacksilver, Smoldering Ember |
After completing the Normal Trial, the sword reappears. Accept the next challenge to begin the Hard Trial. As the name implies, Hard Trials are a step up in difficulty over Normal. This trial requires that you defeat enemies in quick succession; a defeated monster resurrects after a few seconds if others remain alive. A “Death Defiers Alive” count is displayed at the top of the screen for quick reference.
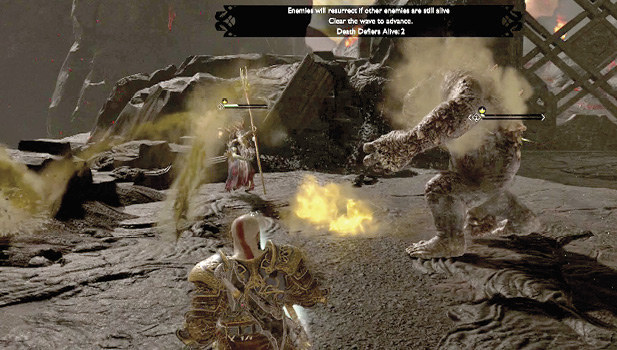
There are three waves of enemies that must be defeated to complete the trial:
Wave 1: Speed Draugr, Projectile Draugr, Heavy Draugr (Explosive)
Wave 3:Tatzelwurm, Rabid Wolf x3
Since the enemies must be killed within a few seconds of each other, it’s best to whittle down the health of each foe before finishing them all off. Area-of-effect Skills are extremely useful if you can group everyone together.
Because it takes longer to weaken the bigger monsters—such as the Heavy Draugr and Ogre—start pounding on them first. There’s no time limit for this trial; your health dictates the amount of time you have. Be sure to hit the Heavy Draugr with an axe throw when it powers up its explosive chest.
Trial II (Normal): Survival
|
First Available |
Complete Trial I (Hard) |
|
Objective |
Survive for 5 minutes |
|
Reward |
615 XP, Hacksilver, Smoldering Ember |
Follow the trail up and around to the second arena; a Mystic Gateway sits nearby in case you need to visit Brok or Sindri. Your only objective for Trial II (Normal) is to survive for five minutes.
Sounds easy enough, but throw in an onslaught of monsters (Level 3-5 Reavers, Shadows, Dual-Wield Draugr, and Poison Wolves) and things can get hairy fast.
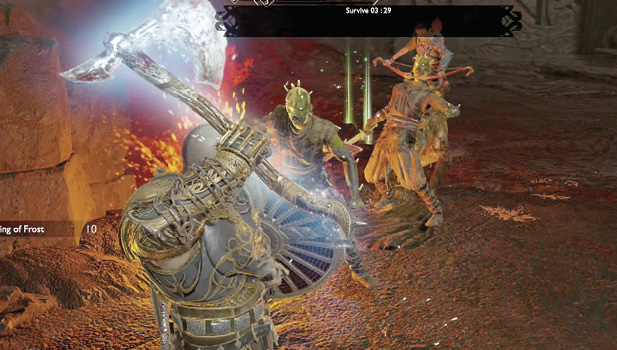
Watch out for the lava that cuts into the arena; take care not to get pinned down on the short side. The lava can work to your advantage, though—knock an enemy into it for an instant kill.
The idea is simply to survive, so use axe throws and arrows to keep the Poison Wolves at a distance. If they’re able to get in multiple bites, you’re hit with poison.
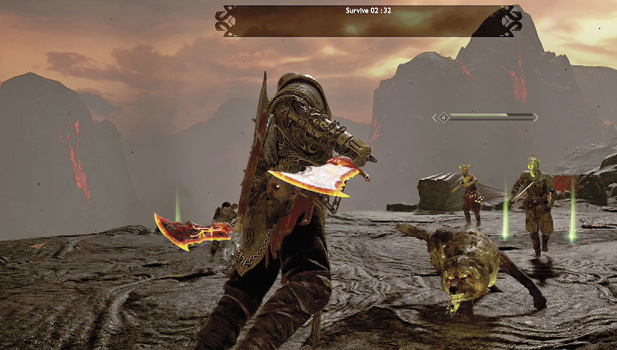
Reavers are capable of healing themselves to full health, so finish them off when the opportunity arises. Clear out of the area after killing a Reaver, since they detonate shortly after dying.
Use counterattacks to not only avoid taking damage, but also stagger the enemy. Skills and Runic Attacks that clear out the area around you are extremely helpful when the fight gets overwhelming.
Stay on the move, and keep Atreus busy distracting one or two of the foes.
Trial II (Hard): Stunner
|
First Available |
Complete Trial II (Normal) |
|
Objective |
Defeat enemies while they quickly regenerate health |
|
Reward |
1075 XP, Hacksilver, Smoldering Ember |
For the Hard Trial, enemies can only be defeated with stun grabs. You must survive five waves of enemies in all to complete the trial, so it’s especially important to avoid their attacks. The waves are made up of the following:
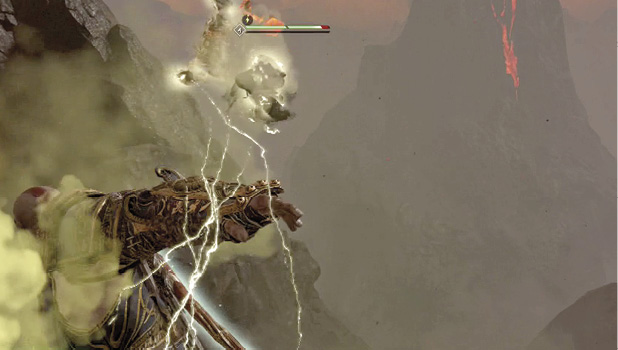
Wave 1: Hel-Reaver x6
Wave 2: Rabid Wolf x3, Hel-Shadow Scout x3
Wave 3: Heavy Draugr x2
Wave 4: Hel-Reaver x3, Projectile Draugr x3
Wave 5: Draugr (Speed) x3, Hel-Reaver Guard x4
Use barehanded attacks and Atreus’ Shock Arrows to speed up the stun process. When possible, use stunned enemies against the others, such as by targeting the second Heavy Draugr when throwing the first. Or, simply throw them off the cliff for an easy kill.
Trial III (Normal):
Shield Breaker
|
First Available |
Complete Trial II (Hard) |
|
Objective |
Kill grunts to break the Elite’s shield (five waves) |
|
Reward |
615 XP, Hacksilver, Smoldering Ember |
Follow the trail across a couple of gaps until you reach a steep cliff. Search the left path for bonus Hacksilver before starting the climb. Scale the wall up and to the right until you reach the third arena high above.
A Dark Elf Lord is the elite in this fight, and as long as there are other enemies around, he cannot be damaged. A message on-screen indicates the number of active enemy allies remaining whenever the elite is invulnerable.
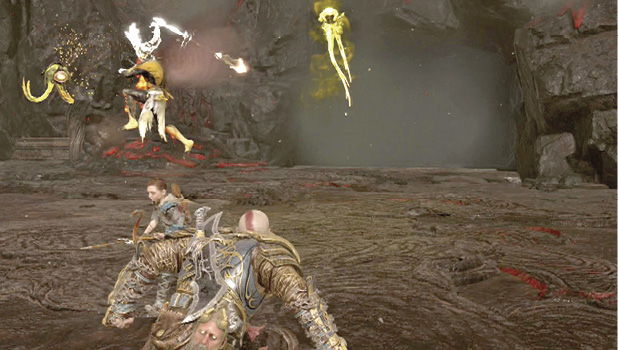
Kill the first wave of enemies, and the elite is no longer invulnerable. Inflict enough damage on the leader, and the second wave of monsters is introduced, making the elite untouchable once again. This process continues at set health thresholds through the following five waves of enemies. After killing the final set of enemies, finish off the elite to complete the trial.
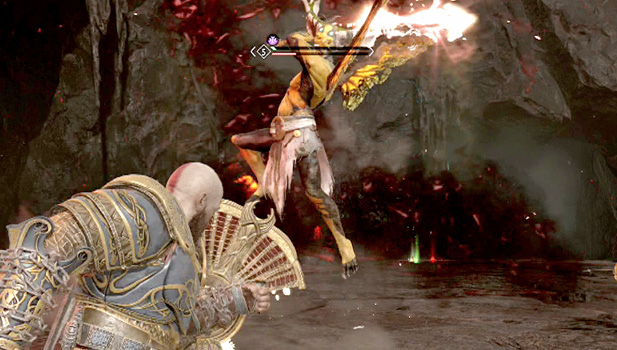
Wave 1: Nightmare x2
Wave 2: Dark Elf x3
Wave 3: Dark Elf Warrior x2
Wave 4: Poison Revenant
Wave 5: Dark Elf x3, Dark Elf Warrior
The Dark Elf Lord has a blinding attack that makes your task much tougher. When you see the projectiles hit the ground, turn and move away to avoid the effect. Stay on the move and keep Atreus’ arrows coming in order to distract at least one of the active enemy allies. Don’t waste any attacks on the elite as long as others are around.
Trial III (Hard):
Location Challenge
|
First Available |
Complete Trial III (Normal) |
|
Objective |
Kill enemies while they are inside the gold rings (three waves) |
|
Reward |
1075 XP, Smoldering Ember |
For the third Hard Trial, a gold circle is always present somewhere in the arena. For each of three waves, you must kill five enemies inside that gold circle within the given time limit. If an enemy is killed outside the ring, another spawns into the arena, though it won’t necessarily be the same type.
For each wave, the following types of enemies can spawn into the arena. The time limit for each wave is also given. Note that the gold ring moves after each kill during the third wave.
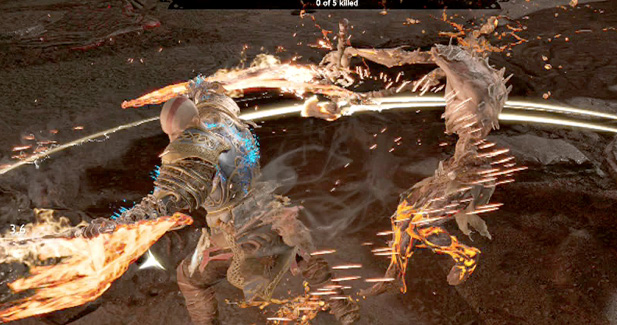
Wave 1: Draugr, Dual-Wield Draugr (Time Limit: 2:00)
Wave 2: Draugr, Dark Elf (Time Limit: 3:00)
Wave 3: Draugr, Heavy Draugr, Dark Elf Warrior (Time Limit: 4:00, rings move after each kill)
The Draugr tend to come to you, while the Dark Elves are more mobile and often keep their distance. Let the enemy come to you inside the ring, and use counterattacks to stagger the foe. Use Light Arrows and barehanded strikes to quickly stun enemies within the ring, and finish them off with stun grabs. Be careful though; if the enemy ends up outside the ring, it does not count as a kill.
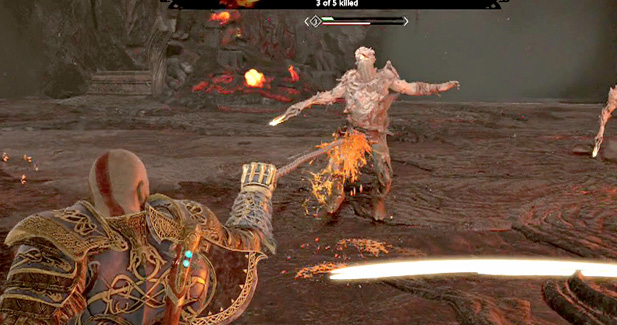
Use area-of-effect abilities against grouped enemies, especially with the stationary rings in Waves 1 and 2. The Blades of Chaos Skill Spear of Chaos can be used to pull enemies into the ring. Always remain aware of the ring location during the third wave.
Trial IV (Normal):
100 Enemy Challenge
|
First Available |
Complete Trial III (Hard) |
|
Objective |
Defeat 100 enemies |
|
Reward |
615 XP, Hacksilver, Smoldering Ember |
Exit to the west; a Mystic Gateway is available if you need to visit the shop. Climb the steps up to the fourth arena and interact with the Arena Sword to start the Normal Trial, which calls for a simple objective: defeat 100 enemies. An on-screen message displays the number of enemies that remain.
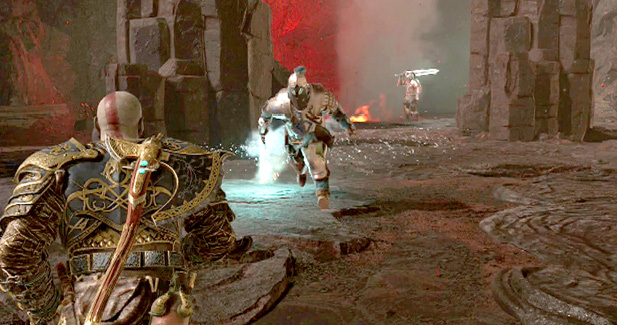
Enemies continue to stream into the arena throughout this trial from the cave openings and the cliff. Pay attention to the threat indicators and move to the enemies to avoid being overwhelmed. Possible Enemies include Draugr, Projectile Draugr, Heavy Draugr, Hel-Traveler, Heavy Draugr (Explosive), Dual-Wield Draugr, Hel-Shadow Scout, Speed Draugr, Hel-Shadow Archer, Ogre, Fierce Ogre, and Draugr (Shield).
Notable Enemy Entrances
Sprint to the edge of the cliff when you see enemies climbing up and knock them off the side for easy kills. Foes can also be deposited into the two lava pools. Watch for the Hel-Traveler to raise the rune above his head, and interrupt it with a light axe throw.
When you spot the pair of Ogres emerge from the cliff, pummel one of them until stunned, then perform a stun grab to mount the beast. Now you can wreak havoc on the others.
Trial IV (Hard): Protector
|
First Available |
Complete Trial IV (Normal) |
|
Objective |
Don’t let enemies capture Atreus (three waves) |
|
Reward |
1075 XP, Hacksilver, Smoldering Ember |
Besides surviving three waves of enemies during this Hard Trial, you cannot allow Atreus to be captured. If he is grabbed three times or becomes incapacitated, you fail the trial. The only enemy that’s a threat to Atreus is the Son Killer Heavy Draugr, so make these guys your priority whenever possible. An “Atreus Capture Count” message lets you know how many times he’s been grabbed. If you can attack the Heavy Draugr immediately after it grabs Atreus, you can free him and keep the count from increasing. Note that the capture counter resets to zero after each wave. An exclamation point icon in the lower-right corner of the HUD indicates that Atreus has been captured, so quickly find and free him from the Draugr’s grasp.
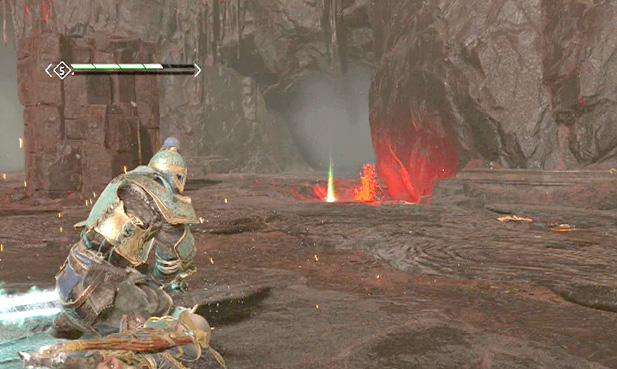
Wave 1: Son Killer Heavy Draugr x3, Speed Projectile Draugr x4 (no more than two of each at one time)
Wave 2: Son Killer Heavy Draugr x3, Draugr x2, Ogre (no more than two Heavy Draugr and one Draugr at a time)
Wave 3: Son Killer Heavy Draugr x5, Hel-Shadow x2, Hel-Traveler (no more than two Heavy Draugr and one Hel-Shadow at a time)
During the first wave, stay close to Atreus while focusing your attacks on the Heavy Draugr. If possible, keep the stone pillar between you and the Projectile Draugr.
The Ogre can be a nuisance during the second wave, but if you can quickly stun the beast, you can use him against the Heavy Draugr and keep them away from Atreus. Just be sure to always keep Atreus in view.
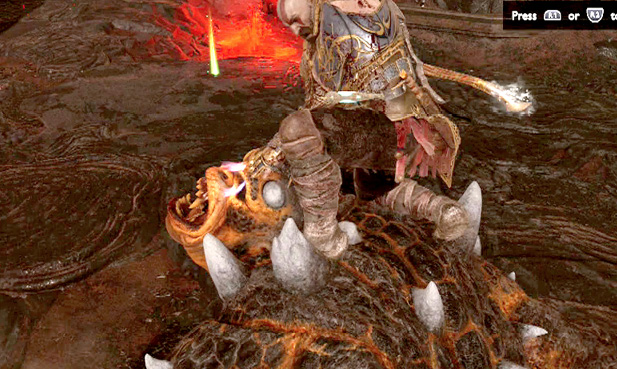
Don’t get so distracted with an enemy that you lose focus on Atreus. Keep him in your sight at all times. Aim Atreus’ arrows at the Heavy Draugr in an attempt to stun the enemy.
With the Hel-Traveler’s relentless attacks, things can get overwhelming as you attempt to keep the two Heavy Draugr away from Atreus. Meanwhile, a Hel-Shadow launches projectiles into the mix. Stay on the move and keep close to Atreus, attacking the heavies and Traveler whenever possible. An area-of-effect Skill or Rage Mode can prove helpful in a pinch. Watch out for a second Hel-Traveler to join the fight as the first gets low on health.
Trial V (Normal):
Time slips away…
|
First Available |
Complete Trial IV (Hard) |
|
Objective |
Kill enemies to increase time (two waves) |
|
Reward |
615 XP, Hacksilver, Smoldering Ember |
Exit out the east, hop across the river of lava, and scale the steep cliff. During the climb, there’s a point where you can shimmy to the left or continue up. Head left to find a coffin before continuing to the ledge above. The trail splits at this point—right goes to a new Mystic Gateway and left eventually leads to the fifth arena.
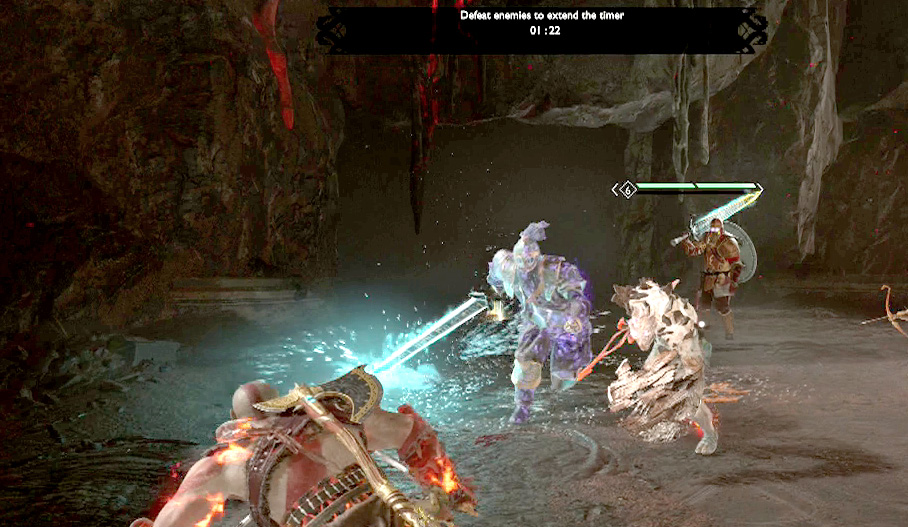
Trial V (Normal) is another time attack, but this time, each kill extends the timer by 30 seconds. The timer starts at one minute and resets to 1:00 once the first and second waves are defeated.
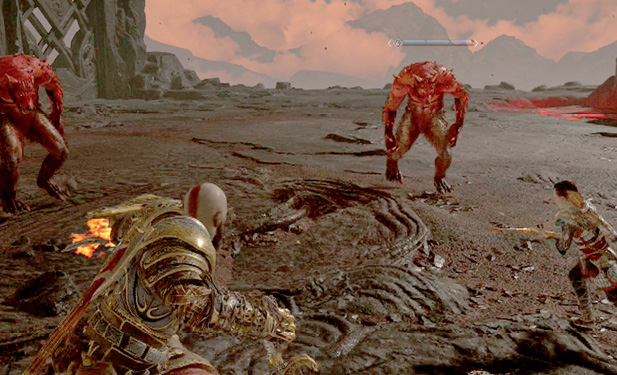
Wave 1: Hel-Reaver x5, Traveler Champion
Wave 2: Gloom Nightmare x6, Wulver x2
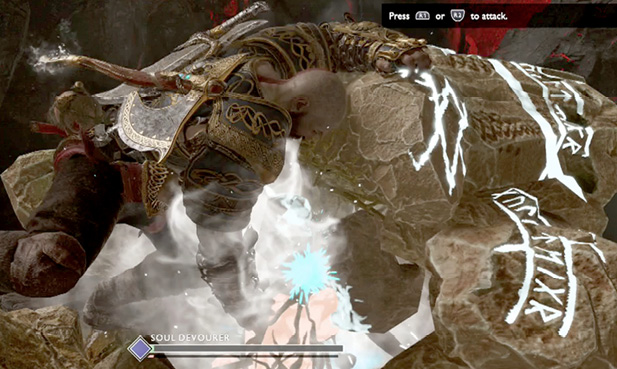
Wave 3: Draugr x2, Soul Devourer
Quickly take out the Hel-Reavers at the start to build your timer, and use your big moves against the Traveler Champion; only attack when he reveals his vulnerable side. When he raises the rune above his head, hit it with a quick axe throw to interrupt the move.
Use quick, light axe throws and Atreus’ arrows to knock the Nightmares down, while expending your best attacks against the agile Wulvers. The third wave introduces a Soul Devourer, which can take time to defeat if you rely on the usual method. If you have saved your rage, use it on the miniboss to stun it. This allows you to immediately get in some attacks directly at its heart.
Trial V (Hard): Untouchable
|
First Available |
Complete Trial V (Normal) |
|
Objective |
Defeat all enemies without taking damage |
|
Reward |
1075 XP, Hacksilver, Smoldering Ember |
The final trial before the Valkyrie fight requires that you avoid taking any damage; take one point of damage and you fail the challenge. This trial is all about staying on the move and using evades and dodge rolls to avoid all attacks. There are four waves of enemies, making for a total of 20 enemies. Remember, it’s more important to avoid an incoming attack than to get in your own. An “Enemies Remaining” counter is displayed on-screen for quick reference.
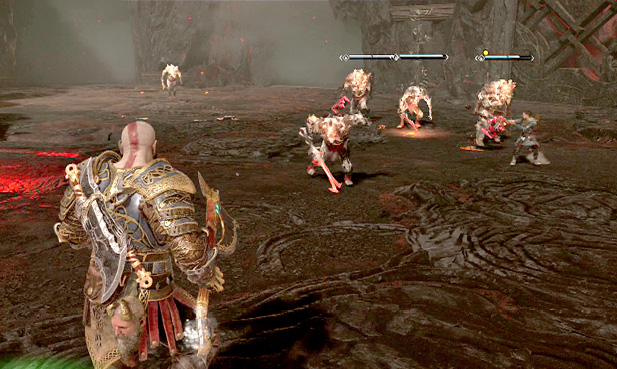
Wave 1: Heavy Draugr, Draugr x3
Wave 2: (16 remaining): Nightmare x2, Projectile Draugr x4
Wave 3: (10 remaining): Speed Dual-Wield Draugr x2, Shield Draugr x2
Wave 4: (6 remaining): Draugr x4, Heavy Draugr x2
Always keep one of the Draugr distracted with Atreus’ arrows, and stay away from groups of enemies. Whenever possible, attack a lone Draugr or two at the most.
In Wave 2, two Projectile Draugr set up at each end of the arena. Zigzag toward the two outer Draugr and knock them off the cliff for easy kills. Keep at least two of these guys in view at all times while watching for projectile indicators.
Trial VI: Valkyrie Göndul
|
First Available |
Complete Trial V (Hard) |
|
Objective |
Defeat the Valkyrie, Göndul |
|
Reward |
1880 XP, Hacksilver, Smoldering Ember, 12 Crest of Flame, 3 Greater Crest of Flame, 1 Crest of Surtr, plus Valkyrie dropped loot |
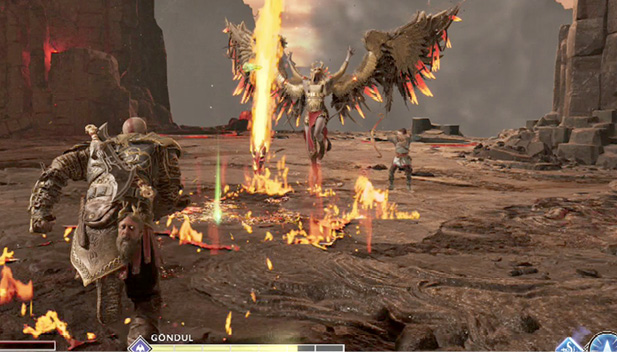
Head east and scale the cliff, up and to the right. At the next ledge, run to another cliff face and climb up until you reach the top level and the final Mystic Gateway. Göndul stands at the far end.
Göndul opens the fight with her Meteor Summon attack once you either get too close or hit her with your weapon. Step to the side of the arena and heave your axe at her to begin the fight. Refer to the “Valkyries” section of the Favors chapter for more information on this challenging boss fight.
Impossible Trials
Defeating Göndul unlocks a new molten sword in the middle of the area. Interacting with the sword informs you that three keys are required to attempt Impossible Trial VI: Gauntlet. A key can be earned by completing one of the five Impossible Trials that have been unlocked at the previous five Trial arenas. You can attempt them in any order, but you must complete three different trials to get the three keys. Defeating a fourth Impossible Trial does not get you another key.
Trial I (Impossible):
Untouchable
|
First Available |
Free Muspelheim Valkyrie, Göndul |
|
Objective |
Defeat 20 enemies without taking any damage |
|
Reward |
1880 XP, Hacksilver, Smoldering Ember, 3 Greater Crest of Flame, Key of the First |
You must defeat all 20 enemies without taking any damage. The objective is the same as Trial V (Hard), but the enemies are higher Power Level and more aggressive.
Enemy types are introduced in the following order:
• Heavy Draugr (Projectile, Speed)
• Draugr (Arm Power-up, Shield, Speed)
• Draugr (Arm Power-up)
• Wulvers
• Fierce Wulver
• Draugr (Speed)
• Soul Devourer
Multiple Speed Draugr and three Wulvers make for an extremely fast group of enemies. Avoid becoming surrounded and be ready to dodge attacks from all directions. Blocking and parrying attacks is key to winning the battle, but be sure you don’t get caught by an unblockable strike.
Save your Rage for the Soul Devourer, that is introduced with 13 enemies remaining, and immediately launch a barrage of punches to stun it. Its beam and mortar attacks can be devastating while trying to fend off the numerous Draugr and Wulvers.
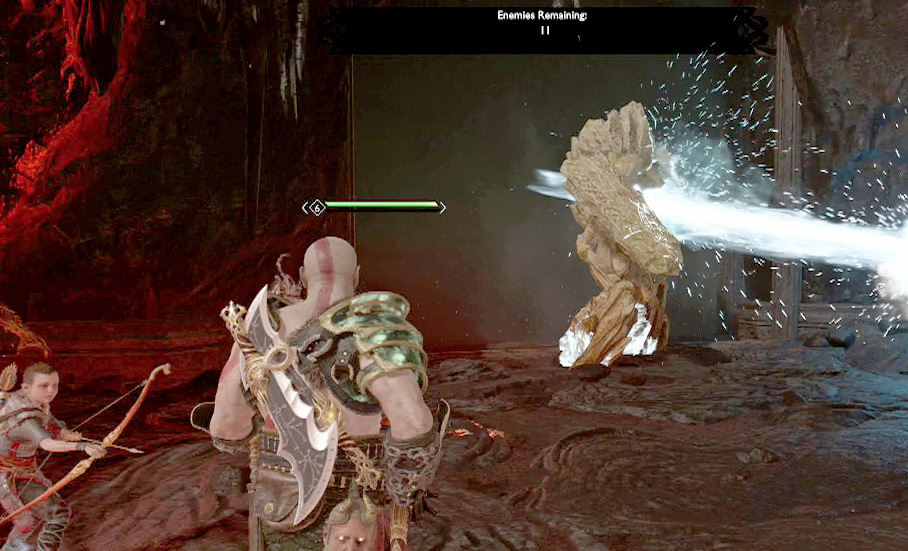
This is a tough trial; remember you only need to complete three different Impossible Trials to attempt the Gauntlet. Move on if this one proves to be too difficult.
Trial II (Impossible): Time Attack
|
First Available |
Free Muspelheim Valkyrie, Göndul |
|
Objective |
Kill enemies before time runs out |
|
Reward |
1880 XP, Hacksilver, Smoldering Ember, Key of the Second |
You must kill enemies as quickly and efficiently as possible during this trial. A four-minute timer counts down at the top of the screen. Defeat all of them before it reaches 0:00 to complete the trial.
The trial begins with a Revenant, while Hel-Brood swarm into the arena. Watch for threat indicators and listen to Atreus’ warnings. Dodge away from their attempts to grab Kratos, while whittling away at the creature’s health. Keep Atreus’ arrows trained on the Revenant to keep her vulnerable.
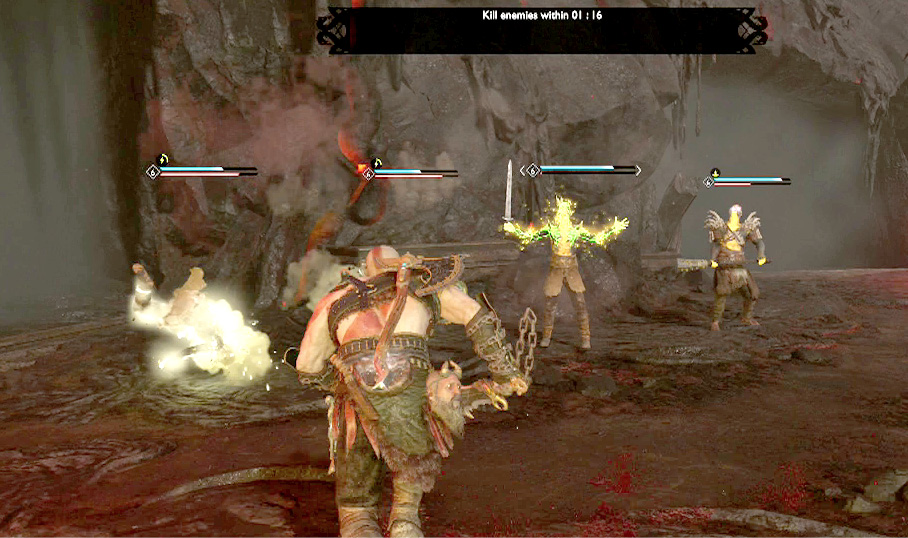
A Viken, Hel-Revenant, and Tatzelwurms are next. Keep the wurms from burrowing with Atreus’ arrows and quick axe throws. Watch out for a second Viken and a group of Reavers to join in. Keep the pressure on, and don’t allow the Reavers and Vikens to heal themselves. Move away from the Seiðr once defeated to avoid their explosions.
Trial III (Impossible): Kill Location Challenge
|
First Available |
Free Muspelheim Valkyrie, Göndul |
|
Objective |
Kill enemies while they are inside the gold rings |
|
Reward |
1880 XP, Hacksilver, Smoldering Ember, Key of the Third |
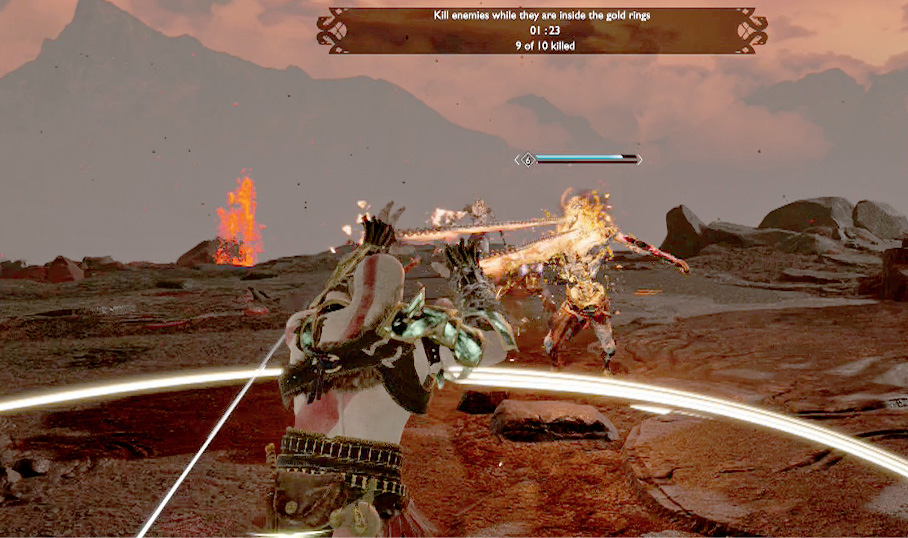
A gold ring appears somewhere in the arena at all times during this trial. In order to score a kill, the enemy must be killed within the ring. Kills outside the ring do not count toward the total, including Stun Grabs that send enemies outside the ring. Each of the three waves requires that 10 enemies be killed within the ring and before the timer runs out:
| Wave | Gold Ring Location | Time Limit | Enemies |
|---|---|---|---|
|
1 |
Next to cliff edge |
3:00 |
Rabid Wolves, Wulvers |
|
2 |
North side |
4:00 |
|
|
3 |
West side |
4:00 |
Use the Spear of Chaos Skill to pull the wolves into the ring and finish them off inside. Use your big attacks on the Wulvers whenever possible. The group of beasts can overwhelm Kratos if not careful. Move outside the ring to work on the Wulvers, but be sure to perform the final hit inside the ring.
The second wave is all Draugr. Use bare-handed attacks and Atreus’ arrows against the skinnier Draugr to stun them within the ring. Remember that throwing a Heavy Draugr will not count unless it lands within the ring.
The final wave includes a Fierce Ogre, a few Dual-Wield Draugr, and a group of Tatzelwurms. Finish off the Ogre and another joins the fight. You can mount the Ogre with a Stun Grab, but it can be tough to get kills within the ring. Pull the Draugr and Tatzelwurms into the ring with the Blades of Chaos and finish them off there.
Trial IV (Impossible): Stunner
|
First Available |
Free Muspelheim Valkyrie, Göndul |
|
Objective |
Kill all enemies while they quickly regenerate Health |
|
Reward |
1880 XP, Hacksilver, Smoldering Ember, 3 Crest of Flame, Key of the Fourth |
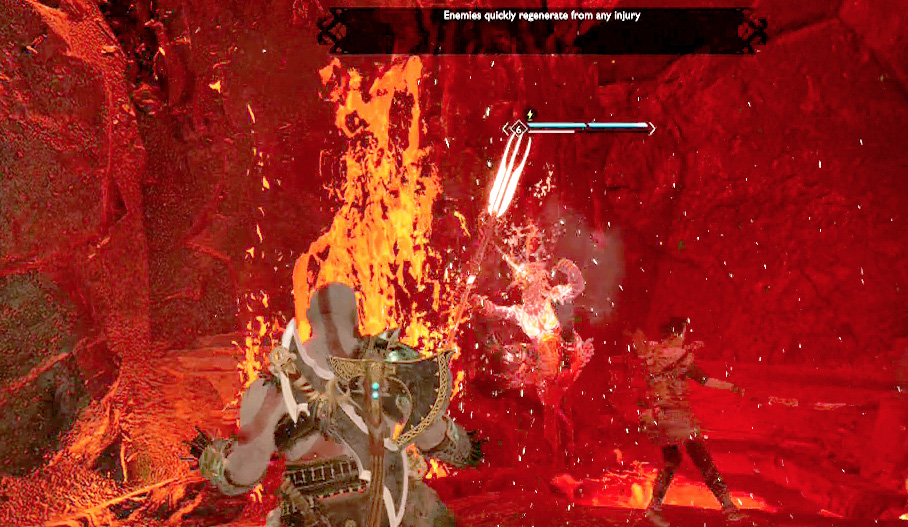
The enemies in this arena regenerate Health as quickly as you can deal it. You must use Stun Grabs to defeat them. Use bare-handed attacks and Atreus’ arrows to Stun them.
Wave 1: Dark Elves, Hel-Brood
Wave 2: Dual-Wield Draugr, Cursed Tatzelwurms
Wave 3: Dark Elf Warriors, Reavers
Wave 4: Dark Elves, Heavy Draugr (Projectile)
Wave 5: Dark Elves, Draugr (Arm Power-up), Speed Draugr
Five waves of enemies stream into the arena from all sides. A variety of Draugr, Dark Elves, Cursed Tatzelwurms, Hel-Brood, and Reavers are included. They all regenerate health too quickly to simply pummel them. Fight bare-handed while Atreus pelts the enemies with arrows to speed up the stun process. Finish off each enemy as soon as the red ring and R3 icon appear. It is also possible to finish them off by kicking them off the cliff and into the lava.
Trial V (Impossible): Time slips away…
|
First Available |
Free Muspelheim Valkyrie, Göndul |
|
Objective |
Kill enemies to increase time |
|
Reward |
1880 XP, Hacksilver, Smoldering Ember, Key of the Fifth |
The trial begins with only one minute remaining. Each kill extends the timer by 30 seconds, but it cannot go over 1:30. Defeat all enemies before the timer reaches 0:00 to complete the trial. We have split the enemies into waves, but the timer does not reset like it did for Trial V (Normal). Enemies continue to enter the arena in the following order:
Wave 1: Draugr x5, Draugr (Arm Power-up) x2, Heavy Draugr (Speed) x2
Wave 2: Hel-Revenant x2, Wulver, x2
Wave 3: Speed Draugr, Draugr (Arm Power-up) x2, Speed Draugr (Arm Power-up), Dark Elf Lord
Wave 4: Draugr x4, Projectile Draugr x3, Fierce Ogre x2
Wave 5: Hel-Traveler, Traveler Champion, Shield Draugr x2
Since the timer cannot go over 1:30, it is best to whittle down everyone’s health and only finish enemies off when the timer dips under a minute. Use area-of-effect Runic Attacks whenever possible to damage as many enemies as you can, and launch into Spartan Rage when tougher enemies enter the fight.
Mount one of the Ogres with a Stun Grab and use its flailing arms to pummel the other enemies. When the pair of Travelers enters toward the end of the battle, pull one away from the other to avoid taking on attacks from both at once.
Trial VI (Impossible): Gauntlet
|
First Available |
Complete three Impossible Trials |
Objectives
| Objective | Gold Goal | Silver Goal | Bronze Goal |
|---|---|---|---|
|
Defeat 50 enemies as quickly as possible |
8:00 |
16:00 |
32:00 |
|
Defeat as many enemies as possible before time limit expires |
50 |
35 |
20 |
|
Defeat all enemies without being hit |
35 |
20 |
8 |
|
Reward |
1880 XP, Hacksilver, Smoldering Ember, plus resources based on goal achieved |
You must collect three keys by completing three Impossible Trials (I- V) before attempting this trial. There are three possible objectives for Impossible VI, which are listed above. Bronze, Silver, and Gold goals are listed at the sword. Achieve one of these goals to unlock two Legendary Chests. The left holds Hacksilver and Smoldering Ember that increase in amount based on goal earned. The right chest holds increasing amounts of the following:
| Goal | Resources |
|---|---|
|
Bronze |
Crest of Flame |
|
Silver |
Crest of Flame, Greater Crest of Flame |
|
Gold |
Crest of Flame, Greater Crest of Flame, Crest of Surtr |
Once you have unlocked the trial, it remains until you earn a Bronze, Silver, or Gold. Therefore, you do not need to spend three more keys after a failed attempt. Completing Impossible Trial VI earns the Fire and Brimstone Trophy, even if you have only completed three other Impossible Trials.
Two of the objectives require that you defeat enemies as quickly as possible, while the third objective does not allow you to get hit. You will see similar mixes of enemies as you did in earlier Muspelheim Trials, including Ogres and Hel-Travelers. Use what you have learned to earn Bronze, Silver, or Gold.