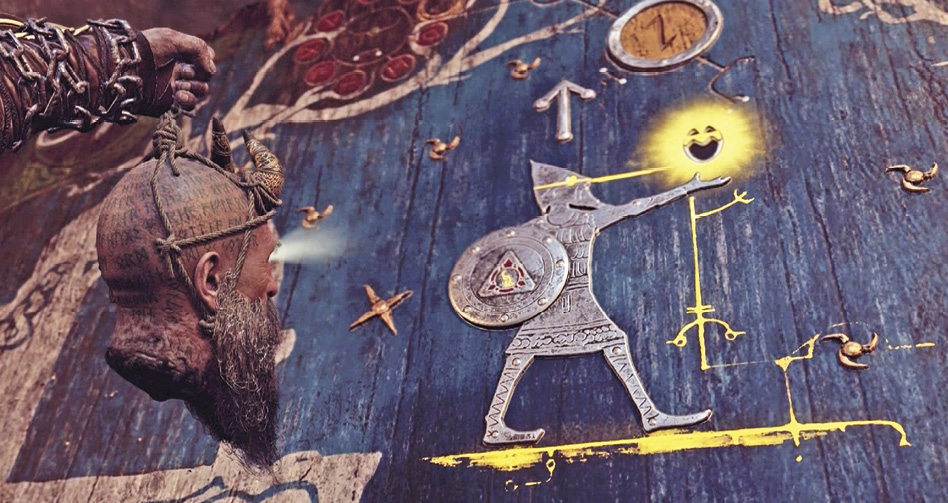
Chapter 13: Escape from Helheim
Kratos and Atreus end up at Helheim Landing, deep in Hel and well beyond the realm gates. Working your way out of this grim, frozen wasteland seems a daunting task. But despite Baldur’s claim that Kratos is merely the “meat” of the outfit, our God of War’s ingenuity is not to be dismissed. If you can fight your way across Helheim Landing to its pier, Kratos has a clever way to bypass the realm’s other formidable obstacles.
Journey Objectives
- Find a way out of Helheim
- Use the ship
- Escape Helheim
New Enemies
OBJECTIVE: Find a Way Out of Helheim
Get to the Ship
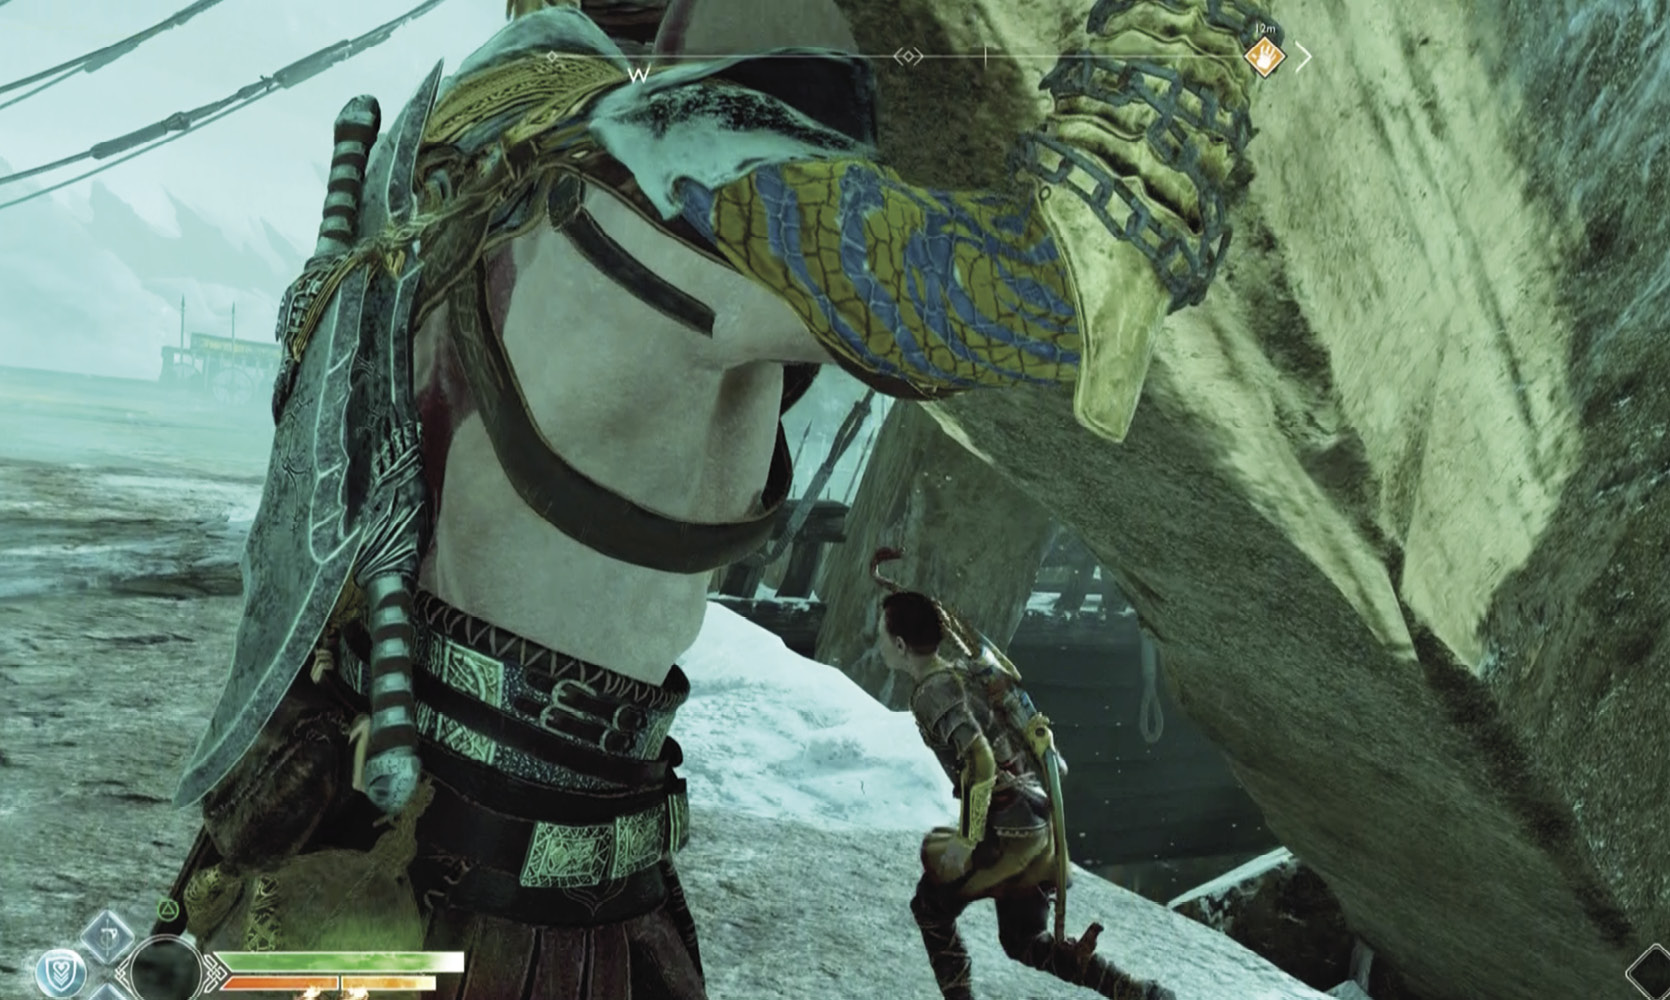
You start out on a lower level of a multi-story tower. Grab the yellow-marked stone column in front of you (1) and climb around its corner, then upward. On the way up, Kratos spots a ship across the landing at the dock; Mimir says it will get you halfway out of Helheim, which is better than nothing.
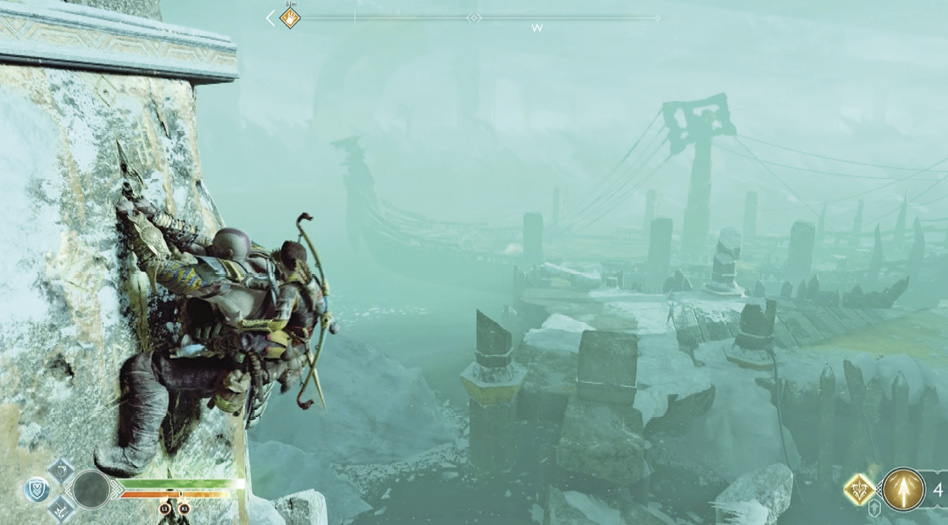
Keep climbing until you reach the tower’s top floor, and defeat the Hel-Reaver Guard there, bashing through his shield with your Block Break Skill. Burn through the Brambles blocking a passage (2); follow the ledge around to a chest, then lift the metal gate. Proceed across the high walkway toward the next tower. As you cross, a section of the walkway collapses (3).
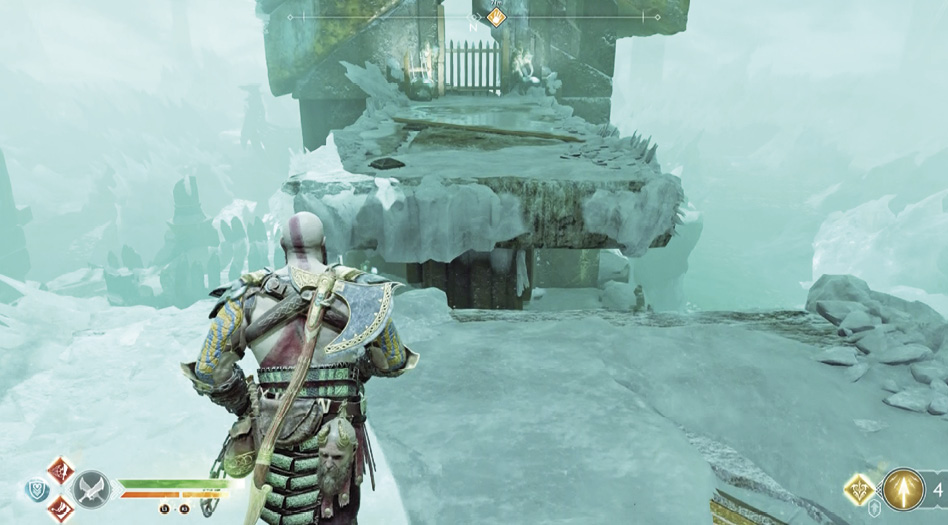
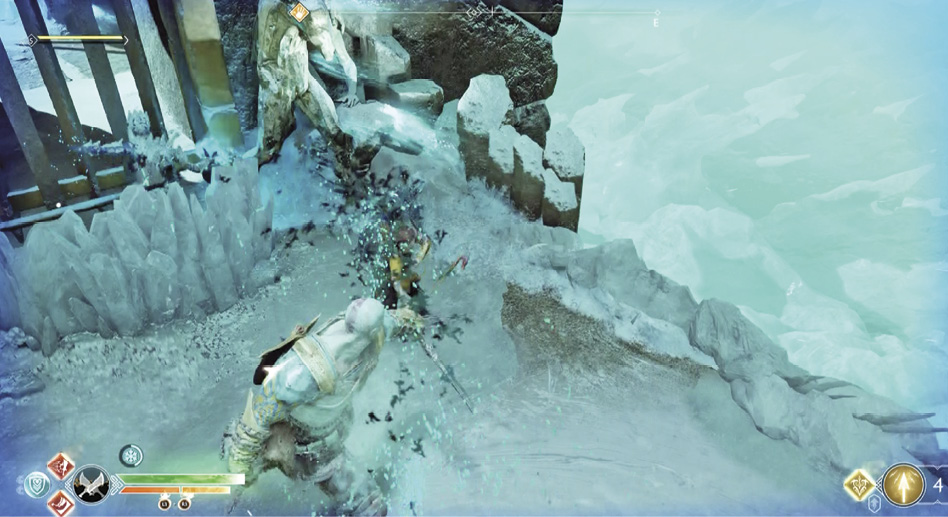
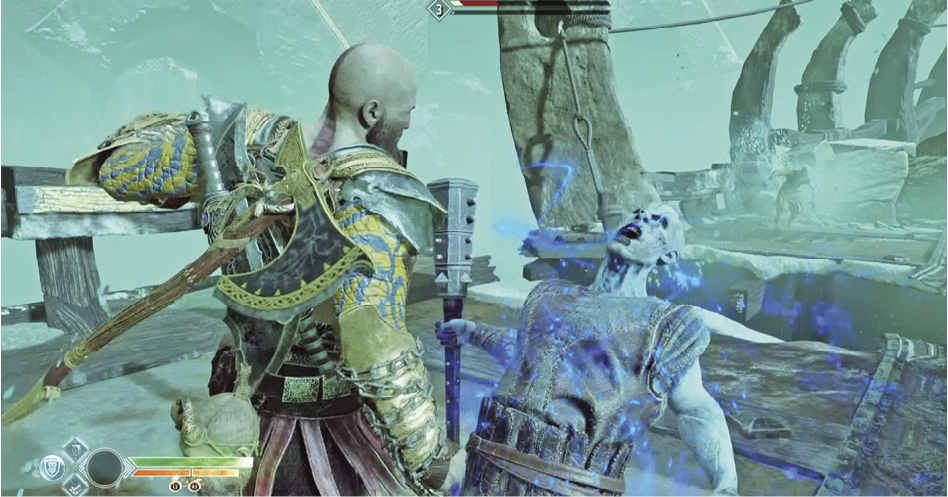
Jump across the gap and approach the next tower’s gate, where more Hel-Walker defenders attack. These include a hovering Ice Nightmare, a Hel-Shadow Archer across the gap on the walkway behind you, and a new foe, a Hel-Shadow Scout. Like the regular Hel-Shadow Archer, this warrior can fashion and toss ice spears. But the Scout’s mastery of ice magic also lets him conjure up a thick ice wall that not only fends off your strikes but explodes if you get too close.
Helheim Landing
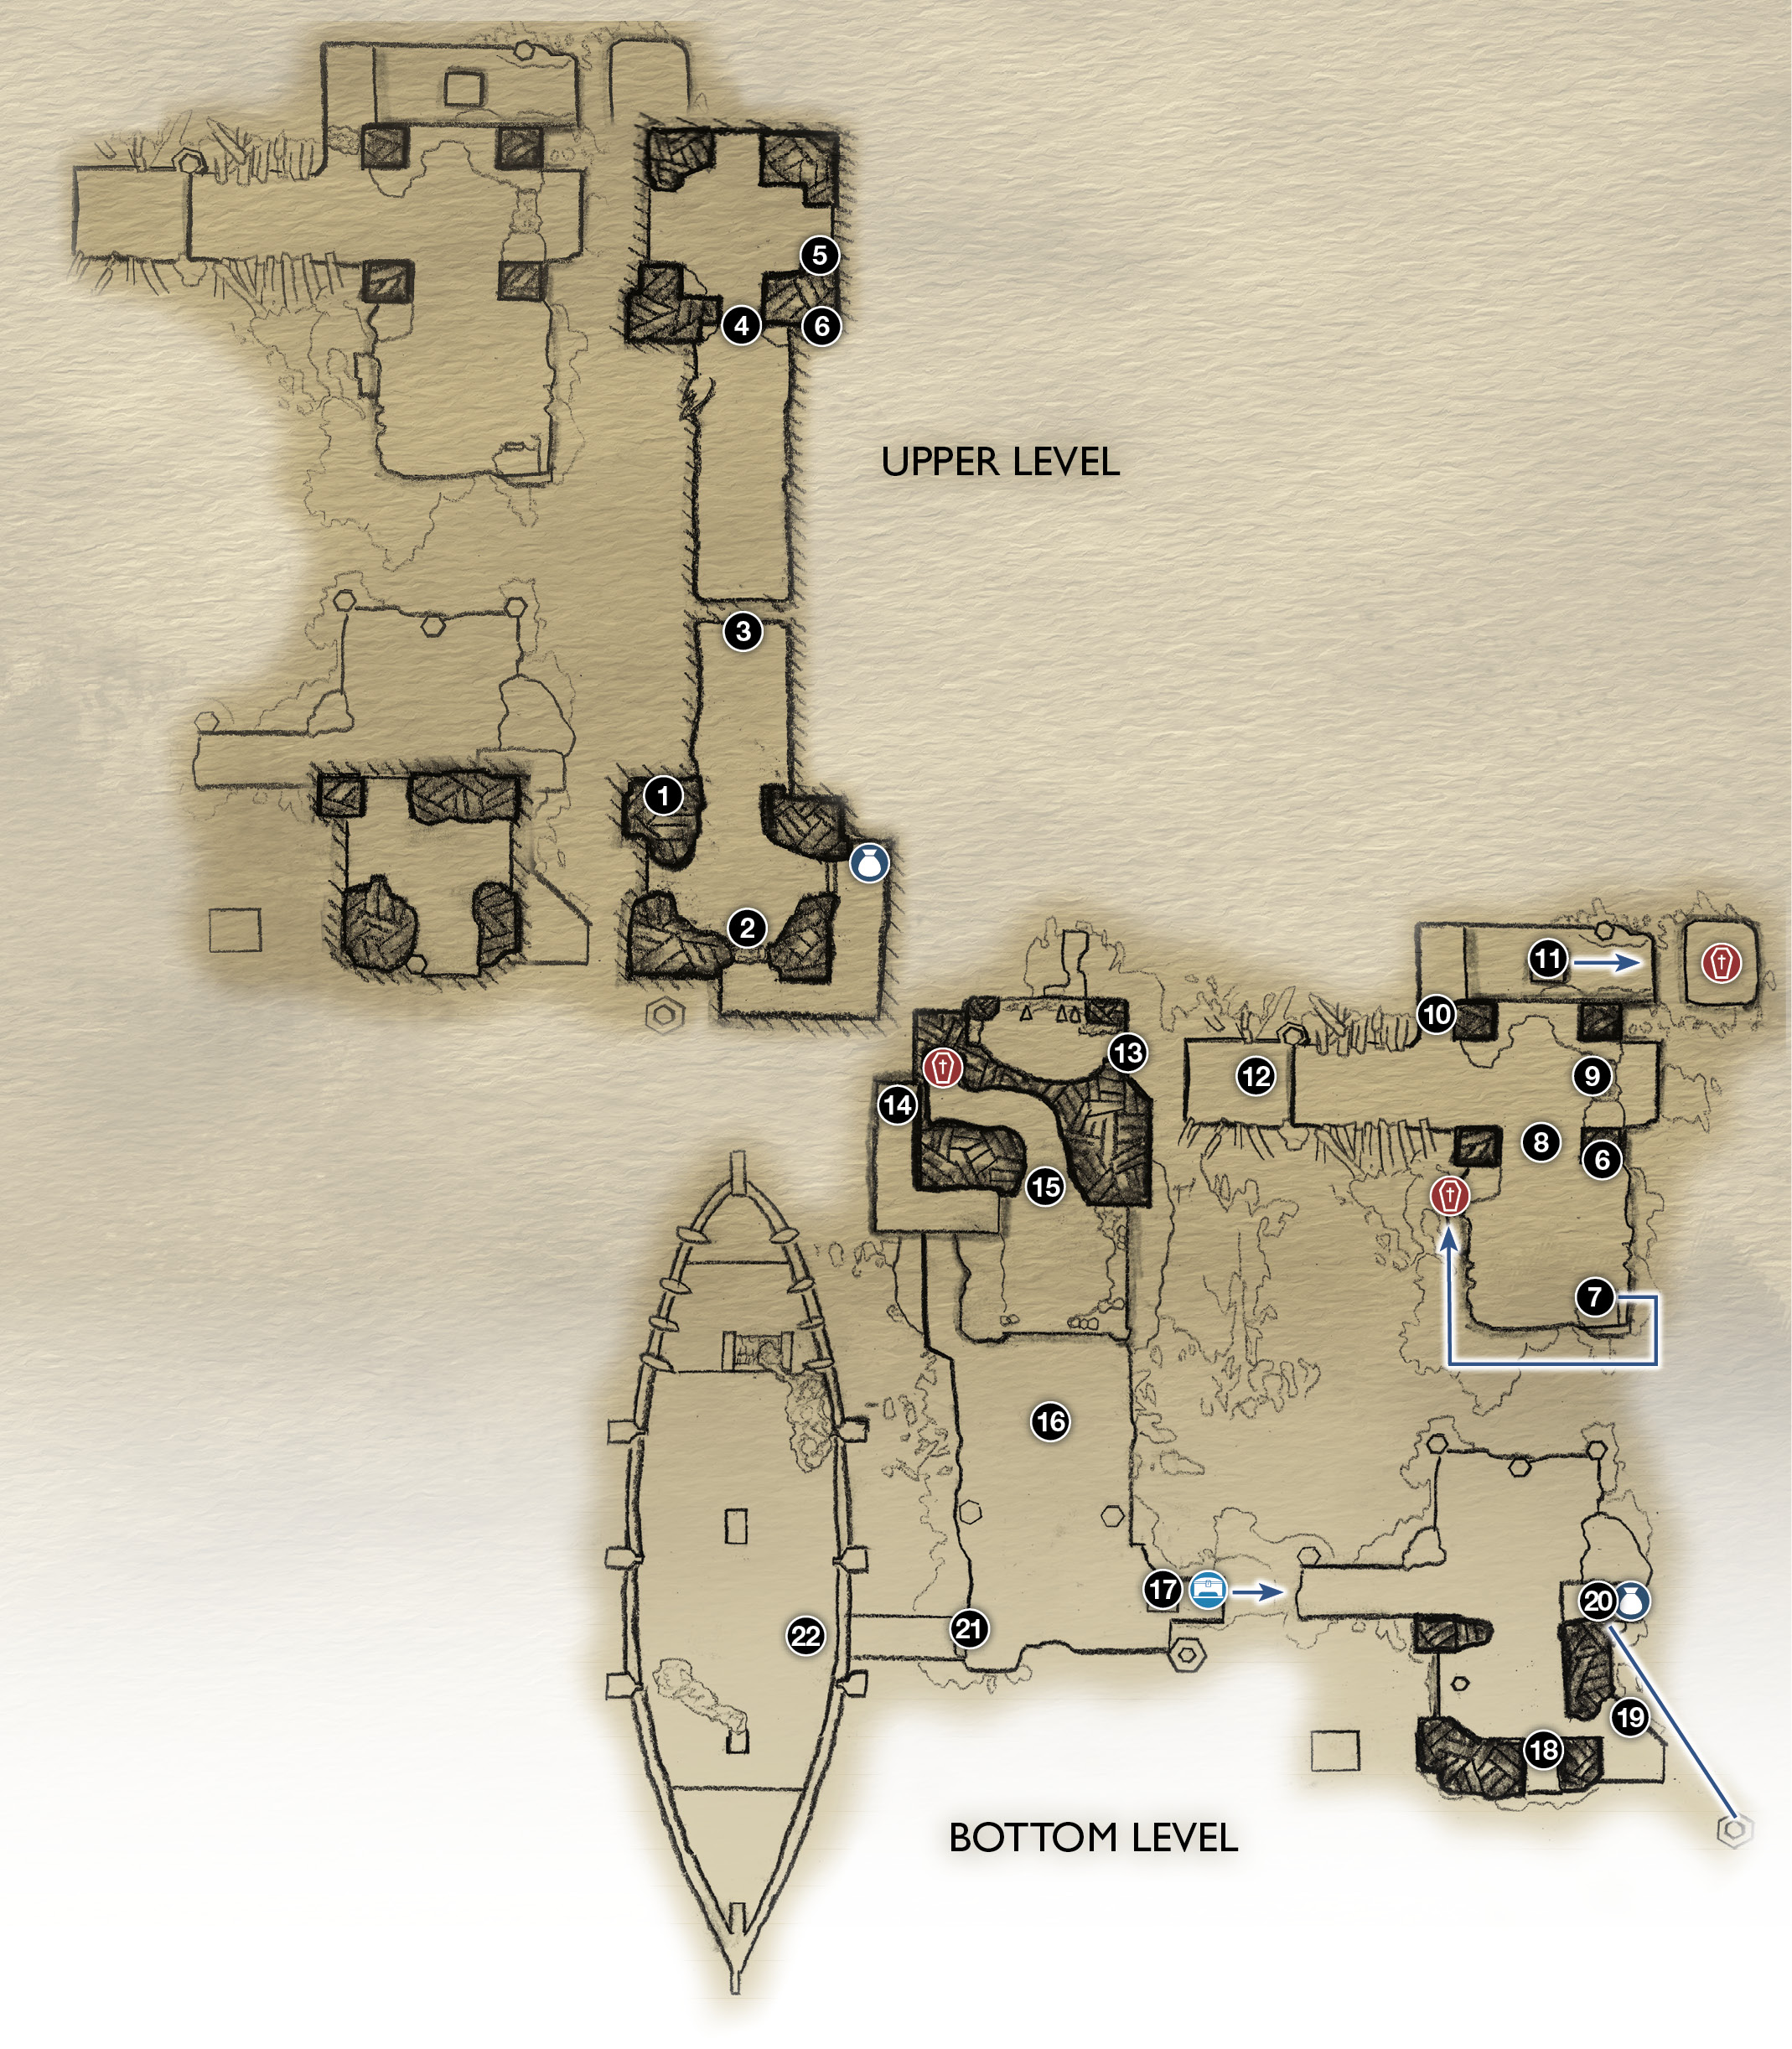
1. Climb column
2. Brambles (to chest)
3. Walkway collapse
4. Lift gate
5. Climb column
6. Climb down wall
7. Brambles (wind trap)
8. Gate (wind traps)
9-10. Bramble barriers
11. Push block
12. Walkway
13. Jump to wall
14. Walkway overlook
15. Dock battle!
16. Push block
17. Nornir Chest
18. Pull block
19. Ledge (target runic seal statues)
20. Ledge (chest; target runic seal statue)
21. Lift pillar
22. Ship
 Chest
Chest
 Coffin
 Nornir Chest
Lift the gate (4) and enter the next tower to trigger a short scene. After the vision, grab the marked stone column (5), climb around the corner, and then climb down the outside wall (6).
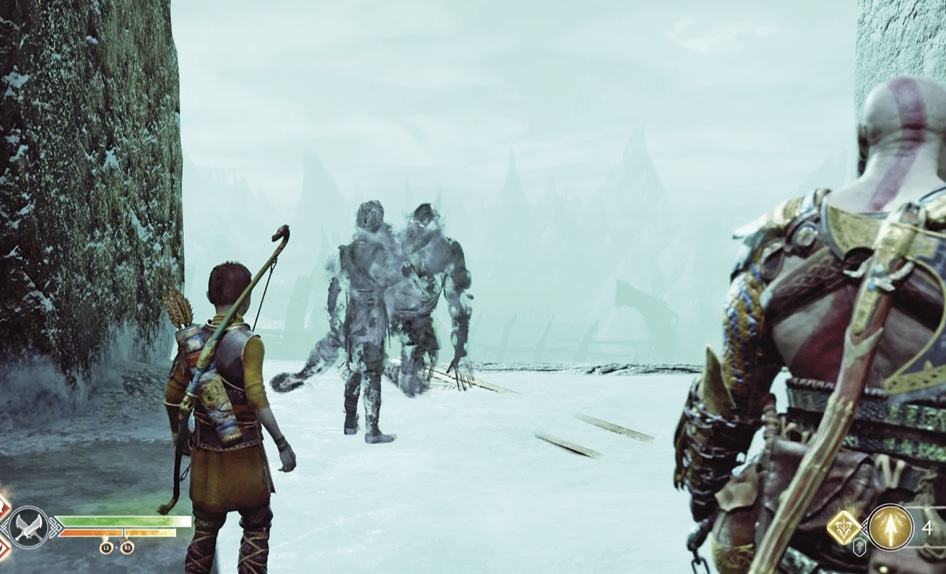
Unlock the Tower Gate
When you reach the wooden platform on the bottom level (6), slice through the Brambles to reveal a wind trap (7) with the Winds of Hel glittering inside. Find the spot on the left edge where you can climb down the wall. Climb leftward around the corners until you reach a small platform with a coffin. Loot the coffin and then climb all the way back to (7). Capture the winds, turn around, and transfer them up to the leftmost wind trap on the big gate (8). This slides half of the lock plate to the left. Switch to Leviathan and toss at the gearwheel to freeze that plate half in place.
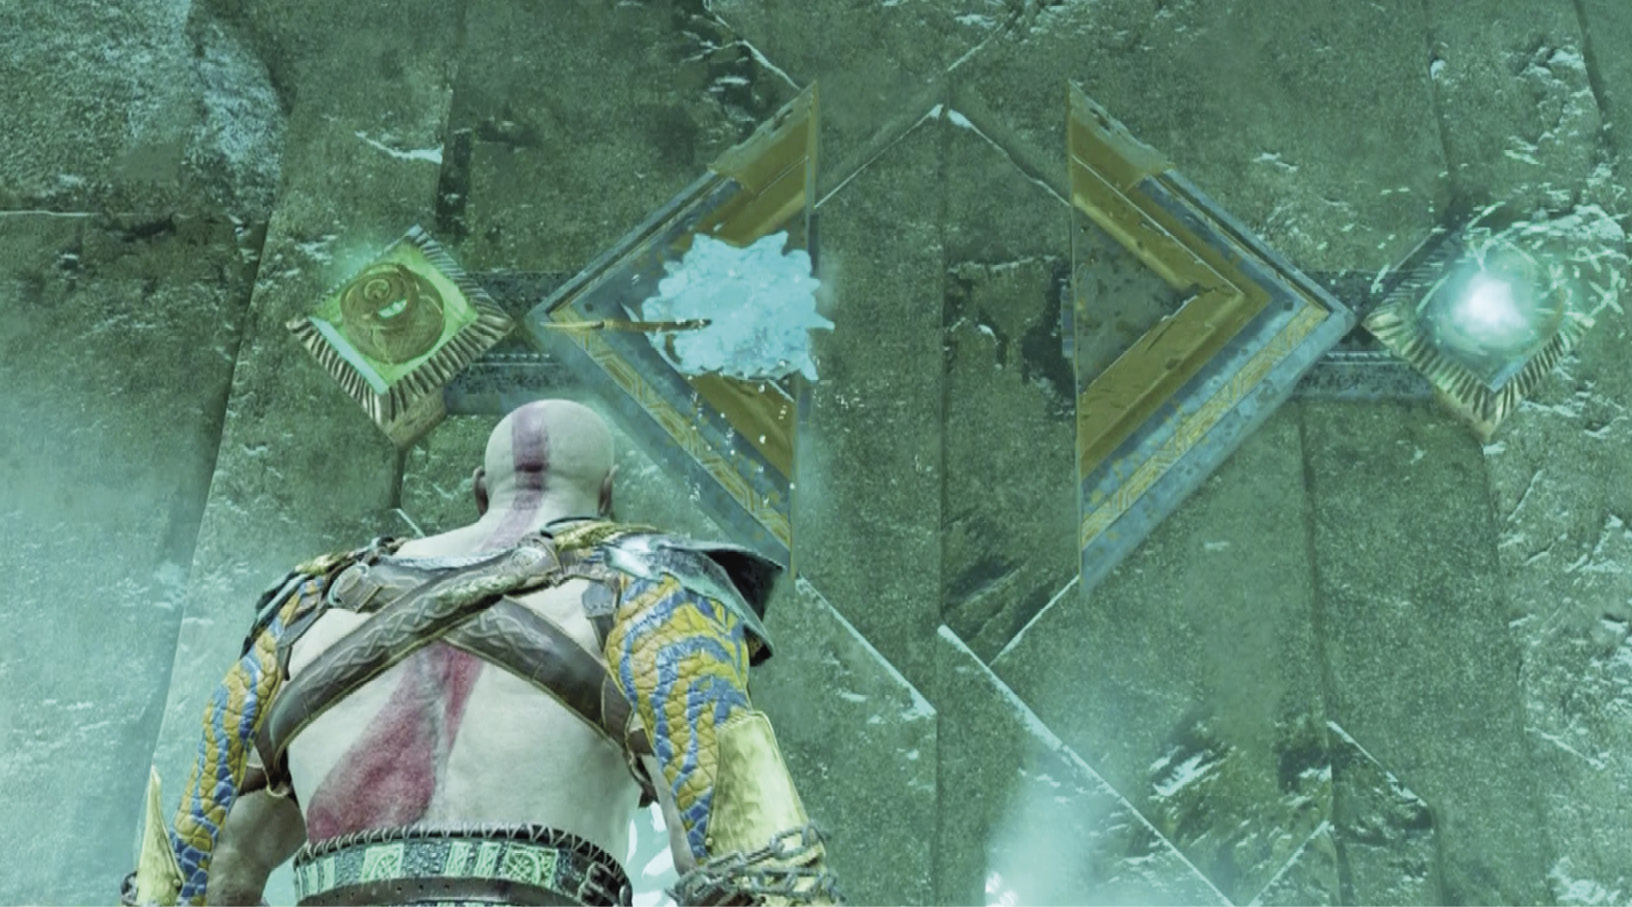
Transfer the Winds of Hel from the leftmost wind trap to the rightmost wind trap on the gate. This slides over the other half of the lock plate, unlocking the gate. Open the gate and step inside the tower to come face-to-face with a dreaded Hel-Traveler.
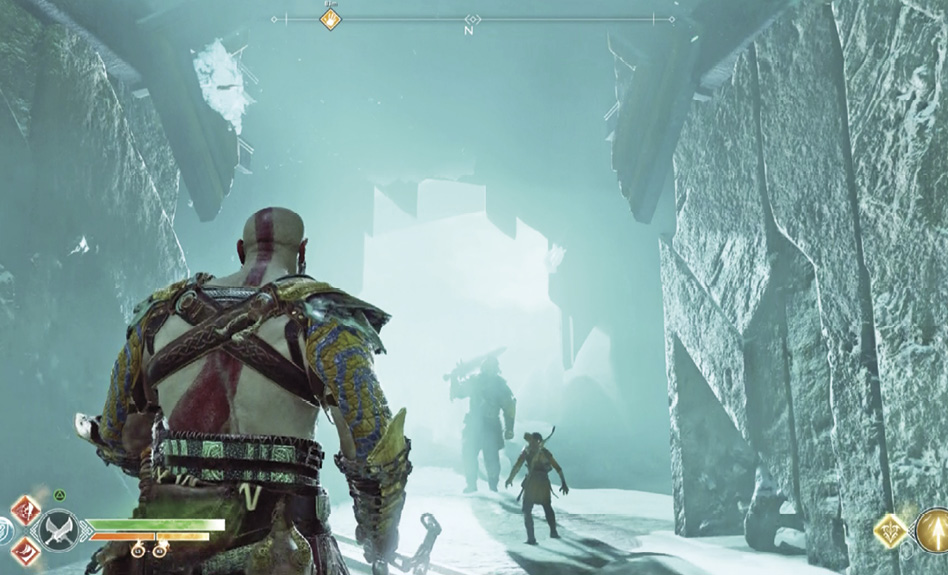
Defeat the Hel-Traveler
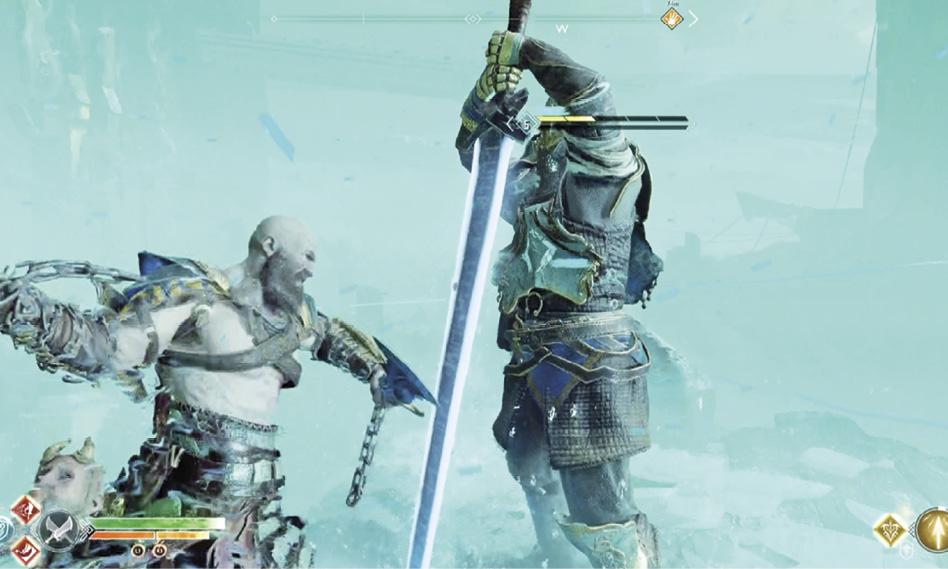
You’ve faced one of these powerful knights before, so repeat the tactics used then. (Refer to that meeting back in “The Sickness.”)
Remember: Dodge sideways fast when you see the flash before his heavy attacks (overhead/sideways slash or a dash with a sword lunge), and get your shield up if he raises his sword in front to jab its tip in the ground for a frozen shockwave.
You have Atreus this time, too, so keep him firing arrows and distracting the frozen knight. Remember, once his helmet is knocked off, he’s on his last gasp—still deadly, but nearly ready to drop. After the Hel-Traveler falls, pick up the all-important Chaos Flame that he leaves behind. Then collect his Armor Shard and Grisly Trophy pickups.
Burn the Bramble bush (9) in the tower and step through the opening. Nothing’s out on the ledge, but this will make a nice jump pad in a minute. Go back in, raise the iron gate, and turn left to see another Bramble bush (10).
Burn through and dispatch the Hel-Reaver Lord who rises up to fight. Then hop down to the movable block. Push the block as far as it will go (11).
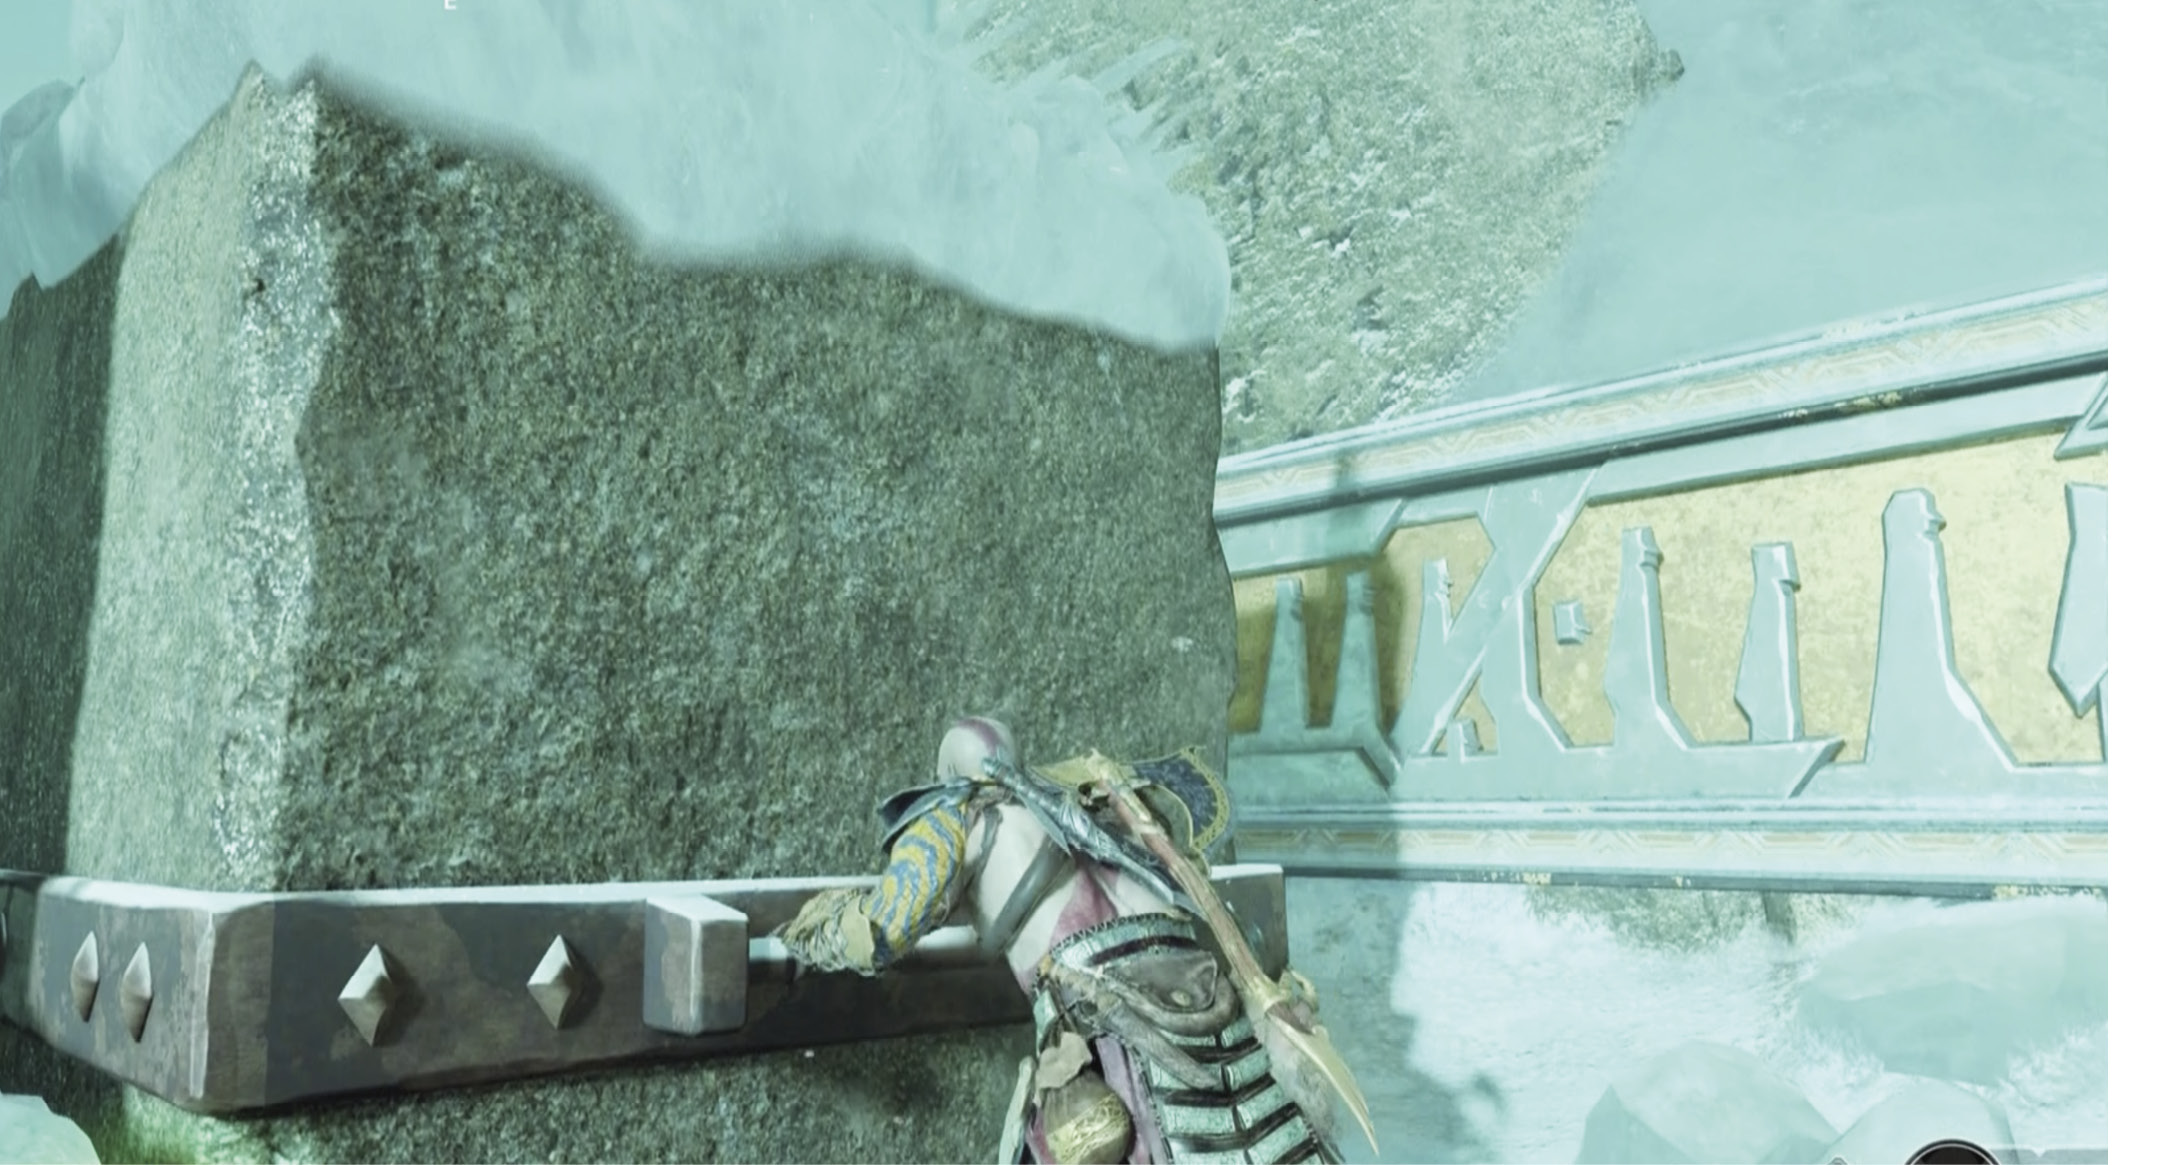
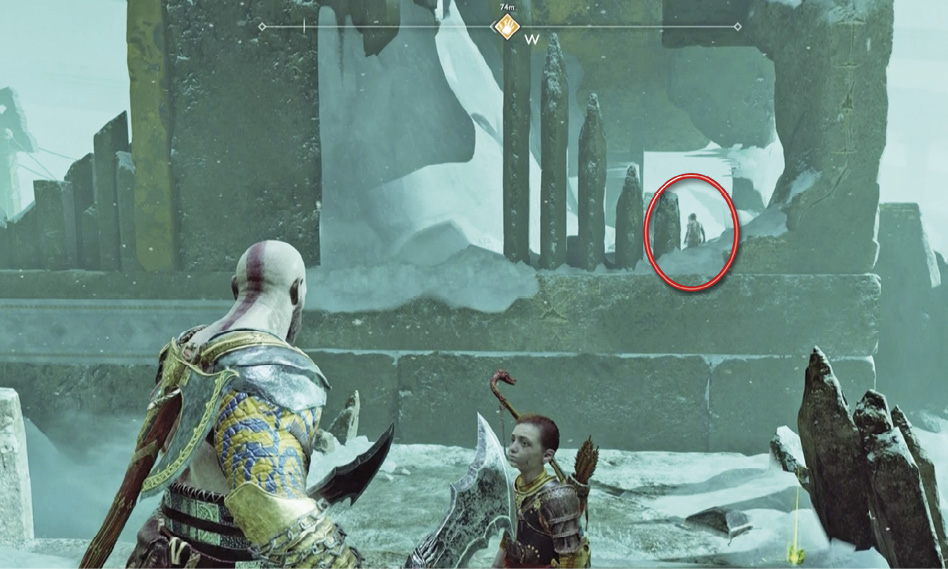
Climb back up to the walkway, go left into the tower and back through the passage you burned open earlier (9). Now you can jump across to the top of the block (11), then hop to the small platform to loot the coffin. Hop back over to the tower and proceed down the walkway. When you catch up to Atreus (12) on the walkway, he points out that Baldur is up ahead on the next tower platform.
Sneak Past Baldur
Jump across to grab that tower’s wall (13) and start climbing around the outside, listening to Baldur’s Hel-triggered vision as you go. You learn a shocking truth about his lineage: his mother, a familiar figure, is responsible for the protection spell that makes him feel nothing, and Baldur is deeply bitter and angry about it.
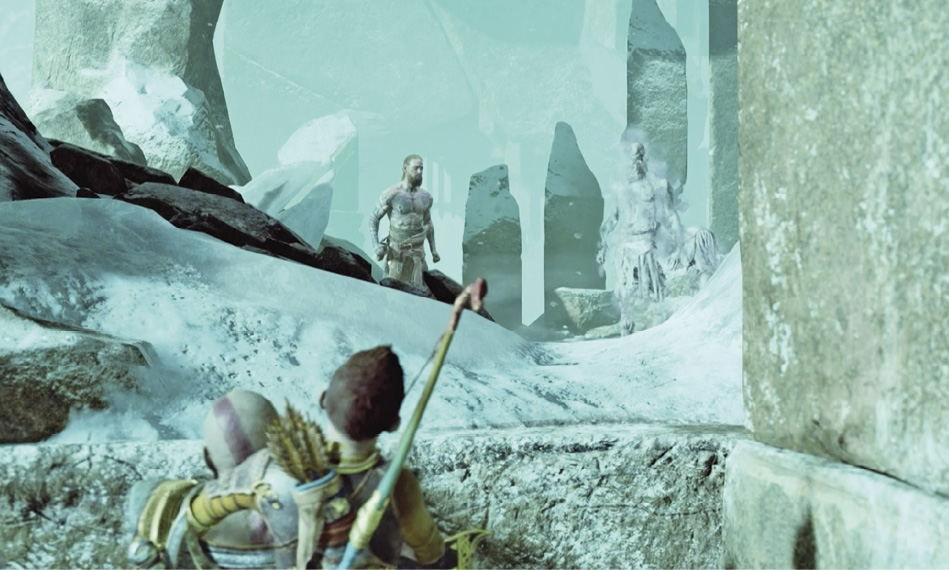
Keep moving. It’s a long, roundabout climb around the tower and past a glowing coffin tucked inside a chamber you can’t reach yet; but you eventually reach a walkway (14) overlooking the ship. Follow the walkway and climb down the wall to a platform overlooking the dock area below.
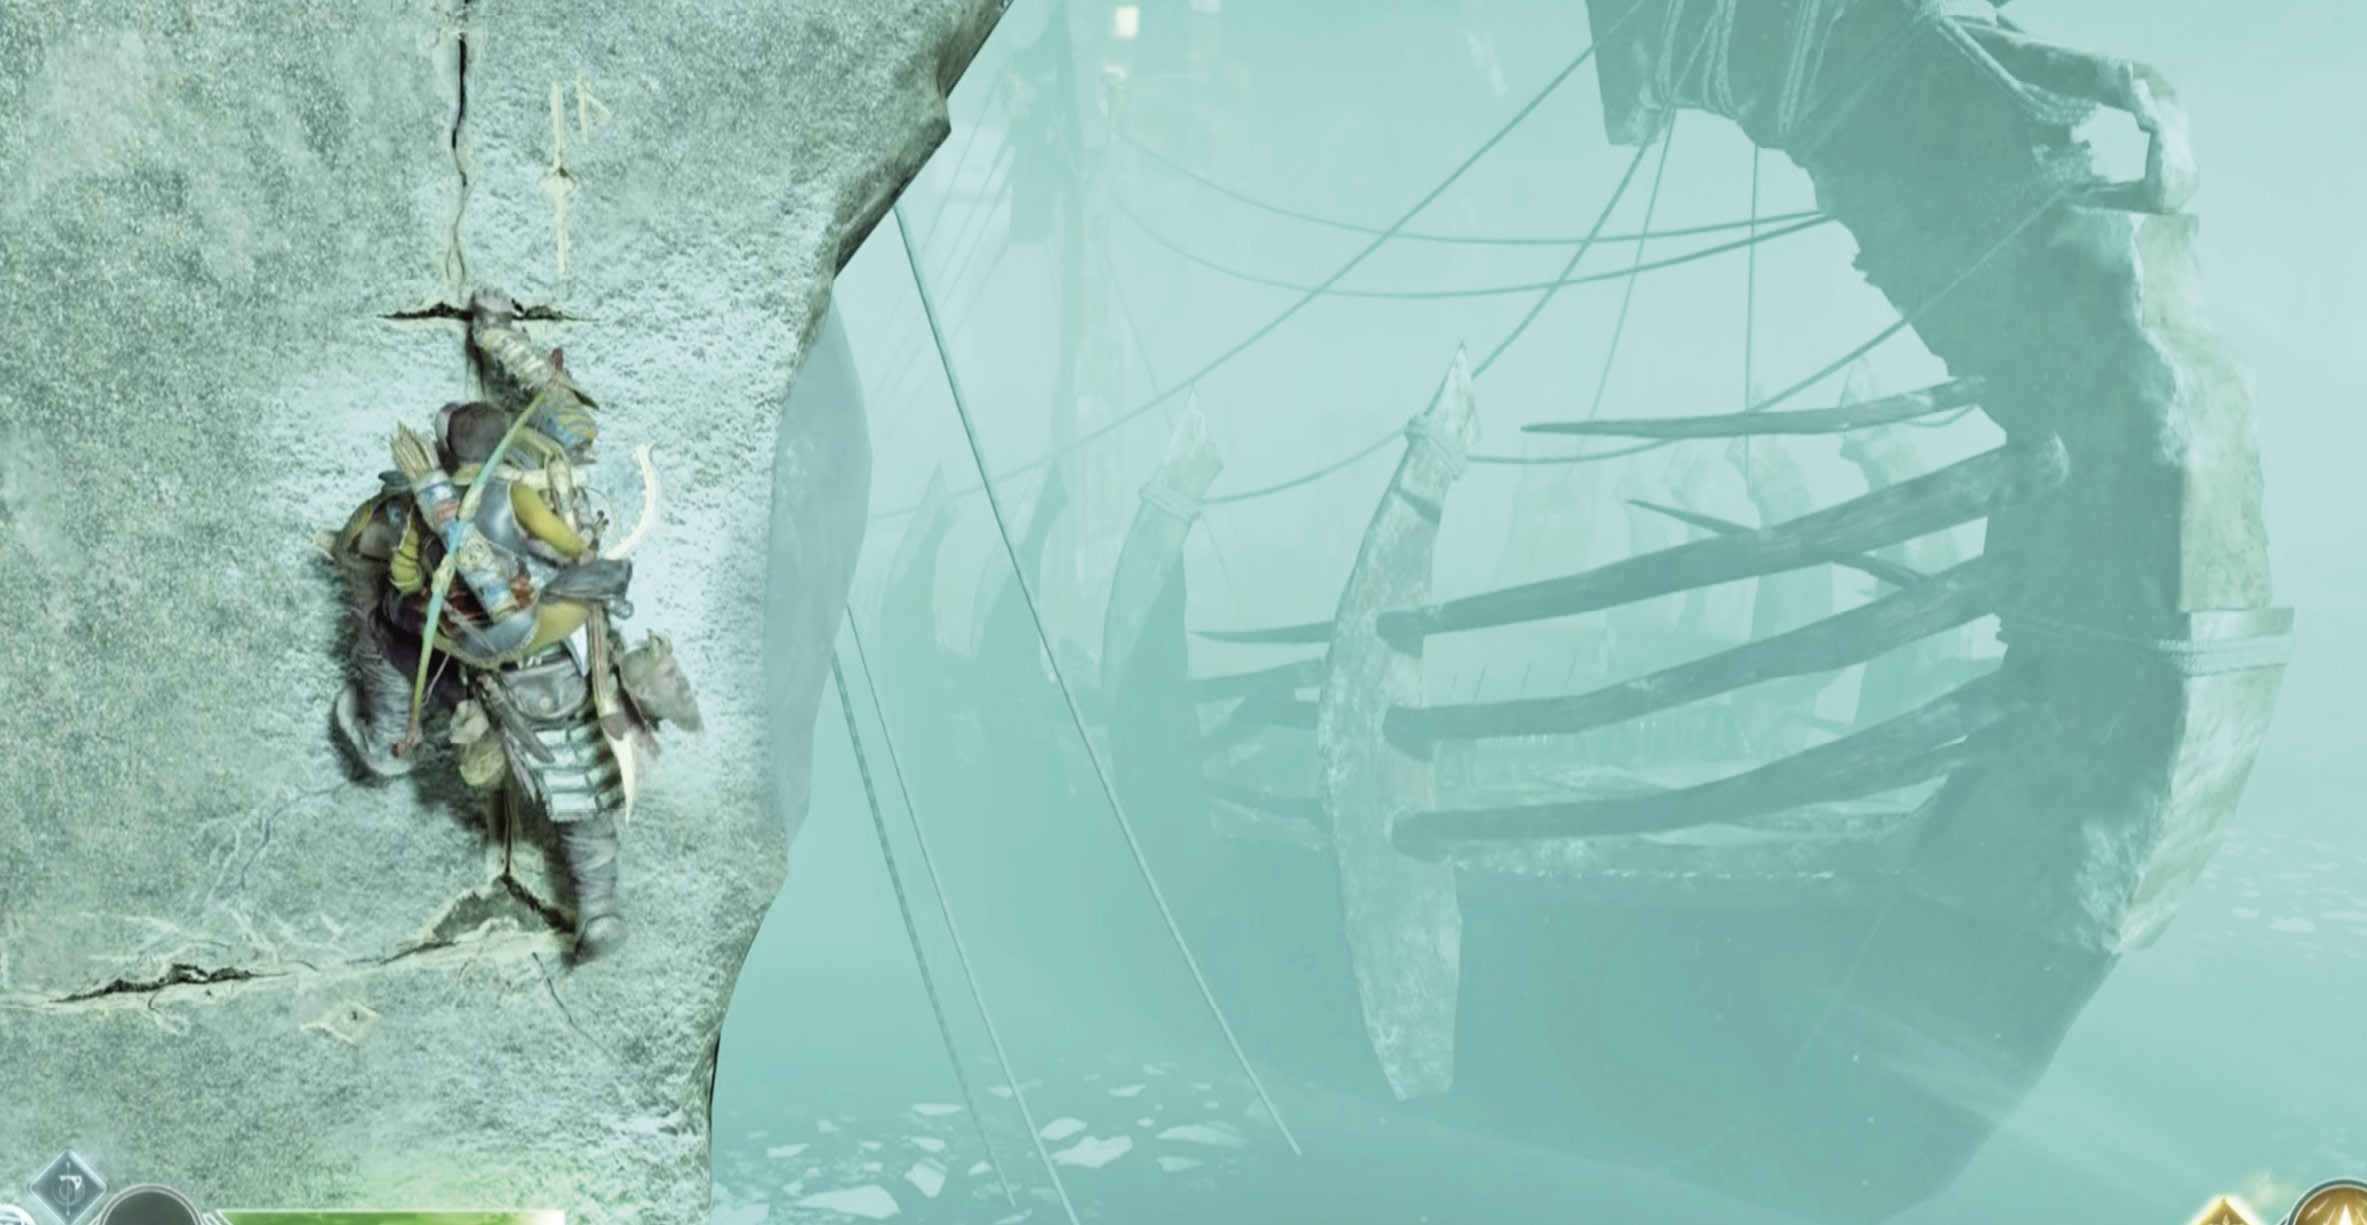
Find the low tunnel entrance (15) behind some racks of spears; smash through the racks and enter. Creep ahead to loot the coffin you passed during your climb, then exit the tunnel. Jump down from the platform to the dock (16) and get ready for a tough fight.
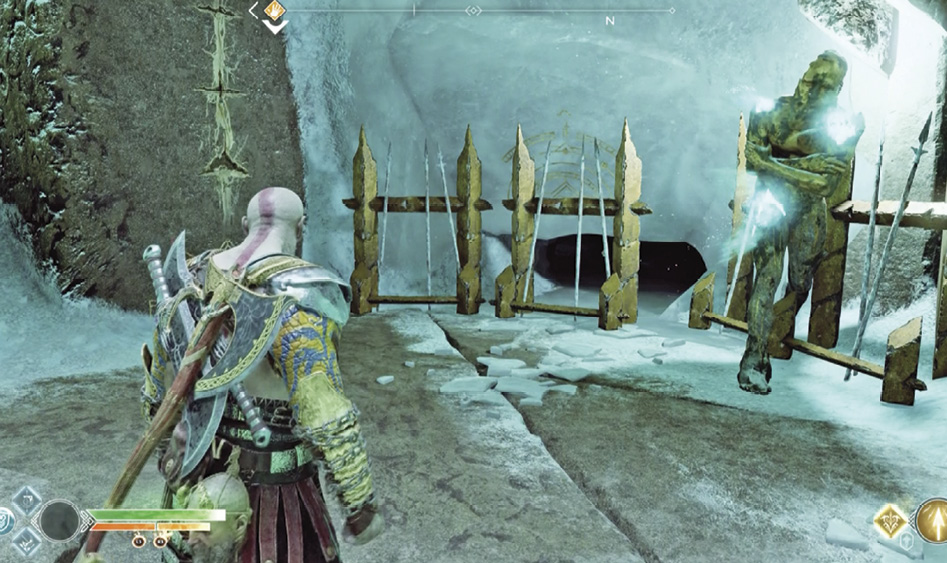
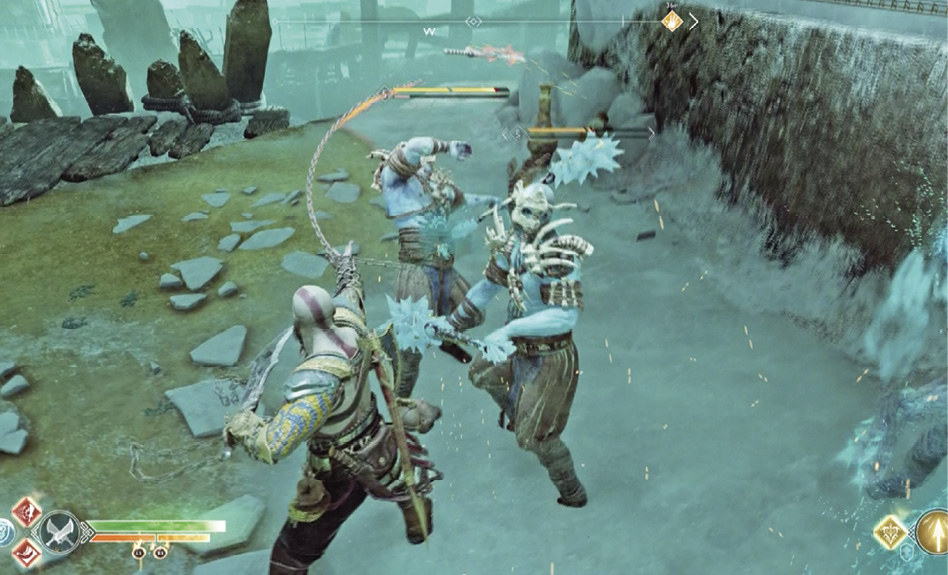
Defeat the Hel-Viken
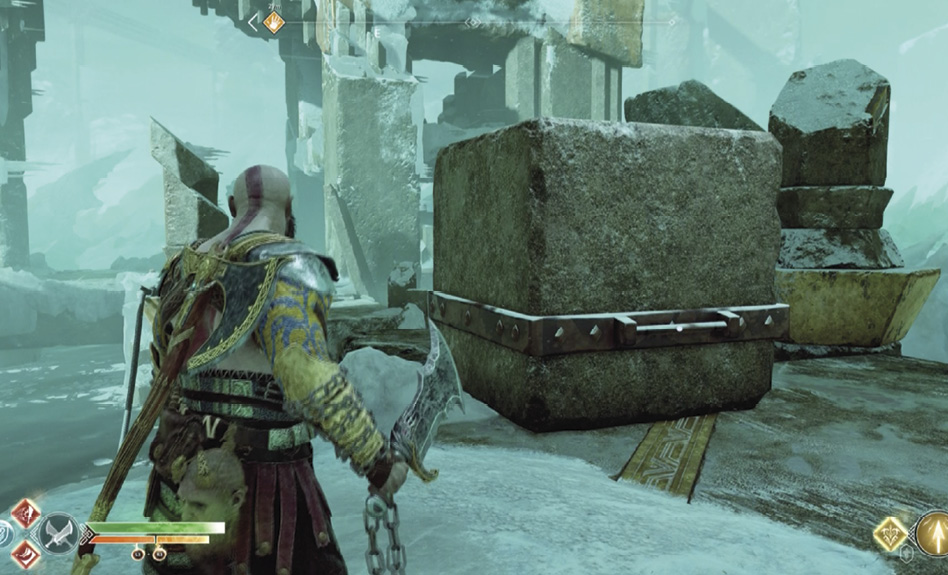
Here you face not one but two Hel-Vikens, plus an assortment of other foes. Even with two heavy foes, the fight is a bit easier with Atreus providing support. Clear the dock and pick up the spoils. Then head over to the big movable stone block (17).
Unlock the Nornir Chest
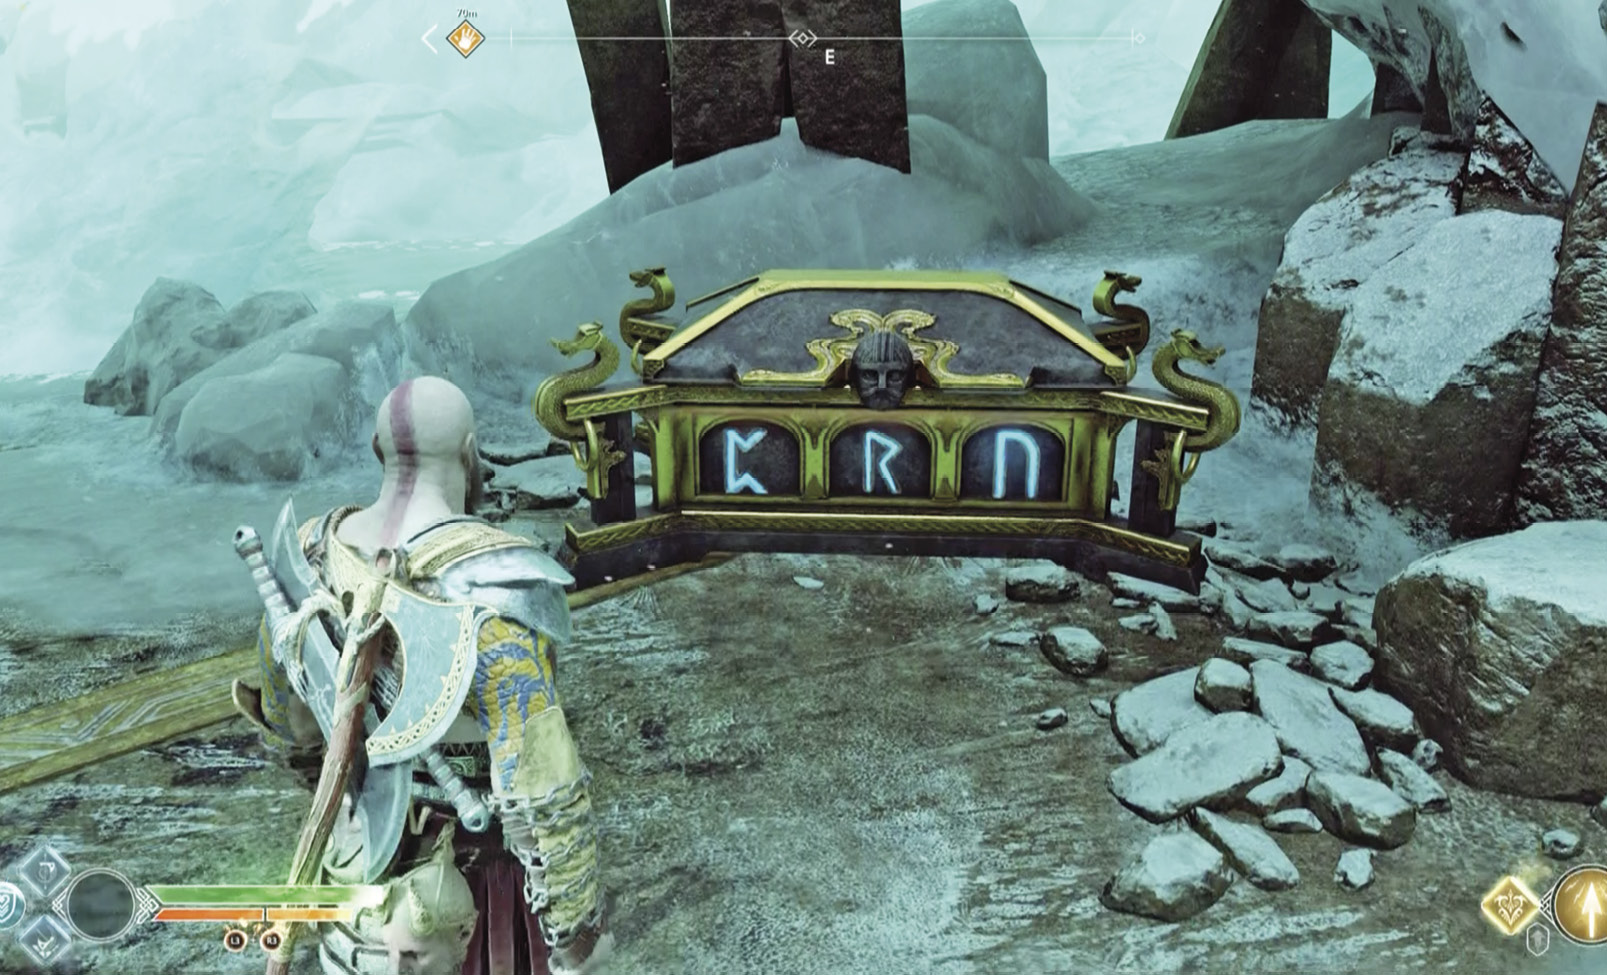
Push the block until it drops into the gap so you can hop across and proceed down the walkway to the Nornir Chest. You must find and break its three runic seal statues to unseal the chest. Here’s how:
The first runic seal statue is the only one in the game randomly placed in one of three locations:
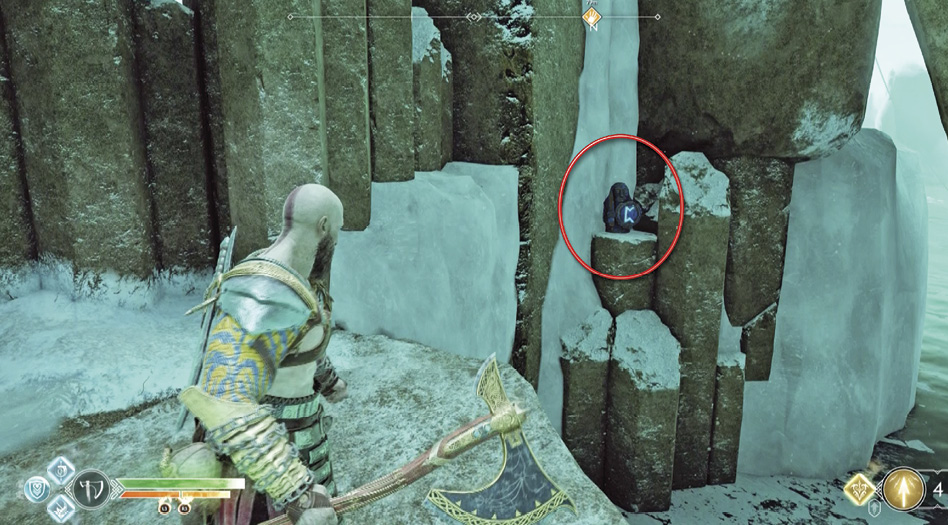
First possible location: Facing the Nornir Chest, turn right and approach a Bramble bush. Burn through it with your Blades to reveal another movable stone block (18) barricading a passage. Before you move the block, however, turn left through the narrow side passage, and then turn left again on the ledge (19) to see a runic seal statue sitting atop a low pillar.
Second possible location: Facing the movable stone block (18), turn right and go through the opening to spot the runic seal statue on the tall pillar across the water.
Third possible location: Pull the movable stone block from (18) to open the passage behind it. Step into the passage to find the runic seal statue.
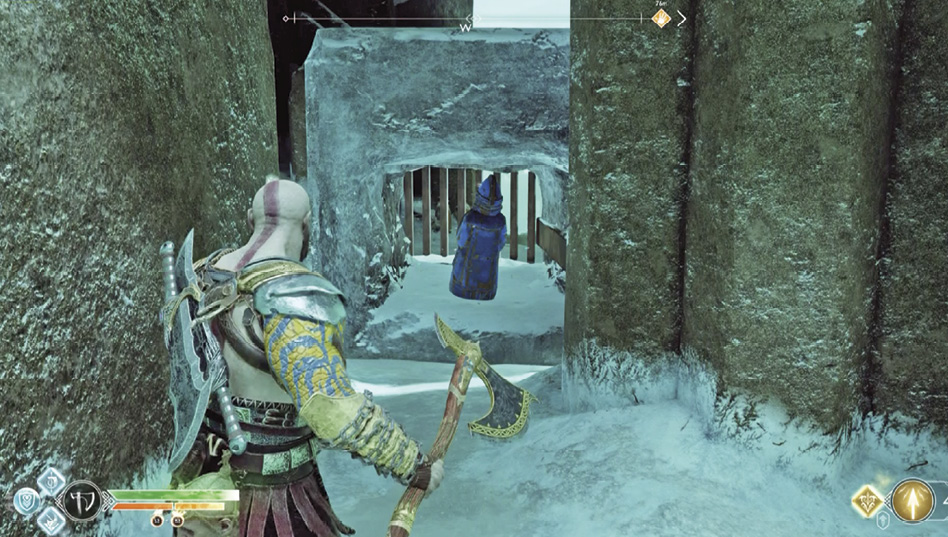
Pull the stone block just a few feet, until it covers that same narrow side passage. Glance through the iron bars on the front of the box—there’s a runic seal statue inside, and the back of the box is open! Climb atop the block and drop down its backside onto the same ledge (19) where you nailed the first runic seal statue. Break the statue in the box with your axe. Two down, one more to go.
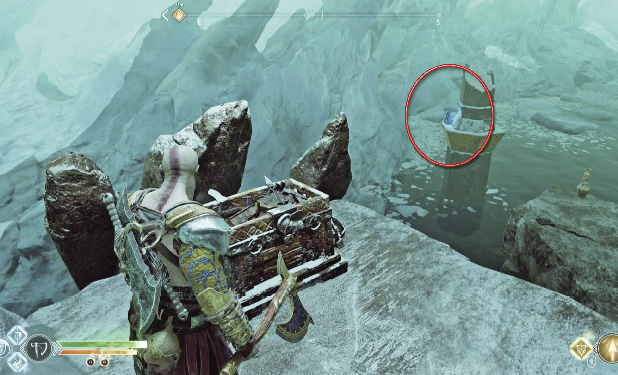
Climb back to the front of the movable box, then pull it as far as it can go, ending up under a yellow-marked ledge next to the Nornir Chest (just right of (17). Climb atop the box and up the marked ledge to find a chest loaded with Hacksilver (20). Standing at the chest, turn right to see a broken column out in the water with a runic seal statue sitting on its base. Aim a hair above the statue’s head and throw Leviathan to break it. Return to the Nornir Chest to claim your reward.
Board the Ship
Opening the chest brings a squad of angry Hel-Walkers of various stripes, including a Hel-Reaver Scout building explosive ice walls in your way. Eliminate them and head back down the walkway to the dock. Pick up the fallen pillar (21) and step onto the ship (22).
Helheim Ship and Bridge Platform
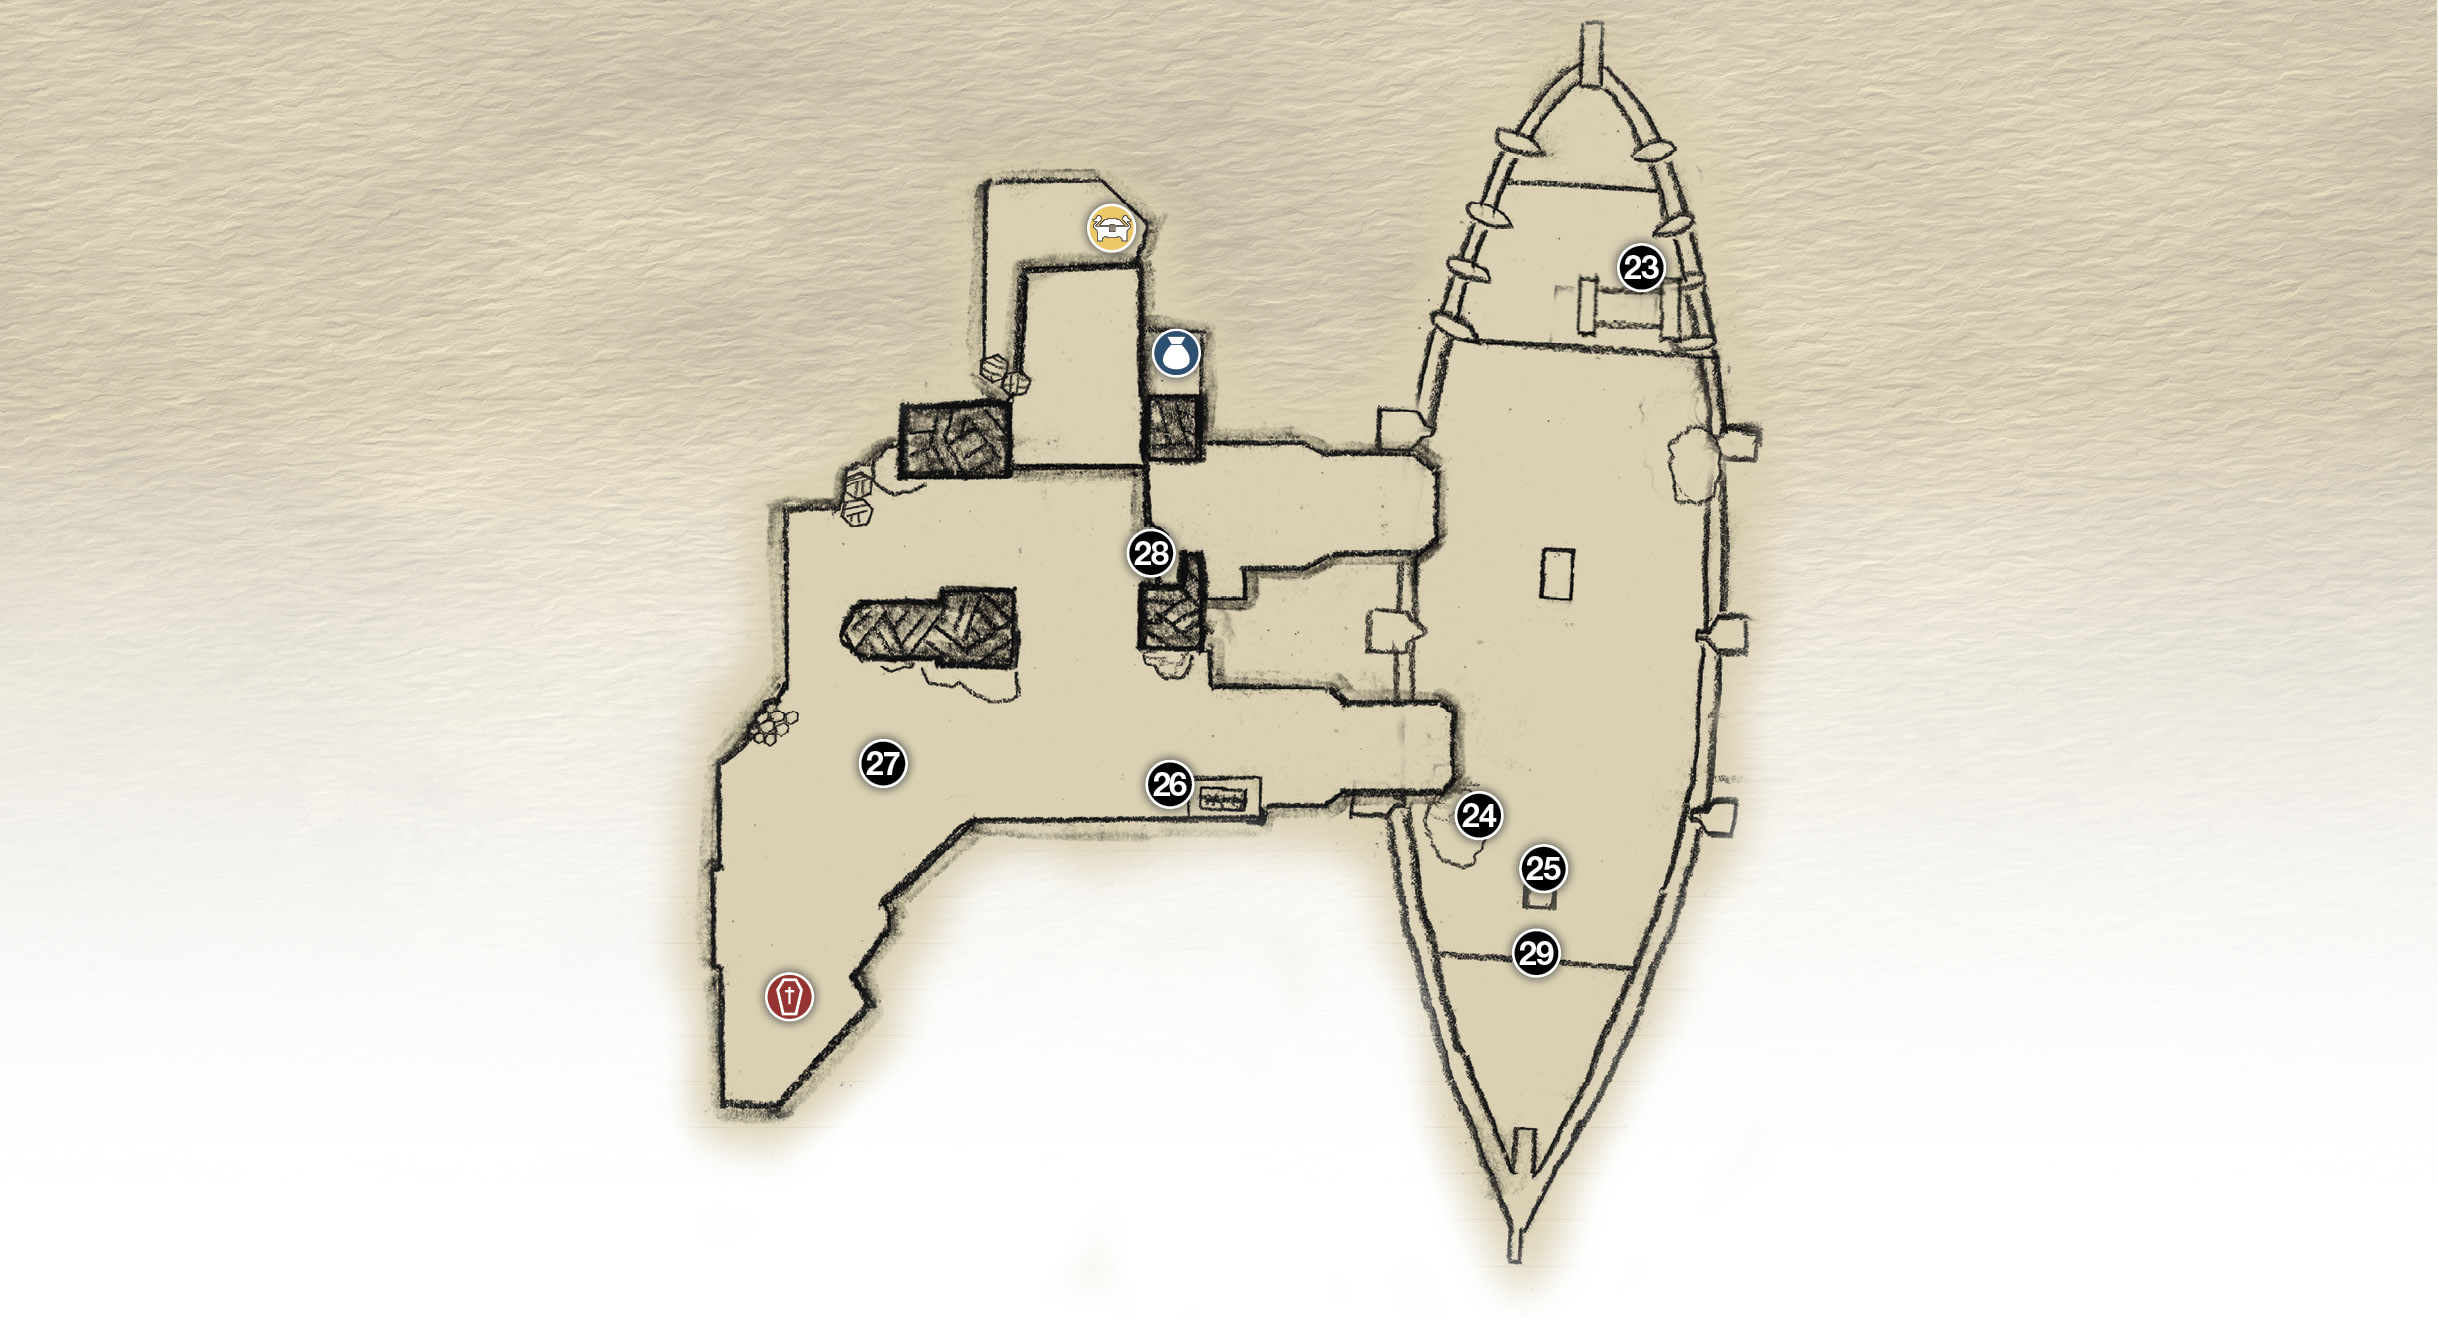
23. Mainsail crank-wheel
24. Brambles (free sail ropes)
25. Rigging mount
26. Bridge crank-wheel
27. Hel-Revenants!
28. Spinner lift
29. Tear off bow
Chest
Coffin
 Legendary Chest
OBJECTIVE: Use the Ship
Raise the Mainsail
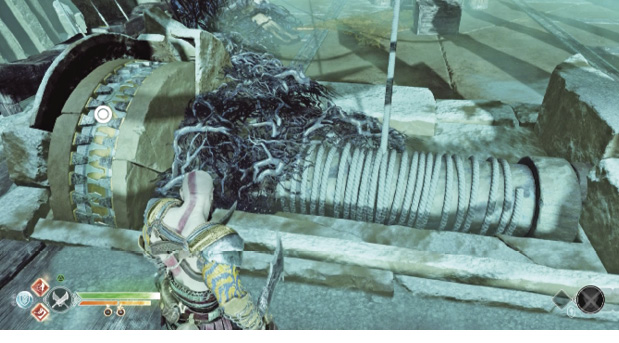
To get the boat moving, you need to hoist the sail, folded across the ship’s bow. A crank-wheel (23) in the stern could reel in the halyard cables attached the sail to raise it, but those cables are covered in Brambles (24). Use the Blades of Chaos to burn away all of the Brambles on the deck, including some covering the cable spool attached to the wheel-crank. Then turn the wheel-crank to raise the mainsail and get the ship moving.
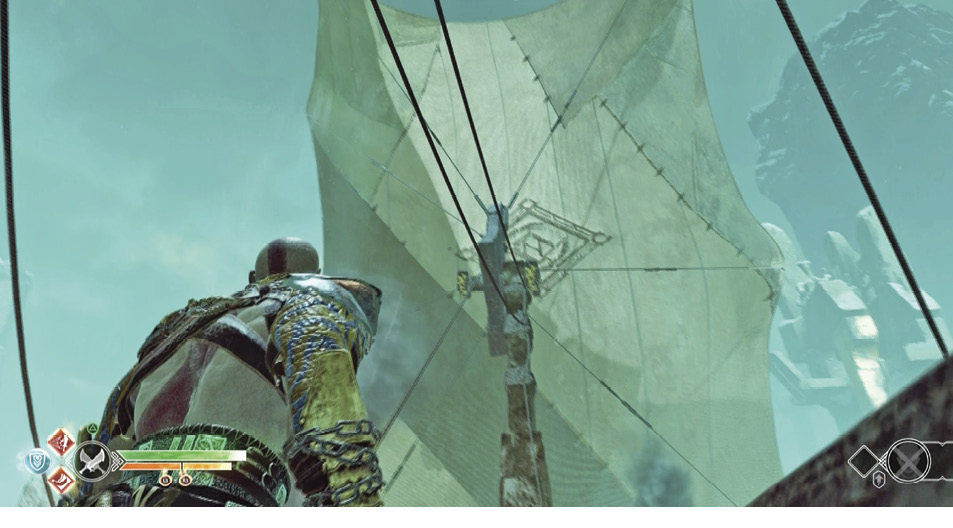
Mimir points out that Týr’s Temple is near the top of a towering waterfall, and you’re downstream. You can’t sail up a waterfall, right? Then, after you sail only a short way, the ship gets stuck on an iceberg. Now what? Note that Atreus stares at the rigging mount (25) near the bow.
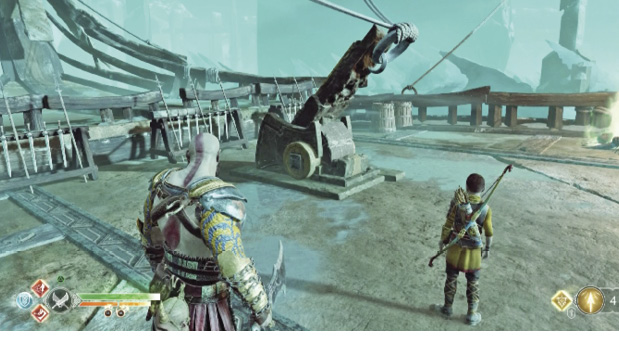
Get free of the iceberg
Approach the mount and press Circle to set up with Leviathan in hand. Then press R1 to chop. Keep chopping until Kratos chops through the mount and it breaks free. Now the sail is floating loose, directly above the ship.
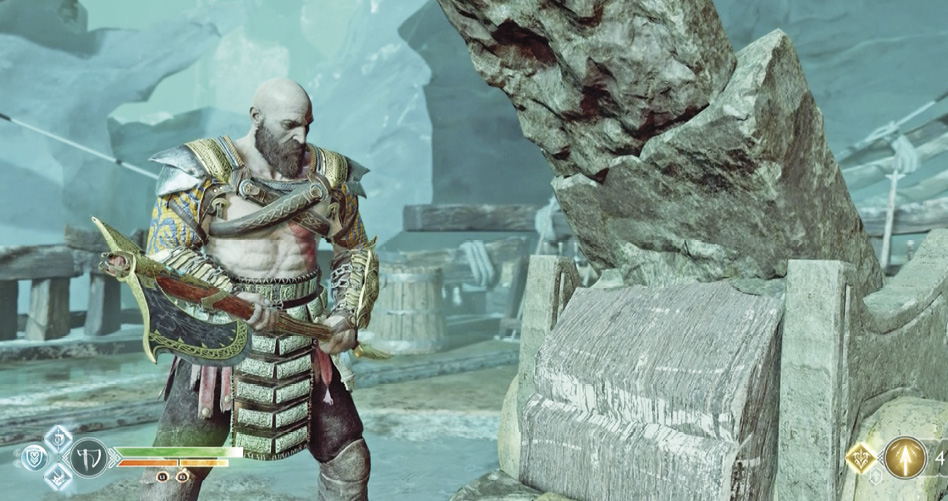
Go back to the crank-wheel (23) and turn it again. This tightens up the sails overhead, and they start filling with heated air from the two deck fires. The ship starts rising like a modified hot-air balloon! (As Atreus remarks in his journal, “The boat works just like those flying lanterns in the Mountain!”) This lifts you free of the iceberg. Unfortunately, the ship’s deck rises toward a lowered section of drawbridge (circled in our shot) extending from a waterside structure…and gets stuck again.
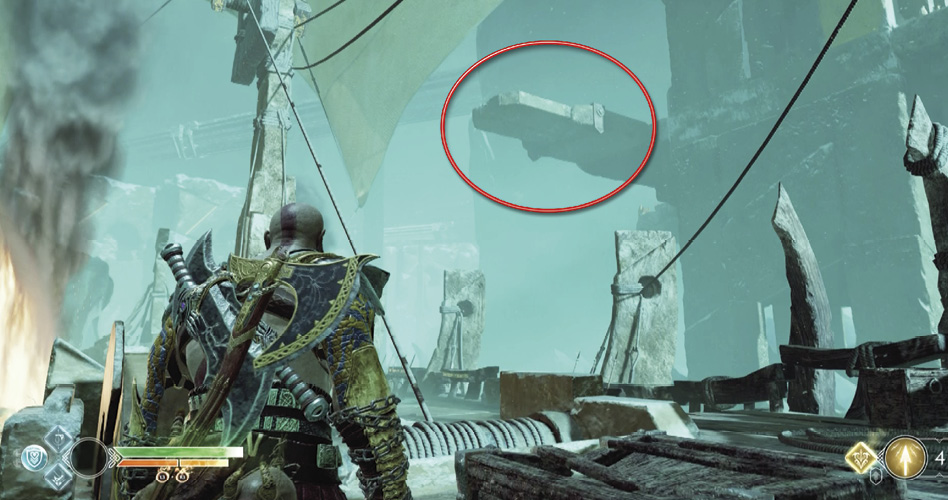
Get Free of the Drawbridge
Climb onto the drawbridge span and use the bridge crank-wheel (26) to raise the bridge. As you do, the bridge section breaks, freeing the boat until it catches on a small platform higher up on the bridge structure. This raises the boat too high for Kratos to jump back aboard from the lower bridge level.
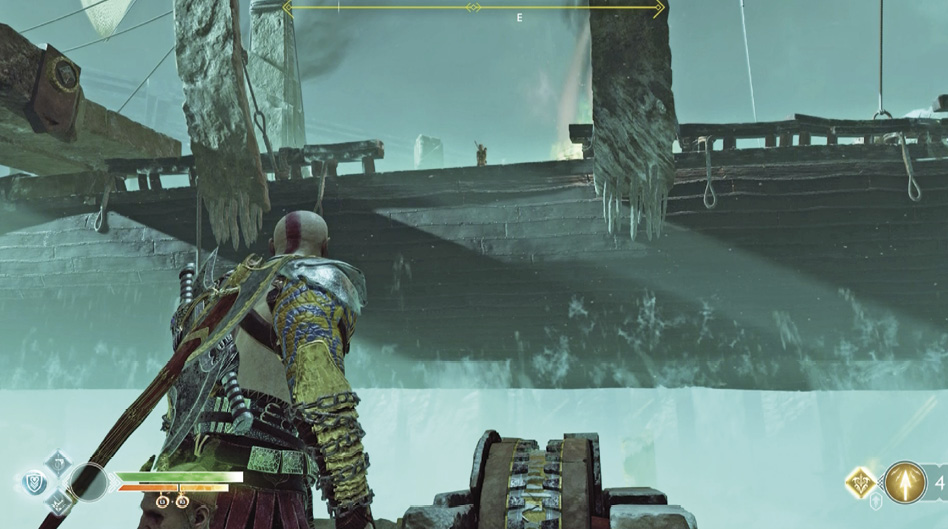
This also unleashes a pair of foul new foes on the bridge platform behind you. Two Hel-Revenants start raking up pairs of icy fissures or huffing their killer ice-breath attacks at Kratos. You don’t have Atreus beside you, but he can fire his arrows from the boat, shooting down onto the bridge platform to disable the Revenant shrouds, thus keeping the creatures from teleporting away whenever Kratos attacks.
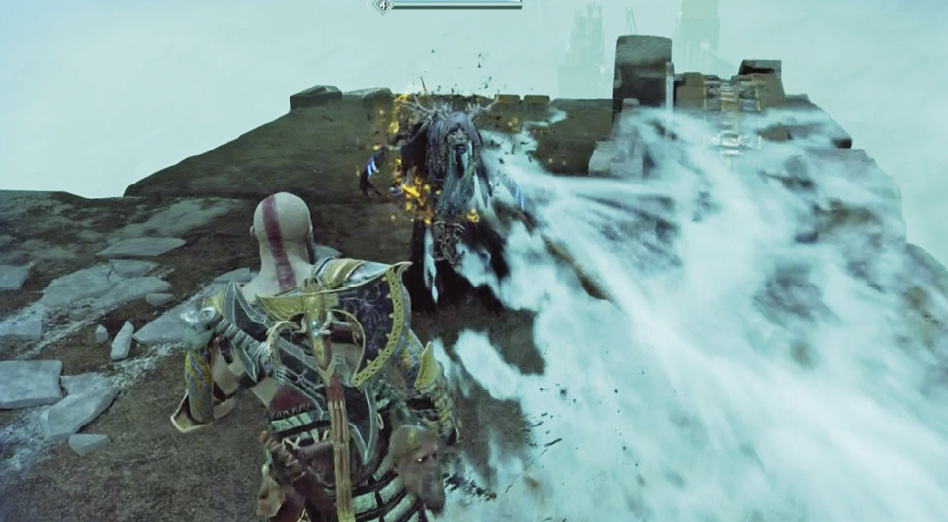
Ride the Lift to the Upper Ramp
After the Hel-Revenants fall, find the coffin hidden behind breakable debris in the platform’s back-left corner. Then approach the spinner mechanism (28) and stand close so you’re on the lift under it. Start tossing/recalling Leviathan, targeting the spinner’s scarred wooden panel to spin the gears and raise the lift you’re standing on. When the lift reaches the top—that is, the spinner won’t spin anymore – toss the axe at the gearwheel above the spinner panels to freeze the lift in place. Step out onto the upper bridge ramp, but don’t jump down onto the boat yet. Don’t recall Leviathan yet either! You can find a pair of hidden chests first.
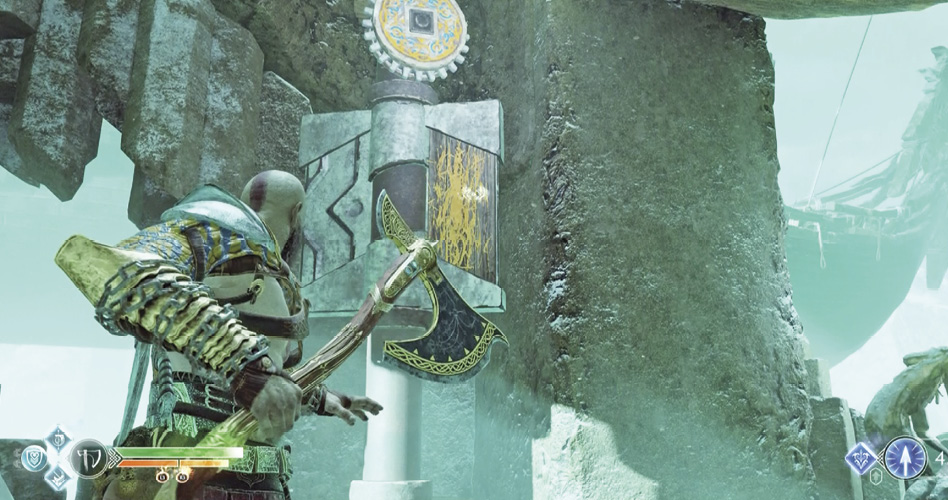
FIND THE TWO HIDDEN CHESTS ON THE BRIDGE PLATFORM
Step from the lift onto the upper ramp, turn right, and find the spot where you can climb down the wall. Once you’ve returned to the lower level, go underneath the raised lift platform to find a route to a Legendary Chest sitting on a ledge. Then retrace your climbing route back to the upper ramp.
When you’re standing on the upper ramp again, recall Leviathan to unfreeze the lift and let it drop. A small platform previously blocked by ice is now accessible. Punch open the chest sitting on that platform.
Objective: Escape Helheim
Defend the Deck Fires!
After a few seconds of peace, Hel-Reavers start popping up all around the deck to toss ice magic at the two deck fires, trying to extinguish the flames! If they manage to put out both fires, the ship capsizes and tumbles from the sky. The first waves are weak and easy to exenterate, especially with Atreus working assiduously on the periphery with Skill-upgraded Shock Arrows. Rush back and forth to meet each threat, eliminating each small squad before the next arrives, if you can.
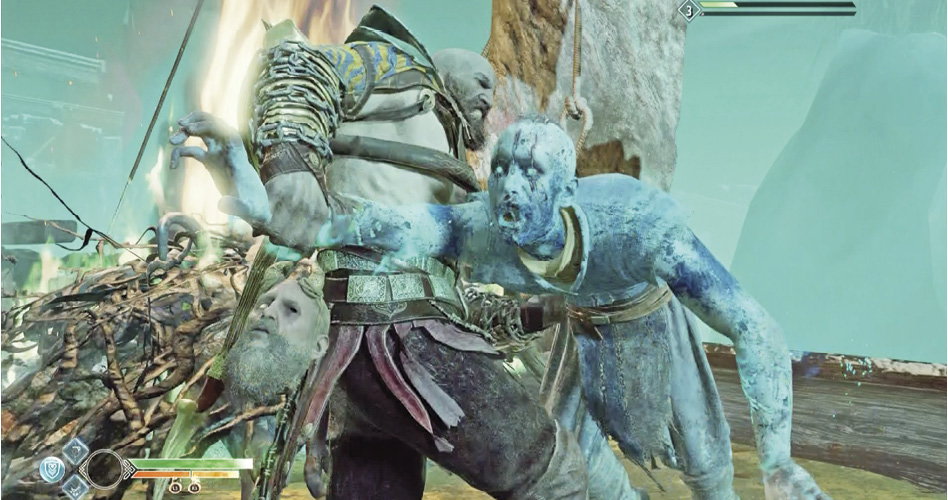
Cast Off the Enemy Anchors!
Soon, however, a pair of massive grappling anchors on chains get harpooned aboard. One tears a gouge in the deck and slides off the side. But the other one latches on to the gunwale railing and halts the ship’s rise. To make matters worse, a Hel-Viken and a big swarm of Hel-Shadow minions pop up too.
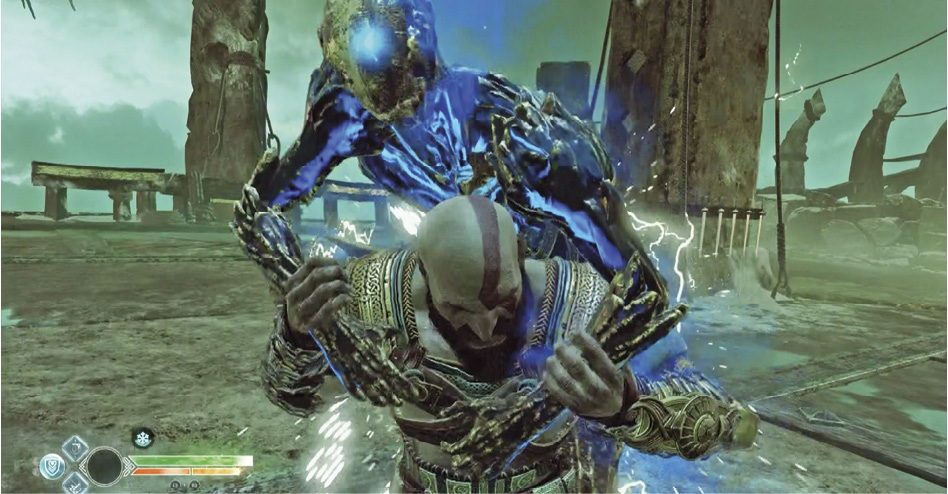
Slice through the Hel-Walker foes, then hustle to grab the grappling anchor, and start tapping Circle to unlatch it from the railing and push it away. Here you get a brief respite as Mimir reports that the temple is not that far away.
GET BACK ABOARD THE SHIP
Step back onto the upper ramp and go hop down onto the ship’s deck. Kratos calls Atreus over to help him lift the ramp (tap Circle repeatedly) and push off so the boat can continue rising into the Skies of Helheim.
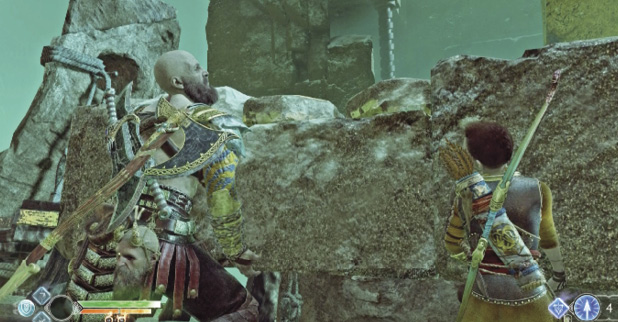
But soon more Hel-Walkers arrive, including some Hel-Shadow Archers who perch up high atop the hull-rib columns, forcing you to knock them off with axe throws.
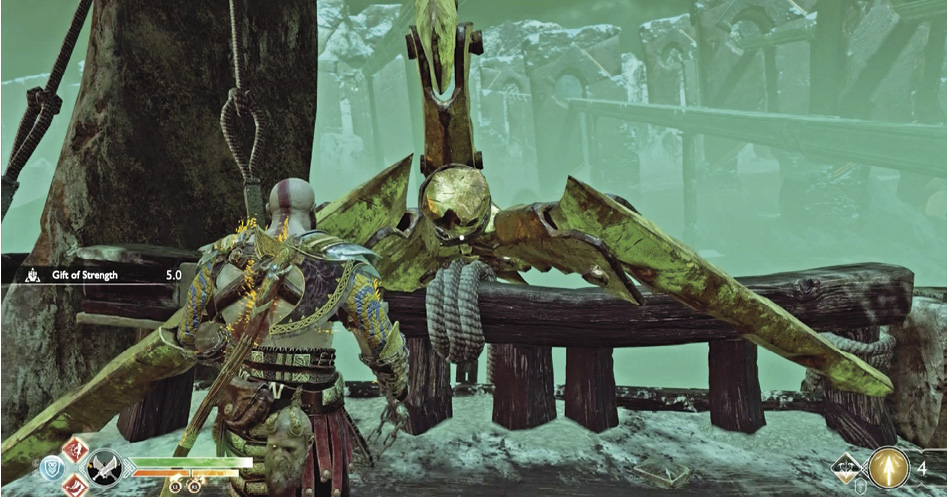
A good tactic is to simply run back and forth from fire to fire, swinging your Blades of Chaos not only to cut down the Hel-Reavers freezing the fires, but to reignite the flames as well.
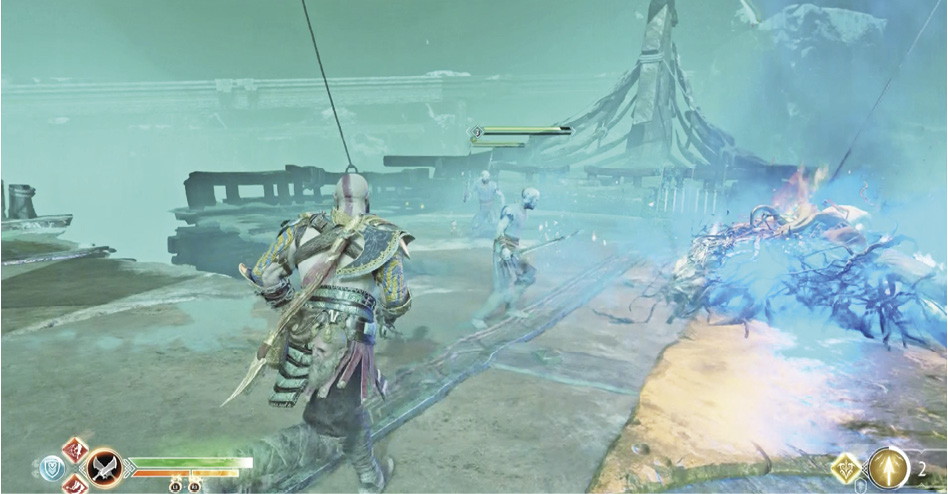
Listen to Atreus—he shouts a warning if either of the fires (starboard or port) gets completely extinguished. If you hear this call, immediately disengage from combat and rush to that brush pile to relight the fire using your Blades.
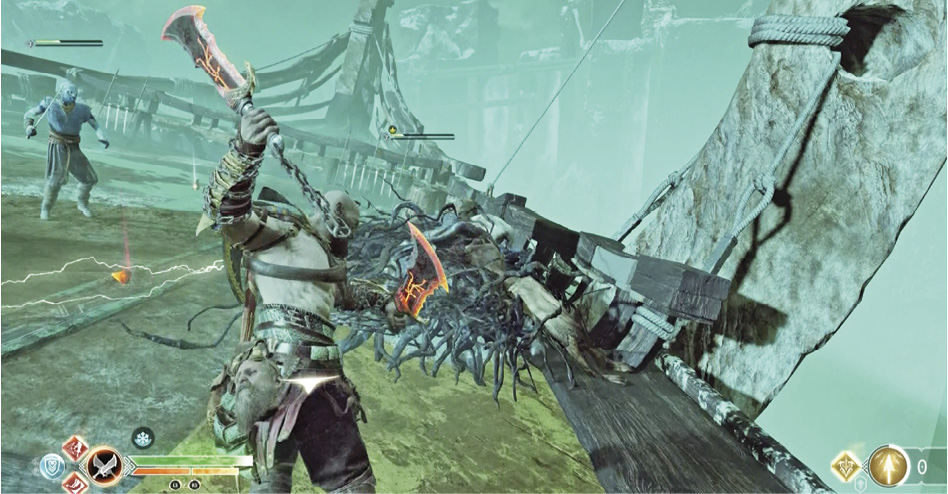
Defeat the Hel-Revenants!
If you can keep the fires burning, another harpoon launch soon flings more grappling anchors aboard. Again, one gouges the deck and slides off while two others latch on to the gunwale railings. Go push the anchors off as soon as you can, because the next attack wave features another pair of Hel-Revenants, this time with an aerial escort of assorted Nightmares! Take them out with Atreus’ help.
After the Hel-Revenants fall, you get a well-deserved breather as the ship sails ever closer to Týr’s Temple. But soon enough, Hel-Vikens drop in to take a crack at halting your progress, followed by some big Hel-Reaver squads who target the fires again. As you fight, Atreus calls out that your destination is just ahead. If you can manage to keep the fires burning while taking out this wave of intruders, you trigger a big encounter.
Defeat the Ogre and Minions!
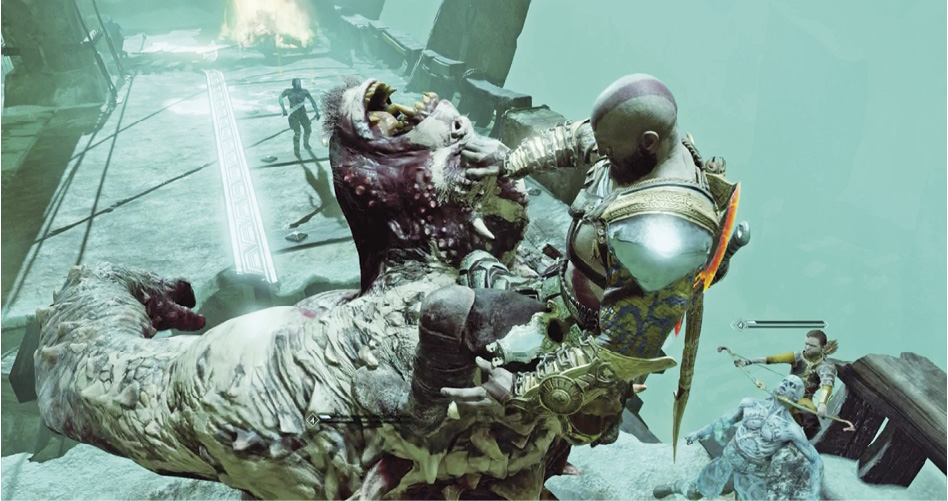
More harpoons snag the boat’s bow with a pair of grappling anchors, and a hefty Ogre hops onto the bow too, ready to rumble. He’s joined by a large mixed squad of Hel-Reavers and Hel-Brood. Focus on the Ogre first, because if you can stun and mount him using your stun grab, you can steer the big brute through the other units and decimate them. Finish him off and slice through the remaining troops.
Detach the Bow
After the fight, pick up all the spoils and then approach the ship’s bow (29). Grab the marked spot and repeatedly tap Circle to tear off the harpooned bow and cast it down into Hel’s depths. This triggers a scene, and then father and son finally abandon ship, smashing through a roof below into a Hidden Chamber inside Týr’s Temple.
Explore the Secret Chamber of Odin
When the dust settles, you’re facing a locked chisel door. But first, turn around and go through the regular doors to enter an ornate library where you can find a Scroll on the floor (underneath an entire wall full of more scrolls) and a coffin at the far end that may hold an Epic Enchantment.
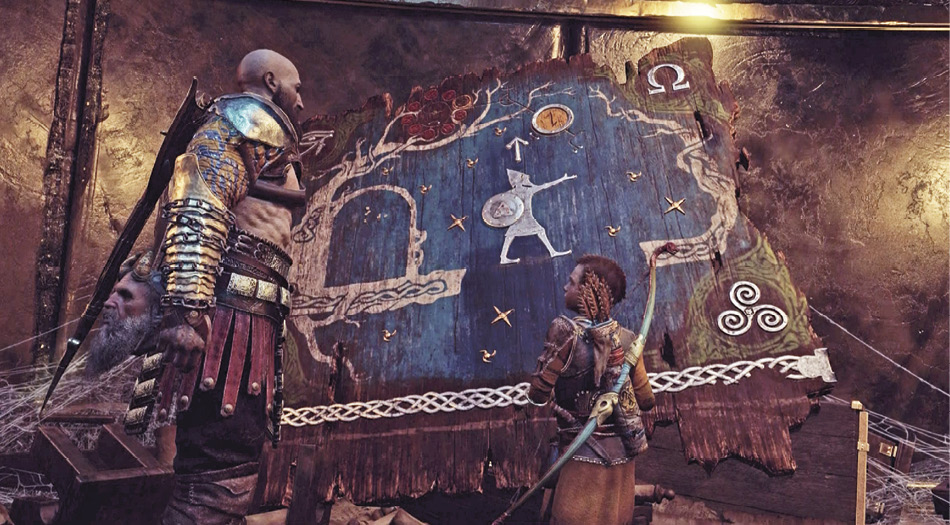
Exit the first library room and use the Chisel to open the locked door across the foyer. Enter another library room full of scrolls; Mimir recognizes it as Odin’s study. Go through the next door to trigger a scene: the team finds the panel that was missing from the Týr Jötnar Shrine you found earlier. Atreus wonders why Odin chose to steal it, so Mimir asks to see it, and has a stunning revelation.