
Chapter 14: A Path to Jötunheim
The Giants’ Jötnar Shrine indicates that Týr left plans for a special key to a secret chamber that might offer an alternate route to Jötunheim. Mimir suggests that a Dwarf might be a good source of information on these sorts of special keys.
Journey Objectives
- Realm-travel back to Midgard
- Show Týr’s key plans to Brok
- Locate Týr’s mysterious door
- Explore Týr’s secret chamber
- Break the chains
- Go back up and flip the temple
- Return to the Realm Travel Room
- Collect Týr’s mysterious object
New Enemies
- None
Týr’s Temple
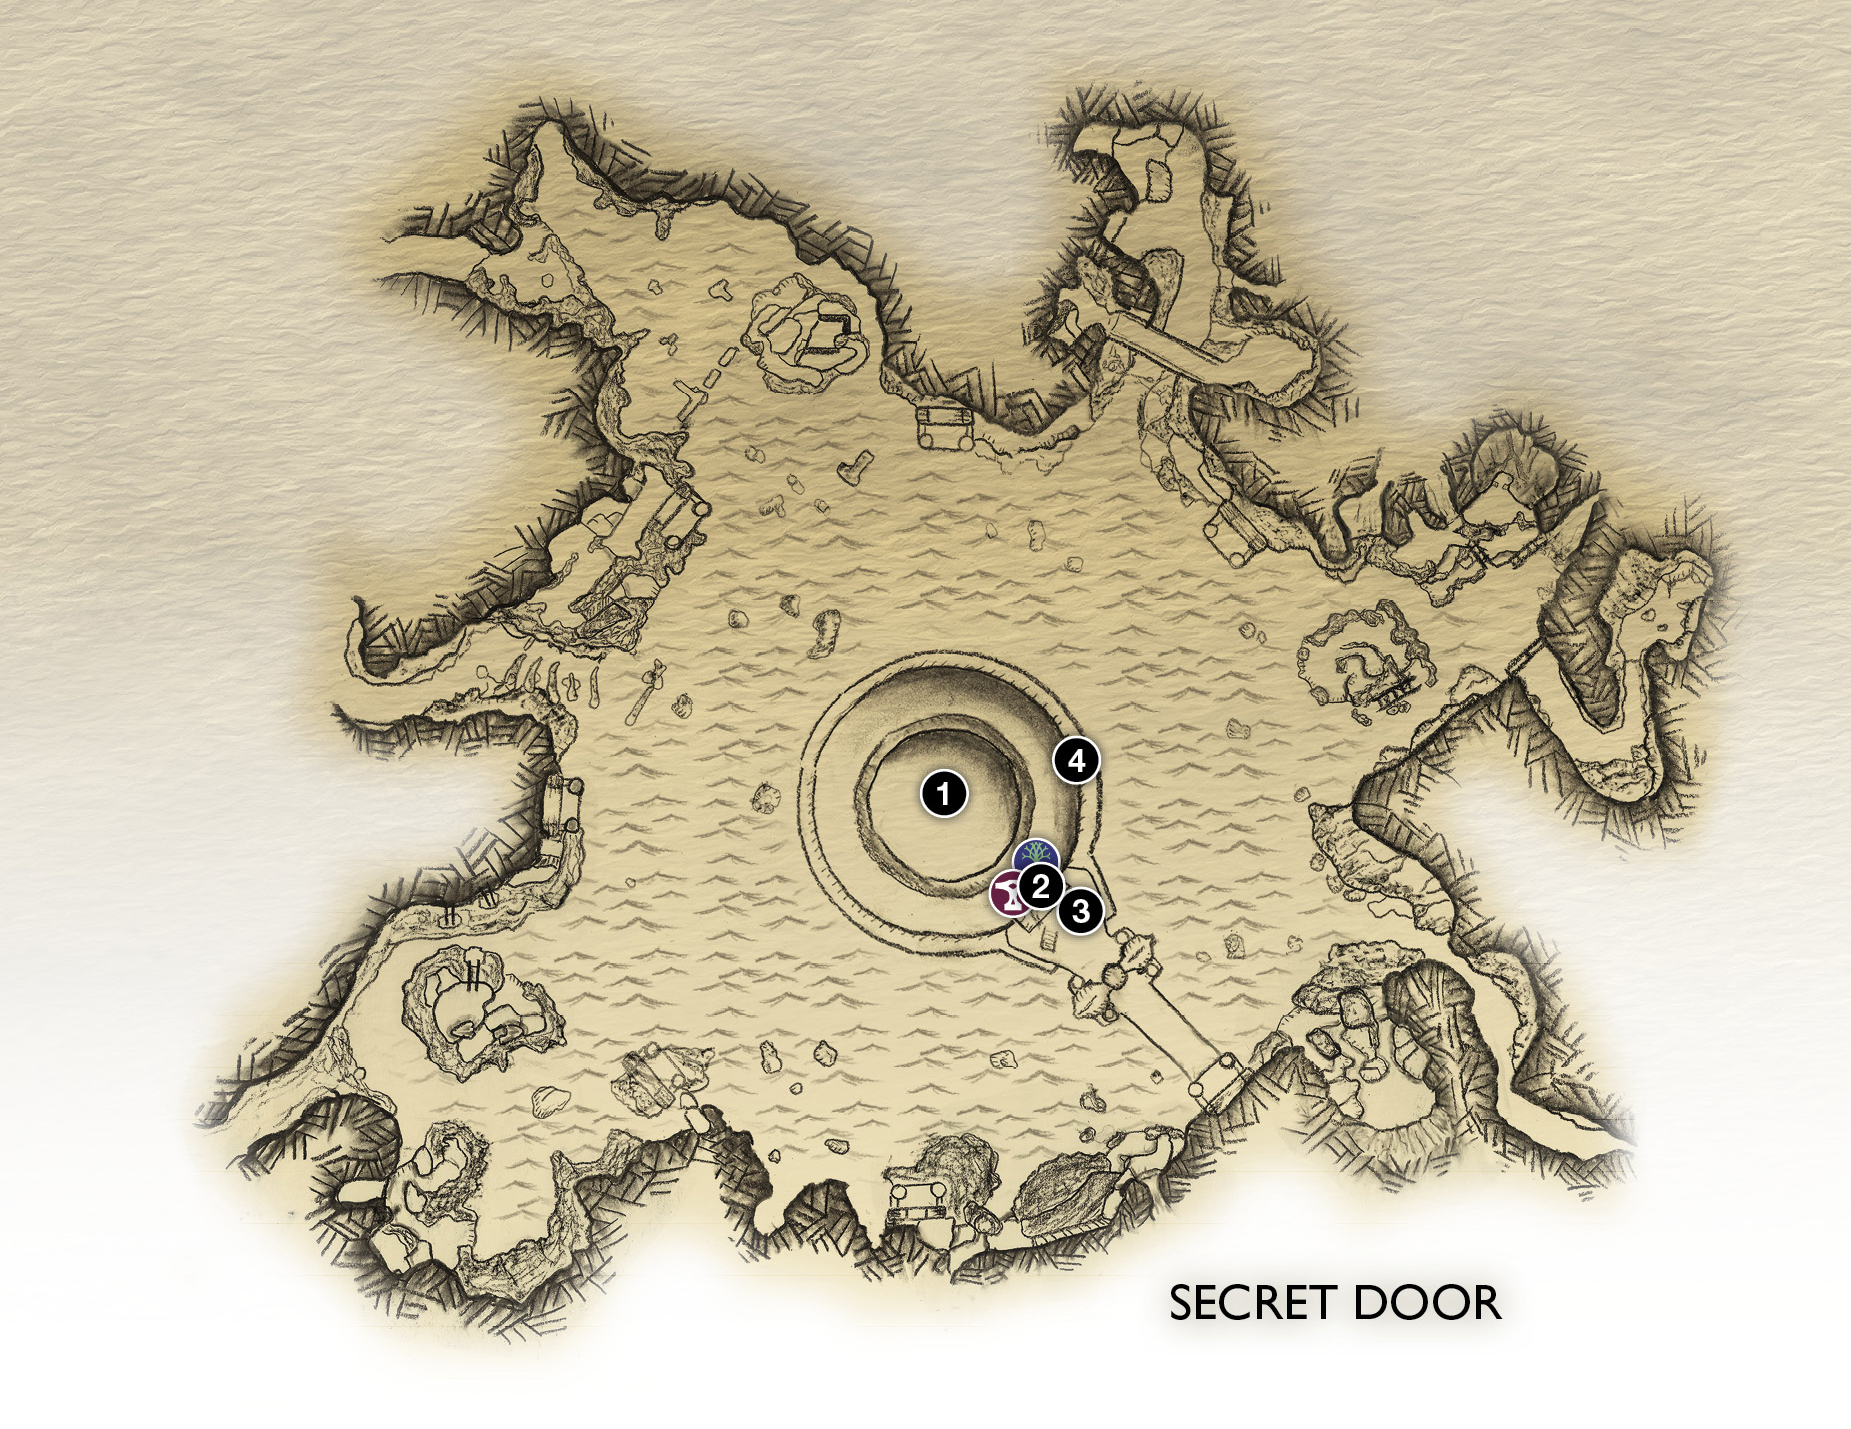
1. Realm travel table
2. Brok’s shop
3. Staircase
4. Door to Hidden Chamber
 Shop
Shop
 Mystic Gateway
OBJECTIVE: Realm-Travel Back to Midgard
As the new chapter opens, go straight ahead through the next set of doors in the Hidden Chamber of Odin. In the next room, find the elevator in the back-left corner and use it to ride down. You end up in the Realm Travel Room. Access the travel table (1) and select “Return to Midgard.”
OBJECTIVE: Show Týr’s Key Plans to Brok
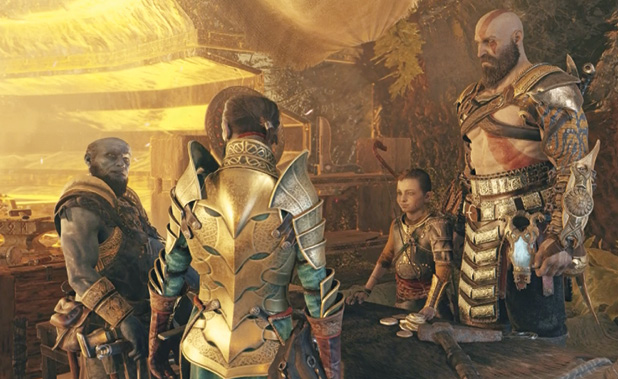
When the realm travel is complete, exit the chamber via the pink door opposite the tree roots and talk to Brok at his shop (2). This triggers a scene: to Atreus’ delight, the Huldra Brothers finally reunite and put their heads together to craft the perfect chamber key.
OBJECTIVE: Locate Týr’s Mysterious Door
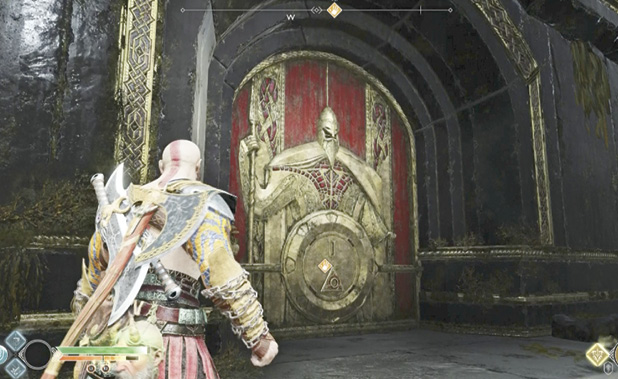
Before you move on, make sure to access the shop and use the Chaos Flame you picked up in Helheim to get the Blades Upgrade IV. Then exit onto Týr’s Bridge and take the left staircase (3) all the way downstairs to the boat dock. Turn left and go past the vault door. Follow the temple’s curve around to the next door (4) and insert the key. The switch pops out, and Kratos automatically opens the door.
Týr’s Secret Chamber
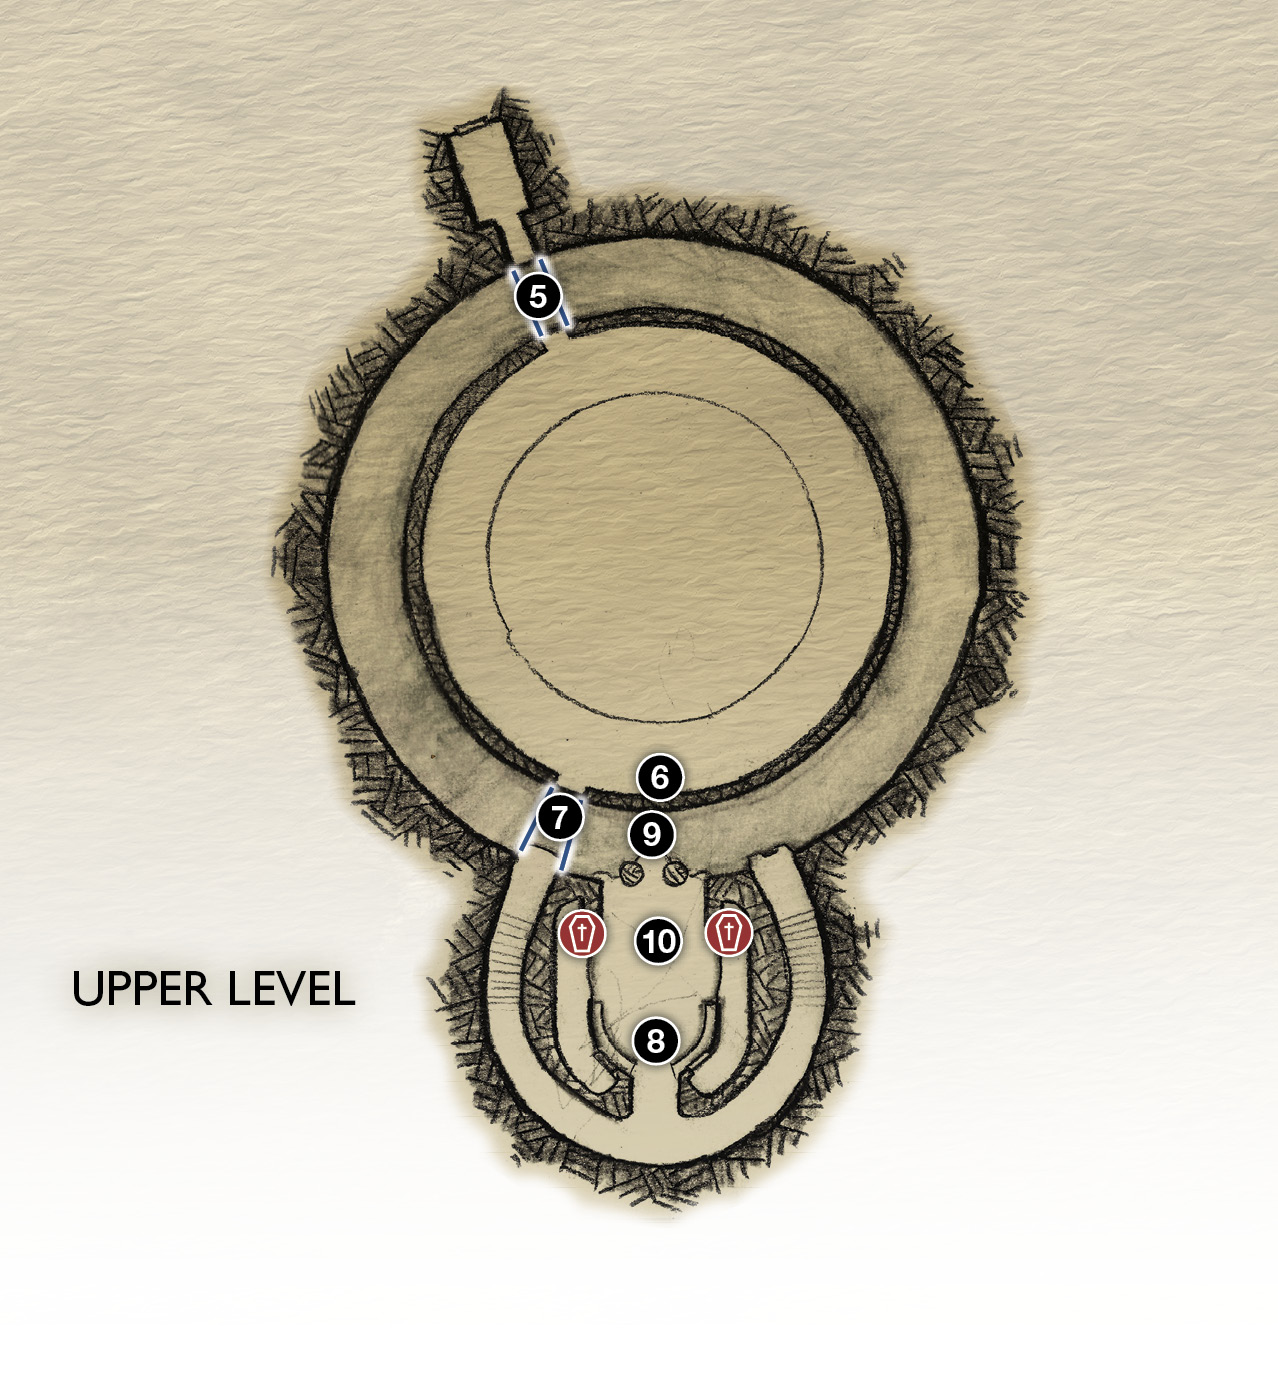
5. Light bridge
6. Jötunheim door (upside down)
7. Light bridge
8. Hall of Týr
9. Flip travel room here
10. Sand bowl / Lift switch
 Coffin
OBJECTIVE: Explore Týr’s Secret Chamber
Climb the staircase that leads to a drop-off. Toggle Atreus’ quiver to Light Arrows and shoot one into the crystal across the gap to generate a light bridge (5). Cross the bridge to find yourself in a huge chamber underneath the Realm Travel Room—you can see the World Tree’s roots up above. But something about this room is exceedingly strange—as Atreus points out, the floor is on the ceiling!
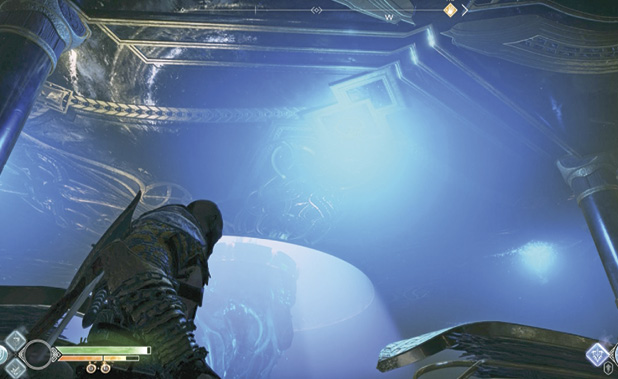
And as Mimir notes, the realm doors on the walls above you seem to mirror the ones in the chamber above, but flipped upside down! This whole room seems to be a mirror version of the Realm Travel Room—a secret travel chamber, if you will.
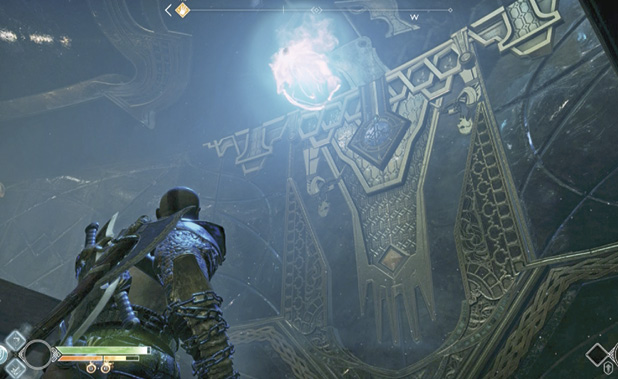
Turn right and follow Atreus down the walkway until he stops (6) and points up. Press Square to trigger an exchange: Kratos spots a Runestone floating in a magical field near the ceiling, right in front of the upside-down Jötunheim door. Could it be the Jötunheim travel rune? As you observe it, the door suddenly slides open, revealing a sunlit, plant-filled area on the other side. That’s your next destination.
Find the Hall of Týr
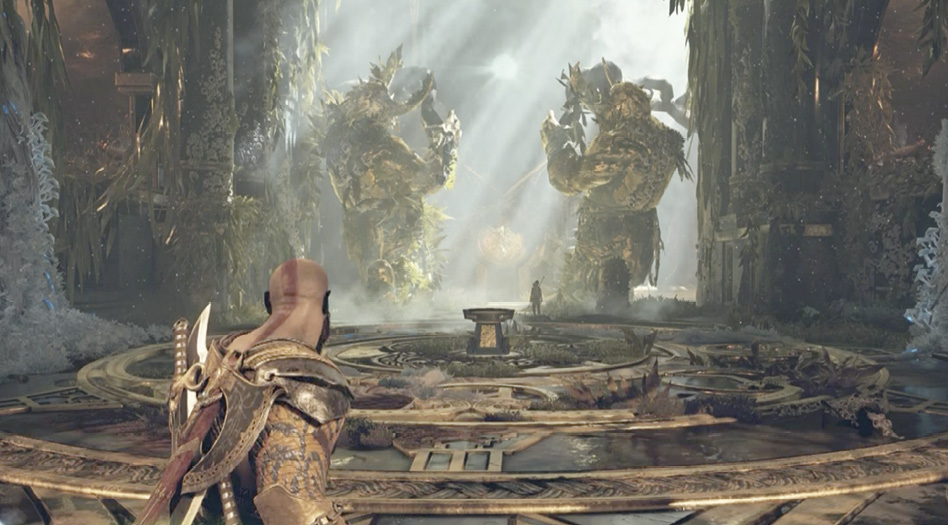
Turn right and follow Atreus through the nearby doorway that slides open. Step out onto another light bridge (7) and look left to see your destination—a sunlit area below, with a pair of massive statues holding up equally massive chains.
Continue into a curving corridor that leads past a series of Giant-generated tapestries that suggest a deep respect and gratitude for Týr. Continue to a doorway on the left and enter the sunlit area (8) with the massive statues and a sand bowl in the center. This is the Hall of Týr.
Try to Flip the Room
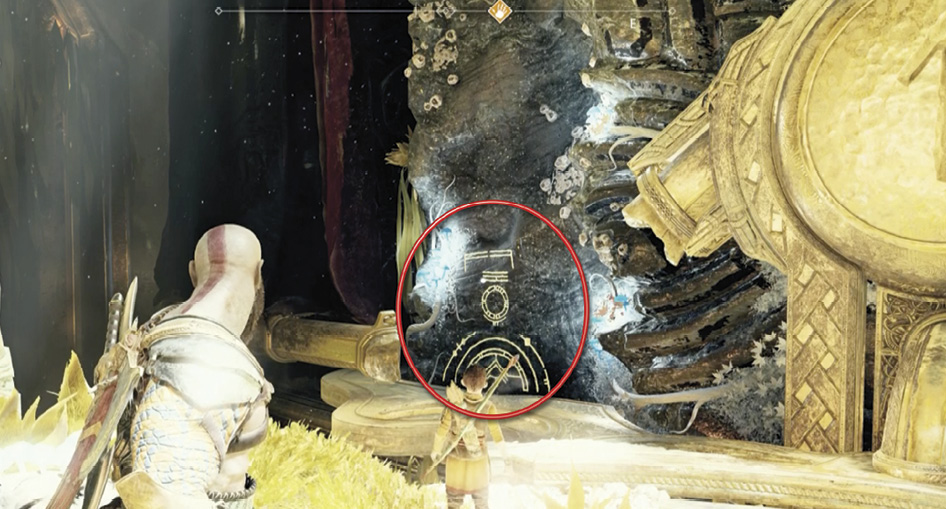
Cross the hall to the far wall (9), where you can see the floating Runestone through the opening above—you’re now on the other side of the upside-down Jötunheim doorway. Press Square to note the Jötunheim rune etched large on the wall.
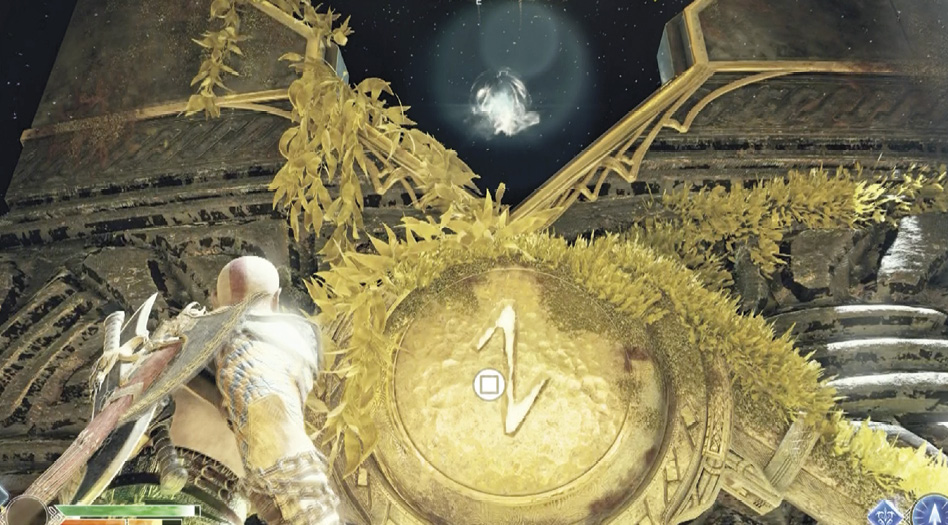
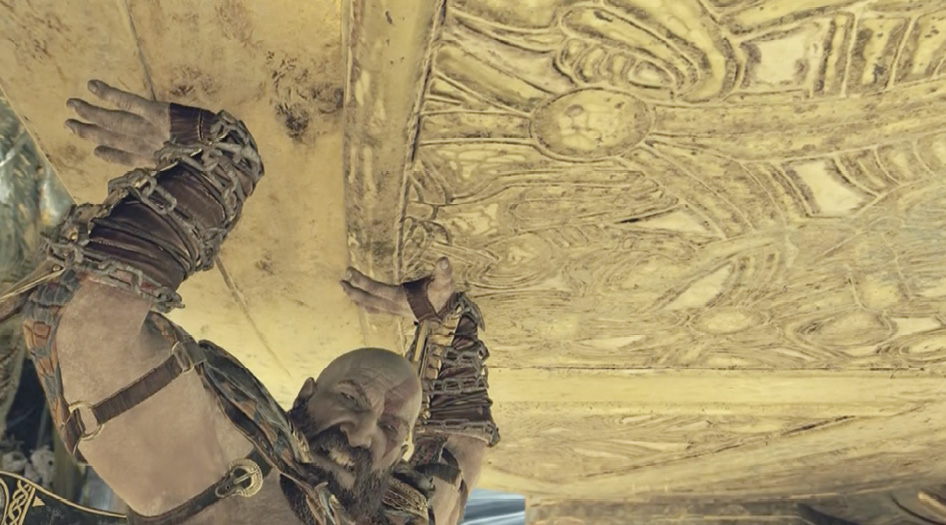
Press Circle once to grab the platform, and then start tapping Circle to lift. As Kratos hoists up the platform, the entire Realm Travel Room starts to flip over! Mimir points out that the great room appears to be built on some kind of axle. Clever Týr has built a secret backup chamber, hidden directly underneath the main one.
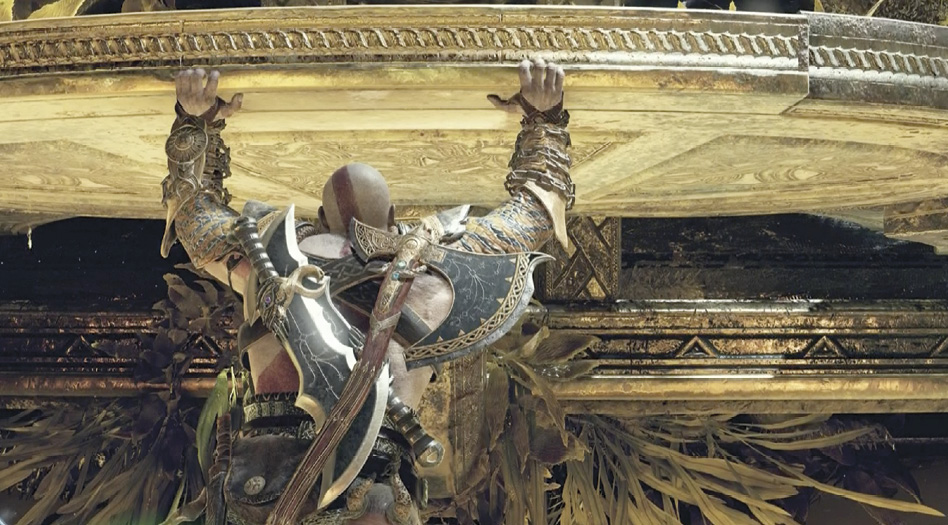
But the temple won’t flip all the way over because two massive chains restrain it. Kratos figures that if he can break those chains, he can flip the travel chamber and gain access to that Runestone floating in the magical field. After Kratos drops the temple platform, the two great statues suddenly animate briefly and turn to face the sand bowl in the center of the hall.
OBJECTIVE: Break the Chains
Approach one of the big statues and press Square to have Atreus read the runes on them that translate to “Void.” Then step to the sand bowl (10) and direct Atreus to write that in the sand. The bowl drops and is replaced by a switch. Turn the switch to activate a lift that lowers Kratos and Atreus down into a chamber overlooking a big underground cavern.
Týr’s Secret Chamber
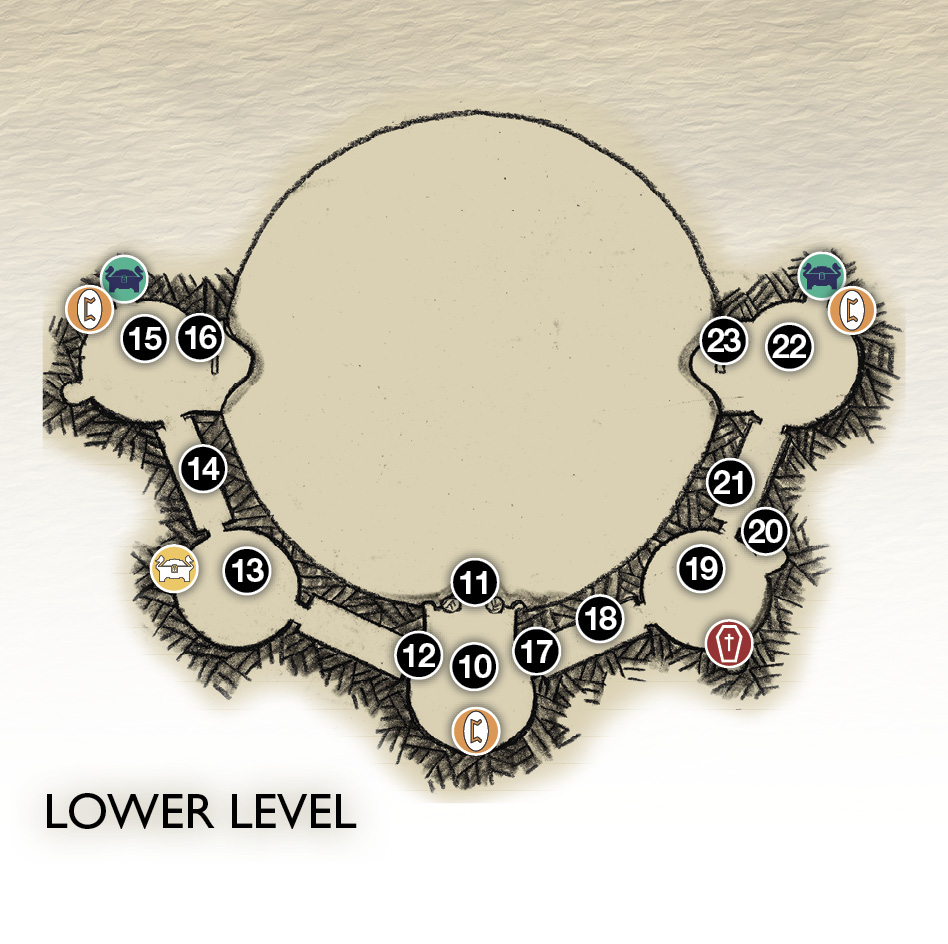
10. Lift switch
11. Overlook of statue army
12. Door to first blade-wheel corridor
13. Mid-chamber
14. Second blade-wheel corridor
15. End chamber
16. Break chain
17. Door to first spiked-block corridor
18. Second block
19. Mid-chamber
20. Yggdrasil root (Shatter Crystal)
21. First block (toss crystal here)
22. End chamber
23. Break chain
 cipher chest
 Coffin
 Legendary Chest
 Lore
Lore
Get Past the First Blade-Wheel Passage
From the lift switch (10), find the Jötnar Shrine on the back wall—it depicts Bergelmir, the Giant King. Then step to the edge of the overlook (11) to see an army of statues across a chasm. If you look off to the sides, you can spot two places where the great chains meet. You must work your way to each of them to break the chains.
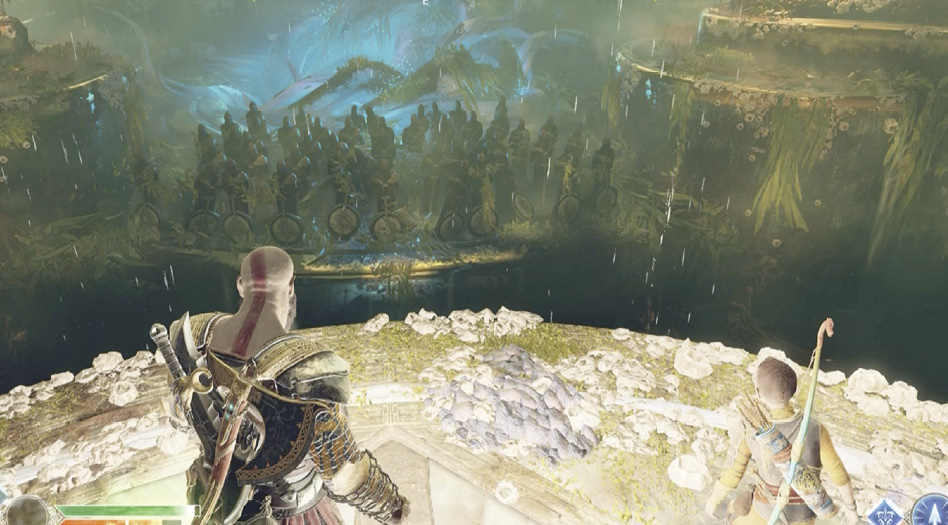
From the overlook, turn around and open the gate on the right wall to reveal another fun corridor of death (12), full of spinning blade-wheels—seven of them, to be exact, each wheel slightly overlapping the one in front of it, and all rotating in the same circling motion around the passage. Your goal is to get all seven blade-wheels in perfect alignment so that you can run through when the wheels circle up high to the opposite side.
Here’s how to do it:
First, toss Leviathan at the glowing gear in the center of the front blade-wheel to freeze it in place. Recall the axe when the center gear on the second blade-wheel is clearly visible behind the first wheel.
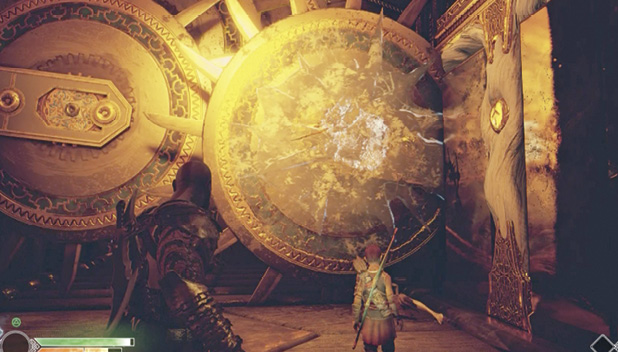
Now throw at the second blade-wheel’s gear to freeze that wheel in place. Wait until the first blade-wheel circles around, then recall the axe the moment the first and second blade-wheels are perfectly aligned.
The third blade-wheel’s gear should be visible. Toss Leviathan at that gear, wait until wheels one and two (which are aligned) circle around, and recall the axe when the third wheel is perfectly aligned with the first two.
You get the idea now. Repeat this process with each of the remaining blade-wheels, freezing each gear, then recalling the axe when that wheel is perfectly aligned with the ones in front of it. When all seven blade-wheels are aligned, stand on the left or right side of the passage and time your run past all of the aligned blade-wheels when you get the open route.
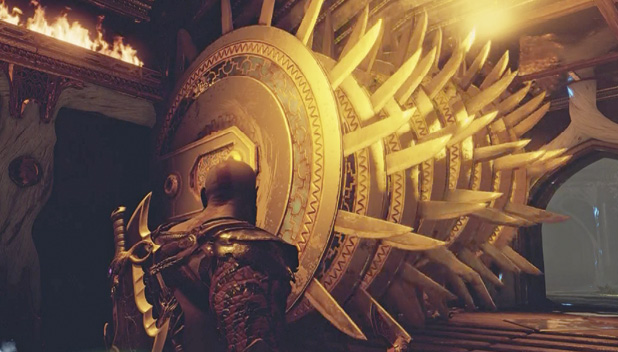
Get Past the Second Blade-Wheel Passage
You reach a round chamber (13) that has a vault door with two wind traps, one empty and one sparkling green with the Winds of Hel. Look down the next corridor of death (14) to see more spinning blade-wheels, this time with a wind trap in the center of each wheel. Our solution path will get you safely down this next passage, but first, let’s open that vault door to snag a treasure.
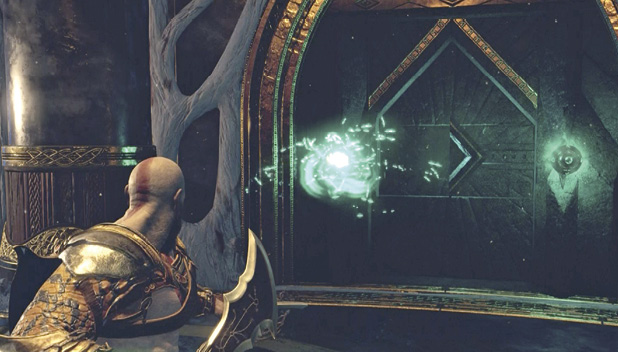
Use your blades to transfer the Winds of Hel from the vault door to the wind trap on the right wall of the next corridor. This starts rotating the strut on the first blade-wheel.
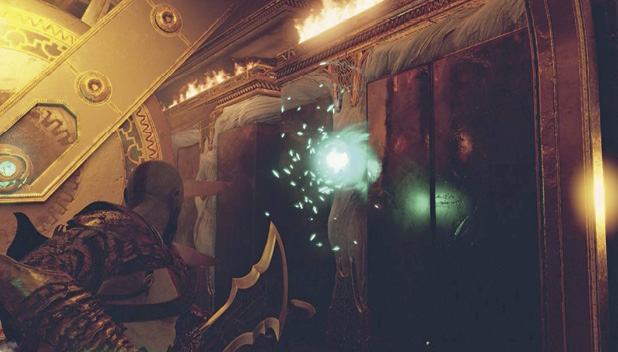
Wait until the strut is horizontal, then quickly pull the winds from the side wind trap, which locks the first wheel strut in the horizontal position (as shown in our shot). Release the winds directly into the trap in the center of that blade-wheel. This starts sliding that wheel back and forth on the horizontal strut, moving left to right.
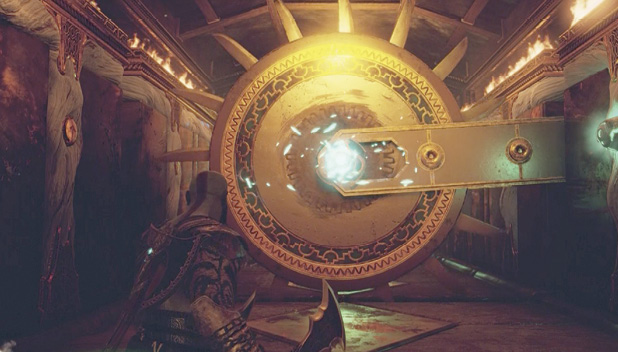
Aim so that you target the center trap of that first blade-wheel precisely when the wheel is closest to the wall. When it gets to that position, pull out the winds—this locks the blade-wheel close to the wall, so you can move easily past it. Turn and hustle back into the chamber to transfer the winds into one of the traps on the vault door.
The next blade-wheel down the passage slides up and down with active Winds of Hel in its center wind trap. Wait until this wheel rises closest to the ceiling, then yank out its winds; this locks the wheel up high so you can pass under it later.
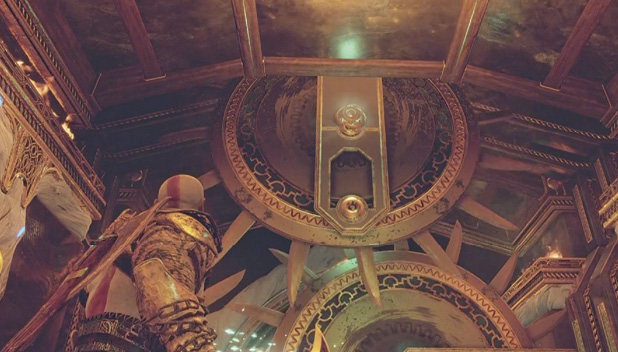
Immediately turn and sprint with the captured winds back into the chamber and toss the green energy into the vault door’s other (inactive) trap. This opens the door to reveal a Legendary Chest! Open it for your reward.
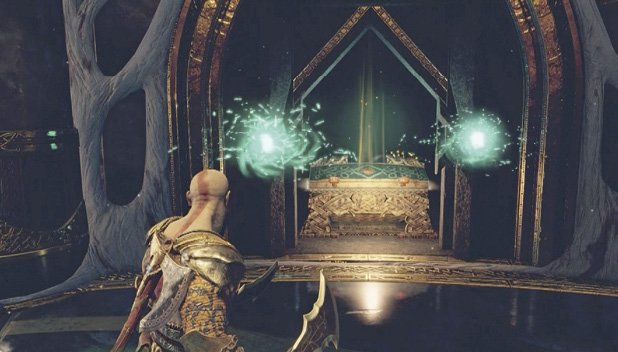
Now grab the winds from either one of the vault door traps, hustle into the corridor past the first inactive blade-wheel, and then transfer the winds into the inactive trap on the unmoving wheel. The two active wheels move left and right on their struts.
You can pull out the winds from either wheel, then toss them right back into the same trap, timing the release so that both blade-wheels are pulling away from the center at the same time. This gives you a second to sprint through the opening when it appears. Whew! You made it.
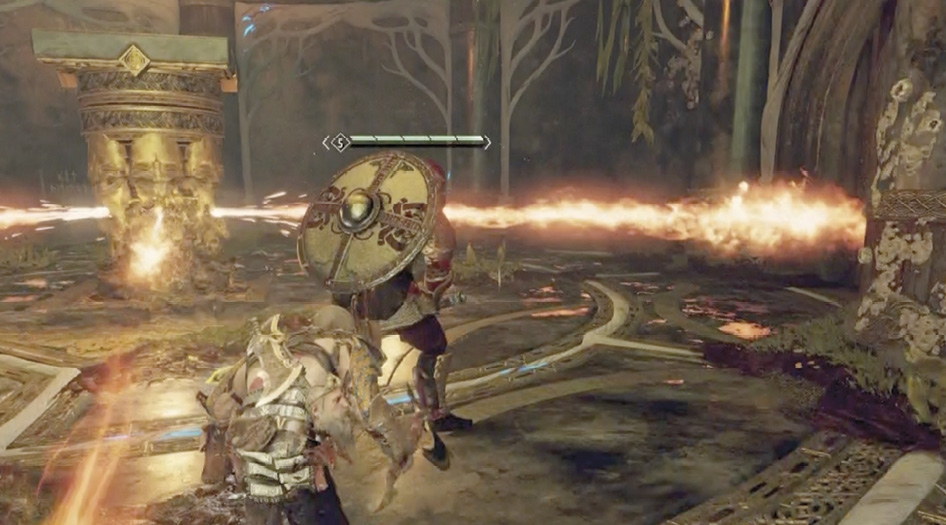
Break the First Chain
In the next chamber (15), loot the Cipher Chest in the open alcove to pick up another piece of the Niflheim Language Cipher. Direct Atreus to read the glowing runes on the nearby wall. Then approach the huge chains (16) and press Circle to tear apart the chain anchor. Get ready for a Hel-acious fight.
Survive the Rift Ambushes
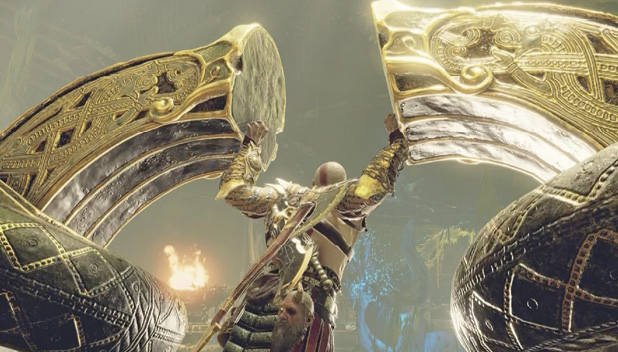
Breaking the chain activates a rotating podium that rises from the center of the floor and intermittently spews two jets of flame in opposite directions. Two rifts also pop open and disgorge a Draugr squad. Fight carefully, avoiding the flame-jets as you hack apart the Draugr with Leviathan and stomp their heads with stun grabs. Soon a boulder-tossing Fierce Ogre joins the scrum as well. Focus on stunning the big goon, then steering him into the Draugr crowd.
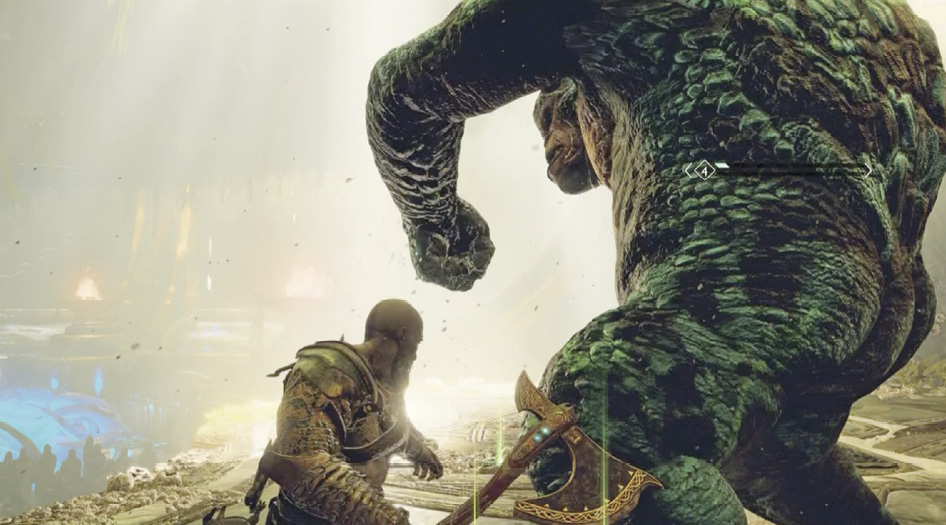
When the chamber is finally cleared, the flame-jets shut off. Grab all the pickups and head back down the blade-wheel corridor (14) to find more rifts opening in the previous chamber (13), with Heavy and Dual-Wield Draugr pouring out. Another rotating podium rises in this room, this time spewing flames intermittently in three directions. This is a tough battle, with the flame-jets inflicting damage if you get too caught up in attack strings against foes. Be ready to unleash Spartan Rage if your health situation gets desperate.
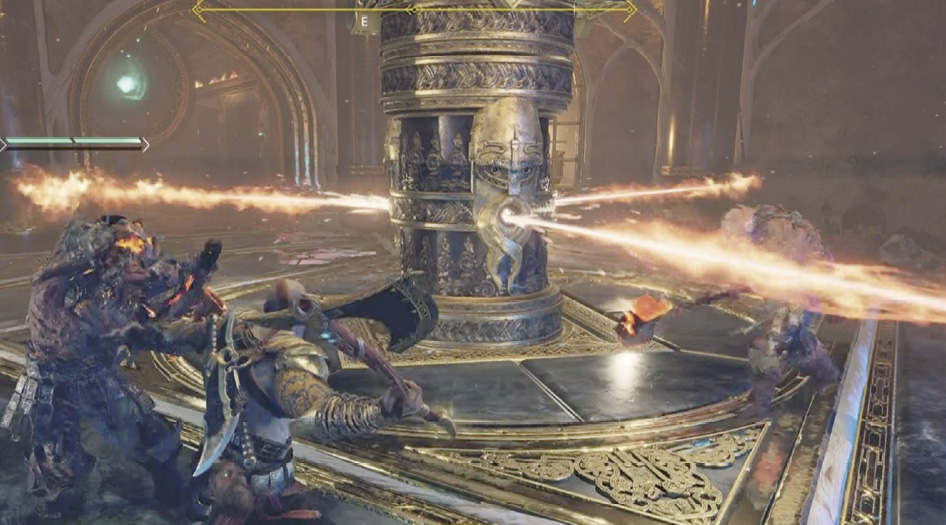
When the last Draugr falls, the flame-jets stop. Pick up and move down the next blade-wheel corridor back to the central chamber (10) with the lift switch.
Get Past the First Spiked-Block Passage
Open the door on the opposite side (17) to find another death-trap corridor beyond. This time it’s a row of three spiked, crushing blocks slamming up and down. Toss your axe at the gearwheel on the first block to freeze it in the up position.
Wait until the moment the second block hits the floor, then recall your axe; now the first two blocks are rising/falling in opposite directions. Step back and toss Leviathan at the gearwheel on the second block, which appears when it rises behind the falling first block (see our shot). This freezes the second block in the up position.
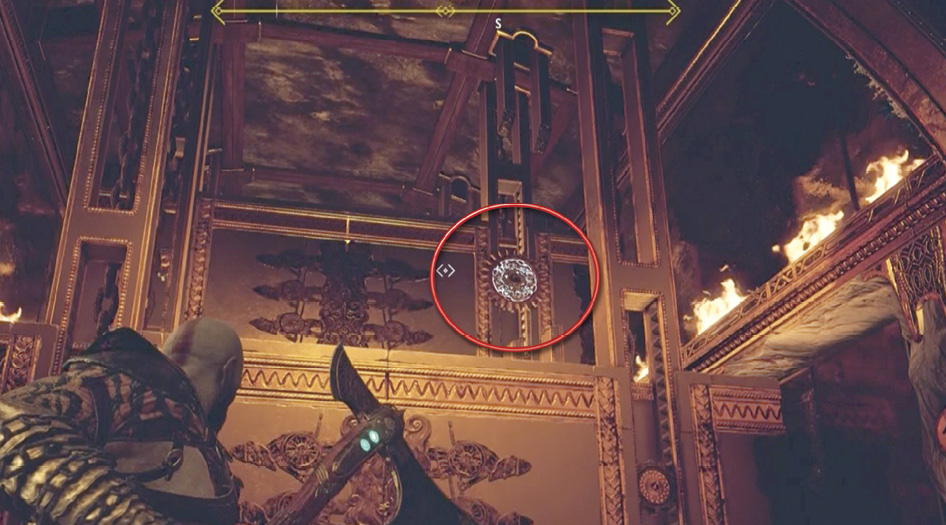
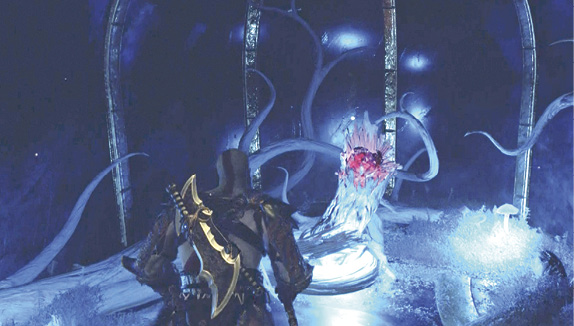
Time your run past the first block as it rises, then stop safely under the frozen second block (18). Wait and time your run past the third block just as it rises. Recall your axe as you enter the next chamber (19). Loot the coffin in one alcove, then grab a chunk of Shatter Crystal from the Yggdrasil root in the room’s other blue-lit alcove (20).
Get Past the Second Spiked-Block Passage
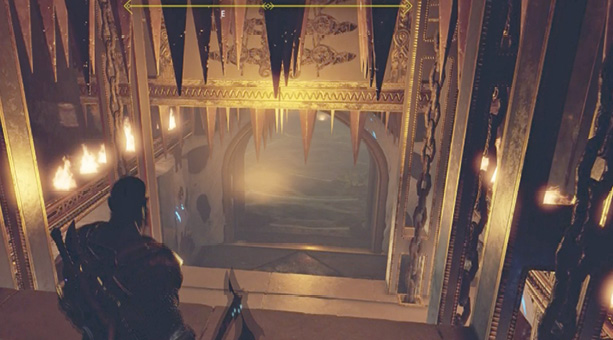
Step into the next corridor to see three more spiked blocks slamming up and down. Toss the Shatter Crystal at the red sap on the floor under the first block (21) and detonate it with a Shock Arrow. This blasts away the floor, and now the first block slides below the floor each time it falls.
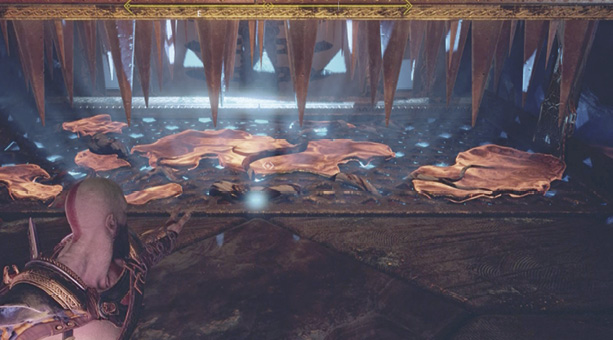
Step atop the first block when it lowers. As you rise, watch the other two blocks ahead. Note a two-second pause with a clear path through the other blocks (see our shot) just as the block you’re riding reaches the top of its rise. If you time your jump and sprint correctly, you should make it through easily.
Break the Second Chain
In the next chamber (22), open the Cipher Chest in the alcove to acquire yet another Niflheim Language Cipher piece. Send Atreus to read the glowing blue runes next to the alcove. Then go break the chains (23) to trigger yet another wild assault with a flame-spewing podium rotating in the center of the room again.
This time you face two mega-powerful knights, a Hel-Traveler and a Traveler Champion. Maneuver them into the flames as you work along the walls of the room to keep a better eye on the flame-jets. Whittle away the vaunted Traveler armor, dodging their big windup sword strikes.
OBJECTIVE: Go Back Up and Flip the Temple
Stand near the corridor entrance and fling Leviathan at the Hel-Shadow Archers tossing ice spears at you from the previous chamber (19). After you pick them off, sprint past the moving blocks to face one last challenge. Hel-Walkers, including a pair of powerful Hel-Viken, leap from a rift as a center podium shoots flames in four directions this time. Switch to Blades of Chaos to slice through your freezing tormentors.
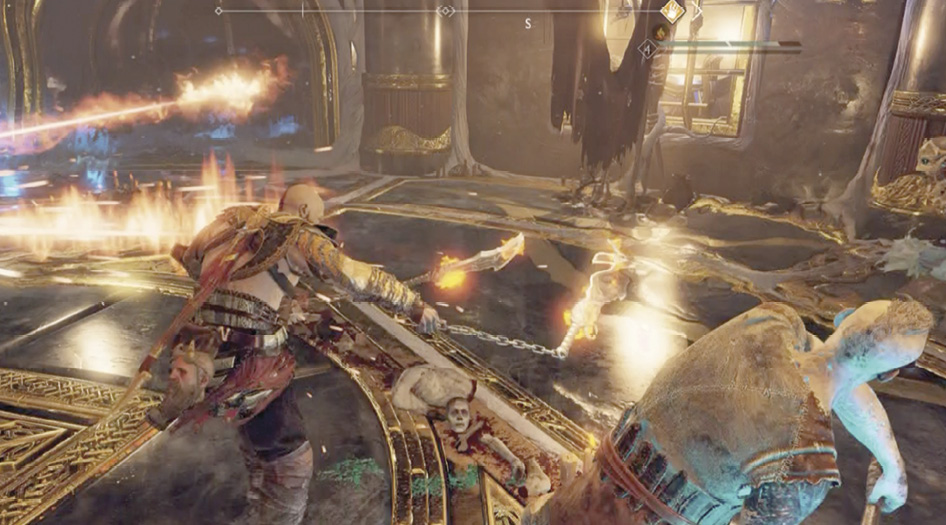
Clear out the room and hustle down the first corridor of moving blocks to the central chamber with the lift switch (10). Ride back up and move between the two massive statues to approach the wall with the big Jötunheim rune. Lift the temple and tap Circle to flip the structure.
OBJECTIVE: Return to the Realm Travel Room
After Kratos flips the temple, turn around to see that the hall’s chandelier has dropped, revealing a light crystal. Fire one of Atreus’ Light Arrows into the crystal to reveal blue symbols on the floor. Toss Leviathan to spin the chandelier twice; this aligns the floor symbols to form the realm runes. The floor starts to spin, and a pair of golden tree grates open in the back of the room to reveal a pair of coffins to loot. Climb the yellow-marked wall next to the Jötunheim rune. At the top, open the door and enter the Realm Travel Room.
OBJECTIVE: Collect Týr’s Mysterious Object
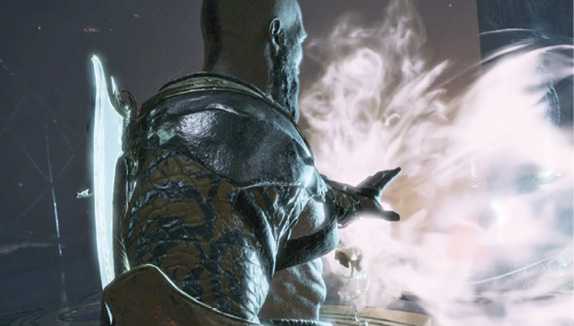
Move toward the glowing mist on the opposite side of the travel room. Approach it and press Circle to seize the floating object from it. Mimir calls it the Unity Stone, a magical item that provides a way to use the Realm Between Realms to travel.