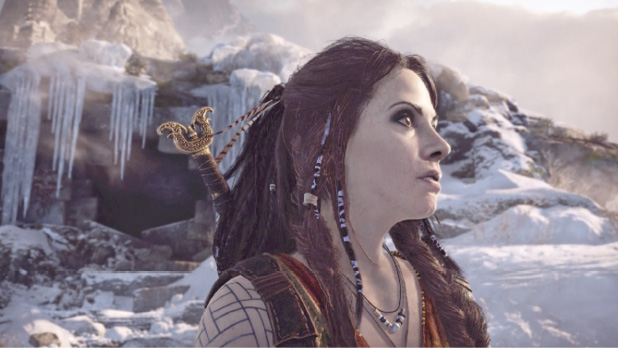
Chapter 16: Jötunheim in Reach
With the Jötunheim Tower back in place, it should be easy to travel to Jötunheim now—just use the Realm Travel Room, right? But of course, nothing comes easy in this Journey. In this chapter, the traveling trio find themselves rowing up a “river” that nobody would have thought navigable, in search of an odd object: Mimir’s other eye.
Journey Objectives
- Return to the Realm Travel Room
- Realm-travel to Jötunheim
- Talk to Brok and Sindri
- Return to the Serpent’s Horn in Midgard
- Boat into the serpent’s mouth
- Find Mimir’s eye
- Return to the Realm Travel Room
- Defeat Baldur
New Enemies
- Boss: Baldur
Lake of Nine
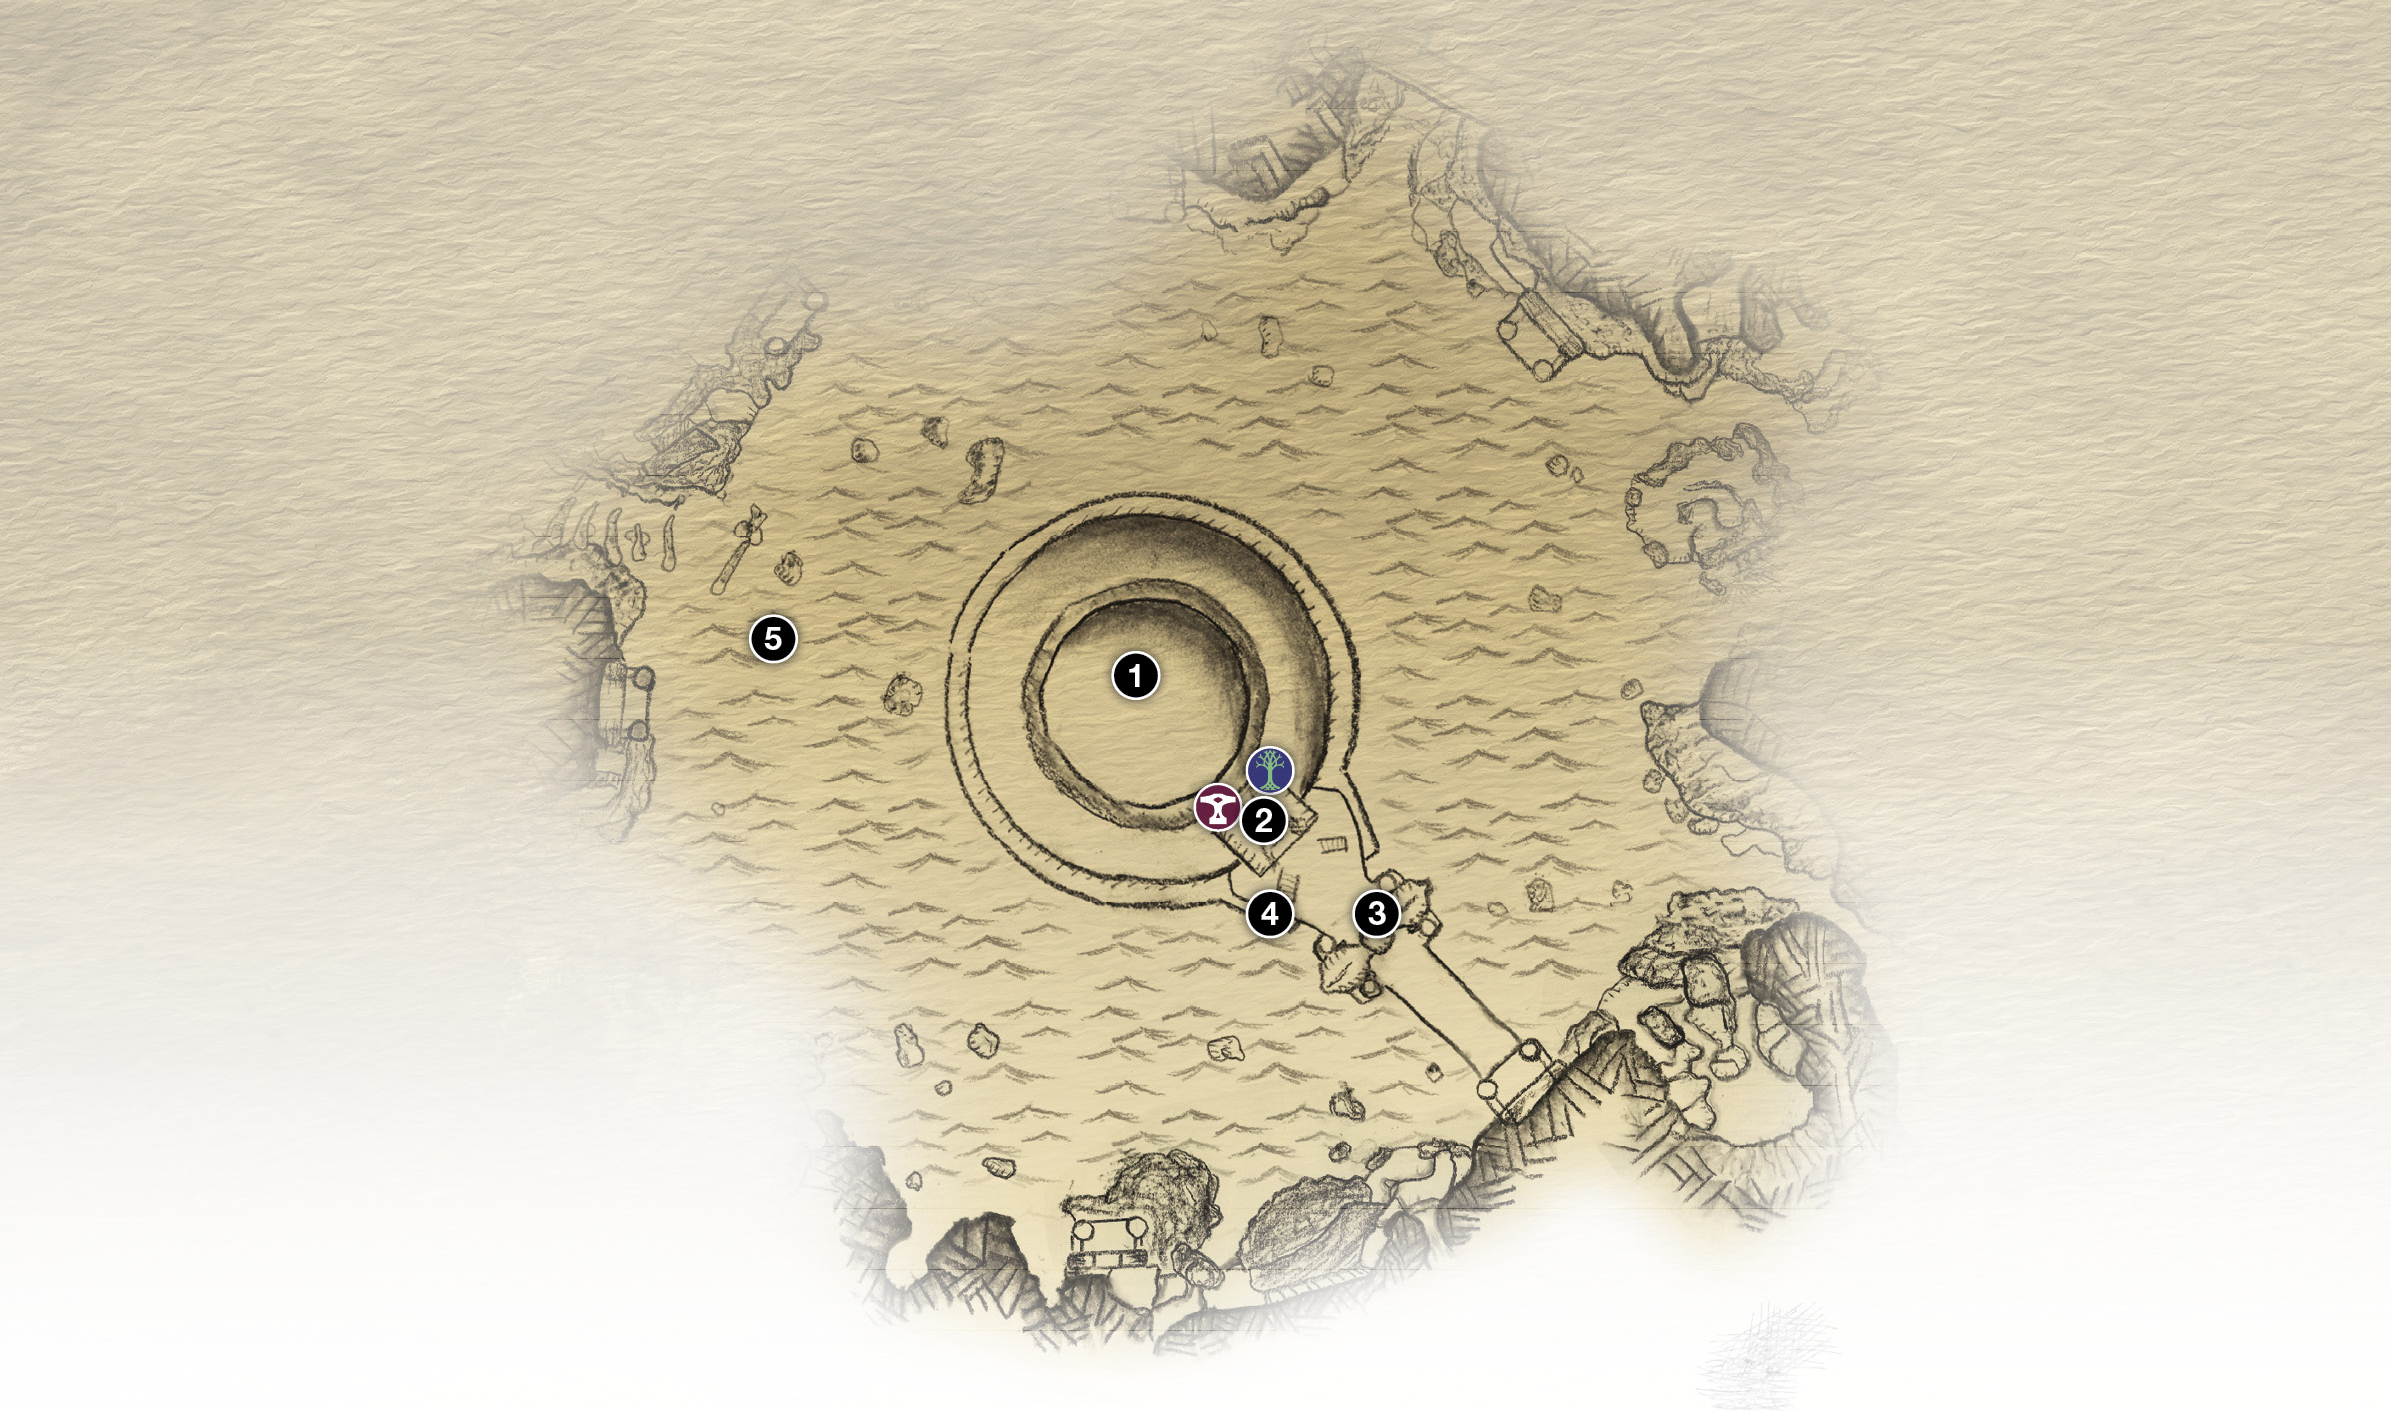
1. Realm Travel Room
2. Brok’s shop
3. Switch / Serpent’s Horn
4. Boat dock
5. Serpent’s mouth
 Mystic Gateway
 Shop
Shop
The Belly of the Beast
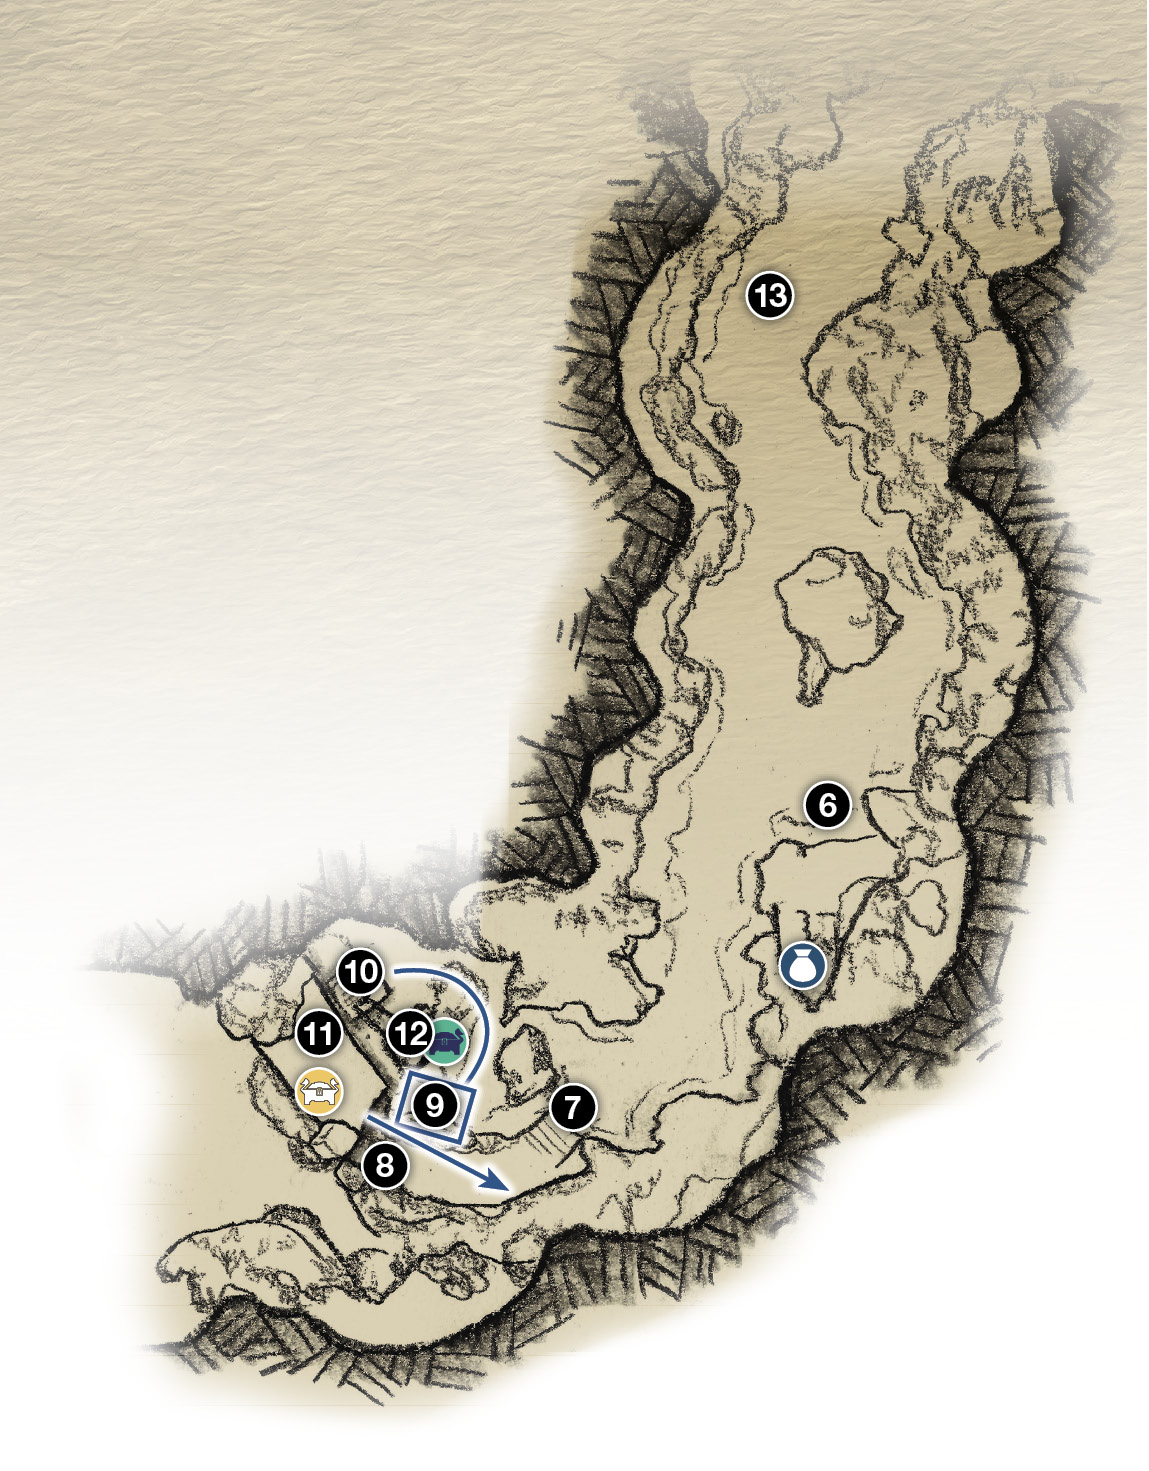
6. Beach (chest)
7. Pier
8. Climb Here
9. Jump onto rotated crane platform
10. Crane platform rotates back to here
11. Arch (Legendary Chest)
12. Crane Tower (Legendary Chest)
 Chest
Chest
 Cipher Chest
 Legendary Chest
OBJECTIVE: Return to the Realm Travel Room
Cross the bridge, enter the temple, and proceed into the Realm Travel Room (1).
OBJECTIVE: Realm-Travel to Jötunheim
Access the travel table. The device should already be set to Jötunheim, so press X to select “Travel to Realm.” Unfortunately, it doesn’t work—there’s no travel crystal! Mimir realizes that Týr used his own special eyes to refract the energy that triggers inter-realm travel—“his final failsafe.”
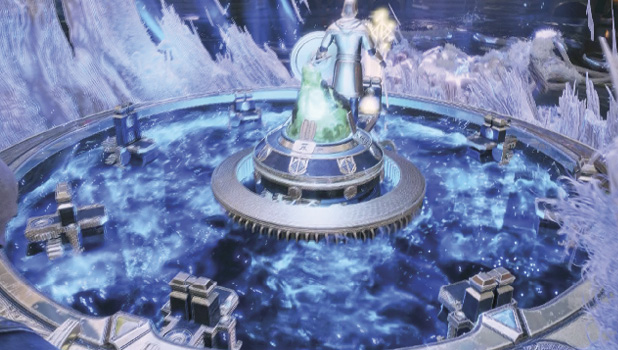
When Atreus points out that Mimir has the same magic eyes, Mimir corrects him: he’s only got ONE eye, because Odin plucked out the other to prevent him from using his eyes to realm-travel. But then Mimir recalls seeing the Huldra Brothers lurking about whenever Odin paid his visits to the Mountain’s Summit. Perhaps Brok or Sindri has an idea where the Allfather hid Mimir’s eye?
OBJECTIVE: Talk to Brok and Sindri
Exit the Realm Travel Room, then approach Brok’s Shop (2) and talk to the brothers. You learn that Odin had the big lake statue of Thor built with a hidden compartment. Mimir’s eye was likely stashed inside. Of course, now most of that statue is deep in the World Serpent’s gullet.
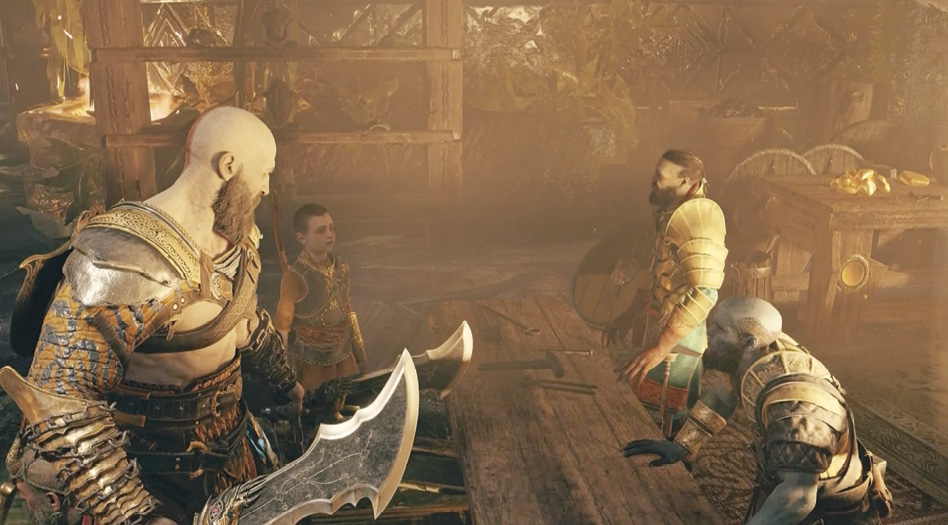
Time to go chat with the snake again. Before you do, take Mimir’s sage advice and spend everything you’ve got at Brok’s Shop to upgrade your gear and Skills. You have a big confrontation upcoming, so you want to be as well-prepped as possible.
OBJECTIVE: Return to the Serpent’s Horn
Exit the temple and go to the switch (3) halfway across the bridge. Turn the switch to ride the lift up. At the top, hold up Mimir’s head to blow the horn again to hail the serpent. In the conversation that follows, the World Serpent confirms that the Thor statue is indeed in his gullet. And he’s willing to allow the travelers to go in and check things out. As Atreus says: “Ew, really?”
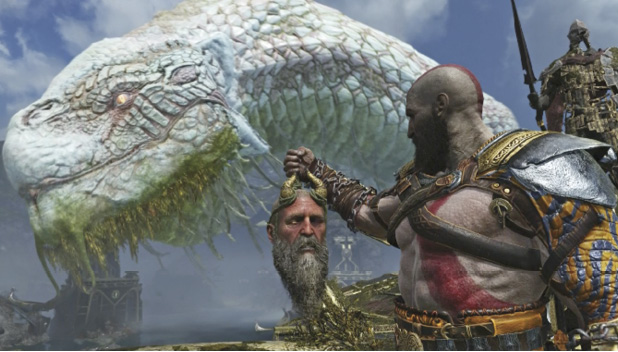
OBJECTIVE: Boat Into the Serpent’s Mouth
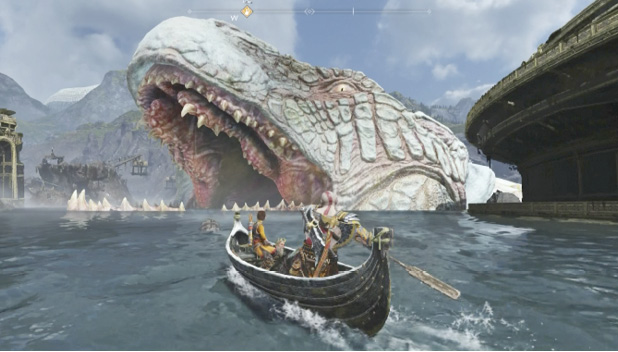
Turn the switch to lower the platform, then head downstairs on the side of the bridge where the serpent waits with his mouth open. Hop into the boat (4)…and yes, paddle right into the serpent’s mouth (5). It’s dark at first, but keep pushing forward until you gain a light source. Pick up Aegir’s Gold from the water.
OBJECTIVE: Find Mimir’s Eye
After rowing awhile, you approach a small beach (6). Dock the boat, hop out, and loot the chest sitting up on the prow of a shipwreck. That’s all you’ll find—head back to your boat and continue along the “waterway.”
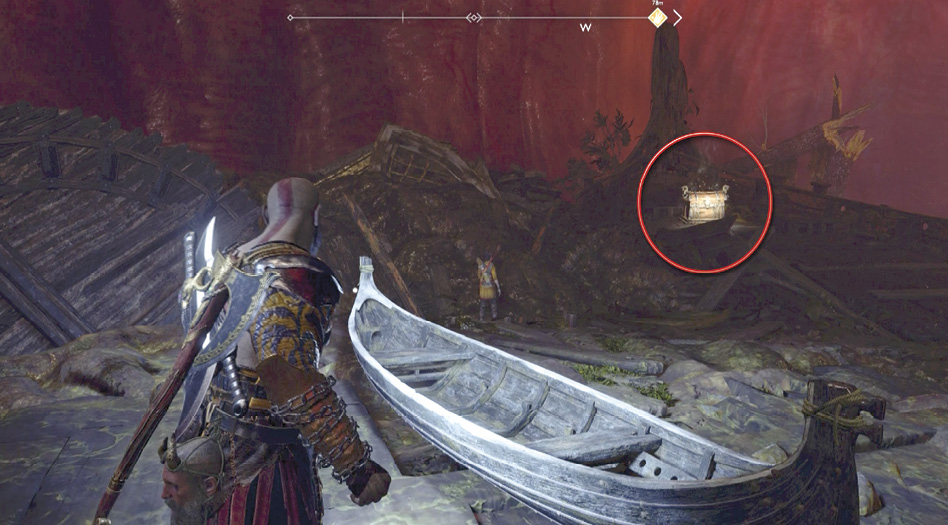
As you push ahead, the wreckage gets more interesting. Dock your boat at the pier (7) and go smash the wooden debris at the base of a stone tower (8) to reveal a yellow mark…which always indicates “climb here.” But if you climb the stone tower now, you’ll reach a dead end, looking across at a wooden crane structure with a glowing Cipher Chest sitting on top.
So instead, do this:
Before you climb, stand on the ground facing the crane structure (12). Keep tossing Leviathan at the gouged wooden panel of the spinner mechanism to rotate a crane platform around toward the stone tower.
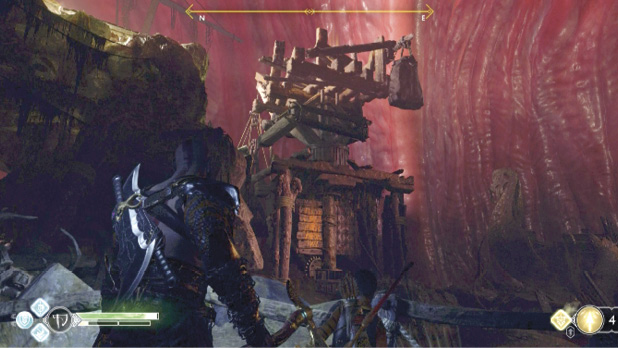
When the platform cannot rotate any closer to the stone tower, quickly toss Leviathan at the gearwheel just below the spinner panel to freeze it in place.
Don’t recall Leviathan yet! Go climb the stone “tower” (8)…which leads up and over to the hammer handle from the Thor statue eaten by the serpent. Hop from the handle down to the crane platform (9) that you just rotated closer.
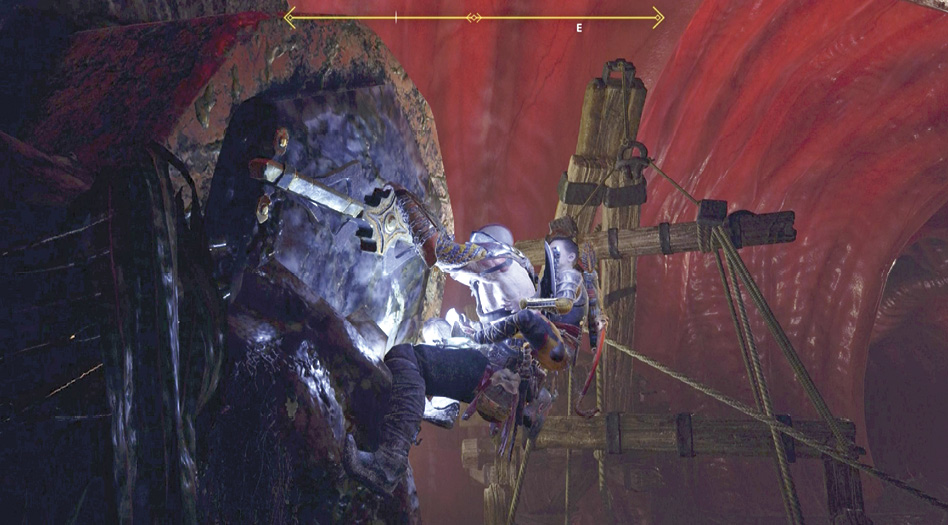
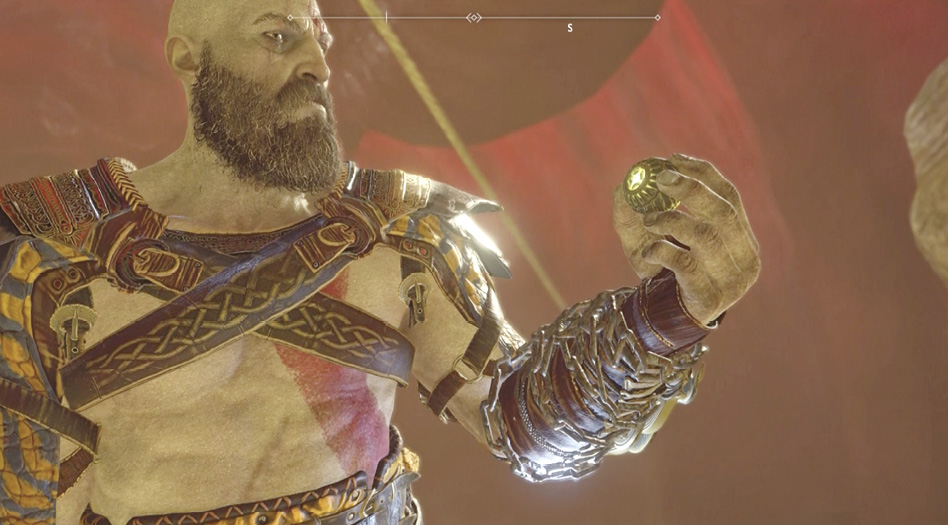
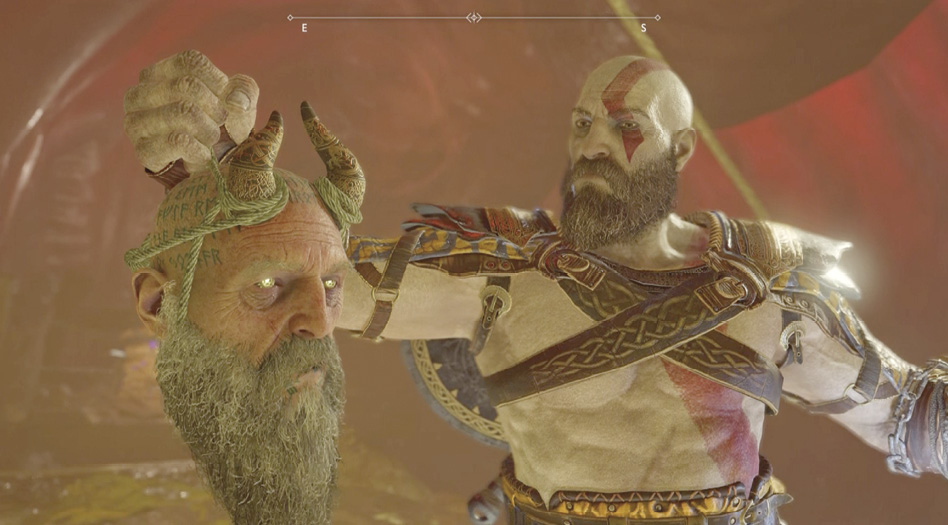
Recall Leviathan to unfreeze the gearwheel, and let the platform (with Kratos and Atreus aboard) rotate back to its original position. (10) When it stops moving, it leans against an arch (11). Climb atop the arch and go open the Legendary Chest. Sure enough, Mimir’s eye is inside. Kratos reinstalls the eye in the sage’s head. Objective complete!
OBJECTIVE: Return to the Realm Travel Room
Hop across to the top of the crane structure to open the Cipher Chest you spotted earlier. This one contains another Niflheim Language Cipher piece. If you’re following this walkthrough, you now have all four pieces of the Niflheim Language Cipher, which unlocks travel to that Realm of Fog from Realm Travel Room.
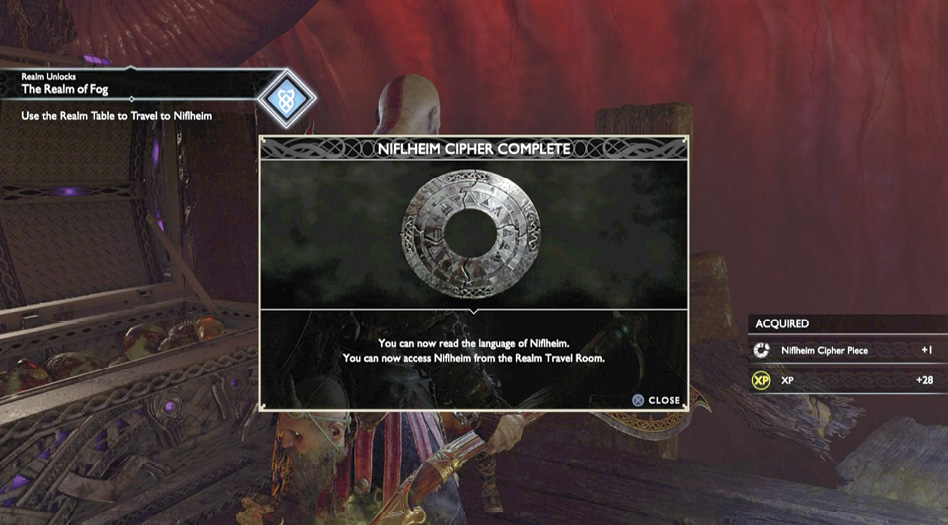
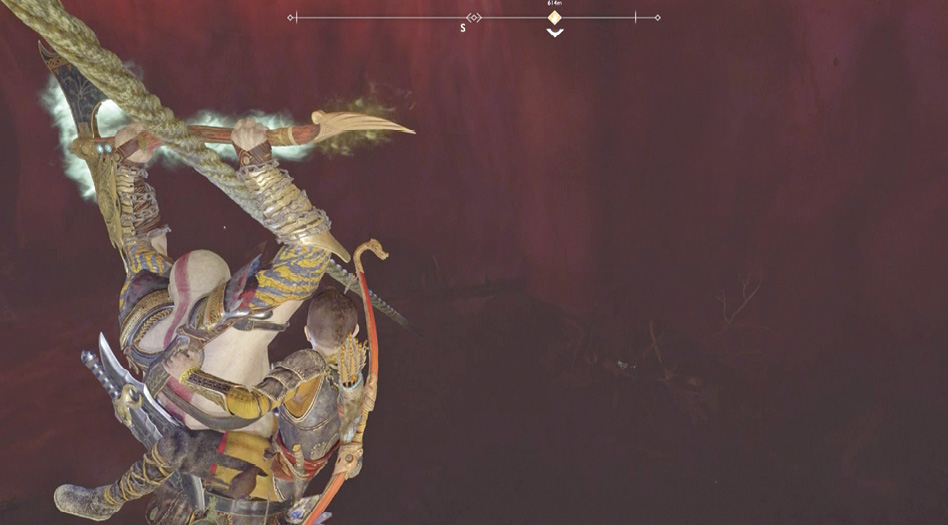
Hop back over to the top of the arch, step onto the yellow-marked spot on the ground, and press Circle to sling your axe over the cable and ride it back down to the boat. Hop aboard and start paddling along the serpent’s interior waterway.
About halfway up the gullet (13), a great disturbance suddenly sloshes the boat around violently. The travelers end up expelled onto the Northern Dock area next to the Giant stonemason’s corpse. As the World Serpent collapses onto the hills above them, Freya arrives looking for her son. Soon, Baldur sloshes ashore from the icy channel water. After a few chilling moments of family dysfunction, the final fight is on!