
Brok and Sindri (Huldra Brothers)
The Huldra Brothers offer up five quests in all, which take you through five different locations around the perimeter of Lake of Nine. Each brother has two quests, which must be completed in order, and once the four Favors are done, the final quest becomes available from the pair of blacksmiths—as long as they’ve reunited in the Journey.
OBJECTIVE: Enter the Völunder Mines
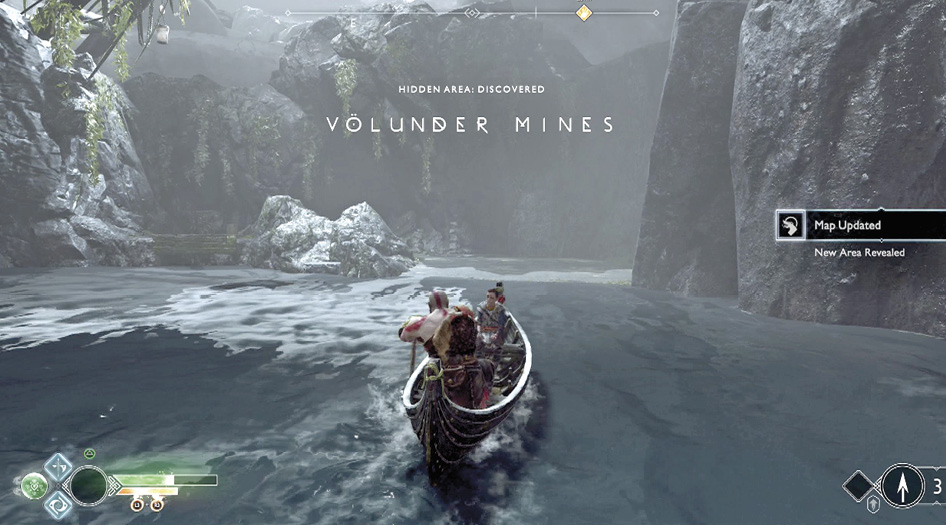
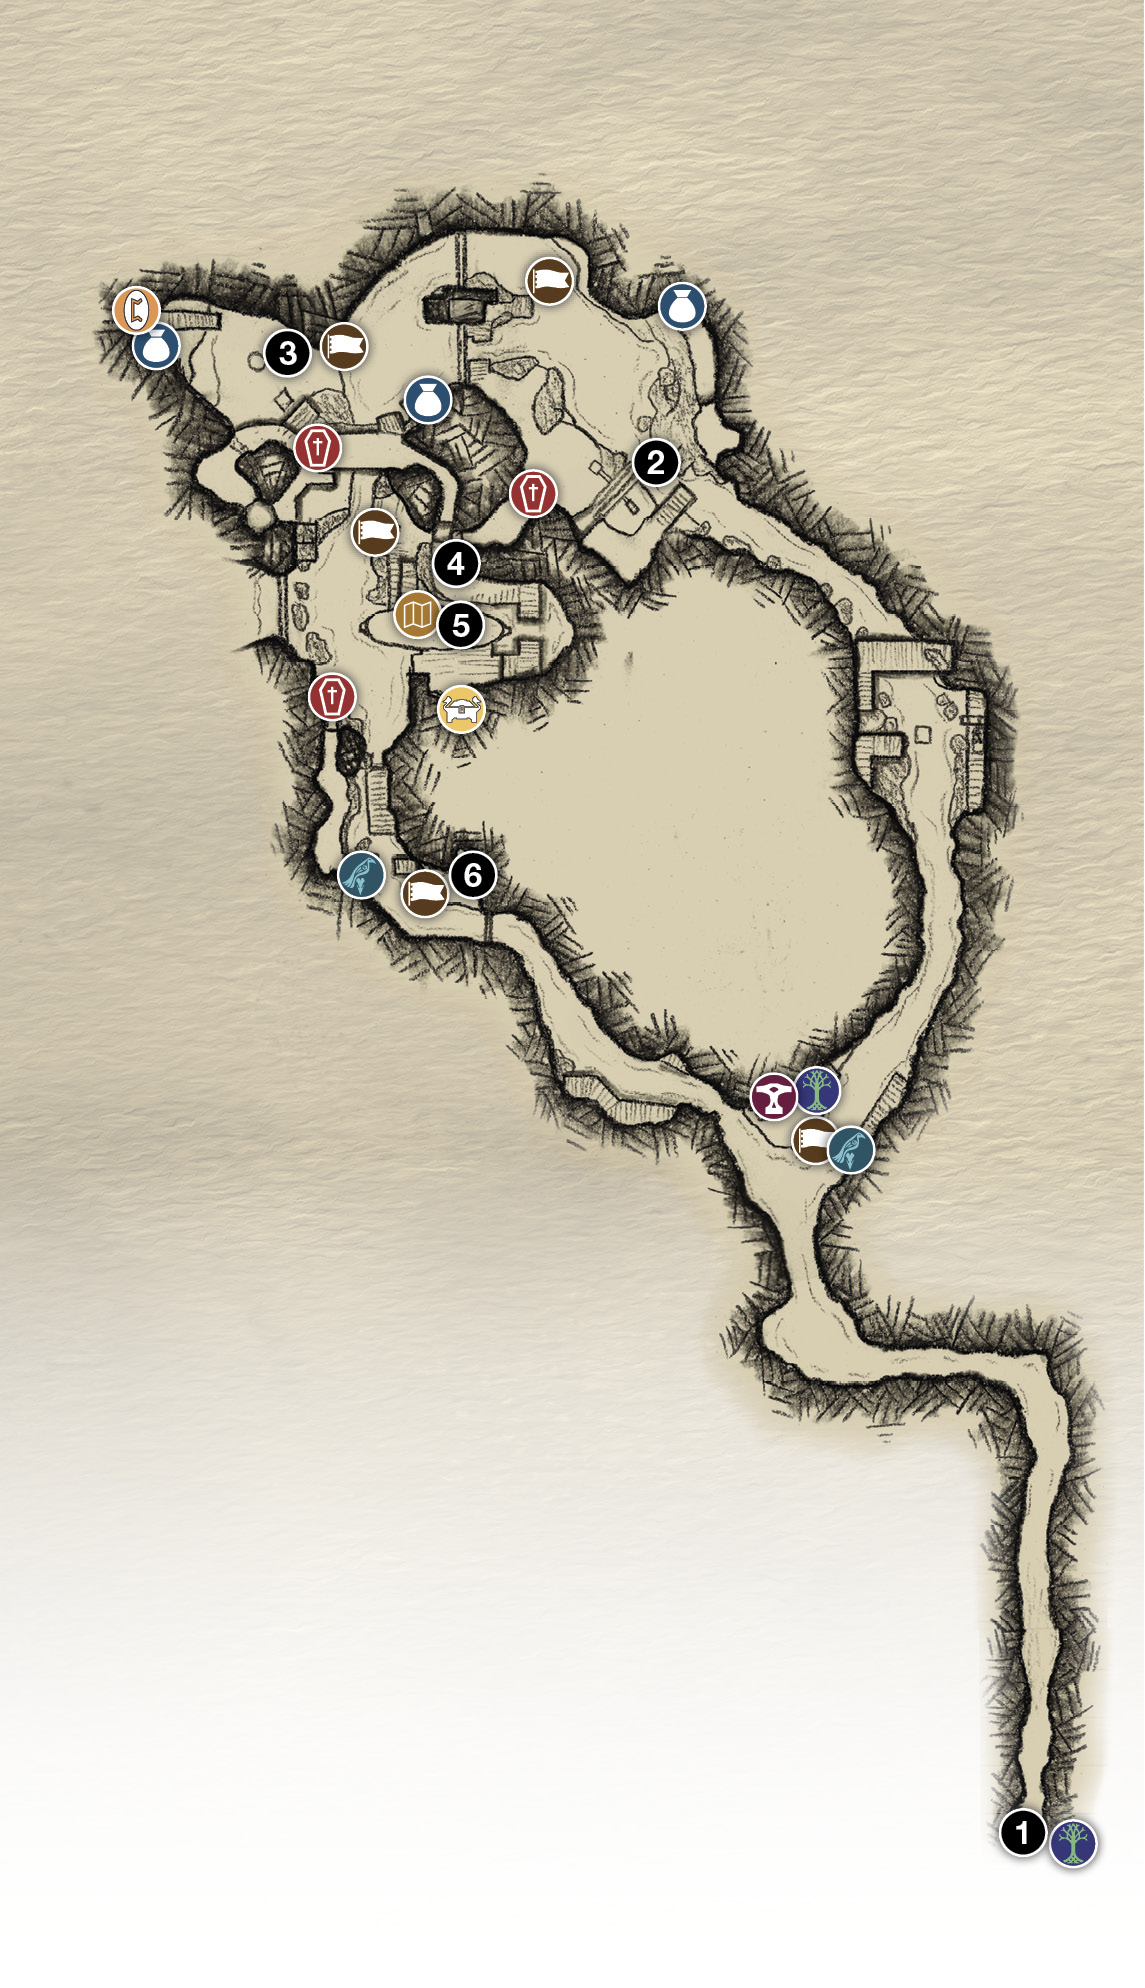
Brok’s first quest, “Second Hand Soul,” is available as soon as the water drops in Lake of Nine. Use the boat to reach Völunder Chasm in the southeast corner of the lake, just left of the Cliffs of the Raven. Dock once you reach the mines, follow the path ahead, and slip through the narrow crevice (1).
A coffin holds valuable resources, and a Lore Marker tells of Andvari the Alchemist, the Dwarf responsible for this mine. Continue down the path, hop across the gap in the ground, and crouch-walk through the small opening to find Brok working away at a small shop. Talk to him to begin the Favor.
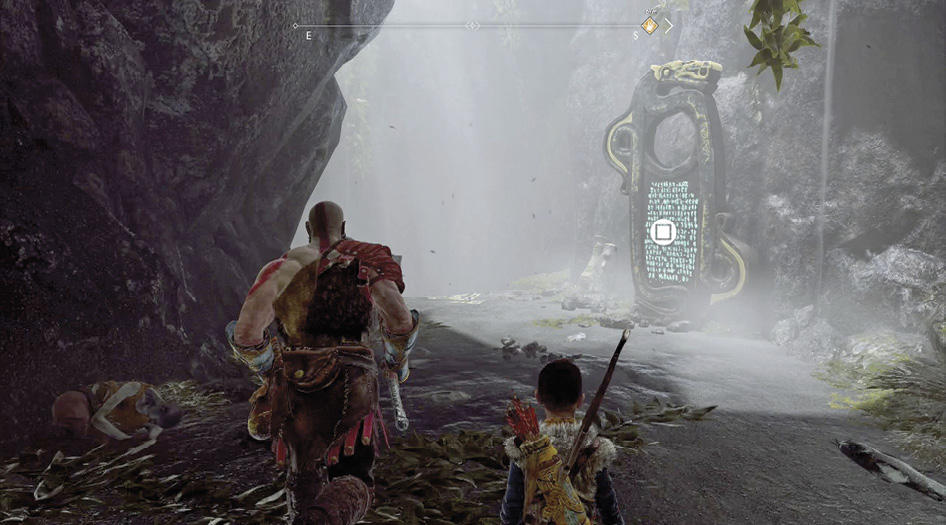
Brok asks Kratos to find his friend, Andvari the Alchemist, who hasn’t been heard from for about a hundred winters. Place the Völunder Entry Stone into the pedestal to the right to gain entry into the mines (2). Note the runes on the right wall, which Atreus translates to mean “Death Inside.”
Völunder Mines
Second Hand Soul
|
Quest Giver |
Brok |
|
Quest Location |
|
|
First Available |
After first water drop of Lake of Nine |
|
Main Objective |
Find Brok’s friend…or what’s left of him |
|
Levels of Enemies |
4 |
|
Reward |
3290 XP, Axe Pommel—Grip of Völunder |
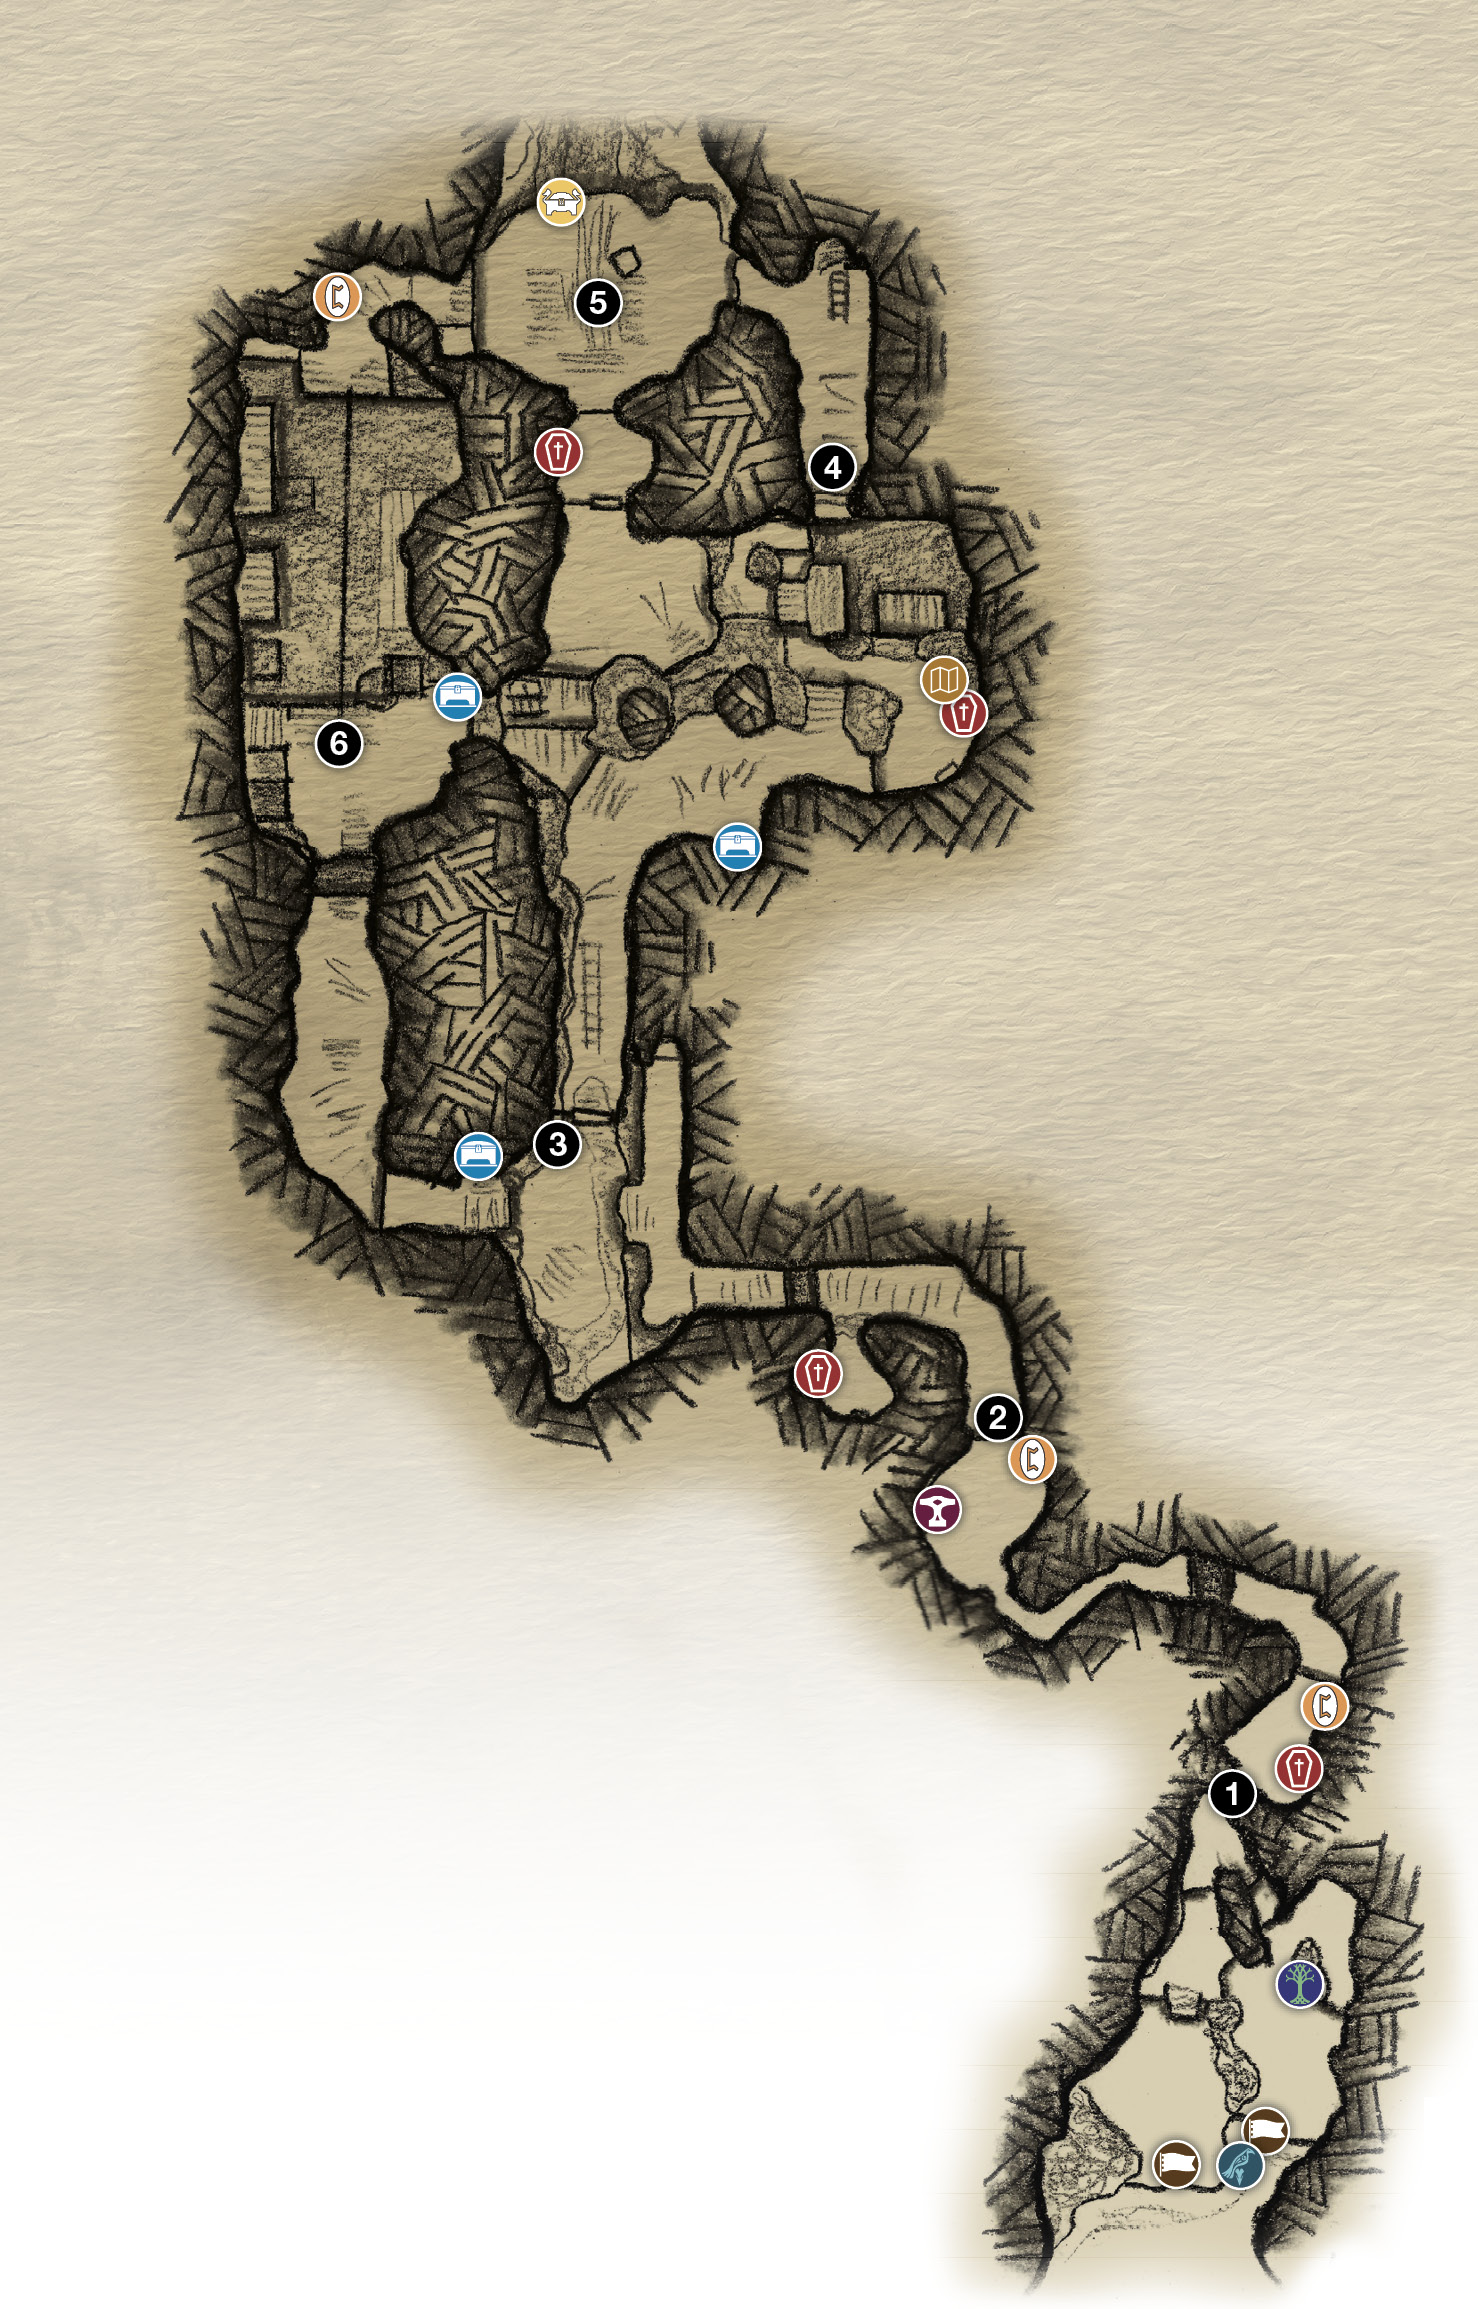
1. Narrow Crevice
2. Enter the Mines
3. Soul Eater
4. Open the Runic Door
5. Defeat the Soul Eater
6. Draugr and Nightmares
 Chest
Chest
 Coffin
 Dock
Dock
 Legendary Chest
 Lore
Lore
 Mystic Gateway
 nornir Chest
 Raven
Raven
 Shop
Shop
 Treasure Map
OBJECTIVE: Find the Dwarf with a Green Ring
Just ahead, detonate the explosive on the left to access a small room with a coffin and Hacksilver sack inside. Return to the corridor and follow it into a big cavern, where a Soul Eater (3) appears as a formidable foe, but exits through the side gate without confrontation.
Drop to the lower level and eliminate the group of Draugr, including one with fire projectiles, and Nightmare Parasites, who possess the Draugr whenever available. Quickly fling your axe at the flying annoyances before they strengthen the undead. An explosive lantern hangs from the ceiling and can be used to easily eliminate a Draugr. Once the room is cleared, follow the Soul Eater through the gate.
The path leads into the main cavern, where a Revenant immediately attacks. Use Atreus’ arrows to eliminate the foe’s shroud, and then go in for the kill.
Unlock the Runic Door
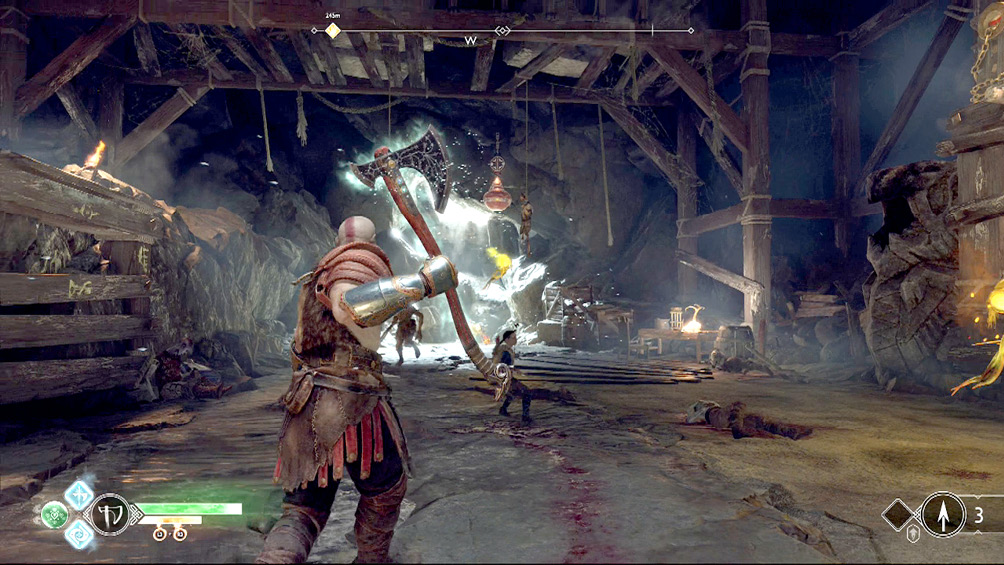
The path splits at this point, creating a loop that meets on the other side of the room. Head right to find a locked runic door (4) that currently keeps you from proceeding any farther, with the familiar three runes above.
Destroy the 
Start by knocking down the explosive that hangs just to the right of the door to destroy the seal that protects one of the runes. Next, descend the chain to the south, defeat the pair of Nightmares that appear, and have Atreus collect the Dead and Bloated Treasure Map, while Kratos grabs the resources from the coffin.
Remain on the path around the loop until you reach the broken slats on the right. Busting through them gives you a shot at an explosive ahead—taking out the nearby molten rock. This allows you to collect more resources from the platform below.
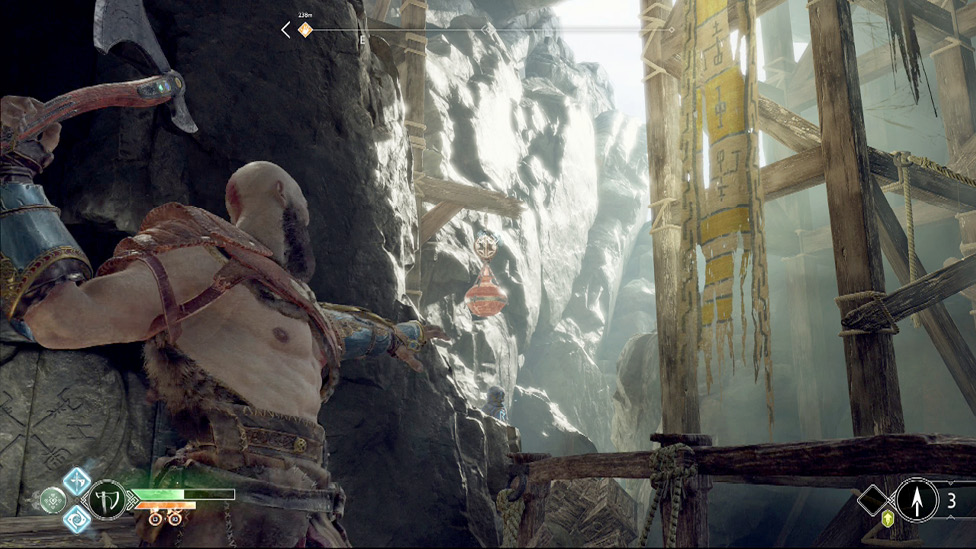
Destroy the 
Around the next corner, spot and destroy the rune sitting on the central rock pillar. Drop to the lower level and approach the northeast corner.
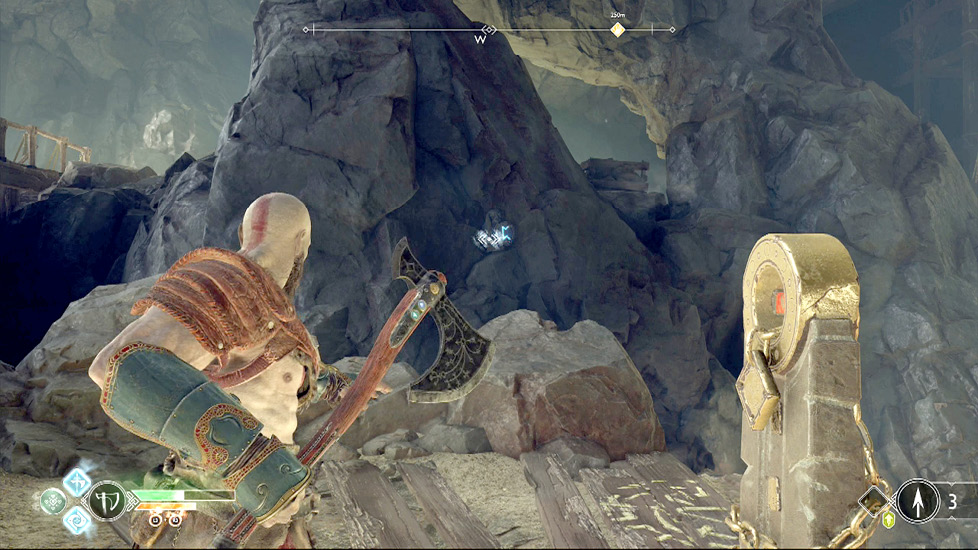
Destroy the 
Raise the gate to find a clue about Andvari’s whereabouts. Destroy the rune that rests in the corner and collect the resources from the coffin.
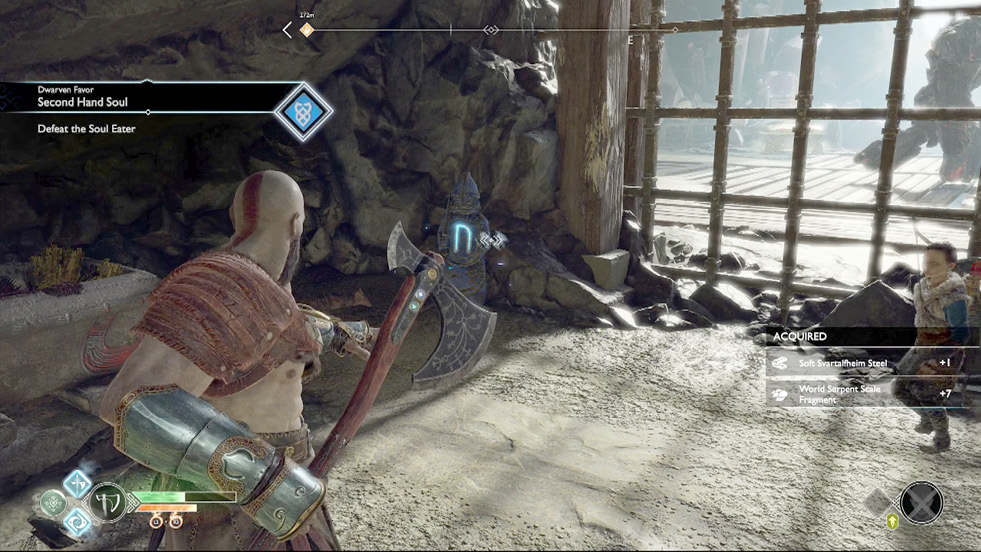
OBJECTIVE: Retrieve the Severed Hand
More Draugr, including one that wields a two-handed weapon, appear in the previous room, along with a pair of Nightmare Parasites. During the fight, more Draugr join the fray, with one hurling fire projectiles from a nearby platform. Once the threat’s taken care of, return to the runic door.
OBJECTIVE: Return to Brok
With the Alchemist’s Ring in hand, it’s time to return to Brok. An Enchantment—Fire Sigil of Protection is also rewarded for defeating the Soul Eater. Grab the Leviathan Axe Light Runic Attack—Fury of the Ice Troll from the Legendary Chest before giving Atreus a boost up the wood slats on the north side of the cavern. Once it’s available, use the chain to join your son. Just ahead, runes spell out a word that Atreus is unfamiliar with—possibly written by the alchemist.
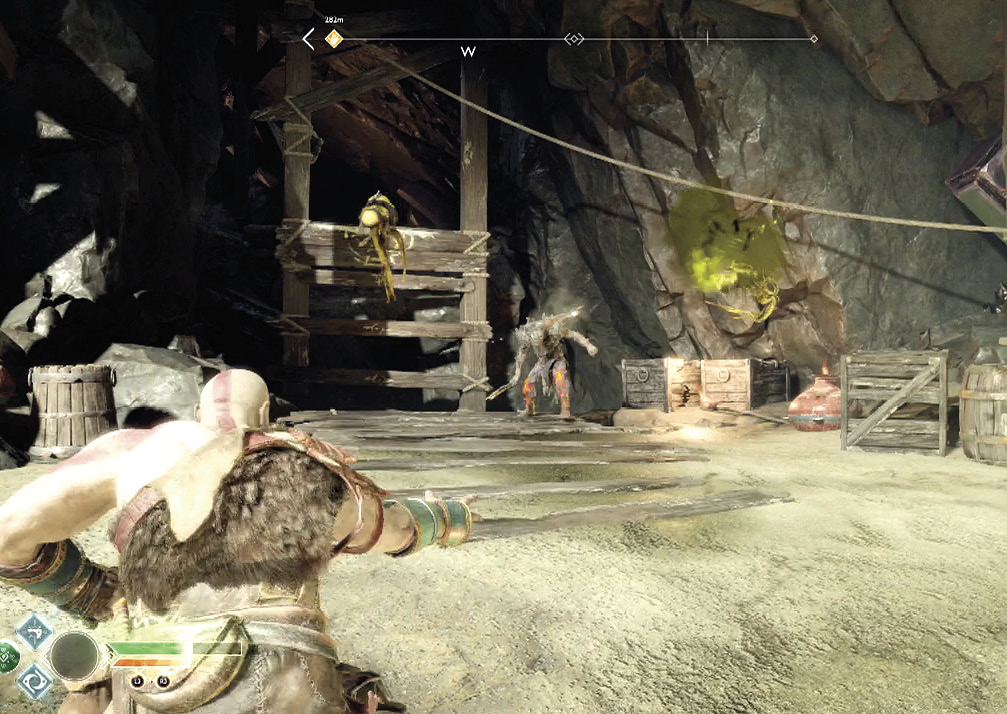
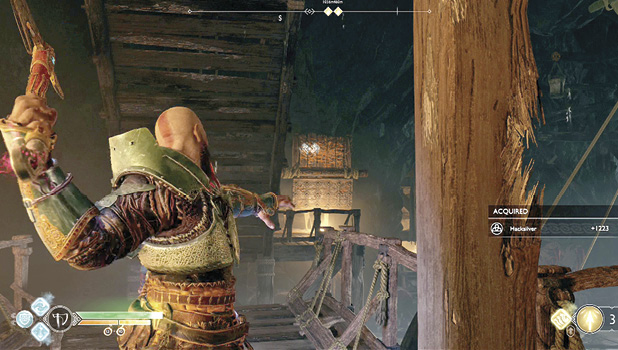
Interact with the rope ahead to zip-line into a new area (6) of the mines, where you must take out more Draugr and Nightmares before gathering the loot from the chest. More Hacksilver is available on the northeast side of the room by climbing and jumping across the white-highlighted boards. Use the rope again to return to the path.
Continue straight ahead into the tunnel, as three more Draugr interrupt your progress. The walkway takes you into the first room, where you first spotted the Soul Eater. Before descending the chain, collect the resources from the chest. Return the way you came to deliver the ring and news to Brok, who promises Kratos some kind of payment.
Landsuther Mines
Deus Ex Malachite
|
Quest Giver |
Brok |
|
Quest Location |
|
|
First Available |
After completing “Second Hand Soul” and the second water drop of Lake of Nine |
|
Main Objective |
Help Brok find what he’s looking for |
|
Levels of Enemies |
5 |
|
Reward |
3290 XP, Enchantment—Andvari’s Soul |
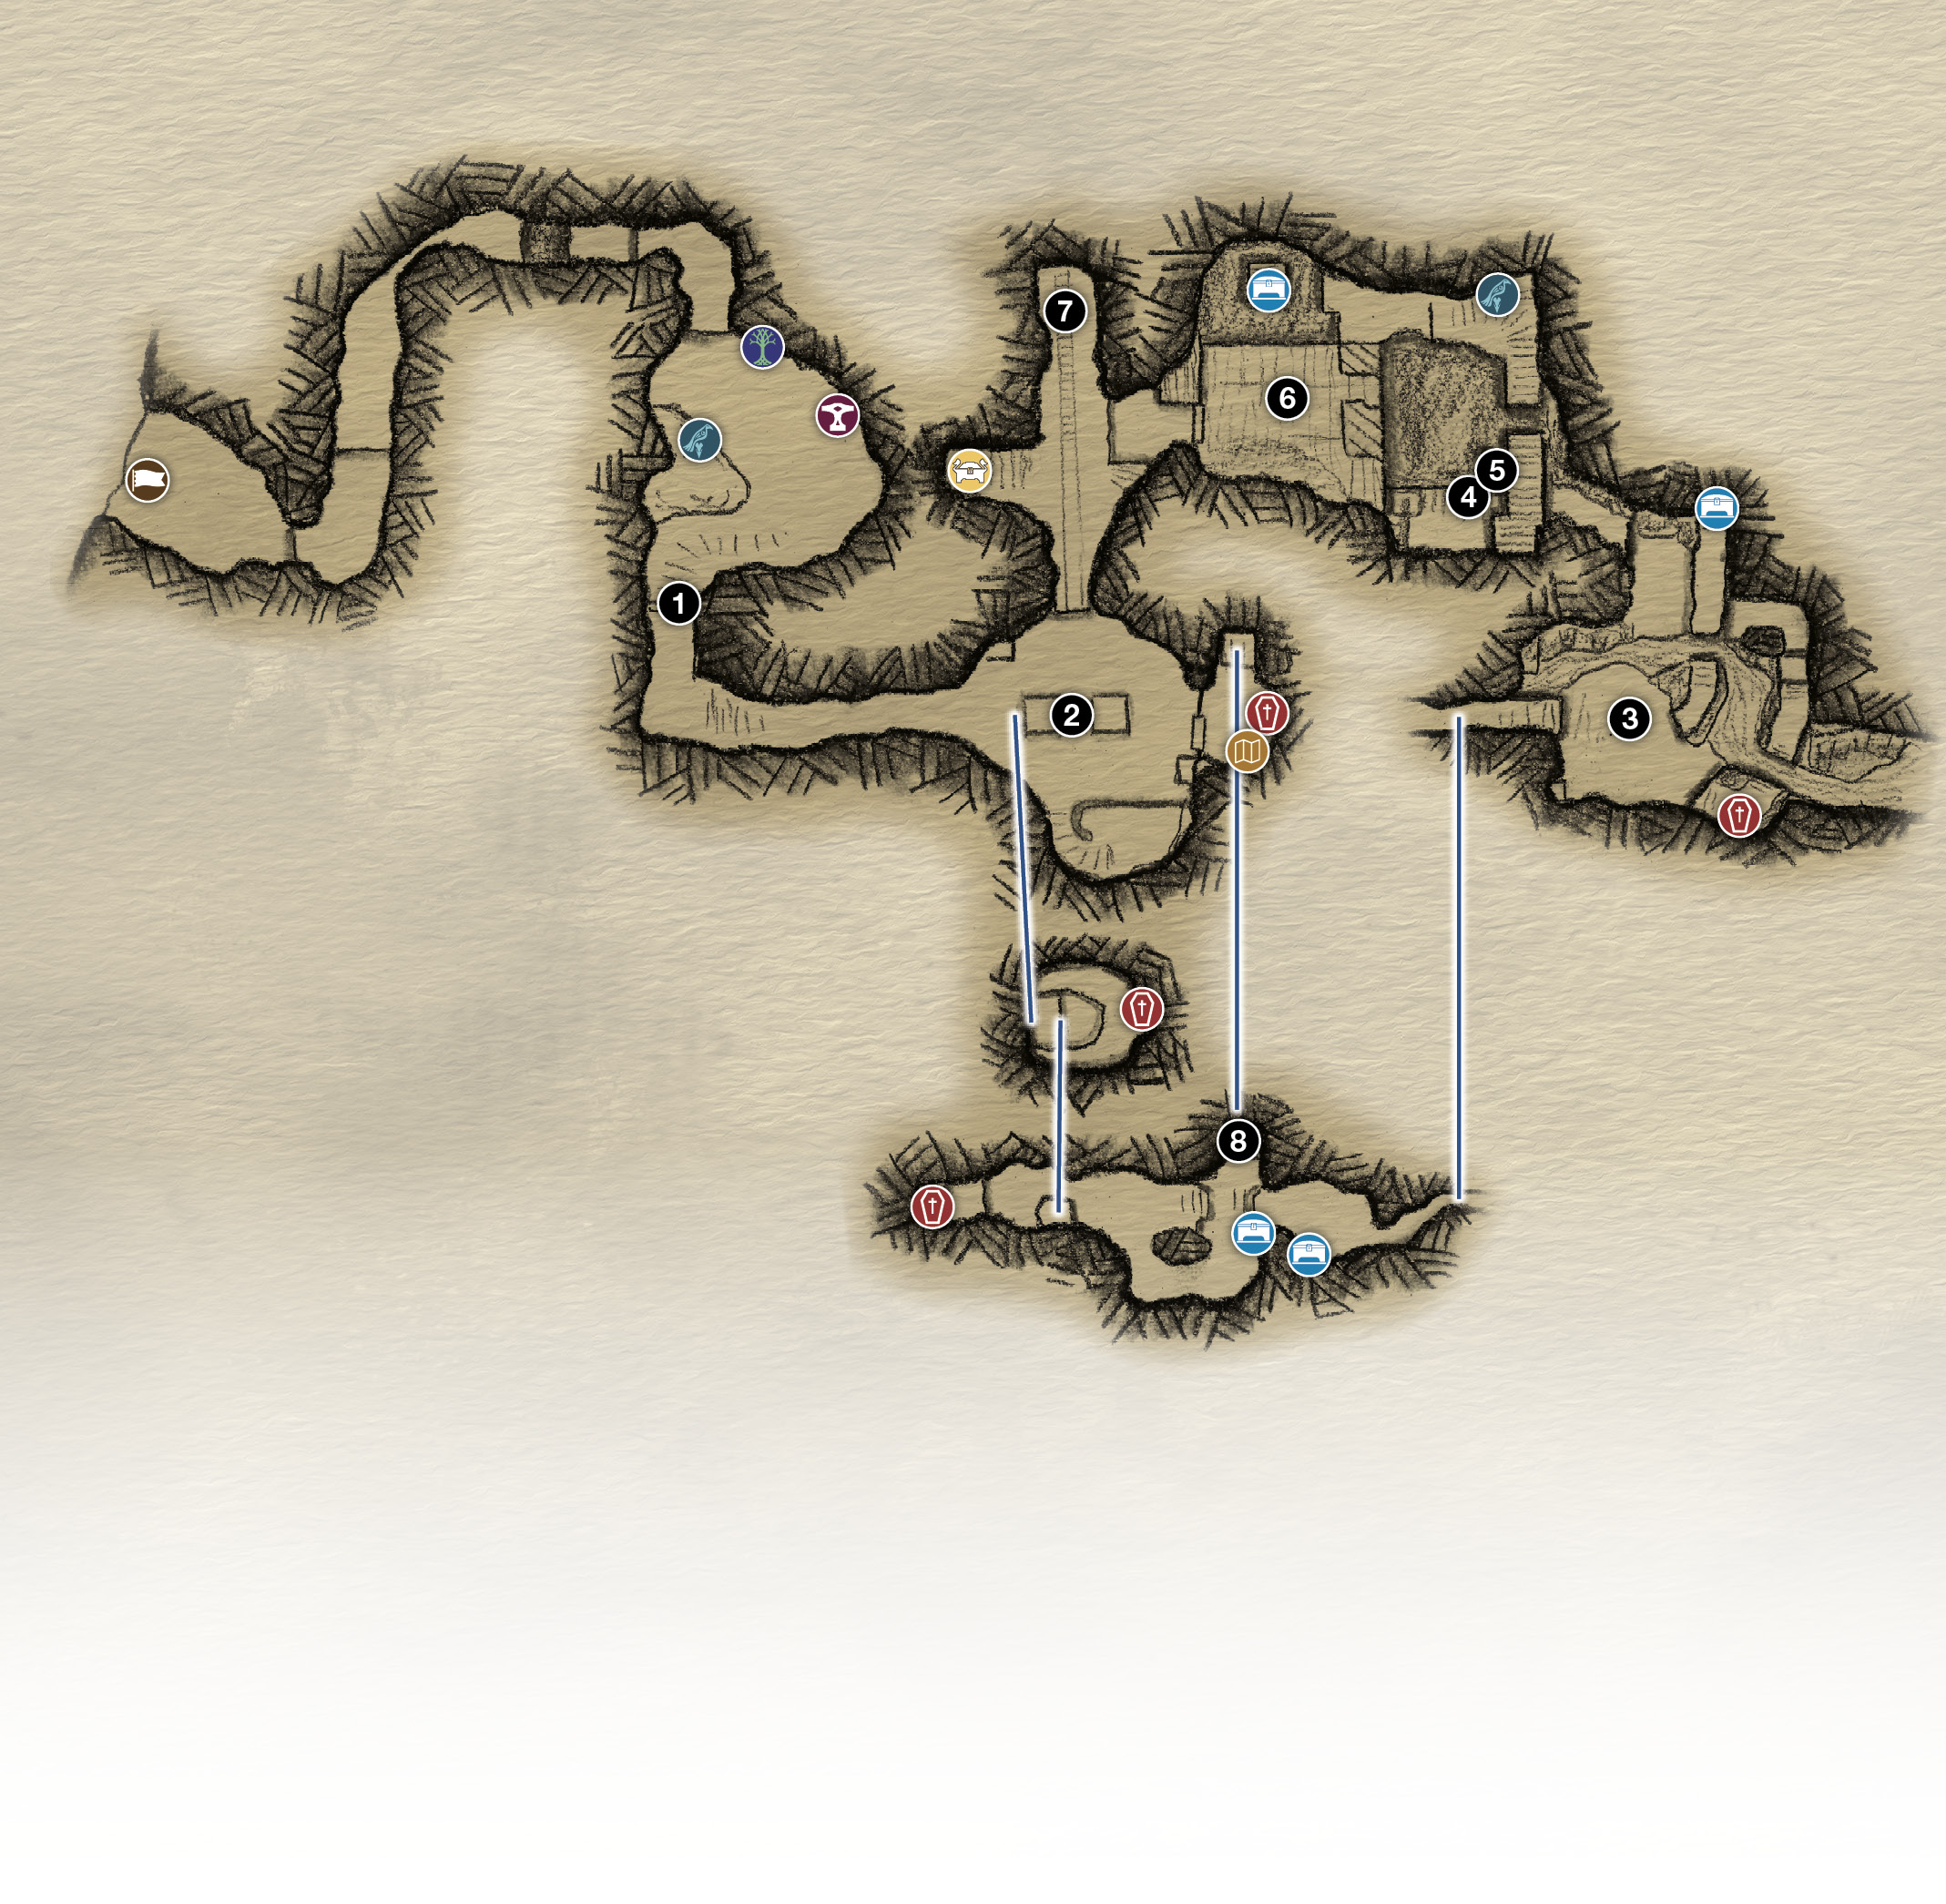
1. Enter the Mines
2. Descend Underground
3. Defeat the Traveler
4. Dark Elf Warriors
5. Turn Lever
6. Defeat the Dark Elf Lord
7. Push the Cart
8. Lift
 Chest
Chest
Coffin
Dock
Legendary Chest
Mystic Gateway
nornir Chest
 Raven
Raven
Shop
 Treasure Map
OBJECTIVE: Meet Brok at the Landsuther Mines
Brok’s second Favor is available from Brok at any of his locations after you complete “Second Hand Soul” and the water has dropped for a second time. Find the Landsuther Canyon waterway, on the south side of the lake west of the Muspelheim Realm Tower, and follow it until you find a beach. Disembark and follow the path through the narrow opening, over the gap, and up the wood slats to find a Mystic Gateway and Brok. Talk to the Dwarf to receive the Landsuther Entry Stone, and use it on the pedestal down the hill to gain entry to the mines (1).
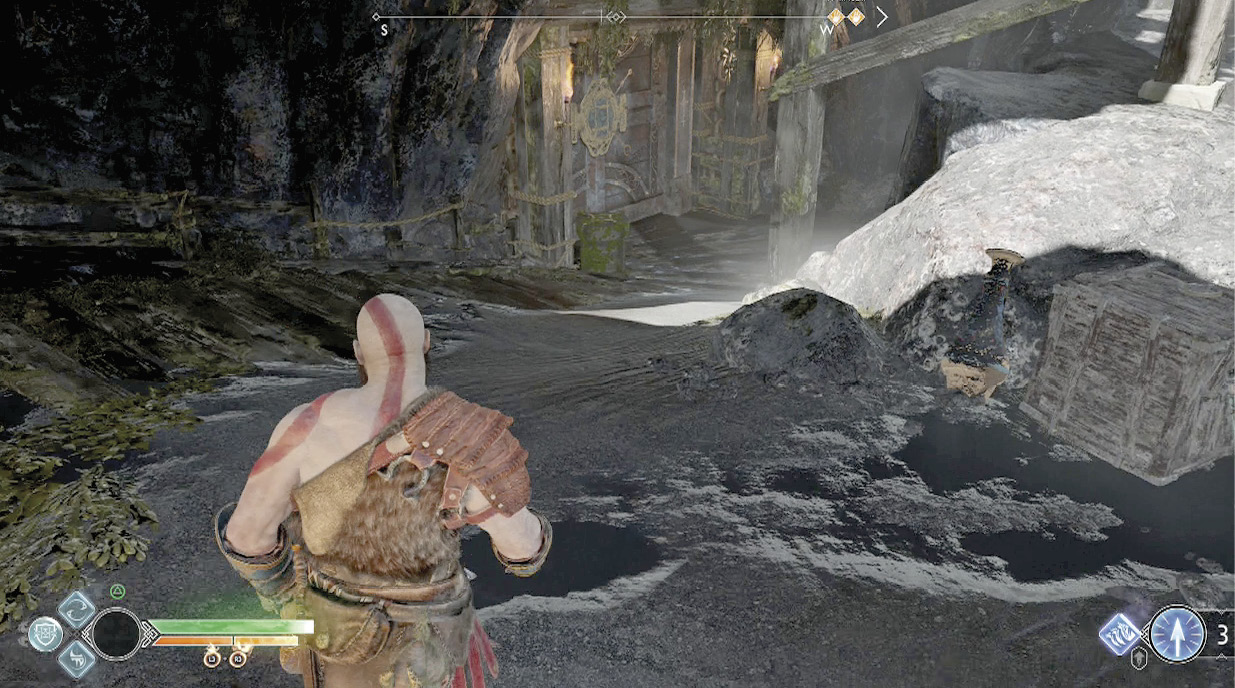
OBJECTIVE: Search the Mines for Andvari’s Hammer
A tight tunnel leads into a big, open cavern, where a group of Tatzelwurms await your arrival. Stay on the move and be ready to quickly counter them as they emerge from the ground. More join the fight as you defeat them, so don’t let your guard down until none stir.
Climb onto the south platform and use the lever to lower a pallet of rock. Climb onto the rock and fire a Shock Arrow at the Shatter Crystal ahead, causing that lift and cargo to crash through the floor. This creates an access to the lower levels of the mine, but three Dark Elves appear from below. Evade their attacks and take them down, as more Elves, including a Dark Elf Warrior, join the fray.
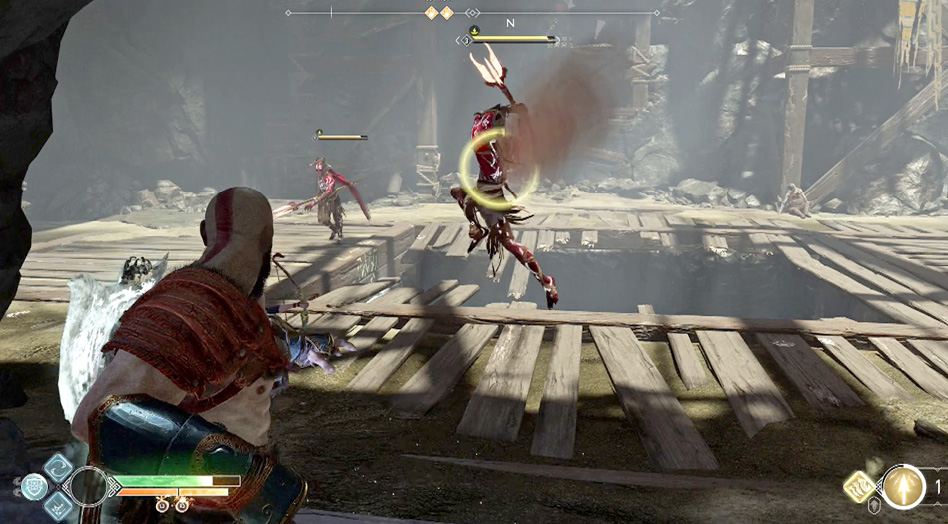
Descend into the Mine
Once they’re taken care of, descend into the hole (2); shimmy to the side at the first level to pilfer the contents of a coffin. Continue down to the lower level and quickly eliminate the pair of Nightmares.
Make a sharp 180-degree turn to the left and toss your axe through the three pods of a tentacle ahead to clear a path into the next room. Kill the Nightmare and climb the boards to find a coffin full of valuable resources.
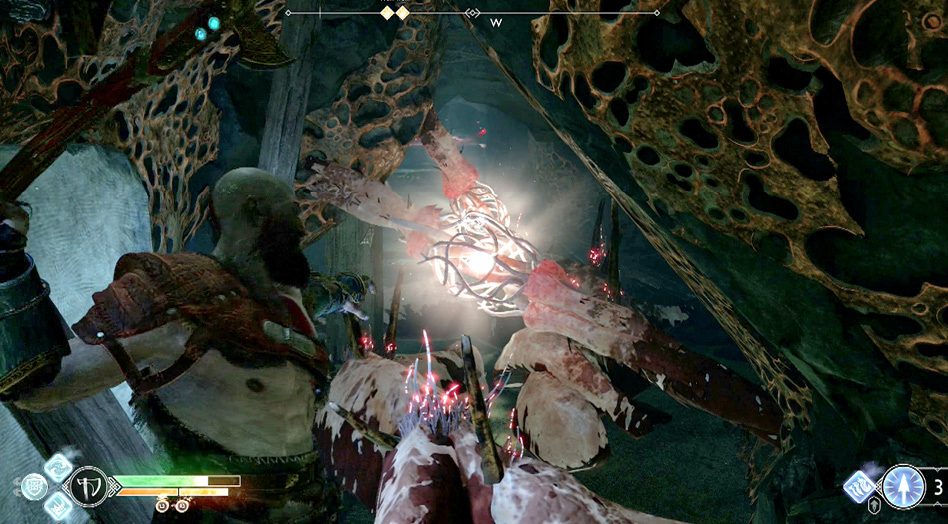
Return to the previous chamber and collect the contents of the two chests, one straight ahead and another just above and behind wooden slats. A tentacle blocks the tunnel ahead, so line the three pods up and throw your axe through them to clear the way. Squeeze through a narrow gap to reach another clearing (3).
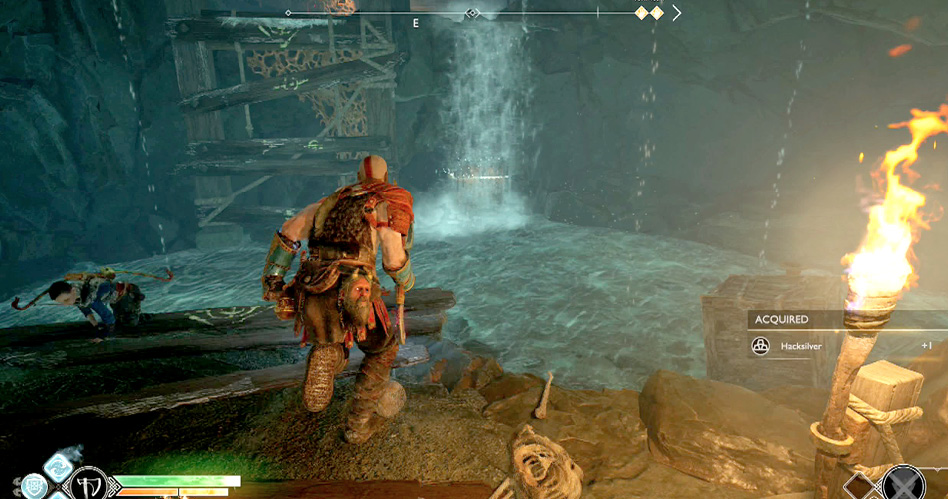
Defeat the Traveler
A Traveler is joined by two Nightmare Parasites. You can quickly take one out, but the other manages to possess the foe. Depending on how much Kratos has been upgraded, this can be a tough fight. Use Atreus’ Light Arrows to Weaken the enemy and evade his powerful attacks, while using Kratos’ Runic Attacks when opportunities arise. Tatzelwurms join the fight, so keep an eye out for them as they emerge from the ground.
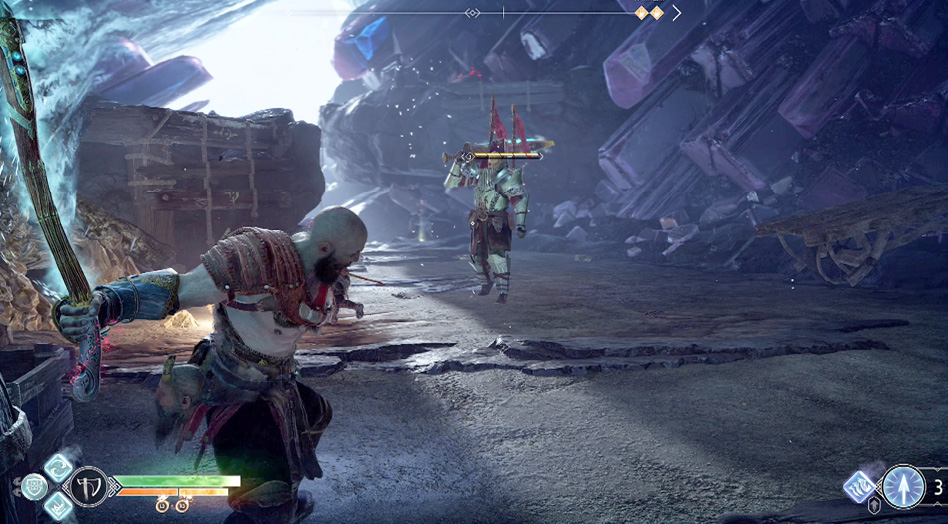
Continue Searching for the Hammer
Once they’re defeated, climb onto the walkway in the middle of the cavern, collect the loot from the chest ahead, and then jump down. Head east and fling the axe through the pods to clear the tentacle out of the way. Follow the path to find a coffin (Legendary Enchantment) before returning to the previous chamber.
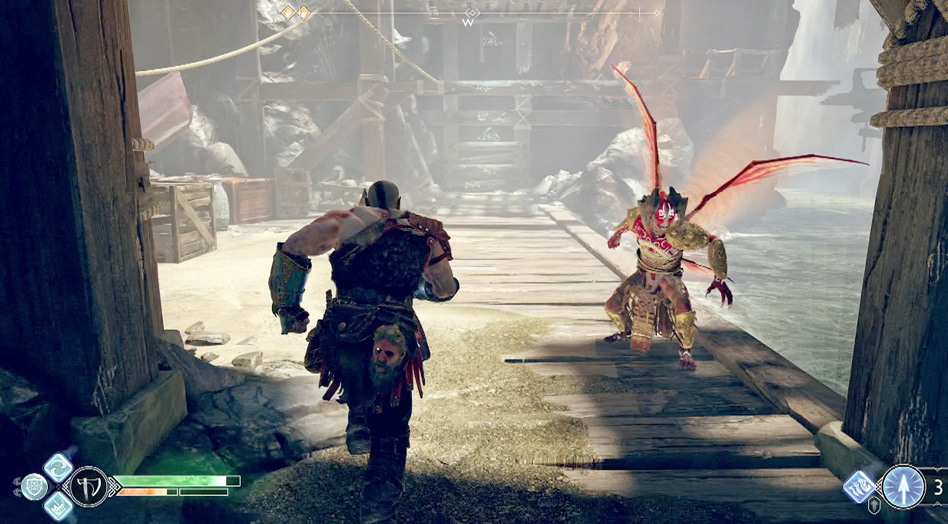
Next, go west and defeat the three Dark Elf Warriors (4) that occupy the next area. Climb the west wall and shimmy to the right until you can climb onto the broken-down walkway. When the path splits, jump to the left first and climb the boards on the right to find a chest above.
Use the zip line to return to the split, and continue straight, following the walkway right until you reach a lever (5). Turn it to raise the lift ahead. Another zip line, just to the left, takes you to your earlier climb; now you can climb to the upper walkway.
Defeat the Dark Elf Lord
Here you fight a Dark Elf Lord (6), a formidable foe with blinding attacks and Dark Elf reinforcements. Watch his movements closely. When he takes to the air and points his glowing weapon straight ahead, he launches two or three projectiles onto the ground in front of him. After a couple seconds, they detonate. If you’re caught in the blast, you suffer several seconds of blindness. Hit him with Atreus’ arrows to knock him out of the air, or sprint away from the projectiles before they can explode.
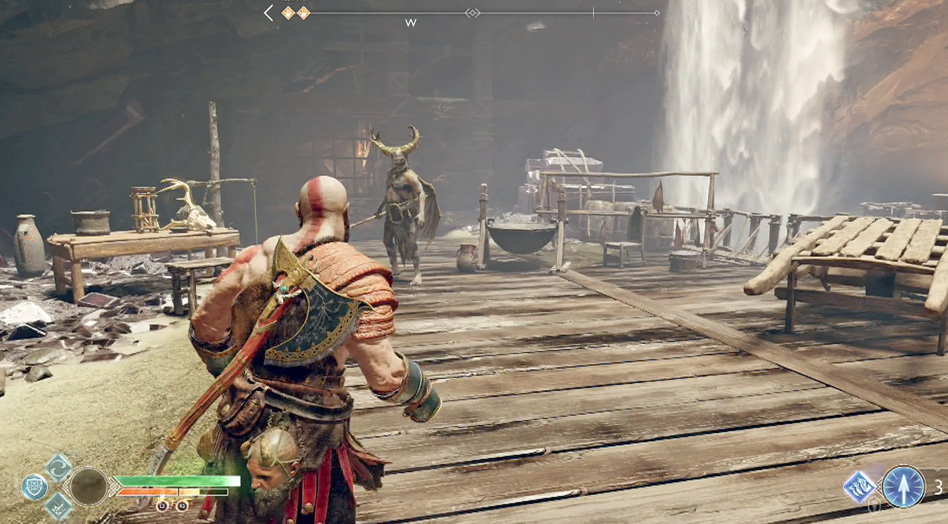
He has a number of melee attacks, though fortunately his biggest moves are telegraphed. When you see him rear back, he quickly closes in, finishing with two powerful swings of his weapon. If he spins around and his weapon lights up, he runs straight at Kratos in an attempt to skewer him. If contact is made, this maneuver will break Kratos’ block and cause blindness. Use a dodge roll to get out of range of the swinging attack, or sidestep to avoid the charge. It’s possible to trip him as he runs at you, or parry the skewer attack. Quickly take advantage of the foe’s moment of vulnerability and get in a string of attacks.
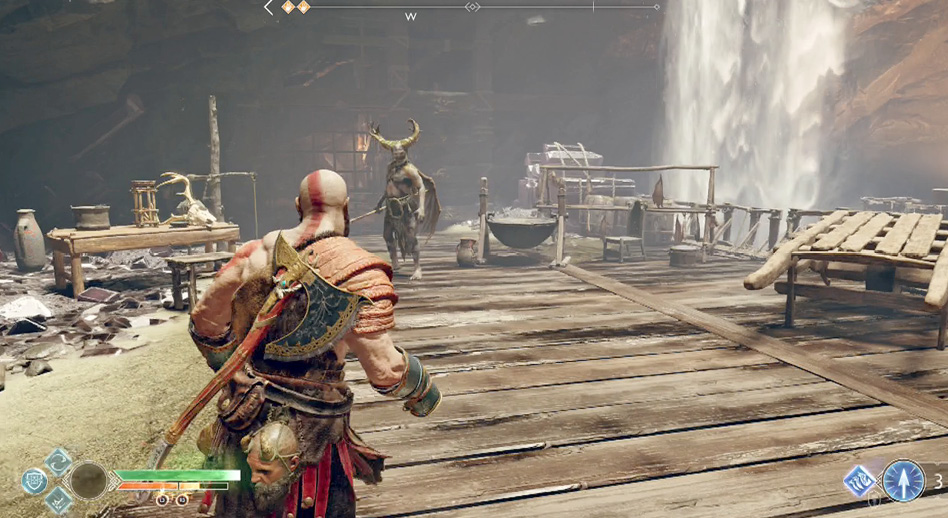
He also has standard melee attacks and is able to block with his two-handed weapon. Get in your own attacks whenever possible to deplete his health. Shock Arrows can stagger him, giving you another chance at the foe.
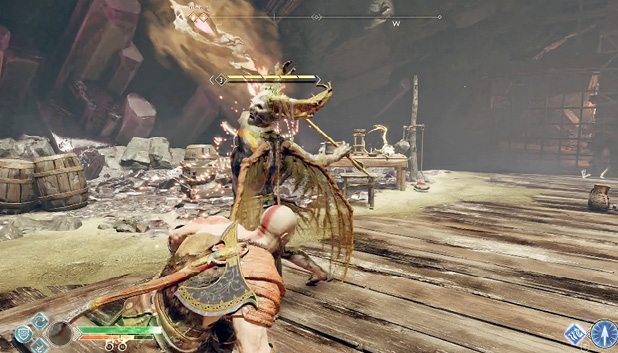
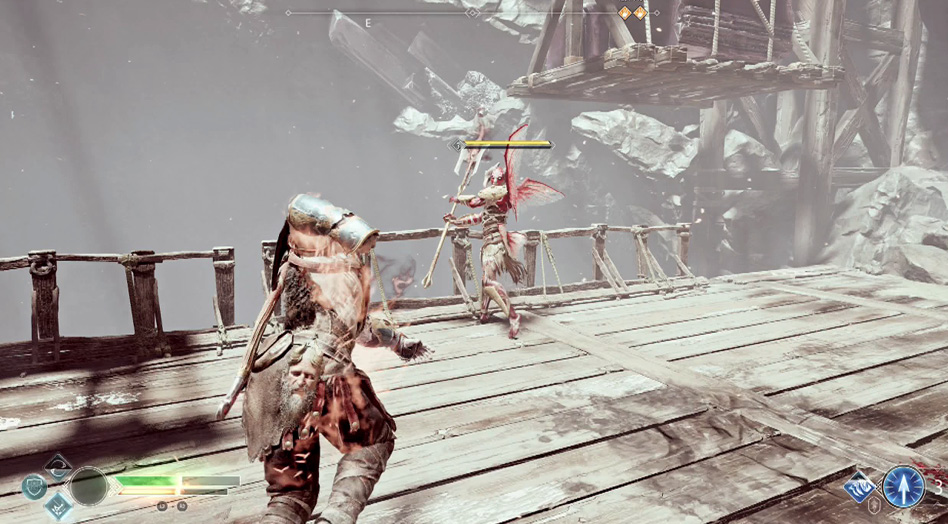
After one segment of the Elf’s health bar is eliminated, two Dark Elves join the fight. Use Atreus’ arrows to distract one and prevent becoming overwhelmed. If you get the chance to attack one of the weaker Elves next to the railings, hit it with powerful attacks in an attempt to knock it over the side, eliminating it from the fight.
The Dark Elves are rather elusive. When using Rage Mode, time your attacks well, or they may evade your moves. After taking down the leader, finish off any remaining enemies.
Grab Andvari’s Hammer
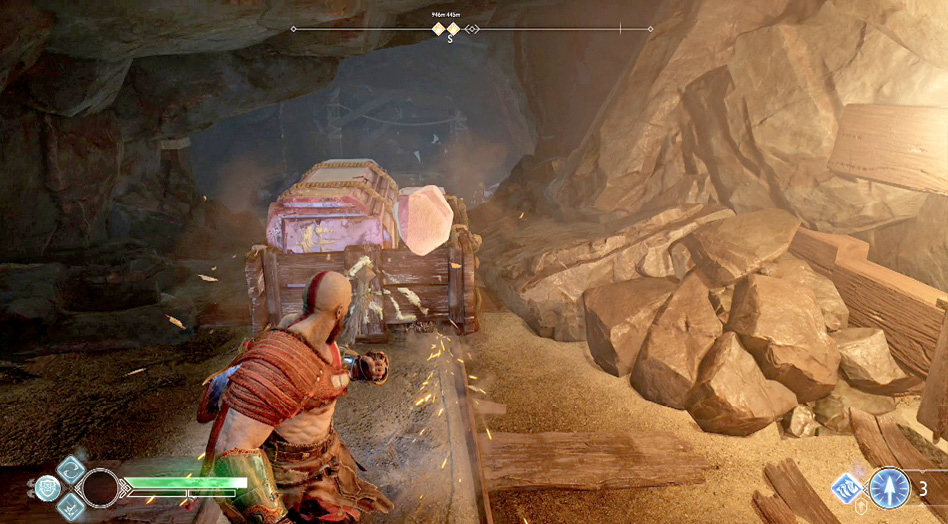
After the battle, give Atreus a boost up the western wall. He finds a lever that opens the gate. Collect Andvari’s Hammer from the Legendary Chest inside and then run north up the hill to find a cart (7). Push from the other side, causing it to bust through the far wall. This gets the attention of a Tatzelwurm, so deal with it before proceeding through the new hole.
OBJECTIVE: Return to Brok
This takes you back to the first room of the mine. Before returning to Brok, climb down to the bottom level again, enter the lift (8) in the northeast corner, and take it up to the main floor. Have Atreus grab the Njörd’s Oarsmen Treasure Map, while Kratos collects the resources from the coffin. Open the gate and return to Brok to complete the Favor and earn your reward.
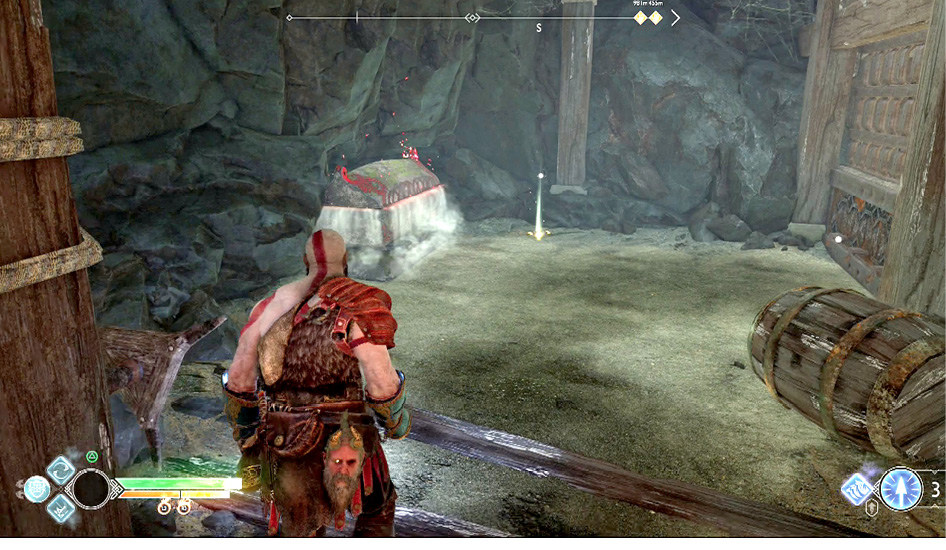
Fáfnir’s Storeroom
Fáfnir’s Hoard
|
Quest Giver |
Sindri |
|
Quest Location |
Fáfnir’s Storeroom |
|
First Available |
After completing the Alfheim portion of the Journey |
|
Main Objective |
Help Sindri find Fáfnir’s whetstone |
|
Levels of Enemies |
3 - 7 |
|
Reward |
3290 XP, Talisman—Talisman of Betrayal |
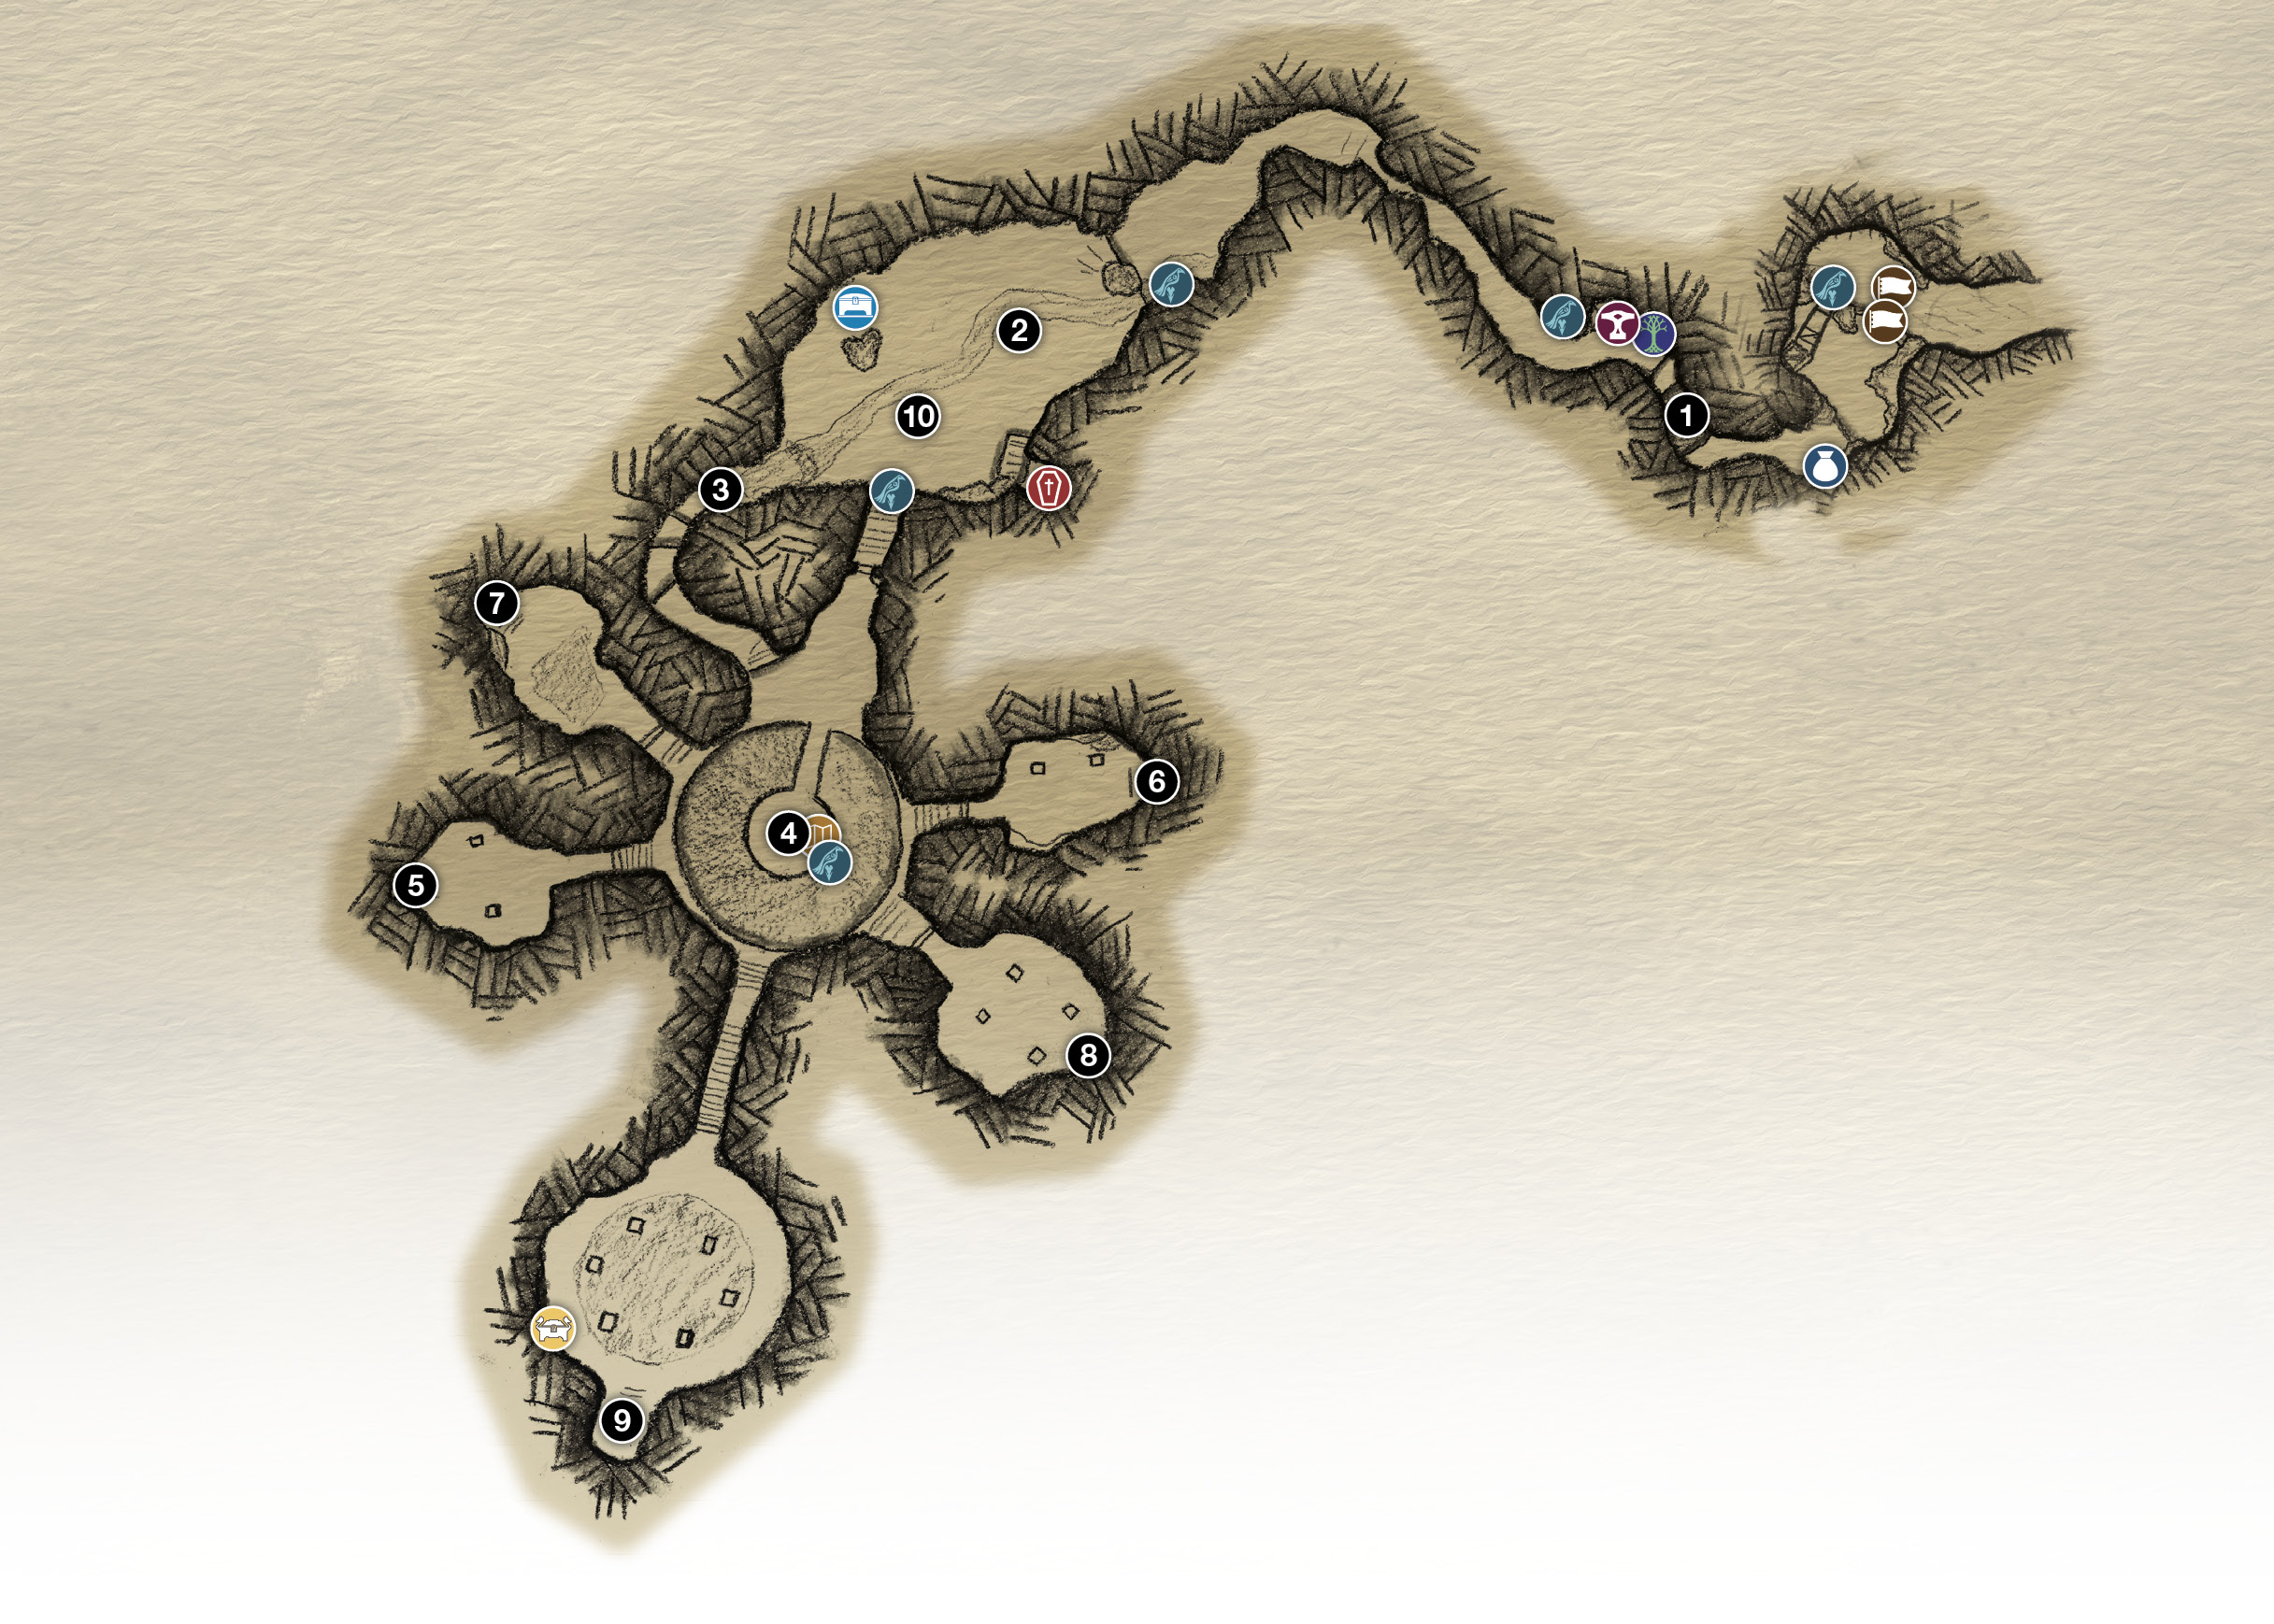
1. Extend Light Bridge
2. Defeat the Draugr
3. Pass Through the Waterfall
4. Key Orb Pedestal
5. Fáfnir’s Entry Stone
6. Fáfnir’s Entry Stone
7. Fáfnir’s Entry Stone
8. Fáfnir’s Entry Stone
9. bandit spirit location
10. Forest Ancient
Chest
Coffin
Dock
Legendary Chest
Mystic Gateway
 Nornir Chest
Raven
Shop
Treasure Map
OBJECTIVE: Head to Fáfnir’s Storeroom
To begin the Favor, talk to Sindri at one of his shops—there’s one located just outside Fáfnir’s Storeroom. Grab a boat and head west from the temple. Enter the waterway just north of the Asgard Realm Tower to find Fáfnir’s Ravine, and follow it until you hit a beach. Use the nearby lift and continue along the path until you reach the large hole (1). Fire a Light Arrow at the crystal to form a bridge, and proceed ahead to find a Mystic Gateway and Sindri.
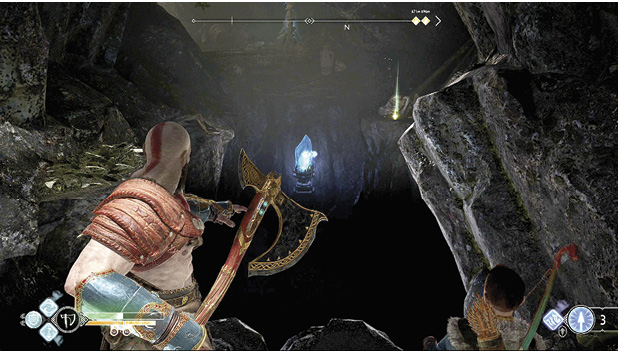
With Fáfnir’s Entry Stone, continue through the small opening ahead to reach a lush, green opening (2). A group of Reavers occupy the forest ahead, so proceed carefully. A variety of Draugr litter the area, including a few that launch fire projectiles your way. Go after these guys first if possible as you eliminate the threat.
Loot the Nornir Chest
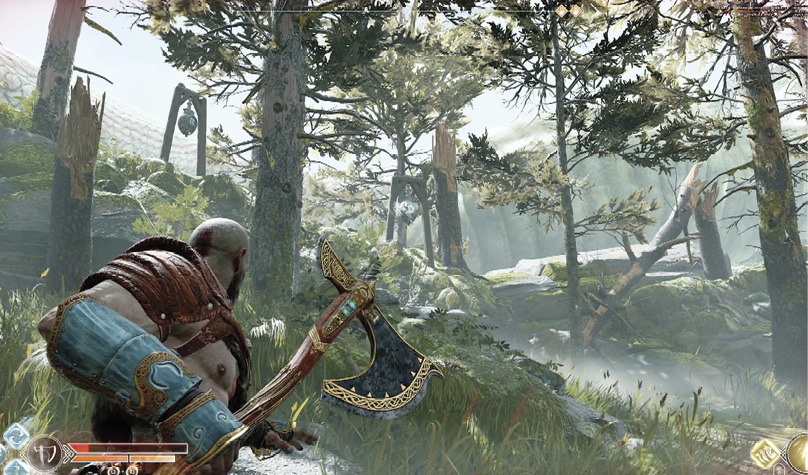
A Nornir Chest sits on the right side of the forest area. The three runes are all found on bells that sit up high, with two above the chest and a third to the left at the top of the waterfall. As with any Nornir Chest puzzle that involves bells, you must hit all three within a short timer, so finding a spot where you have a shot at all three is ideal.
 Situate yourself southeast of the chest so that you see the middle rune between two trees and the other two are easily visible as you swivel around. Aim well above the rune at the top of the waterfall and toss the axe.
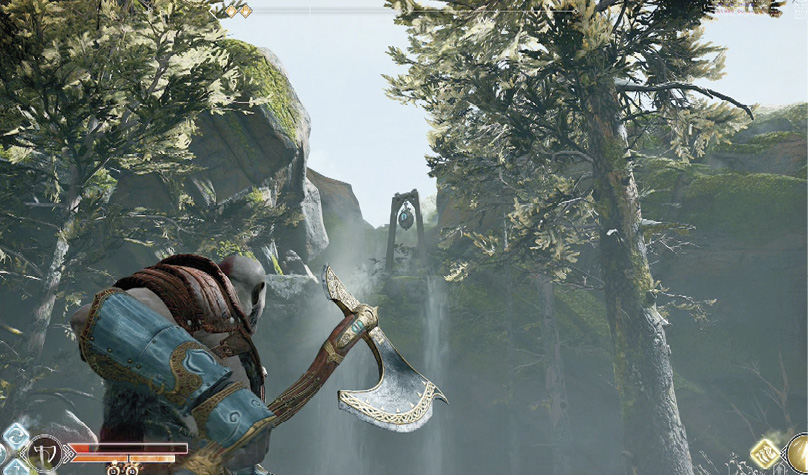
 Once the axe makes contact with the bell, immediately recall your weapon as you pivot toward the two trees. Quickly toss Leviathan while placing your cursor on the second rune.
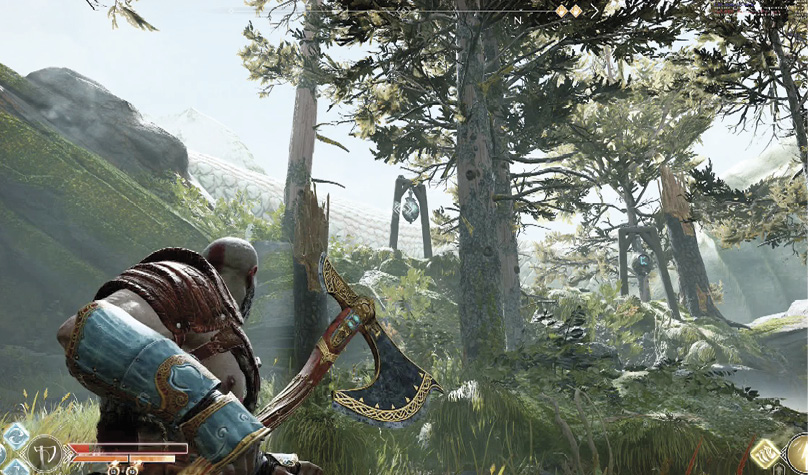
 Continue to spin to the right while recalling and flinging the axe toward the final target. You have a brief moment after releasing Leviathan to adjust your aim. As long as the first rune hasn’t timed out, you can collect your reward.
Find a platform on the south side of the ravine and climb up to it to find a coffin, but beware of the Nightmare that pops up once you arrive. The main entrance to the storeroom is locked, but there’s an alternative way in. Pass through the waterfall (3) and follow the path to get inside.
OBJECTIVE: Use the Key Orb on the Stone Pedestal
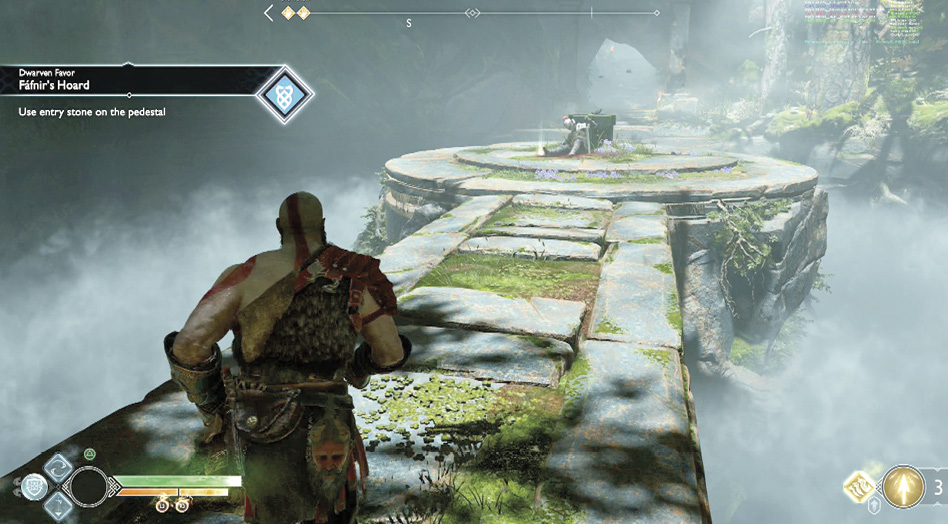
A circular stone platform sits in the middle of the area, with a pedestal in the center. A stone path leads to the pedestal (4), while multiple doors surround the perimeter. Collect the Don’t Blink Treasure Map before inserting the Key Orb into the pedestal. This creates a new pathway that leads to the west door.
OBJECTIVE: Search for the Whetstone
First Door 
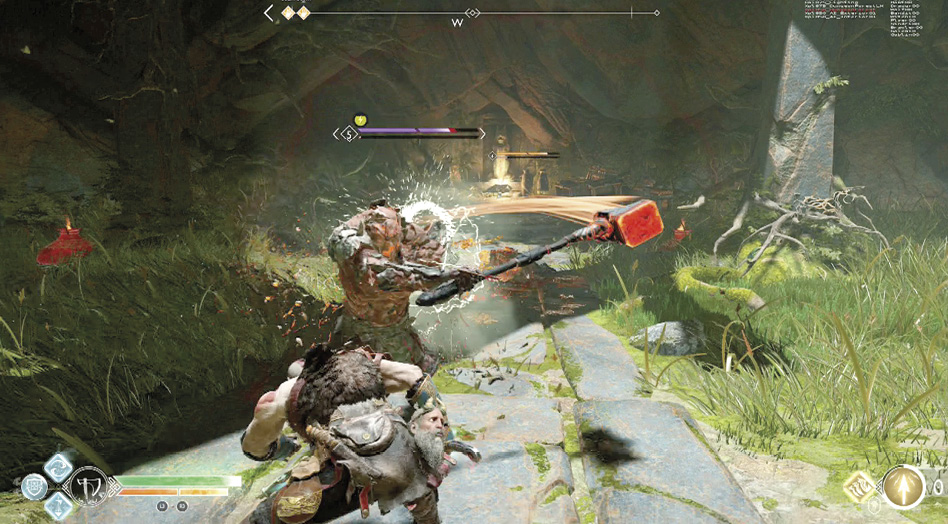
Inside the first chamber, two Heavy Draugr, including one that’s explosive, emerge from the ground. Carefully take them out, steering clear of explosions from the nearby red pots and the Draugr itself. Grab another Fáfnir’s Entry Stone (5) that sits at the far end of the area before returning outside. Stay alert as you approach the pedestal; two Draugr attempt an ambush. Knock them off the edge for easy kills.
Second Door 
Place the second orb to create a new walkway to the east. Inside, a Viken and two Reavers stand beneath a Scorn Pole. Stick the Leviathan Axe into the Scorn Pole to eliminate the poison, then defeat the enemy. Refrain from recalling the axe, unless you plan to stick to the left side, where the poison doesn’t reach. Pick up the third Fáfnir’s Entry Stone (6) and return to the central area. Placement of this orb forms a bridge to the northwest.
Third Door 
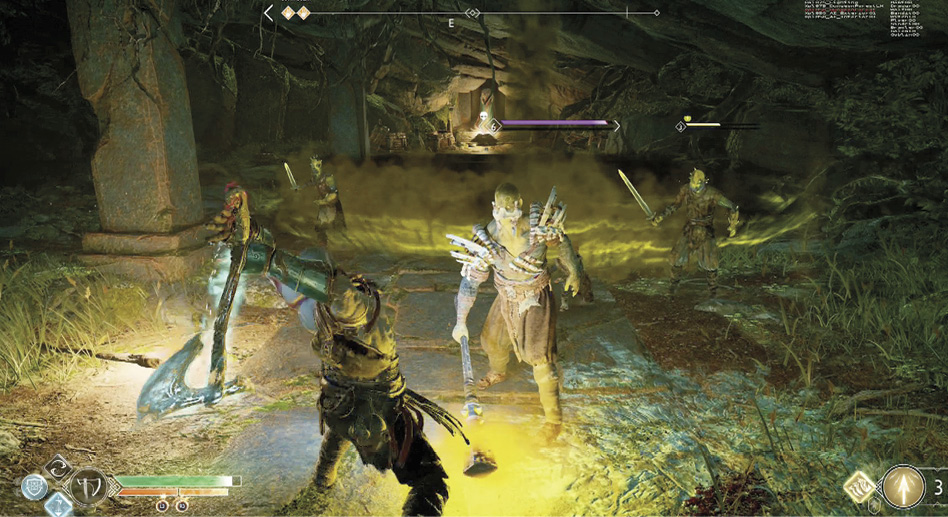
In the third area, use Atreus’ arrows to expose the two Revenants to attack, then let them have it. A fourth Entry Stone sits in front of a stag statue (7). Grab it and return to the pedestal outside, where two Projectile Draugr attack. Defeat them before placing the orb, creating a new bridge to the south-southeast.
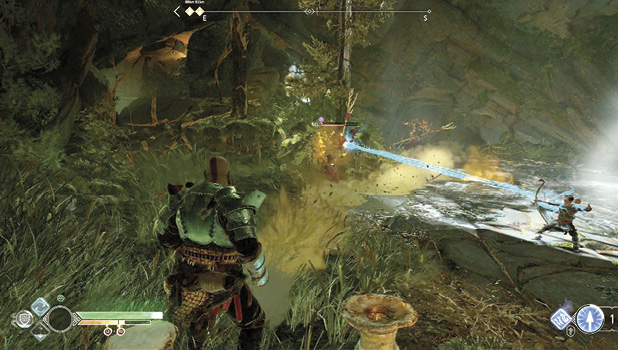
Fourth Door 
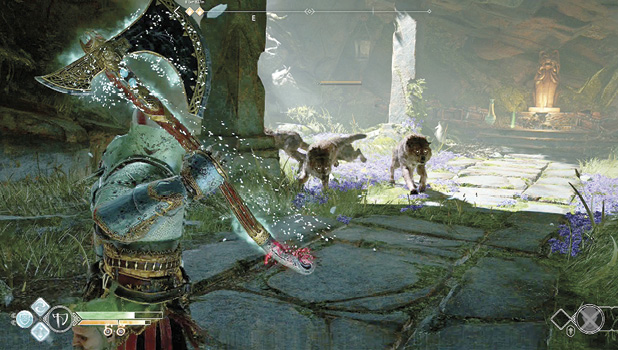
A pack of Wolves, including one that’s poisonous, attacks once you enter the fourth area. Pay extra attention to the Poison Wolf as you take the group down. Pilfer the coffin on the right and then swipe another Fáfnir’s Entry Stone (8) before returning to the pedestal. The final orb forms a bridge south to a door marked with all four runes.
Final Door 


Loot the Legendary Chest on the right side of the area before approaching the open chest at the far side.
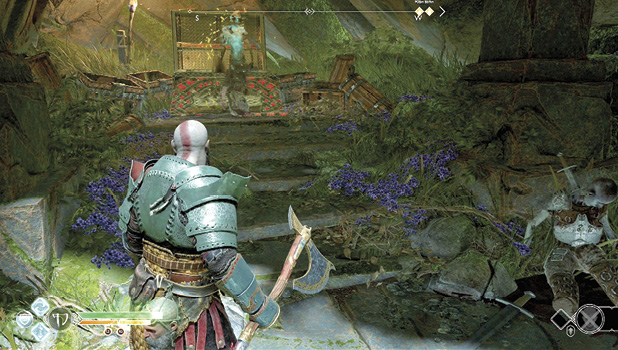
OBJECTIVE: Talk to the Bandit Spirit
Speak to the spirit (9) that floats above the chest to find out the whetstone was taken by the spirit’s son. Your only clue to his whereabouts is possibly in the dagger that’s been thrust into the nearby corpse.
OBJECTIVE: Return to Sindri
On your way out, two Fierce Ogres and two Nightmares spawn into the area. Dodge the fliers’ projectiles while concentrating on the big guys. Once an Ogre is stunned, use it to pummel the others. With the storeroom clear, exit to the pedestal and continue out the north-northeast door to return to the forest.
Once the area is cleared out, loot the Ancient’s valuable resources and return to Sindri to complete the quest.
Northri Stronghold
Family Business
|
Quest Giver |
Sindri |
|
Quest Location |
|
|
First Available |
After completing “Fáfnir’s Hoard” and “The Sickness” chapter of the Journey |
|
Main Objective |
Retrieve the Whetstone |
|
Levels of Enemies |
4 |
|
Reward |
3290 XP, Axe Pommel—Hræzla Farmaðr’s Grip |
1. Place Northri Entry Stone
2. Break the Chain
3. Defeat the Ogre and Brawler
4. Raider Ship
5. Collect the Whetstone
6. Use the Chain
Chest
Coffin
Dock
Legendary Chest
 Lore
Lore
Mystic Gateway
Raven
Shop
Treasure Map
OBJECTIVE: Head to Northri Stronghold
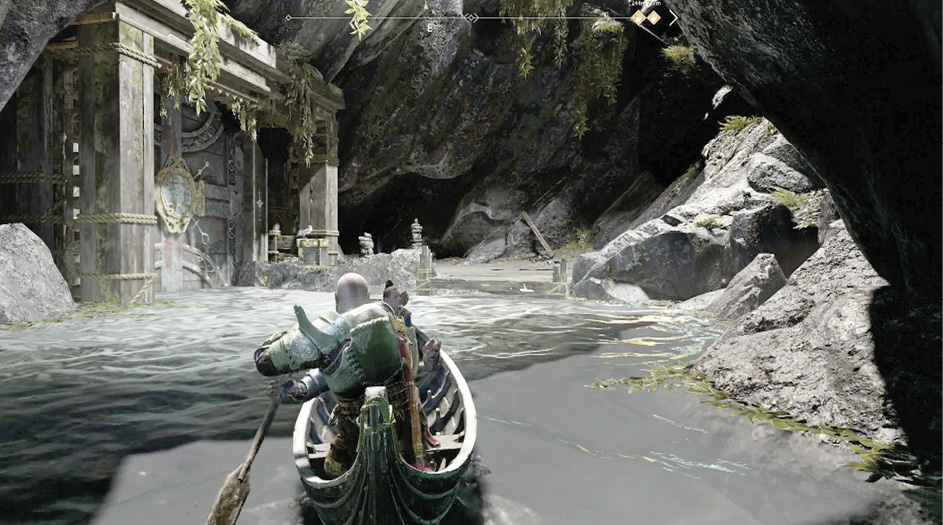
Sindri’s second Favor becomes available after his “Fáfnir’s Hoard” Favor and “The Sickness” chapter of the Journey are complete. At that point you must speak to Sindri at one of his shops to gain the quest and the Northri Entry Stone necessary to enter Northri Stronghold. Hop into a boat and head to the northwest corner of the lake to find the Northri Gorge, just east of the Ruins of the Ancient. Follow the waterway until you reach a dock (1). Disembark, place the orb into the nearby pedestal, and paddle through the new opening.
OBJECTIVE: Find a Way to Open the Gate
Continue to follow the waterway as it passes Sindri, who has set up a small shop next to a Mystic Gateway. Feel free to talk to the Dwarf if you need anything; otherwise, take the waterway all the way to another dock that sits between two massive gates.
Hop out of the boat and follow the walkway up to a busted bridge. First, ascend the wooden planks on the right to reach a lookout perch, where the treasure hinted at by the Finder’s Fee Treasure Mapis buried.
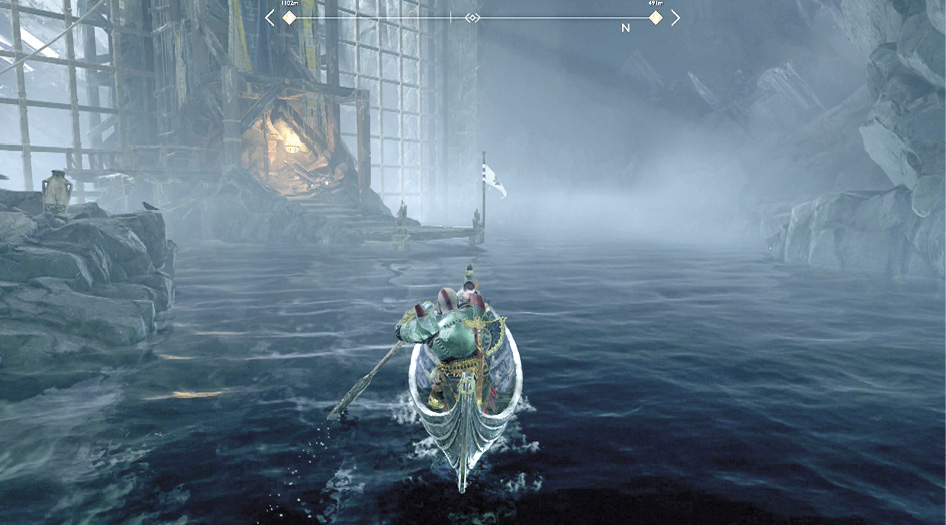
Drop down and follow the path until you run into a group of Reavers and Fanatics. Be sure to finish each one off, since the Reavers have the ability to heal themselves. Watch out as a Revenant joins the party; evade her attacks while Atreus weakens the creature with his arrows.
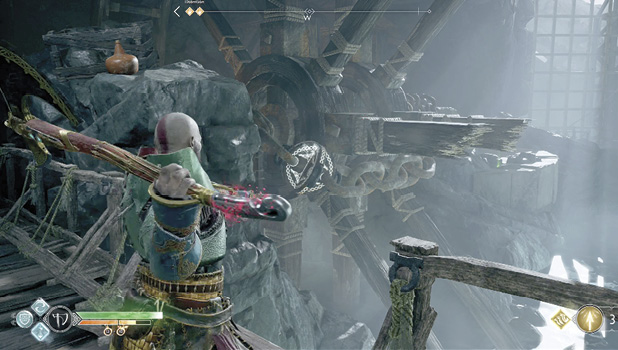
Once the monsters are cleared out, continue to the bridge ahead. Turn to the left and break the chain (2) that holds the waterwheel in place. This opens the gates, allowing you to continue into the stronghold. Before heading out, though, continue across the gap ahead, stop the poison flow at the Scorn Pole around the corner, and loot the chest.
OBJECTIVE: Explore Deeper Into the Mines
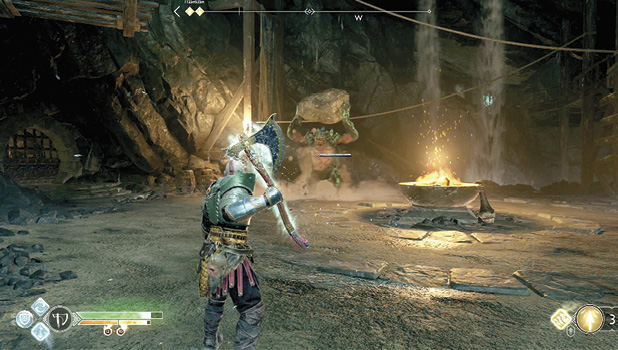
Remain alert, since a Reaver or two may pop up as you return to the boat. The waterwheel partially blocks the path, but you can jump through one of the gaps, where the spokes are broken. Take the boat farther into the mine and park it at an opening on the right to find a Fierce Ogre (3) hanging out near a fire.
Take out some frustration on the Ogre until its stun meter is filled, then mount the beast. Use it to pummel the others, which include new arrivals: a Viken and Reavers.
Climb the wooden platform in the northwest corner of the room, loot the chest, and translate the Lore Marker to learn about the Hræzla Farmaðr. Climb down and spot a lift that holds a load of stone in the opposite corner of the cavern. Toss your axe at the discs that hold it up to gain access to the upper level; climb the wooden boards to get there.
Your objective leads you to the left, but the right path gains you some extra loot. Detonate the Shatter Crystal with a Shock Arrow, then hit the Scorn Pole with your axe. Follow this route around to the left, stopping at the wooden walkway. Hit another Shatter Crystal to reveal a coffin and open a ladder back to where you left the main path.
OBJECTIVE: Investigate the Raider Ship
Defeat the Poison Wolf and Nightmares that attack, before shimmying across the narrow ledge on the left to score a chest. Continue on the main walkway down toward the raider ship (4). A bridge is currently raised to the left, so hit the wooden board just right of the structure to give yourself a way across. Hop down on the other side to investigate the ship.
Defeat the Hel-Traveler
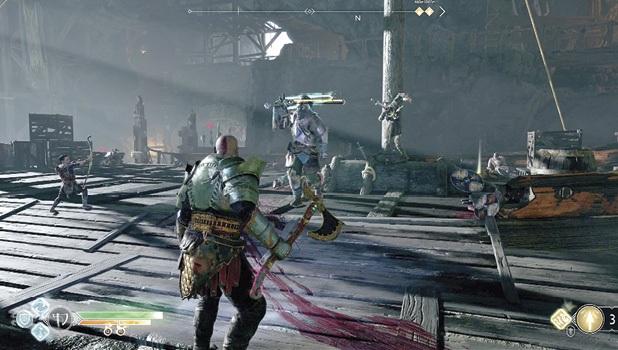
There you find out the bandit’s son (5) didn’t fare too well. Fortunately Atreus discovers the whetstone nearby. After the cut scene, two Hel-Shadow Scouts begin to launch projectiles from the walkway on the right, while a Hel-Traveler enters on the left.
Quickly dispose of the ranged fighters and then concentrate on the Traveler. Be ready for his charge attacks—stay alert, as he may go into a stumbling combo. If he raises his sword above his head, move to the side to avoid the powerful attack. Defeating the Traveler rewards Kratos with the Epic Talisman—Shattered Gauntlet of Ages, a Talisman with great potential.
Once he’s defeated, hit the Shatter Crystal seen through the gate to the south. This allows Atreus to enter the side room through the small opening and pull the lever. Now you can enter and loot resources from the Legendary Chest. Exit the boat where the Traveler boarded the ship, and search the lower deck to find the Njörd’s Oarsmen Treasure Map.
Atreus can translate the runes on the wall as well, which read “False Leader.”
OBJECTIVE: Return to the Boat
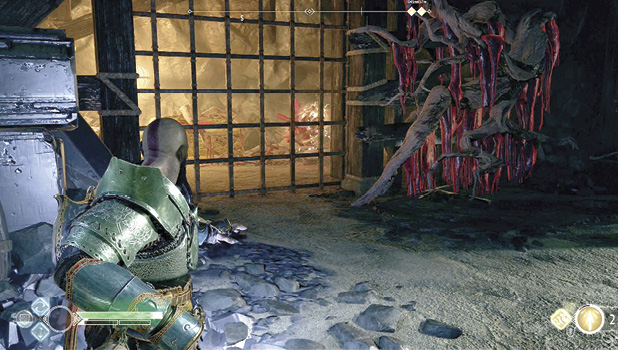
Exit the ship and spot another Shatter Crystal hanging next to the roots that hold the water gate shut. Hit it with a Shock Arrow and then take down the Reavers and Nightmares that show up. Before jumping over the waterway, duck into the opening on the right and stop the poison with your Leviathan Axe. Swipe the resources from the coffin.
Jump across the water, use a Shock Arrow on the Shatter Crystal in the corner, and open the gate. Ask Atreus to pick up the scroll (A Son’s Regret) that sits inside the tunnel to add it to your Lore, then open another gate to gain access to your boat. This scroll begins a new Wayward Spirits Favor called “Time Heals All.”
OBJECTIVE: Find an Alternative Exit
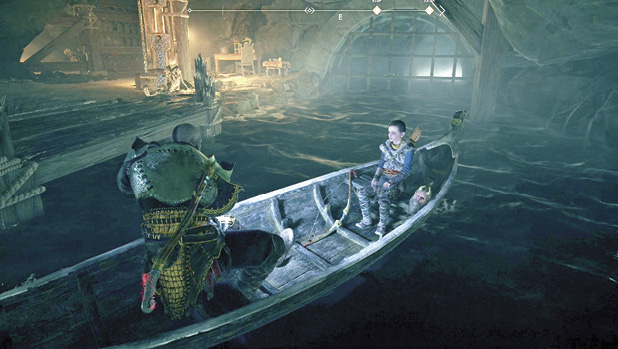
Paddle through the new opening and continue until you find another dock (6) just before another closed gate. Exit the boat and use the chain on the pillar to open the gate. Lift the nearby door to gain some extra Hacksilver.
OBJECTIVE: Return to Sindri
Before getting back in the boat, head west across the bridge and follow the path right through the busted boards to find a coffin. Now you can take the boat back to Sindri and complete the Favor.
Konùnsgard Stronghold
Hail to the King & The Fire of Reginn (Dragon Quest)
|
Quest Giver |
Brok and Sindri (“Hail to the King”) |
|
Quest Location |
Konùnsgard Stronghold |
|
First Available |
After completing “Deus Ex Malachite” and “Family Business,” and after Brok and Sindri have reunited |
|
Main Objective |
Retrieve the ingredients to craft the Dwarven armor of legend Destroy the shrines that bind Reginn |
|
Levels of Enemies |
3 - 6 |
|
Reward |
3290 XP, Blades of Chaos Heavy Runic Attack—Fire of Ares, Huldra Armor Set Recipes 100 XP, Enchantment—Scale of the Mighty |
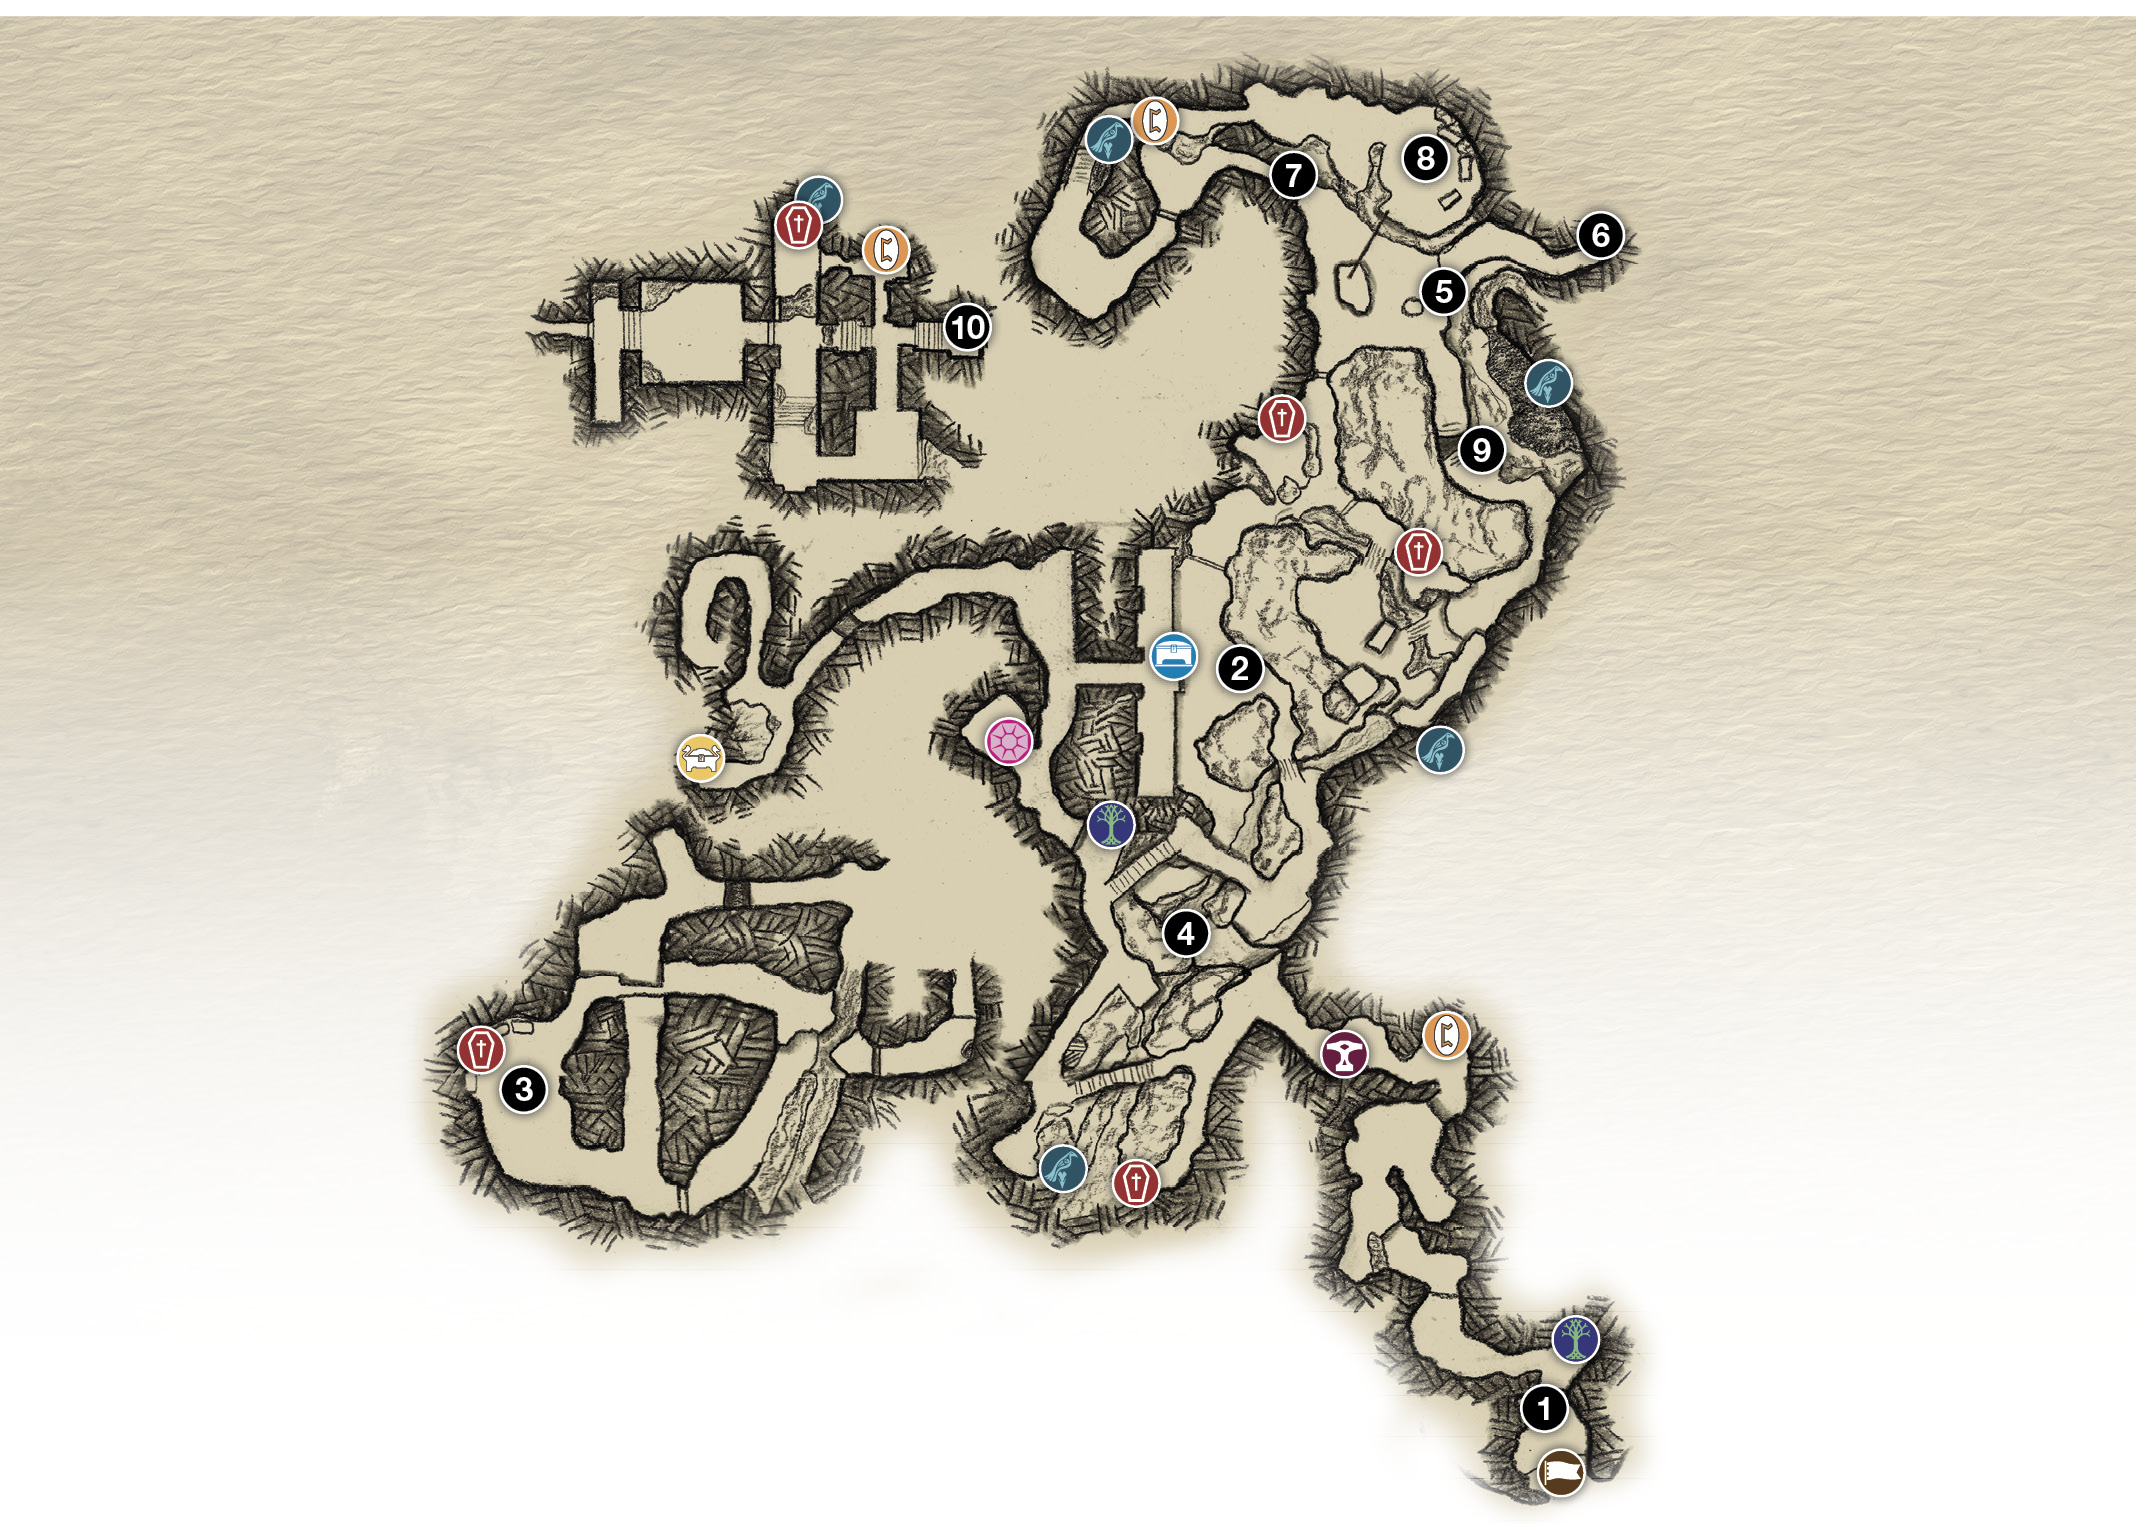
1. Dock at Beach
2. Entry Stone Pedestal
3. Defeat the Soul Devourer
4. Konùnsgard Entry Stone
5. Destroy Shrine 1
6. Destroy Shrine 2
7. Open the Runic Door
8. Konùnsgard Entry Stone/Destroy Shrine
9. Interact with Anchor
10. Investigate the Stronghold
11. Throne
Coffin
Dock
Legendary Chest
Lore
Mystic Gateway
Nornir Chest
Raven
 Realm Tear
Shop
OBJECTIVE: Head to the Konùnsgard Stronghold
To begin the final quest for Brok and Sindri, talk to them at Brok’s main shop once they’ve reunited, and receive an Entry Stone for the stronghold. Paddle into the western canal just behind Forgotten Caverns and follow it to a small beach. Place the entry stone into the pedestal to open the gate.
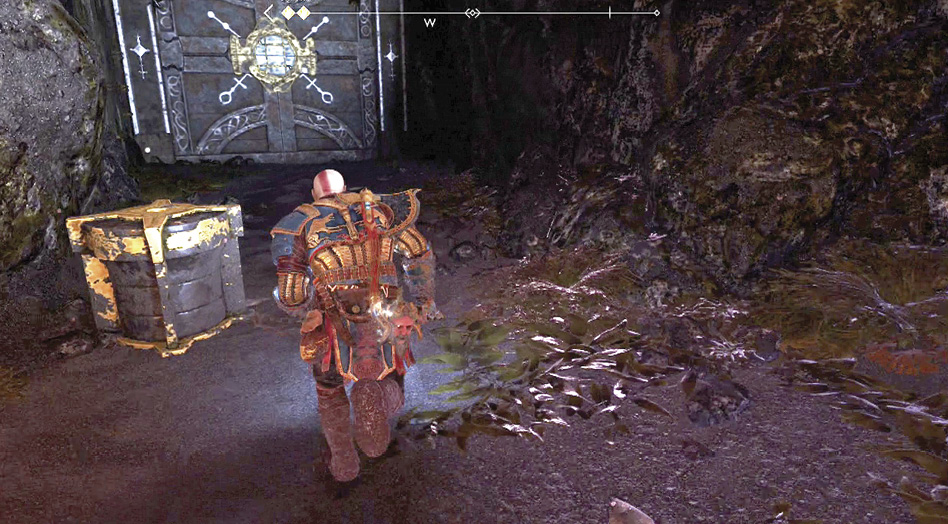
Head west toward daylight to reach the green, rocky landscape of the Dwarf King’s stronghold. Pull out your Blades and tear through the Hel’s Bramble that blocks the chain. Climb down and back up the far side to reach a Lore Marker, which Atreus translates into a journal entry titled “Mótsognir’s Throne.”
OBJECTIVE: Gain Entry to Mótsognir’s Stronghold
Talk to Sindri at his shop ahead, or continue down the worn path, following it to the left. Turn left at the split (1), put your axe into the Scorn Pole, and fight past the Hel-Reaver to find a coffin. You may need to defeat a second enemy if he wanders into your area. Another Hel-Walker leaps out of the coffin, with two more ambushing from behind, so stay alert.
Return to the main path and cross the bridge as more Hel-Reavers show up. At the next split, explore to the left first to find a big cache of Hacksilver. Continue down the path until you reach a suspension bridge. A Mystic Gateway is available ahead, if needed, but you’ll end up there later in the quest.
Fight through more Hel-Reavers as you continue down toward the entrance. Hit the Scorn Pole with your axe before passing through the poison. Just ahead, you reach the entrance pedestal (2); collect the Konùnsgard Entry Stone off the ground and place it into the pedestal. This doesn’t open the massive gate, though—you need to find two more orbs and place them into the pedestal as well.
It’s time to gather the other two Entry Stones. One can be found to the south, while the other one sits to the north. You can gather them in any order; we’ll go after the southern orb first.
Konùnsgard Entry Stone #2
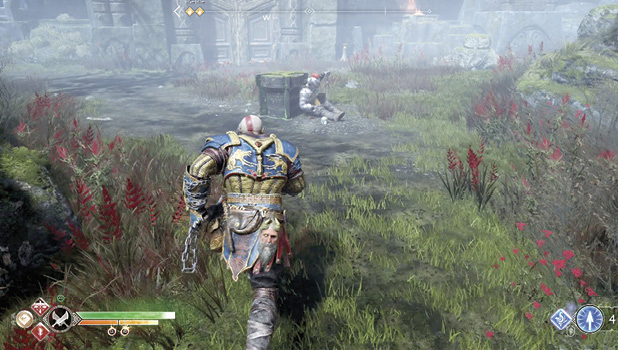
Stop the poison flow at the Scorn Pole as you move down the southern path, then pull out the Blades of Chaos to destroy the Hel’s Bramble that blocks the way. Cautiously proceed forward as two Wulvers attack at the opening. Stay on the move and avoid their quick attacks. Distract one with Atreus’ arrows, while taking down the other.
The passageway leads around to a partial ring of standing stones, where an Ancient (3) lies dormant. Use your Blades on the Hel’s Bramble to access the coffin, and then get the Soul Devourer’s attention by bouncing your axe off it.
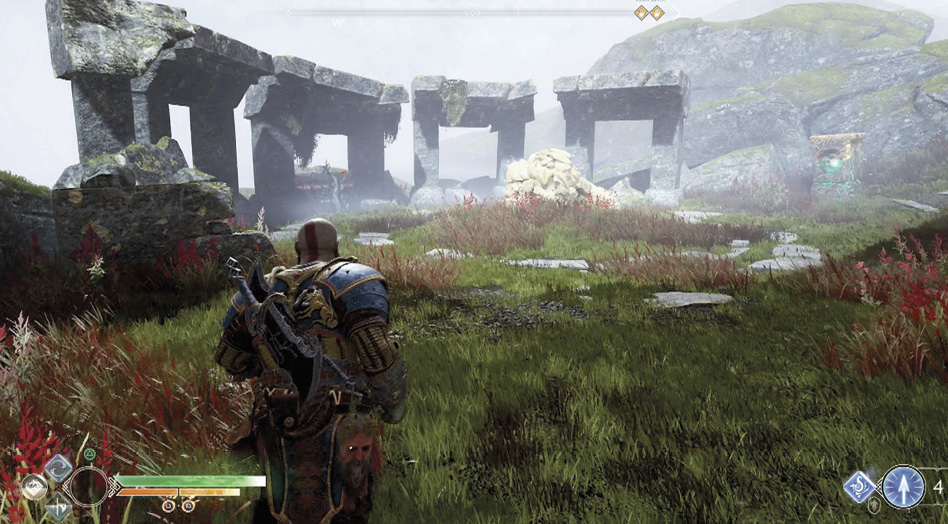
Go ahead and grab the Legendary Enchantment from the coffin before running up the slope. Ignore the Winds of Hel for now; we’ll come back to that. Use the Blades on the Bramble and then shimmy across the narrow board ahead.
Eliminate the Rabid Wolves and then drop off the platform on the right. Look up and to the left to spot a crystal hanging from a crane. Break the disc with your axe to drop the crystal into the water, then fetch it downstream; it comes to rest at a small opening to the left.
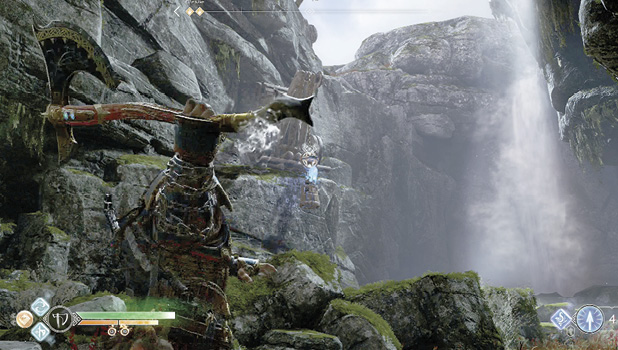
Carry the crystal to the right until you reach a gate, where you must set the device down in order to pass through. Two more Wolves attack on the other side, so deal with them before grabbing the crystal. Make a sharp right from the gate and then left at the next intersection. Place the crystal in the base ahead as a Wulver drops into the area. Slow its approach with Atreus’ Shock Arrows and then take the beast down, along with two more Wolves.
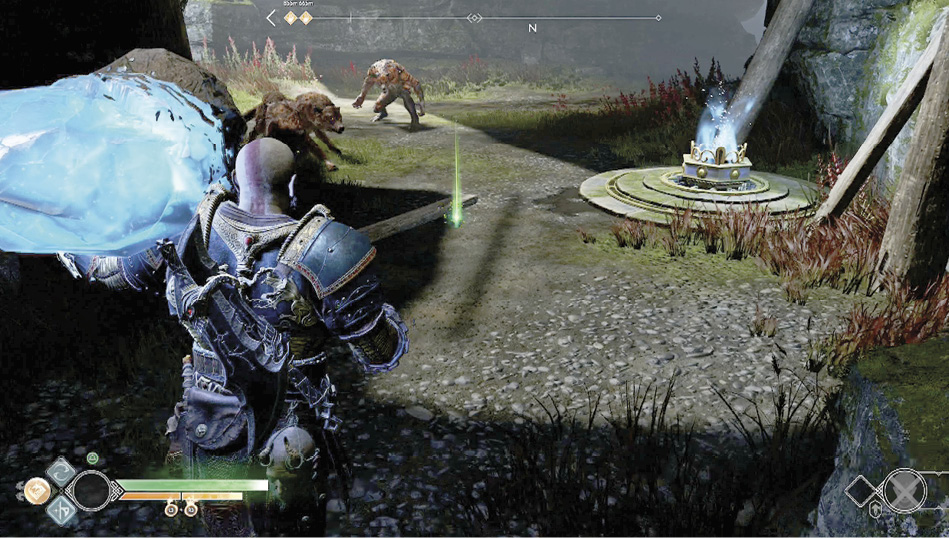
Hit the crystal with a Light Arrow, then return to the standing stones. Capture the Winds of Hel and follow the footpath across the new light bridge before depositing it at the next wind trap. Use the Blades to grab the Winds of Hel again, leap across the gap, and transfer the winds to the trap in the door to gain access to the next area. Remember, you can only hold the Winds of Hel for 10 seconds at a time, so sprint whenever possible.
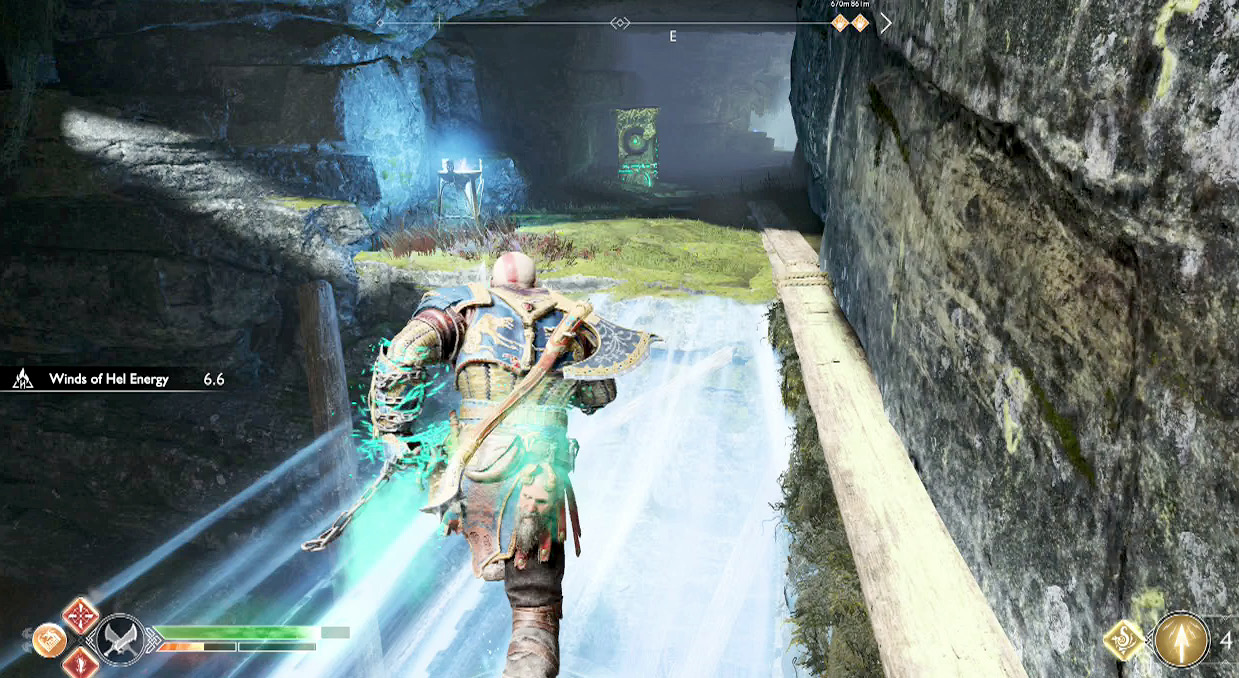
Collect the loot that’s been dropped at the next corner, and follow the path around to the left to find the second Entry Stone (4). Use the nearby chain to return to the main trail, follow it back to the main gate of the stronghold, and deposit the orb into the pedestal. This causes a couple of waves of Hel-Reavers to spawn into the area, including a Hel-Viken. Be careful as you fight them, as poison spews from a Scorn Pole down the southern path. With the Hel-Walkers out of the way, it is time to grab the final Entry Stone.
Konùnsgard Entry Stone #3
Before moving too far down the northern route, stop at the pool of water and fling your axe through the broken boards on the opposite side. Defeat the two Hel-Reavers that emerge from the water, then collect the resources from the newly revealed coffin.
Continue east along the footpath, over the downed tree and across the bridge, to find a Fierce Ogre. Two Hel-Shadow Scouts launch ice bombs from above. Concentrate your attacks on the big guy, while instructing Atreus to launch arrows at the bombers. Climb the cliff to the south and then hop across the rock arch.
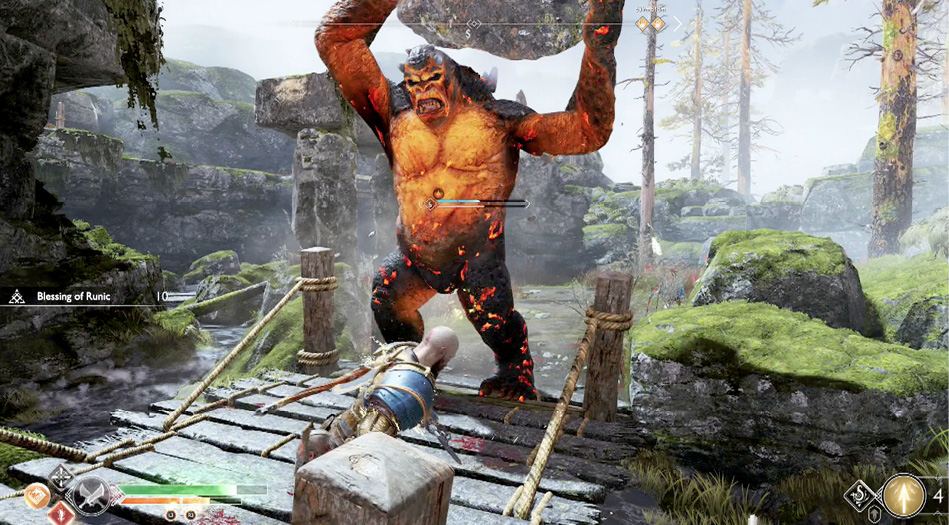
OBJECTIVE: Destroy the Shrines That Bind Reginn
When the path splits, going right returns you to the stone arch you just departed from, while left takes you toward the final Entry Stone. Stick to the path, past the anchor that holds Reginn and over the busted bridge.
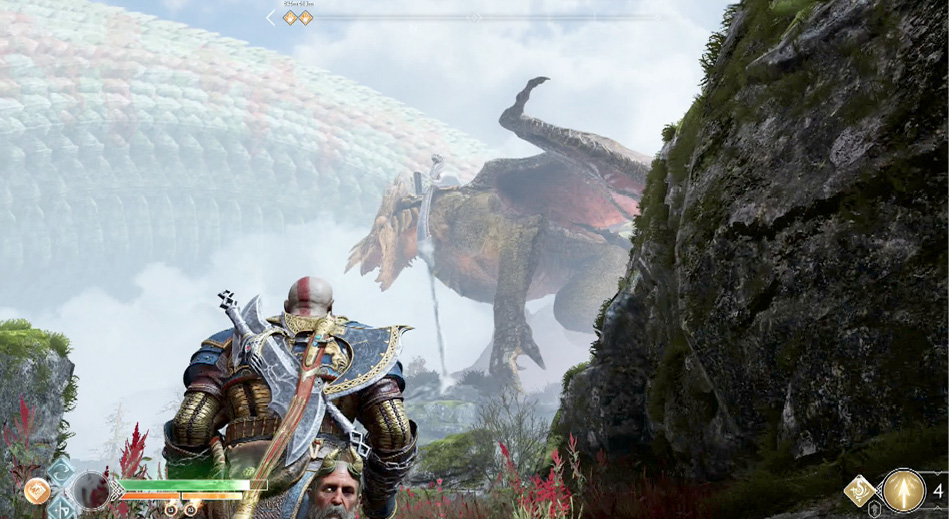
Shrine 1
“The Flight of Reginn” requires you to destroy three shrines that bind the dragon, Reginn. These can be destroyed in any order, but we’ll basically make our way north—finishing with the shrine closest to the third Entry Stone.
Just ahead you find the first shrine (5). Move in cautiously, as Shadows and Tatzelwurms all team up against you. On top of that, you must keep an eye out for attacks from the dragon, and if you stray too close to the northern cliff, Shadows may toss projectiles from above. Destroy the shrine and then move up the northeastern footpath.
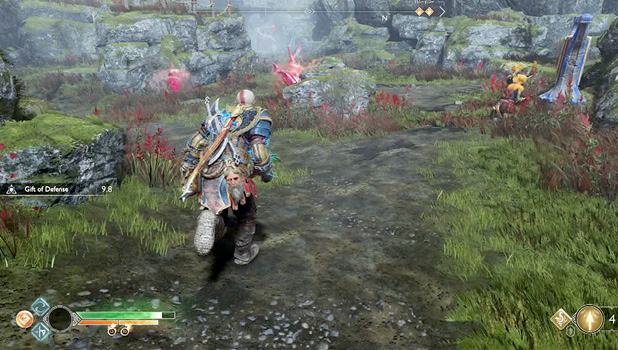
Shrine 2
The second shrine (6) is located in a small cave to the east. Stop once you have full view of the entrance. It’s possible to take out the Reaver with the shield by knocking down the lantern that hangs above. Move inside and destroy the second shrine before returning to the previous area. Finish off any enemies that remain.
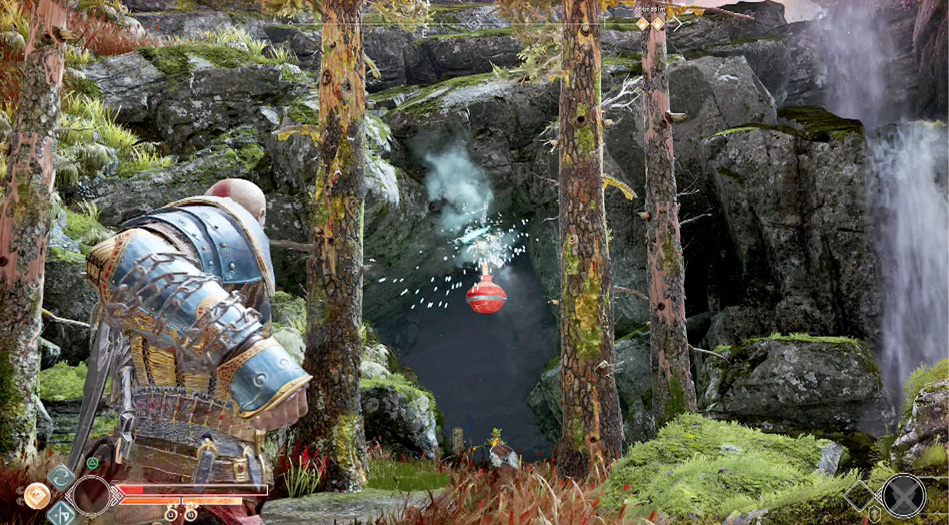
Shrine 3
In the northwest corner, a runic door (7) blocks your progress. All three runes are close by, though they’re imprinted on bells—you don’t have much time to hit them. Fortunately, by using the nearby Shatter Crystals, you don’t need much time.
Grab a crystal and place it halfway between the left two bells. Send a Shock Arrow its way and immediately turn to the third rune just right of the door. Hit it with a second Shock Arrow to unlock the door.
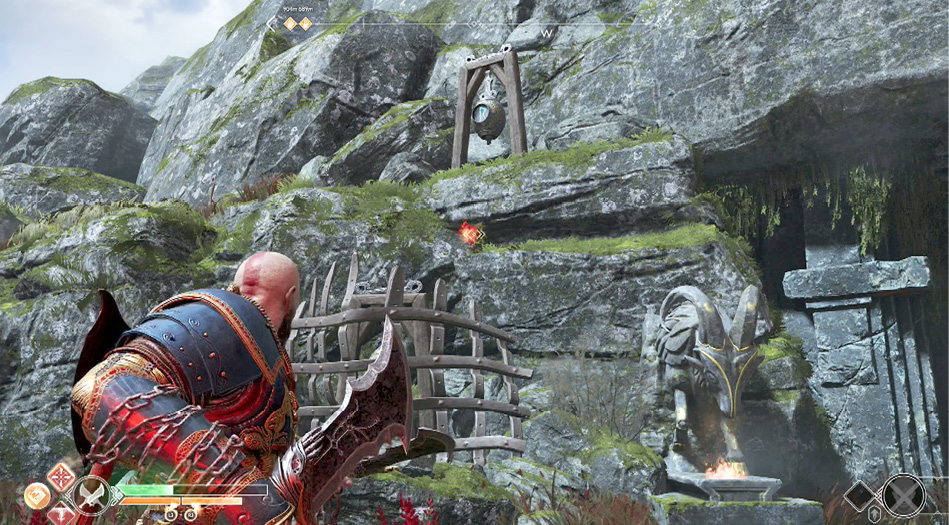
Cautiously move through the cave, as you spot a Cursed Tatzelwurm just below a hanging lantern. Quickly knock the explosive down with your axe and then finish the enemy off, as two moreTatzelwurms join the fight. Pass through the gate, use your axe on the disc that holds up the bridge, and then have Atreus translate the Lore Marker ahead. Seems Mótsognir has convinced the people that Reginn willingly protects the stronghold.
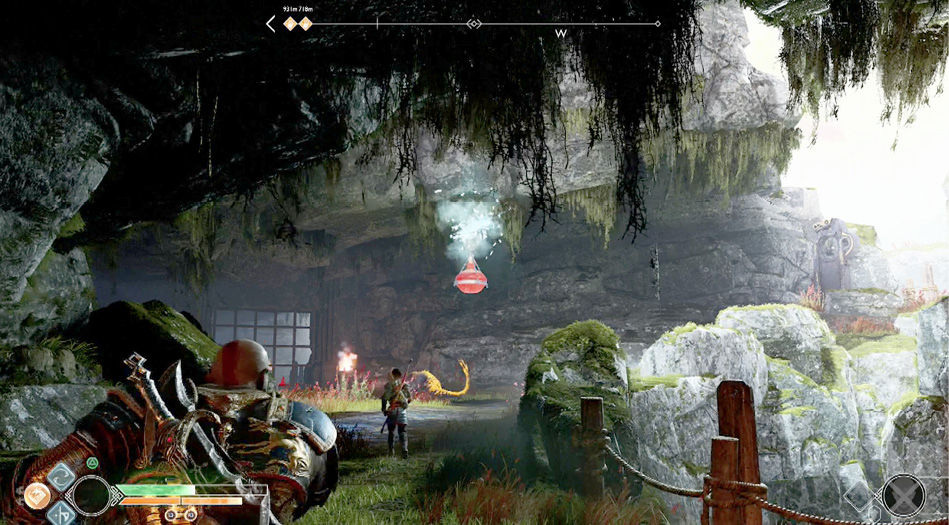
Continue east until you’re approached by a high-level Dark Elf Lord, like the one you fought in Landsuther Mines. A pair of Cursed Tatzelwurms join the Dark Elf Lord. Atreus should intermittingly hit the Elf with Shock Arrows, while Kratos clobbers him with powerful attacks. Watch for his blinding abilities as you defeat the foe. Don’t let your guard down, since the dragon
doesn’t let up throughout the battle. If not already done, destroy the final shrine and collect the third Konùnsgard Entry Stone (8) that sits on the pedestal.
OBJECTIVE: Return to the Anchor
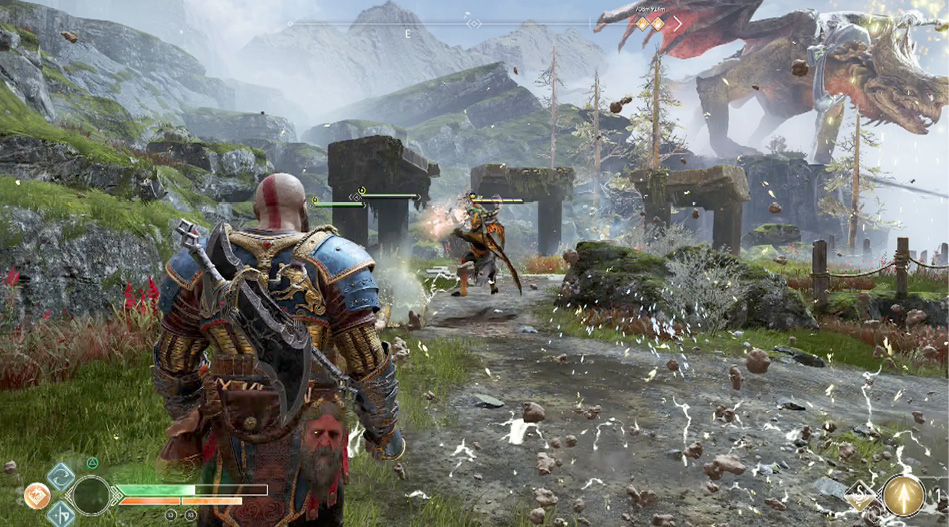
Ride the zip line down to the lower level and run over to the anchor (9), where Atreus releases the dragon—completing “The Flight of Reginn” quest. Return to the front gate of the stronghold, defeat the Wulvers and Reaver, and place the final Entry Stone—giving you access to Mótsognir’s Stronghold (10).
OBJECTIVE: Explore Mótsognir’s Stronghold
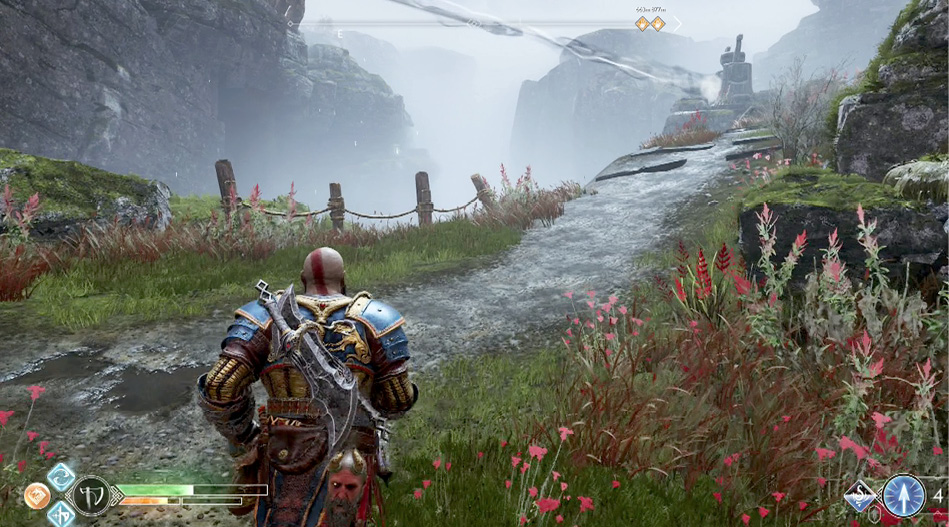
Head upstairs and turn right at the landing to find a Jötnar Shrine, which Atreus translates as the story of Starkaðr. Climb the ledge to the left, where a coffin provides the Enchantment—Mark of the Element. Return to the entrance and head south, following the passageway to the right until you reach another impressive door.
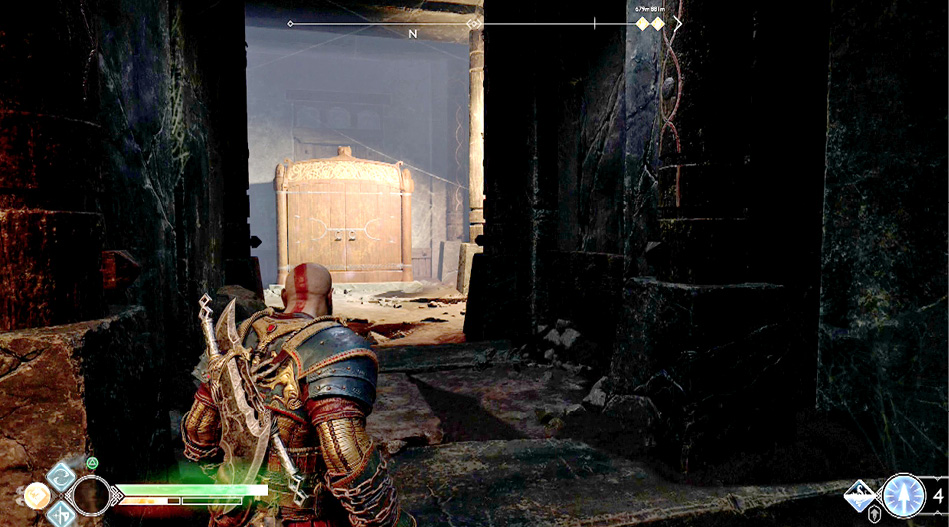
A Hel-Traveler raises his magical rune above his head, so quickly throw the axe at it to interrupt the spell. Whittle his health down as you dodge his attacks. A few Hel-Reavers joins the fight, so fend them off while dealing with the big guy.
Once the Hel-Walkers are out of the way, approach the throne (11) ahead and interact with the gap on the left side. Push the seat over, by pushing in that direction, to reveal a secret passage. Instruct Atreus to grab the nearby scroll after Kratos collects the requested items: Dragon’s Fury, Screams of the Innocent, and Ultimate Sacrifice.
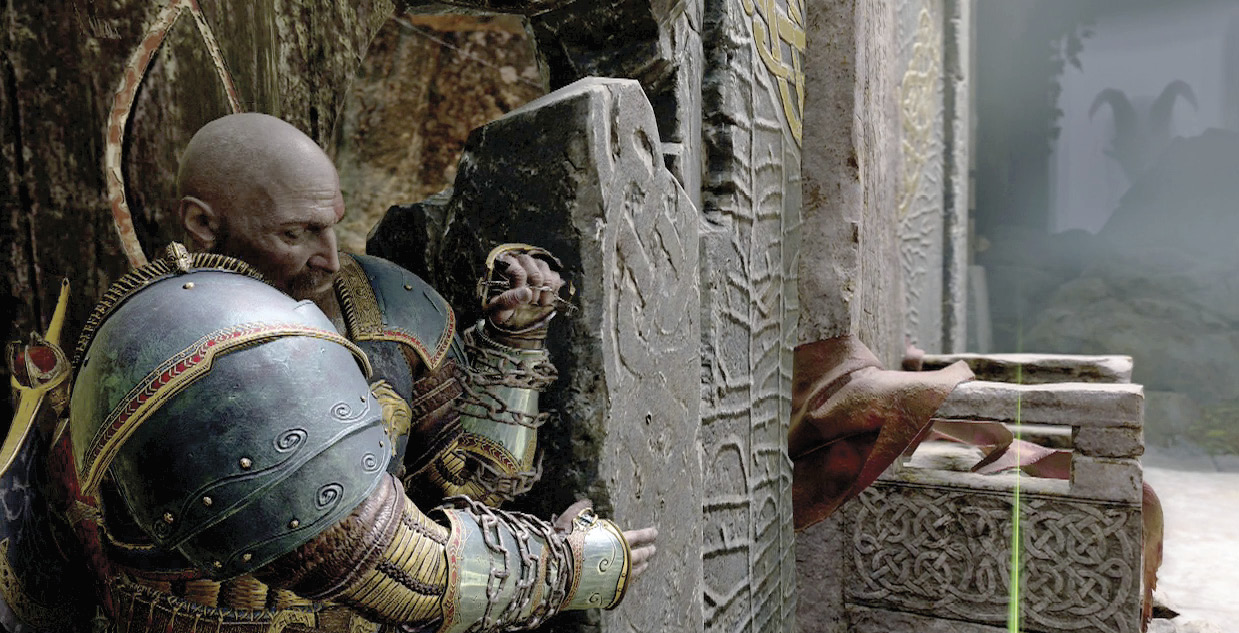
OBJECTIVE: Return to the Huldra Brothers
Exit the stronghold up the steps and follow the footpath to a waterfall. Loot the Legendary Chest to the right for the Blades of Chaos Heavy Runic Attack—Prometheus Flame, then continue on the main path until you reach an entrance on the left. This leads out to the stronghold terrace where a Winds of Hel sits next to a Nornir Chest.
Turn around and find a bell on the right wall with a wind trap below it and the same just left of the entrance. Capture the Winds of Hel and transfer it to the trap on the right, which starts rotating the bell. Immediately pull the winds back out to stop the bell on the rune.
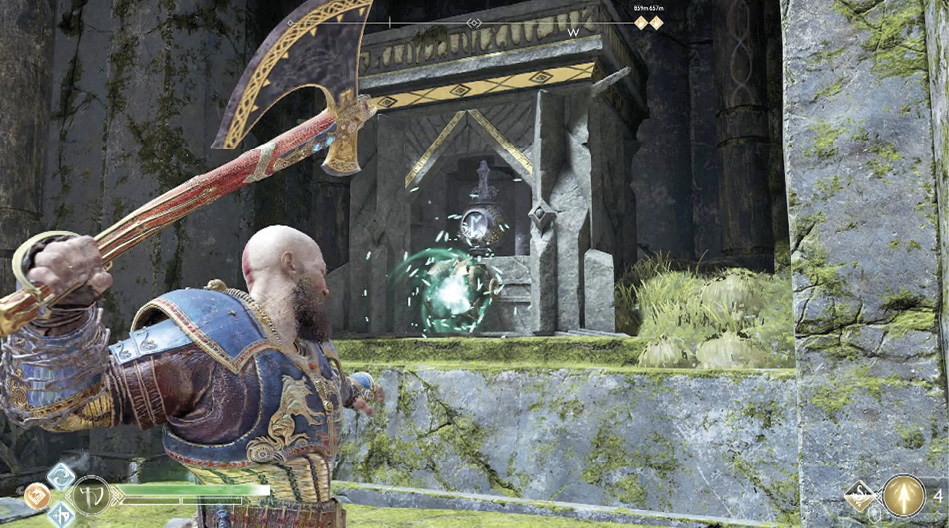
Before the 10-second timer runs out, transfer the Winds of Hel into the wind trap on the left to start that bell rotating. This one cycles through the remaining two runes. Switch to the Leviathan Axe and break both runes as they rotate through, then sprint to the right bell and bust the third rune. This must be done in the usual short time limit.
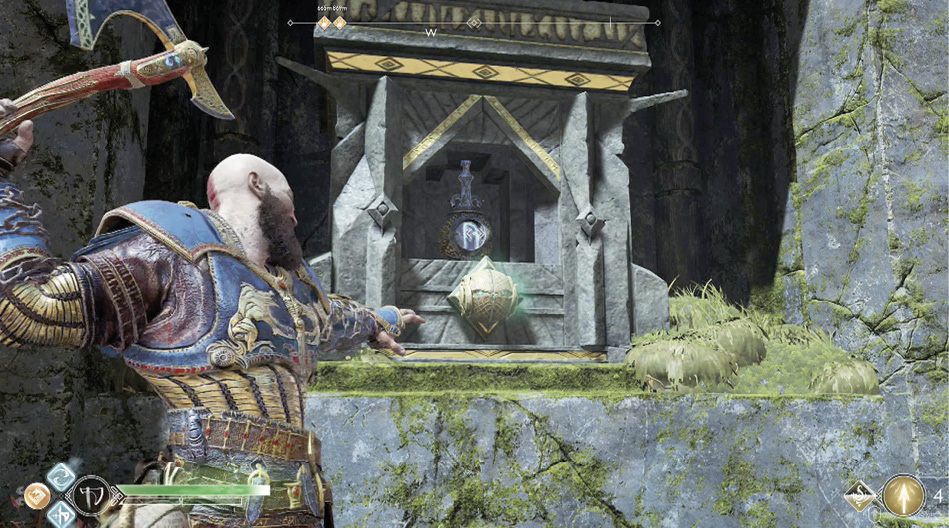
Collect the contents of the Nornir Chest before returning to the main path. A Realm Tear sits on the right side of the trail before you reach the chain. Interact with it to produce three Hel-Vikens. Defeat them and then close the tear to earn a cache of Dust of Realms.
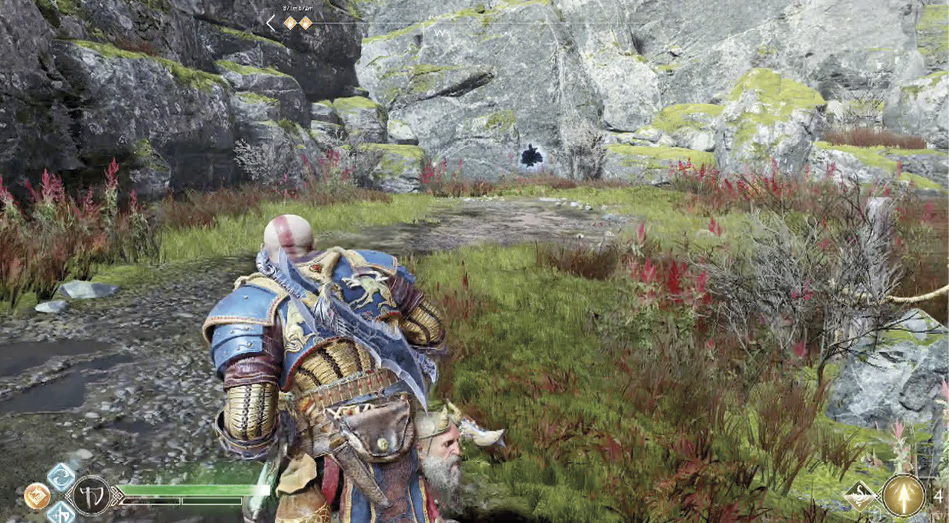
Climb down the chain and use the Mystic Gateway to return to Brok and Sindri at the main shop. Speak with them to complete the quest and receive your reward, which completes the Huldra Brothers Favors.