
Chapter 12: Return to the Summit
The Journey’s end seems near. The travelers need only retrace their steps up to the Mountain’s Summit and use their hard-won tools—the Black Rune and the Stonemason’s Chisel—to gain passage to Jötunheim. Along the familiar route, you can explore a few new places using items acquired since your last visit. But the familiar route only goes so far…
Journey Objectives
- Go back through the tower
- Journey back to the Mountain
- Find a new path up to the Summit
- Continue toward the Summit
- Open the bridge to Jötunheim
- Catch Baldur
New Enemies
- Brood
- Cursed Tatzelwurm
- Boss: Baldur
OBJECTIVE: Go Back Through the Tower
Visit Sindri
Cross the bridge and enter the Vanaheim Tower (1). If you’re following this walkthrough, you’ve found all of the Muspelheim Language Ciphers, so Atreus can now translate the rune message (2) on the right side of the opposite wall.
OBJECTIVE: Journey Back to the Mountain
Follow the now-familiar route through the back caves (3) and exit onto the plaza (4), where you trigger a scene: an emboldened Atreus is a bit hard on poor Sindri. Afterward, head over to Sindri’s Shop to upgrade your gear.
Foothills
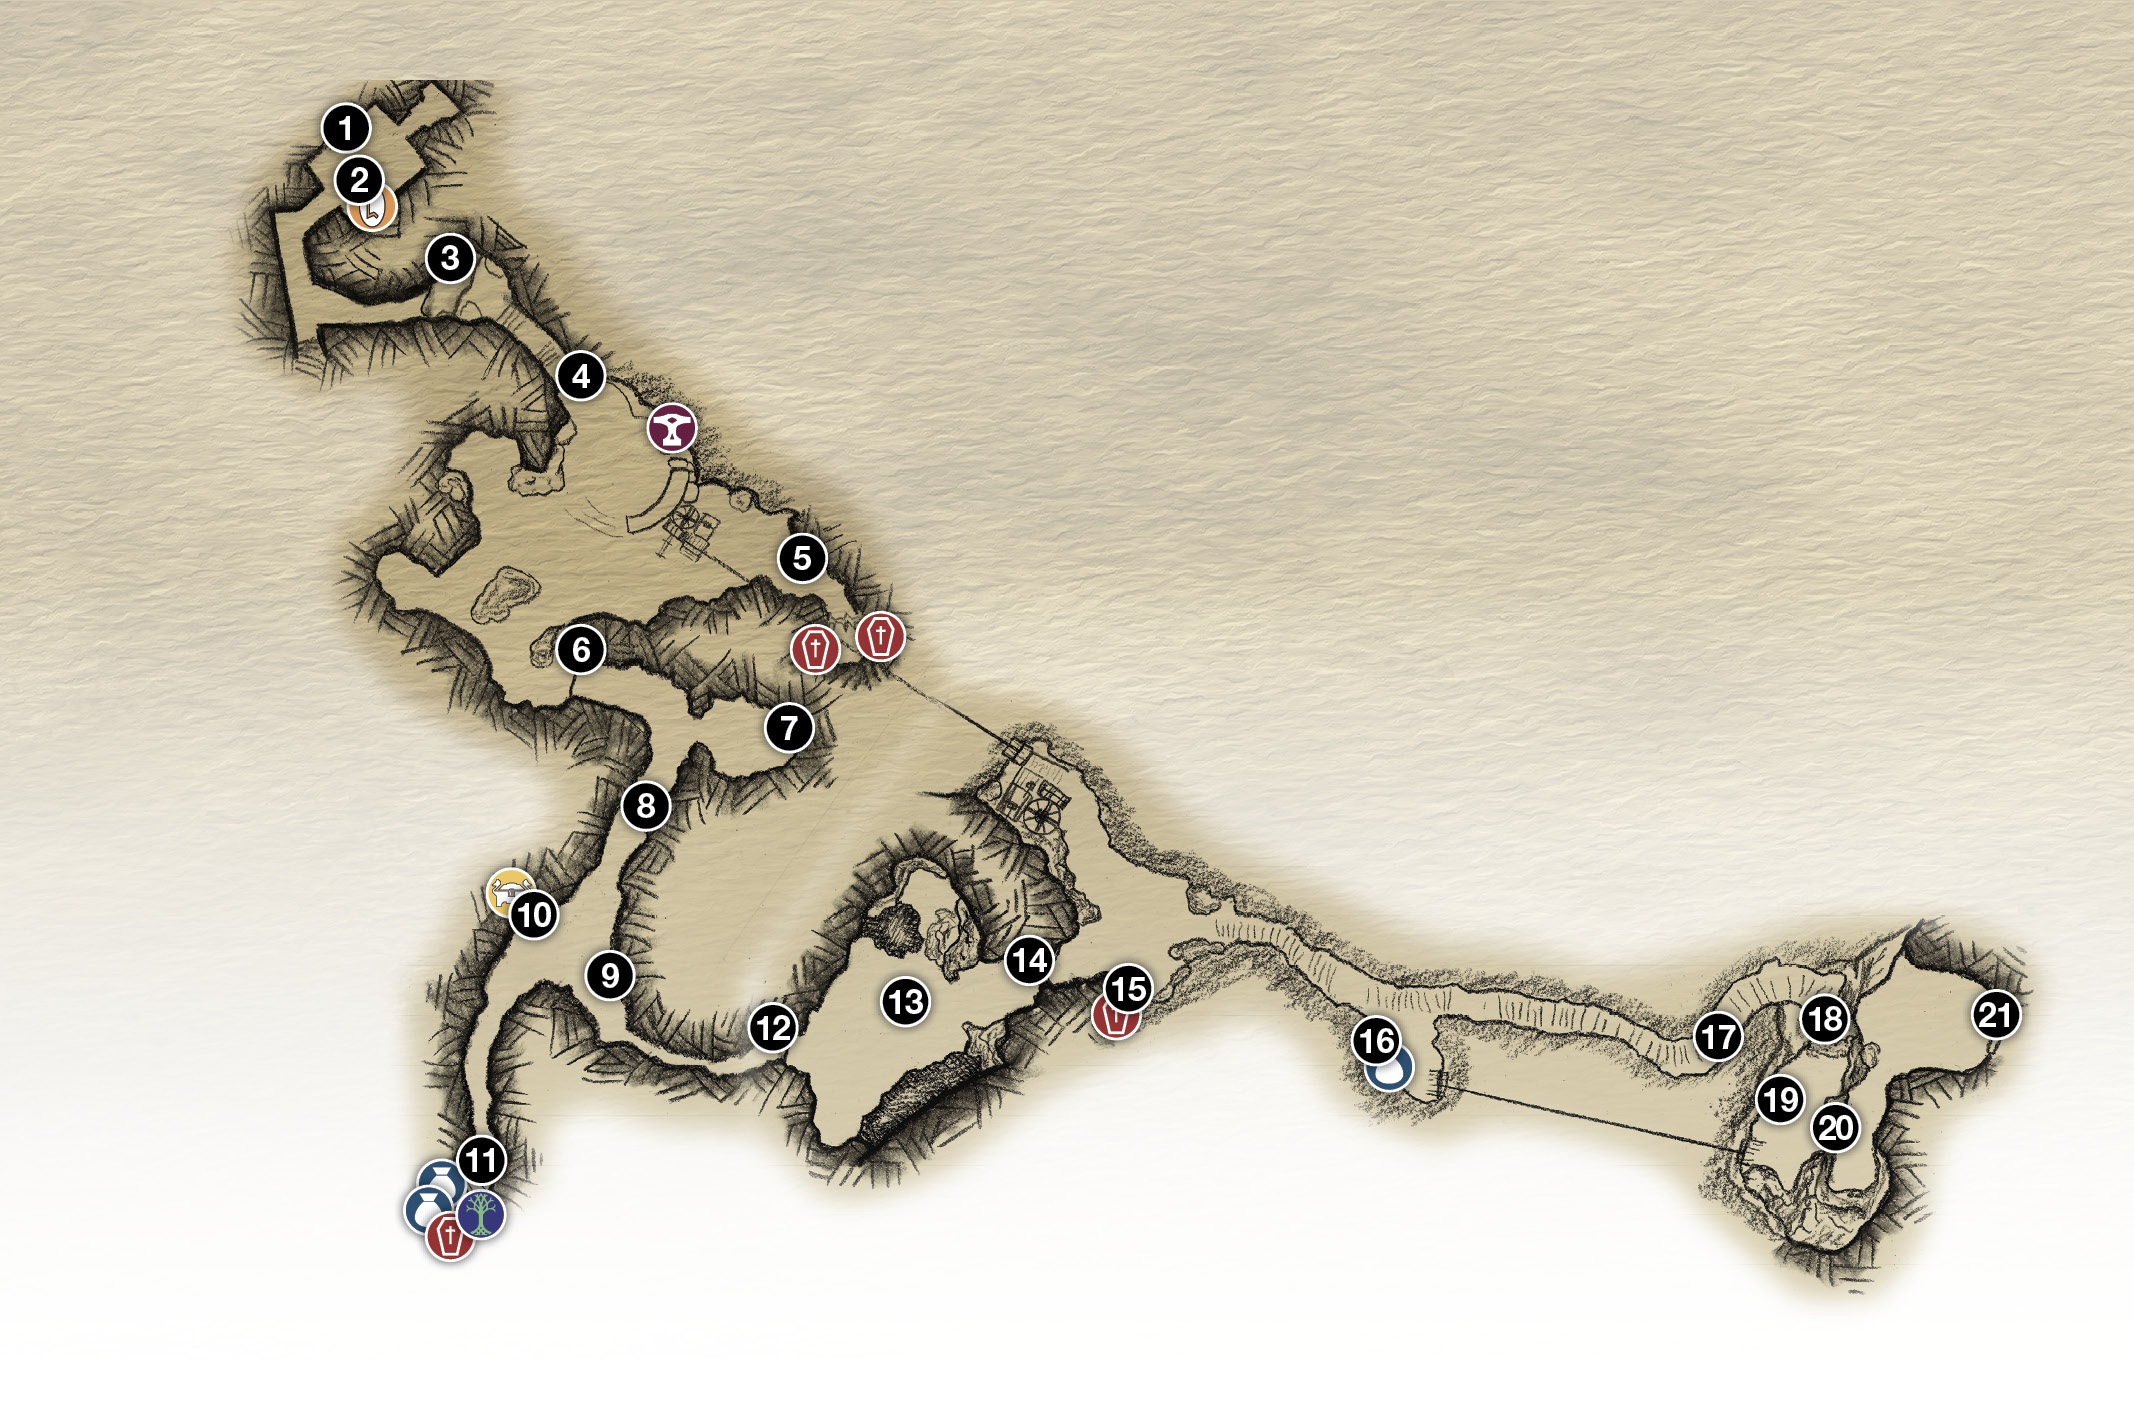
1. Tower entry
2. Lore Read
3. Back caves
4. Meet Sindri
5. Climb hill (two coffins)
6. Climb wall
7. Brambles (wind trap)
8. Wind trap
9. Tunnel (Hel-Walkers!)
10. Wind trap on hut (Legendary Chest)
11. Hidden Chamber of Odin
12. Climb tall cliff
13. Courtyard (Brood swarm!)
14. Doors
15. Brambles (coffin)
16. Brambles (chest)
17. Shoot crystal at (19)
18. Jump gap
19. Shatter Crystal / Coffin
20. Climb wall
21. Enter Mountain interior
 Chest
Chest
 Coffin
 Legendary Chest
 Lore
Lore
 Mystic GatewaY
 Shop
Shop
Remember that you earned a Chaos Flame by defeating the two Grendels in Týr’s Vault, so be sure to complete the Blades Upgrade III with Sindri. Do the same for Atreus’ Talon Bow if you can, using the Hardened Svartalfheim Steel you’ve been collecting (we hope). Upgrade any other equipment you can, then step away from Sindri and do the same with your Skills.
Defeat the Fierce Beasts
Now that you have Atreus’ Shock Arrows to detonate Shatter Crystals and your Blades of Chaos to slice through Brambles and transfer Winds of Hel, you can pick up a few more items in the Foothills region before you continue your Mountain-climbing expedition. But first, spot a boulder-tossing Fierce Ogre and snarling Fierce Wulver pacing through the grass beyond the plaza—one blue, one red.
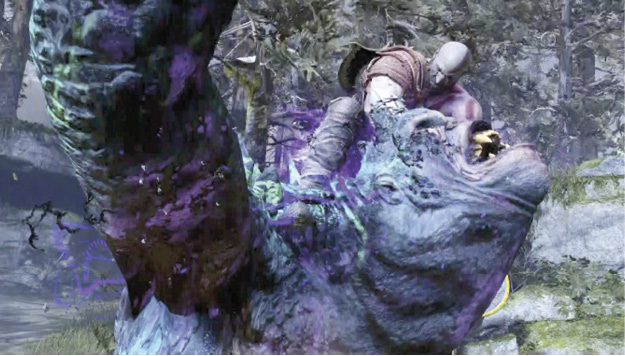
Even with newly upgraded gear, this is a tough fight—made tougher still by the arrival of a Nightmare Parasite, which can dive repeatedly into the Wulver to boost its strength.
Focus on the Fierce Ogre first, because if you stun and mount the beast, you can steer him right into the Wulver, inflicting heavy damage.
Revisit the Foothills for Newly Available Stuff
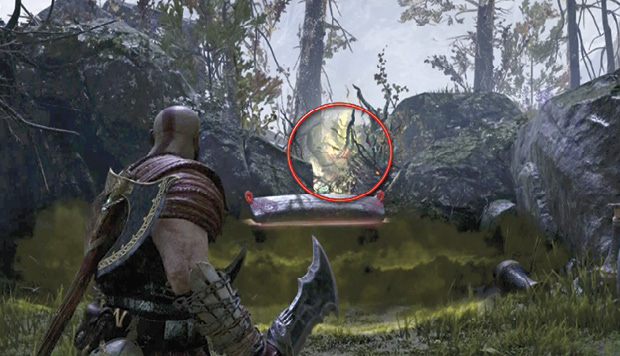
Head uphill (5) behind the tram station and neutralize the first Scorn Pole to reach the sap-covered coffin on the right. Fire a Shock Arrow into the nearby Shatter Crystal (circled) to blast away the red sap, then loot the coffin.

Turn to face another coffin, this one shrouded in poison mist. Use your Blades of Chaos to burn out the Brambles protecting the Scorn Pole just above the coffin. Then freeze the Scorn Pole and loot the coffin.
Go climb the marked wall (6) out of the lower area. At the path fork, freeze the Scorn Pole on the left and enter the clearing beyond. Sling your Blades at the Brambles (7) above the poison-shrouded, already opened coffin (you opened this earlier) to uncover a wind trap infused with the green Winds of Hel!
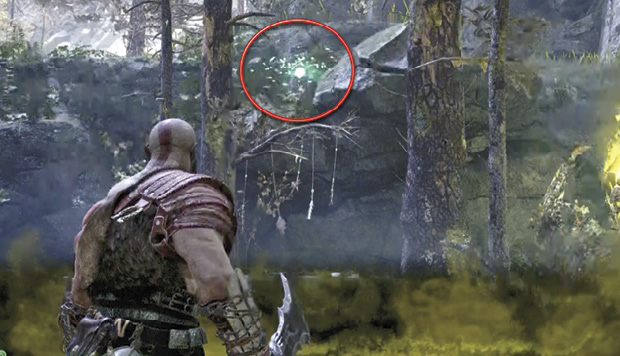
Capture the winds with your Blades, sprint out of the clearing, and head left. Release the winds into the wind trap (8) (circled) on the left of the path just before the short tunnel.

Push ahead through the short tunnel to discover a pair of Hel-Walkers emerging from the long tunnel up ahead (9). Take them out, then find the fortified hut (10) in the same clearing. The hut has a wind trap on the door. Head back into the short tunnel and target the last trap (8). Capture its winds energy, then sprint to transfer it up to the hut’s door trap (10). The door slides open to reveal a Legendary Chest!
Raid the Hidden Chamber
From the hut, head up the rightmost path into the tunnel that leads up the rock steps to the Hidden Chamber of Odin (11) you found earlier but couldn’t open. Guess what? You’ve got the Chisel now. Open the lock and enter. As in other Hidden Chambers, you can simply ride the elevator down and grab the loot for now—one coffin and two standard chests, plus a new Mystic Gateway for travel—and then come back later to fight the Valkyrie.
Or fight Geirdriful now; it’s up to you. Exit the Hidden Chamber and head down the tunnel to return to the clearing.
Clear the Courtyard
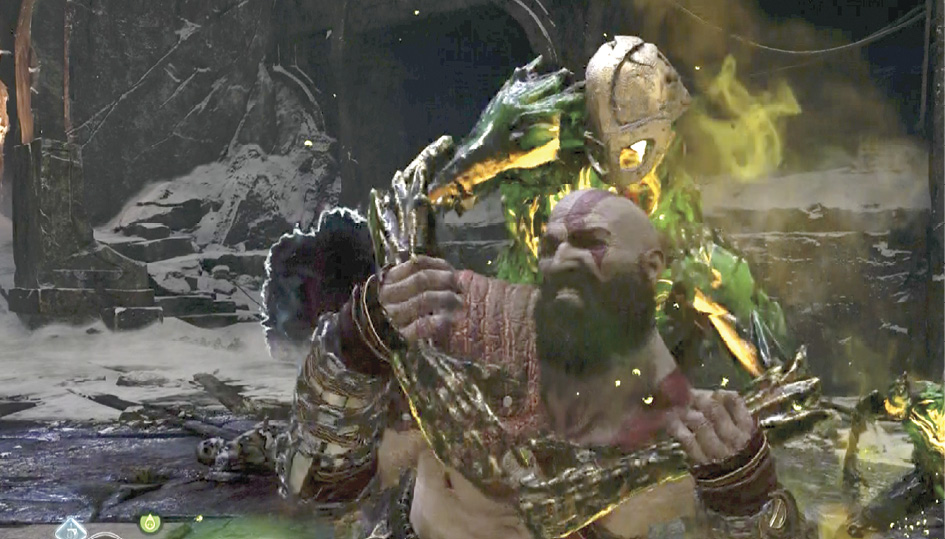
In the clearing, turn right and head into the other tunnel (9), following it to the tall marked wall (12). Climb up to the courtyard (13), where several rifts pop open and start disgorging Brood swarms. These foes are new, but they behave the same as their Hel-Walker cousins, the Hel-Brood, minus the freezing strikes. The Brood’s somersaulting strikes inflict poison instead.
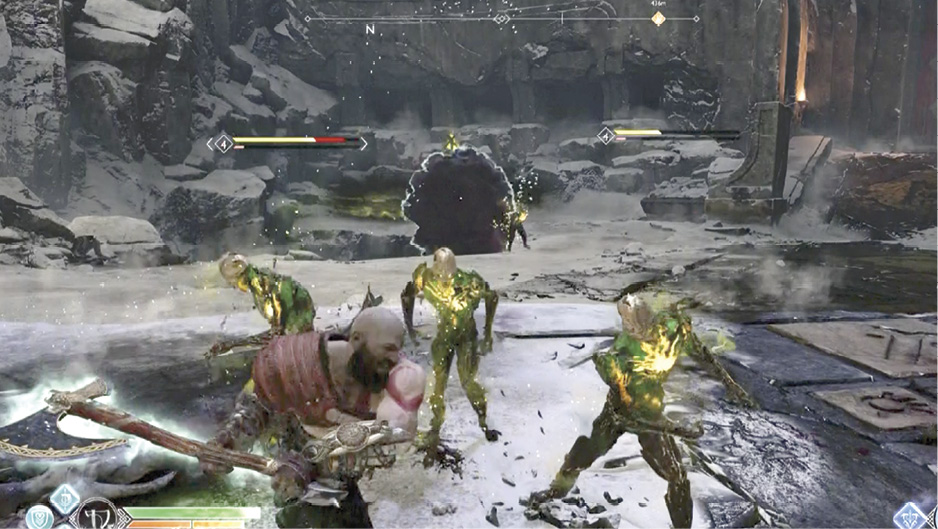
Don’t stand still for long, or you’ll find a Brood latched on to your shoulders from behind. Clear out the courtyard, then go push open the big red doors (14) to step out into the Foot of the Mountain area again.
Enter the Mountain Again
As you emerge from the doorway, a squad of mixed Nightmares (Fire, Ice, and Exploding) drops in. Make short work of the fliers, then use your Blades of Chaos to burn through the Brambles (15) that you couldn’t penetrate on your earlier pass to reach the coffin. Proceed up the stairs and veer right into the lower tram area to burn through more Brambles (16) and find a chest.
Keep climbing the long staircase. When you reach the bend in the stairs (17), an avalanche slides down the Mountain, breaking off a section of the path ahead.
Before you go farther, spot the red glowing Shatter Crystal (circled) in the rocks above, just left of the upper tram platform, and shoot it with a Shock Arrow to blast sap off a nearby coffin.

Continue up the path and leap across the gap (18) made by the avalanche, then open the coffin (19) you just disentangled with the shot from below. Find the marked crack (20) in the canyon wall and climb up onto a plateau.
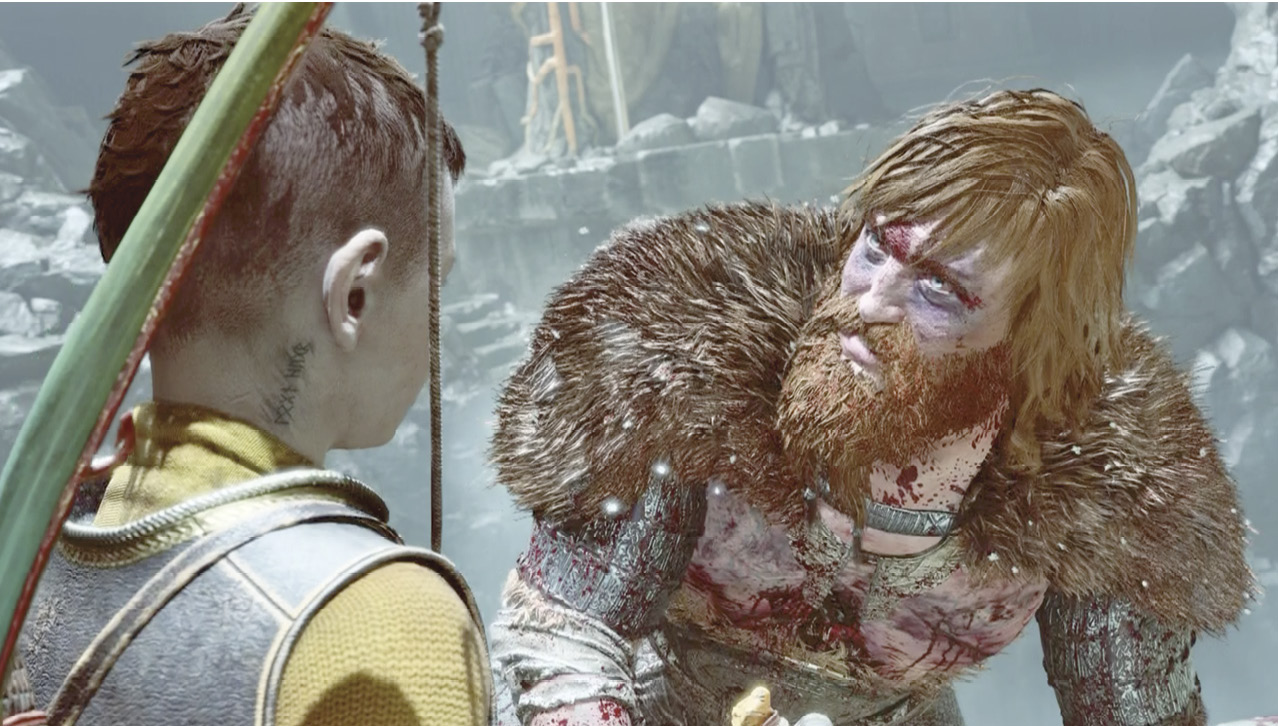
Head up the last few steps and enter the Mountain interior (21) to trigger a scene, leading to a tense face-off between father and son.
Mountain Interior
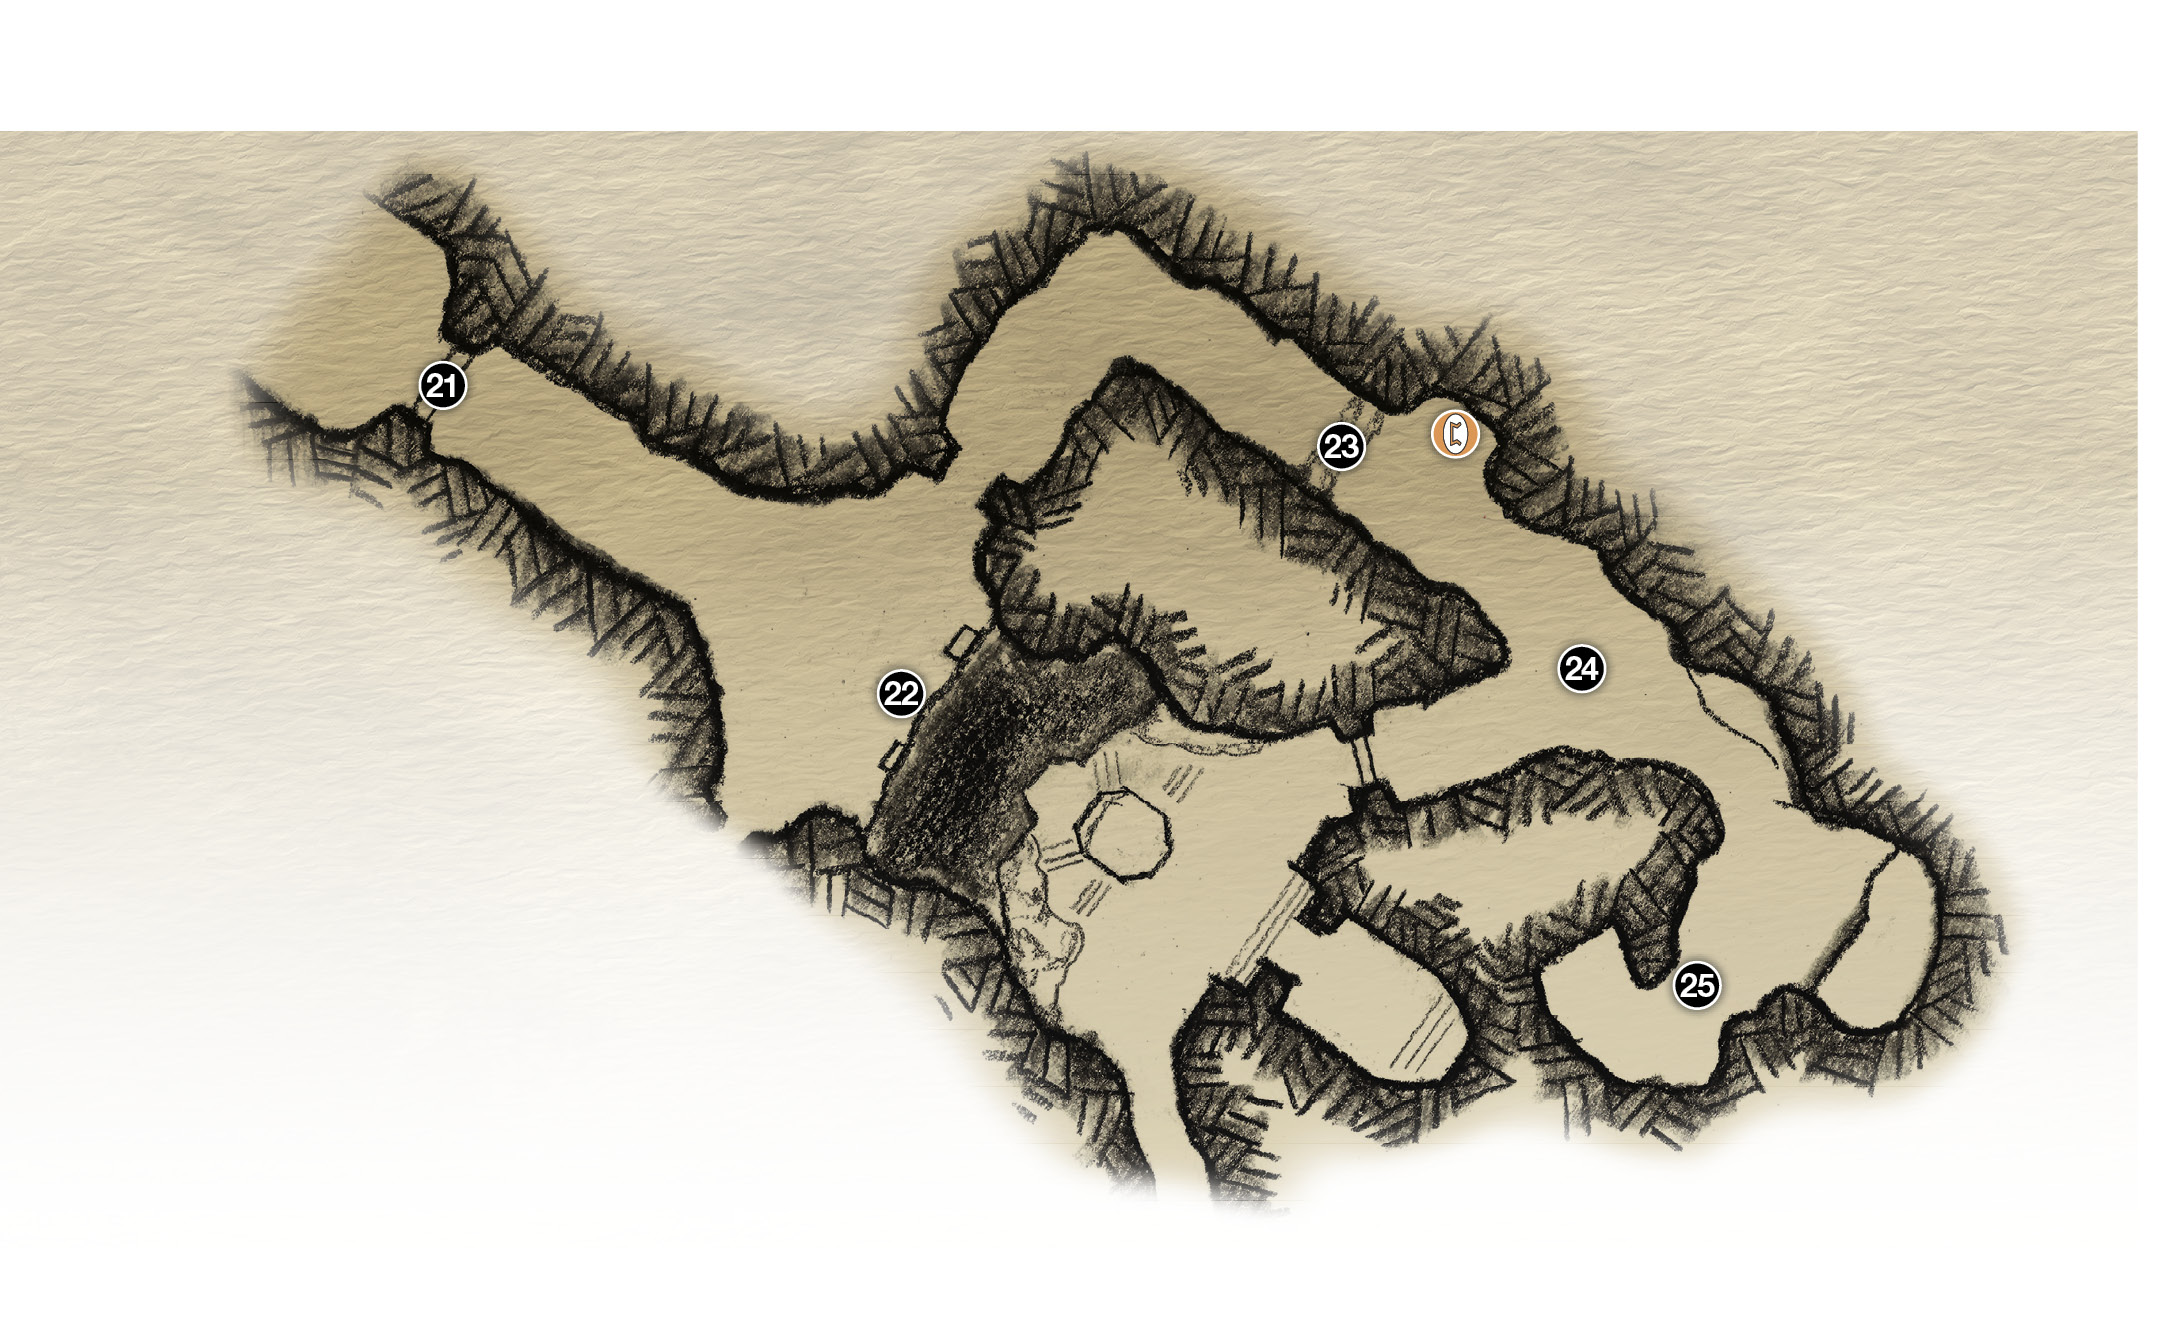
21. Enter Mountain interior
22. Meet Modi / Get crystal
23. Red sap barrier
24. Cursed Tatzelwurms attack!
25. Climb chain
 Lore
Lore
Climb to the Mining Level
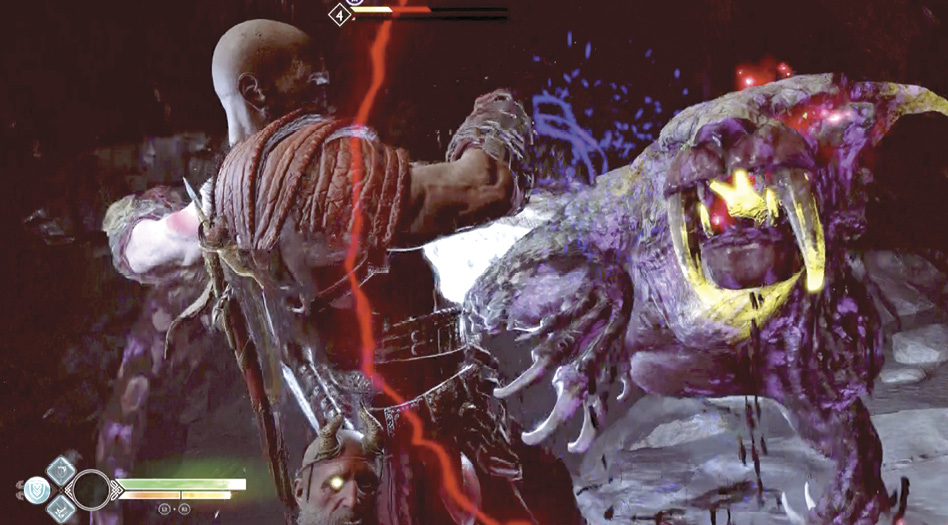
After the scene with Modi (22), head down the left passage and shoot a Shock Arrow at the Shatter Crystal in the red sap barrier (23) to blast it open. Step through and find the Lore Marker with an empty crystal stand in an alcove on the left. You also run into a pack of spitting Cursed Tatzelwurms advancing down the passage (24) toward you. Their spit is poisoned, so dodge it!
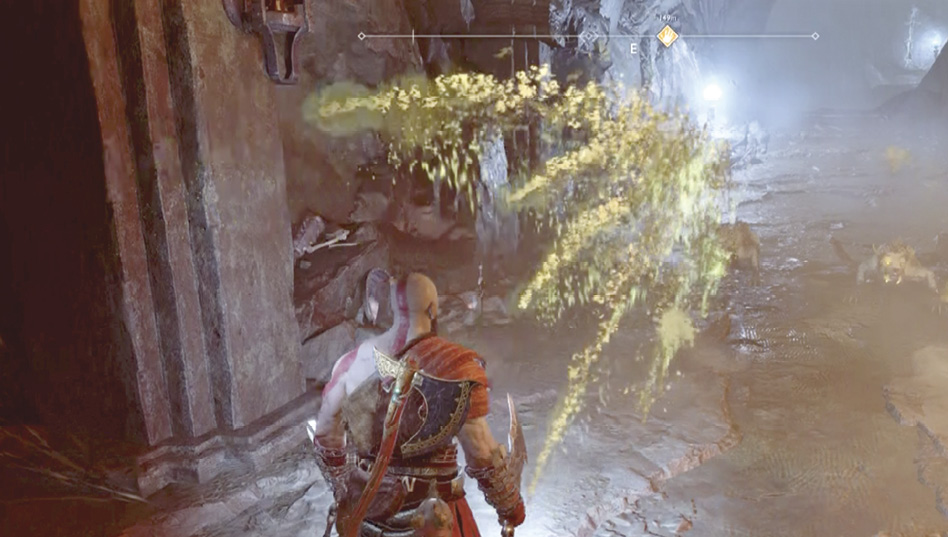
Check out our note on this new foe, and remember that any ground-slam attack can pop nearby Tatzelwurms out of their underground burrows. Also note that their poisoned spit pools on the ground for a few seconds even if it misses you. Stepping in a poison puddle infects you, so watch your step.
Go back to the platform where you met Modi (across the chasm from the great stag statue), remove a crystal from one of the stands, and bring it back to the Lore Marker to install it. Direct Atreus to read the runes, and then continue down the passage to the climbing chain on the right (25). Climb up to the nextlevel. Note: If you’re following this walkthrough, you kicked down this climbing chain earlier. However, if by chance you didn’t do this, you can climb back up to the next level at the yellow-marked wall crack as before.
Mining Cavern
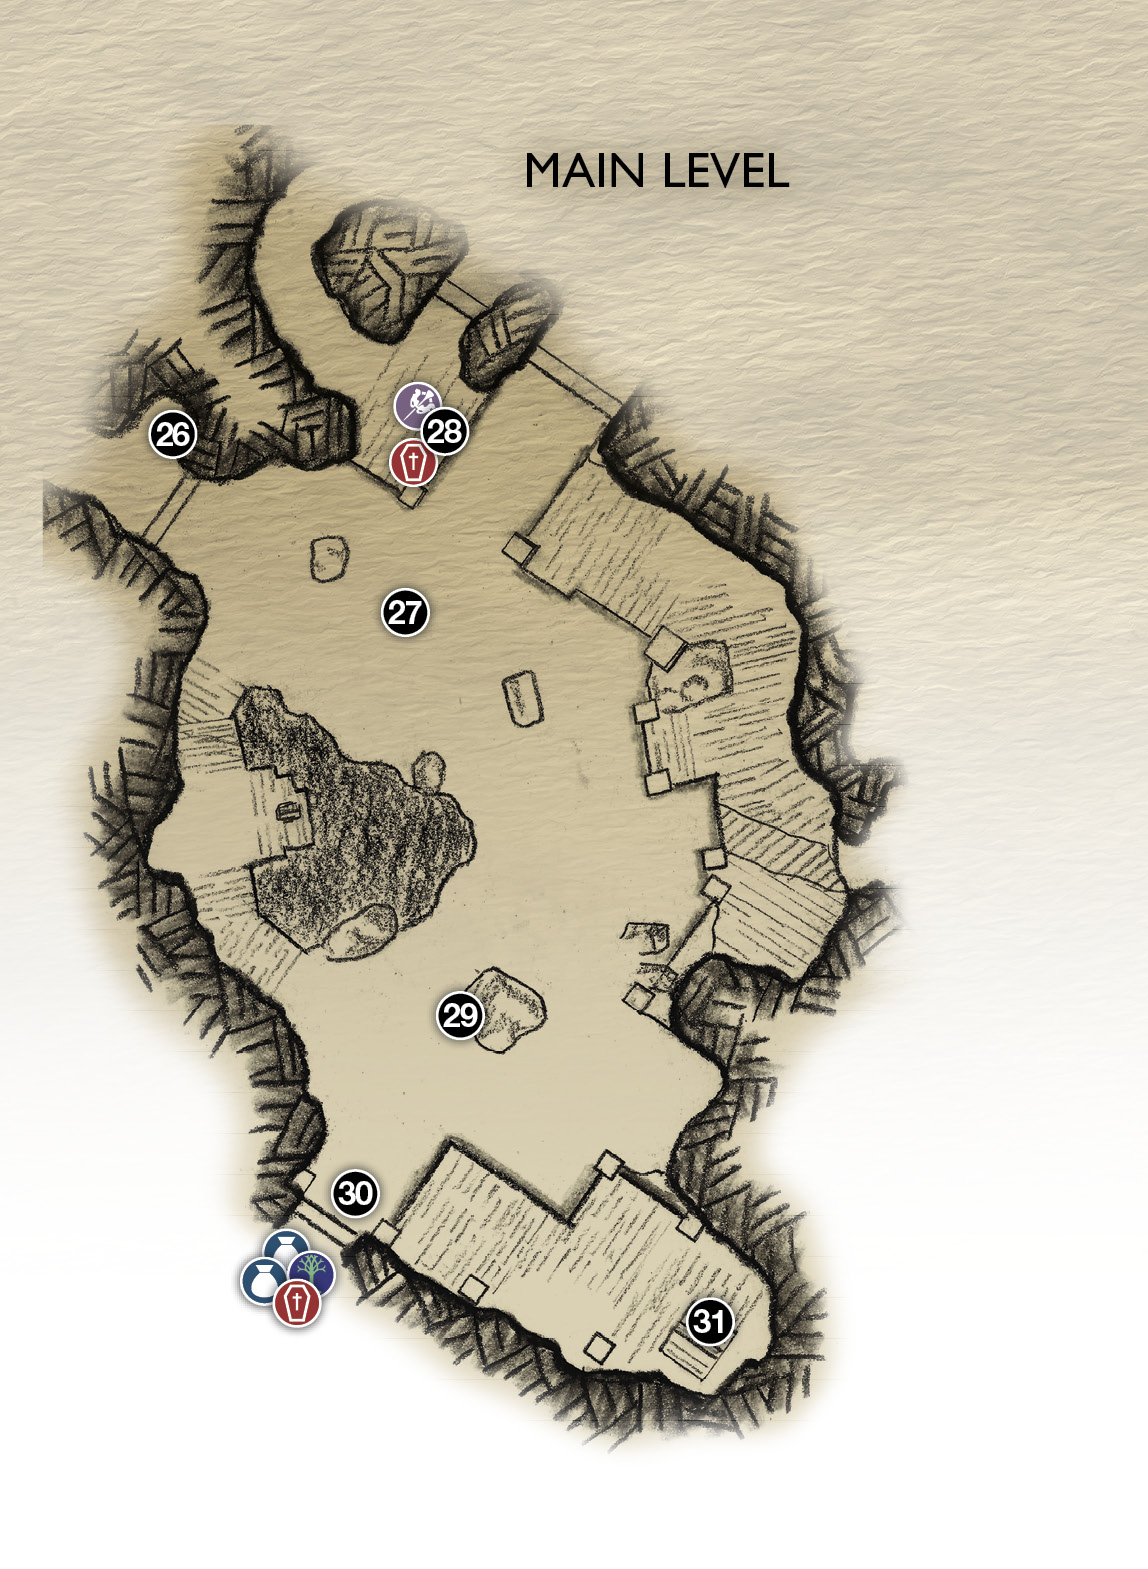
26. Gate switch
28. Red sap barrier (coffin and Artifact)
29. Two-handed Draugr
30. Hidden Chamber of Odin
31. Elevator (bottom)
 Artifact
Chest
Coffin
Mystic Gateway
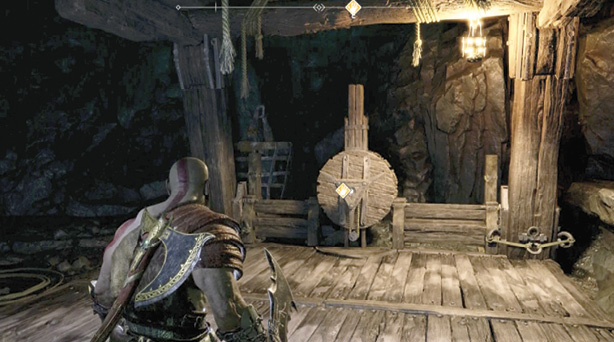
Use the Mine ElevatorFrom the top of the chain, fight your way up the passage past the Draugr guards and turn the gate switch (26) to open the big gate into the massive mining cavern.
OBJECTIVE: Find a New Path Up to the Summit
Nothing has changed since you left the mine earlier, other than the addition of new prowling enemies. A mixed assortment of Draugr, along with a mixed Wolf pack (Poison and regular), come at you first in the central yard (27). Stomp a few heads and clear out the area.
After the fight, check out the red sap barrier (28) that you couldn’t get past the last time through the mine. Zap the Shatter Crystal in the middle with a Shock Arrow to blast open a small chamber where you can find both a coffin and another valuable cup from the “Bottoms Up” set of Artifacts.
Now you can climb the platform in the back corner of the mining cavern and use your Blades of Chaos to slice through the Brambles disabling the mine elevator (31). Hop aboard, turn the switch, and ride to the top.
Mining Cavern
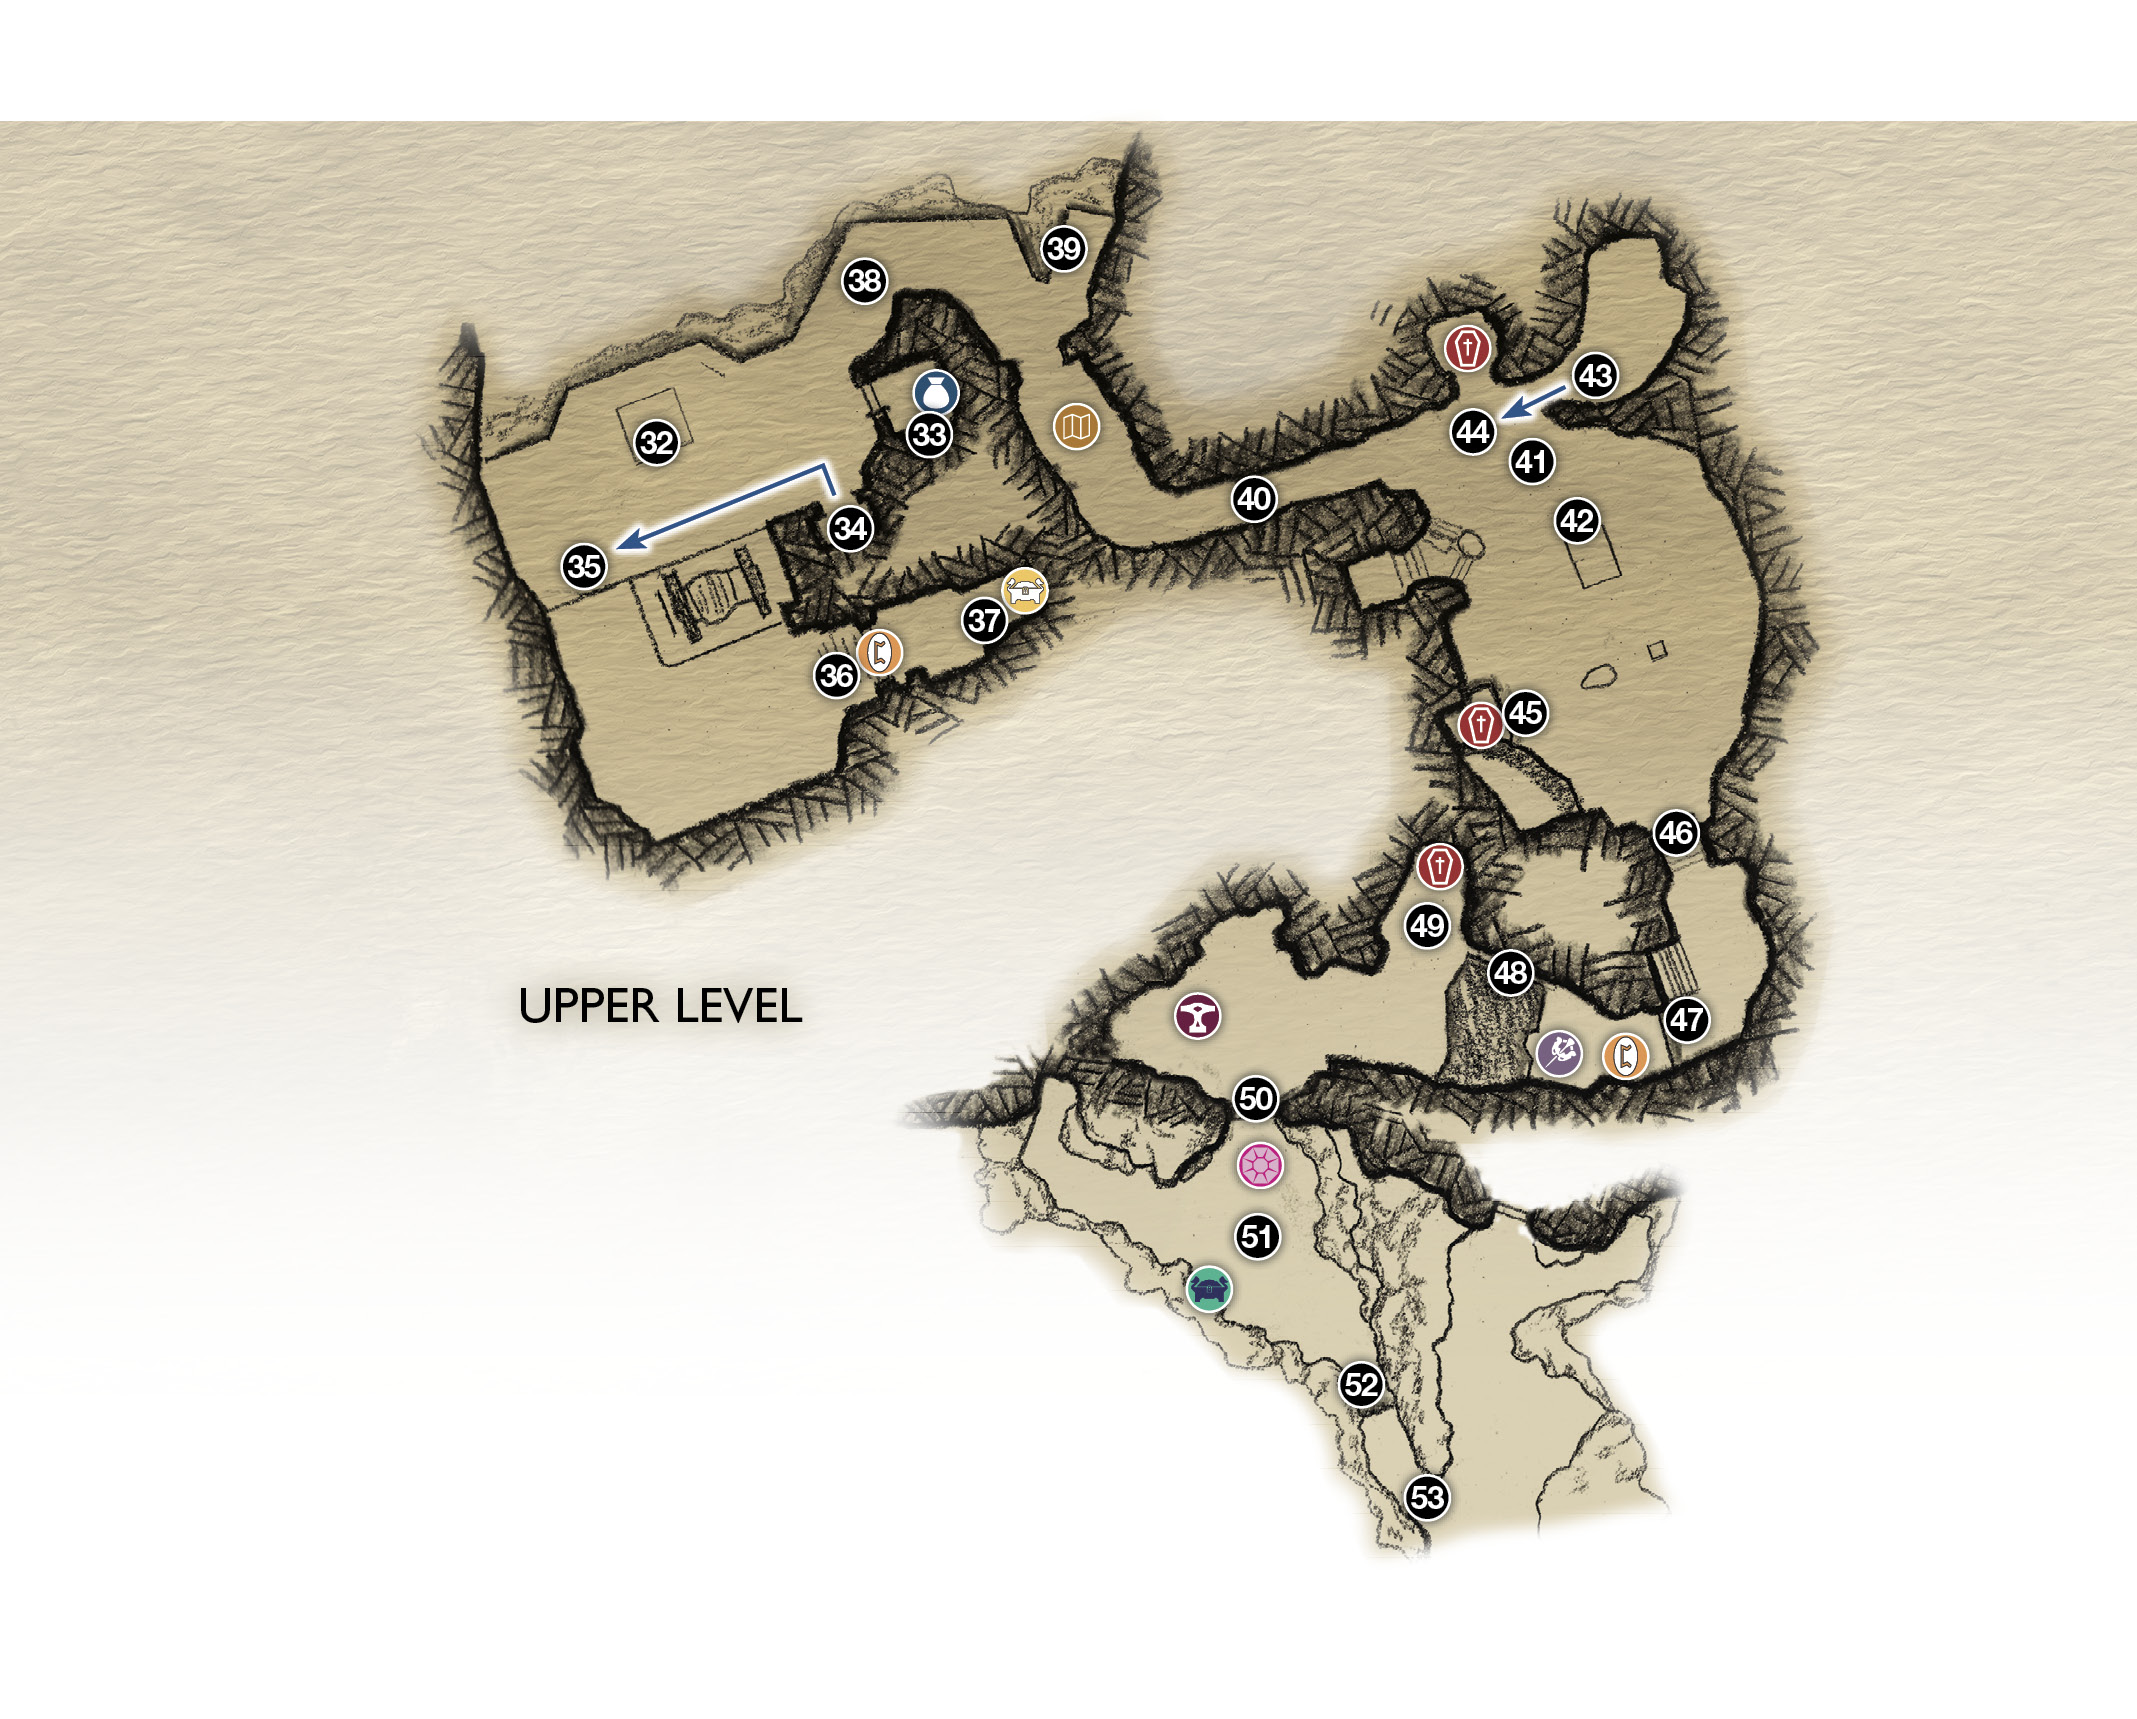
32. Elevator (top)
33. Wind trap
34. Wind Trap (Carry)
35. Wind Trap Podium
36. Door with runes (Ogre ambush!)
37. Vault door (wind traps)
38. Path to mine-cart track
39. Explosive crystal
40. Low tunnel
41. Sleeping Frost Ancient!
42. Yggdrasil root (Shatter Crystal)
43. Red sap barrier (mining cart)
44. Push cart here (coffin)
45. Sap-covered coffin
46. Stair exit
47. Climb low wall
48. Narrow ledge (traverse sideways)
49. Brambles (coffin)
50. Exit door
51. Realm Tear / Rift
52. Climb cliff
53. Climb onto ridgeline
Artifact
 Cipher Chest
Chest
Coffin
Legendary Chest
Lore
 REALM TEAR
Shop
 Treasure Map
Head across the central area toward the tangled, non-working elevator on the platform in the far corner. En route, watch out for a Heavy Draugr soldier lurking behind the collapsed mining pallet (29). He comes out swinging his big two-handed axe. Eliminate him, then use your Chisel to open the nearby Hidden Chamber of Odin door (30). As always, you can explore to find treasures (two chests, one coffin, and a broken Mystic Gateway) and then either fight the Valkyrie or come back later to do so.
OBJECTIVE: Continue Toward the Summit
Survive Your Arrival Up TopIt’s a long, quiet ride up, but be ready—when you arrive at the top of the shaft (32), you step into a veritable hornets’ nest of enemies. The elevator platform is surrounded by Draugr of various types, including the dreaded Explosive variety, supported by Nightmares bobbing around maliciously.
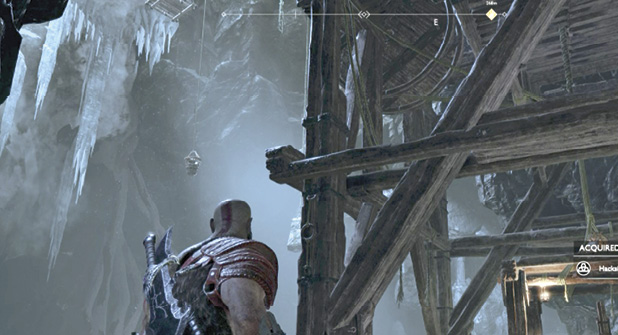
Move the Winds of Hel Up to the Vault
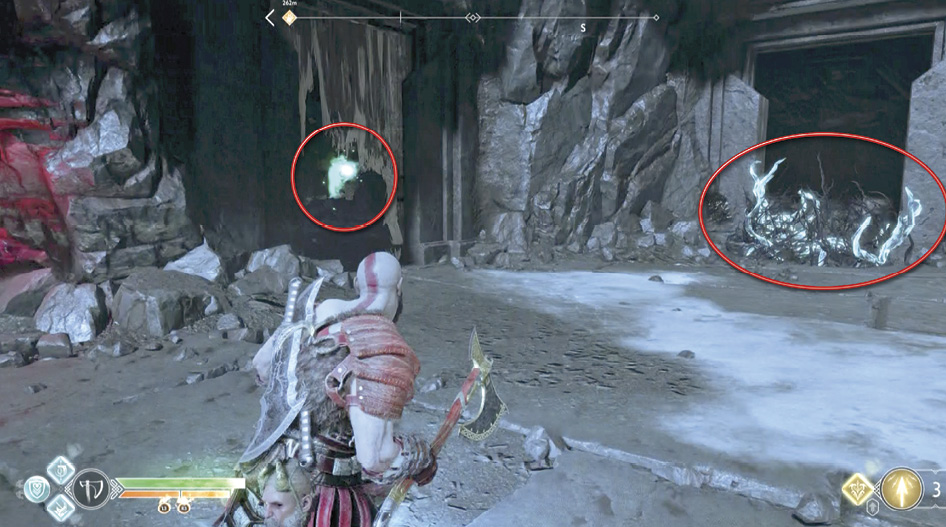
When the area is clear, smash through the decaying wooden door near the elevator to enter a small chamber with a Chest and a wind trap (33) glittering with the Winds of Hel. Exit the chamber and burn through the Brambles just outside to reveal an alcove with an empty wind trap (34) on a small podium. Approach the podium and press Circle to pick it up.
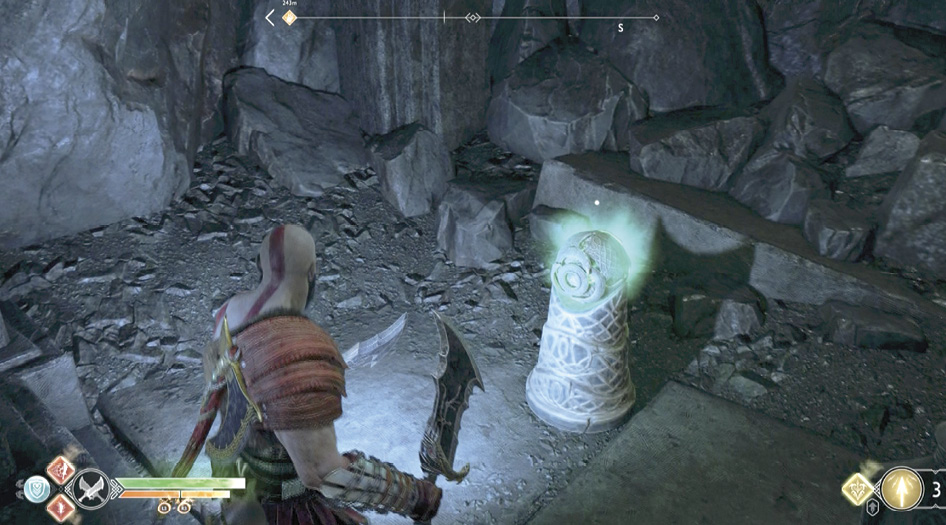
Carry the wind-trap podium past the elevator to the raised wood-beam platform where you see a chain anchor at the top, and a marked wall (35) just to the right. Set down the wind trap podium as close to the platform as possible.

Return to the chamber with the active wind trap (33) and use your Blades to transfer the Winds from that trap to the podium you just moved. Now boost Atreus up the marked wall (35). He walks to the nearby chain and drops it down for Kratos. Climb the chain and cross the big room to the heavy doors (36) emblazoned with a glowing rune message.
Get ready! When you direct Atreus to read it, he translates it as: “Don’t wake him!” And suddenly, a howling Ogre bursts through the great doors.

Defeat the Ogre then Bring Up the Winds
The Ogre is certainly frightening, but you’ve fought enough Ogres now to handle him properly. The space is big enough that you can maintain a decent distance and wear him down with axe throws or mid-range blade attacks. Keep Atreus firing Light Arrows at the pesky Fire Nightmare minions that drift around the Ogre. Soon a Draugr squad joins in the battle as well. After the beast falls, grab the pickups and then climb the stairs to spot the heavy vault door (37) with an empty wind trap in the middle.
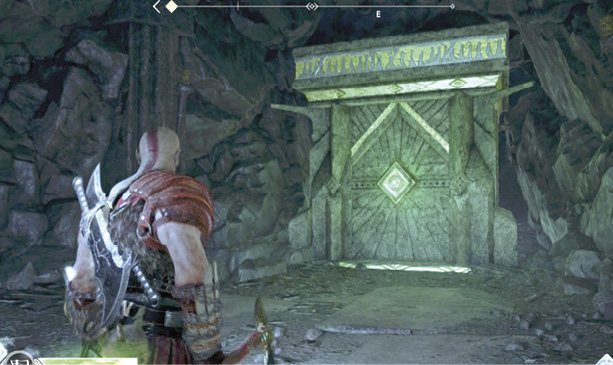
Go back to the top of the wall overlooking the wind trap podium you moved into place below. Capture the Winds of Hel with your Blades then sprint hard to transfer them into the wind trap on the vault door. The door opens to reveal a Legendary Chest to loot.

Follow the Mine-Cart Tracks
Go back down to the lower level and head past the elevator, veering left to follow the path (38). Up ahead you see a Draugr guard on a small spur to the left; shoot a Shock Arrow at the glowing Shatter Crystal (39) to blow up the guard then go pick up the hefty Hacksilver stash on the spur. Farther up the path you see a mining cart track with a Treasure Map sitting on the ground just inside the tunnel entrance. Follow the track to a low tunnel (40) and duck through it to the other side.
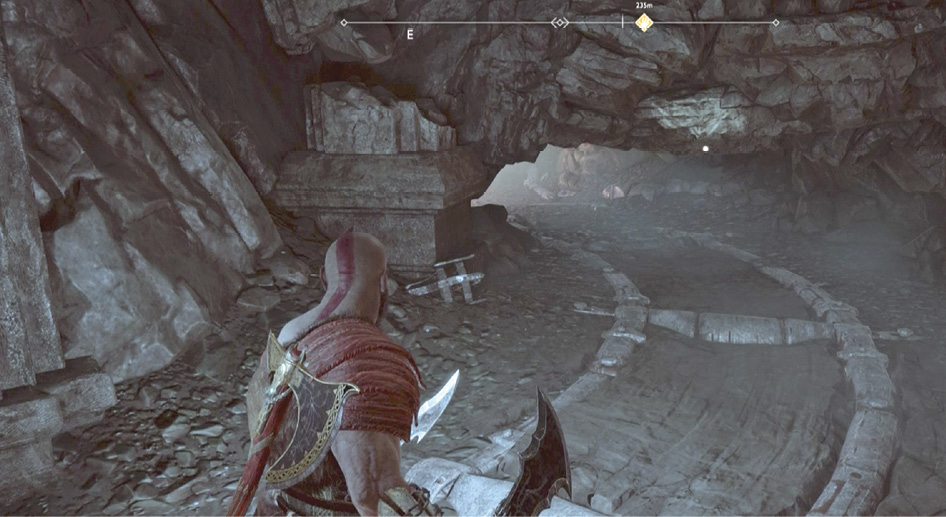
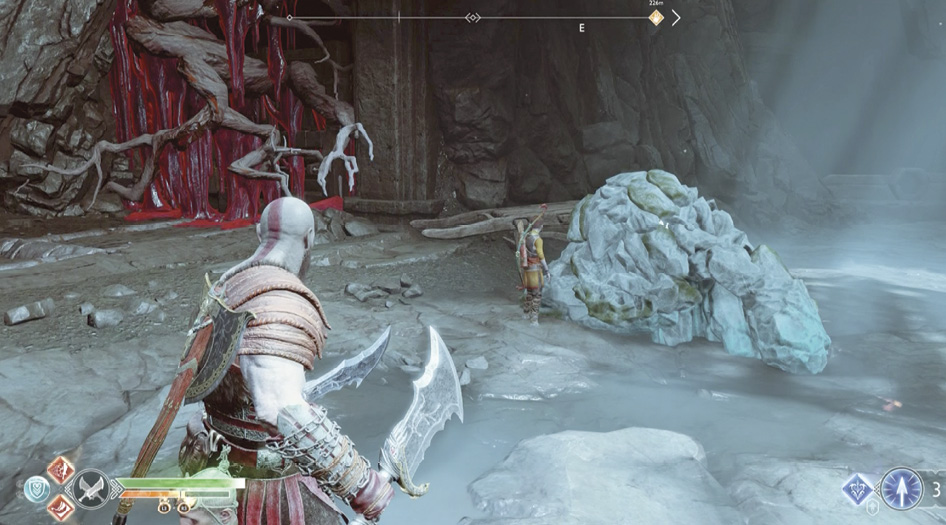
You emerge from the tunnel to see a bluish mound of “rocks” (41) in the next area. This is a dozing Frost Ancient, an extremely powerful and dangerous creature who usually wakes up extra cranky after decades of sleep. Atreus decides to not let the sleeping Ancient lie.
Loot the Area
Find the glowing Yggdrasil root (42) next to the scaffolding and grab a chunk of its Shatter Crystal. Toss the chunk at the nearby red sap barrier and shoot it with a Shock Arrow to blast the sap and reveal a mining cart (43). Pull the cart along the track as far as it will go (44), then climb on top and jump into the small cave above to loot the coffin inside.

Return to the Yggdrasil root (42) to grab another chunk of explosive crystal. Go around the scaffolding behind the root into the darker area and find the sap-covered coffin (45) hidden in a niche on the right side. Toss the crystal at it, then fire a Shock Arrow to blast off the sap.
Head for the exit stairs (46) and ascend them into a room with desks and chairs. Continue to the low marked wall (47) and climb it to discover two special objects sitting next to each other on the floor: a Scroll and an Artifact.
Exit the Mountain
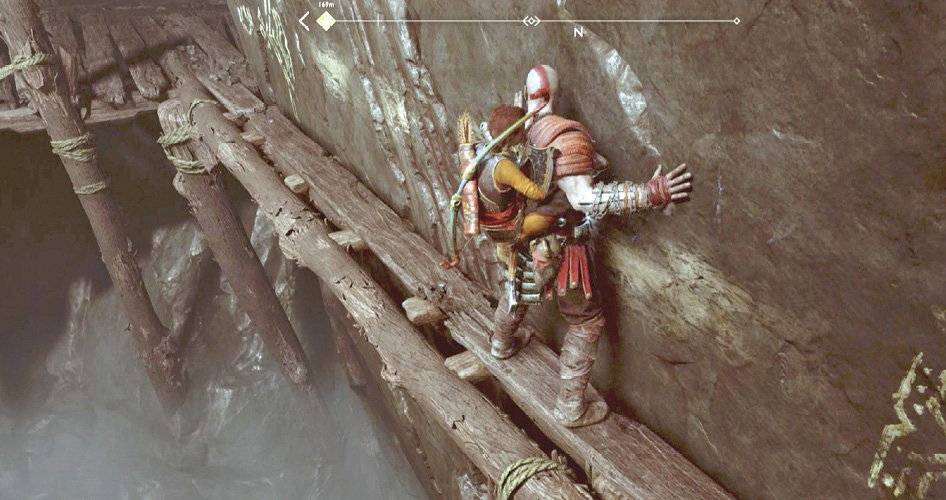
Continue to the narrow ledge (48) and traverse it by sliding sideways. When you reach the ledge’s far side, turn right into the rock niche and burn through the Brambles (49) with your Blades of Chaos to find a Coffin. Before you leave, visit Sindri’s Shop and upgrade everything as high as you can. You want Kratos at level 5 if possible. A very tough fight looms out in the plaza.
Climb to the Ridgeline
The exit door leads out onto a circular stone plaza with an ominous-looking Realm Tear (51) floating in the middle. Look for the Cipher Chest across the plaza; it holds a piece of the Niflheim Language Cipher. You need all four cipher pieces to unlock Niflheim, the Realm of Fog. For more on this, check out our Favors chapter.
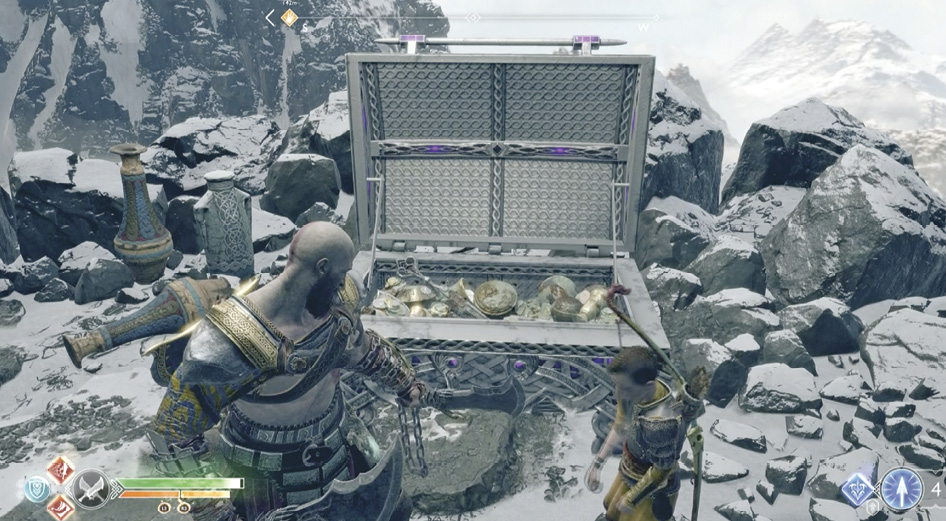
When you try to grab and close the Realm Tear, it suddenly expands into a full-sized rift that starts expelling high level Hel-Walkers! You can tell right away by the color of their health bars—if you haven’t spent some time exploring the Lake of Nine and buffing up your stats, these foes will have you outranked. Two powerful Hel-Reaver Lords pop out, one level 6 and the other level 7, with a shielded Guard and a number of Ice Nightmares in support.
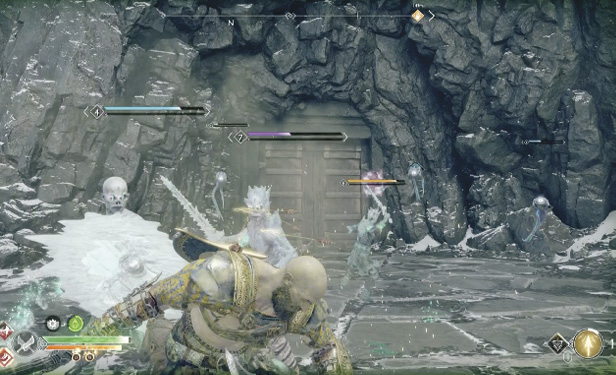
Eviscerate these cold killers with your burning Blades of Chaos, but focus on defensive moves and be ready to evade. This is also a good place to unleash Spartan Rage if it’s available. When they finally fall, grab the Realm Tear and pull it shut. Head across to the opposite path that leads to a wall covered with Brambles (52). Burn them to reveal a marked cliff that you can climb all the way up to the snow-packed ridgeline that leads to the summit.
Ridgeline and Summit
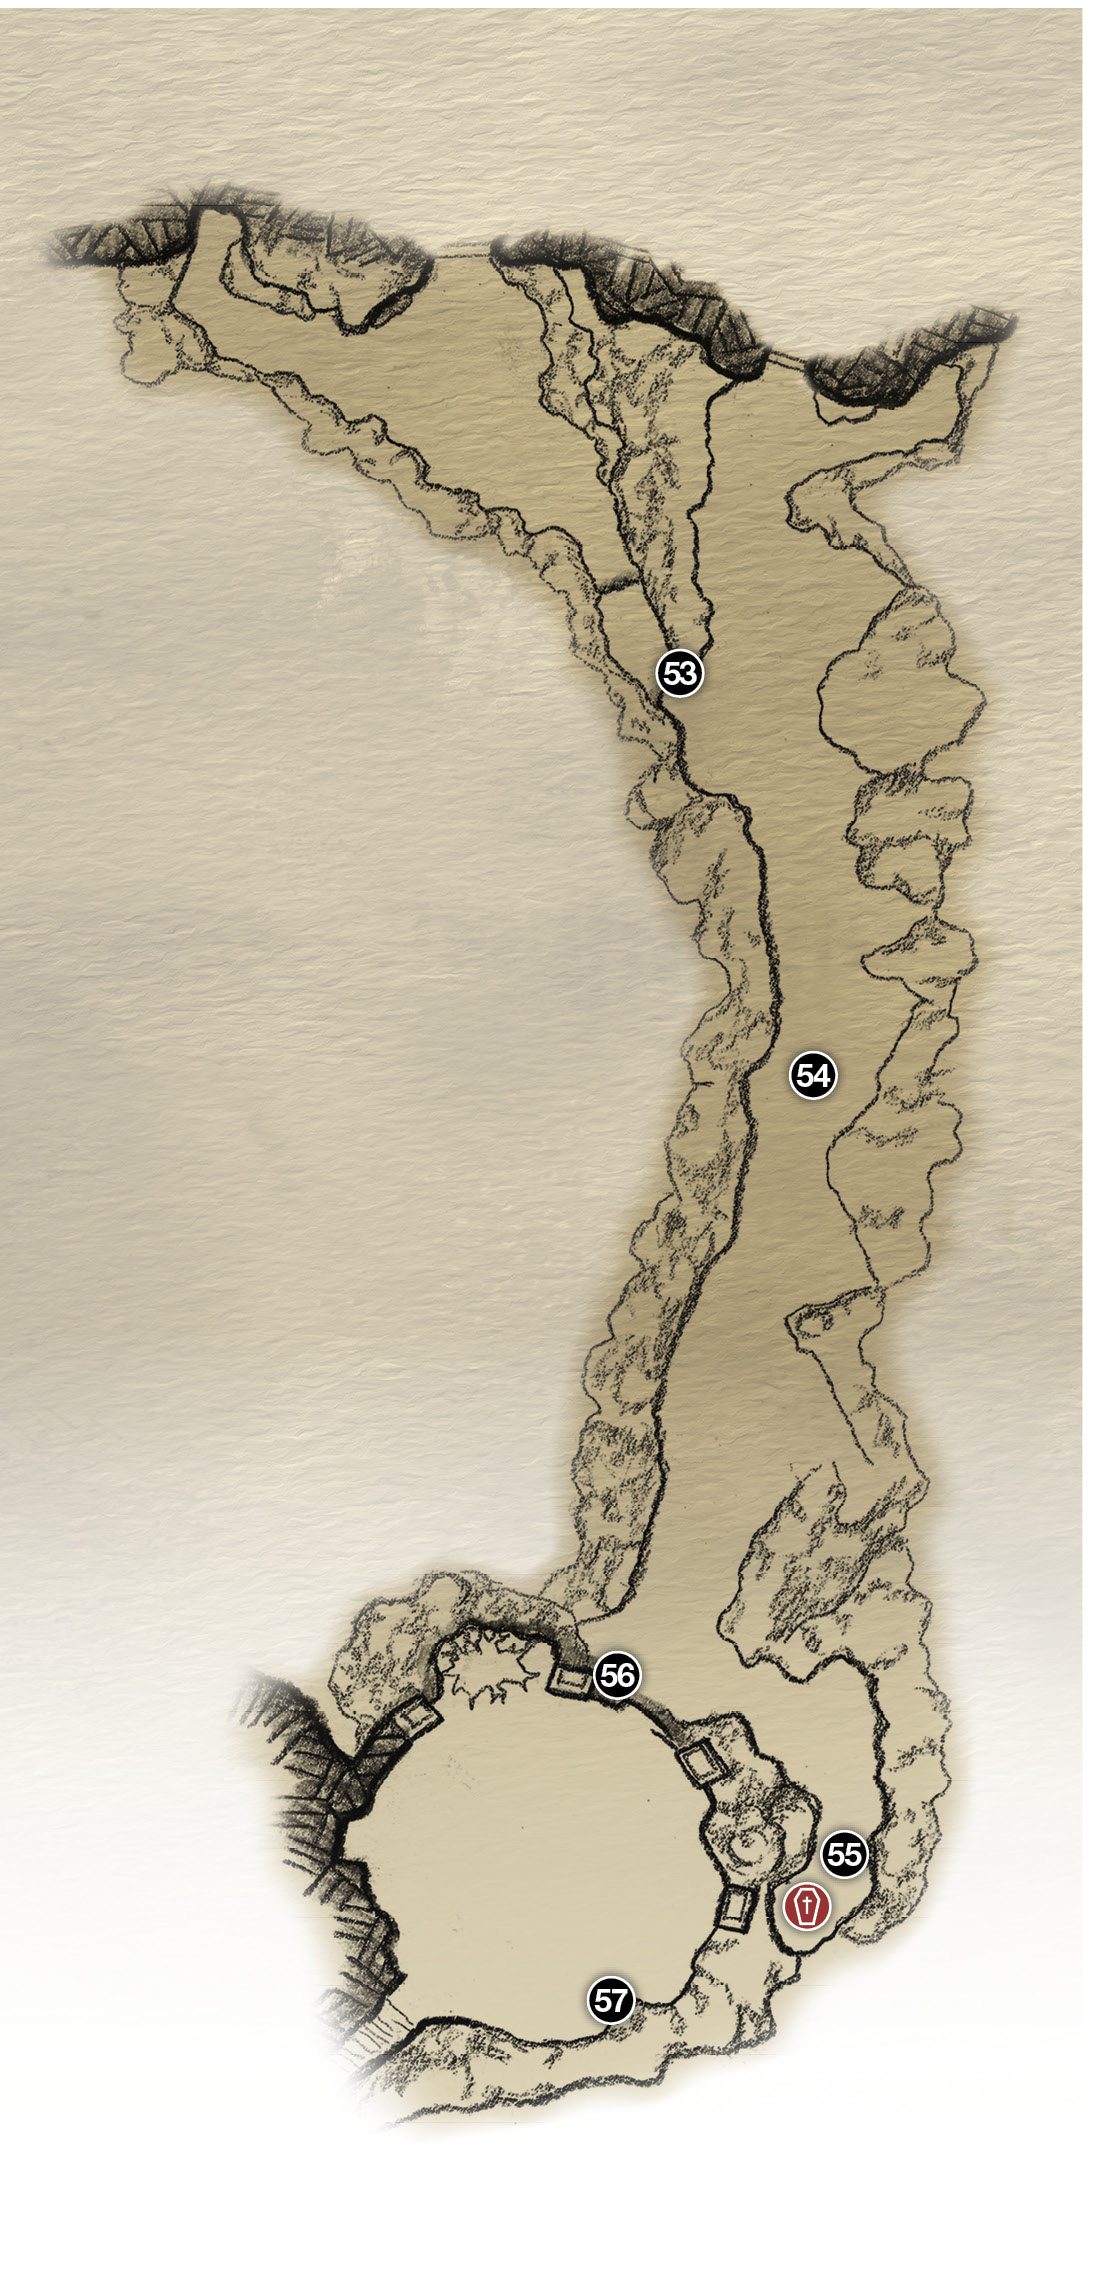
53. Climb cliff to ridgeline
54. Ridgeline to Summit
55. Burn Brambles (coffin)
56. Burn Brambles (climbing wall)
57. Summit
58. Use Chisel on plate
 Coffin
Climb to the Summit
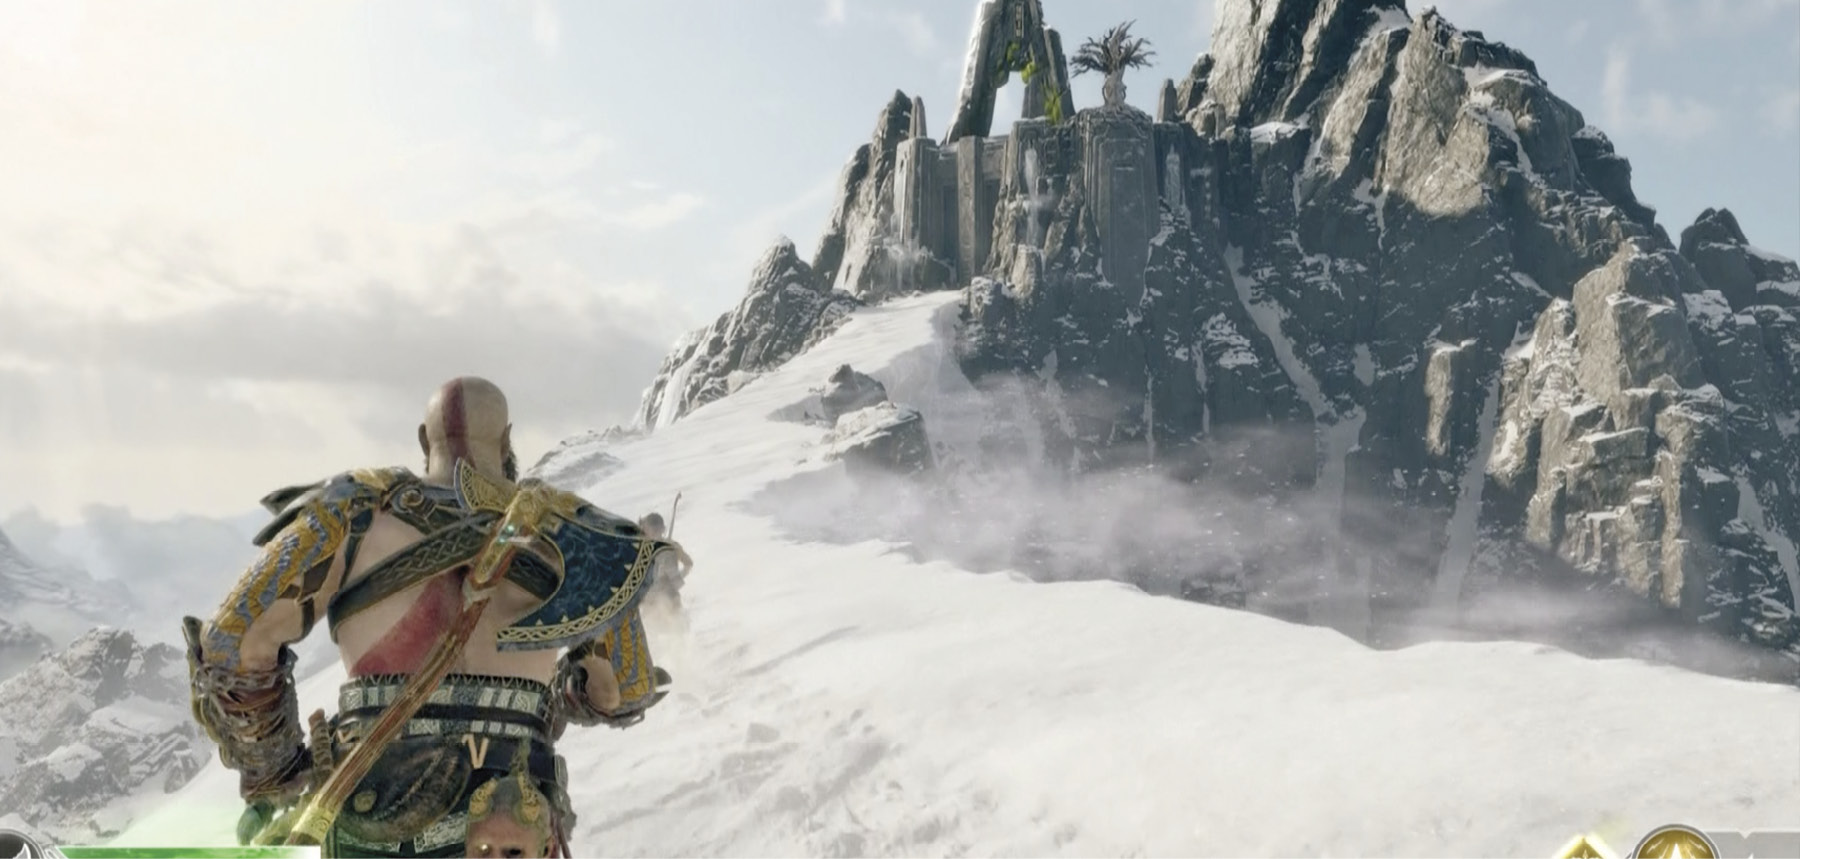
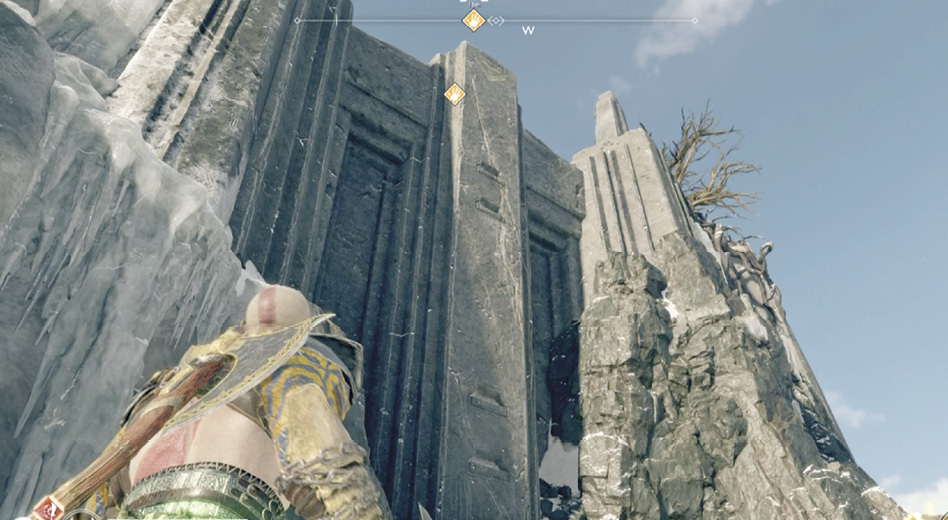
From the top of the cliff (53), slog through the high snow along the ridgeline (54). When you reach the Summit structure at the top, veer left up the path to a Bramble bush (55) and burn it with your Blades to reveal a coffin. Return to the structure’s wall (56), burn the Brambles there, and climb up to the Summit plateau.
OBJECTIVE: Open the Bridge to Jötunheim

Cross the Summit toward the Chisel plate (57) on the leftmost base of the rock arch. As you approach, Atreus traces the Black Rune onto the plate. Use the Giant’s chisel, moving it with the left stick and hitting R2 whenever the Chisel glows. When finished, the travelers enjoy a brief, glorious view of their destination: the highest peak in the realms.


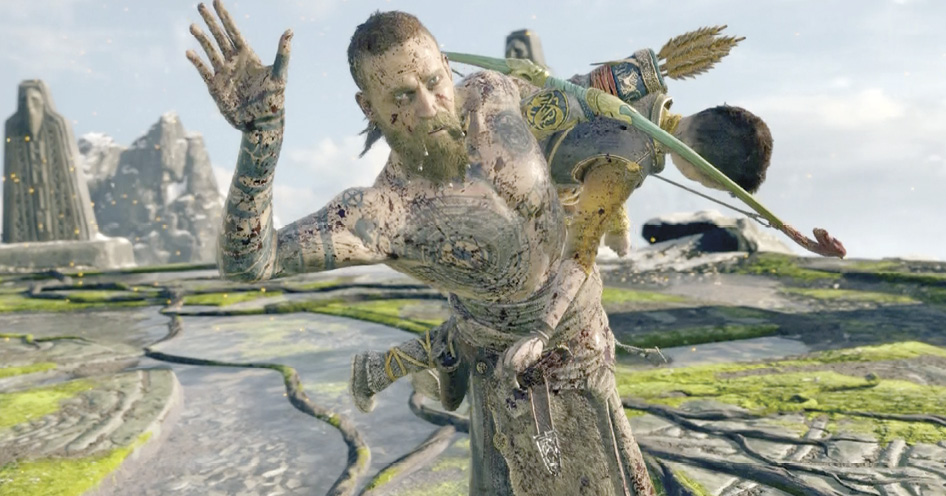
But the idyllic moment is shattered by the return of the undying menace, Baldur. After some brutal god-on-god action, the son of Odin seizes Atreus and leaps off the mountaintop. Kratos follows, and everybody ends up on a dragon’s back.

OBJECTIVE: Catch Baldur
Now comes a series of dizzying cinematic sequences interspersed with quick action interludes. This fight proceeds in distinct phases, which we list as follows, but note that the action is fast and furious. First, Baldur imprisons Atreus up near the dragon’s head, so Kratos starts working his way up the great creature’s back from the tail where he lands. The two gods tangle halfway up, and soon Kratos has Baldur pinned.

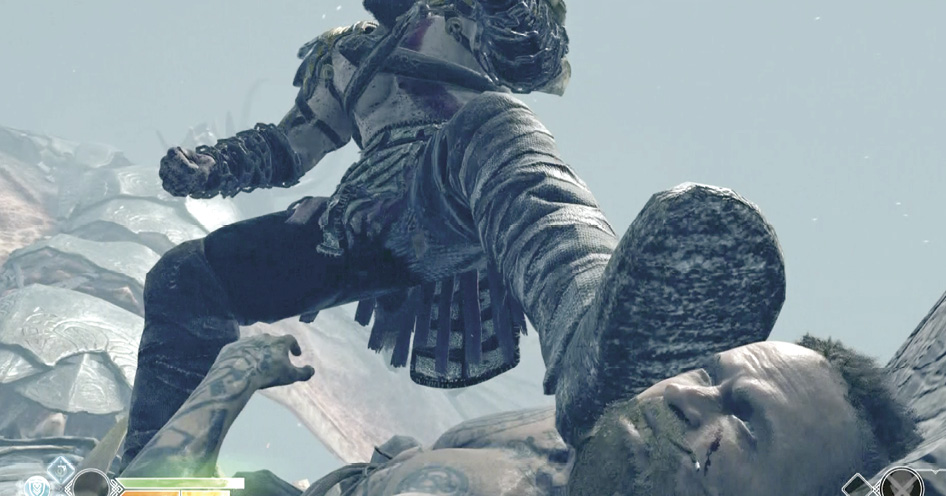
Start tapping the controls prompted on-screen: R1 to attack, L1 to counter. Once Kratos finishes saying, “Stay away from my son!” he stands up, stomps on Baldur’s face, and sprints up the dragon’s back toward Atreus.
Baldur tackles Kratos and turns the tables, pinning the Greek god and hammering with his fists. Hold L1 to block, as indicated on-screen.
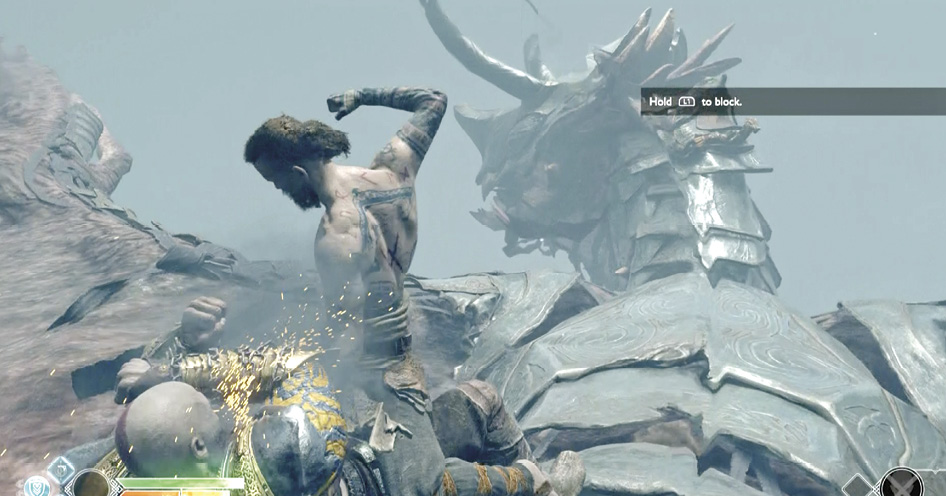
Next, Baldur stands up to deliver two-handed overhead slams. If he rises to the left, press your left controller stick to the right to dodge. If Baldur rises to the right, press the stick to the left to dodge. Simple moves, but the timing is critical.
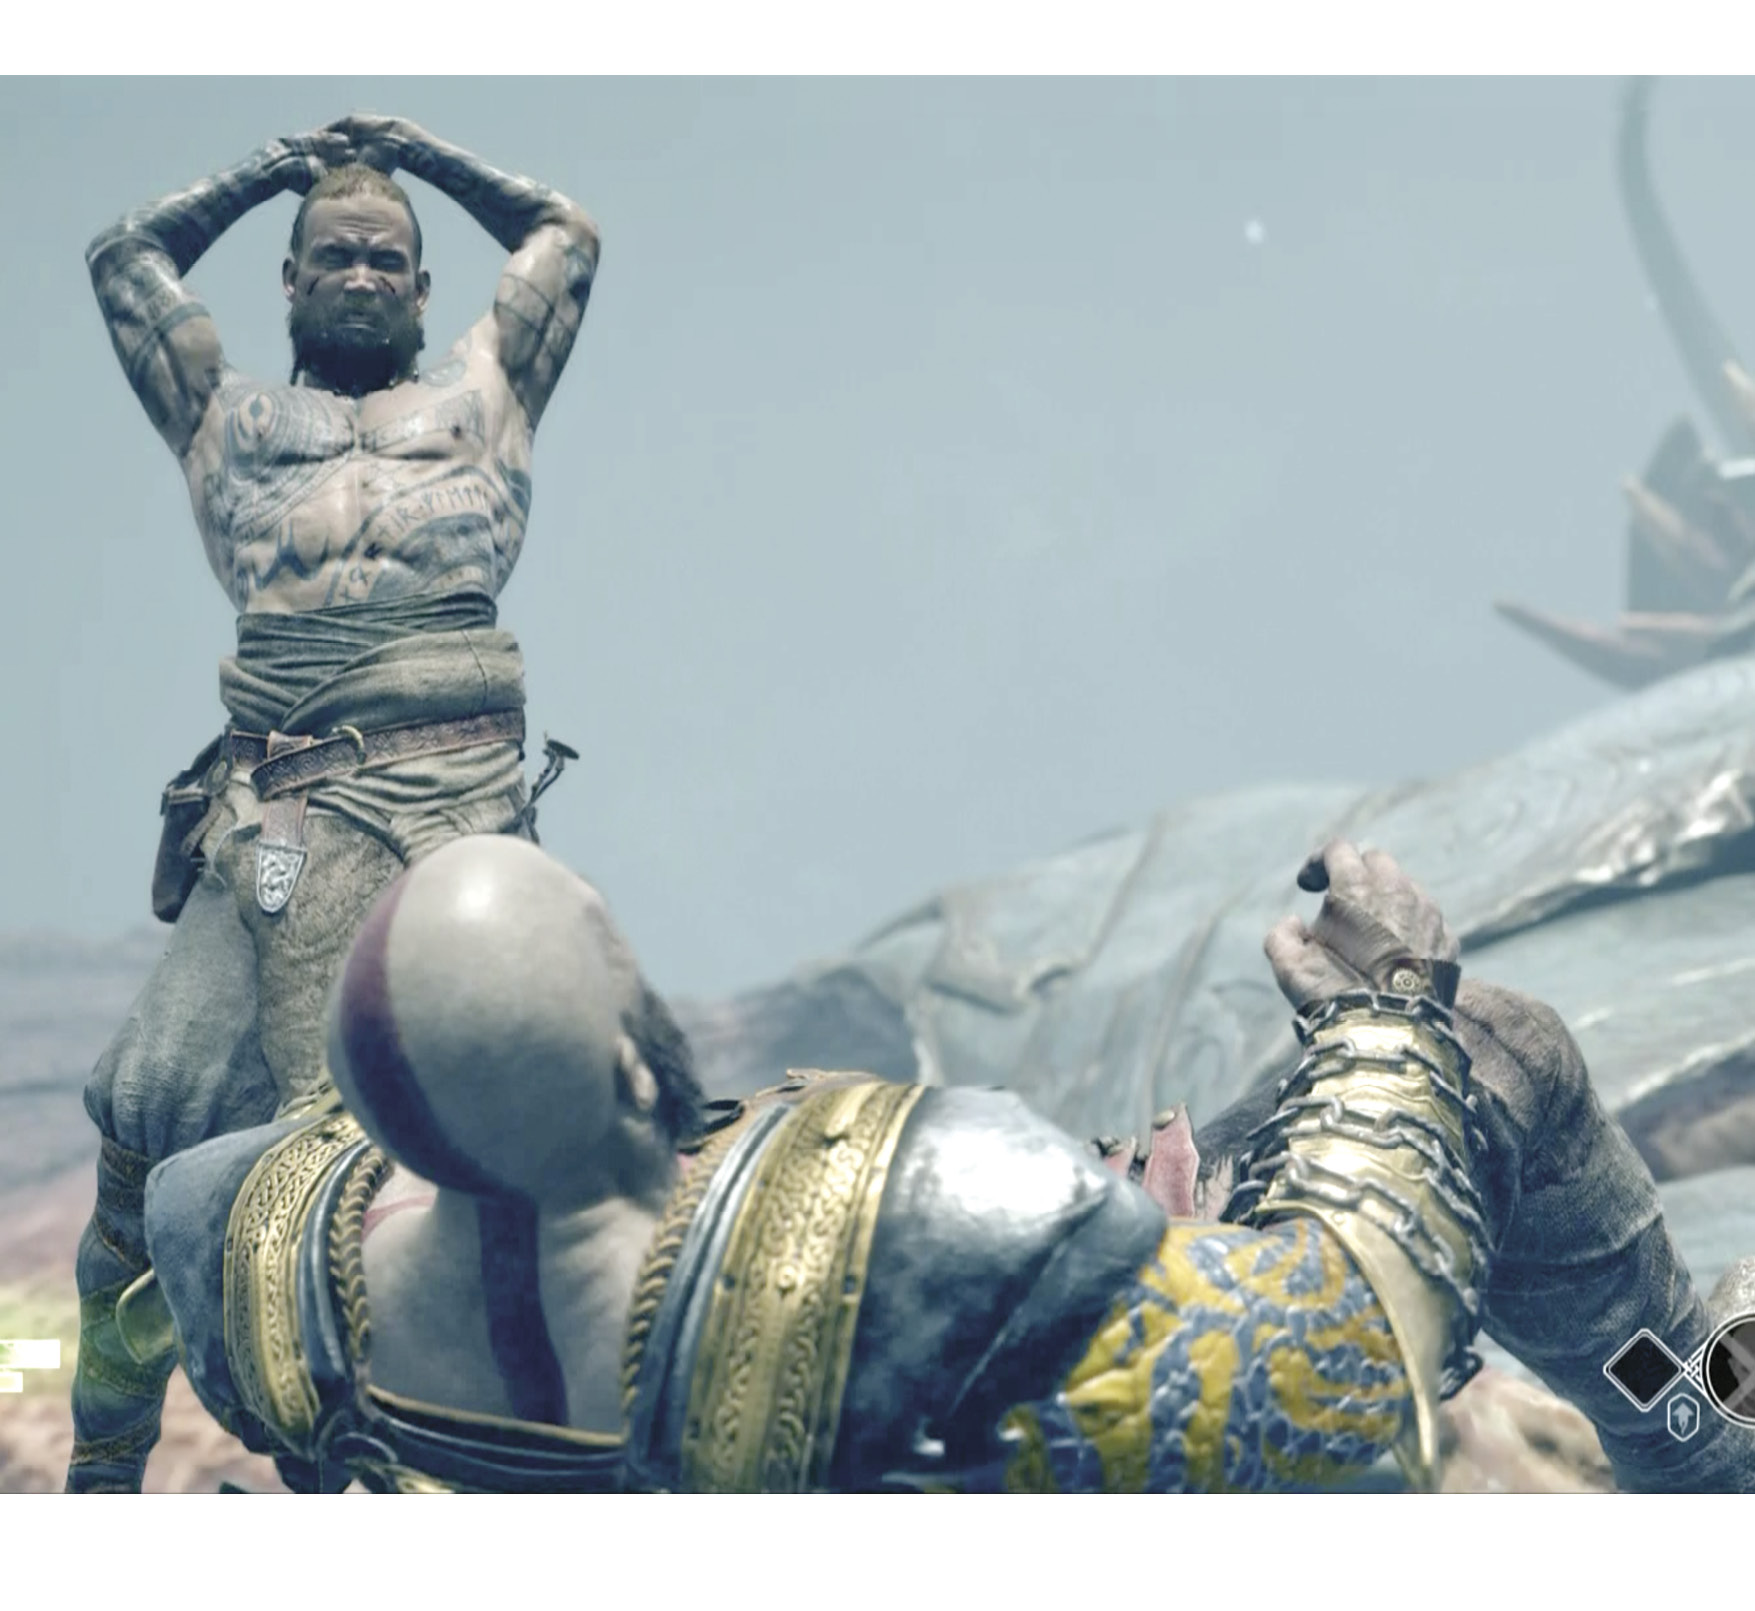
Now you get a new on-screen prompt. Follow your quick left-stick dodges of Baldur’s overhead slams with an R1 or R2 counterattack. Keep blocking if Baldur returns to his flurry of punches. When you land enough countering strikes, Kratos finally kicks Baldur away, knocking the Norse god up near the dragon’s head.
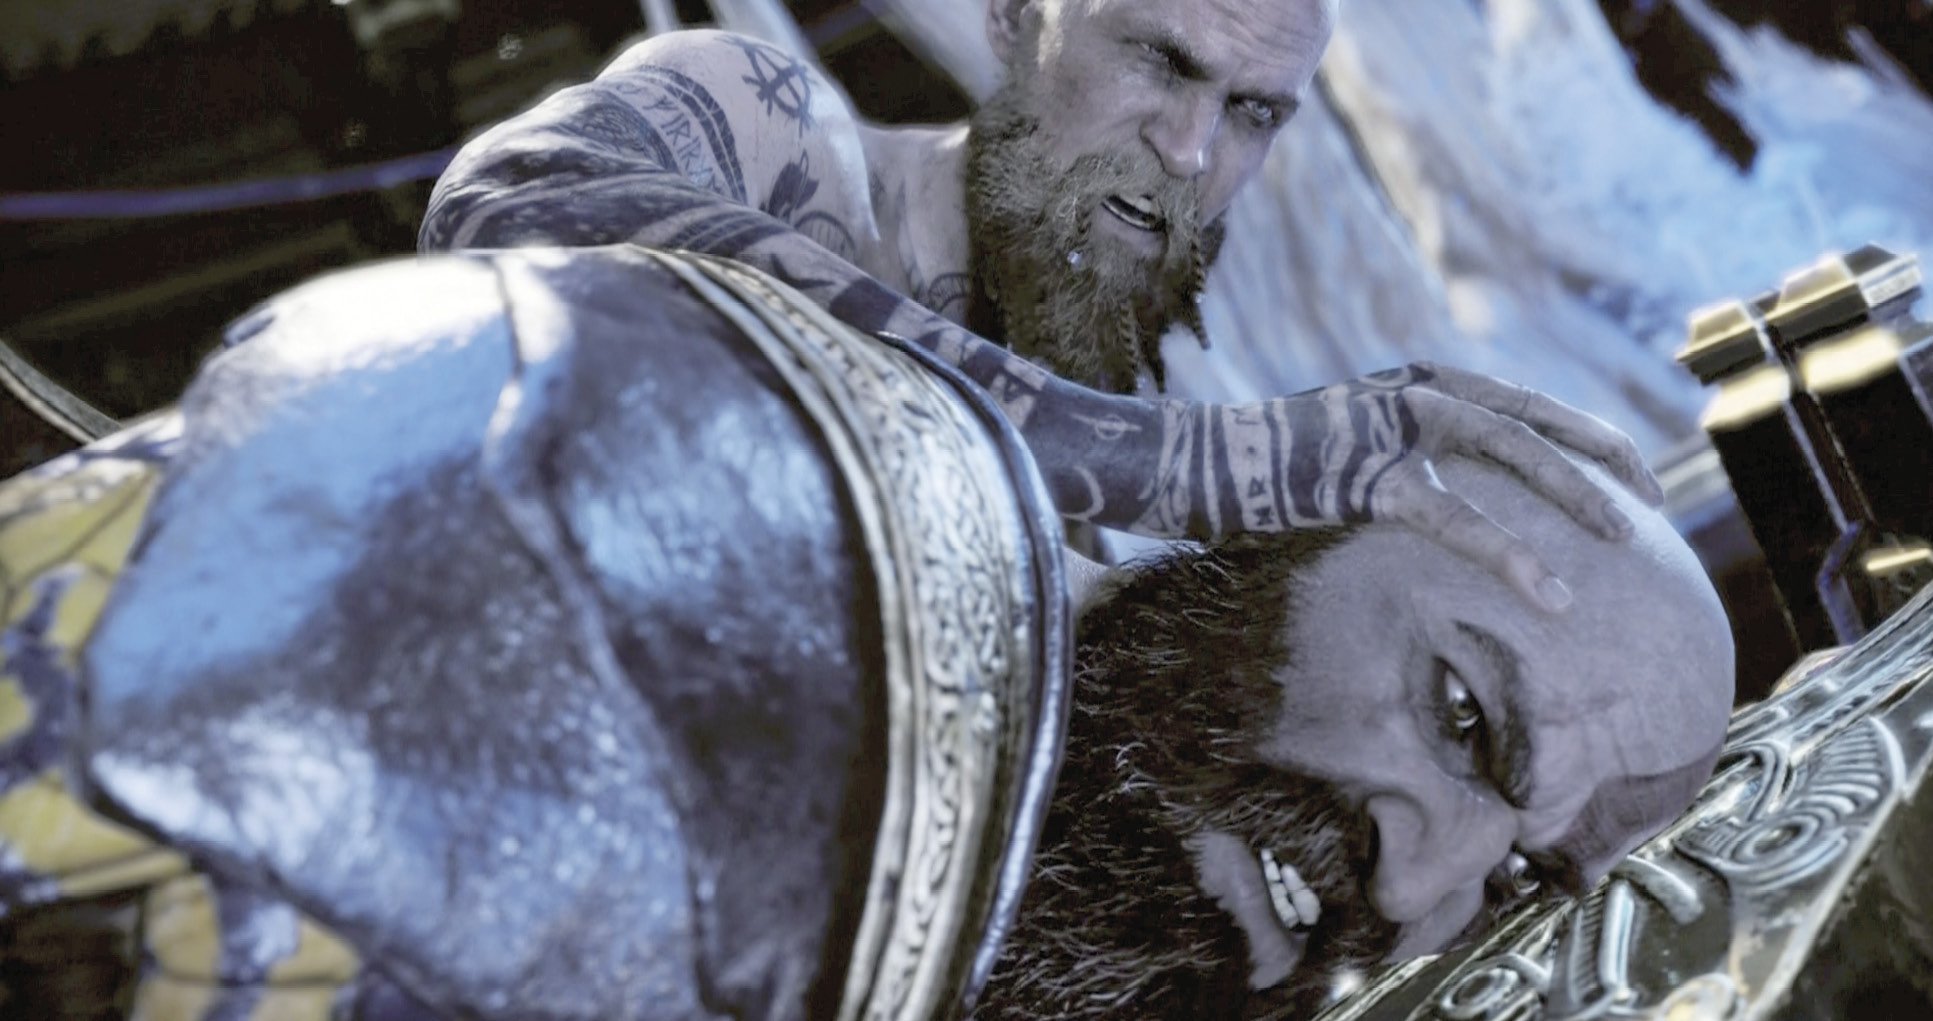
After more intense brawling, Baldur manages to knock Kratos completely off the dragon; Kratos drops onto Týr’s Bridge as the dragon lands just ahead, atop the temple. Kratos automatically sprints to the temple doors to trigger another scene: Kratos bursts into the Realm Travel Room, where Baldur triumphantly proclaims that realm travel to his home is locked in—soon he’ll have major Asgardian backup. But Kratos has other ideas. He slams the Bifröst into the travel table’s activation slot, sending them all tumbling into Helheim!
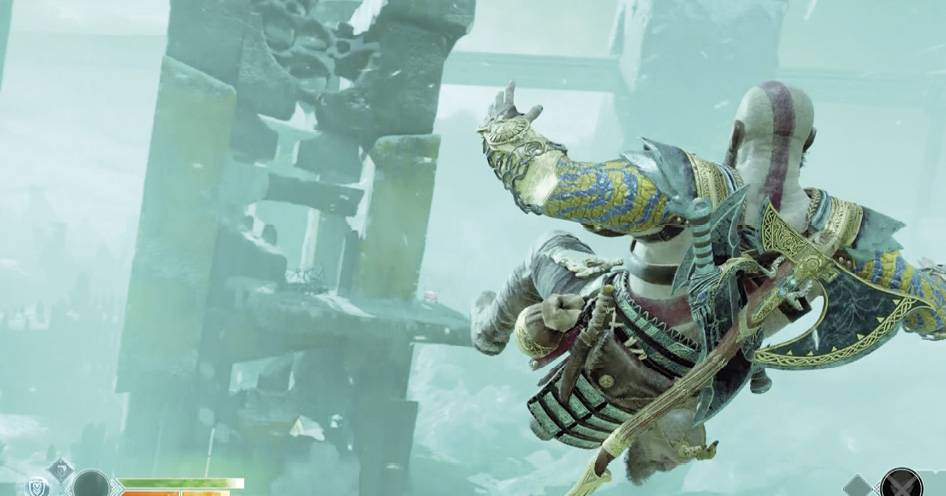
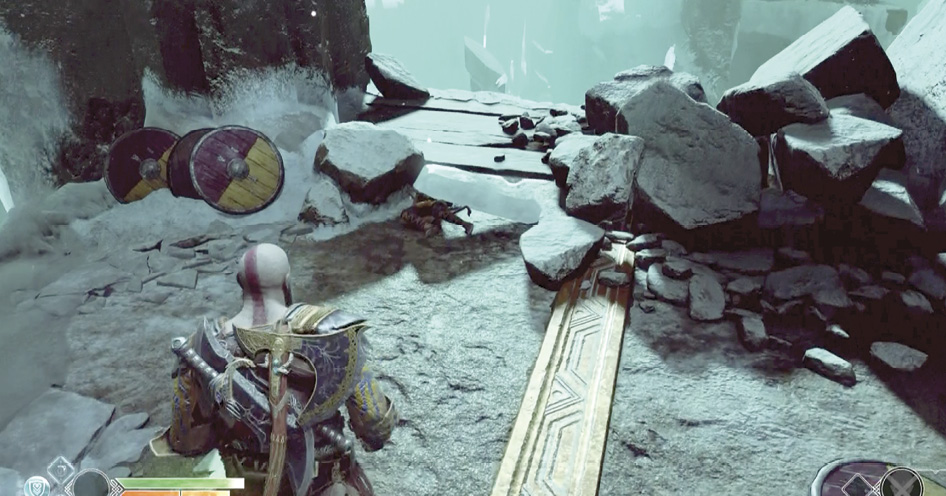
When the fall sequence ends, lift the ice block off of Atreus to trigger the chapter-ending scene.