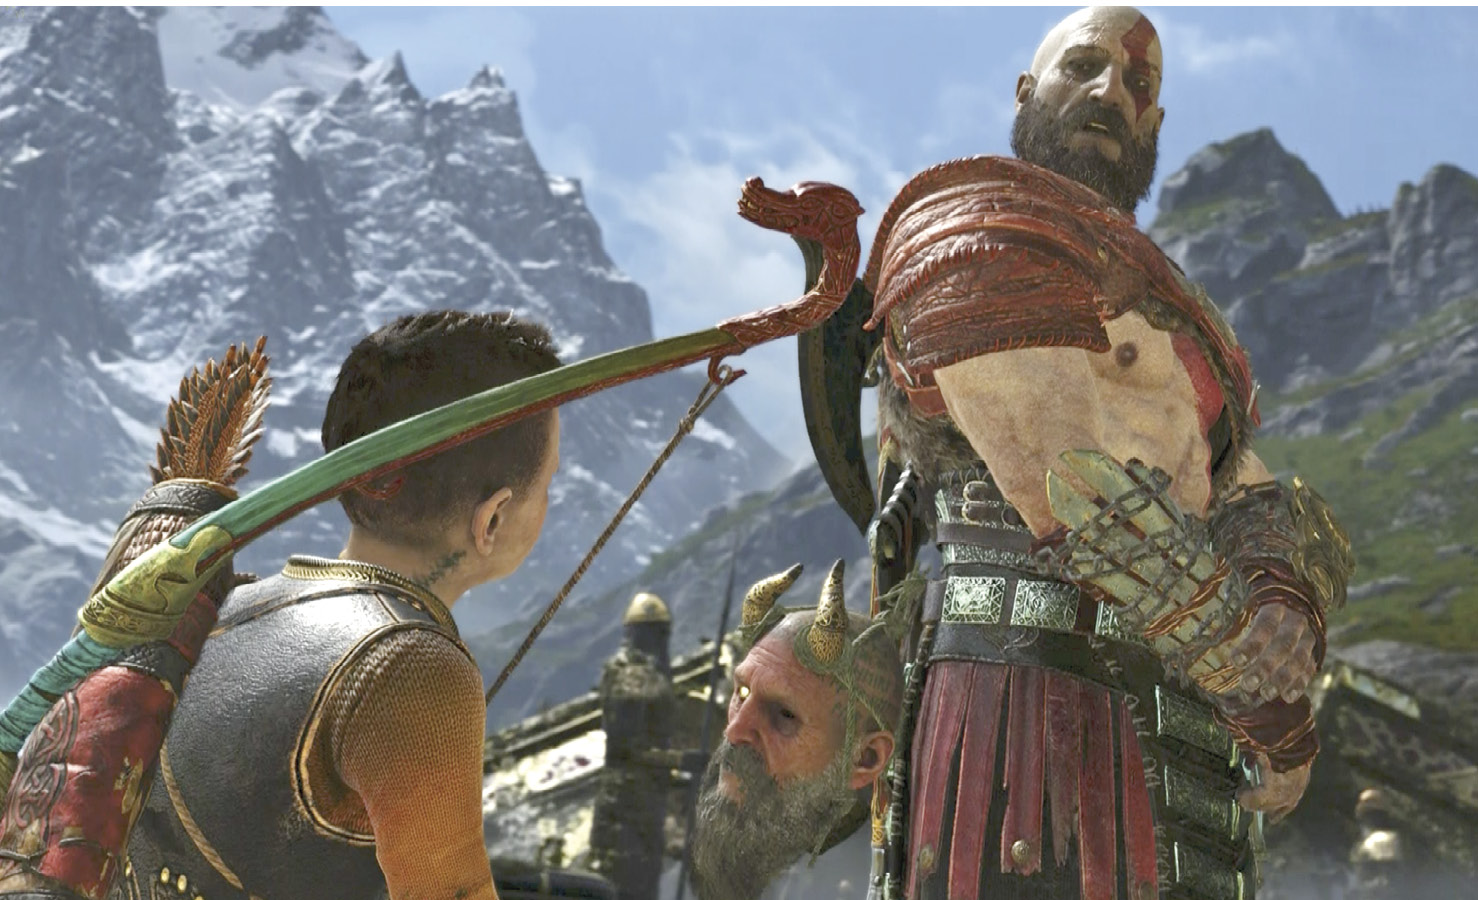
Chapter 11: The Black Rune
Now you can continue your search for the Jötunheim travel rune, called the Black Rune, back in Týr’s Vault. You can expect that such a valuable and secret item might be difficult to acquire, of course. So be ready for traps, puzzles, and other vault defenses.
Journey Objectives
- Return to the boat
- Enter the boat
- Return to Týr’s Vault
- Use the sand bowl
- Retrieve the Black Rune
- Deactivate the vault’s defenses
- Escape the trap
- Exit Týr’s Vault
New Enemies
- Miniboss: Grendel of the Ashes
- Miniboss: Grendel of the Frost
OBJECTIVE: Return to the Boat
OBJECTIVE: Enter the Boat
If you’re following this walkthrough, including the last chapter where you revisited Helheim, you’ve already returned to the boat and entered it; Kratos, Atreus and Mimir are at Týr’s Temple. But this chapter technically began when you left Freya’s house after Atreus was cured. If you haven’t already done so, ride the elevator in Freya’s Cave down to the dock at the lowest water level, drag the boat to the water, and hop aboard.
OBJECTIVE: Return to Týr’s Vault
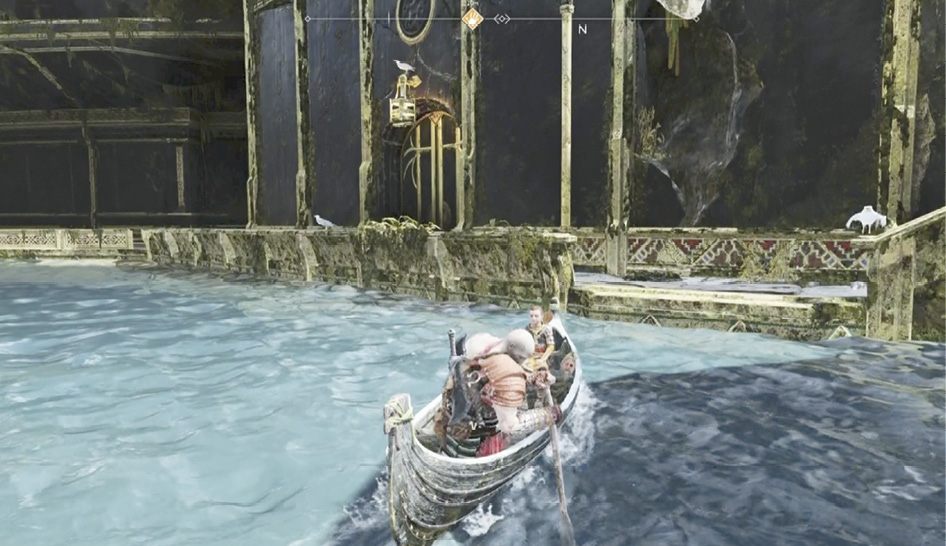
Follow the waterway from Freya’s Cave out onto the Lake of Nine and head directly to the flag-marked temple boat dock. Debark and proceed through the exterior vault doors next to the dock.
OBJECTIVE: Use the Sand Bowl
Approach the sand bowl (1) and press Square to have Atreus read the riddle. Then approach the four-rune message etched on the far wall and press Square again to have Atreus write the answer in the sand. The circular platform begins to drop.
Ride it down into the vault proper, listening to the conversation as Atreus embraces his newfound status and Mimir offers cautionary words, listing Týr as an example. They also discuss the murals of Týr and the Giants that appear on the wall as the lift slowly drops.
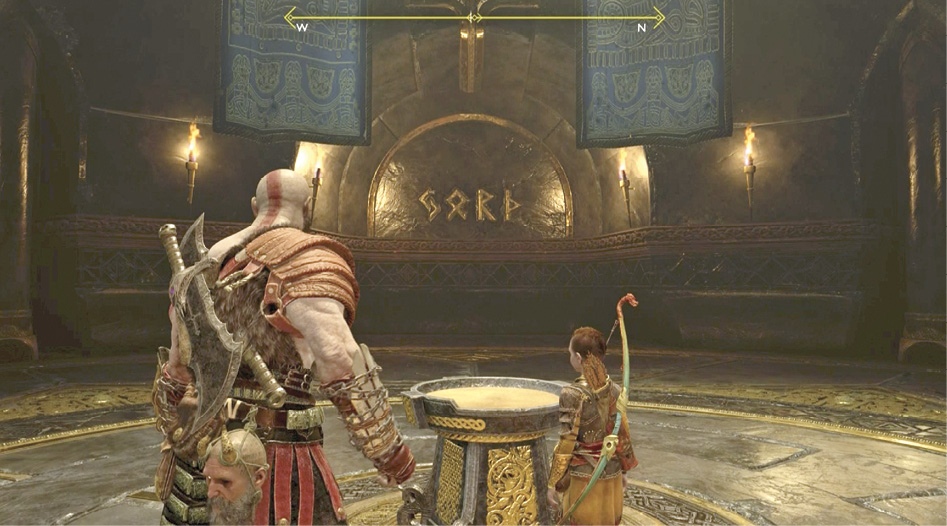
When you arrive, open the exit door, head down the corridor (2), and step into the vault. This triggers a short scene: Atreus spots the Black Rune (3), but the vault’s defenses suddenly activate and generate a series of three protective rings around it. Your next task is to deactivate all three rings, one at a time.
TÝr’s Vault
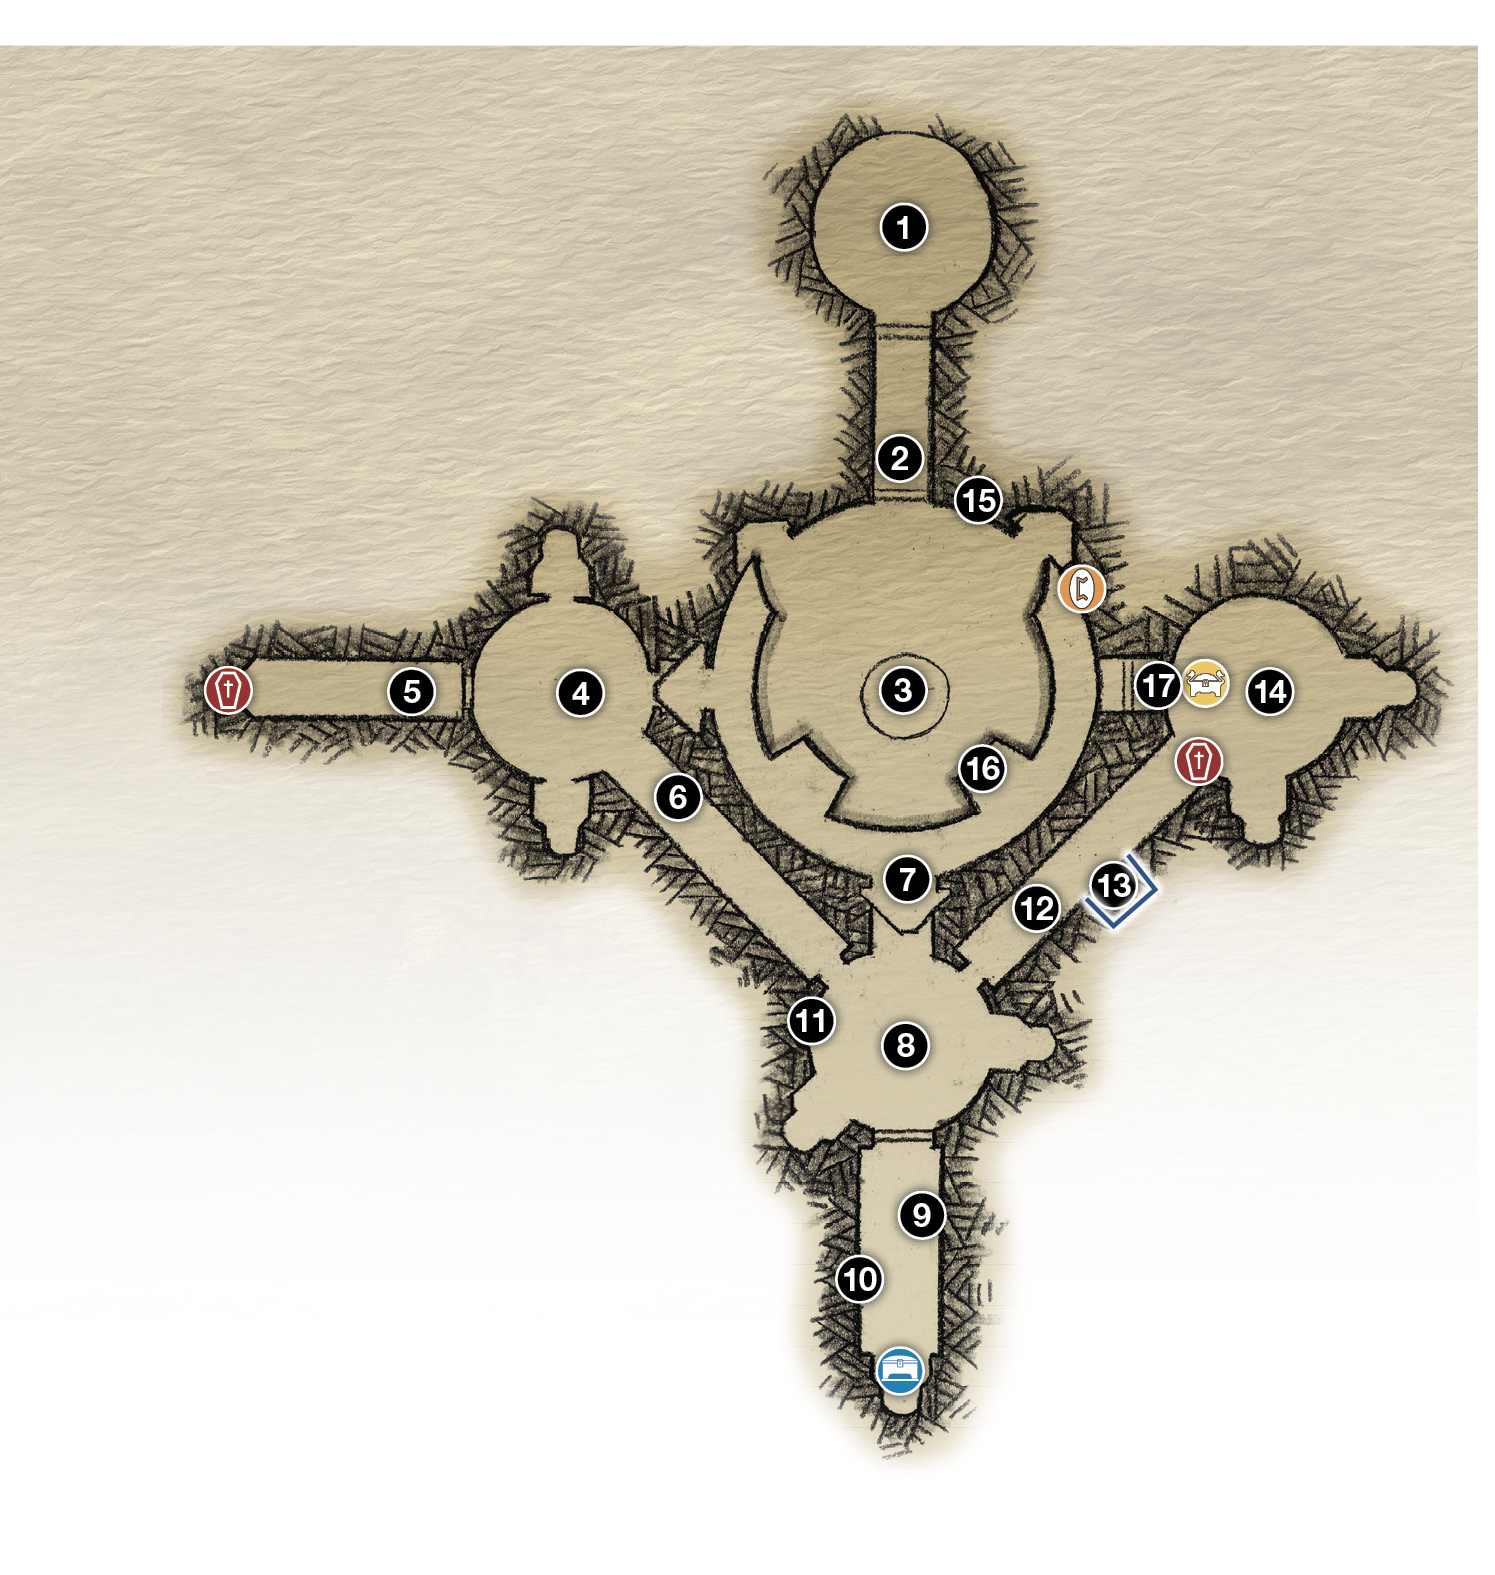
1. Sand bowl
2. Hall entry
3. Black Rune (ring barriers)
4. Chamber 1 wind trap and crank-wheel
5-6. Blade trap corridors
7. Chamber exit
8. Chamber 2 wind trap and crank-wheel
9. Throw axe at gear
10. Punch runic seal stone
11. Shelf (runic seal)
12. Throw axe up at runic seal
13. Blue-lit side alcove
14. Chamber 3 wind trap and crank-wheel
15. Climb wall
16. Chamber door
17. Legendary Chest (only after miniboss fight)
 Coffin
 Legendary Chest
 Lore
Lore
 Nornir Chest
OBJECTIVE: Deactivate the Vault’s Defenses
To deactivate the protective rings, you must create access to wind traps in three side chambers, transfer Winds of Hel from the rings to the traps to raise crank-wheels, and then turn the wheels to power down the corresponding ring out in the hall. But to move from chamber to chamber, you’ll have to negotiate dastardly corridors of killer traps.
Deactivate the Outer Ring
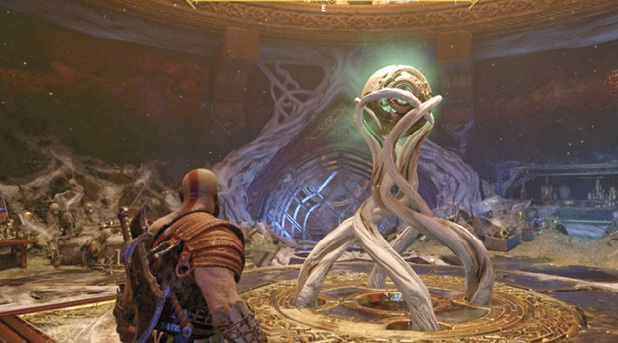
Approach the open side passage to see an empty wind trap (4) sitting atop a stalk in the center of the chamber beyond. Then look up at the twirling rings (3) to see active Winds of Hel energy glowing in a trap near the bottom of the outer (biggest) ring. Use your Blades to capture the winds from that ring, then sprint down the passage and transfer them into the wind trap on the stalk.
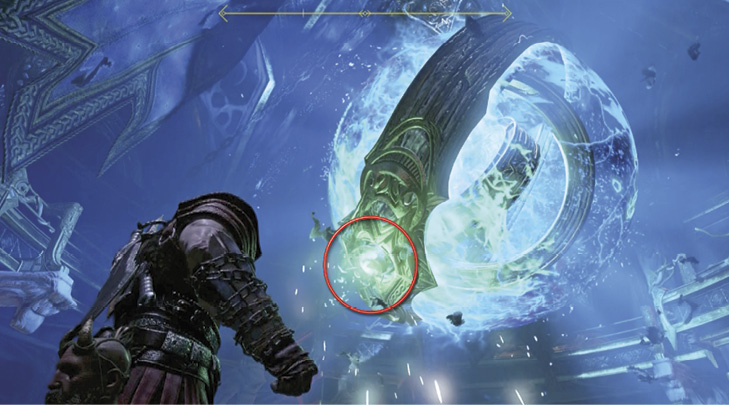
The stalk/trap retracts into the floor, and a crank-wheel pops up to replace it. Turn the crank-wheel to deactivate the outer defensive ring around the Black Rune. This also opens up a pair of corridors filled with spinning blade-wheel traps. The one directly ahead (6) leads to the next deactivation chamber, so let’s check out the other passage first (5).
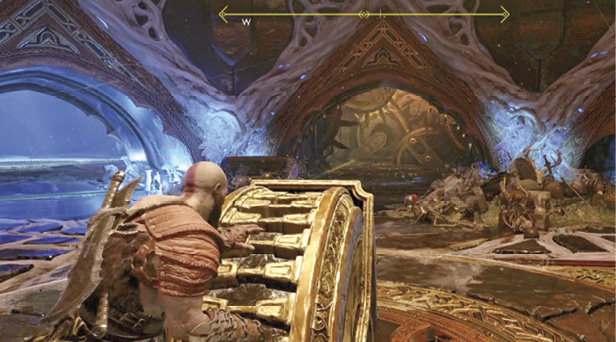
Find the Coffin
Approach the first spinning blade-wheel (5). Equip Leviathan and toss the axe at either one of the round disc panels. This flips the blade-wheel sideways so you can get past. Step to the right and toss Leviathan at either disc panel on the second blade-wheel to flip it horizontal. Now you can walk safely past both and loot the coffin at the end of the corridor.
Reach the Second Chamber
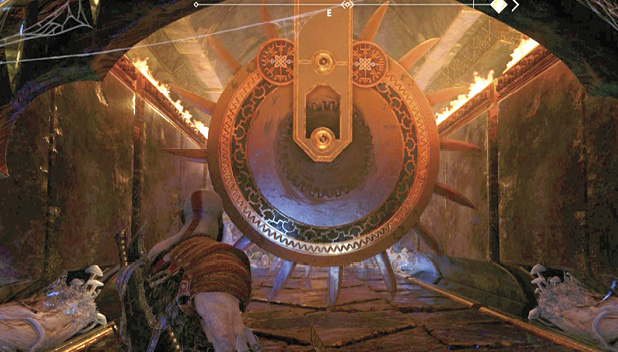
Return to the main chamber and step down the other corridor (6), where you face three sets of spinning Blades. Atreus finds a small side passage that he can squeeze through to bypass the traps. But Kratos must solve the trap puzzle. This one is slightly trickier, but not too difficult.
The first set is simple to get past. Step up close to the two blade-wheels and sprint past the moment they pull apart. The second set is another pair of blade-wheels that move together and apart rhythmically, but they also spin around each other.
Set up next to the left wall close to the Blades, waiting until they pull apart and leave a momentary gap in front of you (see our screenshot). Sprint past them!
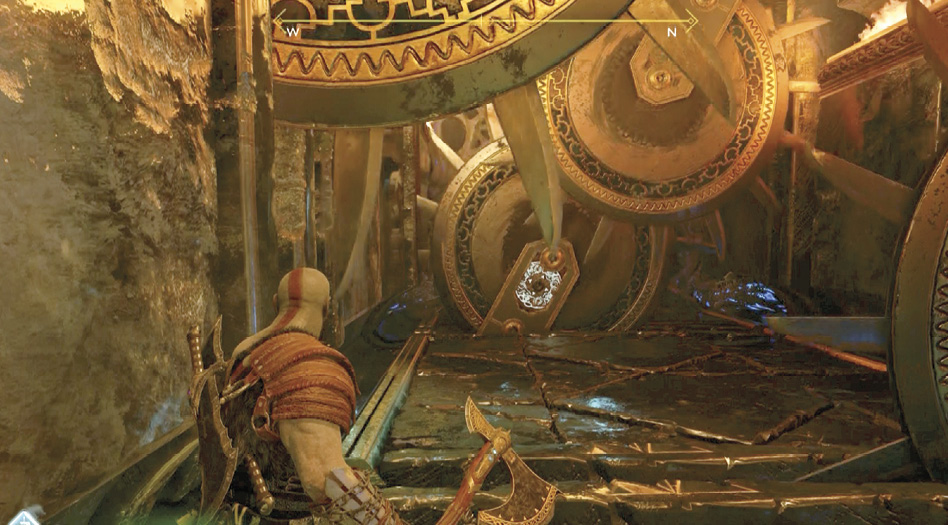
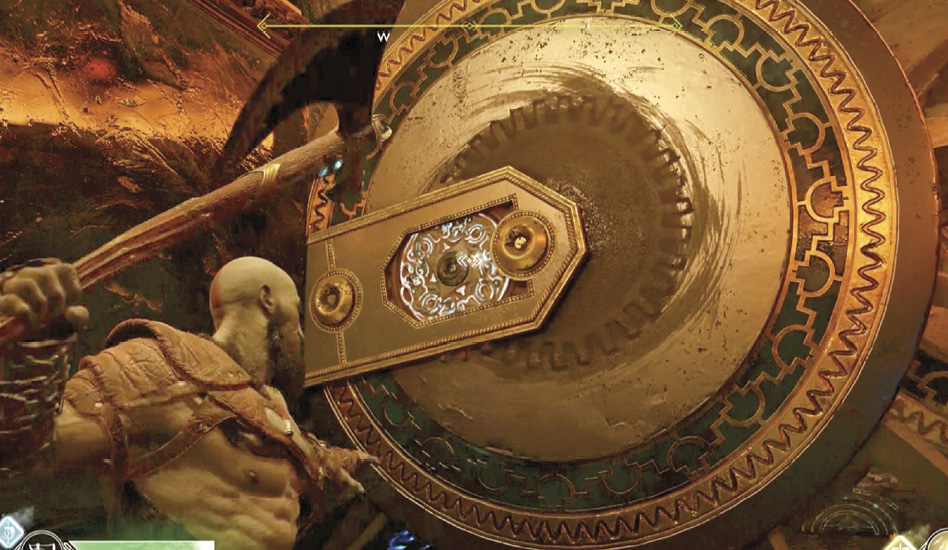
The third set is easy. Toss Leviathan at the gear-disc on either wheel of the pair to freeze that wheel in place. Wait until the other wheel spins to align exactly with the frozen wheel, then quickly recall Leviathan.
If you time it right, both wheels now rotate together, perfectly aligned, giving you a gap to run through when their rotation goes high and to the side. Time your run and proceed into the next chamber.
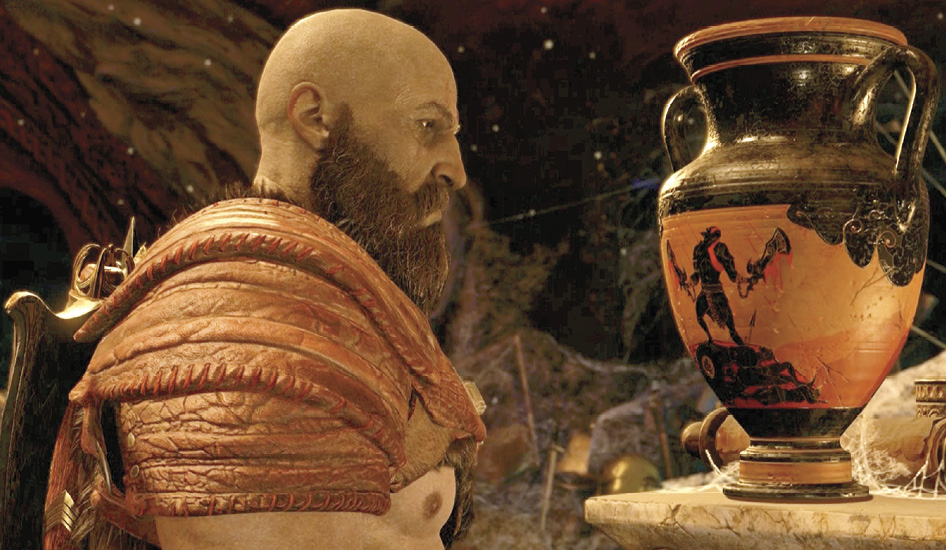
Entering the second chamber triggers a scene: Kratos and Atreus explore the remarkable treasure cache and find objects that spark memories good and bad. Note another wind trap on a stalk in the chamber’s center.
Deactivate the Middle Ring
Go lift the gate with the glowing blue diamond in the center (7) to step back into the main hall. Suddenly, two glowing rifts appear in the air, and Draugr squads with the Power Weapon upgrade pop out in ambush. Use Leviathan in this battle to hack the Draugr apart. Soon two more rifts expel a flock of Fire Nightmares for support; keep Atreus targeting the fliers to thin them out. Finally, several Speed Draugr teleport in and dart forward to engage.
After you clear the area, stand outside the chamber gate you just opened (7) and look up at the big rotating rings (3). Switch back to your Blades of Chaos and capture the Winds of Hel from the glowing trap on the second (middle) rotating ring. (The outer ring stopped rotating after you took its winds earlier.)
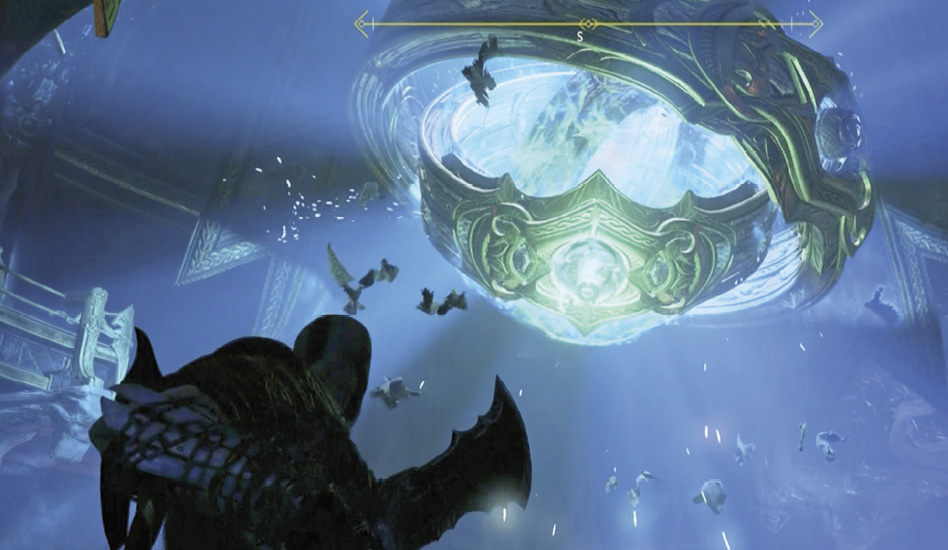
Sprint into the second chamber and sling the energy into the wind trap on the stalk (8) to retract it and bring up another crank-wheel. Turn that crank-wheel to shut down the middle ring out in the main hall. Now there’s only one ring left to deactivate.
Unlock the Nornir Chest
Turning the second crank-wheel also opens up two new passages from the second chamber. One of them (10) leads to the third and final chamber, so let’s check out the other passage first. You see a Nornir Chest at the far end of this passage. But two crushing blocks tipped with spikes slide back and forth, blocking your way to it.
First, stand close to the left wall (9) and toss Leviathan at the gear-disc (circled) on the second block, which appears briefly as the blocks slide back and forth in staggered movement. The timing is a bit tricky, but you’ll get it after a few tries.
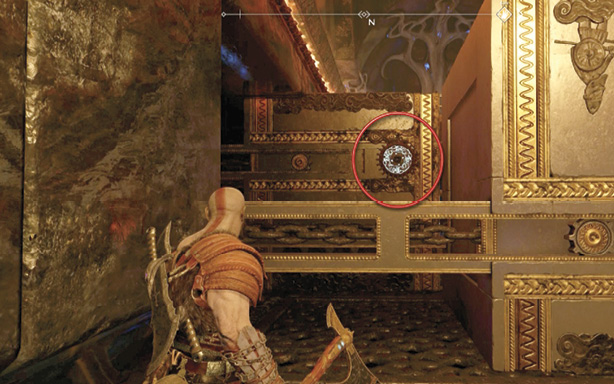
When you hit that gear-disc, the second block freezes in the “open” position. Move against the right wall and time your run past the still-moving first block to reach the Nornir Chest.
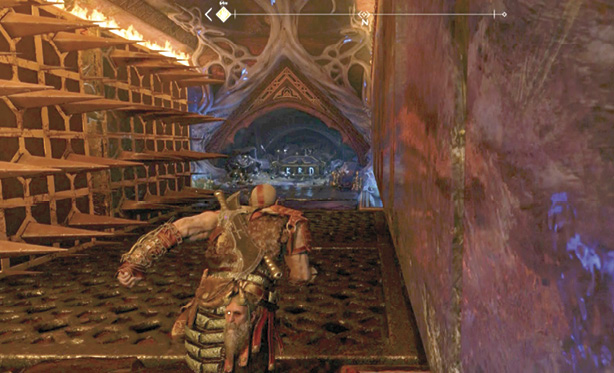
Of course, to open the chest, you must break the three runic seals. Without recalling your axe yet, turn around and watch the first block (the one still moving). See the runic seal stone sitting in a niche on the block’s side?
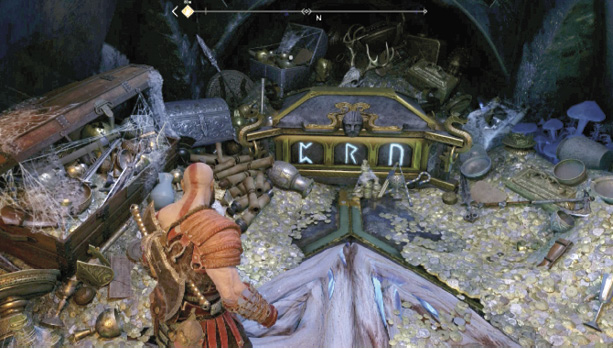
Walk close (10) to the sliding block and punch the stone when it slides into reach again. One seal broken, two to go.
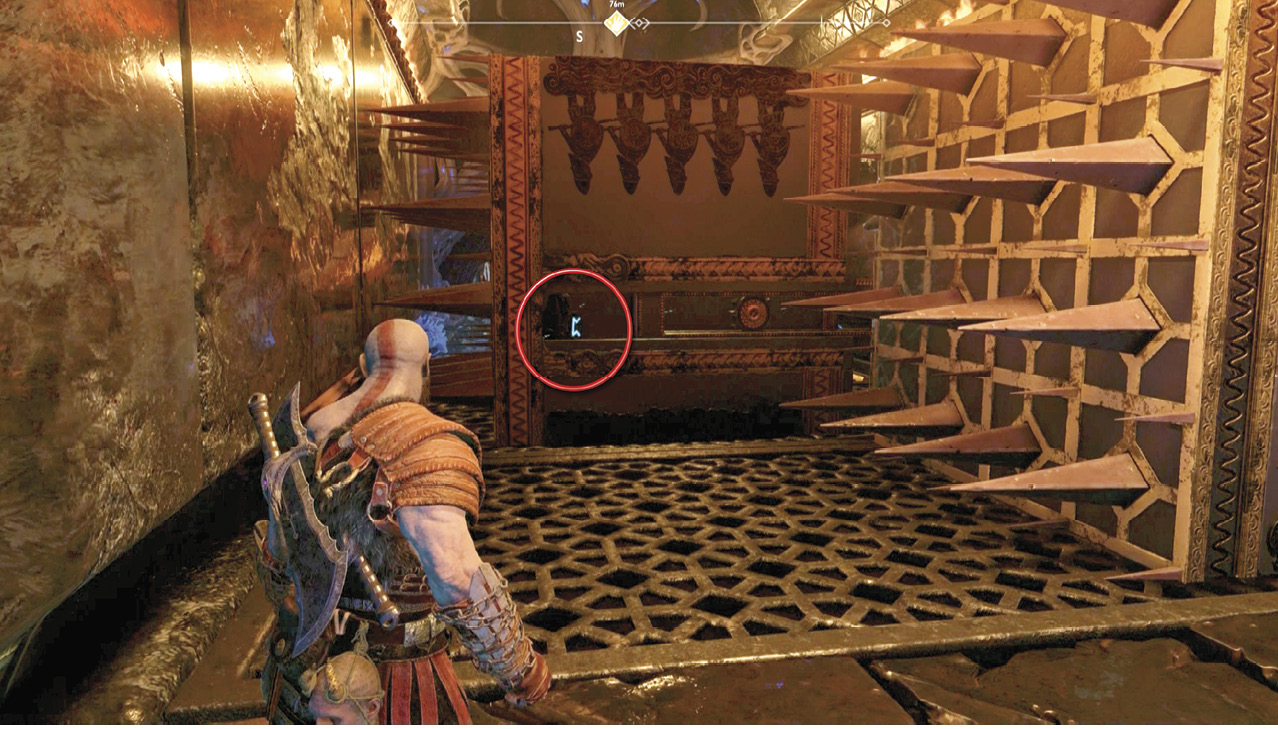
Time your run past the sliding first block and then recall Leviathan. Step back into the treasure-filled second chamber, turn left, and spot the next runic seal stone on the far-right side of a shelf (11) against the wall. Nail it with your axe. Two down, one to go.
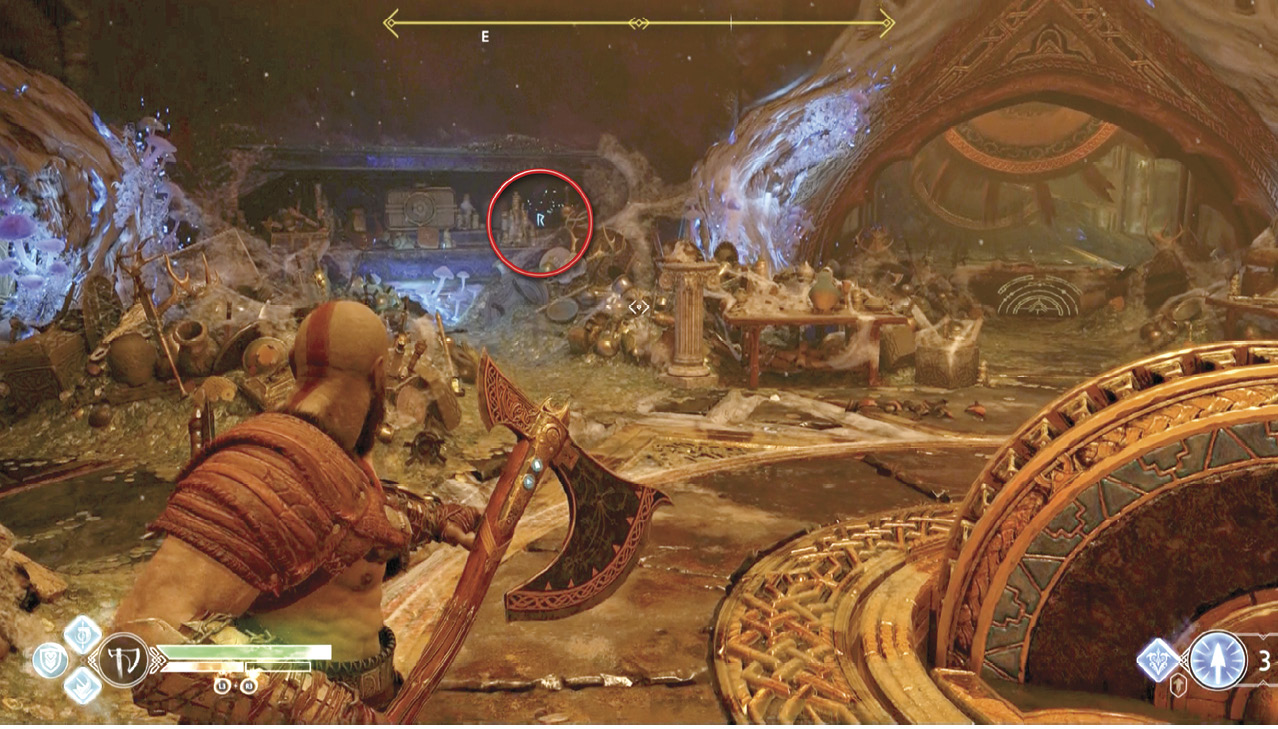
Take a few steps down the other passage (12), where three blocks are sliding vertically, and look up. Spot the runic seal stone up high on the rightmost strut of the first sliding block (see our screenshot). Aim Leviathan and time your throw to break the last stone. Now you can return to the Nornir Chest and open it for your well-earned reward: an Iðunn Apple.
Get to the Third Chamber
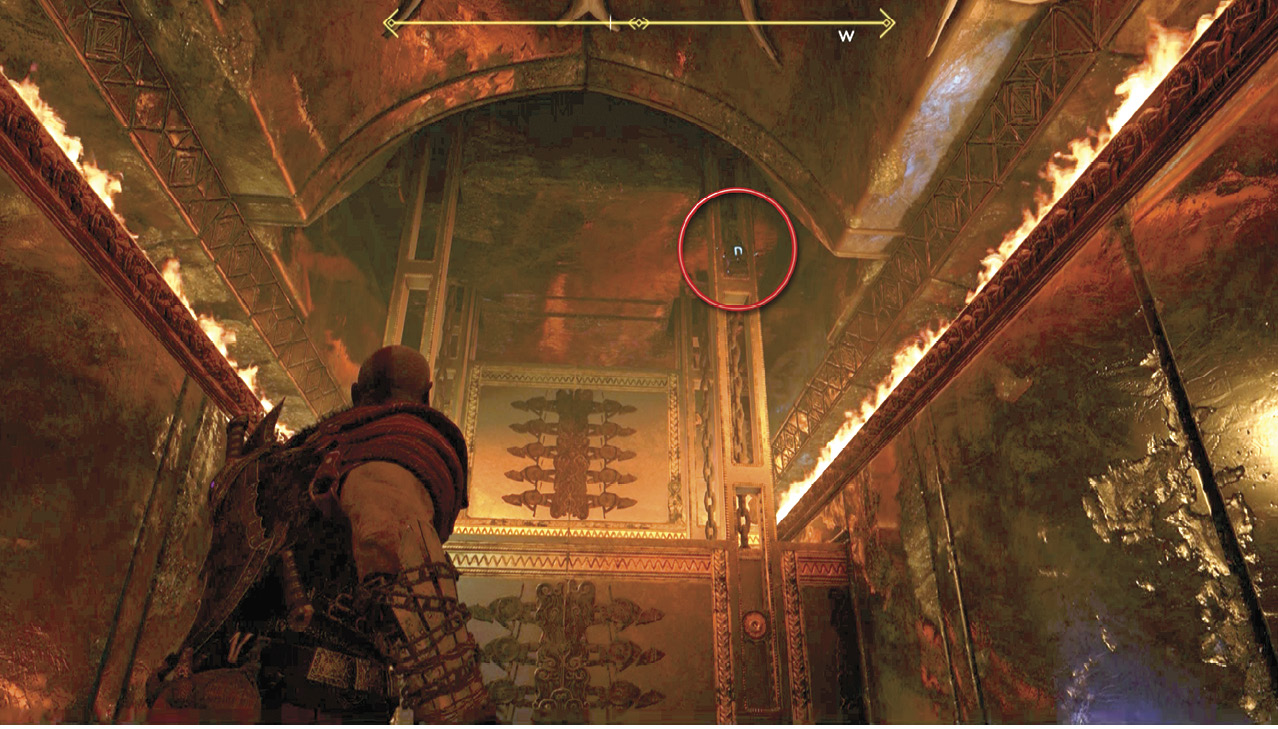
Go back into the other passage (12) and look at the wall on the right side. You catch a glimpse of a small, blue-lit alcove (13) to the right of the second and third blocks. To reach it: When the first block rises, toss Leviathan at its gear-wheel (circled) to freeze the block in the up position. Now you can walk over to the right-side wall.
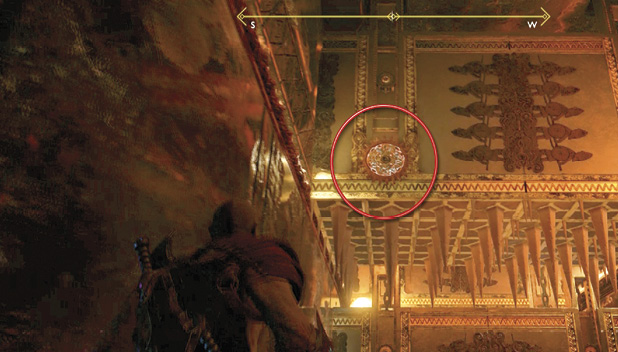
When the second block rises, run into the blue-lit alcove. Be sure to pick up the big pile of Hacksilver inside. Then wait until the third block rises, and sprint out past it. Head down the passage into the last chamber. Like the other two chambers, it has an empty wind trap on a stalk (14), ready to receive a Winds of Hel transfer.
Transfer the Winds of Hel from Inner Ring to Outer Ring
Pull open the chamber’s exit gate and head back out to the main hall to look up at the last (inner) rotating ring (3). You can’t see its wind trap from the ground because the trap stays on top of the ring. Mimir suggests getting up to one of the balconies overlooking the hall for a better look. Head over to the yellow-marked section of wall (15) just to the right of the vault’s entry passage and start climbing.
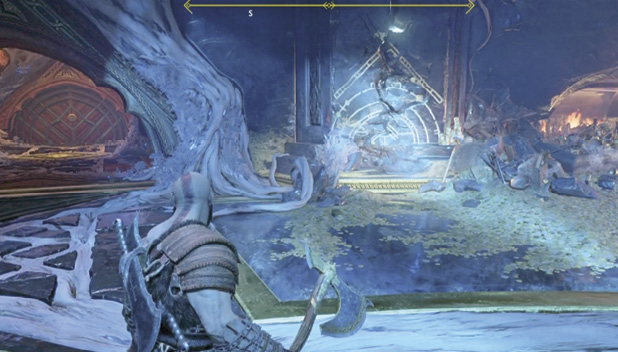
The climbing route takes you upward and rightward with several leaps to new handholds until you reach the spot where you can jump down onto the balcony. A patrol of Draugr with Fire Nightmare air support drops in to defend the curving balcony overlooking the hall, so clear them out. Then find the spot where a rune message is etched brightly on the wall and have Atreus read it.
Turn around and spot the active wind trap on top of the inner ring. Use the Blades to capture the Winds of Hel from that trap and transfer it to the big outer ring’s trap, which is conveniently facing you. (Both are circled in our shot.)
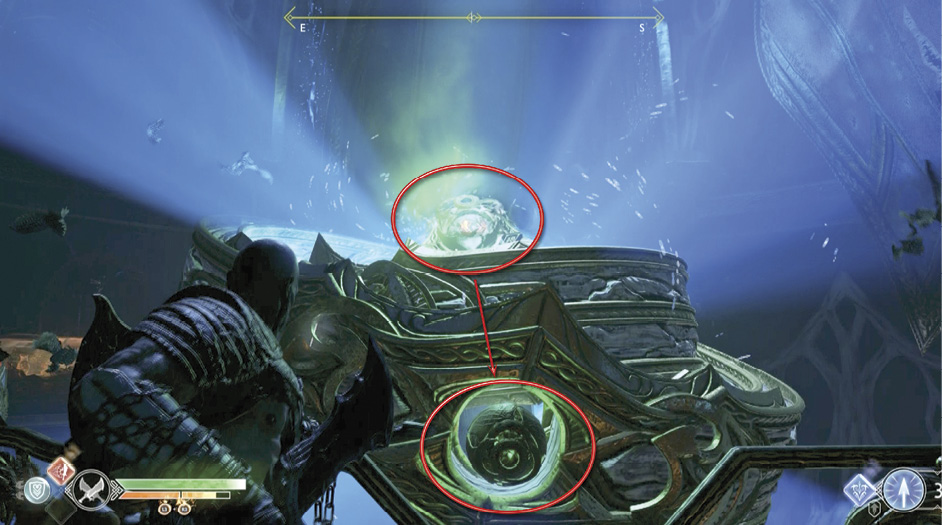
Deactivate the Third Ring
Find the chain anchor on the balcony, kick the chain down, and climb down to the main floor. Stand just outside the corridor to the third chamber (16) and capture the Winds of Hel from the outer ring’s wind trap (3). Then run into the chamber and sling the energy into the wind trap on the stalk (14) to bring up another crank-wheel from the floor.
When you turn this wheel, Atreus calls out that the Black Rune is finally lowering to within reach. But the stalk suddenly bursts from beneath the crank-wheel and wraps Kratos in a death grip, trapping him against the wheel. Then the crank-wheel platform starts sinking slowly into a pool of water.
OBJECTIVE: Escape the Trap
Puzzle time! Three pull-chains appear on the wall, underneath three symbols depicting celestial objects: sun, moon, and earth (Midgard). These symbols start out aligned on a horizontal slot track.
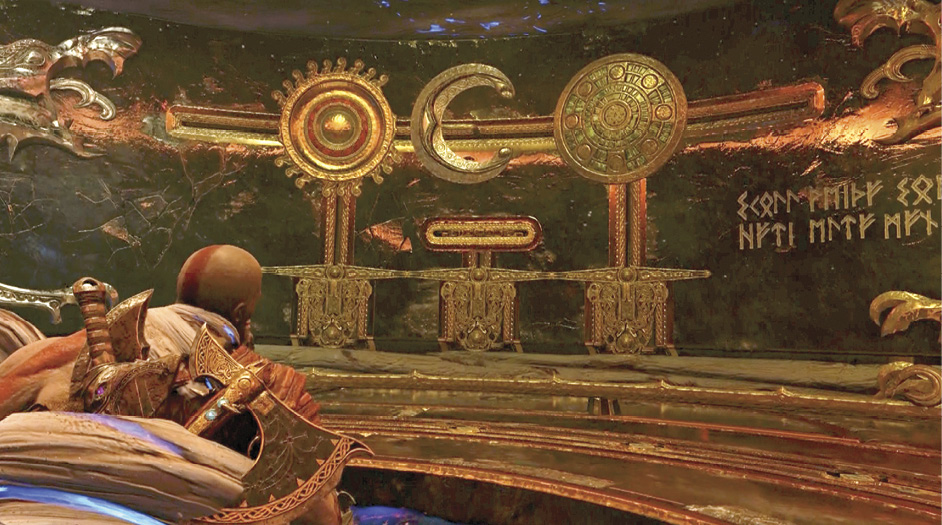
Here’s the order at puzzle start: sun, moon, Midgard.
First, listen as Atreus solves the riddle of the order: the correct alignment, from left to right, should be moon, Midgard, sun. But now you must use the pull-chains to arrange this correct order.
The puzzle mechanics work like this: Pulling the middle chain slides the symbols left or right along the horizontal track. The other two pull-chains each sit on a vertical track; pulling the chain moves symbols up or down the corresponding track. This allows you to change the order by sliding a symbol down, moving the other symbols horizontally past it, and then moving it back up.
From the starting alignment, here’s the quick puzzle solution:
- Pull the center chain to slide all symbols to the left. This moves the moon over the left vertical track.
- Pull the left chain to slide the moon down.
- Pull the middle chain to slide the sun and Midgard to the right. Now the sun is over the right vertical track.
- Pull the right chain to lower the sun.
- Pull the left chain to raise the moon.
- Pull the middle chain to slide the moon and Midgard to the left.
- Pull the right chain to raise the sun. Done!
Here’s the final puzzle solution order.
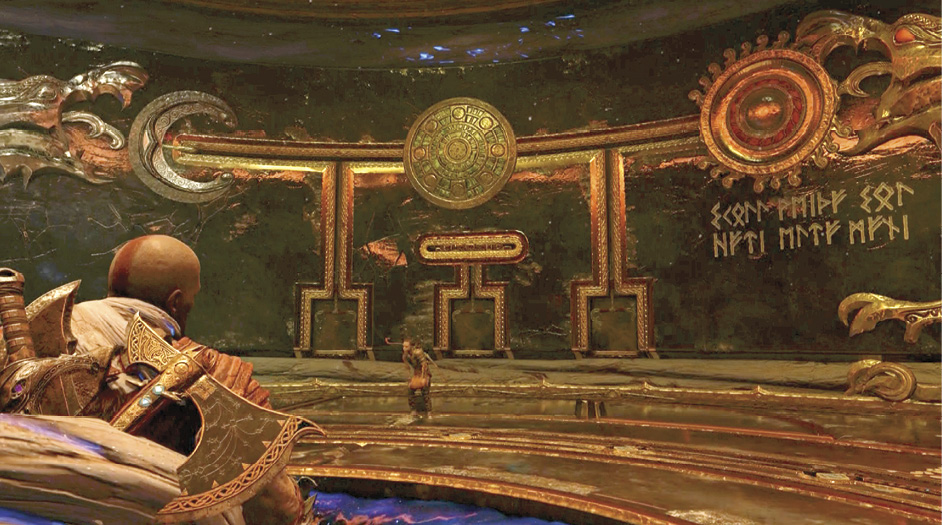
Jam the Chain
Oops! Solving the puzzle didn’t quite deactivate the trap. Kratos is still bound to the wheel, and a chain starts pulling the platform up toward a spiked plate on the ceiling. But this solution is easy. After Atreus examines the chain, press Square when the prompt appears on-screen. Atreus thrusts his knife into the mechanism, jamming the chain. Kratos is freed!
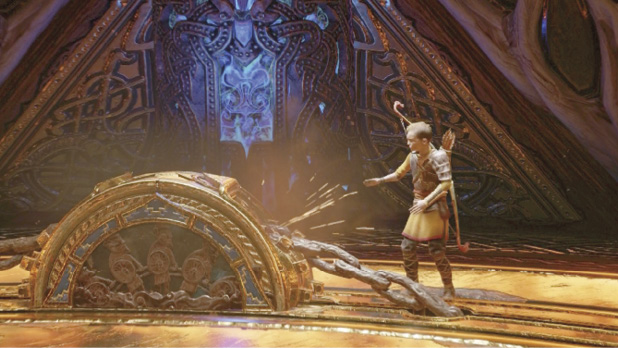
Approach the exit gate and kick it open; it leads out onto the balcony. Out in the main hall, the ring mechanism crashes to the floor and disappears, freeing the Black Rune.
OBJECTIVE: Retrieve the Black Rune
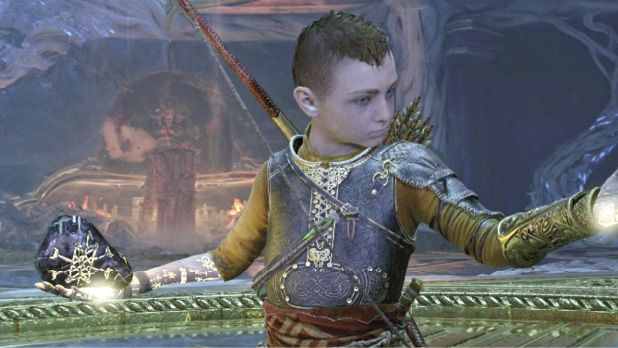
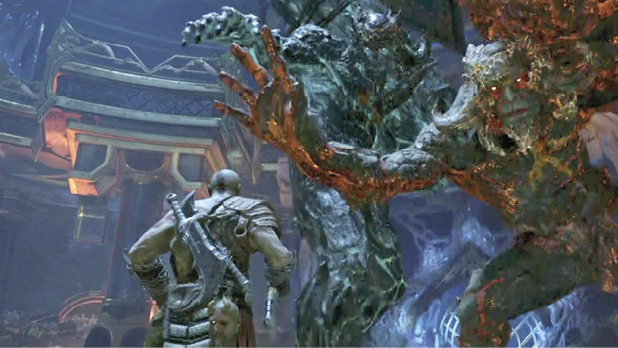
Climb down the chain and approach the center platform to trigger a scene: Kratos gives Atreus a gift, replacing what the boy just lost. Then they take the Black Rune, which manifests itself on Atreus in a particularly personal way. Unfortunately, seizing the Runestone also awakens a pair of ancient vault defenders.
Ride Back Up to the Bridge
Exit the main hall and return to the sand bowl (1). Direct Atreus to write in the bowl to raise the platform back up to the exit level. Watch the touching scene as Kratos shares a taste of his homeland with his son. The lift transports them all the way up to the bridge level, with their next destination looming in the distance.