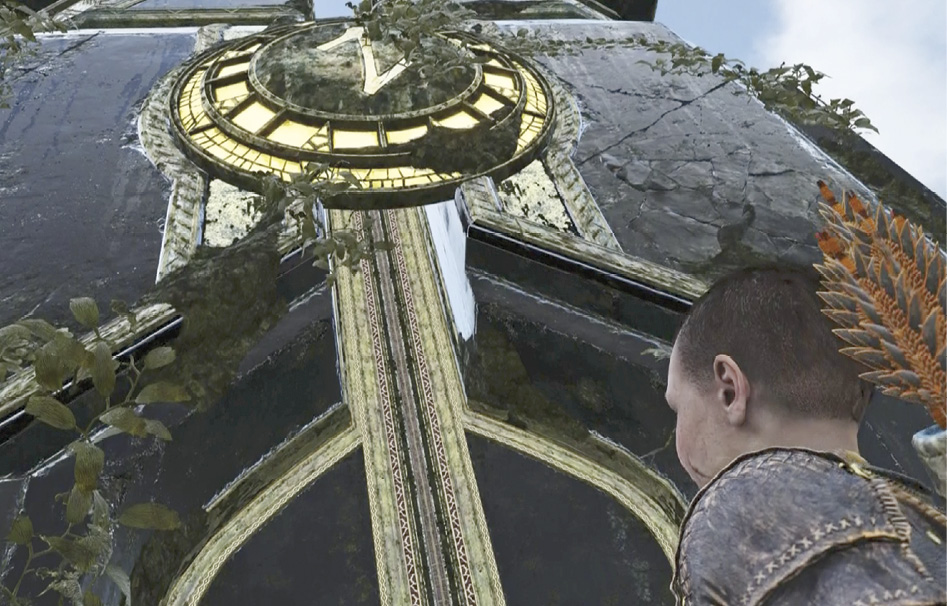
Chapter 15: Between the Realms
Based on Mimir’s report, Kratos is convinced that the Unity Stone is the secret behind Týr’s ability to travel easily from realm to realm. When he decides he must put it to the test in the Realm Between Realms, Mimir is not so thrilled. But Atreus is ready to take the leap with his father.
Journey Objectives
- Explore the Realm Between Realms
- Take the Unity Stone to the precipice
- Investigate the Jötunheim Tower
- Use the Unity Stone
- Survive the gauntlet of realms
New Enemies
- Dark Elf Lord
- Miniboss: Dauði Munr
OBJECTIVE: Explore the Realm Between Realms
Before you walk away from Brok’s Shop, be sure you upgrade everything you can for both Kratos and Atreus. You face a ferocious test of combat skill in this chapter, so you want the best equipment that Hacksilver and resources can buy. Do the same in your Skills Menu.
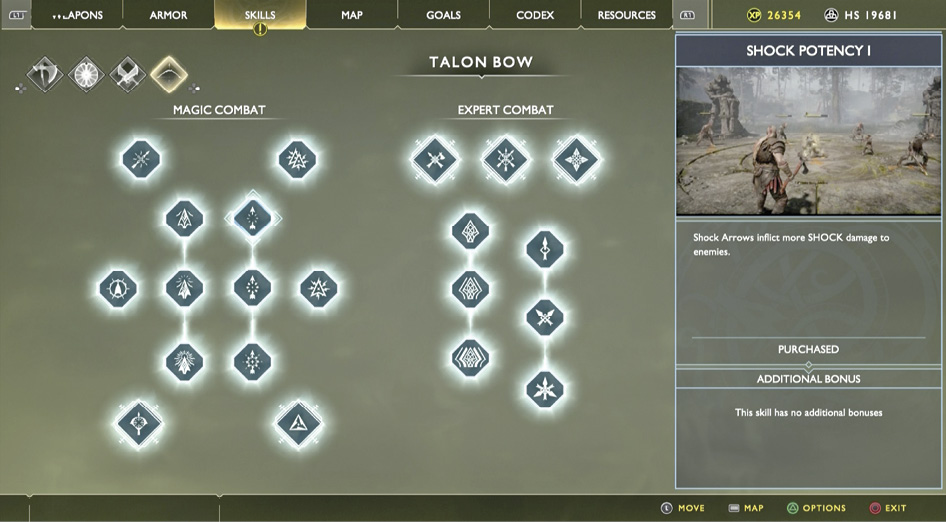
You want a good Skill mix for axe and Blades, but don’t neglect Atreus’ bow. Buy the highest level of Skills possible for it, boosting the Shock and Weaken Potency of his arrows. By this point, the boy has become a valuable combat partner. If you upgrade Atreus’ Skills and use him relentlessly in battle, the fighting becomes considerably more manageable.
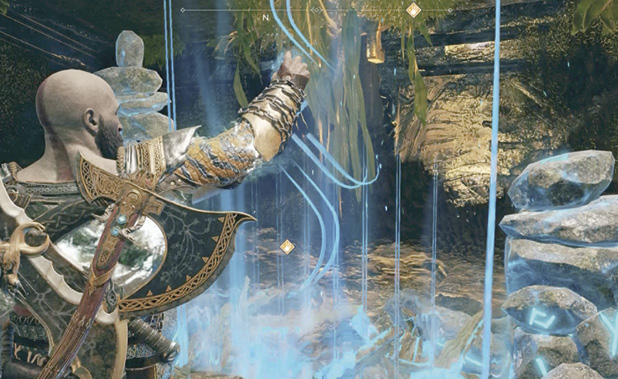
Walk across the chamber to use the Mystic Gateway to travel into the Realm between Realms.
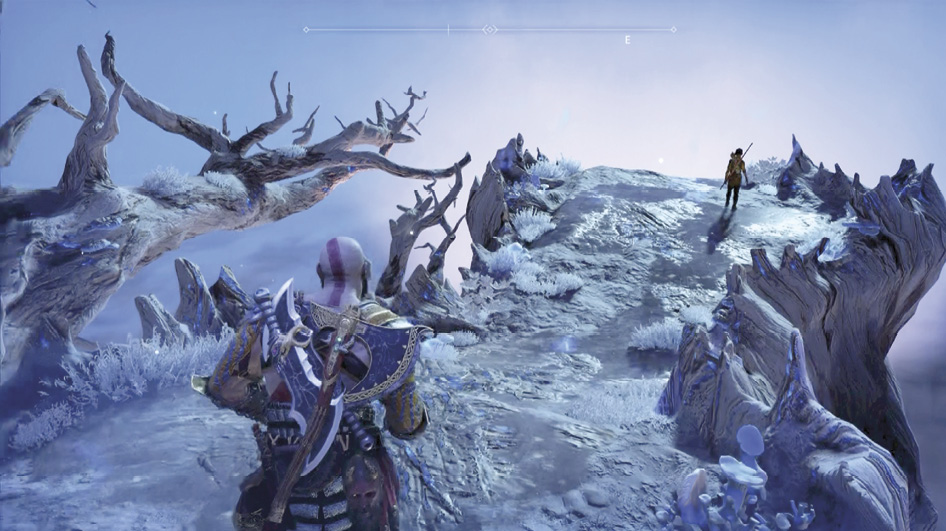
OBJECTIVE: Take the Unity Stone to the Precipice
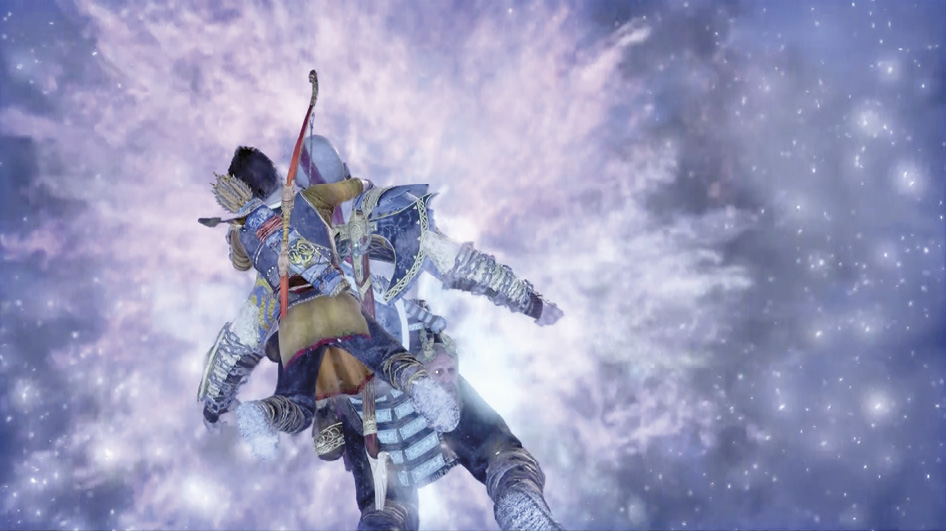
Follow Atreus off the main path onto the side spur that leads to a precipice. Walk to the precipice and press Circle to trigger a scene: the team takes the leap of faith and ends up between the realms with the long-lost Jötunheim Tower just ahead.
Realm Between Realms
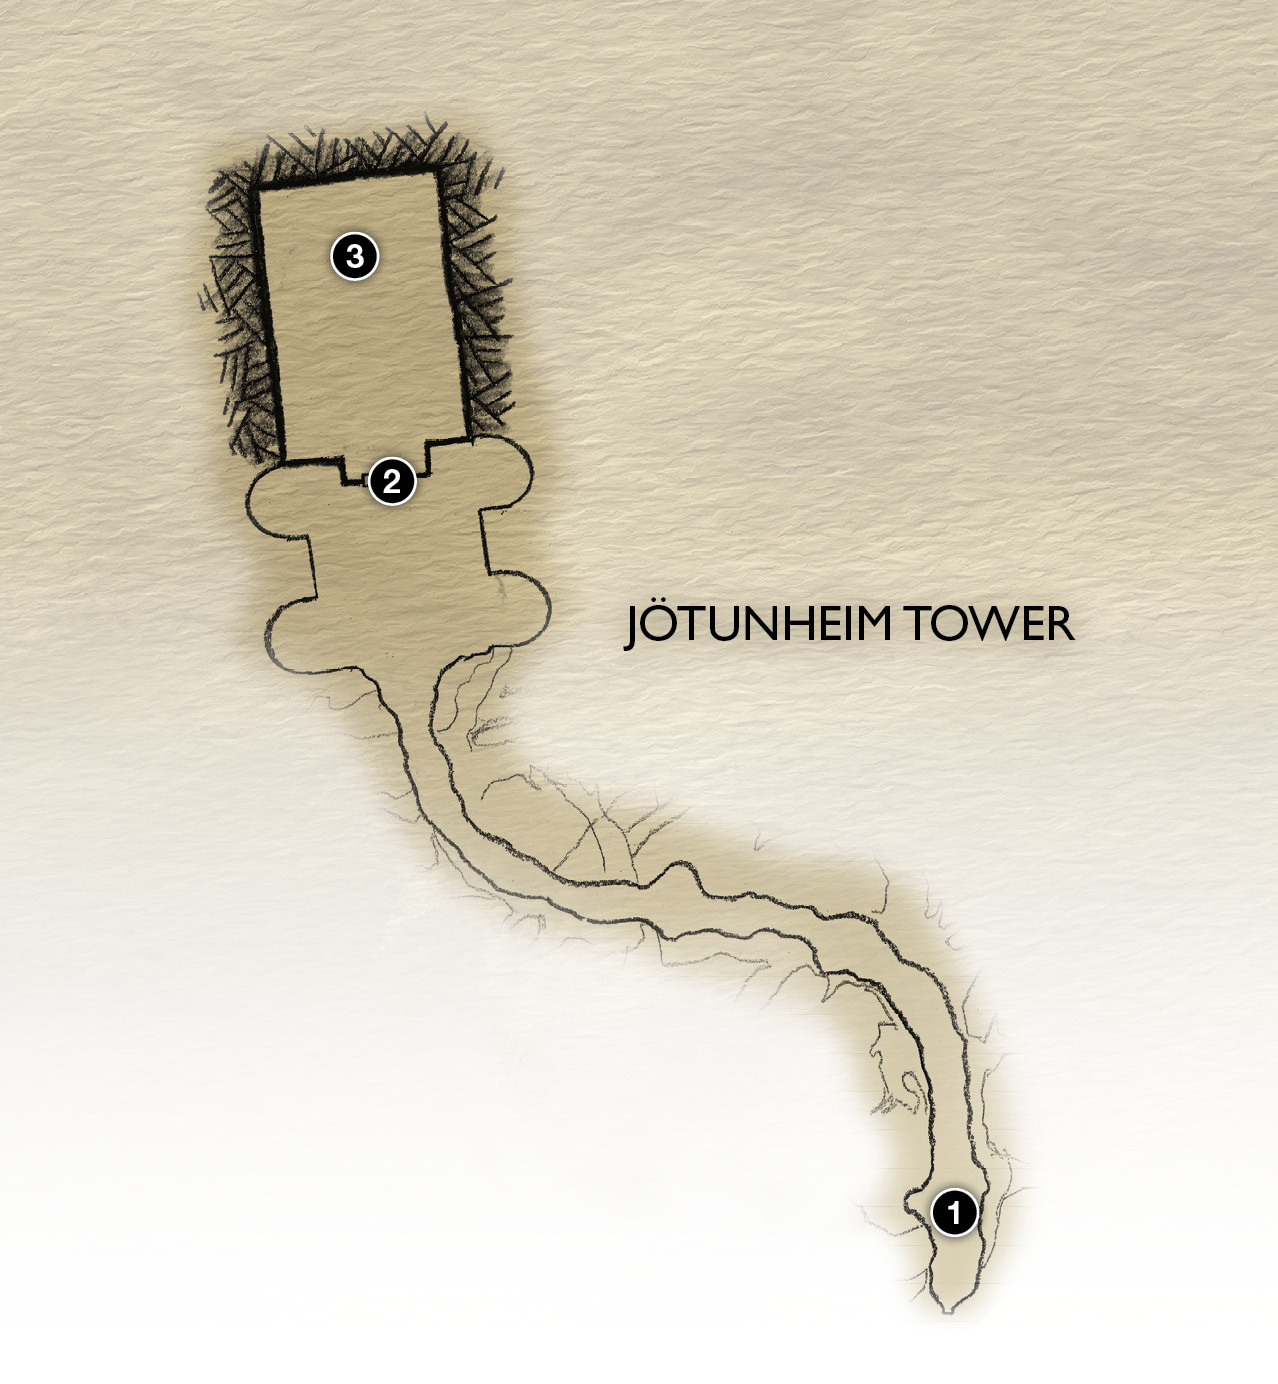
1. Arrival
2. Jötunheim Tower entrance
3. Unity Stone pedestal
OBJECTIVE: Investigate the Jötunheim Tower
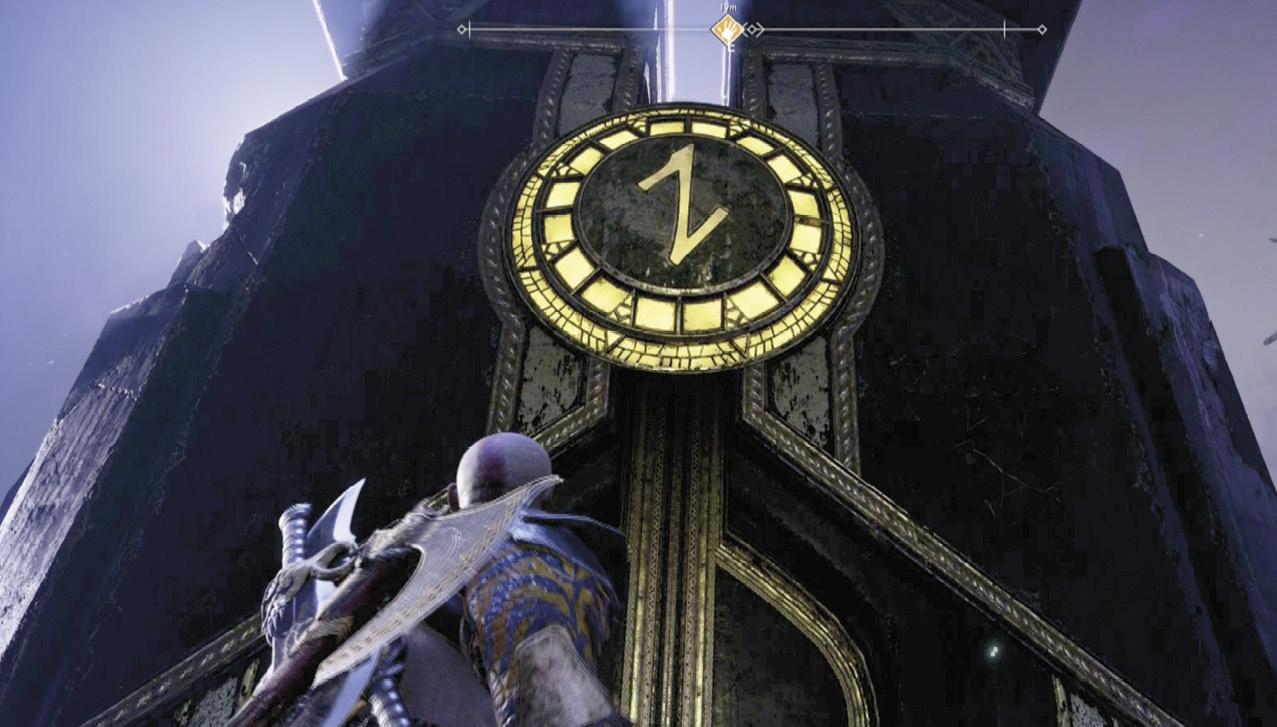
From your landing point (1), follow the path to the tower’s entry platform (2). Simply open the doors and step inside. You enter a large open hall with a number of side doors and only a low pedestal (3) at the far end. As Mimir says: “Well, this is sparse.”
OBJECTIVE: Use the Unity Stone
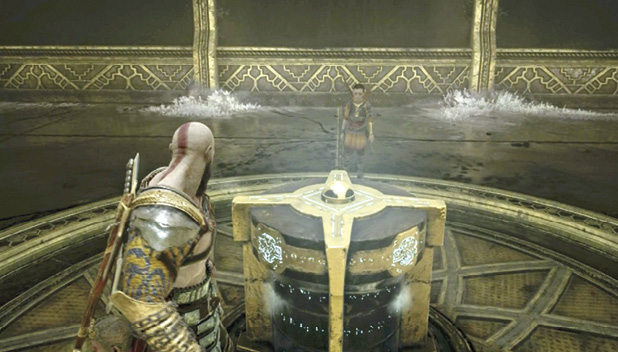
Approach the pedestal and place the Unity Stone in the slot on top. The pedestal drops into the floor, and the tower absorbs the stone’s energy. For a moment, things are looking up. And then the hall doors slide open.
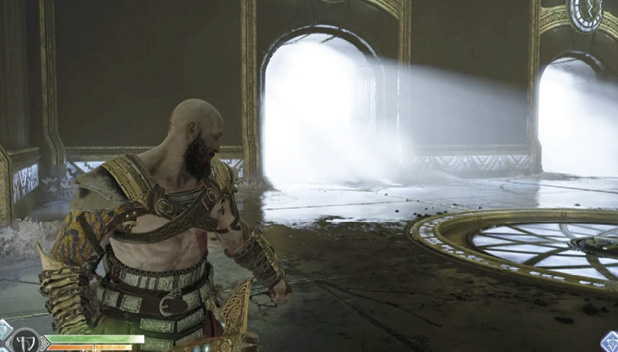
OBJECTIVE: Survive the Gauntlet of Realms
You face wave after wave of foes. Each wave comes from a different realm. After each wave you get a brief respite, giving you time to catch your breath and collect all the pickup items dropped by fallen enemies.
Wave 1: Brood
First comes a hissing Brood swarm. Use Leviathan to cut them into twitching gobbets of Midgardian meat, and keep Atreus’ Light Arrows flying. Normally you want to stay mobile, but with Brood it can be useful to back into a wall or a corner to keep them from jumping you from behind.
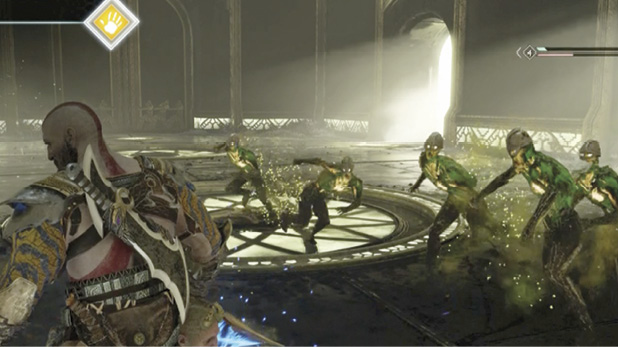
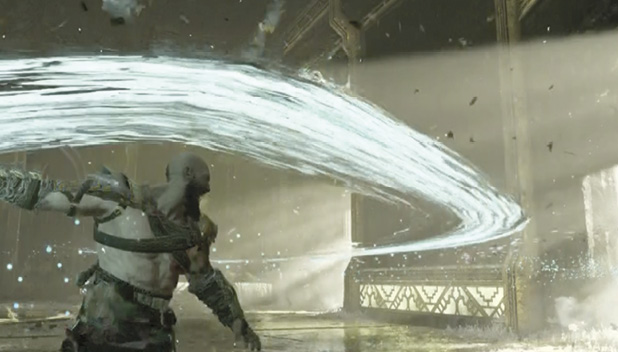
Unleash any Runic Attacks with knockback to send them all flying. When the last Brood falls, quickly grab the pickups, especially Ragestones to get your Spartan Rage available.
Wave 2: Dark Elf Lord
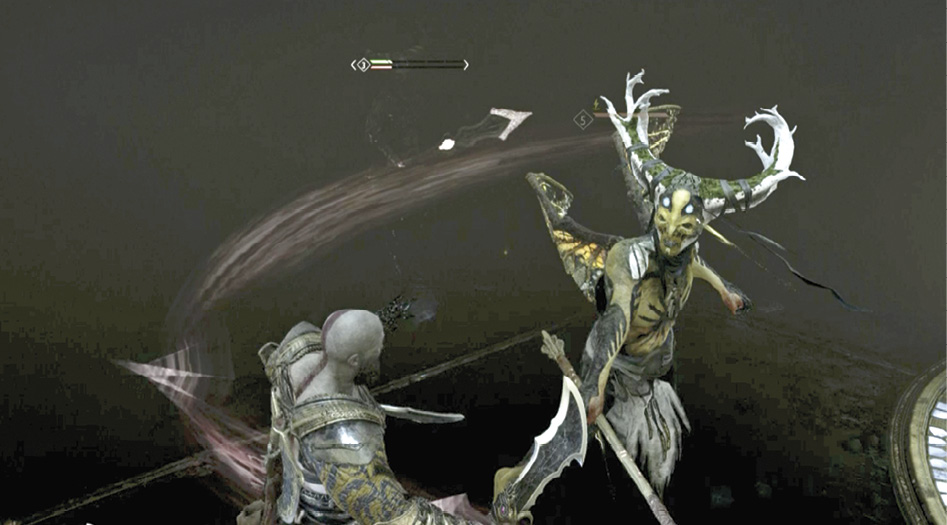
The Alfheim rune glows above the doors as a brand-new foe enters the arena. This Dark Elf Lord fights much like its brethren but with far greater power and maddening agility. At first, just one regal, horned Lord challenges Kratos, but soon another joins him. As with other heavy types, his melee strikes are well-telegraphed, making them easy to evade.
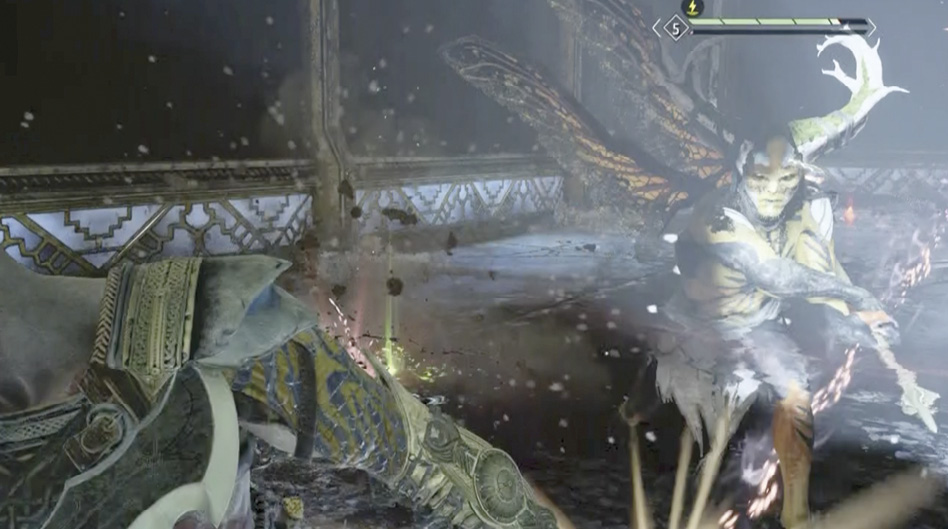
Stay alert! Most of the Dark Elf Lord’s attacks can blind or daze you. If you don’t keep circling and dodging, you’ll spend much of the fight in darkness, fending off sudden rushes from Lords lurking in the murk surrounding you. Late in the wave, a Gloom Nightmare joins in, spitting its blinding projectiles. Turn Atreus loose on the flier before it can muddy the situation.
Wave 3: Hel-Viken
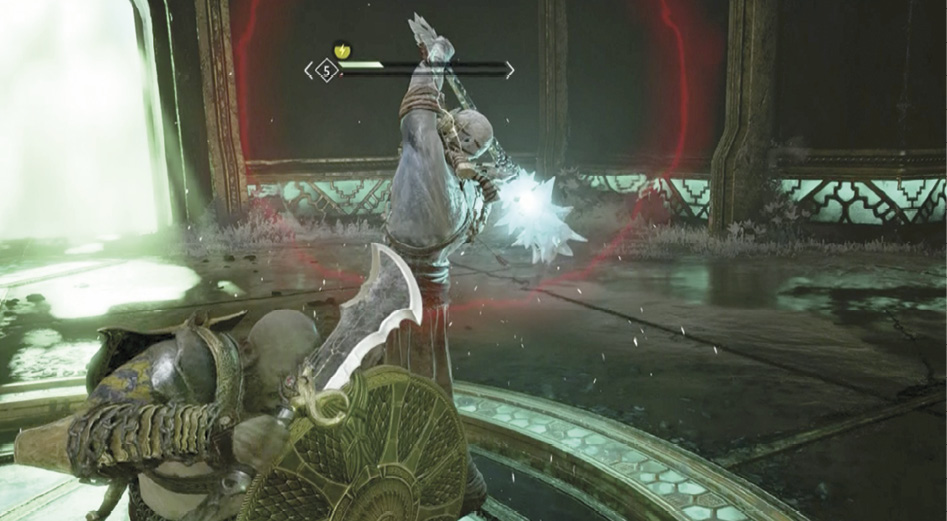
This time the Helheim rune appears above the doors as they slide open. Switch to your Blades of Chaos and toggle Atreus’ quiver to Shock Arrows. The next wave features a squad of Hel-creatures you’ve faced before: some Hel-Reavers and Hel-Reaver Guards, followed by three Hel-Viken—two Level 4 types and one Level 5.
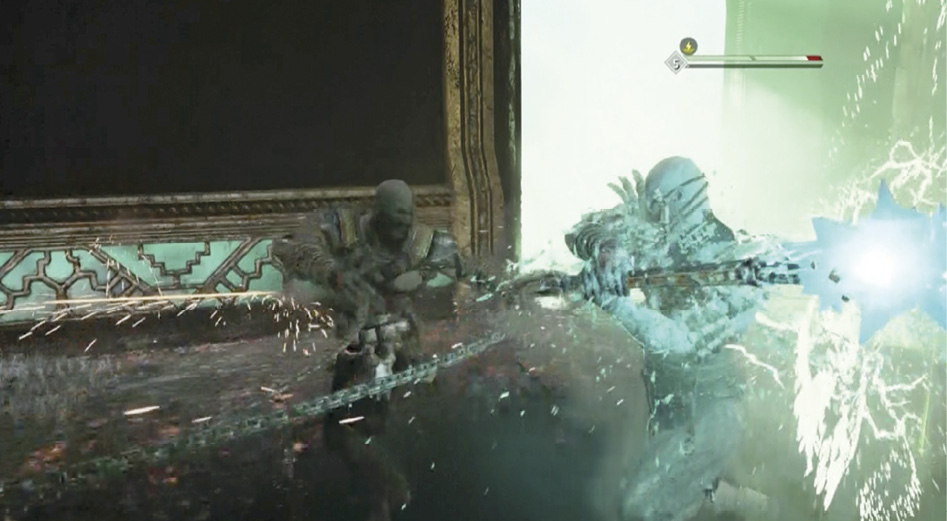
You should be familiar with all of these foes by now. Don’t let the Hel-Viken pin you in a corner; they’re slow, so keep on the move. Slice them up and grab the pickups fast when the last one falls.
Wave 4: Fire Troll and Ogre
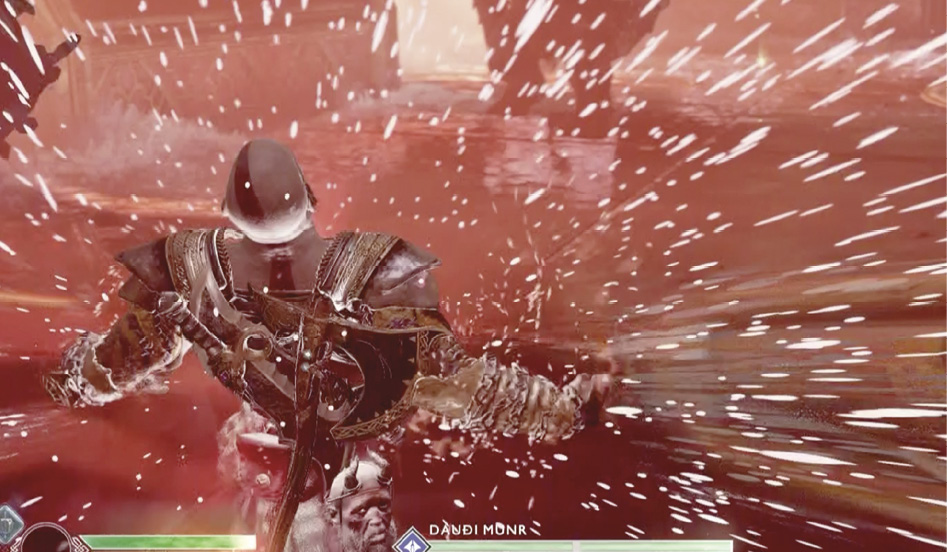
Switch back to Leviathan and Light Arrows as the bright red rune of Muspelheim, the fire realm, introduces a final blistering wave of attackers. As you might expect, these foes feature fire-imbued attacks. First, a Fire Troll named Dauði Munr lumbers into the tower and slams down his red pillar. He’s joined by an Ogre and a handful of Draugr.
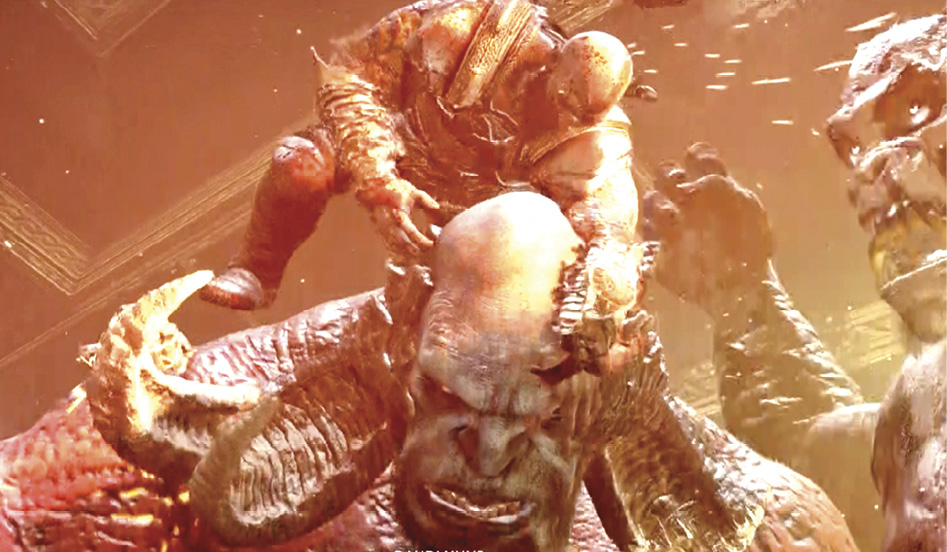
This is a brutal fight but you’ve beaten Trolls and Ogres before, so refer to those experiences. Keep your distance, flinging Leviathan until one of the big fellows turns his back or falls stunned, and then rush in for close-range attacks. If you can stun-grab the Ogre, you can ride him directly into Dauði Munr to inflict heavy damage!
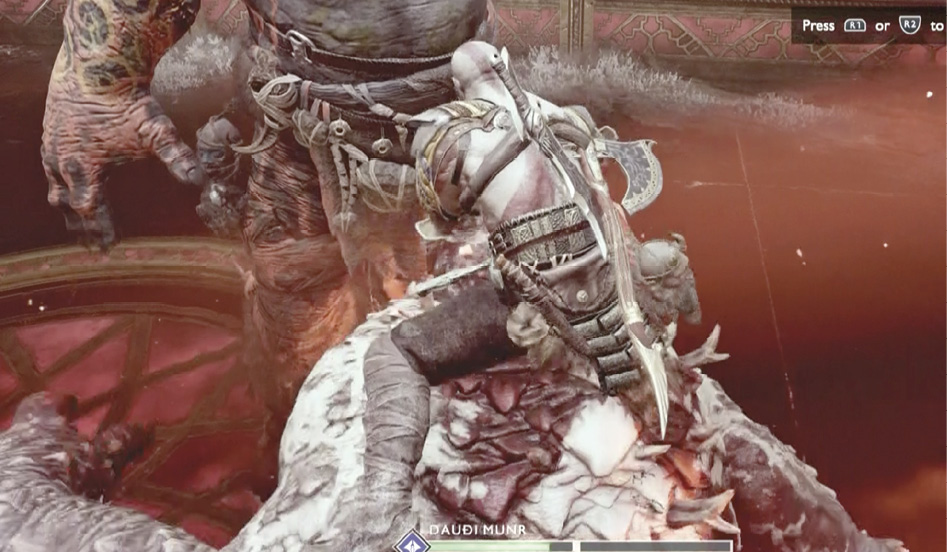
This is also an excellent place to unleash your Spartan Rage—it’s particularly effective against big, slow monsters, letting you land a lot of punches. Use your rage to seriously degrade the health of one or both foes, Ogre and Troll. Keep Atreus fully active too! His arrows should do more than distract now; they should pack a good punch.
Exit the Tower
When the last foe drops, all doors slam shut and the Jötunheim rune glows brightly above the tall exit door. Open it to discover that the Jötunheim Tower has returned to Midgard…and is attached to Týr’s Bridge!