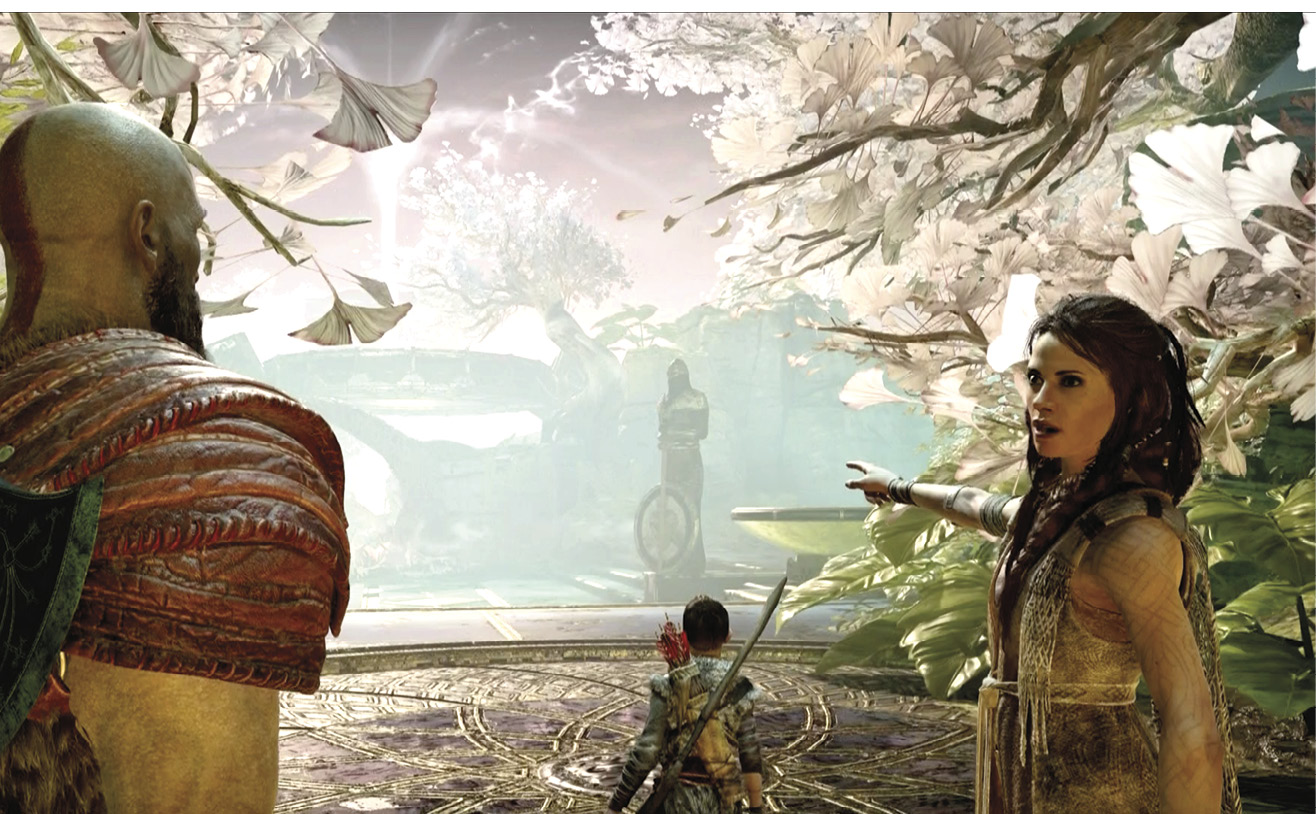
Chapter 3: A Realm Beyond
Vanaheim Tower
With the Black Breath flowing from the Mountain’s entrance, Kratos and Atreus cannot get above the base of the peak. But the Witch has offered to help them collect a pure light that can dispel the magic barrier.
Journey Objectives
- Follow the Witch
- Realign the Bridge
- Follow the Witch Again
- Travel to Alfheim
New Enemies
- None
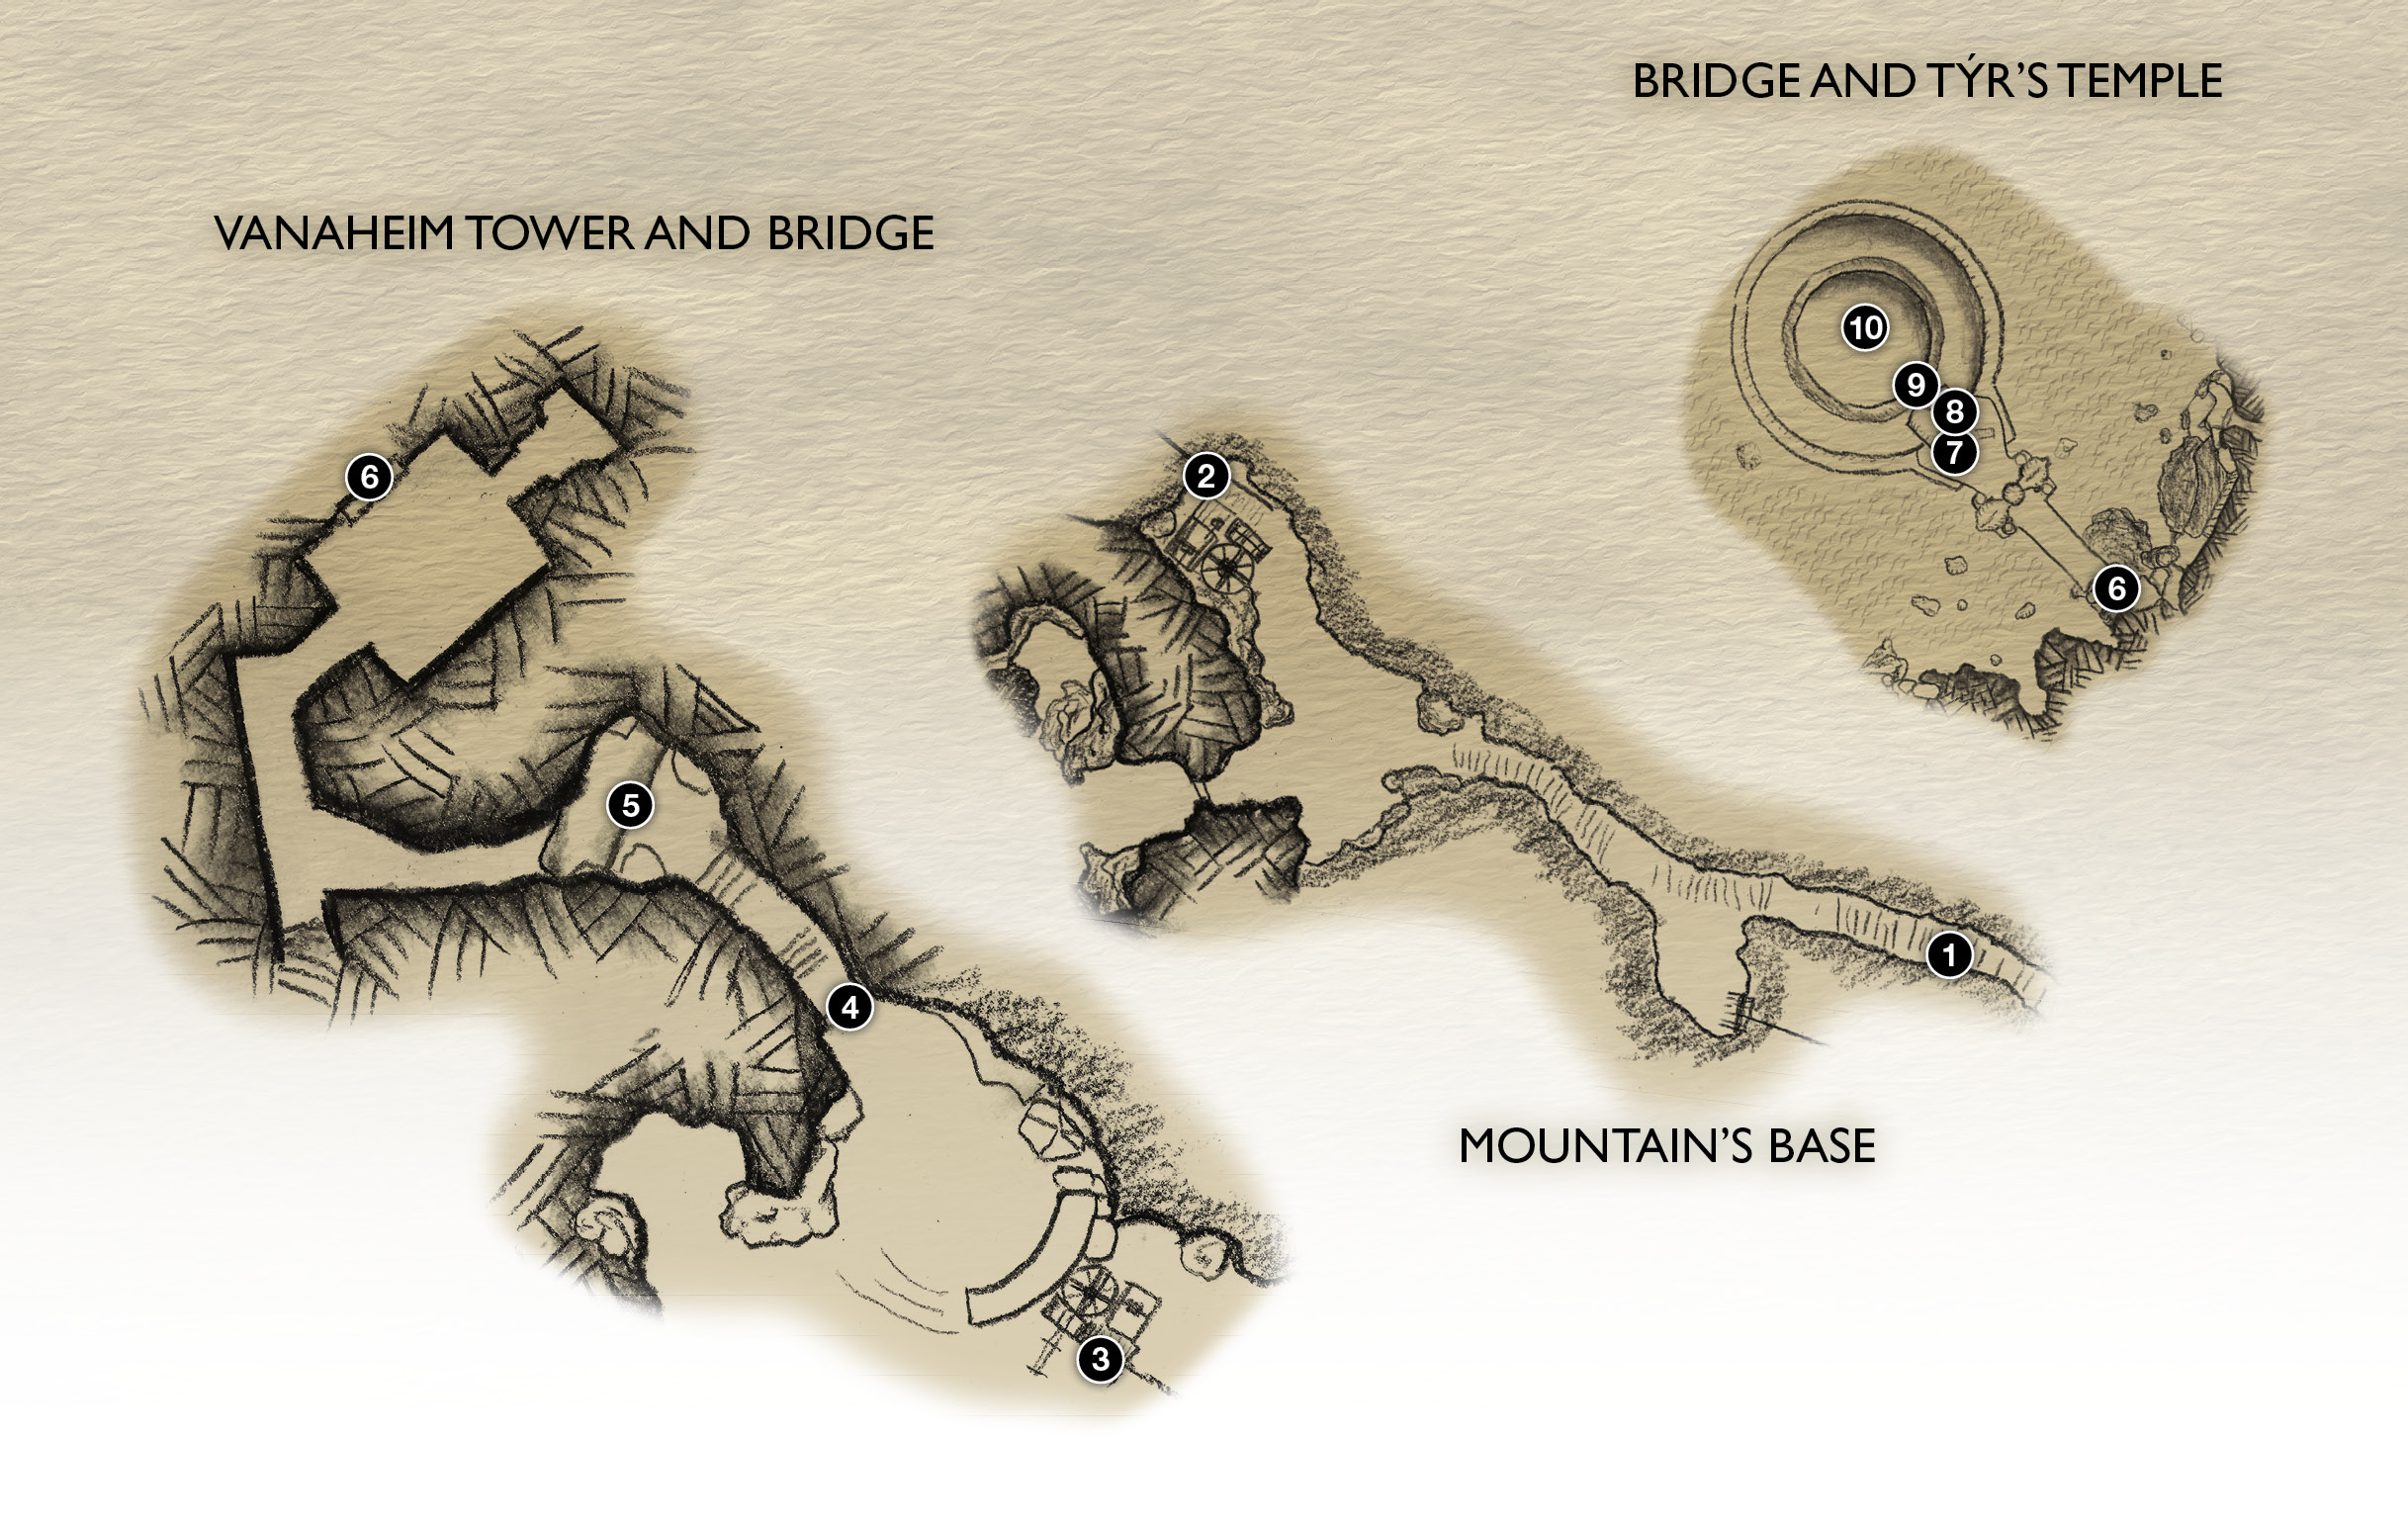
1. Start
2. Sky Mover
3. Lower tram platform
4. Door
5. Light bridge
6. Tower entry door
7. Staircase
8. Outer chamber entry door
9. Realm Travel Room entry
10. Travel table
OBJECTIVE: Follow the Witch
Use the Tram
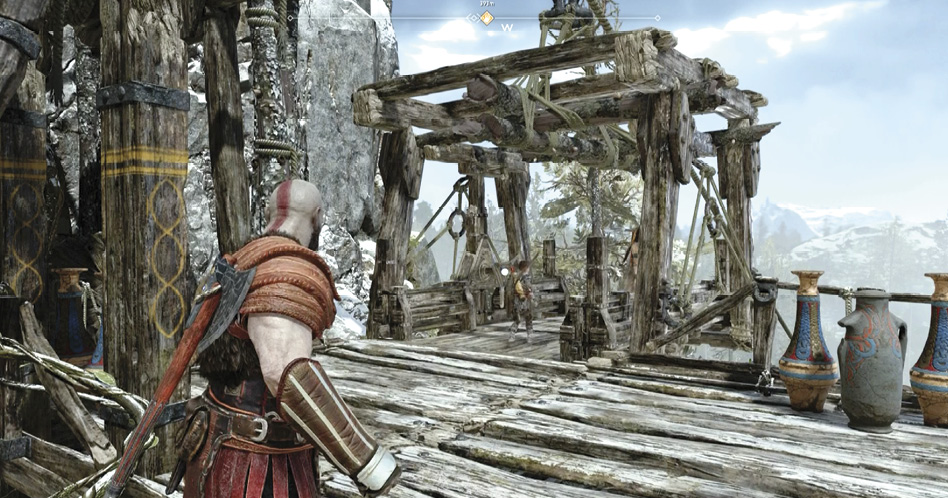
From the start (1), follow the Witch down the stairs to Sindri’s Sky Mover (2). There, watch her use magic to dispel the vines covering the tram. Step aboard and give the crank-wheel a turn to activate the tram and ride down to the platform (3) by Sindri’s Shop. During the ride, the Witch explains that the golden structure at the center of the Lake of Nine is called Týr���s Temple. From there you can travel to Alfheim. She also speaks of the great battle between the World Serpent and Thor.
Return to the Bridge
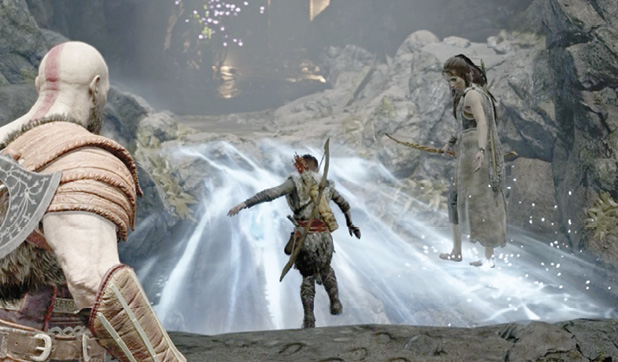
From the tram platform, follow the Witch to the tall doors (4) and open them for your party. Continue to the gap (5) and watch as the Witch shoots an arrow at a crystal on the opposite cliff. This activates a bridge of solid light, courtesy of Elven architecture.
Follow the Witch across the light bridge into the Vanaheim Tower as she leads you back to the tower’s entry doors (6). Open them and follow her onto the bridge. As you cross to the Temple, the Witch fills in the backstory on Great Týr and his temple, and the increasing presence of the “risen dead” in the realms.
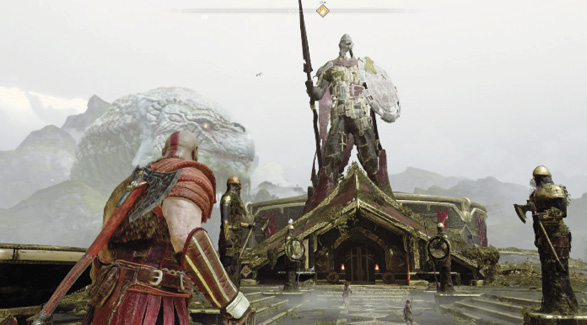
When you reach the far side, the Witch veers off left to the edge of the bridge and directs you to descend the nearby stairs (7) and turn right. Do so, then watch as she uses her bow to activate another light bridge. Head across this bridge.
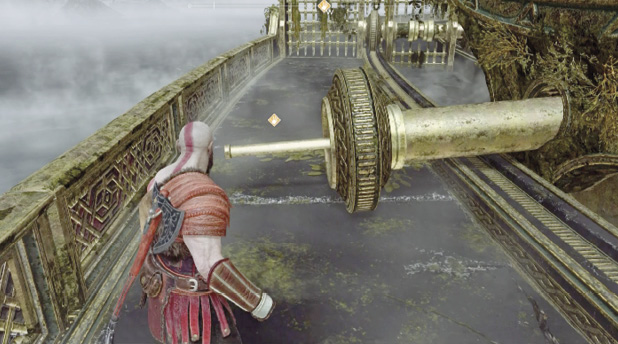
OBJECTIVE: Realign the Bridge
Proceed to the big gearwheel with the protruding axle bar. Press Circle to grab it, then repeatedly tap Circle to lift the axle back into place and realign it onto its track. Push the left controller stick forward until Kratos pushes the bridge into a new position that connects to the Alfheim Tower. While he pushes, listen as the Witch explains who the Hel-Walkers are.
OBJECTIVE: Follow the Witch Again
Head back upstairs to open the temple door (8), then follow the Witch across the entry chamber inside. At the far doorway, she fires her bow again at an Elven crystal to activate another light bridge (9). Watch as the Witch uses magic to prepare Atreus’ bow so that once you claim the Light of Alfheim, you can use it to infuse the boy’s bow. Then cross the light bridge and open the door that leads into the Realm Travel Room.
OBJECTIVE: Travel to Alfheim
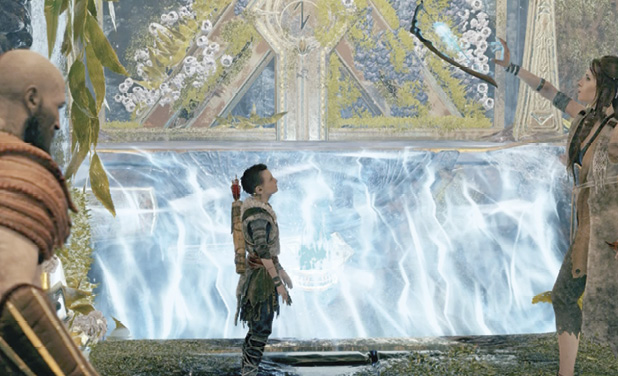
Approach the roots of the World Tree; the Witch explains that they make travel between the realms possible. Walk across the roots, step to the center table (10) next to the Witch, and press Circle. The Witch hands Kratos a Bifröst, used to create travel between realms, and he places it in the table slot.
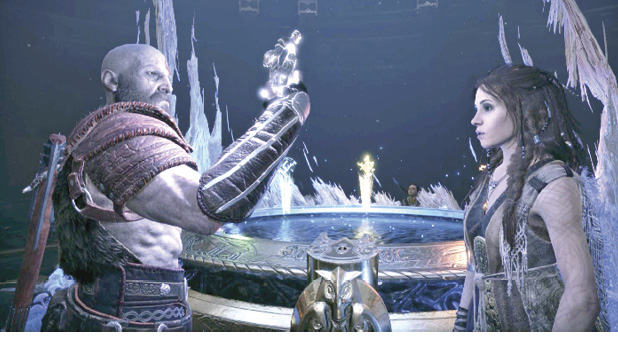
After the Witch describes how the realms are connected and nourished by Yggdrasil, the Tree of Life, use the left control stick to rotate the bridge (via the table) to Alfheim. Next, the Witch gives Kratos the Alfheim travel rune that unlocks the bridge to that realm. Press X to travel to Alfheim. (If you open the map in your menu, you see that it now depicts Alfheim.)
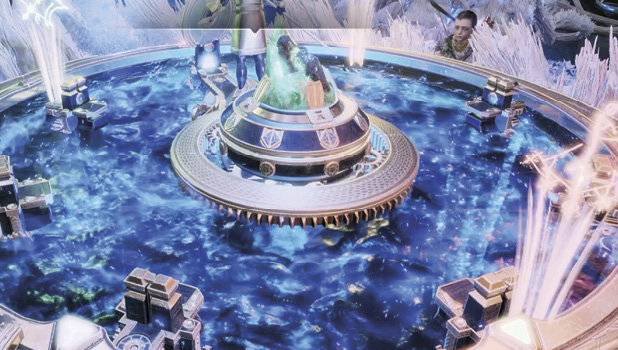
Follow the Witch across the World Tree roots and the light bridge to the realm door and open it. The Witch points out the fading light rising from the ringed temple in the distance. As the magic of the gods pulls her back into the temple, she gives you a final directive. To restore the Bifröst’s magic, you must step into “the Light.”