
Chapter 10: Freya’s Cave and Sanctuary, and Helheim
Before you return to Týr’s Vault to seek the Black Rune, your new Chisel and the newly acquired Winds of Hel transfer Skill give you the ability to pick up more treasure around Freya’s house. And now that Atreus and his Shock Arrows are reunited with Kratos, you can also score some goodies back on the approach to Helheim. This is an optional area for exploration.
Freya’s Cave
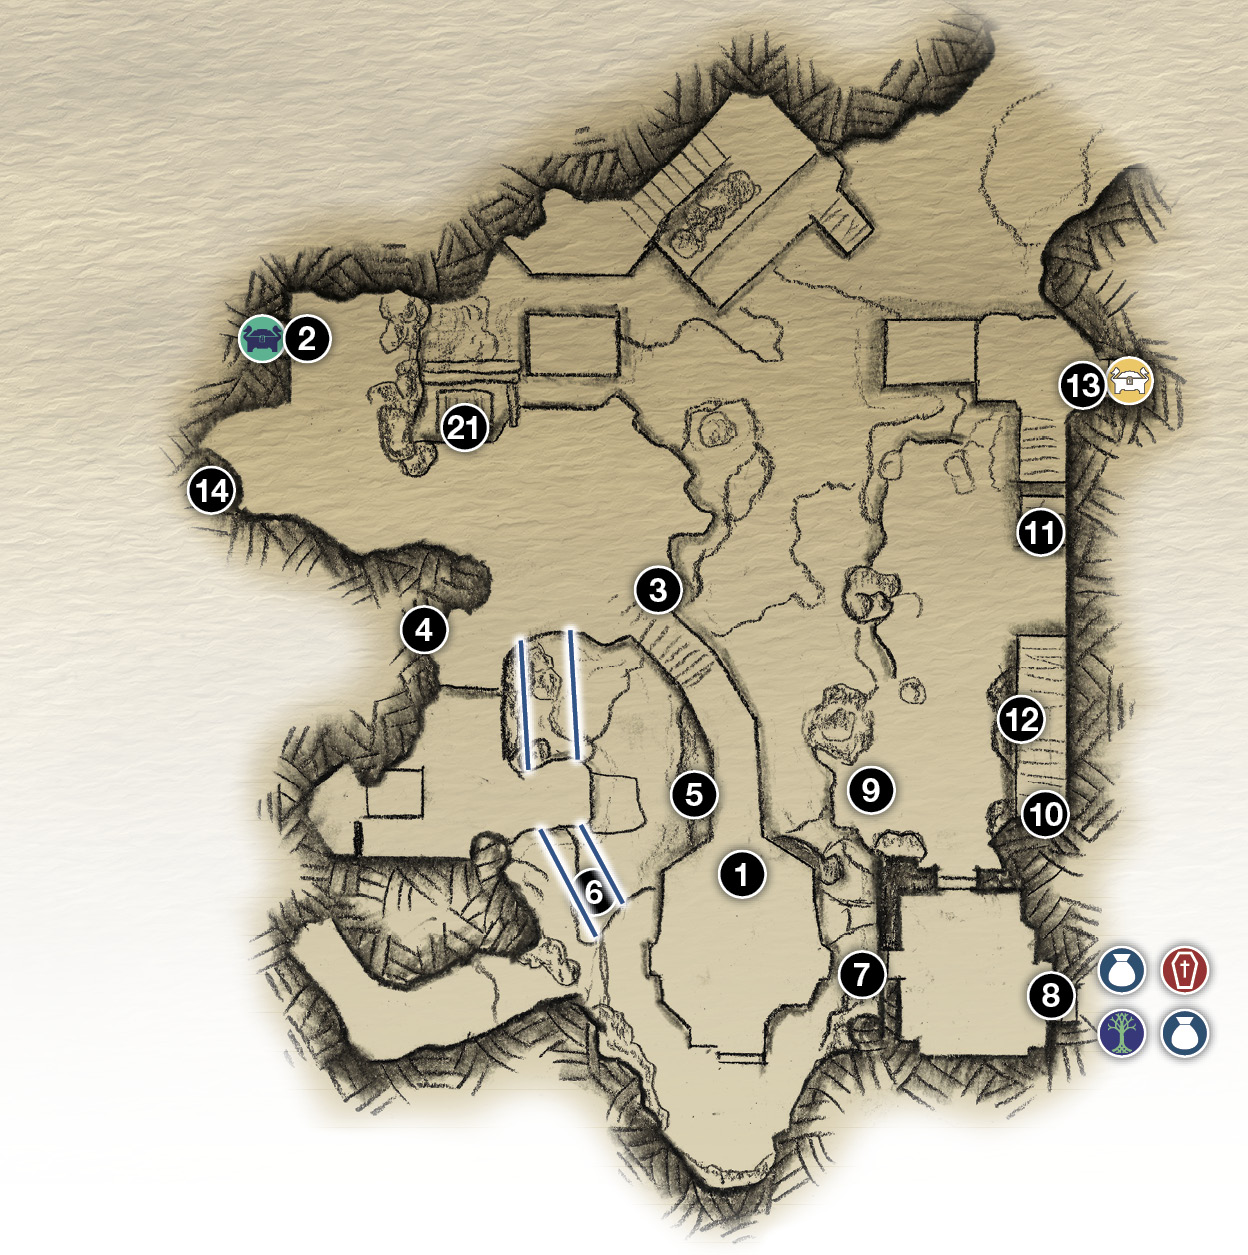
1. Exit from Freya’s house
2. Wind trap on chamber door
3. Wind trap on stand
4. capture winds from 3
5. Wind Trap
6. Light Bridge
7. climb Wall
8. Hidden Chamber of Odin
9. Capture Winds from 5
10. Wind trap on platform
11. Move pallet to midpoint
12. Capture Winds from 10, Jump to Pallet
13. Wind trap on chamber door
14. Old Stone Well (bottom)
 cipher chest
 Chest
Chest
 Coffin
 Legendary Chest
 Mystic Gateway
OBJECTIVE: Explore Freya’s Cave Again
Optional: Use Your New Tools to Explore the Cave Again
Exit the house (1) into the cave and descend the wooden walkway. (This triggers the beginning of the next chapter, “The Black Rune,” but here you can break away from the main story for a bit, and explore Midgard.) Note the empty wind trap (3) on a stand at the bottom of the walkway.
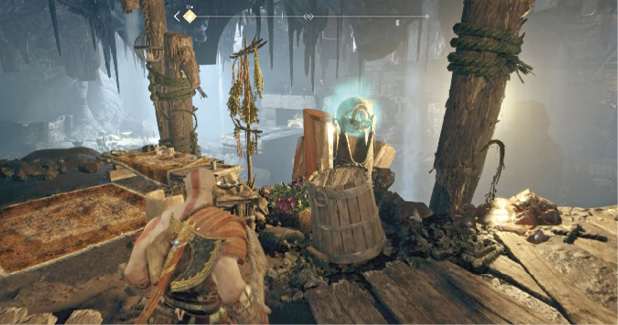
Veer left of the elevator to see the Winds of Hel glowing in a trap (2) on the chamber door where you found the Cipher Chest earlier. Use your Blades to capture the winds and transfer them over to the trap (3) at the bottom of the wooden walkway.
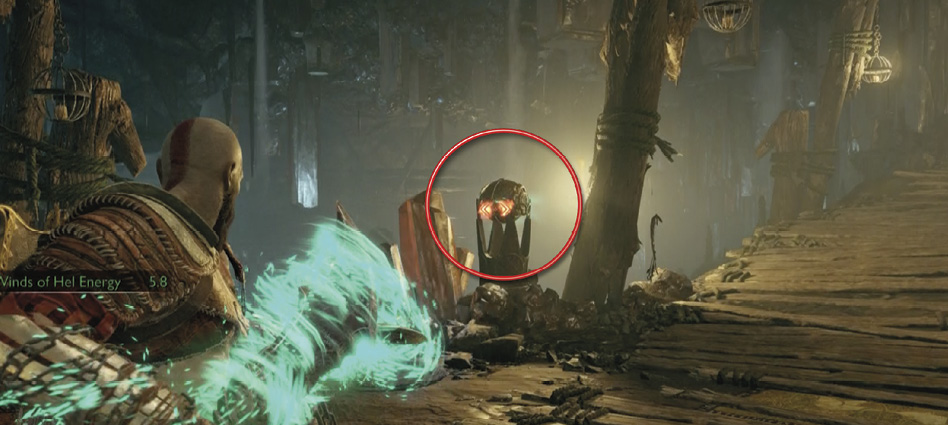
Set up on the right side of the wooden walkway (4) overlooking the light bridge below, and face the now-active wind trap (3).
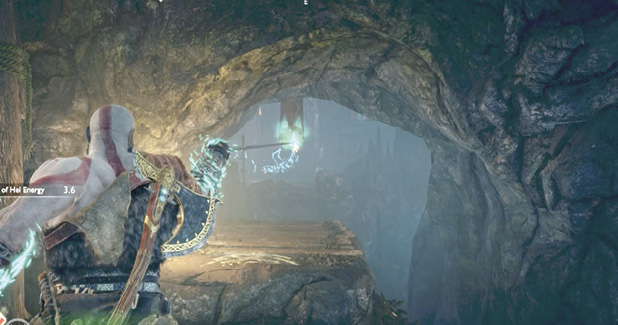
Capture the Winds of Hel from the trap, sprint to the right where the pallet started and sling the winds at the wind trap (5) directly ahead, hanging from the ceiling of the small cave passage across the gap. Cross the next light bridge (6) and work your way past the Nornir Chest to the far side of the cave and climb the wooden slats on the tall, yellow-marked wall (7). At the top, use the Chisel to open the door (8) ahead.
Inside, ride the elevator down to find a Mystic Gatemway,, a coffin, and two chests. You can also fight another Valkyrie, if you want. Or simply raid the chests and save the fight for later, when you’re more skilled and powerful. (For more on this encounter with the Valkyrie Kara, check out our “Valkyries” section in the Favors chapter.)
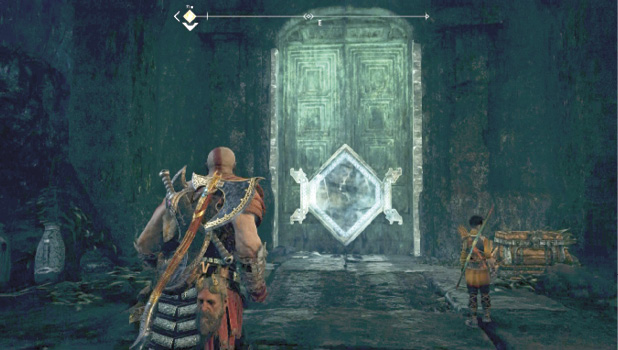
Exit the Hidden Chamber of Odin, step through the open gate on the right, and turn left (9) to spot the hanging wind trap (5) into which you just released the Winds of Hel. Capture the winds from that trap, turn around, sprint toward the Bramble-covered wall, and sling the energy into another wind trap (10) on the upper platform. Then slash through the Brambles with your Blades of Chaos.
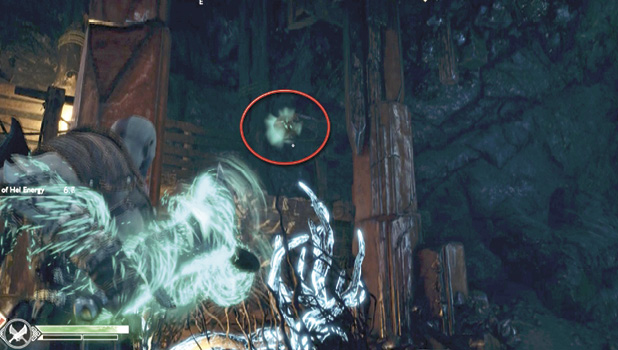
Before you climb up onto the platform, continue to the movable pallet (11) and drag it to the midway point between the platforms on either side. Then return to the wall where you just incinerated the Brambles and climb to the upper platform.
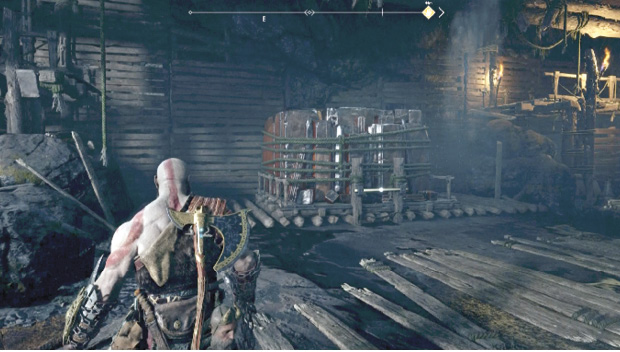
Turn left and walk to the edge (12), just before the leap to the pallet, and turn back to face the wind trap. Use your Blades to capture the winds from the trap; quickly turn and hop to the pallet, then hop again to the far platform; and hustle around the corner to sling the winds into the trap on the chamber door (13). This door slides open to reveal a Legendary Chest.
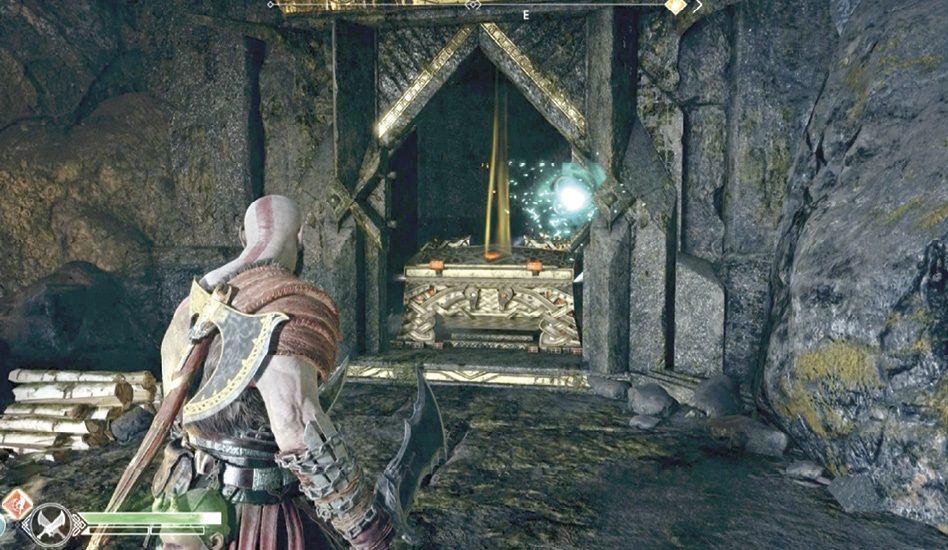
Now we’ll open that Nornir Chest we passed earlier up in Freya’s Sanctuary outside her house. Head across the cave to the bottom of the old stone well (14) and climb up.
Freya’s Sanctuary: Second Visit
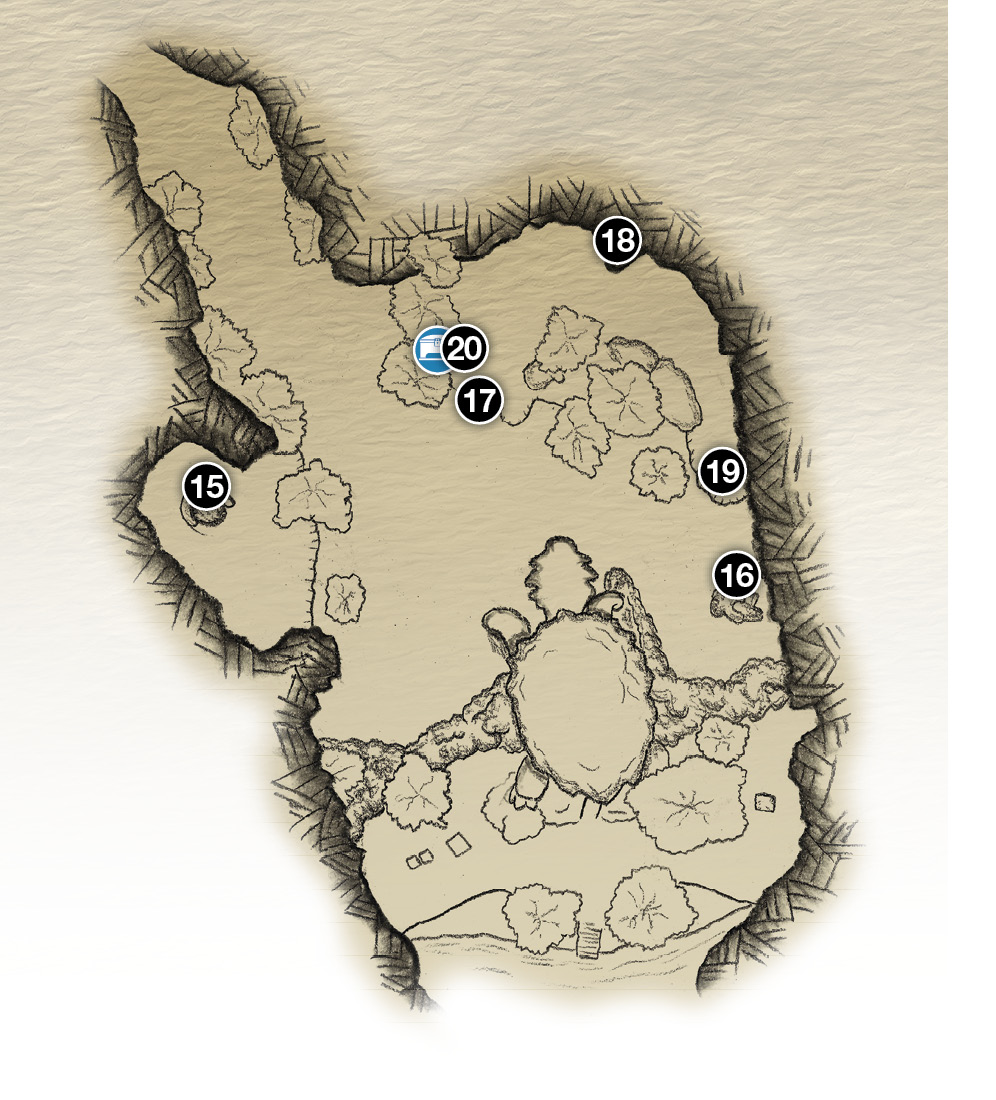
15. Old stone well (top)
16. Stone tower (2 wind traps)
17. Climb chain
18. Wind trap & rune spinner
19. Capture Winds from 16 here
20. Nornir Chest & wind trap
 Nornir Chest
Unlock the Nornir Chest in the Sanctuary
Transfer the Winds to the Nornir Chest
From the top of the well (15), go down the hill and past the front of Freya’s house to the tall stone tower (16) magically formed when Atreus wrote in the sand bowl. Use the Blades to transfer the Winds of Hel from the wind trap up high on the tower’s right side to a trap in the same position on the tower’s left side.
Go climb the chain (17) to the upper plateau and follow the path, spotting both the Nornir Chest (20) and another wind trap (18) sitting on a ledge under a spinner displaying runes.
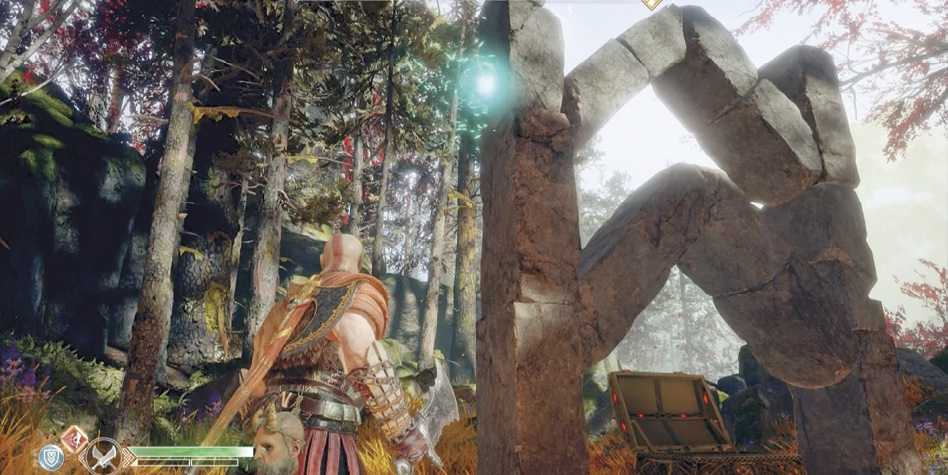
Note these locations, then continue all the way to the cliff (19) overlooking the stone tower. Capture the Winds of Hel from the tower trap facing you, and transfer them to the spinner trap back on the ledge (18). Note that activating the ledge trap starts a rotation of runes displayed in it, which is why we called it a “spinner trap.” As long as the trap is powered up, the runes keep rotating.
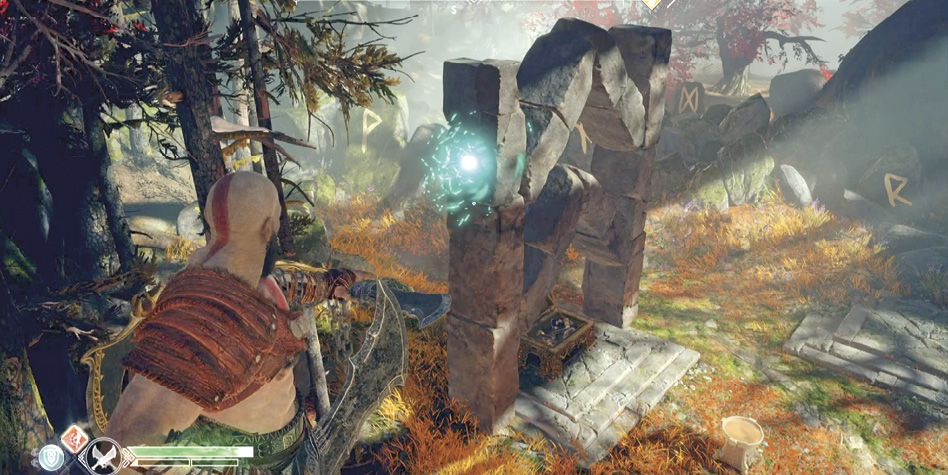
Note also that you can toss Leviathan at the spinner panels above the trap to rotate the two runes displayed on the spinner, too. When you hit the top panel, the top rune rotates. When you hit any of the bottom panels, both the top and bottom runes rotate in unison.
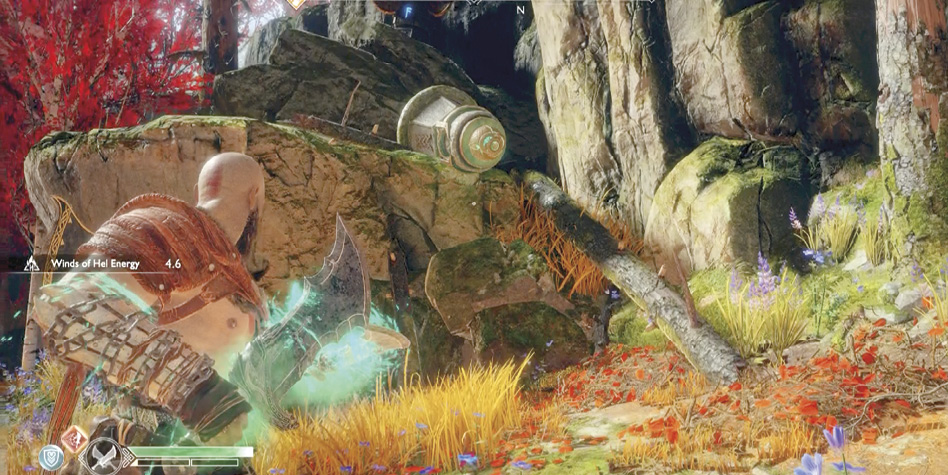
Reveal the three-rune setting
Next, transfer the Winds from the ledge wind trap to the trap over the Nornir Chest (20). This move lights up the three runes emblazoned on the chest. This shows you which three runes you want to display back on the ledge. All three have the same shape, but point in different directions.
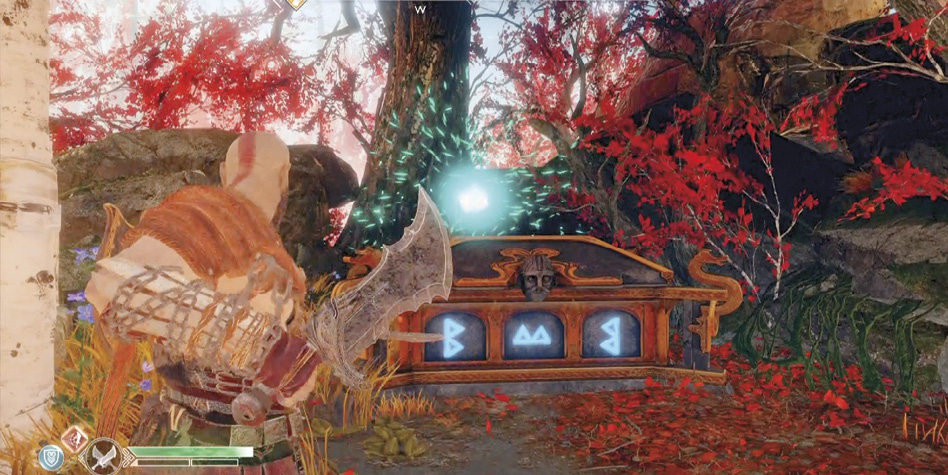
Set the three rune displays
Now transfer the Winds from the Nornir Chest back to the ledge trap. Switch to Leviathan and toss it at the upper spinner panels until you get the runes with their triangles pointing rightward and upward (as in our screenshot).
The third rune displayed, down in the wind trap, must be the rune with triangles pointing leftward. However, note that the trap’s stand has toppled over on its side. So, to be pointing “leftward,” the triangles as seen will actually point upward (circled in our screenshot).
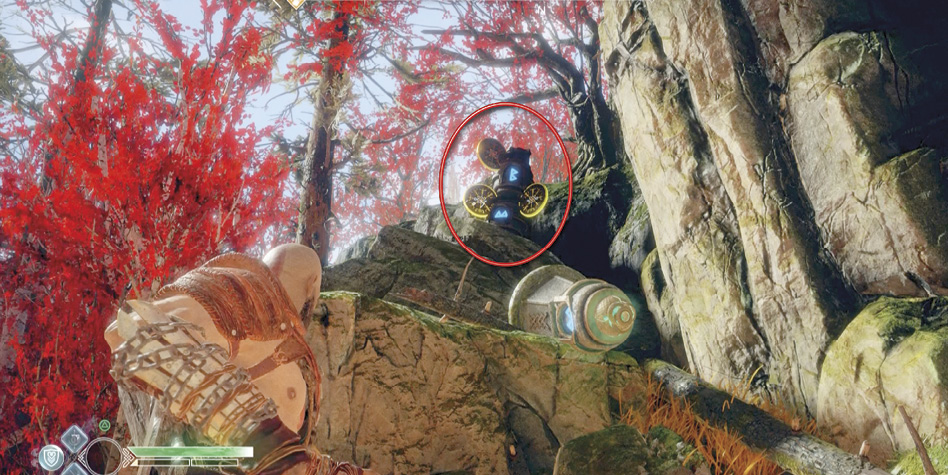
Capture the Winds of Hel from the trap at the exact moment the rune shown in our screenshot appears; this stops the rotation, locking in the correct rune. Then immediately hustle back to the Nornir Chest—you only have 10 seconds, remember—and sling the green energy back into the wind trap over the chest. Now you can open the Nornir Chest and claim your reward: another nutritious Iðunn Apple!
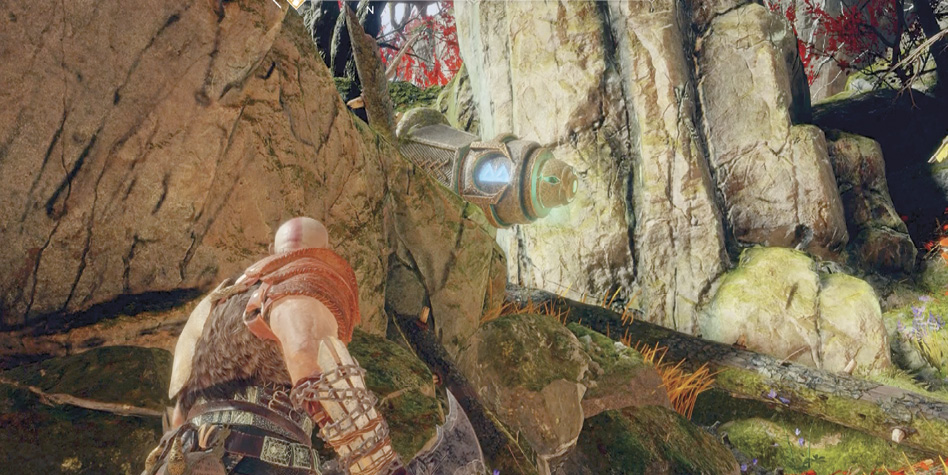
Return to the Boat
Return to the old stone well (15) and climb back down into the cave. Work your way back across the cave to the elevator and ride it down. You discover that the boat has washed ashore. Mimir recalls hearing the Serpent’s Horn earlier; someone summoned the World Serpent, which changed the water level while you were at Freya’s.
Approach the boat and press Circle to trigger a scene: as Kratos drags the boat back down to the waterway, he finally reveals some family secrets to his son.
Optional: Return to Helheim with Atreus
Again, the next chapter of the main story, “The Black Rune,” technically began the moment Kratos stepped into Freya’s Cave from her house. But this is a good place to veer off the story’s critical path and grab the stuff in Helheim that Kratos alone couldn’t access on your first visit there. With Atreus back, you can blast through those red sap barriers now.
Helheim (Return with Atreus)
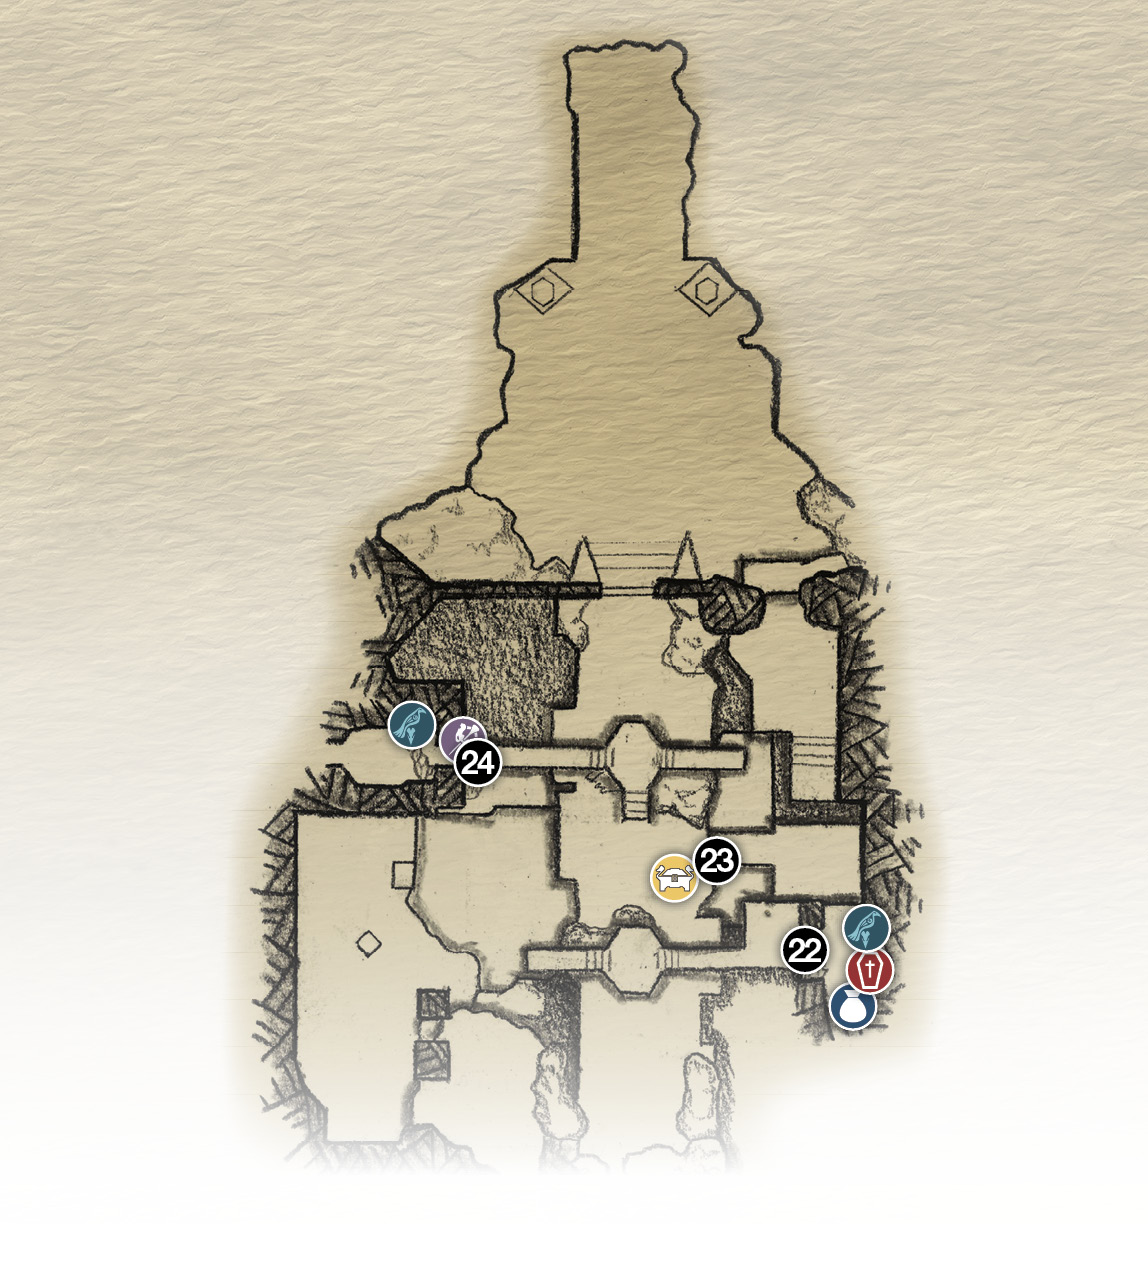
22. Shoot Shatter Crystal for Coffin and Chest
23. Shoot Shatter Crystal for Legendary Chest
24. Shoot Shatter Crystal for Hidden Chamber of Odin
 Artifact
Chest
Coffin
 Legendary Chest
 Raven
Raven
Row down the Cave waterway to the Lake of Nine and dock at the Temple. Return to the Realm Travel Room; use the travel table to access Helheim, and head out onto the bridge.
Since the Winds of Hel were used to open the gates during Kratos’ initial visit to Helheim, there is no need to take any side routes. Watch out for Hel-Walkers though, as they still populate the region. Atreus can now handle the Ice Nightmares, allowing you to focus on the bipeds.
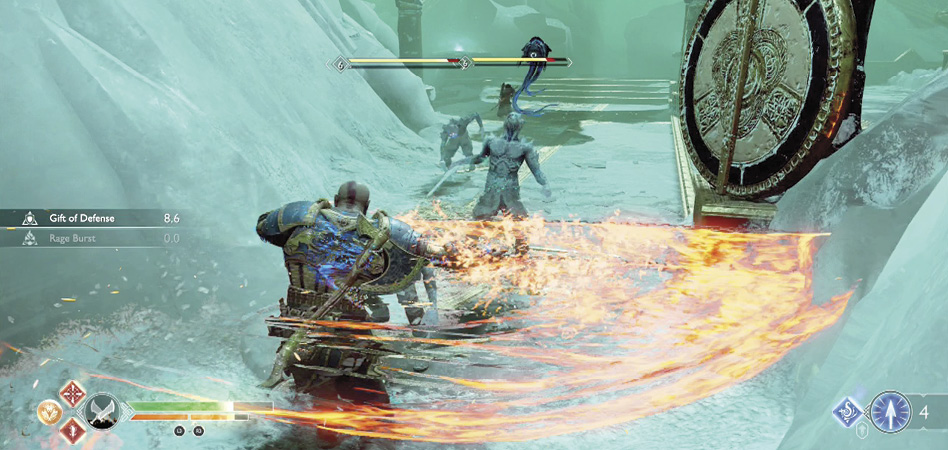
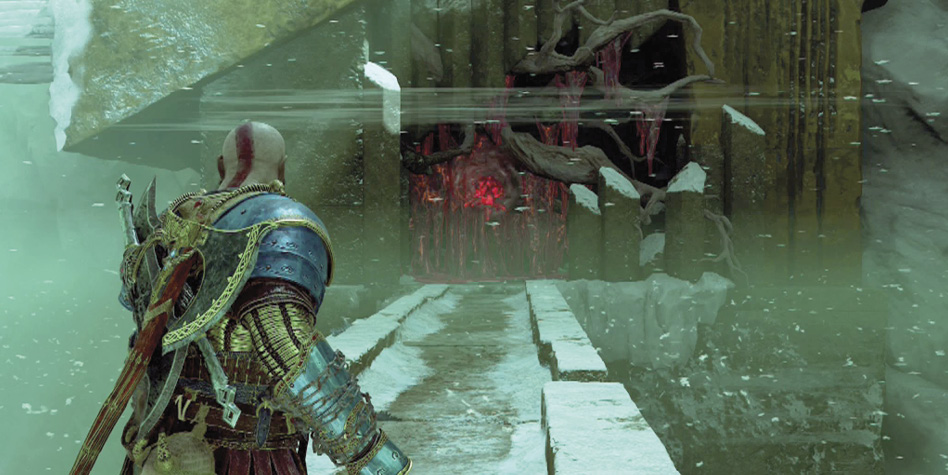
There are three locations along the Helheim bridge, which are blocked by roots covered in red sap. Hit the Shatter Crystal with a Shock Arrow at each location to gain access to the loot.
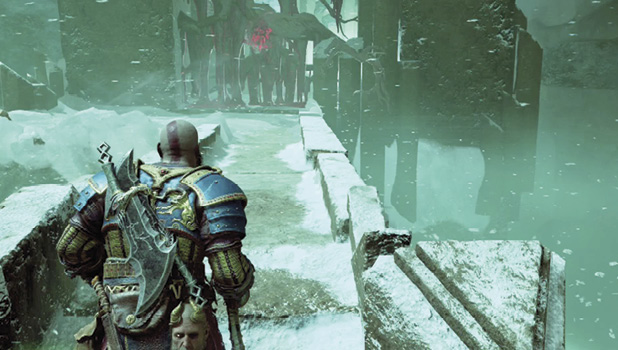
Follow the bridge through a small tunnel and climb onto the narrow footbridge. Detonate the Shatter Crystal to the right to find a chest and coffin.
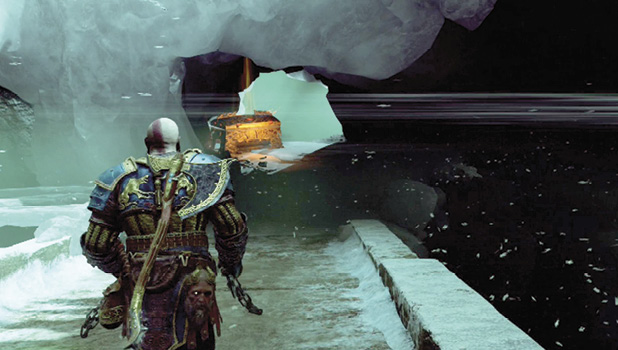
Turn left, kick the chain down, and descend to the lower level. Use a Shock Arrow on another crystal to the left, under the main bridge, to find a Legendary Chest. Loot the Epic Talisman and return all the way back to the main bridge.
Duck through the next opening and climb onto a second narrow footbridge just ahead. Detonate the third Shatter Crystal to the left to gain access to the Hidden Chamber of Odin. Collect the Brooch off the floor and explore the chamber to find the final Brooch, a coffin, and a few Healthstones. The powerful Valkyrie Rota waits in the arena at the end of the hall, but the boss fight is an extremely tough challenge. A Mystic Gateway allows you to travel between Brok’s Shop and the chamber for easier access.
At this point you can collect Brooches missed on your previous Helheim visit, or fight more Hel-Walkers. Atreus is ready to get back to the warmth of Midgard though. Use the Realm Travel Room to return to Midgard once finished with Hel.