Prima Games eGuides
primagames.com Browse Redeem a code Help
Dragon Age: Origins - Awakening eGuide
Sign in My Guides

Sign in or create an account

We'll email you a link. No password needed, and if you don't have an account yet, the link makes one.

By creating an account or signing in, you agree to our Terms of Service and Privacy Policy.

Have a password?

Had an account on the old eGuides site, or a code from a printed guide? Help and troubleshooting

Sign in with a password

By signing in, you agree to our Terms of Service and Privacy Policy.

Check your email

A sign-in link is on its way. It works once and expires in 15 minutes. Open it and you're in, with an account if you didn't already have one.

Contents

  • Maps
    • World Map
      • World Map
    • Main Quest Walkthrough Maps
      • Assault on Vigil's Keep
      • Keep Interior
      • Throne Room
      • Vigil's Keep Courtyard
      • The Crown and Lion
      • The Blackmarsh
      • The Blackmarsh Undying
      • Shadowy Crypt
      • Baroness's Manor
      • Return to the Blackmarsh
      • Wending Wood
      • Silverite Mine
      • Knotwood Hills
      • Kal'Hirol
      • Main Hall
      • Trade Quarter
      • Lower Reaches
      • Siege of Vigil's Keep
      • Siege of Amaranthine
      • Dragonbone Wastes
      • Drake's Fall
      • The Nest
    • Side Quest Walkthrough Maps
      • The Blackmarsh
      • City of Amaranthine
      • Smuggler's Cove
      • Law and Order
      • Smuggler's Run
      • Smuggler's Cove (Alternate)
      • Vigil's Keep Throne Room
      • Knotwood Hills/Kal'Hirol
      • Vigil's Keep
      • It Comes From Beneath
      • Sealing the Great Barrier Doors
      • Wending Wood
  • Essentials
    • The Basics
      • How to Use This Guide
      • Key Terms
      • Experience and Leveling
      • Your Health
      • Races and Classes
      • Skills, Talents, and Specialties
      • Items
      • Combat
      • The Map
      • The Codex
      • Character Generation
    • The Classes
      • Introduction
      • Leveling
      • Skills
      • The Warrior
      • The Mage
      • The Rogue
    • The Party
      • Party Basics
      • Combat Roles
      • Configurations and Engagement
      • Tactics
    • Companions
      • Understanding Companions
      • Anders
      • Justice
      • Nathaniel Howe
      • Oghren
      • Sigrun
      • Velanna
      • Mhairi
    • Supporting Cast
      • Supporting Cast
    • Equipment
      • Equipment
      • Weapon and Armor Materials
      • Vendor Shopping
      • Weapons
      • Armor
      • Accessories
      • Runes
      • Crafting
      • Usable Items
      • Gifts
    • Bestiary
      • Monster Abilities
      • Monster List
  • Walkthrough
    • Walkthrough
      • How to Use the Walkthrough
      • Essential Locations
    • Assault on Vigil's Keep
      • Exterior
      • Interior
      • Throne Room
      • Courtyard
    • Shadows of Blackmarsh
      • Amaranthine
      • The Crown and Lion
      • The Blackmarsh
      • The Blackmarsh Undying
      • Shadowy Crypt
      • Baroness's Manor
      • Return to the Blackmarsh
    • The Righteous Path
      • Amaranthine
      • Wending Wood
      • Trapped by the Architect
      • Silverite Mine
    • Last of the Legion
      • Amaranthine
      • Knotwood Hills
      • Kal'Hirol
      • Main Hall
      • Trade Quarter
      • Lower Reaches
    • Siege of Vigil's Keep
      • Going to War
      • Siege of Vigil's Keep
      • Siege of Amaranthine
    • Lair of the Mother
      • Dragonbone Wastes
      • Drake's Fall
      • The Nest
    • Side Quests
      • The Blackmarsh
      • City of Amaranthine
      • Companions
      • Knotwood Hills and Kal'Hirol
      • Vigil's Keep
      • The Wending Wood
      • Random Encounters
    • Achievements
      • Achievements and Trophies

Dragon Age: Origins — Awakening Guide › Walkthrough › The Righteous Path

Wending Wood

Runthrough (Wending Wood)

Summary: Investigate the Wending Wood for clues on who or what is responsible for the caravan attacks.

1 - Enter the Wending Wood.

2 - Dispatch the raiding bandit and scavengers.

3 - Intercept a charred sylvan attack on scavengers.

4 - Find the bridge to cross to the northern section.

5 - Velanna warns you not to continue.

6 - Battle another charred sylvan and bandits at the wood's main intersection.

7 - Descend into the western section of the wood.

8 - Speak with the militia survivor to piece together the truth about the caravan attacks.

9 - Return to the Dalish camp and speak with Velanna.

10 - Battle a host of darkspawn to enter the Silverite Mine.

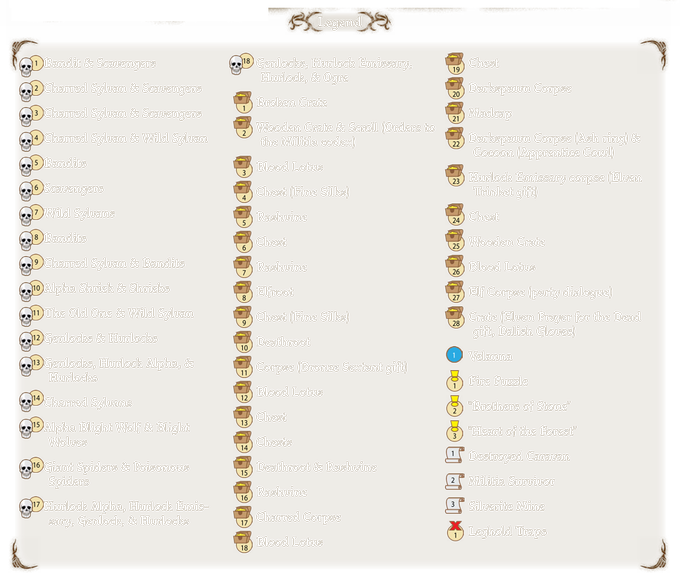
Wending Wood Cheatsheet

Main Plot Quest: The Righteous Path

Important NPCs: Militia Survivor Velanna

Key Items: Bronze Sextant, Elven Prayer for the Dead, Elven Trinket

Monsters: Alpha Blight Wolf, Alpha Shriek, Bandits, Blight Wolves, Charred Sylvans, Enraged Wolves, Genlocks, Giant Spiders, Hurlock Alpha, Hurlock Emissaries, Hurlocks, Ogre, The Old One, Poisonous Spiders, Scavengers, Shrieks, Wild Sylvans

Side Quests: Fire Puzzle, Brothers of Stone, Heart of the Forest

Spoiler Alert

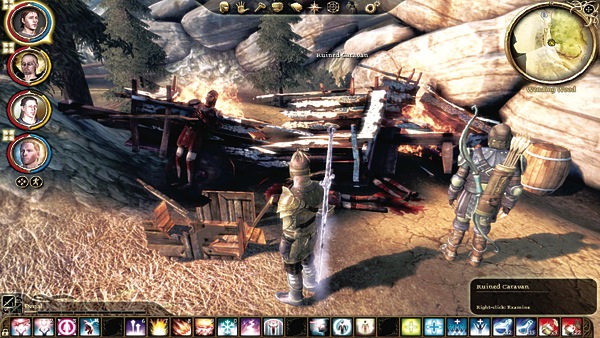
(1) As you enter the Wending Wood, you immediately spot bandits trying to ransack a caravan. They bolt at your appearance, and if you interact with the caravan, you notice that something else must have caused the caravan destruction. No human hand did that. As you approach the broken caravan, the "Trading Troubles" quest pops up. You'll finish it as part of "The Righteous Path" major quest.
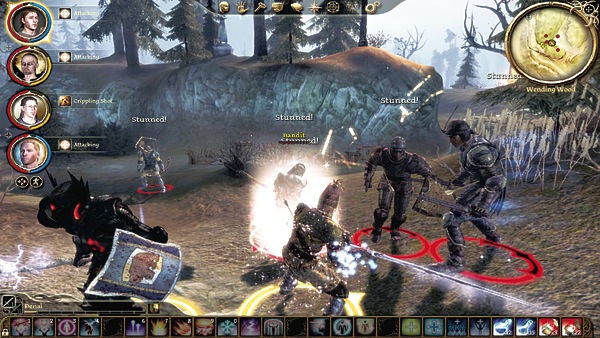
(2) It's time to punish the bandit and scavengers that tried to loot the broken caravan. Turn left and you'll see the hoodlums up on the hill. Hit them at range and charge at the bandit leader with your melee fighters. Some of the scavengers will stay back and fire at range, but your range attacks are superior and will take them down shortly.
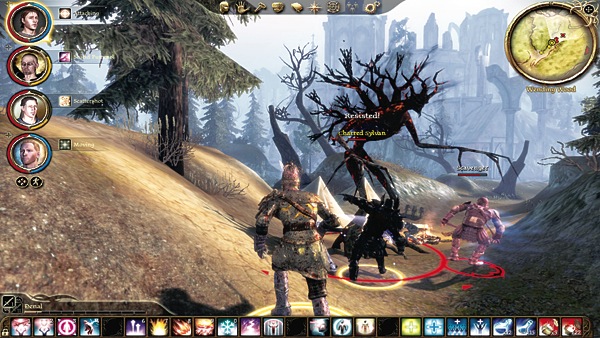
(3) Outside the bandit camp, take the northern road. Around the corner, a charred sylvan attacks two scavengers. The natural wildlife in the wood hates humans, and the two sides slug it out.

Regardless of which side you aid at first, the other side will turn on you and attack, so burn down the charred sylvan first and then pick off whatever remains of the scavengers.
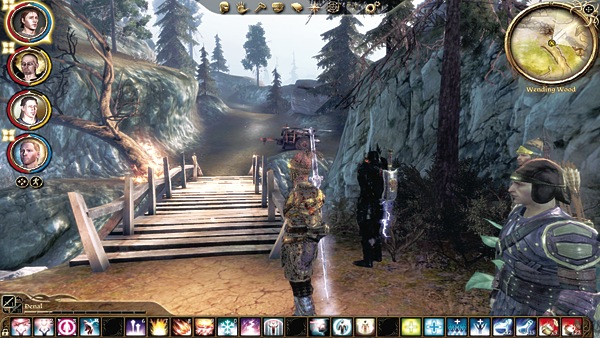
(4) If you stay to the north and hug the cliff, you come to the bridge that leads into the larger northern section of the wood. If you explore the area around the south road, you'll run into more sylvans and bandits. You can also pick up extra loot from a chest in the southeast corner.
Spoiler Alert

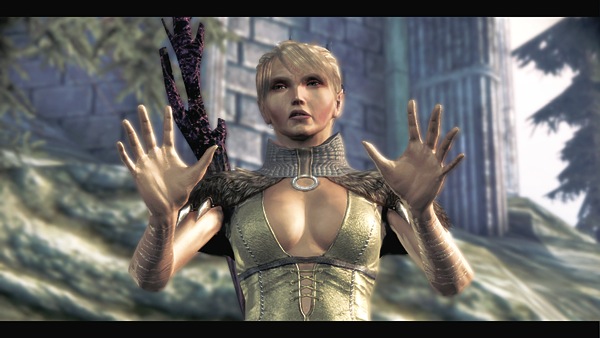
(5) Once you cross the bridge, a bandit runs down the hill in a panicked frenzy. He claims someone is hunting him down, and before he can fully explain himself, an elven mage appears and threatens you all. Her name, as you find out later, is Velanna, and she's terrorizing the humans because she believes they are responsible for an atrocity against her people. She warns you to turn back now or suffer the consequences.
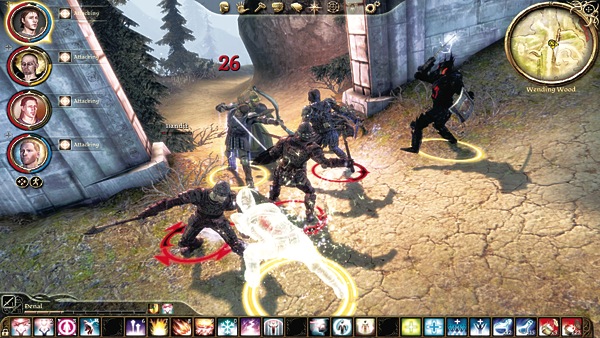
(6) Climb up the hillside path and take out the bandits on the cliff. At the top, you reach the main intersection, which branches off into six main areas: the path leading back to the southern woods (which you just climbed up), a path winding down to the fire puzzle area (green 1, 2, and 3), the area adjacent to the granite quarry, the entrance to the Silverite Mine, a path leading to the western section of the wood, and a road leading south to the abandoned Dalish camp. Battle the charred sylvan and bandits that clog your way.
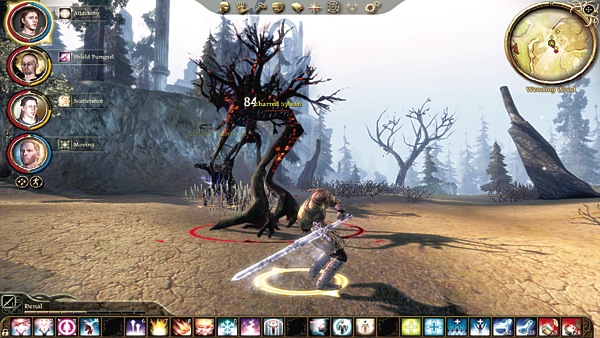
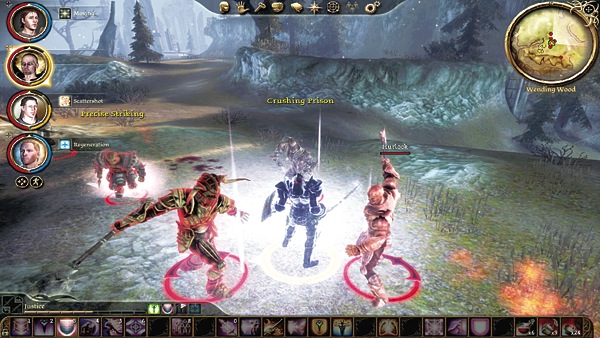
(7)Proceed to the western section of the wood. Work down to the southwest corner as you fight more charred sylvans. If you keep to the open area in the middle of the western section you'll only have to battle the sylvans before you reach the lean-to camp.
Spoiler Alert

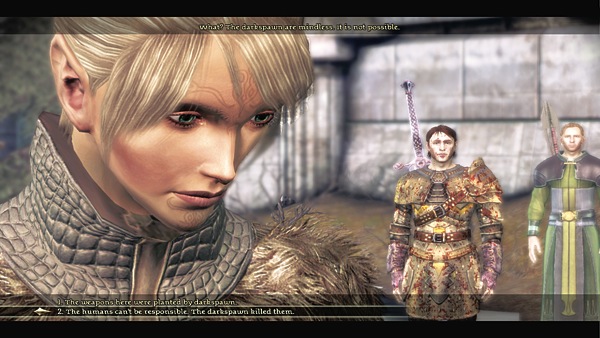
(8)A militia survivor rests here under a lean-to. Somehow he's been affected with a darkspawn disease—he's dying and decomposing before your eyes. He does, however, have enough wits about him to clue you in on the truth behind the caravan attacks. The elf Velanna has been misled. Darkspawn killed the Dalish people and may have kidnapped Velanna's sister, Seranni.

The darkspawn planted evidence to make it look like the humans did the deed. Never having known a darkspawn capable of such wit, the elf mage assumed that humans are to blame. At the end of your conversation, darkspawn surround you. It's an ambush.

Send your toughest party members at the hurlock alpha and hurlock emissary, and follow with a punishing talent/spell on the hurlock emissary, such as Crushing Prison, to keep it from casting AoE. Clear up the remaining genlocks and hurlocks after the two main darkspawn die.
Spoiler Alert

(9)Return up the hill toward the Dalish camp. Velanna intercepts you with two wild sylvans and a group of enraged wolves, refusing to believe your "lies" about the humans. Fight through the wild sylvans and confront Velanna up in the Dalish camp.

Convince her of the truth about the darkspawn and invite her to join your party. She will add her mage abilities to the group and point you in the direction of the Silverite Mine to track down the darkspawn responsible for these crimes.
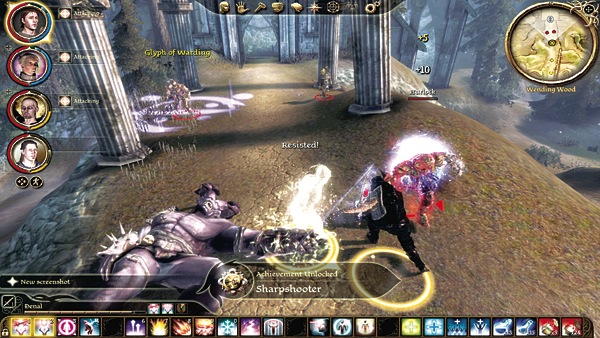
(10)The Silverite Mine lies just down the hill from the Dalish camp. Except, a large group of darkspawn now guards the entrance. Concentrate your ranged attack on the ogre and let it charge toward you. You may slay the ogre before it reaches you if your damage is high enough; if not, you'll wound it severely and take it down with a melee strokes. Then take on the rest of the darkspawn and pave a path to the Silverite Mine.

Keep reading with a free account

The first 3 sections of Dragon Age: Origins - Awakening are open to everyone. An account opens the rest of it, and every other guide in the archive. It's free, and there's nothing to buy.

Bought guides on the old Prima Games site? Your account and every guide you own moved here, so there's nothing to buy again. Sign in.

Create a free account Or browse our free guides

PreviousAmaranthine NextTrapped by the Architect