
Dragon Age: Origins — Awakening Guide Walkthrough Last of the Legion
Trade Quarter
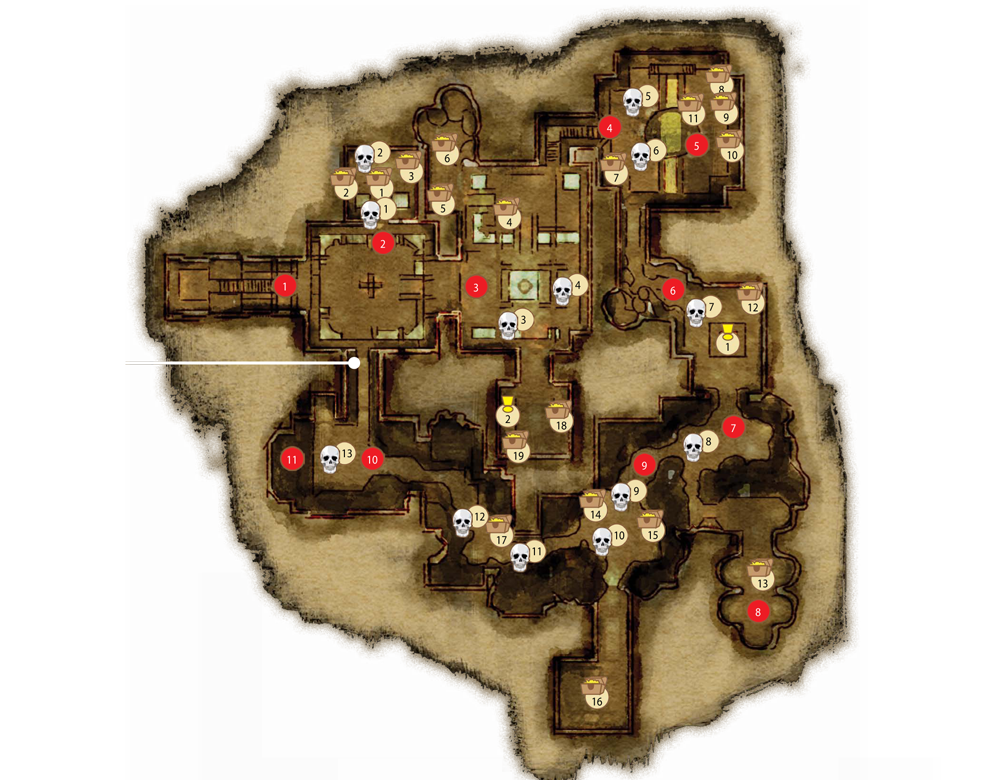
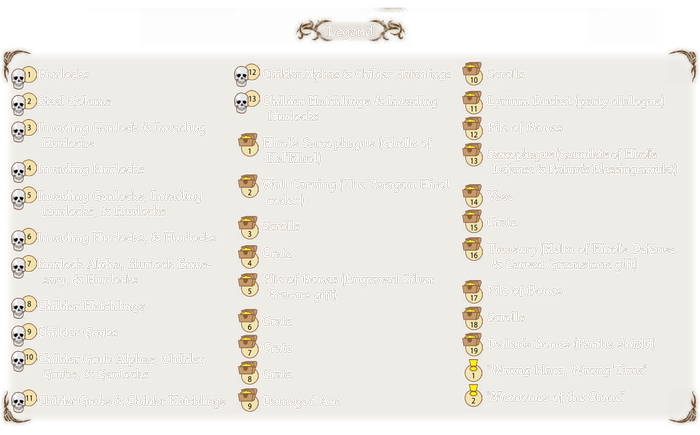
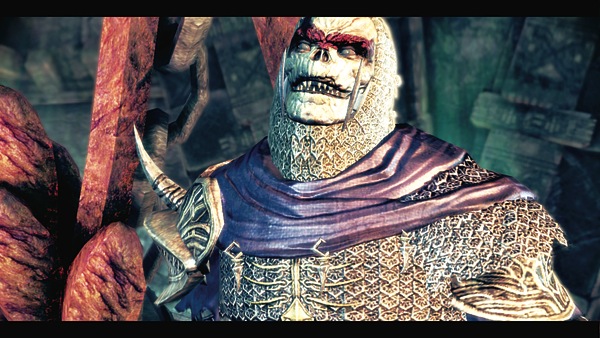
(1) When you enter the Trade Quarter, you witness a rather strange sight: darkspawn battle darkspawn in front of you. Throughout the level, invading genlocks and hurlocks attack normal genlocks and hurlocks. Eventually, all darkspawn will attack you, but if you sit back and let them slug it out, you can take advantage of wounded darkspawn.
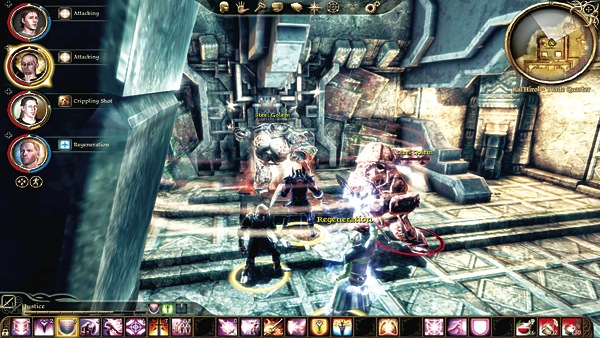
(2) Turn left and go up to the burial chamber up north. Dispatch the two hurlocks and then search the sarcophagus. You'll receive the powerful Girdle of Kal'Hirol. However, the three steel golems around the room will activate. The healer has to be in top form to keep up with the pounding. Concentrate party attacks on one golem and take it down quickly. If you run into trouble, back out of the room in a slow retreat and hit the remaining golems with ranged attacks to weaken them. Repeat all attacks on the second golem, and finish off the third before your healing runs out.
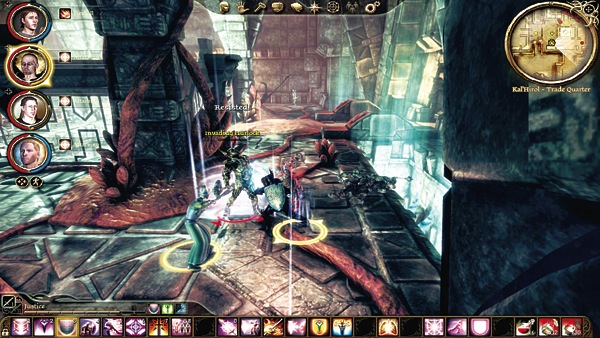
(3) In the central square room, invading darkspawn battle regular darkspawn. Circle the room and pick off any survivors of the small skirmishes. Try not to pull multiple enemy groups at your party at once.
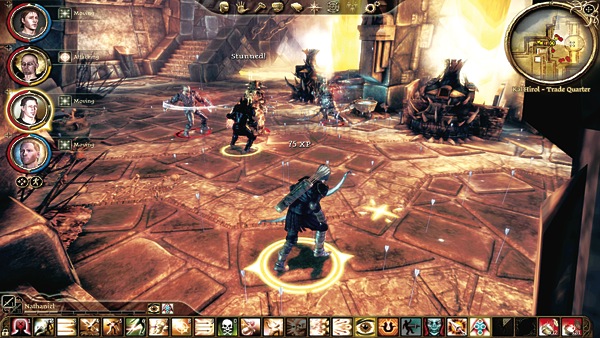
(4) Another massive darkspawn-on-darkspawn battle takes place at the forge. Wade into the fight carefully as the two forces can easily overtake you if you plunge in between the two main groups. Rather, stand back on the stairs and rain AoE on each group. When darkspawn splinter off and charge, your tank and melee DPSers can meet them at the base of the stairs. Eventually, there will be piles of darkspawn bodies everywhere.
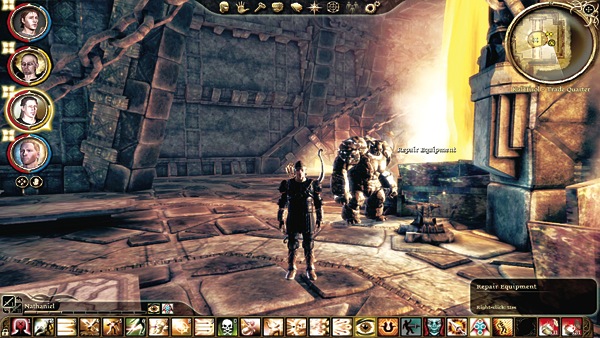
(5) On the eastern side of the forge, pick up the damaged axe on the floor and search the area for more loot. The lyrium bucket near the forge will trigger a party dialogue (if you have Anders in your party and agree with his thoughts on lyrium, you gain +10 approval boost). Use the nearby anvil to repair the damaged equipment you've been picking up throughout Kal'Hirol. If you have them all, the repairs will fetch you the following magic items: Heirsplitter (axe), Valos Atredum (maul), Greaves of Hirol's Defense (massive boots), and Breastplate of Hirol's Defense (armor).
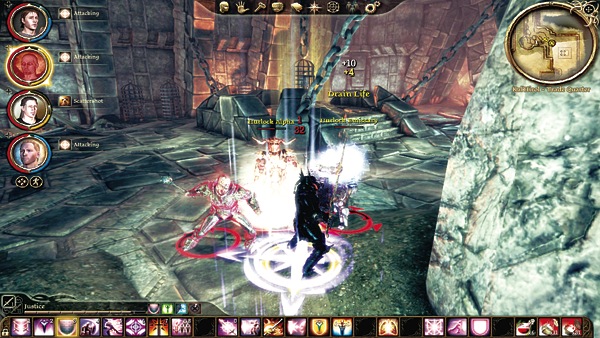
(6) Leave the forge and travel south. A few hurlocks block your path as you enter the next chamber. After you slay the hurlocks, speak with Steafan imprisoned in the cage hanging over the lava. See the "Wrong Place, Wrong Time" quest in the Side Quest chapter for the various possibilities regarding Steafan's release.
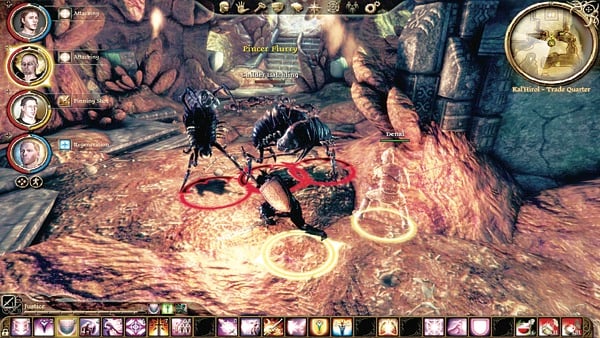
(7) You witness a gruesome sight in the next passage: childer hatchlings feast on what appears to be decaying darkspawn bodies. Slay these despicable creatures one by one before they have any chance of surrounding you.
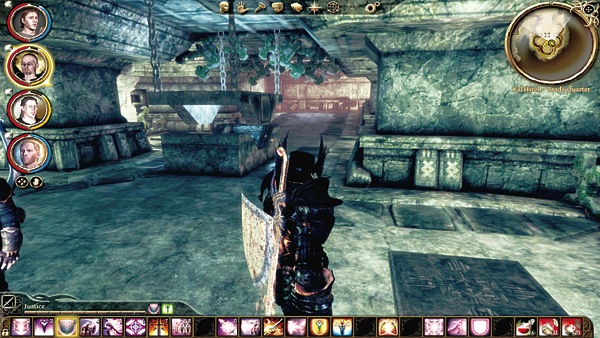
(8) In the southeast chamber, a series of runes lines the walls around a sealed sarcophagus. Activate the runes so that each rune matches the symbol on the stone wall behind it. Once all runes are properly aligned, the sarcophagus opens and reveals the Gauntlets of Hirol's Defense and the Nature's Blessing amulet.
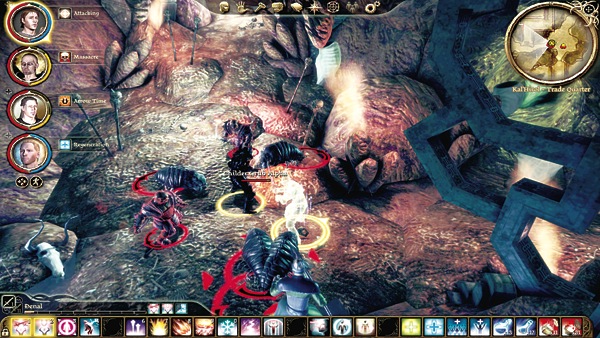
(9) The next set of passages holds many childer creatures. Proceed slowly and engage only a single group at a time before moving on. West is the exit to the Lower Reaches; however, you don't want to miss the treasury to the south and its five treasure chests.
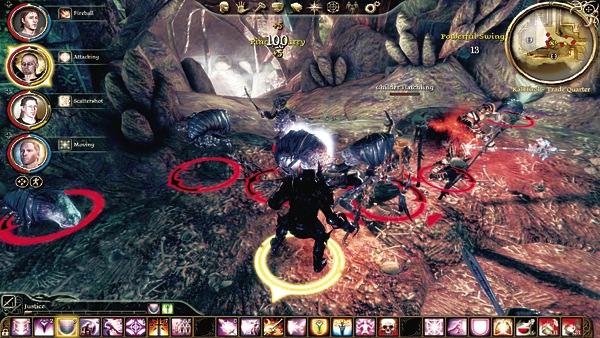
(10) In the final chamber, invading hurlocks hack away at childer hatchlings. It's a large brawl, so keep your party back to avoid flanking. Use your stronger ranged attacks to whittle down either side and let the stragglers come to you. A few well-placed AoE attacks will reduce the numbers to manageable levels quickly.
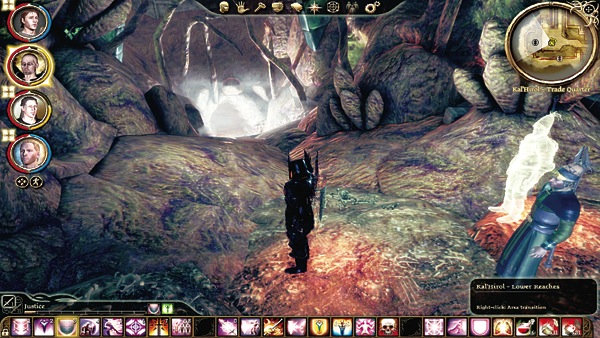
(11) You've found the entrance to the Lower Reaches! Heal up and descend once you're ready for two epic battles.