Prima Games eGuides
primagames.com Browse Redeem a code Help
Dragon Age: Origins - Awakening eGuide
Sign in My Guides

Sign in or create an account

We'll email you a link. No password needed, and if you don't have an account yet, the link makes one.

By creating an account or signing in, you agree to our Terms of Service and Privacy Policy.

Have a password?

Had an account on the old eGuides site, or a code from a printed guide? Help and troubleshooting

Sign in with a password

By signing in, you agree to our Terms of Service and Privacy Policy.

Check your email

A sign-in link is on its way. It works once and expires in 15 minutes. Open it and you're in, with an account if you didn't already have one.

Contents

  • Maps
    • World Map
      • World Map
    • Main Quest Walkthrough Maps
      • Assault on Vigil's Keep
      • Keep Interior
      • Throne Room
      • Vigil's Keep Courtyard
      • The Crown and Lion
      • The Blackmarsh
      • The Blackmarsh Undying
      • Shadowy Crypt
      • Baroness's Manor
      • Return to the Blackmarsh
      • Wending Wood
      • Silverite Mine
      • Knotwood Hills
      • Kal'Hirol
      • Main Hall
      • Trade Quarter
      • Lower Reaches
      • Siege of Vigil's Keep
      • Siege of Amaranthine
      • Dragonbone Wastes
      • Drake's Fall
      • The Nest
    • Side Quest Walkthrough Maps
      • The Blackmarsh
      • City of Amaranthine
      • Smuggler's Cove
      • Law and Order
      • Smuggler's Run
      • Smuggler's Cove (Alternate)
      • Vigil's Keep Throne Room
      • Knotwood Hills/Kal'Hirol
      • Vigil's Keep
      • It Comes From Beneath
      • Sealing the Great Barrier Doors
      • Wending Wood
  • Essentials
    • The Basics
      • How to Use This Guide
      • Key Terms
      • Experience and Leveling
      • Your Health
      • Races and Classes
      • Skills, Talents, and Specialties
      • Items
      • Combat
      • The Map
      • The Codex
      • Character Generation
    • The Classes
      • Introduction
      • Leveling
      • Skills
      • The Warrior
      • The Mage
      • The Rogue
    • The Party
      • Party Basics
      • Combat Roles
      • Configurations and Engagement
      • Tactics
    • Companions
      • Understanding Companions
      • Anders
      • Justice
      • Nathaniel Howe
      • Oghren
      • Sigrun
      • Velanna
      • Mhairi
    • Supporting Cast
      • Supporting Cast
    • Equipment
      • Equipment
      • Weapon and Armor Materials
      • Vendor Shopping
      • Weapons
      • Armor
      • Accessories
      • Runes
      • Crafting
      • Usable Items
      • Gifts
    • Bestiary
      • Monster Abilities
      • Monster List
  • Walkthrough
    • Walkthrough
      • How to Use the Walkthrough
      • Essential Locations
    • Assault on Vigil's Keep
      • Exterior
      • Interior
      • Throne Room
      • Courtyard
    • Shadows of Blackmarsh
      • Amaranthine
      • The Crown and Lion
      • The Blackmarsh
      • The Blackmarsh Undying
      • Shadowy Crypt
      • Baroness's Manor
      • Return to the Blackmarsh
    • The Righteous Path
      • Amaranthine
      • Wending Wood
      • Trapped by the Architect
      • Silverite Mine
    • Last of the Legion
      • Amaranthine
      • Knotwood Hills
      • Kal'Hirol
      • Main Hall
      • Trade Quarter
      • Lower Reaches
    • Siege of Vigil's Keep
      • Going to War
      • Siege of Vigil's Keep
      • Siege of Amaranthine
    • Lair of the Mother
      • Dragonbone Wastes
      • Drake's Fall
      • The Nest
    • Side Quests
      • The Blackmarsh
      • City of Amaranthine
      • Companions
      • Knotwood Hills and Kal'Hirol
      • Vigil's Keep
      • The Wending Wood
      • Random Encounters
    • Achievements
      • Achievements and Trophies

Dragon Age: Origins — Awakening Guide › Walkthrough › Last of the Legion

Kal'Hirol

Runthrough (Kal'Hirol)

Summary: Travel through the Deep Roads to reach Kal'Hirol.

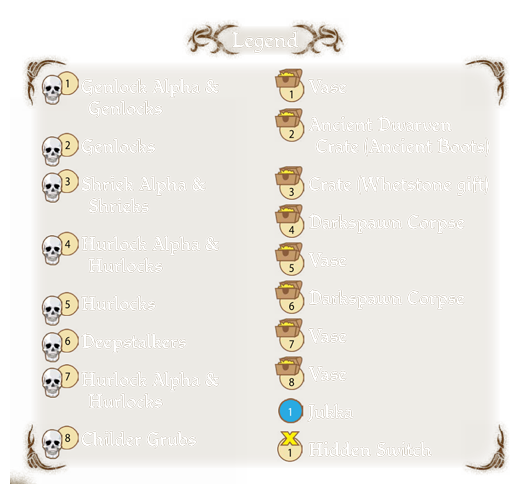
1 - Follow the Deep Roads to the outskirts of Kal'Hirol.

2 - Speak with the dying legionnaire, Jukka.

3 - Darkspawn try to ambush you after you speak with Jukka.

4 - More darkspawn challenge you.

5 - Cross the bridge and engage more deepstalkers.

6 - Combat the darkspawn at the far gate.

7 - Survey the front courtyard after dealing with childer grubs.

8 - Enter Kal'Hirol.

Kal'Hirol Cheatsheet

Main Plot Quest Last of the Legion

Important NPCs: Jukka

Key Items: Ancient Boots, Whetstone

Monsters: Childer Grubs, Deepstalkers, Genlock Alpha, Genlocks, Hurlock Alpha, Hurlocks, Shriek, Alpha Shrieks

Side Quests: None

Spoiler Alert

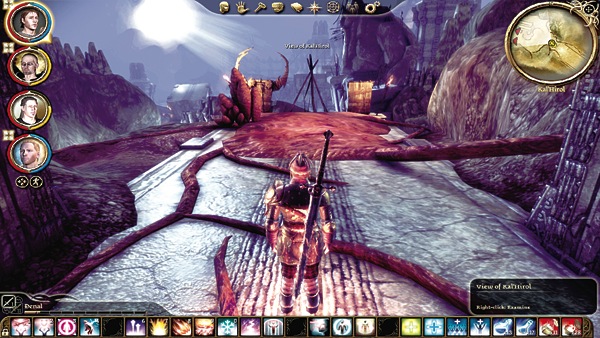
(1) Take in the dramatic view as you enter Kal'Hirol. Soon you'll be on ground level eye to eye with angry darkspawn.
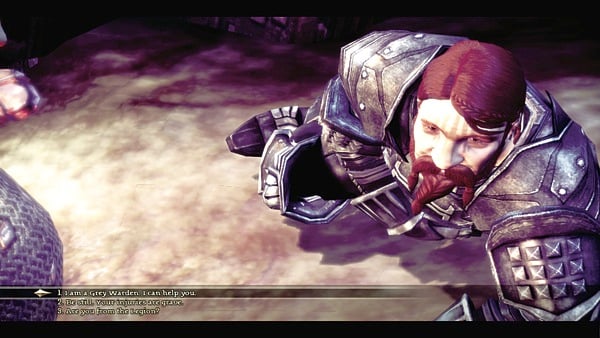
(2) You meet a dying legionnaire, Jukka. He tells you that the darkspawn are breeding an army in the depths of Kal'Hirol. To stop the army, you must destroy the broodmothers responsible.
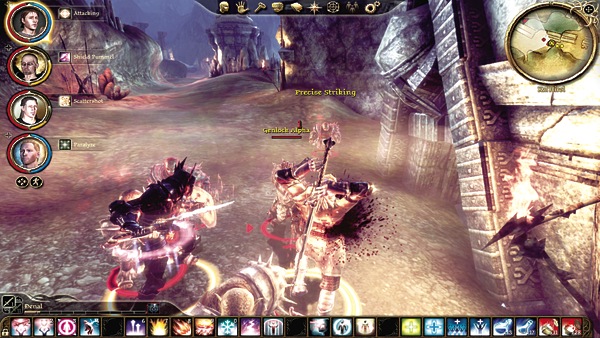
(3) Several paces after leaving Jukka, the darkspawn ambush you. Genlocks flank you on either side after you cross into the open area. Send your tank against one side and your next strongest melee DPSer against the opposite side. The healer and fourth party member support whichever side looks like they need it more. After the genlocks go down, shrieks will sneak attack when you think the battle is over.
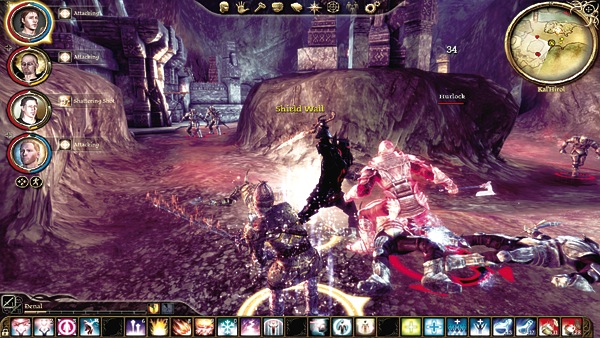
(4) Hurlocks ambush you before the bridge. Look for two groups to swarm out from behind the rocky outcropping to the southwest. As with the genlock ambush, split the tank and second melee DPSer to separate enemy groups.
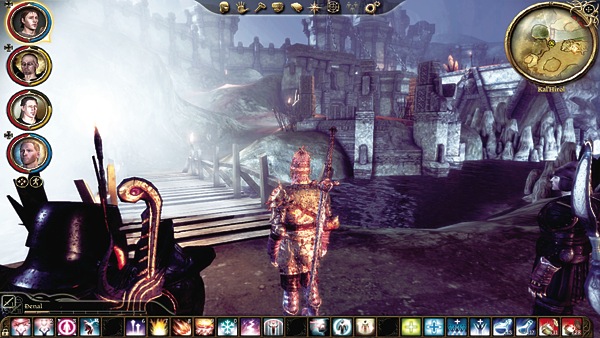
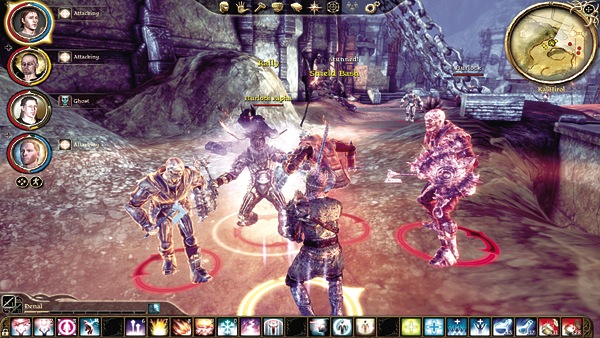
(5) On the far side of the bridge, deepstalkers harass you on the climb up the hill. Finish them off and pick up your first signs of treasure in the area with the nearby vase and ancient dwarven crate.
Note

You will find broken items around Kal'Hirol, such as the ancient boots in the ancient dwarven crate near the deepstalkers. Don't toss this gear. It can prove very valuable later in the Trade Quarter when you find the special smith to repair each piece.

(6) You reach the outer walls of Kal'Hirol at the top of the hill. A host of darkspawn guard the outer gate. Expect a swarm of skirmishing hurlocks to pin you down while the hurlock archers take shots at you from range. Send your melee characters into the charge and hold the line. Ranged attackers should bring down the darkspawn ranged attackers (if they're in range) first, then turn the fireworks on the melee darkspawn. Heal often to avoid losing anyone in this fight.
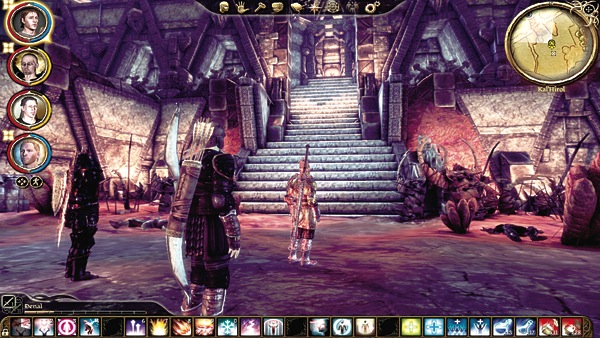
(7) Inside the courtyard, deal with the childer grubs that spring forth from the pods in the area. Stay near each other as the grubs attack. If someone gets overwhelmed, turn the party's attention to that character's aid. The grubs aren't difficult on their own, but they can swarm you quickly if you aren't careful. Loot the area and then make your way up the steps to Kal'Hirol's main entrance (if you don't have Sigrun in your party).
Tip

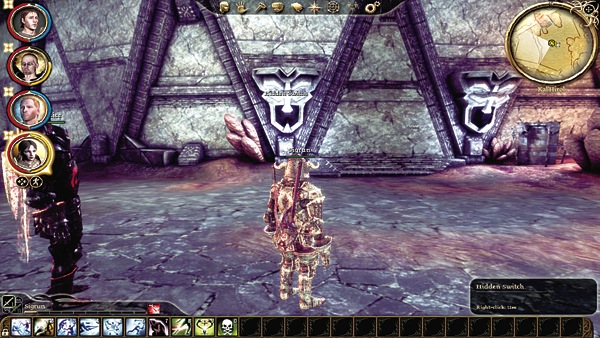
To avoid the trap room inside Kal'Hirol's Main Hall, use the side entrance that Sigrun shows you. The side entrance bypasses the first room in the Main Hall and deposits you next to the golem master.

(8) If you have Sigrun in your party, search the western courtyard wall for a hidden switch near the carved visage. Open the secret door and enter the side courtyard. The side entrance into Kal'Hirol routes you to the upper level where you can sneak attack the golem master that coordinates the darkspawn's main gate defenses.

Keep reading with a free account

The first 3 sections of Dragon Age: Origins - Awakening are open to everyone. An account opens the rest of it, and every other guide in the archive. It's free, and there's nothing to buy.

Bought guides on the old Prima Games site? Your account and every guide you own moved here, so there's nothing to buy again. Sign in.

Create a free account Or browse our free guides

PreviousKnotwood Hills NextMain Hall