
Dragon Age: Origins — Awakening Guide Walkthrough Last of the Legion
Main Hall
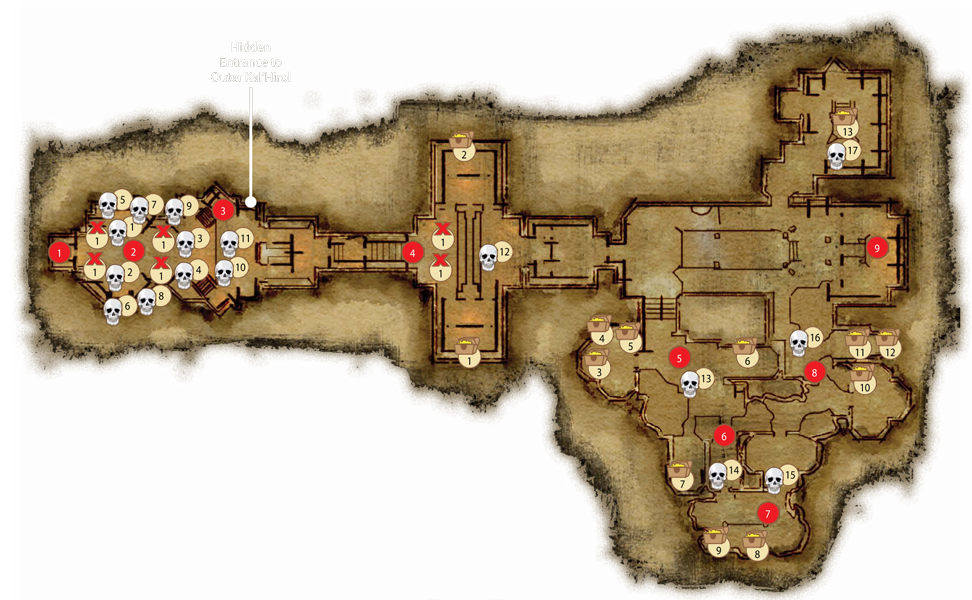
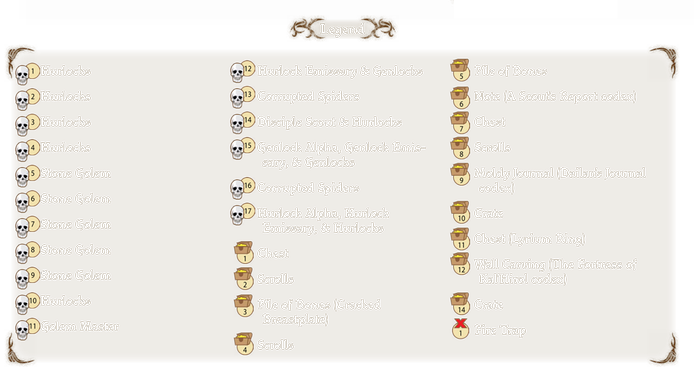
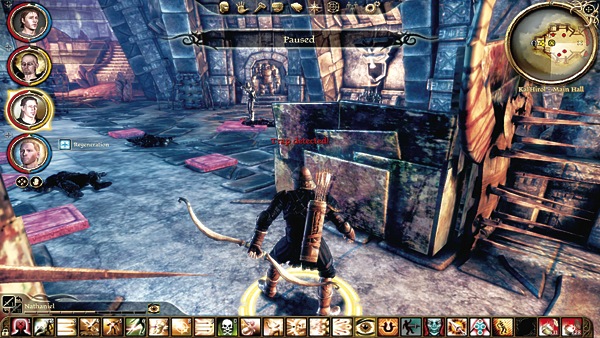
(1) Assuming you haven't used the secret side entrance, hold your party at the entrance to this first room. It's full of fire traps that trigger with pressure plates in the floor. Hurlock archers stand at the ready shortly inside, so you'll have to take them out as well, and the golem master on the upper level periodically sends magic bolts down to animate stone golems along the walls, making for more enemies to combat amid deadly traps.
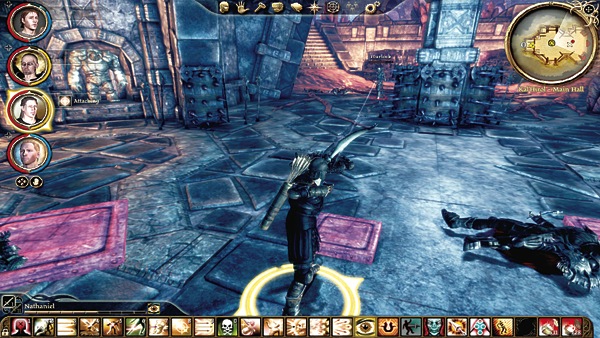
(2) The trick to surviving the trap room is patience. Send your rogue and any ranged party member a few paces into the room. The rogue should point out the pressure point triggers in front of you. Stop your party before these and use ranged attacks only to kill all the hurlock archers in sight. Before the first golem activates, your rogue should drop down and deactivate as many of the nearby pressure plates as possible. Now, when the stone golems activate, you have a trap-free area to fight in.
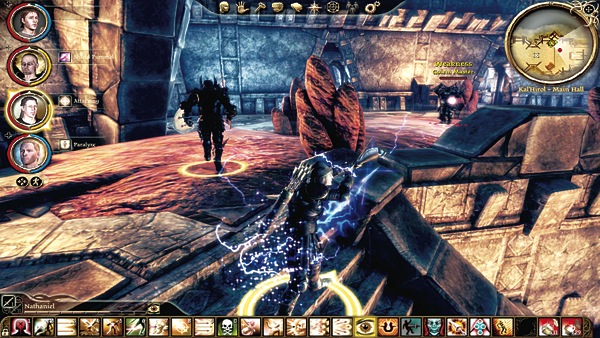
(3) Repeat the process until you reach the stairs up to the next level. If you have no active stone golems, race your party up the stairs and attack the golem master and his surrounding darkspawn. The golem master drops a golem control rod when ou defeat him. If you pick up the golem control rod, you can click on a golem in the next hallway; it will come to life and fight on our side for a while. Note that if you enter via the secret side entrance, you arrive in the Main Hall at this point.
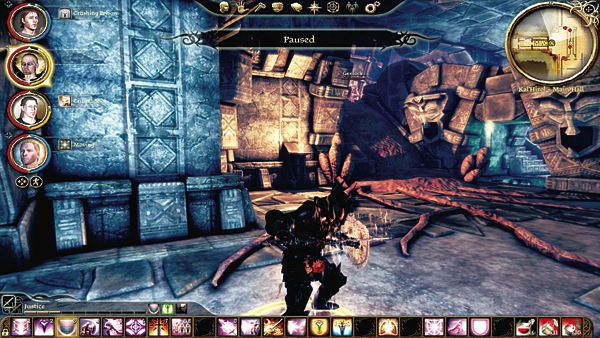
(4) After the golem master, take the stairs down and watch the various dwarven spirits reenacting the fall of Kal'Hirol. These harmless spirits deliver interesting information about Kal'Hirol's story. Pause as you enter the next room. Again, you have pressure plates on the floor in front of you, ready to spit fire on any party member foolish enough to charge in.
Fire at range on any darkspawn you spot on the stairs flanking the room while your rogue disables the pressure plates. Then charge in and deal with the darkspawn up the stairs.
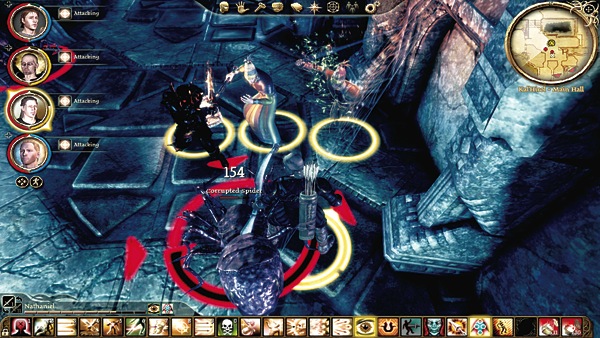
(5) Enter the grand concourse and head south (the north section is blocked). In the room to the south, corrupted spiders drop from the ceiling. After you crush the vile bugs, search the surrounding area for loot. You'll find a cracked breastplate among the plunder.
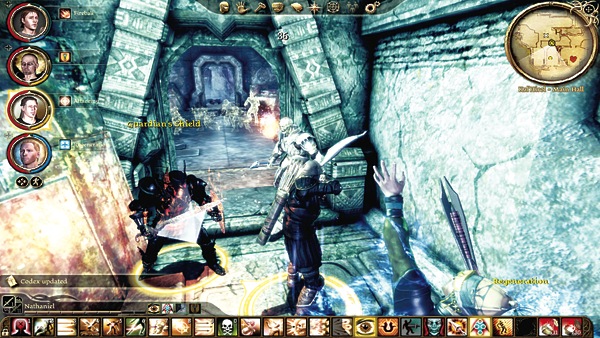
(6) There are two exits to the south. Take the one on the left and blast a strong ranged AoE down the corridor at the waiting disciple scout and hurlocks. As they charge, switch to melee and fight them at the doorway. Your whole group can attack while only one or two enemies will fit through at the choke point.
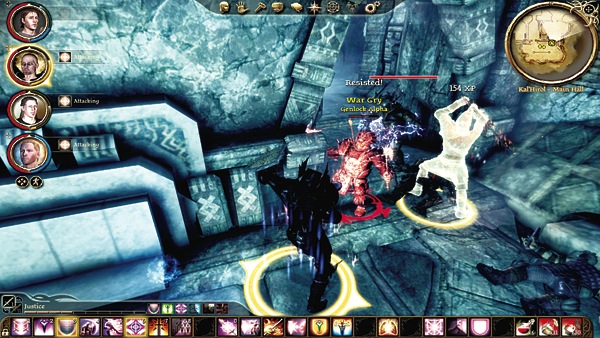
(7) As you round the corner after the disciple scout's group, genlocks swarm out and try to overrun you. Throw your tank into the fray and try to clog up the doorway. The healer should concentrate on the tank as the rest of the group chips away at the flanking genlocks. If the tank stays up, the genlocks should slowly fall.
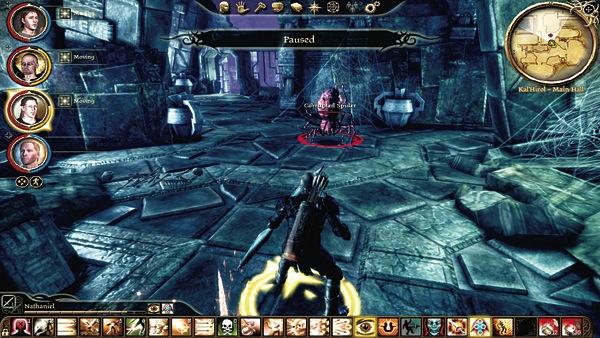
(8) Continue north as you wind between the irregularly shaped underground chambers. Corrupted spiders will once again drop down on you as you near the main hall exit. Squash them into pulp unless you want to taste the inside of a cocoon.
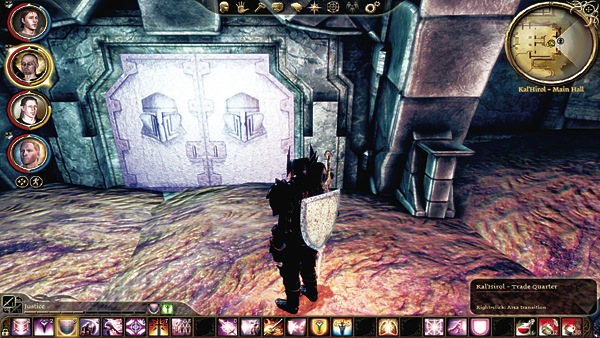
(9) The exit to the Trade Quarter lies to the east in the last large chamber. Nothing prevents you from leaving at this point. However, if you want some more experience and loot, head north and battle the hurlock alpha and his hurlock buddies. A somewhat hidden crate rests atop the platform at the center of the room, and you can grab the Staff of Vigor and a shattered maul off the dead hurlock emissary.