
Dragon Age: Origins — Awakening Guide Essentials The Party
Party Basics
The name of the game should give you a clue that monstrous beasts are in store for you. From dungeon depths to snowy mountaintops, your four-person party will battle anything from devastating dragons to drooling darkspawn. Unless you want to end up as chew toys for ogres, hone up on the basics and learn expert party dynamics.
Buddy Basics
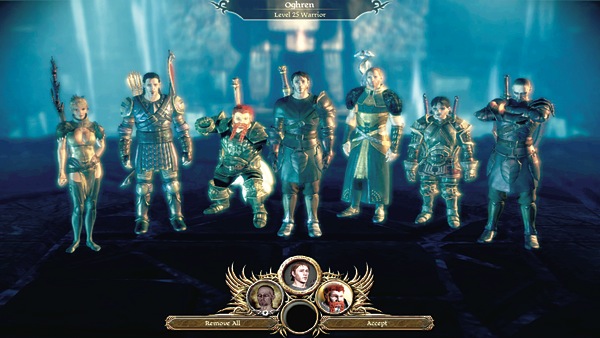
You begin your adventuring career on your own. As the story unfolds, you meet companions who join your party and become your allies in battle. A companion could be a mage such as Anders, or the unlikeliest of allies, Justice, a spirit from the Fade unexpectedly pulled back to the material world. It's up to you to decide which companions you travel with, because you can have only three companions at once.
The rest remain behind at Vigil's Keep, a place easily reached from the world map that serves as haven for you and your companions, fully equipped with merchants and allies who may give you political advice or join you on future quests. Each time you leave the Vigil's Keep throne room, you can pick three new companions to accompany you, and in certain non-hostile regions, you can use the Party Configuration button on your top menu to immediately switch companions. For more on each companion, flip to the Companions chapter.
Group Dynamics
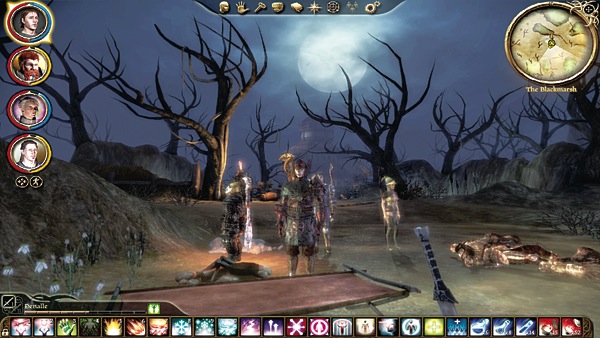
Each of the three classes has a distinct role in the party. In general, class roles fall into categories that take best advantage of class talents. However, be prepared to improvise at any given moment. For example, if you're a rogue bard intent on keeping a second monster away from the party and you see the first enemy about to defeat your tank, you may want to switch to offense and help out with the first enemy.
The party's main tank responsibilities fall on the shoulders of a warrior. His superior defense and ability to hold the mob's threat safeguard the group in the heat of battle. If the tank falls, it generally spells doom for the rest of the party as the enemies split and attack the more vulnerable companions. The warrior's primary job is to the hold the line and keep the enemy's attention on him at all times so that others can do their thing.
Every party needs a healer, and a mage has excellent spells for the job. When not healing, the mage can augment the party with stat-enhancing buffs. Mages can also focus on DPS, stacking up on a single target and AoE damage spells to obliterate whole enemy groups.
A rogue acts as the scout for the party. He slips into the shadows with stealth and recons the area for enemy positions, traps, treasure locations, and quest objectives. When going up against enemies, a rogue can hide until the opportune moment to dart in for a backstab. In the heat of battle, the rogue adds extra DPS to the fight with superior Dual Weapon talents and bonuses to critical hit chances.
As you adventure with the same team, you gain experience, loot, and better skills. Develop your team as a whole and not just individuals. For example, you don't need four party members with Herbalism. One person who's mastered Herbalism can supply all the potions, leaving the others free to spread out their points to other valuable skills. It's fine to have two party members with Poison-Making so they can both enhance their weapon DPS, but also try out Trap-Making, and leave crucial skill points open for your PC to put into Coercion and possibly Survival.
At level 20 and higher, look toward Runecrafting to create weapon and armor runes, Vitality to pump up health, or Clarity to enhance your mana/stamina reserves. After a successful quest run, distribute your gear to the most appropriate characters. Don't always give the best items to your PC (though he or she should certainly get great loot whenever possible). It's much better to hand the top-notch armor to your tank than your rogue PC, and it makes little sense to give an accessory with magic bonus to your melee DPS character.
Dealing with Threat
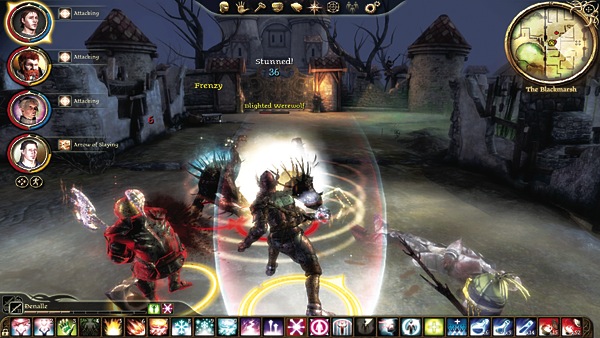
If anyone in your party does manage to pull threat, always make sure to run to the tank to have it picked up. Attempting to run away only increases the time it takes to get the mob pulled off, likely resulting in the character's death or even the whole party's. Monitor the threat from critical hits. If you land a couple of high critical strikes in a row, disengage for a second then reengage. Critical strikes increase your threat, so consider this when monitoring your threat output.
If you have an off-tank in a party, don't use the off-tank's threat-generating abilities unless a difficult enemy breaks from the main tank or the main tank dies. Pulling off of the main tank will interrupt his threat generation, and your healer may not have enough mana, or time, to heal both.
If the main tank loses threat, everyone in the party must disengage until he regains it. Use any threat-reducing abilities, such as the rogue's Feign Death, if you have them. Once the main tank picks the enemies back up, wait a few seconds for the tank to build threat, then reengage.
Healing
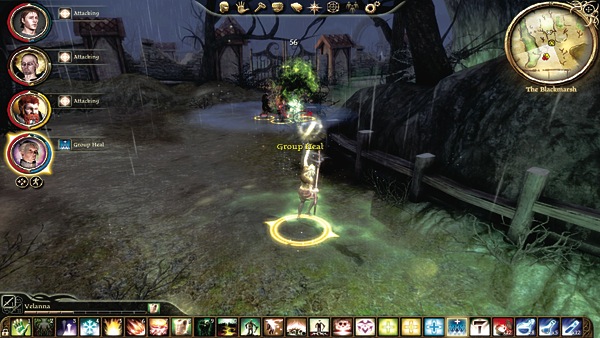
The party's healer will save or damn a group when an encounter gets hot and heavy. As a healer, you have to know when to launch your Group Heal, when to throw around a Heal or Regeneration, and when to avoid healing. In general, save your big heal to counteract large spike damage (unexpected damage that crits through a party members' defense for a significant amount of health), or if you desperately need to float a party member's health back up to a manageable level.
Those levels will depend on the enemy's damage and how much backup healing and mana you have at your disposal, but you shouldn't panic unless a party member's health is consistently dropping below the one-third mark. Even then, the healer's main responsibility is to the tank, then himself. Keep the tank alive, even if it means losing a DPSer in the fight. If the tank falls, the whole party will most likely perish. A good rule of thumb is to never switch off the main tank unless another companion's health is dropping rapidly. If you have to heal elsewhere, switch to the party member that needs help, throw a single Heal or Regeneration, and return to the main tank immediately.
A healer definitely must learn when not to heal. Obviously, you must conserve your mana so you don't run out at a crucial time, but you must also look at the big picture. You only have so many heals you can throw around, and the majority will be directed at the tank. You don't want to let anyone drop, but if you find yourself limited, you may have to skip a heal or two that you would have normally cast and let everyone's health bars get much closer to zero. Unless you are cruising through an encounter, you should never heal a non-party member, such as a blue-circled ally or one of the ranger's summoned animals. These allies are expendable, and the ranger's pets can always be re-summoned.