
Dragon Age: Origins — Awakening Guide Walkthrough Siege of Vigil's Keep
Siege of Amaranthine
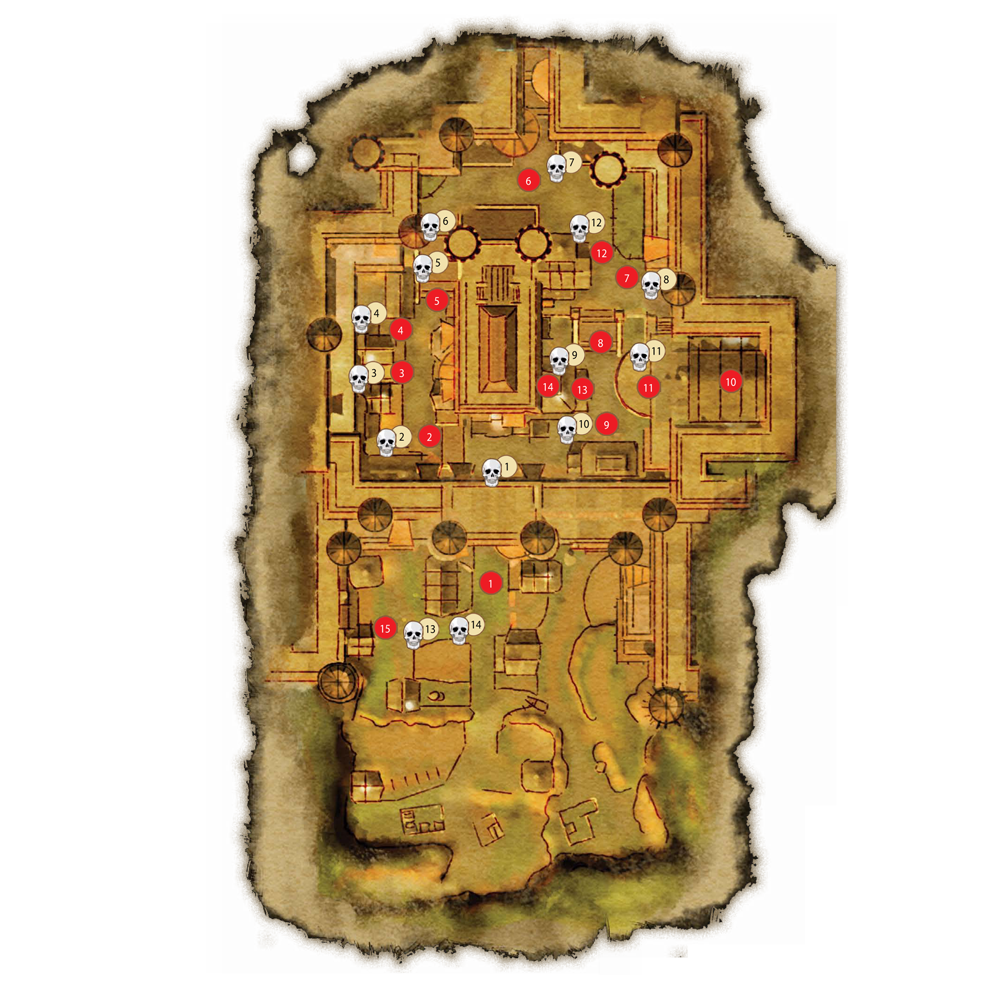
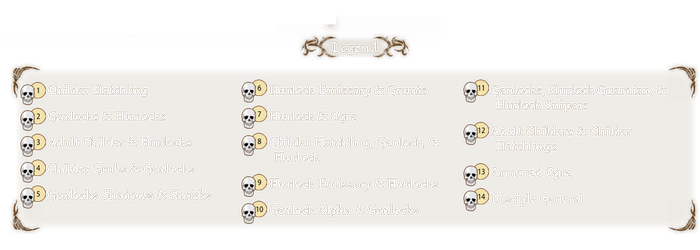
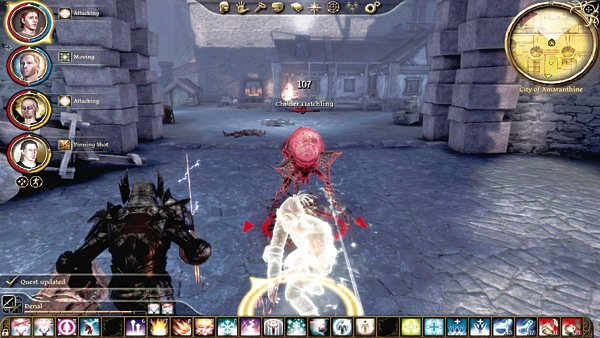
(1) Once you choose to abandon Vigil's Keep and save Amaranthine, prepare for a nonstop run through the city to thwart the darkspawn siege. From the battle at the main gates, run north to the first intersection and pick off a straggler childer hatchling as you turn left toward the Market District.
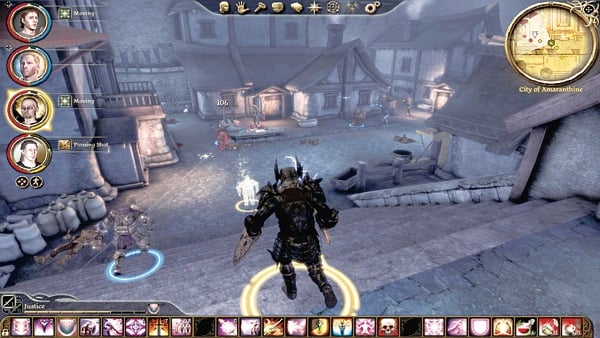
(2) Genlocks and hurlocks attack the first city guard group in the Market District. Rally to the guards' defense and charge right in. The longer you wait, the better chance the darkspawn have to defeat the guards, so don't waste any time with elaborate battle plans. It's time for brute force.
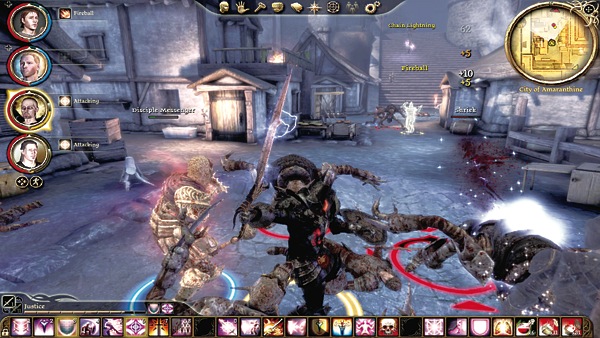
(3) An adult childer and hurlocks pin the second guard group in the side alley north of the first market encounter. Get to them as quickly as you can and let your high DPSers do their thing. The more guards that you save early on, the easier it will get as you proceed. Guards that you save join you to fight darkspawn in the immediate area.
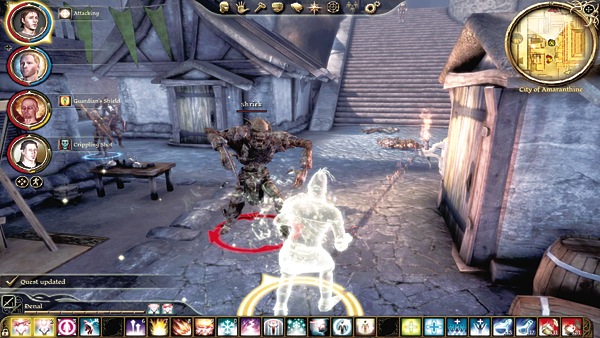
(4) Genlocks and childer grubs surround the third guard group near the northern stairs out of the market to the back of the city. This third group isn't as tough as the second enemy group; however, darkspawn reinforcements will pour down the nearby stairs and try to overwhelm you as you approach.
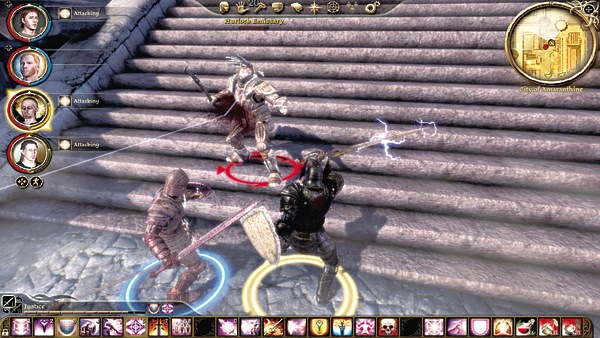
(5) When you near the stairs, watch for the genlock shadows and shrieks who will suddenly appear behind you for backstab attempts. Keep your party together and advance on the stairs slowly after you've saved the third city guard group. A second wave of reinforcements, including a hurlock emissary, will slow you down on the steps. Proceed only after dispatching these enemies or else you'll be harassed later from the back and front.
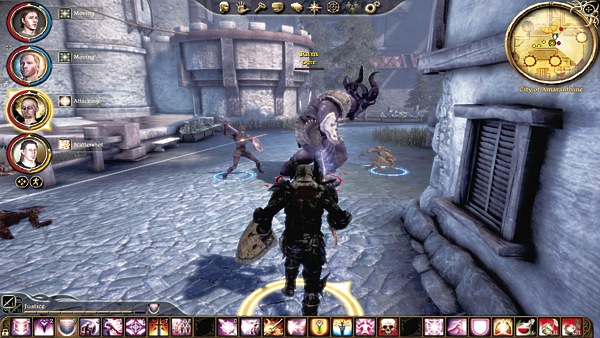
(6) An ogre and its smaller hurlock companion terrorize the fourth city guard group. Run your tank toward the ogre and taunt it away from the guards or they'll be dead in seconds flat. Let your tank absorb damage with healing backup as the rest of the team mounts damage on both the ogre and hurlock. Once the two enemies fall, continue southeast to the next enemy targets with more guards in tow.
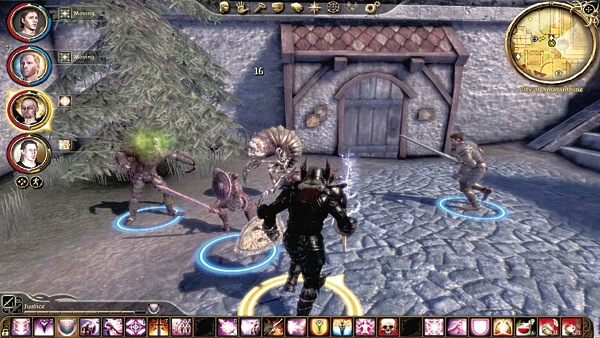
(7) Your momentum should start building by this point, and the battles should go smoother with more city guards aiding each other. Wipe out the childer hatchling, genlock, and hurlock surrounding the fifth city group and save them.
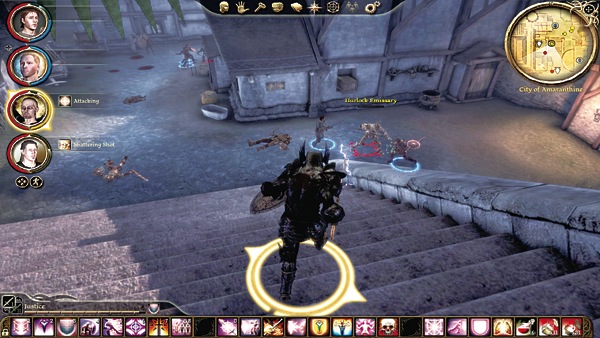
(8) Head south to the stairs and attack the hurlock emissary and hurlocks at the corner of the Crown and Lion Inn. If the guards are near death, switch to range at the top of the stairs and kill the enemies with single-target damage (not AoE damage!).
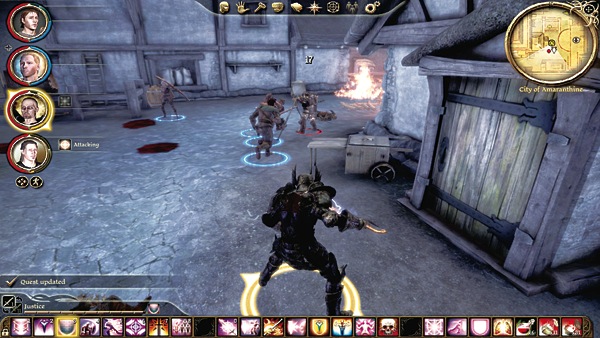
(9) The last city guard group defends against a genlock alpha and genlocks. Hit the darkspawn from behind as they focus on the guards. They won't stand a chance if you hit them hard and get even a little bit of support from the remaining guards.
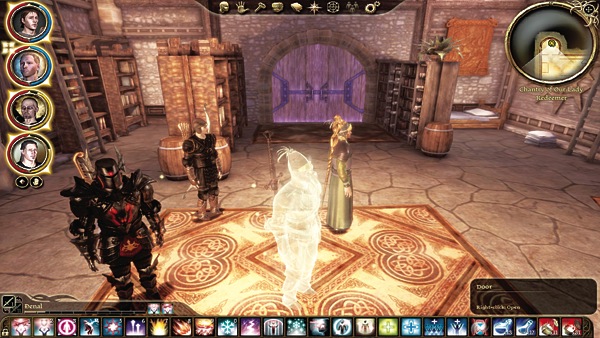
(10) With all seven city guard groups saved, the militia captain warns you that a greater wave of enemies is about to roll into the city. He suggests that you retreat to the Chantry where a stronger defense can be mounted. You retreat to the Chantry, where you can heal up and collect your thoughts before part two of the battle.
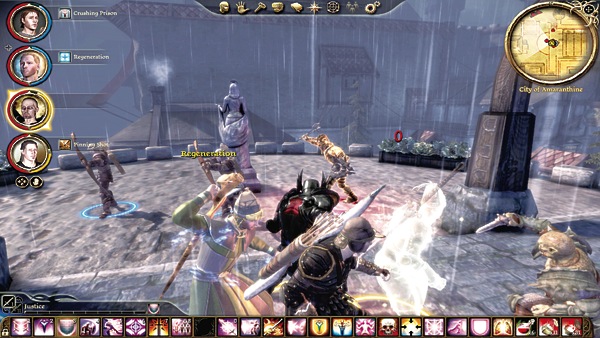
(11) While in the Chantry you learn that the darkspawn continue to enter the city through the Crown and Lion Inn. You must shut down their entry point to save the city guard (it's the trapdoor in the back of the inn that leads to Smuggler's Cove). Exit the Chantry and battle the darkspawn immediately outside the Chantry doors. The tank should match up against the hurlock guardian, and ranged attackers should take down the hurlock snipers. If you have a rogue capable of deadly backstabs, flank the rogue around to the guardian or a sniper, whichever is giving you more trouble.
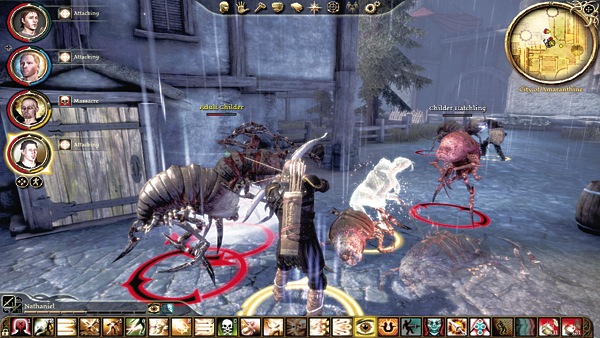
(12) Childers begin to emerge from the Crown and Lion. If you give these darkspawn time, they will build up to unholy numbers. You must slay the adult childers to shut down the enemy spawn in the area (otherwise the childers will continue to arrive from the Crown and Lion doorway). Once all the adults are dead, clean up the remaining childers and then enter the Crown and Lion.
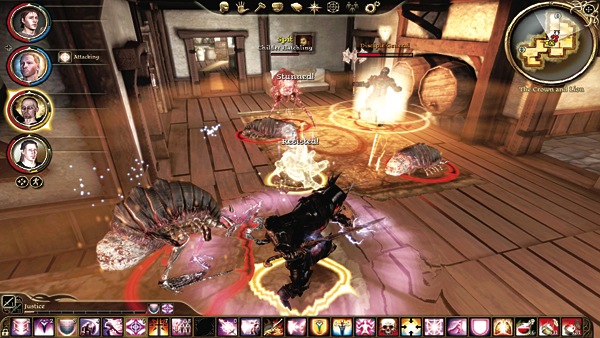
(13) Inside the Crown and Lion, genlocks and childers protect a disciple general. Cut through the weaker darkspawn and try to get at the disciple general near the stairs. Once he takes a few blades to the chin, the disciple general will retreat to the back rooms (in front of Kristoff's room from the "Shadows of the Blackmarsh" quest). Finish off him and any remaining darkspawn. The trapdoor to Smuggler's Cove is in the back corner of the storage room. You must enter it to chase down the remaining generals.
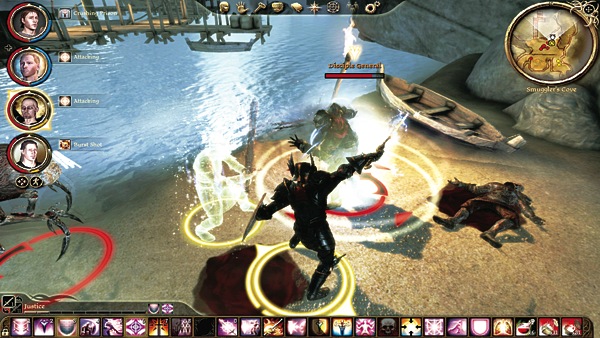
(14) Down in Smuggler's Cove, exit the basement area to the secret beach. The disciple general will send genlocks, hurlocks, and more childers at you. Stay together and fend off these foes as you advance on the general. When you can reach him with melee, stun the general with several party attacks in a row to pin him down and deliver the killing blow quickly. You can loot Flemeth's Broomstick and the Elementalist's Grasp light gloves from the general's corpse.
The fight down in the cove, however, isn't over yet. Darkspawn continue to attack. Press into the constricted southwest corridor and go after the adult childer in the rear. You must defeat the adult childer to stop the enemy spawn in the area. After you slay all remaining foes, you can return to the city streets.
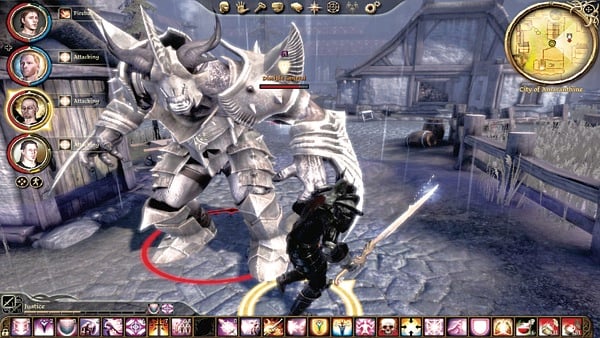
(15) Track down the final disciple general back up in the city streets (in almost a full circle from where you started the whole run). Unfortunately, the general is not alone; a massive armored ogre joins him for the final assault. Take out the ogre first because its damage output is much more dangerous.
Send the tank directly at the ogre and keep the party healing on the tank so that he stays above 50 percent health at all times. Try to sneak a rogue behind the ogre for backstabbing, or another melee DPSer for maximum damage while staying relatively protected in the ogre's blindside.
Unless you have superior gear, the ogre's grab maneuver will take a character down quickly; the healer must Heal, Group Heal, Lifeward, or throw up a Force Field immediately when this occurs or you'll have one dead party member. Also, watch out for its whirlwind attack that deals tremendous damage to all adjacent melee attackers. When the ogre begins to spin, jump back out of the way or activate a defensive maneuver, such as a rogue's Ghost talent.
Hit the armored ogre with everything you've got to slay it before it slays you.
After the armored ogre falls, turn toward the disciple general. With no other minions left to defend him, the general will eventually go down to your synchronized party attacks. The surviving citizens will gather and applaud your heroic efforts. Among the cheering citizens are a merchant and an enchanter. Visit them as you complete your preparations for the final battle. You have saved the city, but at a terrible price to your own home. It's time for the Mother to pay for her crimes.