
Dragon Age: Origins — Awakening Guide Walkthrough Lair of the Mother
Drake's Fall
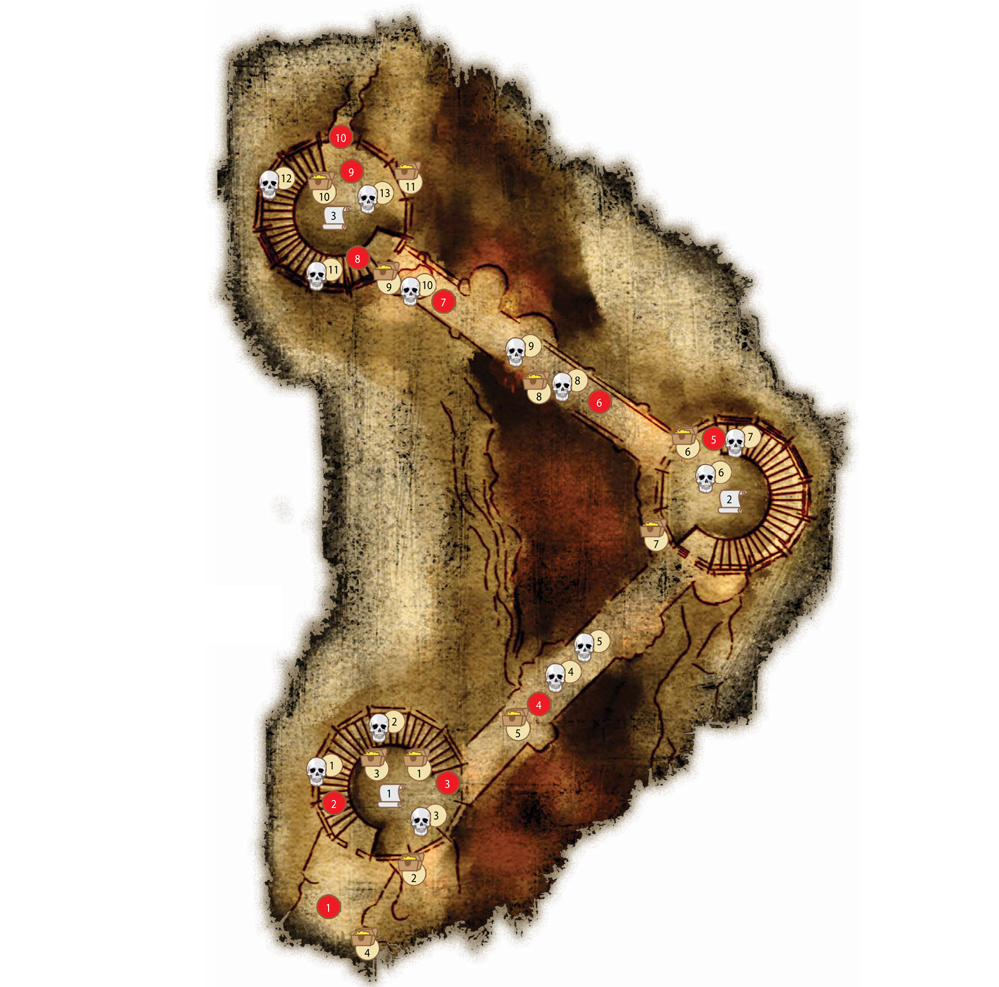
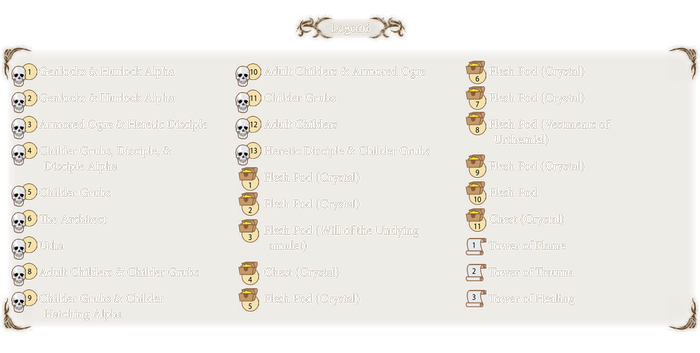
(1) You arrive inside Drake's Fall on a platform adjacent to a large spiral staircase. Out on the platform, look to your right and you'll spot a locked chest. If you have a skilled lockpicking rogue in your party, you can gain one of the valuable Tevinter crystals scattered throughout the area. For more details on the crystals, see the "Crystals of the Imperium" sidebar on this page.
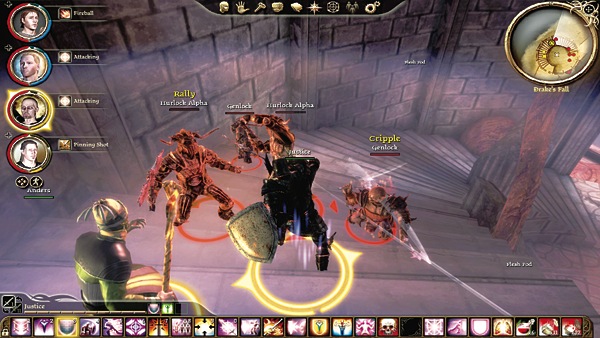
(2) As soon as you enter the first spiral staircase, two groups of genlocks, each led by a hurlock alpha, charge up the stairs at you. Cut them down at the top of the stairs, or the middle of the stairs. Don't descend to the bottom yet or you'll pull the armored ogre and heretic disciple into the mix. You don't want to fight everything in the room at once.
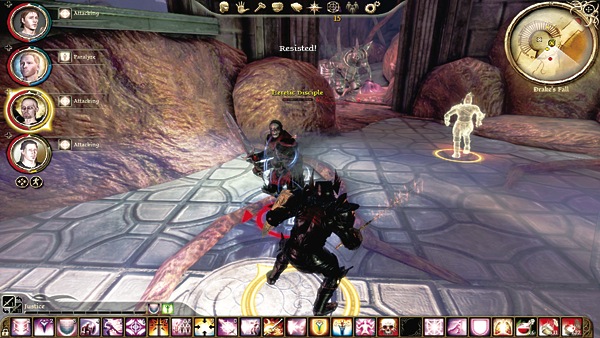
(3) After the genlocks and hurlocks are down, descend and take on the heretic disciple and armored ogre. Whichever character has the best stunning attacks should challenge the heretic disciple and disrupt his spellcasting. The rest should go after the ogre, with the healer staying on the stairs to heal whoever needs it.
If you play it carefully, it's possible to pull the heretic disciple to the stairs by himself, without also pulling the ogre. Search the flesh pods and chest in the immediate area, and you should have at least four crystals to power up the first tower. Plug the crystals into the four empty sockets and activate the Tower of Flame.
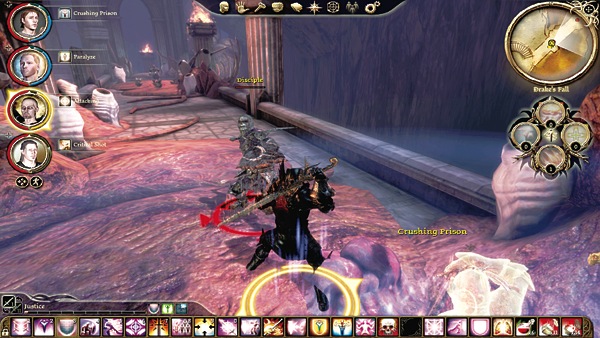
(4) Exit the first chamber and walk out on the high balcony leading to the second tower. About halfway across, a disciple, disciple alpha, and tons of childer grubs will attack. Walk slowly down the balcony so you only pull one group at a time. If you run across, the grubs will spawn out of their cocoons and rush at you from all sides. Search for crystals in the flesh pods and dead creatures as you proceed.
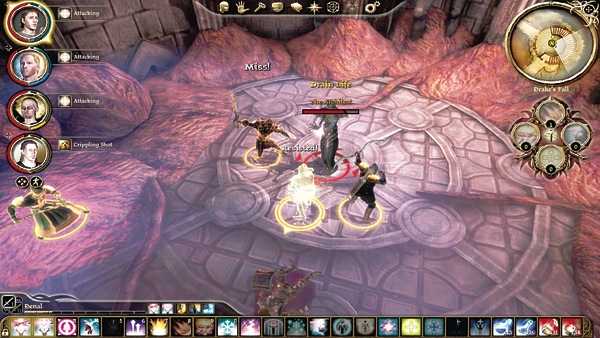
(5) The Architect greets you in the second tower. He appears once you walk down to the tower base. The Architect explains how he's been trying to save the darkspawn by freeing them from the call of the Blight, but to do so he needs Grey Warden blood. Much like the Wardens use darkspawn blood for their Joining, the Architect needs Grey Warden blood to give the darkspawn awareness and resistance to the Blight.
You can choose to join forces with the Architect or slay him. If you ally with the Architect, he will grant you the powerful Cataclysm AoE flame attack in the battle against the Mother. If you decide that the Architect's crimes are too much, you fight the Architect to the death.
The Architect stands in the middle of the tower and immediately attempts to launch a massive Cataclysm attack. The Architect's companion, Utha, runs down the stairs and flanks you from behind. Interrupt the Architect's spellcasting or everyone in your party is in for a world of hurt. Send the tank versus Utha to keep her at bay, while the other three concentrate on the Architect.
Stay in close on the Architect and keep pounding away. You can't escape his Cataclysm when it goes off, so positioning isn't as important as the healer immediately counteracting with a timely Group Heal. When both fall, you can score some sweet loot: Robes of the Architect and Belt of the Architect, plus Doge's Dodger belt on Utha. If you have four more crystals, activate the Tower of Trauma by interacting with the sockets encircling the spot where you battled the Architect.
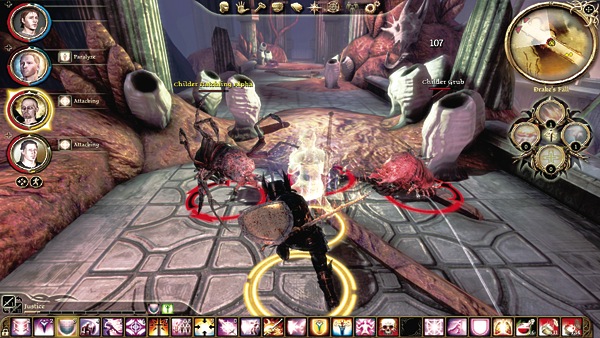
(6) On the next balcony, advance slowly until you pull a group of childers. Deal with these childers as a tightly positioned party and raid the flesh pod a few paces to your left. This causes a second childer group to attack. If you run into flanking problems, continue to retreat and pick them off with ranged attacks to thin the numbers against you.
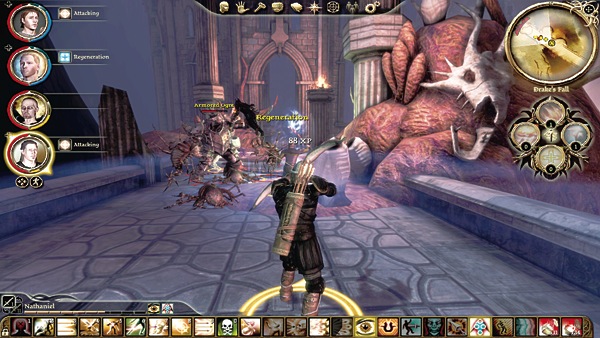
(7) Heal back up and then cross the remainder of the balcony. Near the end, you have a difficult fight on your hands: several adult childers and an armored ogre. Try to stun or paralyze the armored ogre to give you enough time to deal with the adult childers separately. If you must deal with them all simultaneously, retreat slowly and continue to whittle enemy health down with ranged attacks. If you can retreat far enough and throw up a continuous AoE, such as Inferno, you'll force the creatures to pass through and take significant damage to enter melee with you.
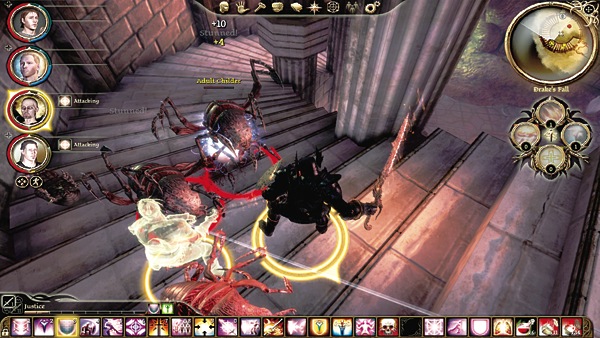
(8) When you reach the final tower, childers will assault you on the stairs. As with the other towers, draw the creatures up to you at the top or mid section of the stairs and slay the first two waves here.
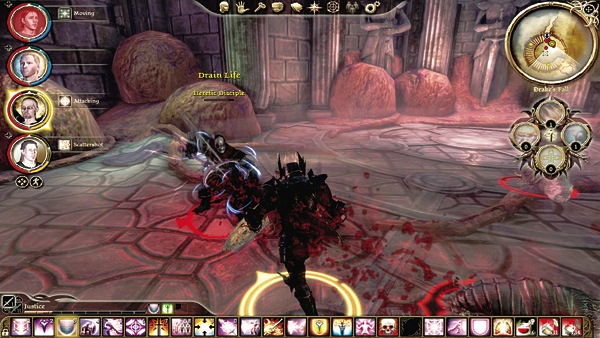
(9) Now move down to the bottom and engage the heretic disciple and childer grubs that defend the Nest entrance. Search the flesh pod and locked chest after the enemy resistance has been silenced. Take your final four crystals and activate the Tower of Healing.
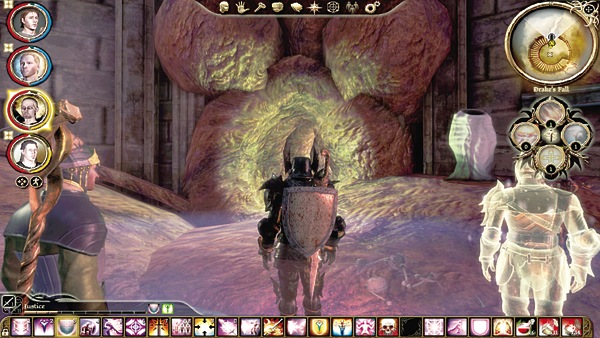
(10) You should now have all three Tevinter powers: flames, stuns, and heals. These will aid you greatly inside the Nest against the Mother. Take one last chance to heal, level up, and make one final equipment check for your whole party. When you're ready for the ultimate boss fight, enter the Nest and hunt down the Mother.