
Dragon Age: Origins — Awakening Guide Walkthrough The Righteous Path
Silverite Mine
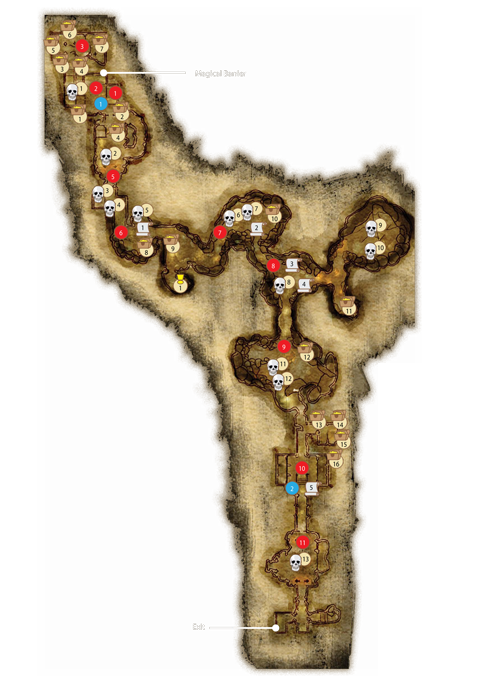
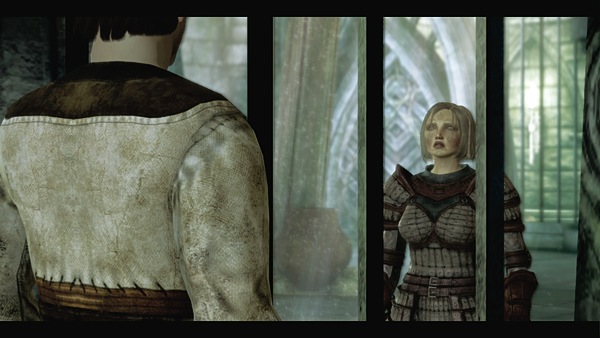
(1) You awake in a cell with your companions, all stripped of your gear. Velanna's sister, Seranni, speaks to you from the cell door. She tries to explain that the Architect isn't truly an enemy, but before she can elaborate, darkspawn are at the main cell area door. Rather than risk an unfortunate end at the hands of these darkspawn, Seranni releases you from the cell and flees. If you maxed out your Coercion skill, you can persuade Seranni to give you a key that unlocks the special treasure chest in the Architect's room later in the mine.
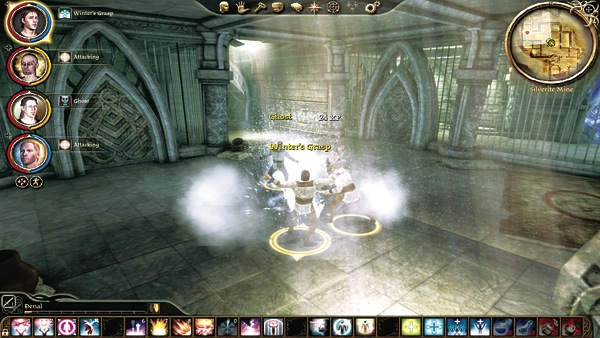
(2) Leave the cell and confront the onrushing hurlocks with your bare hands! Pound them old school and pick up whatever equipment you gain off their battered corpses. Your mages rules this fight; they have few limitations on damage, while warriors and rogues without weapons can only rely on certain talents to really make a difference.
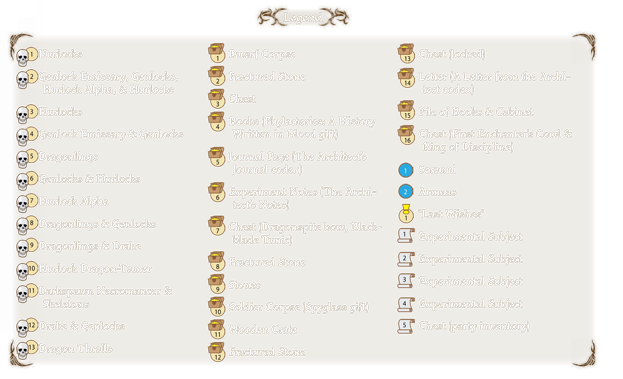
Loot the corpses until you find the Holding Cell Key on one of the dead hurlocks. You can use that key to explore the other cells and gain some extra loot from the poor dwarf corpse in one and the fractured stone in another. The shimmering magical barrier to the north remains closed until you figure out the Architect's lab puzzle in the next room.
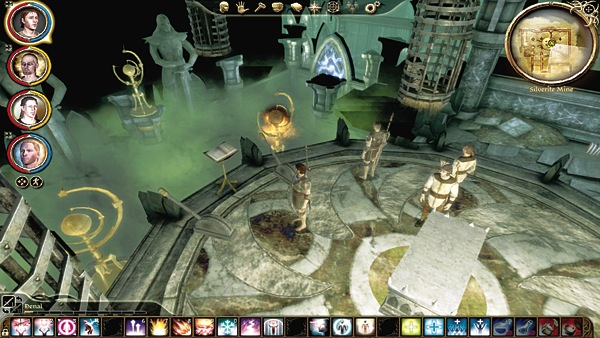
(3) Enter the Architect's lab to the north and explore the tables for various notes and codex entries. On the east side of the room are two experiment control rods. If you look below, you can see the section of the lab where the Architect experiments on unfortunate victims.
A deadly looking green gas swirls around. Under that gas are a lot of dead bodies and a treasure chest that you really want. To deactivate the shimmering magical barrier on the wall to your right and disperse the gas in the lower chamber, you must figure out the lever and beacon configuration.
The lever on the left moves the active beacons one space clockwise. The lever on the right toggles the back two beacons active/inactive. With that in mind, the easiest method for solving the puzzle is to pull the levers in this order: left, right, left, right.
Once the gas disperses, leave the lab and go back to the magical barrier in the prison block. Enter the lower lab floor through the now-opened barrier. The chest in the middle of the lower lab floor contains two awesome rewards: Dragonspite and the Blackblade Tunic.
The tunic will make any rogue's day with +12 defense, +20% fire resistance, +20% cold resistance, and three rune slots; and the Dragonspite bow with its +20 damage against dragons and +20% fire resistance will come in particularly handy in the final battle against the dragon thralls in the arena.
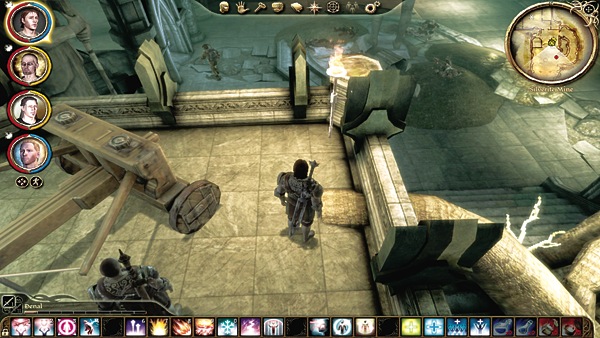
(4) Enter the room south of the prison block carefully. If you peek over the balcony to the floor below, you spot a cluster of genlocks and hurlocks guarding the area. Rather than take them all at once, tiptoe over to the ballista and fire it at the large statue next to the enemy group. The statue crumbles on top of most of them. If any stragglers survive, meet them in the side passage to the east and finish them off there.
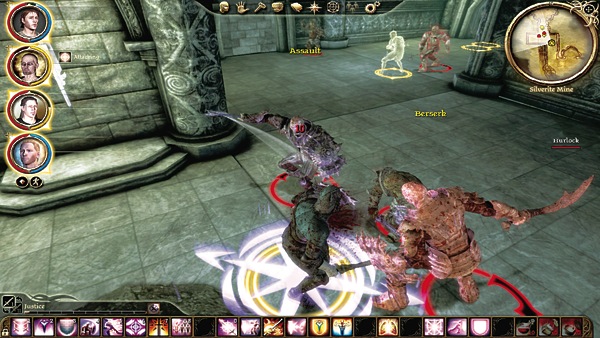
(5) The door in the south wall of the ballista room alerts two separate darkspawn groups to your presence. Hurlocks immediately charge after you, while genlocks follow in the rear. The genlock emissary, who likes to hang back in the rear, is the most dangerous foe of the group. Send your tank into the main fray and use your ranged party members to harass the emissary with stuns and continuous damage to take him down without a big counterattack. There is a hidden room in the east wall; inside you willfind the Blackblade Helm.
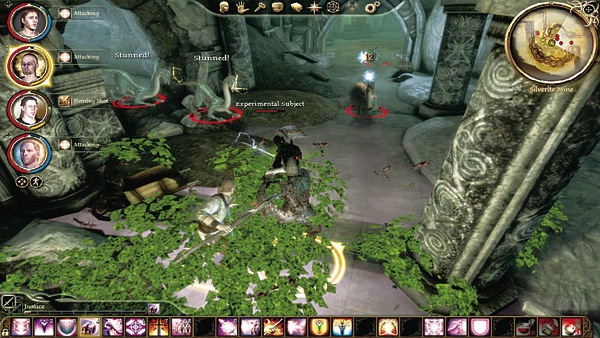
(6) In the next room, you'll spot your first experimental subject. Throughout the mine, experimental subjects hold your missing equipment. Each experimental subject wears a specific party member's gear, so if you see your tank's armor, for example, expect a bruising opponent who deals out major melee damage. Attack the experimental subject with your melee DPSers and hold back your ranged attackers.
Dragonlings will pour into the area from the hole in the wall to the north. Concentrate your stuns and ranged damage on the dragonlings, while the melee fighters finish off the experimental subject. Turn the group's attention to the dragonlings after the experimental subject no longer poses a threat. Loot the experimental subject and one of your companions is back with all his or her gear.
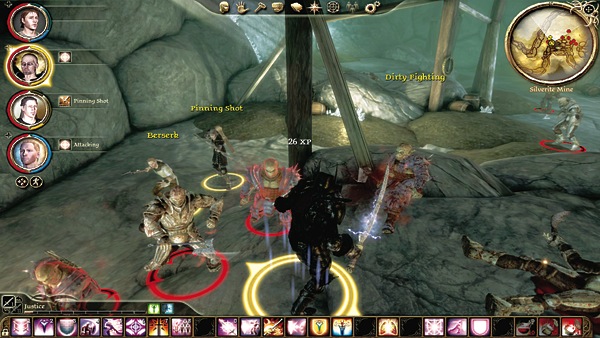
(7) Repeat your battle tactics in the next room, only this time on the second experimental subject surrounded by genlocks and hurlocks. Half your party is back to normal when you recover your second set of equipment.
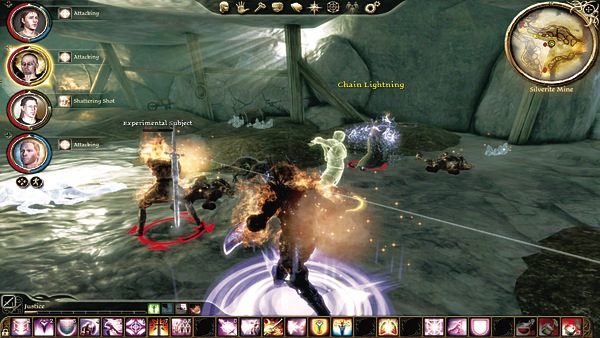
(8) Two experimental subjects, including your PC's doppelganger, wait in this chamber with a mix of dragonlings and genlocks. This fight can get a bit chaotic with all the enemies in a relatively small space. It's important for the healer to focus exclusively on keeping the party alive, especially the party members who haven't recovered their gear yet. After the battle, all your party members will be back at full strength. Now all you have to do is find the rest of your miscellaneous inventory items.
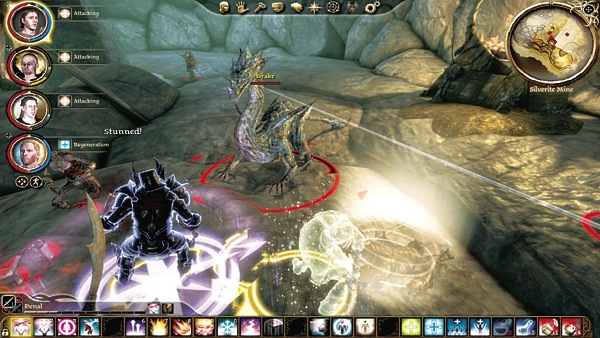
(9) A new foe, the darkspawn necromancer, sets a trap for you in the next room. When he spots you, the necromancer animates several skeletons to engage the party while he retreats to the upper platform on the chamber's south side.Meanwhile, a drake and genlocks enter from the south passage.
As you try to reach the necromancer to stop his death magic, you must battle this large mix of foes. Stick the tank on the drake to eliminate its massive attacks from striking the whole team. Ranged attackers should stay at the north entrance and pick off the closest foes. Melee attackers can aid with the tank against or help the ranged attackers remove lesser foes. Once the drake dies, go after the darkspawn necromancer.
The corridor on the left after the necromancer chamber holds the Architect's room. Enter it and loot all its goodies. If Seranni gave you the key in your first dialogue, you can open the Architect's chest and gain the Ring of Discipline and the First Enchanter's Cowl.
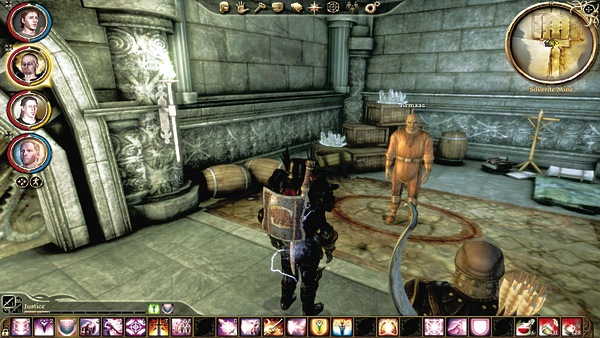
(10) At the top of the stairs in the next room, you meet up with a lone qunari, Armaas. He's a trader who doesn't take sides and is more than happy to trade with the darkspawn for a nice profit. You can trade with him yourself, and with a high enough Coercion skill, you can get him to give you a discount. Armaas can also be convinced to trade with Vigil's Keep, which helps fulfill the "Trade Must Flow" side quest. The chest to the left of the arena door holds the rest of your party's inventory items.
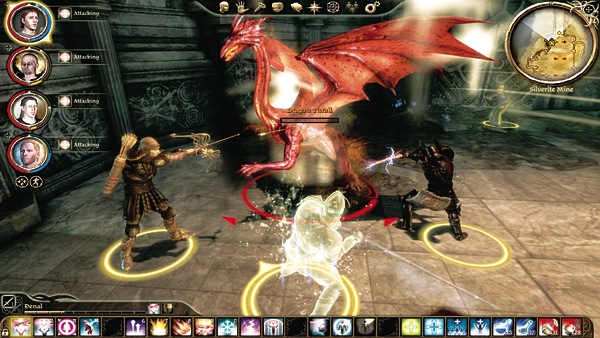
(11) The final room is a giant arena overseen by the Architect and his allies. You enter at full strength, ready to take on any challenge, even two dragon thralls at once! The Architect apparently wants to test your battle prowess, so he sends the two dragons on you. Spread out immediately so the dragons' fire breath doesn't hit multiple party members at once.
After landing and engaging briefly, the dragon thralls launch back into the air and reposition. When they land, glance at both dragons and see which one's health is lower. Send all your attacks at that dragon. It's important to kill one first, rather than deal with two wounded yet dangerous dragons, and it's very easy to mix them up when they take to the air. If you can slay one without heavy losses, the damage will pile up on the remaining one quickly and you'll win the day.
The Architect makes a strategic retreat and you can finally escape the Silverite Mine through the exit to the south. Be sure to loot the dragon corpses for the Slippery Ferret's Gloves, Landsmeet Shield, and Shock Treatment light gloves. Return to Vigil's Keep to report on your progress and resupply for the next undertaking.