Prima Games eGuides
primagames.com Browse Redeem a code Help
Dragon Age: Origins - Awakening eGuide
Sign in My Guides

Sign in or create an account

We'll email you a link. No password needed, and if you don't have an account yet, the link makes one.

By creating an account or signing in, you agree to our Terms of Service and Privacy Policy.

Have a password?

Had an account on the old eGuides site, or a code from a printed guide? Help and troubleshooting

Sign in with a password

By signing in, you agree to our Terms of Service and Privacy Policy.

Check your email

A sign-in link is on its way. It works once and expires in 15 minutes. Open it and you're in, with an account if you didn't already have one.

Contents

  • Maps
    • World Map
      • World Map
    • Main Quest Walkthrough Maps
      • Assault on Vigil's Keep
      • Keep Interior
      • Throne Room
      • Vigil's Keep Courtyard
      • The Crown and Lion
      • The Blackmarsh
      • The Blackmarsh Undying
      • Shadowy Crypt
      • Baroness's Manor
      • Return to the Blackmarsh
      • Wending Wood
      • Silverite Mine
      • Knotwood Hills
      • Kal'Hirol
      • Main Hall
      • Trade Quarter
      • Lower Reaches
      • Siege of Vigil's Keep
      • Siege of Amaranthine
      • Dragonbone Wastes
      • Drake's Fall
      • The Nest
    • Side Quest Walkthrough Maps
      • The Blackmarsh
      • City of Amaranthine
      • Smuggler's Cove
      • Law and Order
      • Smuggler's Run
      • Smuggler's Cove (Alternate)
      • Vigil's Keep Throne Room
      • Knotwood Hills/Kal'Hirol
      • Vigil's Keep
      • It Comes From Beneath
      • Sealing the Great Barrier Doors
      • Wending Wood
  • Essentials
    • The Basics
      • How to Use This Guide
      • Key Terms
      • Experience and Leveling
      • Your Health
      • Races and Classes
      • Skills, Talents, and Specialties
      • Items
      • Combat
      • The Map
      • The Codex
      • Character Generation
    • The Classes
      • Introduction
      • Leveling
      • Skills
      • The Warrior
      • The Mage
      • The Rogue
    • The Party
      • Party Basics
      • Combat Roles
      • Configurations and Engagement
      • Tactics
    • Companions
      • Understanding Companions
      • Anders
      • Justice
      • Nathaniel Howe
      • Oghren
      • Sigrun
      • Velanna
      • Mhairi
    • Supporting Cast
      • Supporting Cast
    • Equipment
      • Equipment
      • Weapon and Armor Materials
      • Vendor Shopping
      • Weapons
      • Armor
      • Accessories
      • Runes
      • Crafting
      • Usable Items
      • Gifts
    • Bestiary
      • Monster Abilities
      • Monster List
  • Walkthrough
    • Walkthrough
      • How to Use the Walkthrough
      • Essential Locations
    • Assault on Vigil's Keep
      • Exterior
      • Interior
      • Throne Room
      • Courtyard
    • Shadows of Blackmarsh
      • Amaranthine
      • The Crown and Lion
      • The Blackmarsh
      • The Blackmarsh Undying
      • Shadowy Crypt
      • Baroness's Manor
      • Return to the Blackmarsh
    • The Righteous Path
      • Amaranthine
      • Wending Wood
      • Trapped by the Architect
      • Silverite Mine
    • Last of the Legion
      • Amaranthine
      • Knotwood Hills
      • Kal'Hirol
      • Main Hall
      • Trade Quarter
      • Lower Reaches
    • Siege of Vigil's Keep
      • Going to War
      • Siege of Vigil's Keep
      • Siege of Amaranthine
    • Lair of the Mother
      • Dragonbone Wastes
      • Drake's Fall
      • The Nest
    • Side Quests
      • The Blackmarsh
      • City of Amaranthine
      • Companions
      • Knotwood Hills and Kal'Hirol
      • Vigil's Keep
      • The Wending Wood
      • Random Encounters
    • Achievements
      • Achievements and Trophies

Dragon Age: Origins — Awakening Guide › Walkthrough › Shadows of Blackmarsh

Return to the Blackmarsh

Runthrough (Return to the Blackmarsh)

Summary: Slay the baroness.

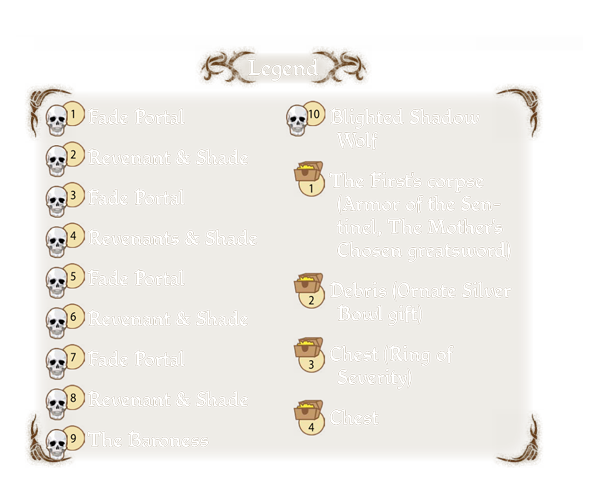
1 - Return to the real world.

2 - Destroy the Fade Portal and emerging enemies.

3 - Destroy the Fade Portal and emerging enemies.

4 - Destroy the Fade Portal and emerging enemies.

5 - Destroy the Fade Portal and emerging enemies.

6 - Battle the baroness.

7 - Claim extra rewards on the docks.

Return to the Blackmarsh Cheatsheet

Main Plot Quest: Shadows of the Blackmarsh

Important NPCs: Justice

Key Items: Armor of the Sentinel, Dock Storage Key, The Mother's Chosen

Monsters: The Baroness, Blighted Shadow Wolf, Fade Portal, Revenants, Shades

Side Quests: The Lost Dragon Bones, The Stone Circle, Tears in the Veil

Spoiler Alert

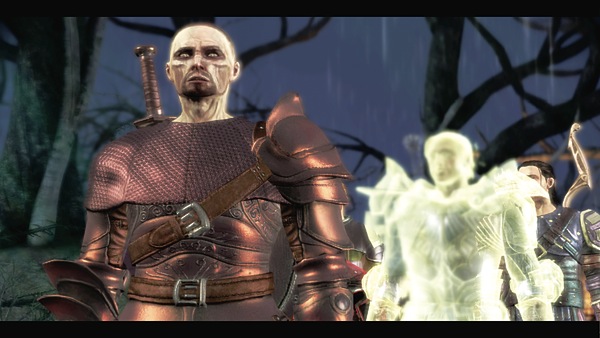
(1) The trip back to the real Blackmarsh comes with two unexpected passengers: the baroness, who lurks somewhere near the manor gates, and Justice, whose spirit has somehow crossed the divide and joined with the body of the dead Grey Warden, Kristoff.

The new Justice decides to work with you against the baroness and enchants your weapons so that they can attack the Fade Portals that the baroness has ripped in the Veil. Be sure to loot the First's body for the powerful Armor of the Sentinel and the Mother's Chosen greatsword.
Note

If you want to deck out Justice, or any other party member, in the uber Sentinel armor set, you must complete the "Tears in the Veil" side quest while in the Fade. You must then recover the other three armor pieces from the iron chests that materialize in the physical world upon completion of the quest. See the Side Quests chapter for complete details.

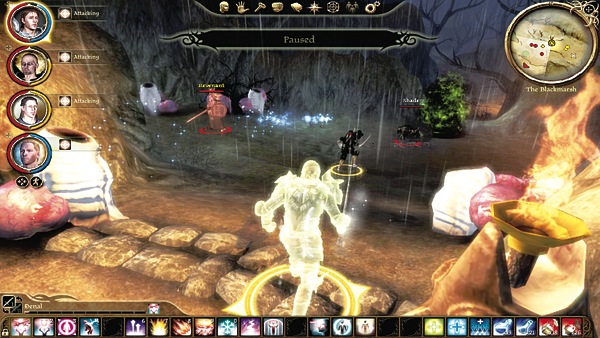
(2) The baroness's Fade Portals release more and more creatures from the Fade into the physical world. You must shut these portals down one by one. Head west from your return point and you'll see a Fade Portal almost immediately. A revenant and shade guard most portals, and the longer you wait on destroying the portal, the more creatures will pour forth.

When engaging, send your tank to occupy the revenant, ignore the shade, and put all three others on the Fade Portal to destroy it as quickly as possible. Once the portal is gone, cut down any creatures that have spilled forth and finish off the revenant as a group if it's still standing.
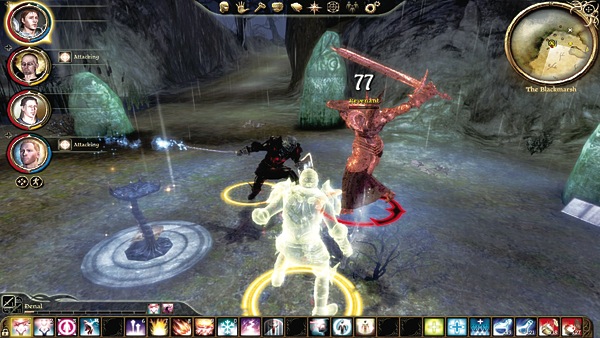
(3) Repeat your Fade Portal destruction on the second portal. Rest and recuperate before moving on to the next portal.
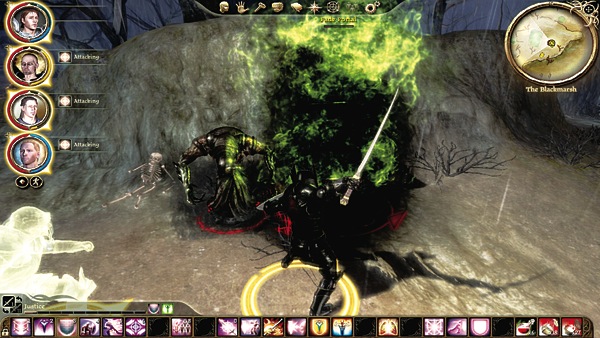
(4) Repeat your Fade Portal destruction on the third portal. Rest and recuperate before moving on to the next portal.
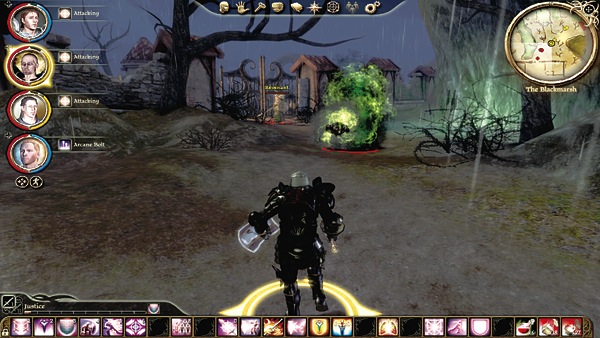
(5) Repeat your Fade Portal destruction on the fourth portal. Rest and recuperate before moving on to battle the baroness.
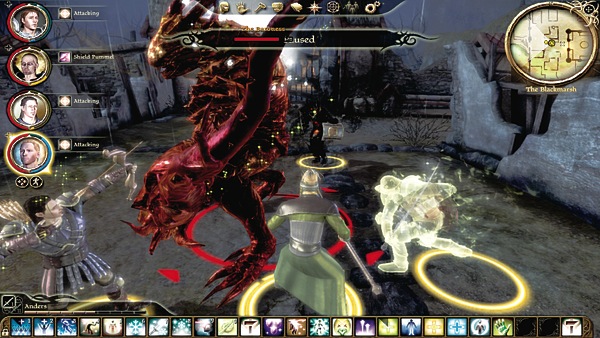
(6) Open the gate to the village area after all the portals have been destroyed. The baroness waits in the middle near the manor gate. Prepare for a battle royale. The baroness morphs into a huge pride demon, armed with several attacks meant to cripple your party.

The most dangerous is her ability to open up new Fade Portals. Shut these portals down immediately, even if means leaving yourself exposed to the baroness for a few seconds. If you let these Fade Portals fester, they'll begin pouring out creatures that will soon overwhelm you.

The baroness herself can blast away with fire bolts and frost bolts. If you have high resistances to fire and cold, you should be fine. If not, the party healer will have to watch for one of these attacks and immediately throw a Regeneration or Heal after it lands.

A shockwave attack from the baroness deals normal damage and knocks you off your feet if you fail a physical resistance check. Even worse, her drain ability consumes health from the target she grabs and transfers that health to the baroness.

Keep up the constant pressure and stay patient while you chip away at the baroness's health total. The fight will be long, and the healer will probably tap into a few lyrium potions to keep up with the healing. With the right teamwork, you will survive her barrage of attacks and finally bring the baroness down.
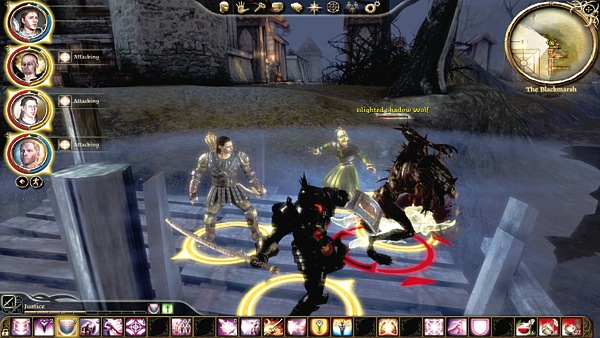
Achievement & Trophy Tip:

Pride Comes Before the Fall

When you defeat the baroness you earn the "Pride Comes Before the Fall" Achievement/Trophy.

(7) Search the baroness's corpse for nice loot (Firestompers, Soulbound ring, and 14 sovereigns) and the Dock Storage Key. Use the key to open the gate that leads out to the docks at the northeast corner of the manor. You gain a lot more cool loot from the docks, and if you're completing side quests, the fifth dragon bone rests here, as does Ser Alvard's Sword in one of the decomposing crates.

You've now completed the "Shadows of the Blackmarsh" quest line and can have Justice join your party as a burly warrior tank! Now it's time to return to Vigil's Keep for your next major quest.

Keep reading with a free account

The first 3 sections of Dragon Age: Origins - Awakening are open to everyone. An account opens the rest of it, and every other guide in the archive. It's free, and there's nothing to buy.

Bought guides on the old Prima Games site? Your account and every guide you own moved here, so there's nothing to buy again. Sign in.

Create a free account Or browse our free guides

PreviousBaroness's Manor NextAmaranthine