
Dragon Age: Origins — Awakening Guide Walkthrough Assault on Vigil's Keep
Interior

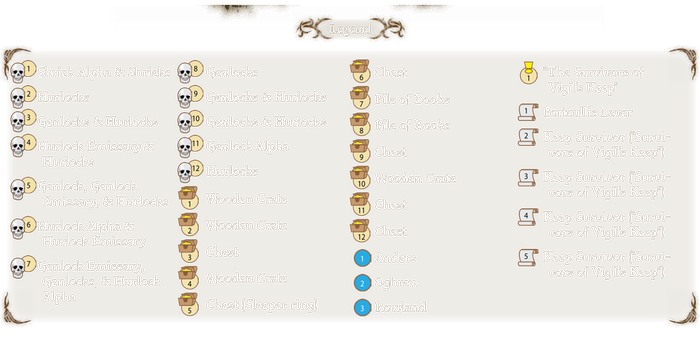
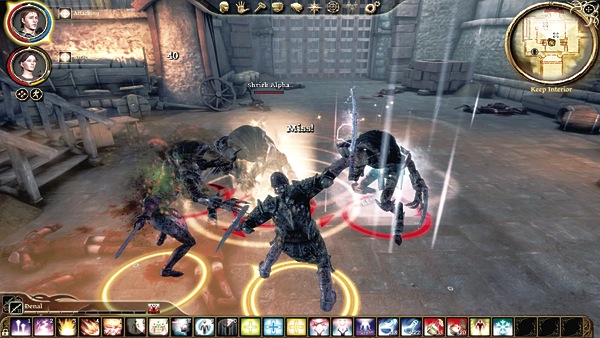
(1) The keep's first chamber may look empty, but it's an illusion. As soon as you take a step forward, three shrieks materialize and attack. Dispatch them with Mhairi taking the lead. If you look up to the western ledge, you'll spot a portcullis lever that raises the sealed portcullis in front of you, but you can't access the area directly because the door is barricaded. Instead, you have to climb the stairs on the eastern side and work your way around.
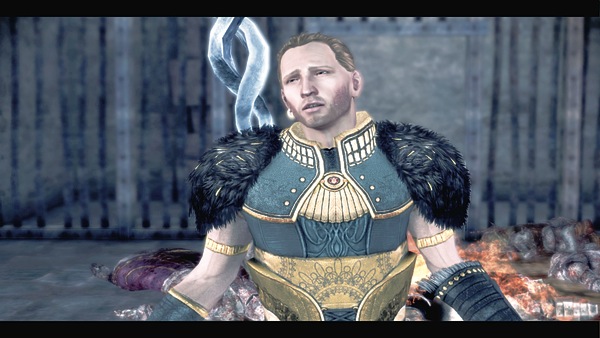
(2) Open the eastern door. The mage Anders polishes off the last of his enemies with a burst of flame. Dead templars and darkspawn litter the floor. After a brief conversation, you find out that Anders is an apostate mage who was brought to the keep by the templars. He escaped during the chaos with the darkspawn. Invite him to join your party to add a capable mage.
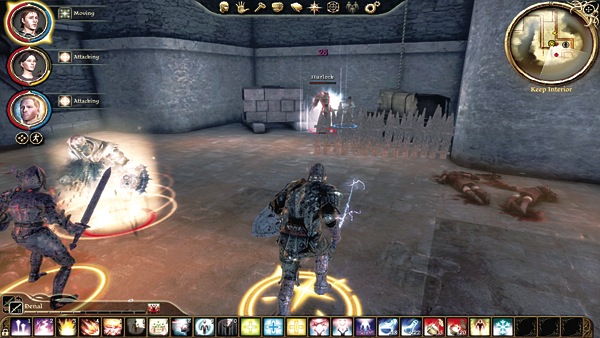
(3) In the next room, hurlocks stalk a lone keep survivor. Rush in to his aid and intercept the hurlocks before they kill the man. Draw the hurlocks' attention with targeted attacks and spells—no AoE or you'll kill the keep survivor—and use Anders to heal the keep survivor if he starts taking damage. If you slay the hurlocks before they slay the keep survivor, you unlock "The Survivors of Vigil's Keep" side quest. See the "Vigil's Keep" section in the Side Quest chapter for complete details.
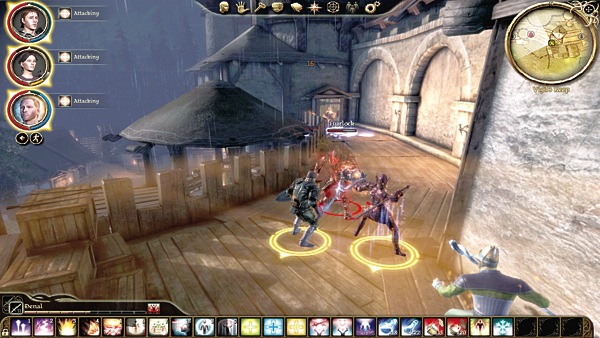
(4) The door in this small side chamber leads outside to the battlements. You must cross this outer ledge to reach the door that leads to the portcullis lever back in the first chamber.
Genlocks and hurlocks swarm the confined ledge, and you have to make sure you get some ranged fire on the genlock emissary in the rear or you'll be tasting AoE damage for the whole fight. Be sure to retrieve the Beastmaster crossbow in the treasure chest by the ballista.
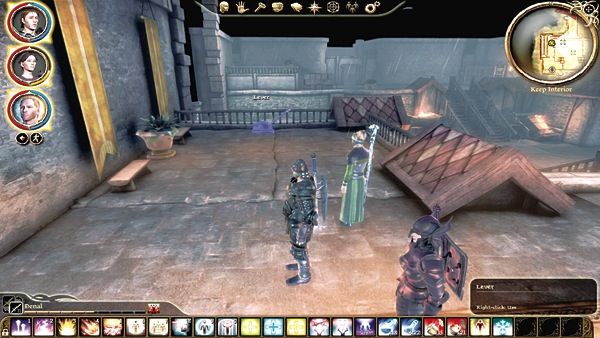
(5) Enter the western side from the battlements door and pull the portcullis lever out in the first chamber. Destroy the barricade blocking the stairs that lead down to the first chamber, or stand up on the western ledge and rain destruction down on the genlocks and hurlocks that charge in.
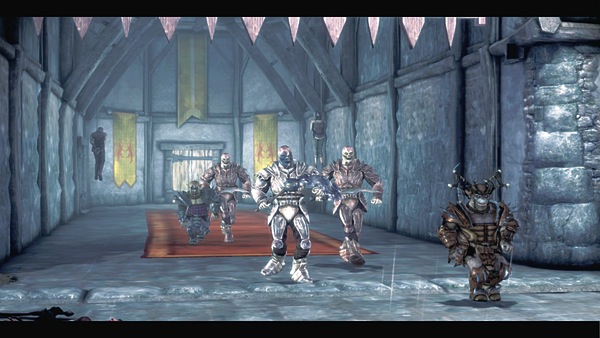
(6) You can find the invading genlocks and hurlocks in any number of places. The dwarf Dworkin detonates some of his homemade explosives in the first chamber and kills a few of the darkspawn for you. Finish off the rest before heading north through the now-opened portcullis.
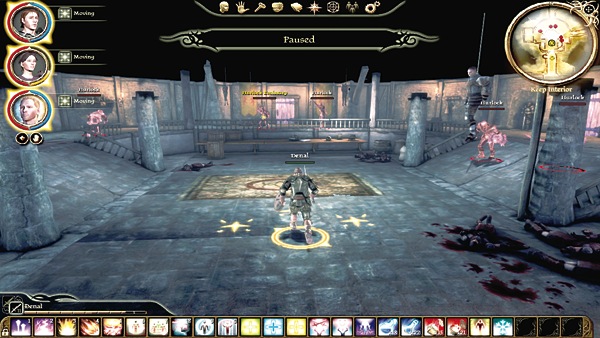
(7) A hurlock emissary and a handful of hurlocks set up an ambush in this central chamber. Don't rush in or you can be surrounded quickly. Instead, launch a ranged attack at the hurlock emissary and hold back near the door. Let them come to you and pick them off one by one. When the dust settles, grab the loot from the chest and wooden crate in the western stock room.
Now you have a choice: head north or east. North continues the main quest and brings you to the next major encounter. East gives you more genlocks and hurlocks, and some more loot, including the Sleeper ring in the next room's chest. If you're trying to complete "The Survivors of Vigil's Keep," you have to head east and rescue the two keep survivors being savaged by darkspawn.
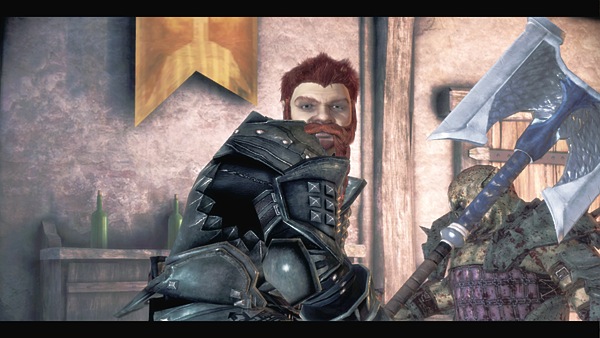
(8) When you finally decide to clear out the northern section of the keep, you rendezvous with a blast from the past: the sometimes drunk, but always lovable, dwarven warrior Oghren. He's convinced himself he wants to become a Grey Warden, and, because trouble seems to follow him around, Oghren has found himself mixed up with another darkspawn invasion. Oghren can hold his own against his foes, so take the group that advances on you (usually led by the hurlock alpha) and teach them what it really means to anger a Grey Warden. After the fight, Oghren joins your party and you're at full strength for the final keep battles.
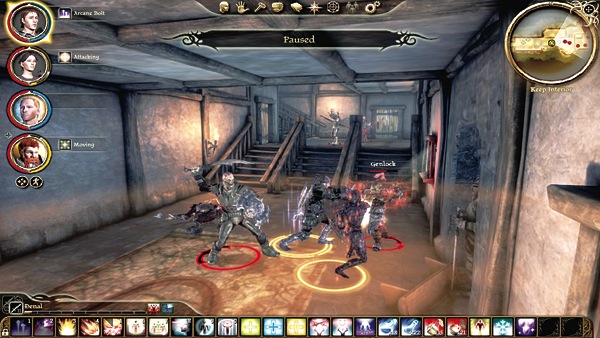
(9) As you near the final set of rooms, a dying soldier, Rowland, calls out to you. Despite your healing magics, there's nothing you can do for the poisoned man, but he warns you of a talking darkspawn who has seized Seneschal Varel.
Tread carefully after speaking with Rowland. Two darkspawn fire arrows down at you from the top of the stairs in the next room. As soon as you ascend those stairs, more darkspawn will crash out into the room from the side room to the north. Tons more darkspawn, led by a genlock alpha, clog up the room to the east and will join the fray as soon as you come into range. Expect lots of heavy resistance, and Anders should be ready with Heals and Group Heals throughout the long fight. Proceed methodically, slaying each band as it comes, and try not to pull extra foes or get caught in the middle of flanking enemy groups.
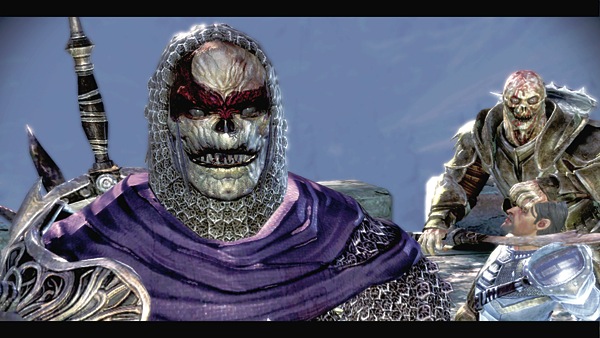
(10) The door in the northeast corner leads out to the second battlement. The talking darkspawn Rowland mentioned, the Withered, holds Seneschal Varel hostage out on the corner tower. The Withered has a genlock and two hurlocks as bodyguards. Send in Mhairi or Oghren to pin down the Withered, while the other warrior charges at the other three darkspawn. The PC should help take down the weaker darkspawn quickly, while Anders stays back and heals.
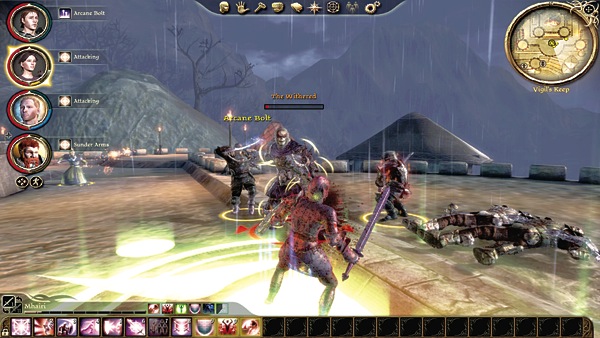
Once the three lesser darkspawn bleed out on the stone, all four party members concentrate damage on the Withered. The talking darkspawn can hit hard, but it won't be able to out-damage four heroes laying it on. Slay the Withered and speak with Seneschal Varel. He fills you in partially on events, when a new army arrives.
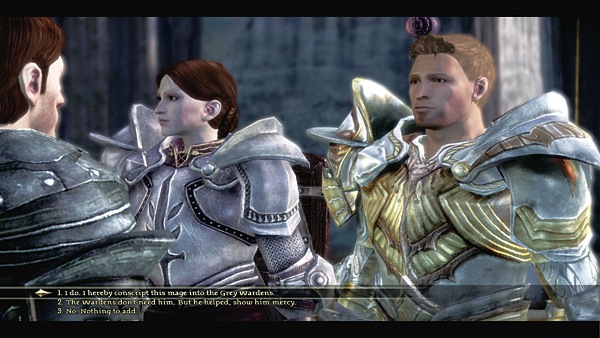
King Alistair (or Queen Anora, depending on who became ruler at the end of Dragon Age: Origins) rides into the keep with a small army to aid with the darkspawn incursion. He's happy to see you've taken matters into your own hands and, though he wishes he could join back in and pal around with Grey Wardens again, he gives you his blessing before leaving for other courtly matters.
The templars accompanying the king insist on taking Anders back into custody. If you want to keep him in your party—and you should!—ask Alistair for the Rite of Conscription on Anders before the king leaves. He sides with you and Anders becomes a Grey Warden. You can also permanently recruit Oghren at this point—but if you choose the wrong dialog option (choice three), Oghren will no longer be a possible party member.