
Dragon Age: Origins — Awakening Guide Walkthrough Side Quests
The Blackmarsh
The Burden of Guilt
Type: Exploration
Start: The Blackmarsh
Destination: The Blackmarsh
Task: Find a hidden cache
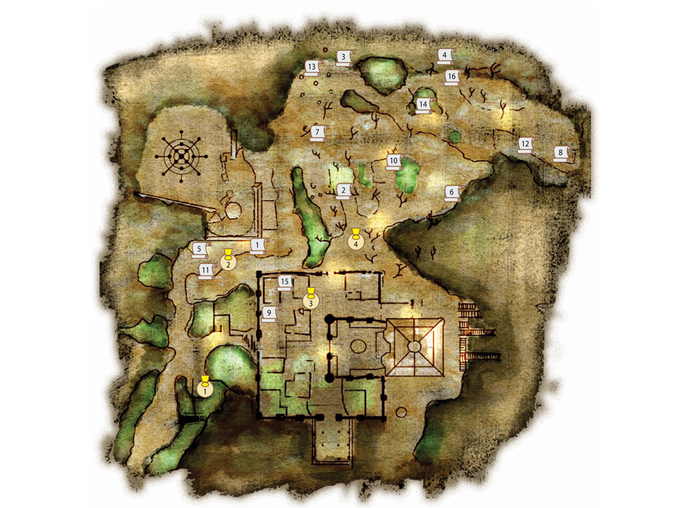
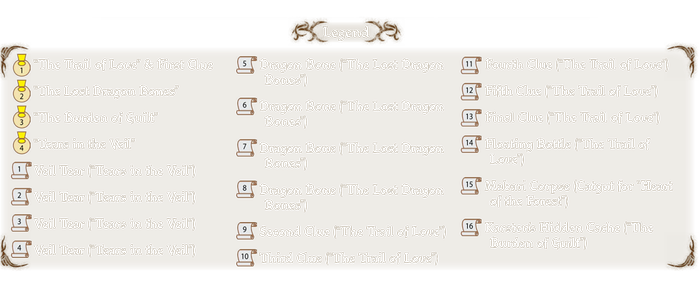
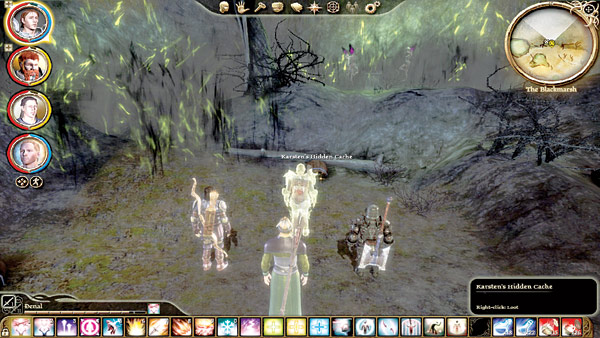
Quest Tips: A merchant betrayed several people to the baroness in exchange for treasure, and his guilt drove him to suicide. The suicide note contains a map to his hidden cache. Pick up the Ancient Letter under a stack of crates (see map) and locate the hidden cache in an overturned barrel in the northern section of the Blackmarsh (see map).
XP Reward: 1,000 XP
Money Reward: Diamond, Ruby, Sapphire, 1 sovereign
Item Reward: None
The Lost Dragon Bones
Type: Exploration
Start: The Blackmarsh
Destination: The Blackmarsh
Task: Locate five missing dragon bones and reattach them to the dragon skeleton
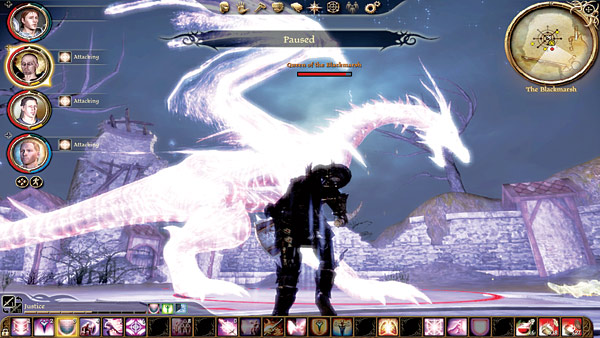
Quest Tips: See the Blackmarsh map for the location of all five dragon bones. Return each bone to the dragon skeleton (where you first gain the quest). Four of the bones are in the main Blackmarsh area, and you find the fifth only after defeating the baroness and searching the docks. When you return the fifth bone, you summon the Queen of the Blackmarsh, a powerful spectral dragon from the Fade. Lightning strikes down and destroys the mysterious barrier previously obstructing the path up to the mountaintop. Climb the mountain and defeat the Queen of the Blackmarsh, but be forewarned—it's a very difficult fight. You must be at least level 24, and should have heavy lightning resistance gear to stand a chance.
When the Queen of the Blackmarsh arrives, spread out your party equidistantly around the dragon. The tank will most likely have to get in tight to deliver higher damage, and a rogue might sneak in for a backstab, but if you can stay back and deal moderate to high damage, stay away from the dragon's melee attacks. When you drop the dragon to approximately 75 percent health, she hides in a protective energy field in the center of the mountain. Eight charged wisps encircle her and slowly pull in toward her. Destroy these wisps as quickly as possible; the more that touch the protected dragon, the more she heals back up. These wisps appear again once or twice more. If your party can deal continuous damage, heal through the Queen's damage spikes (which can one-shot kill a party member if you aren't careful), and prevent the wisps from healing the dragon, you can beat this epic encounter.
XP Reward: 4,000 XP
Money Reward: Flawless Diamond, 14 sovereigns, 9 silvers, 62 bits
Item Reward: Eldest Dragonbone for the "Worked to the Bone" side quest (see the Vigil's Keep section), Spellminder robe, Toque of the Oblivious, Rough-Hewn Pendant, Earthbound ring.
A Maiden in Distress
Type: Combat
Start: The Blackmarsh Undying
Destination: The Crypt
Task: Defeat the Lonely Soul in the Shadowy Crypt
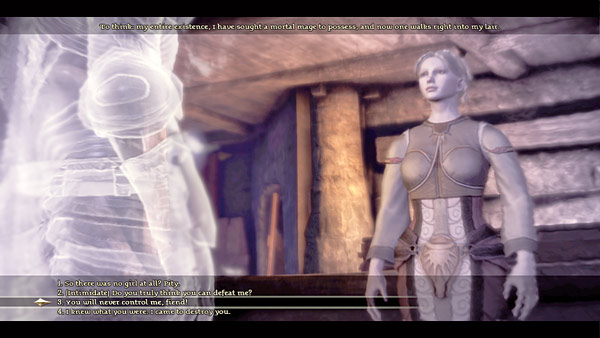
Quest Tips: Follow the Lonely Soul into the Shadowy Crypt when you meet her in the Blackmarsh Undying. She will continue to run away from you as you battle corpses and skeletons in the crypt. Take the eastern passage to finally track her down in the side room. She reveals herself as a hunger demon, and unless you have a high enough Coercion score to convince her to surrender, the hunger demon attacks. Defeat the demon to free the Lonely Soul and earn your reward.
XP Reward: 500 XP (if you persuade her not to fight) or 1,000 XP (if you defeat her in combat)
Money Reward: None
Item Reward: None
Ser Alvard's Missing Sword
Start: Exploration
Start: Merchants' Guild Board in Amaranthine
Destination: The Blackmarsh Docks
Task: Locate the merchant's missing sword
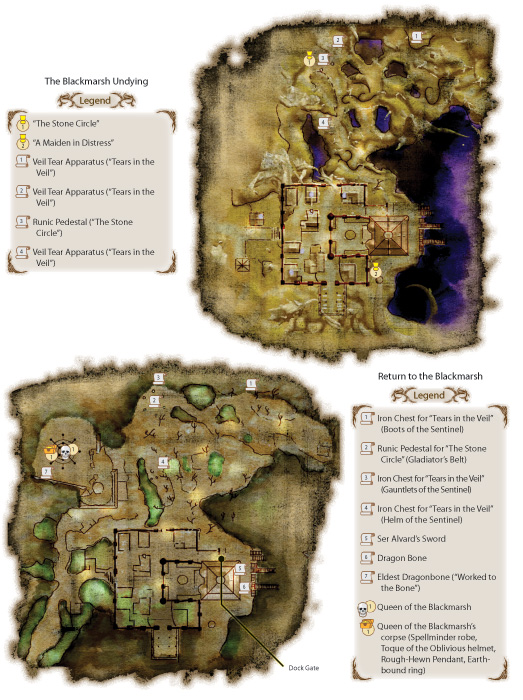
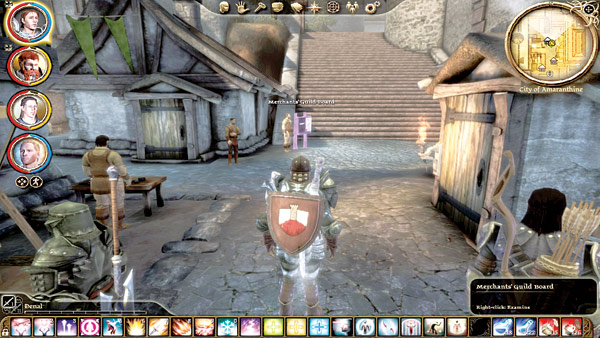
Quest Tips: Accept the quest from the Merchants' Guild Board in Amaranthine. Retrieve the Dock Storage Key from the dead baroness's body and use the key to unlock the docks. Search the crates near the docks for the missing sword (see the Return to Blackmarsh map).
XP Reward: 1,000 XP
Money Reward: None
Item Reward: Ser Alvard's Sword
The Stone Circle
Type: Combat
Start: The Blackmarsh Undying
Destination: The Blackmarsh Undying
Task: Figure out the fire puzzle to unlock a reward
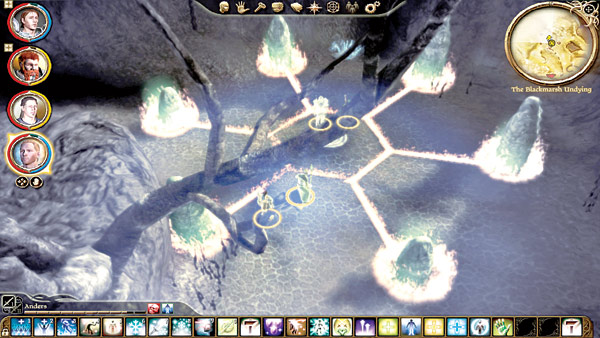
Quest Tips: Complete the Stone Circle puzzle by interacting with the stones in the following order: stone near the open hillside passage (west), stone opposite of the first stone (east), stone south of first stone, stone opposite the third stone, stone opposite the hillside passage, stone opposite the fifth stone. Touching the stones in this order will create a fire hexagon around the runic pedestal in the middle. Greater and lesser rage demons will spawn and attack. Defeat these demons and interact with the active runic pedestal. The quest completes, and back in the real world you gain the Gladiator's Belt if you interact with the runic pedestal there.
XP Reward: 1,000 XP
Money Reward: None
Item Reward: Gladiator's Belt
Tears in the Veil
Type: Exploration
Start: The Blackmarsh
Destination: The Blackmarsh Undying
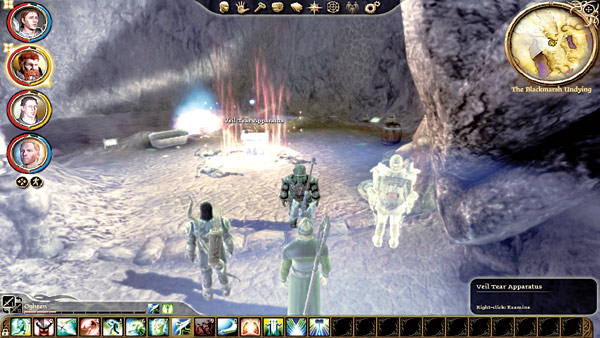
Task: Shut down the Veil tears by slaying the desire demon cabals
Quest Tips: You gain this quest in the physical world (the Blackmarsh), but cannot complete it until you reach the Fade (the Blackmarsh Undying). In the Fade, defeat the three desire demon groups and interact with the Veil Tear Apparatus at each of the three locations (see the Blackmarsh Undying map). This completes the quest, and you can return to the physical world to claim your rewards from iron chests where each apparatus used to be.
XP Reward: 500 XP
Money Reward: None
Item Reward: Boots of the Sentinel, Gauntlets of the Sentinel, Helm of the Sentinel
The Trail of Love
Type: Exploration
Start: The Blackmarsh
Destination: The Blackmarsh
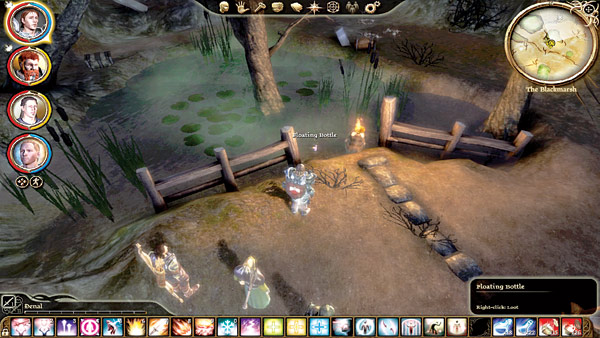
Task: Follow a trail of clues to the long-lost treasure
Quest Tips: See the Blackmarsh map for the quest starting location (exclamation point 1) and trail of clues (scrolls 9-14). Retrieve the floating bottle for the end of this heart-breaking tale and a rather nice ring (+2 to all attributes) as a consolation prize for your efforts.
XP Reward: 1,000 XP
Money Reward: None
Item Reward: Corin's Proposal ring