
Dragon Age: Origins — Awakening Guide Walkthrough Last of the Legion
Lower Reaches
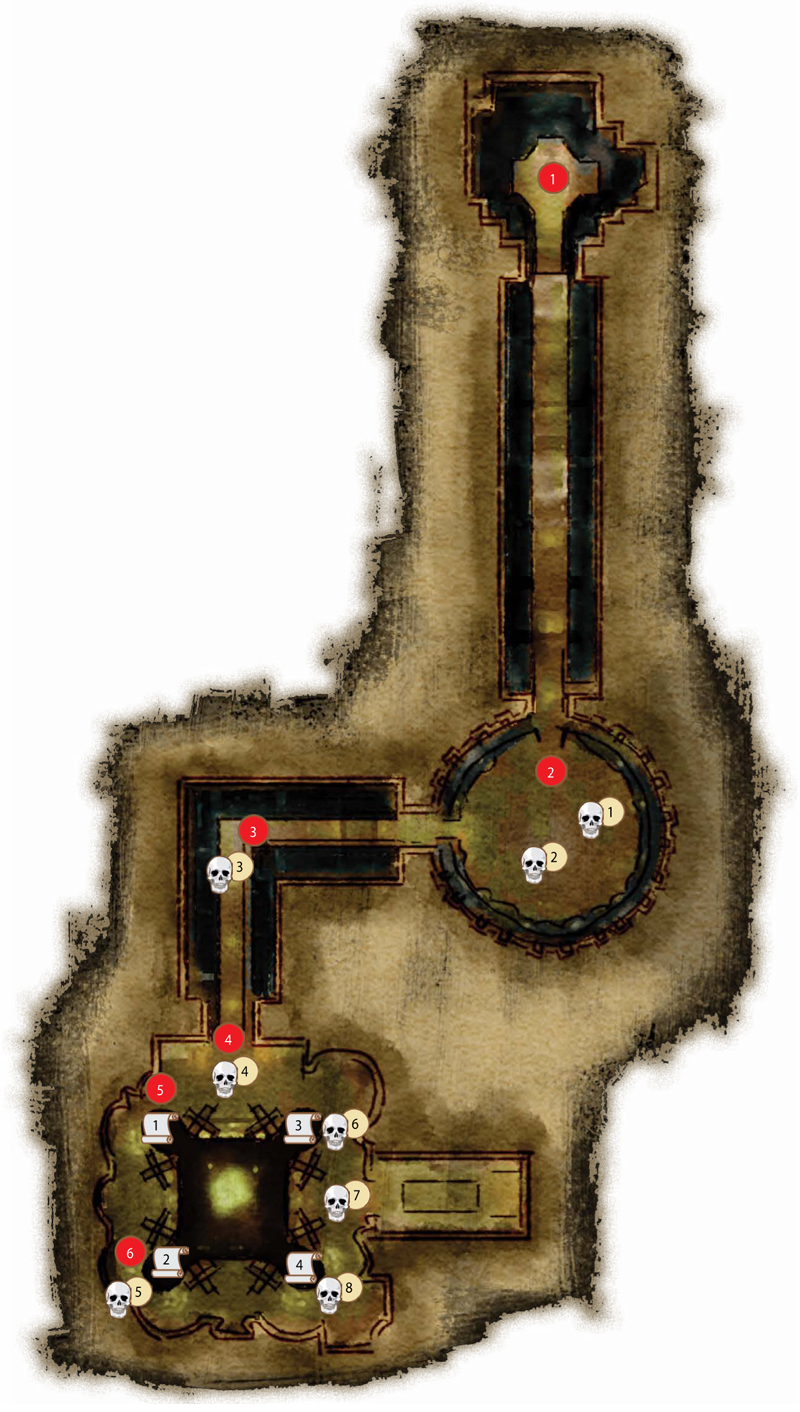
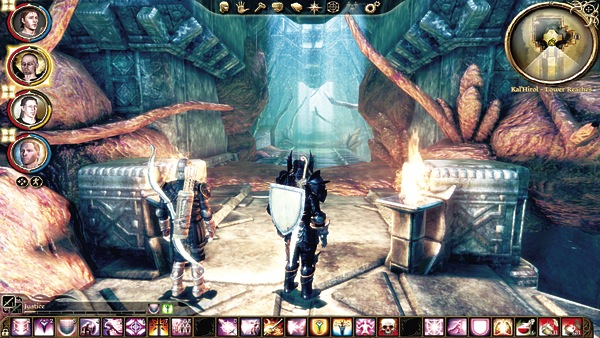
(1) Enter the Lower Reaches and turn left at the first platform. It's a long run down to the next chamber, but don't rush in unless you're prepared for a big battle.
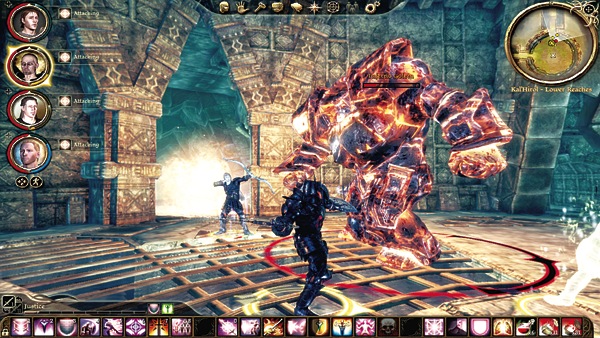
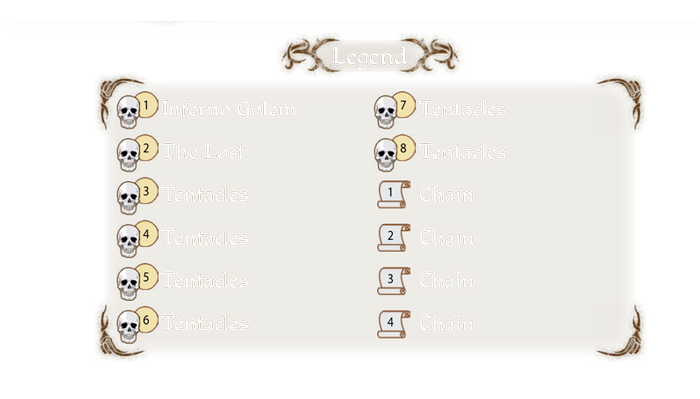
(2) When you enter the second chamber, you witness the Lost's pet, an inferno golem, tear apart the commander of the invading darkspawn sent by the Architect to destroy the Lost. After a moment, the Lost turns his attention on your party. He sends the inferno golem to smash you to pieces as he summons forth an Inferno. You can't retreat back down the corridor (it magically seals behind you), so your only choice is a fight to the death.
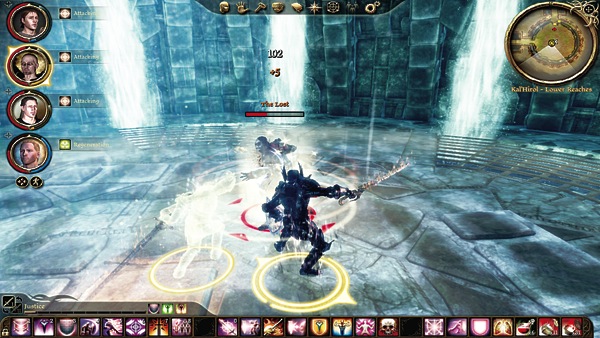
Match your tank on the inferno golem and keep it off the rest of the party. The golem hits really, really hard, so keep your healer on the tank. Send Sigrun (or any other rogue) directly at the Lost and stun him immediately to prevent the Inferno from finishing.
If you have ranged attacks, use those to impede the Lost's spellcasting. Stay close to the Lost so that he can't catch you in a nasty AoE. The tank should circle the battle against the Lost in the chamber's center, holding the golem's full attention until the other two party members kill the Lost. At that point the full party strength can finish off the golem.
You'll be rewarded with the Staff of the Lost, the Battlemage's Cinch, the Inferno Golem Shell, a flawless ruby, and a flawless diamond. The shell is one of the ingredients in the "Golem's Might" side quest.
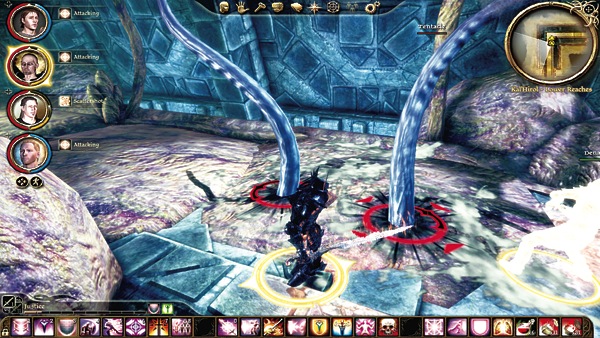
(3) Exit the Lost's chamber and follow the passage down to the broodmother chamber. After you turn the corner, expect your first attack from broodmother tentacles. They burst out of the stone floor around the corner and ambush you. As with all tentacle attacks, send the melee DPSers to engage the tentacles and back everyone else out to ranged attack range to minimize damage.
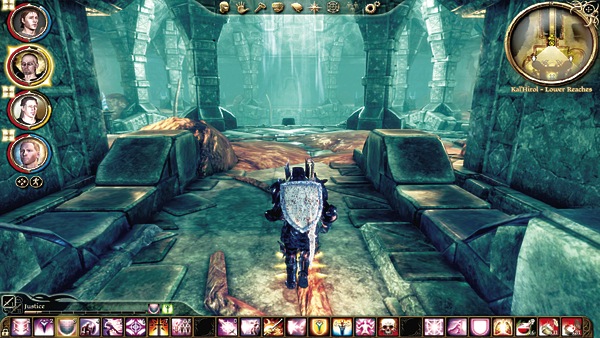
(4) Enter the broodmother chamber and fight through more tentacles. You'll spot four chains at the corners of the broodmother pit. You need to destroy two of these chains to crash the ceiling down on the broodmothers.
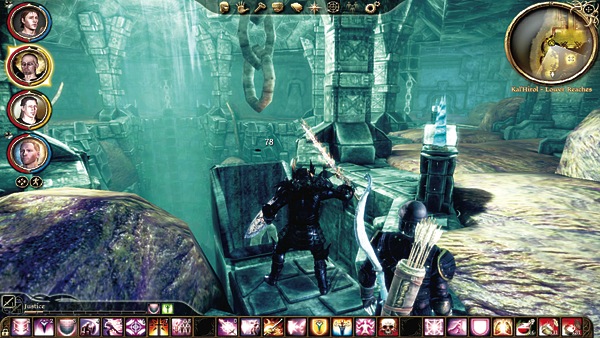
(5) Turn right and go for the first chain. You can also go around to the left, but there's a little more resistance that way. Cut the chain and move to the next corner.
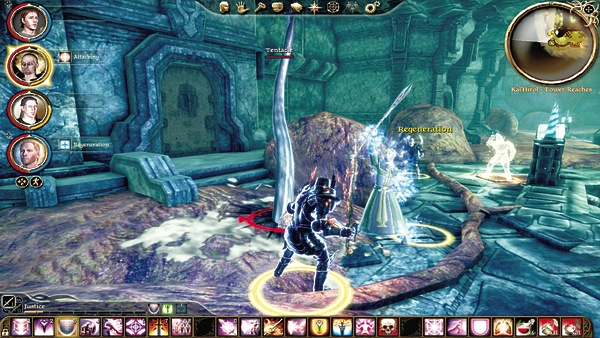
(6) Battle more tentacles and then cut the second chain. The ceiling caves in, and it's the end of this broodmother birthing chamber. Sigrun thanks you for the help, and you can ask her to join the Grey Wardens before she departs for more Deep Roads adventures. Return to Vigil's Keep when you're ready for the next challenge: saving Amaranthine.