Prima Games eGuides
primagames.com Browse Redeem a code Help
Dragon Age: Origins - Awakening eGuide
Sign in My Guides

Sign in or create an account

We'll email you a link. No password needed, and if you don't have an account yet, the link makes one.

By creating an account or signing in, you agree to our Terms of Service and Privacy Policy.

Have a password?

Had an account on the old eGuides site, or a code from a printed guide? Help and troubleshooting

Sign in with a password

By signing in, you agree to our Terms of Service and Privacy Policy.

Check your email

A sign-in link is on its way. It works once and expires in 15 minutes. Open it and you're in, with an account if you didn't already have one.

Contents

  • Maps
    • World Map
      • World Map
    • Main Quest Walkthrough Maps
      • Assault on Vigil's Keep
      • Keep Interior
      • Throne Room
      • Vigil's Keep Courtyard
      • The Crown and Lion
      • The Blackmarsh
      • The Blackmarsh Undying
      • Shadowy Crypt
      • Baroness's Manor
      • Return to the Blackmarsh
      • Wending Wood
      • Silverite Mine
      • Knotwood Hills
      • Kal'Hirol
      • Main Hall
      • Trade Quarter
      • Lower Reaches
      • Siege of Vigil's Keep
      • Siege of Amaranthine
      • Dragonbone Wastes
      • Drake's Fall
      • The Nest
    • Side Quest Walkthrough Maps
      • The Blackmarsh
      • City of Amaranthine
      • Smuggler's Cove
      • Law and Order
      • Smuggler's Run
      • Smuggler's Cove (Alternate)
      • Vigil's Keep Throne Room
      • Knotwood Hills/Kal'Hirol
      • Vigil's Keep
      • It Comes From Beneath
      • Sealing the Great Barrier Doors
      • Wending Wood
  • Essentials
    • The Basics
      • How to Use This Guide
      • Key Terms
      • Experience and Leveling
      • Your Health
      • Races and Classes
      • Skills, Talents, and Specialties
      • Items
      • Combat
      • The Map
      • The Codex
      • Character Generation
    • The Classes
      • Introduction
      • Leveling
      • Skills
      • The Warrior
      • The Mage
      • The Rogue
    • The Party
      • Party Basics
      • Combat Roles
      • Configurations and Engagement
      • Tactics
    • Companions
      • Understanding Companions
      • Anders
      • Justice
      • Nathaniel Howe
      • Oghren
      • Sigrun
      • Velanna
      • Mhairi
    • Supporting Cast
      • Supporting Cast
    • Equipment
      • Equipment
      • Weapon and Armor Materials
      • Vendor Shopping
      • Weapons
      • Armor
      • Accessories
      • Runes
      • Crafting
      • Usable Items
      • Gifts
    • Bestiary
      • Monster Abilities
      • Monster List
  • Walkthrough
    • Walkthrough
      • How to Use the Walkthrough
      • Essential Locations
    • Assault on Vigil's Keep
      • Exterior
      • Interior
      • Throne Room
      • Courtyard
    • Shadows of Blackmarsh
      • Amaranthine
      • The Crown and Lion
      • The Blackmarsh
      • The Blackmarsh Undying
      • Shadowy Crypt
      • Baroness's Manor
      • Return to the Blackmarsh
    • The Righteous Path
      • Amaranthine
      • Wending Wood
      • Trapped by the Architect
      • Silverite Mine
    • Last of the Legion
      • Amaranthine
      • Knotwood Hills
      • Kal'Hirol
      • Main Hall
      • Trade Quarter
      • Lower Reaches
    • Siege of Vigil's Keep
      • Going to War
      • Siege of Vigil's Keep
      • Siege of Amaranthine
    • Lair of the Mother
      • Dragonbone Wastes
      • Drake's Fall
      • The Nest
    • Side Quests
      • The Blackmarsh
      • City of Amaranthine
      • Companions
      • Knotwood Hills and Kal'Hirol
      • Vigil's Keep
      • The Wending Wood
      • Random Encounters
    • Achievements
      • Achievements and Trophies

Dragon Age: Origins — Awakening Guide › Walkthrough › Lair of the Mother

The Nest

Runthrough(The Nest)

Summary: Defeat the Mother once and for all.

1 - Combat the Mother in a battle to the death.

The Nest Cheatsheet

Main Plot Quest: Depths of Depravity

Important NPCs: None

Key Items: None

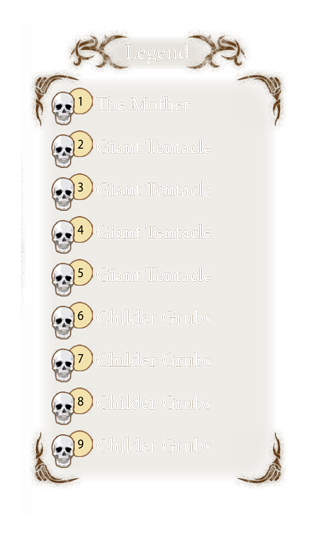
Monsters: Childer Grubs, Giant Tentacles, The Mother

Side Quests: None

Spoiler Alert

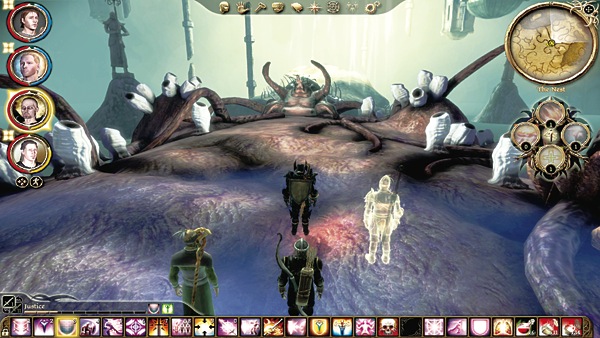
When you enter the Mother's Nest, she speaks with you. No matter what you say, expect to end this adventure with an epic battle. It will test your combat skills and party tactics to the fullest. Seasoned Wardens can slay the Mother; others won't last 40 seconds.
The Mother's Special Abilities

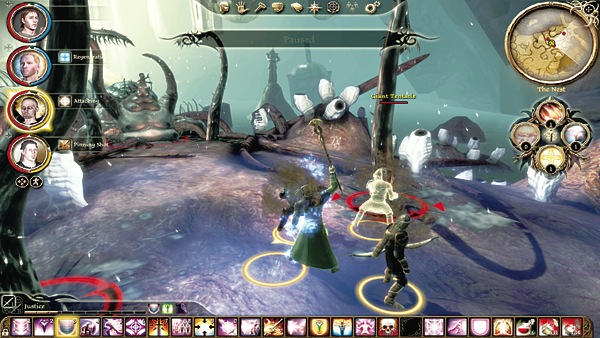
Animus Lash: The Mother whips her tentacle in a wide arc, damaging all nearby creatures and knocking them down unless they pass a physical resistance check. Friendly fire possible.


Grab: The Mother grabs a target with her tentacle and crushes it repeatedly, dealing normal damage with each hit.


Slam: The Mother strikes a target with her tentacle, inflicting significant damage and knocking the target down unless it passes a physical resistance check.


Tentacle Ward: For as long as this mode is active, the Mother's tentacle curls into a defensive position, granting it a significant bonus to armor and a chance to resist hostile magic.

At the start of the battle, expect to get hit hard. The Mother's giant tentacles erupt all around you: one on either side of the party and two in front of the Mother. The tentacles will begin slamming party members, or grab one and start crushing the unfortunate victim. The healer should be on alert to heal any party member in need, not just the tank, as the attacks can come from any side. If the healer gets grabbed, it's a big plus if you have a second healer, or at least a mage who can Force Field the healer. Failing that, you'll have to rely on health poultices.
Tip

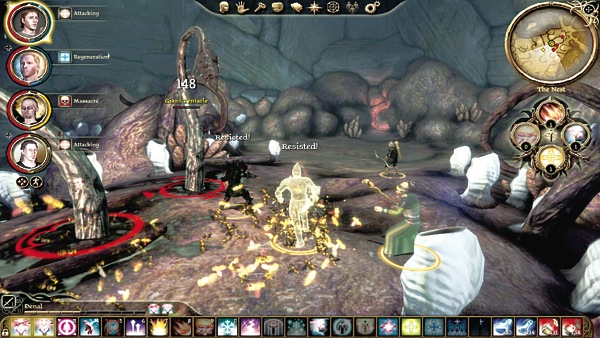
Use the Tower of Flame ability to destroy one of the Mother's giant tentacles early in the battle. This cuts down on the number of attacks on the party in the long run, though you will have to deal with the first wave of childer grubs when the tentacle dies.

Spread your party out to avoid AoE attacks. You don't want to get slammed by a concentration of giant tentacles, or even get hit by your own AoE damage. Also, keep in mind that it's easier to kill the Mother's tentacles than the Mother herself; however, each time a giant tentacle is slain, the Mother calls in a wave of childer grubs to swarm you. Wiping out tentacles is a good thing; wiping out multiple tentacles in a row is maybe not so good, as you'll spawn a lot of grubs to control at once.
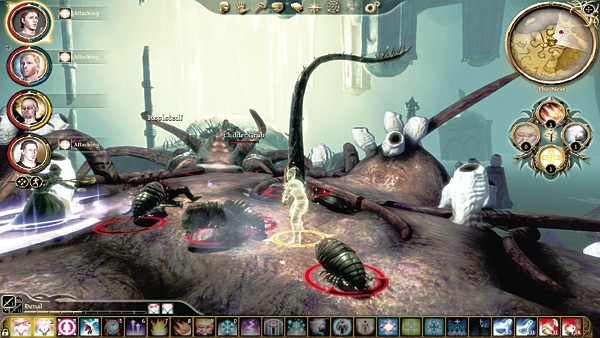
Tip

Use the Tower of Trauma ability to stun a childer grub swarm. During the precious stun time, reposition to avoid any potential overwhelm situation, team up on grubs, and hack away on their exposed backs.

Concentrate all your fire on a single giant tentacle and bring the second tentacle down. Don't worry about the Mother at all; you'll deal with her later, after you have the tentacles and grubs under control. The Mother doesn't move, so you know where her attacks are coming from at all times.
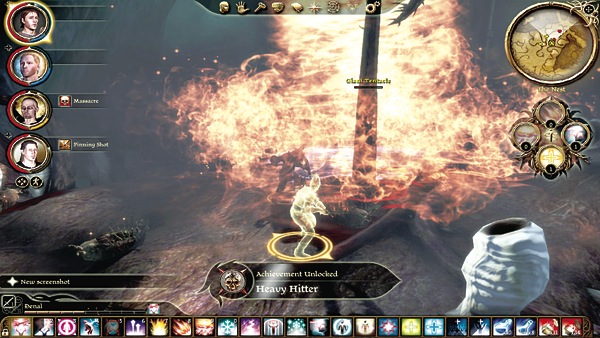
Tip

Use the Architect's Cataclysm spell on a grub swarm or to eliminate several injured tentacles. You can only access this powerful AoE if you allied with him earlier.

You'll hew down the third and fourth tentacles much quicker; they've already taken massive damage by the mid-point of the fight. You may even knock both of them out at once, which means you'll have twice as many grubs to control. Save some AoE to crush the grubs before they flank and overwhelm.
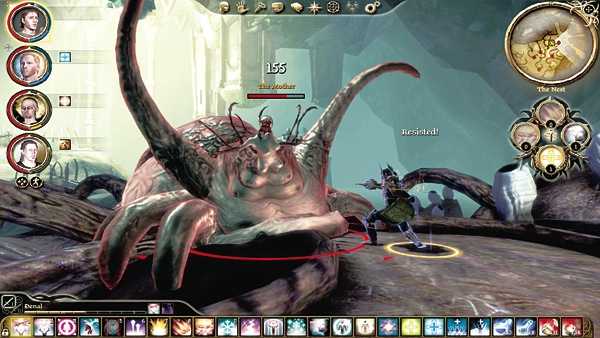
Once the fourth giant tentacle flops to the ground, engage the Mother. Melee DPSers need to get in tight to deal max damage, and the Mother will punish them with tentacle slaps or grabs. The healer may not be able to keep up, so melee party members should pop a health poultice whenever they drop near 50 percent.
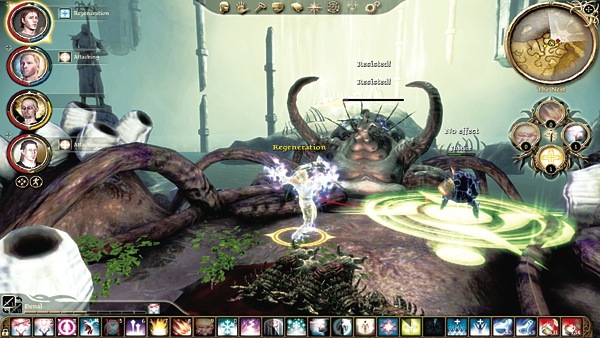
Tip

Use the Tower of Healing ability to heal if your healer's spells are on cooldown and you need a quick boost. Of course, if anyone is in danger of dying, trigger the tower's ability, which may be early against the four giant tentacles or late against the Mother's formidable attacks.

Pour on all the damage you can to kill the Mother before she kills you. At this point, it doesn't matter if an ally drops in combat; you need to out-race the Mother in damage. If you have any Tevinter powers left, trigger them in these final seconds.
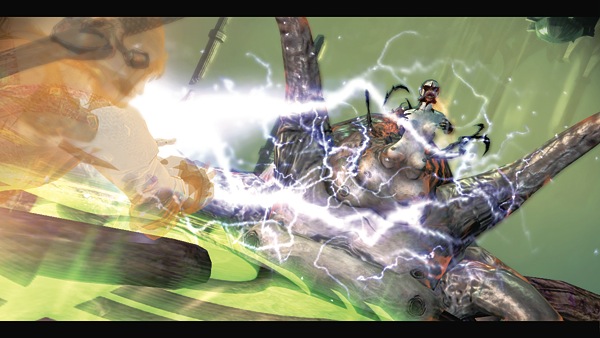
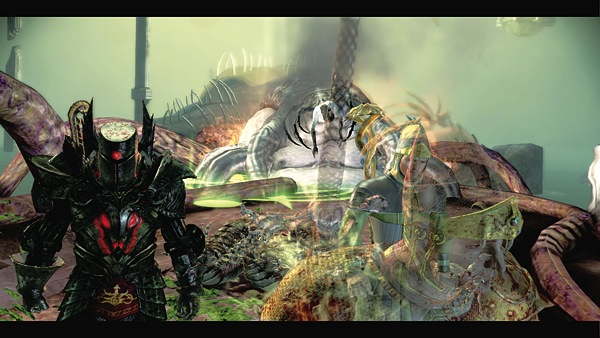
With the final blow, the creature that caused so much tragedy across the land of Amaranthine comes to an end. You slay the Mother so that she can no longer breed nightmarish children to plague the land. You walk away to repair an arling that needs more devotion to its people than to the art of warfare.

Achievement & Trophy Tip

Awakening

Once you kill the Mother and finish the game, you earn the "Awakening" Achievement/Trophy. Congratulations! You've quested hard and deserve the accolades. More challenges await in a land plagued by darkspawn and other evils, but for now you can rest secure in the knowledge that you have left the world a better place than it was before you took up sword and shield.

Keep reading with a free account

The first 3 sections of Dragon Age: Origins - Awakening are open to everyone. An account opens the rest of it, and every other guide in the archive. It's free, and there's nothing to buy.

Bought guides on the old Prima Games site? Your account and every guide you own moved here, so there's nothing to buy again. Sign in.

Create a free account Or browse our free guides

PreviousDrake's Fall NextThe Blackmarsh