Prima Games eGuides
primagames.com Browse Redeem a code Help
Dragon Age: Origins - Awakening eGuide
Sign in My Guides

Sign in or create an account

We'll email you a link. No password needed, and if you don't have an account yet, the link makes one.

By creating an account or signing in, you agree to our Terms of Service and Privacy Policy.

Have a password?

Had an account on the old eGuides site, or a code from a printed guide? Help and troubleshooting

Sign in with a password

By signing in, you agree to our Terms of Service and Privacy Policy.

Check your email

A sign-in link is on its way. It works once and expires in 15 minutes. Open it and you're in, with an account if you didn't already have one.

Contents

  • Maps
    • World Map
      • World Map
    • Main Quest Walkthrough Maps
      • Assault on Vigil's Keep
      • Keep Interior
      • Throne Room
      • Vigil's Keep Courtyard
      • The Crown and Lion
      • The Blackmarsh
      • The Blackmarsh Undying
      • Shadowy Crypt
      • Baroness's Manor
      • Return to the Blackmarsh
      • Wending Wood
      • Silverite Mine
      • Knotwood Hills
      • Kal'Hirol
      • Main Hall
      • Trade Quarter
      • Lower Reaches
      • Siege of Vigil's Keep
      • Siege of Amaranthine
      • Dragonbone Wastes
      • Drake's Fall
      • The Nest
    • Side Quest Walkthrough Maps
      • The Blackmarsh
      • City of Amaranthine
      • Smuggler's Cove
      • Law and Order
      • Smuggler's Run
      • Smuggler's Cove (Alternate)
      • Vigil's Keep Throne Room
      • Knotwood Hills/Kal'Hirol
      • Vigil's Keep
      • It Comes From Beneath
      • Sealing the Great Barrier Doors
      • Wending Wood
  • Essentials
    • The Basics
      • How to Use This Guide
      • Key Terms
      • Experience and Leveling
      • Your Health
      • Races and Classes
      • Skills, Talents, and Specialties
      • Items
      • Combat
      • The Map
      • The Codex
      • Character Generation
    • The Classes
      • Introduction
      • Leveling
      • Skills
      • The Warrior
      • The Mage
      • The Rogue
    • The Party
      • Party Basics
      • Combat Roles
      • Configurations and Engagement
      • Tactics
    • Companions
      • Understanding Companions
      • Anders
      • Justice
      • Nathaniel Howe
      • Oghren
      • Sigrun
      • Velanna
      • Mhairi
    • Supporting Cast
      • Supporting Cast
    • Equipment
      • Equipment
      • Weapon and Armor Materials
      • Vendor Shopping
      • Weapons
      • Armor
      • Accessories
      • Runes
      • Crafting
      • Usable Items
      • Gifts
    • Bestiary
      • Monster Abilities
      • Monster List
  • Walkthrough
    • Walkthrough
      • How to Use the Walkthrough
      • Essential Locations
    • Assault on Vigil's Keep
      • Exterior
      • Interior
      • Throne Room
      • Courtyard
    • Shadows of Blackmarsh
      • Amaranthine
      • The Crown and Lion
      • The Blackmarsh
      • The Blackmarsh Undying
      • Shadowy Crypt
      • Baroness's Manor
      • Return to the Blackmarsh
    • The Righteous Path
      • Amaranthine
      • Wending Wood
      • Trapped by the Architect
      • Silverite Mine
    • Last of the Legion
      • Amaranthine
      • Knotwood Hills
      • Kal'Hirol
      • Main Hall
      • Trade Quarter
      • Lower Reaches
    • Siege of Vigil's Keep
      • Going to War
      • Siege of Vigil's Keep
      • Siege of Amaranthine
    • Lair of the Mother
      • Dragonbone Wastes
      • Drake's Fall
      • The Nest
    • Side Quests
      • The Blackmarsh
      • City of Amaranthine
      • Companions
      • Knotwood Hills and Kal'Hirol
      • Vigil's Keep
      • The Wending Wood
      • Random Encounters
    • Achievements
      • Achievements and Trophies

Dragon Age: Origins — Awakening Guide › Walkthrough › Last of the Legion

Knotwood Hills

Runthrough (Knotwood Hills)

Summary: Search the Knotwood Hills for the chasm that Colbert mentioned.

1 - Enter the Knotwood Hills.

2 - Cross the bridge over the chasm.

3 - Beware of deepstalkers near the entrance to the Deep Roads.

4 - Save Sigrun from hurlock clutches.

Knotwood Hills Cheatsheet

Main Plot Quest: Last of the Legion

Important: NPCs Sigrun

Key Items: Hirol's Lava Burst

Monsters: Bereskarn, Deepstalker Leader, Deepstalkers, Hangmen, Hurlock Alpha, Hurlocks

Side Quests: The Long-Buried Past, Lucky Charms

Spoiler Alert

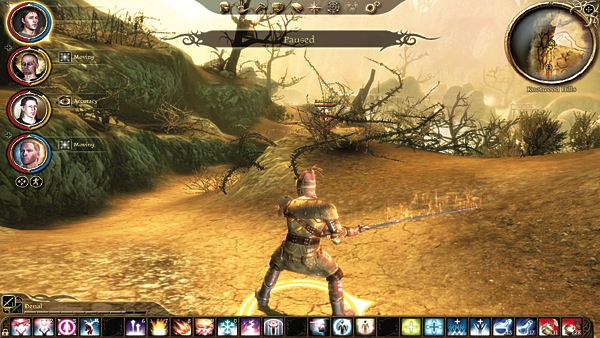
(1) A short distance down the path after entering Knotwood Hills, a lone bereskarn attacks. It tries to ambush you after the short rise as the path first crests; if you send your tank to intercept first, you party will have no trouble. Up on the hill to your left, two hangmen conduct dark business. You can bypass them completely, unless you want the extra experience from these human thugs.
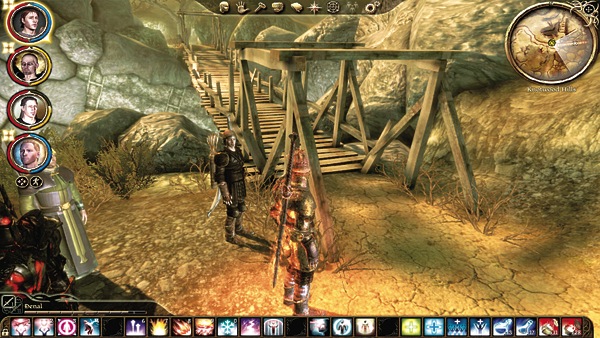
(2) Wind down to the bridge that crosses the chasm. On the far side, look for the beginning of crisscrossing stairs that continue down. At the foot of the first set lies a chest with "The Long-Buried Past" side quest and a Hirol's Lava Burst gift (ideally for Oghren).
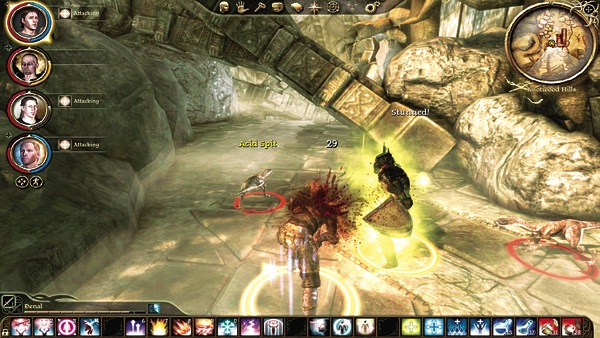
(3) At the base of the next set of stairs, deepstalkers attack if you head to the south away from the northern Deep Roads entrance. If you brave the deepstalkers, you can gain the "Lucky Charms" side quest when you find Micah's lucky deer foot in a bag.
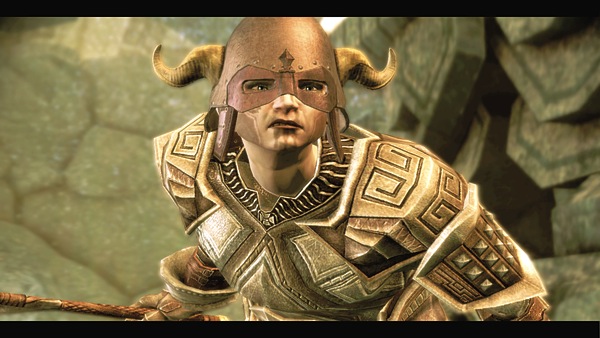
(4) Continue north to the T-intersection. Hurlocks are overwhelming a female rogue in golden armor. She fights valiantly, but it's up to you to step in and save her from the swarm. Send your tank at the hurlock alpha and the rest will fall easily once you take the alpha down. Sigrun lends her rogue melee expertise to the fight too.

After the battle, she explains that she's the last of a failed Legion foray against the darkspawn at Kal'Hirol, an ancient dwarven fortress. She intends to avenge her fallen comrades, and you can invite her to join your party as you descend into the Deep Roads to continue unraveling the mystery of sentient darkspawn.

Tip

Take Sigrun in your party. You can leave her behind, but her trap-detecting skills will help you throughout Kal'Hirol, and if Sigrun is present when you reach Kal'Hirol's main gate, Sigrun points out a secret side entrance that will save you a lot of aggravation.

Keep reading with a free account

The first 3 sections of Dragon Age: Origins - Awakening are open to everyone. An account opens the rest of it, and every other guide in the archive. It's free, and there's nothing to buy.

Bought guides on the old Prima Games site? Your account and every guide you own moved here, so there's nothing to buy again. Sign in.

Create a free account Or browse our free guides

PreviousAmaranthine NextKal'Hirol