
Dragon Age: Origins — Awakening Guide Walkthrough Side Quests
Vigil's Keep
Adria's Plight

Type: Combat
Start: Mabari in Vigil's Keep Basement
Destination: Vigil's Keep Basement
Task: Find the lost soul Adria, then put her out of her misery
Quest Tips: Shortly into the first level of the Vigil's Keep basement ("It Comes from Beneath" side quest), you'll find a dying Mabari war hound surrounded by slain darkspawn. The valiant dog won't make it, but has a scroll from its mistress, Adria, tied around its neck. If you succeed at a Survival check, you can find out the dog's name and earn some extra XP.
The dog's scroll gives you the "Adria's Plight" quest, and you can find Adria at the very end of the first basement level, just before the collapsed tunnel. Sadly, by the time you reach Adria, it's too late; she's turned into a ghoul, and you have no choice but to finish off her and the other ghouls.
XP Reward: 1,000 XP
Money Reward: None
Item Reward: None
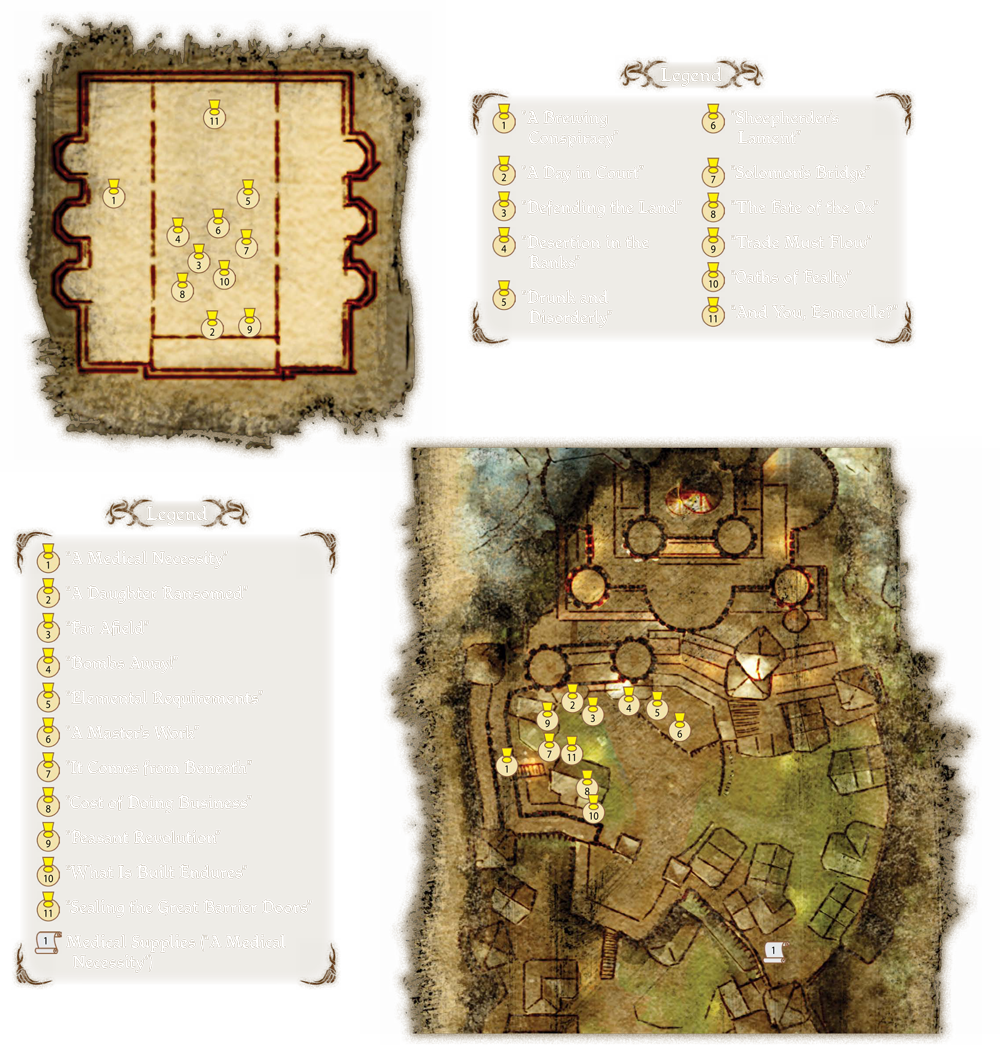
And You, Esmerelle?
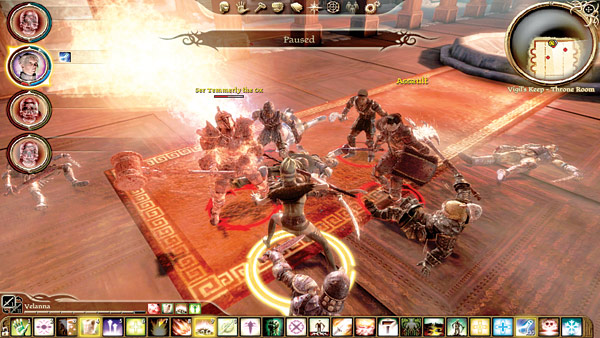
Type: Combat
Start: Vigil's Keep Throne Room
Destination: Vigil's Keep Throne Room
Task: Survive the conspiracy's assassination attempt
Quest Tips: You fight against any of the conspiracy members who haven't been rooted out yet, including Bann Esmerelle, Ser Temmerly the Ox, Ser Timothy, and a deadly Crow Assassin. For the first half of the battle, keep the healing flowing. You'll need to withstand the initial barrage from being surrounded by a handful of powerful enemies, at least until you can start reducing the numbers against you.
Watch out for the Crow Assassin, who can score nasty critical damage from behind you. Keep on the move and stun the assassin when he materializes. Stick your tank on Ser Temmerly (if he wasn't executed earlier in "The Fate of the Ox" quest) to keep the big foe occupied. Pick off Ser Timothy and the other lesser foes first until you turn the tide in the damage department.
XP Reward: 4,000 XP
Money Reward: None
Item Reward: None
Bombs Away!
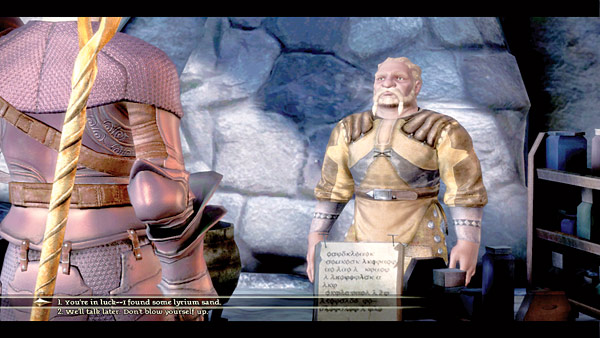
Type: Exploration
Start: Dworkin in Vigil's Keep Courtyard
Destinations: Kal'Hirol, Silverite Mine, Vigil's Keep Basement
Task: Retrieve lyrium sand for Dworkin's explosive concoctions
Quest Tips: You witness Dworkin's explosives at work early on in the fight against the darkspawn in the Inner Keep. Now you get to pocket some of those explosives yourself if you can bring back lyrium sand to the dwarf. You can find the lyrium sand in three separate locations: Kal'Hirol, Silverite Mine, and Vigil's Keep basement (see corresponding walkthrough maps in previous chapter for exact placements of lyrium sand).
If you collect some lyrium sand without speaking to Dworkin first, the quest still activates, and he will accept it from you. When you give him sand, Dworkin asks you to choose what type of explosive you want: safe, pretty cool, and pure awesome. Safe makes a small boom, but won't kill you in the process. Choose "pure awesome" for high risk and high reward bangs.
XP Reward: 1,500 XP
Money Reward: None
Item Reward: Dworkin's Explosives
A Brewing Conspiracy
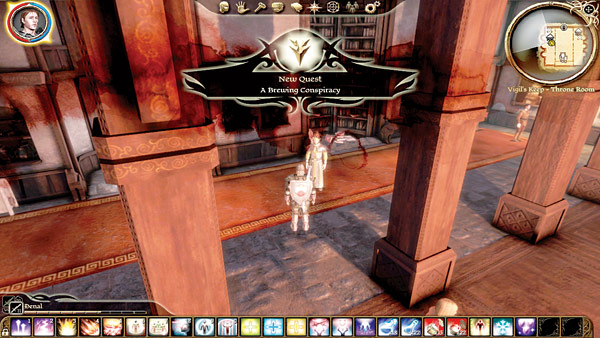
Type: Combat
Start: Anders or Ser Tamra in the Vigil's Keep Throne Room
Destinations: Amaranthine and Old Stark's Farm
Task: Foil an assassination plot against your life and authority
Quest Tips: A number of lords and ladies of the court are still loyal to the old ways of Arl Howe and plot to eliminate you as Warden-Commander. During your initial meeting with the nobles at court, if you give a persuasive speech, Ser Tamra will approach you with knowledge about the conspiracy. If you don't choose the persuasion option, Anders will come to you with the same information.
Once you hear the information, speak with Varel. You have three options: seek to stop it by taking hostages to ensure good behavior, seek to stop it by seeking out the Dark Wolf in Amaranthine, or allow it to occur. If you take hostages, the nobles won't be too happy, but the conspiracy ends. If you choose to seek out the Dark Wolf, head to Amaranthine and look for a suspicious guard in the northern section of the city (see "The Dark Wolf" quest in the City of Amaranthine section of this chapter).
You can thwart the conspiracy if you complete "The Dark Wolf" quest. If you choose to ignore the conspiracy, the assassination attempt will trigger when you return to the throne room following "The Peasant Revolution" quest. See the "And You, Esmerelle?" quest for details on the fight.
XP Reward: None
Money Reward: None
Item Reward: None
Cost of Doing Business
Type: Exploration
Start: Voldrik in Vigil's Keep Courtyard
Destination: Vigil's Keep Courtyard
Task: Upgrade the walls on Vigil's Keep
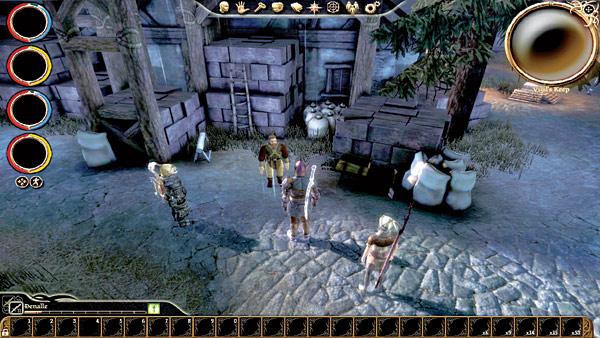
Quest Tips: The walls of Vigil's Keep are in serious need of repair and upgrade. The dwarf Voldrik can perform the task, but first he needs 80 sovereigns. If you can scrape that kind of coin together, return to Voldrik and pay him the sum. You'll now have a less damaged version of the keep and open up the "What Is Built Endures" quest.
XP Reward: 500 XP
Money Reward: None
Item Reward: Stronger Vigil's Keep walls
A Daughter Ransomed
Type: Combat
Start: Private in the Vigil's Keep Courtyard
Destination: Forlorn Cove
Task: Rescue a hostage from bandits in Forlorn Cove
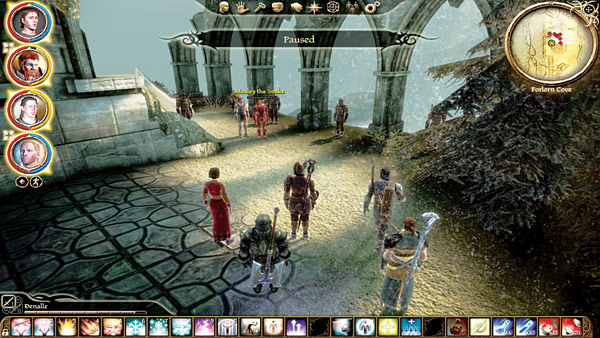
Quest Tips: When you exit the Vigil's Keep throne room for the first time, the private at the gate hands you two letters, one of which is this quest. Ser Edgar Bensley's daughter, Eileen, has been seized by bandits demanding a handsome ransom. Once you accept the quest, the Forlorn Cove location opens up on your world map and you can go after Eileen. The bandit leader, Mosley the Snake, can't be trusted (as you might have guessed from his name).
If you pay him the 30 sovereigns, they kill Eileen and then try to kill you. If you threaten them in any way, they kill the girl and come after you. You can try to intimidate the bandits, and if your skill is high enough, some of the bandits will flee in terror, and in the midst of their chaos, you can step in and fight for Eileen's life.
If your Coercion skill is high enough, the safest method of retrieving Eileen is to ask to see the girl. They will send her over, and you can pay the 30 sovereigns to leave without a fight or slay them anyway.
XP Reward: 1,000 XP
Money Reward: 5 sovereigns if Eileen is dead, 10 sovereigns if you save Ser Edgar's daughter
Item Reward: None
A Day in Court

Type: Politics
Start: Varel in Vigil's Keep Throne Room
Destination: Vigil's Keep Throne Room
Task: Hold court and make a number of judicial decisions
Quest Tips: Several quests come your way during "A Day in Court." You can try each case yourself, or leave the decision in the hands of Seneschal Varel. The quests involved include "Sheepherder's Lament," "Solomon's Bridge," and "The Fate of the Ox." See the individual quest entries for the implications of your decisions.
XP Reward: 2,000 XP
Money Reward: None
Item Reward: None
Defending the Land

Type: Politics
Start: Vigil's Keep Throne Room
Destination: Vigil's Keep Throne Room
Task: Decide how best to allocate the keep's forces
Quest Tips: During the Oath of Fealty gathering by the nobles, two nobles bicker about the keep's troops. Lord Eddelbrek believes they should safeguard the farms and country folk; Bann Esmerelle insists the soldiers should protect the city. You must choose how best to allocate your forces.
Speak with Captain Garevel. If you choose the farms, the keep and surrounding lands gets better support. If you choose the city, Amaranthine will have better protection. If you choose the roads, trade will be protected as best as you can.
XP Reward: None
Money Reward: None
Item Reward: None
Desertion in the Ranks
Type: Politics
Start: Vigil's Keep Throne Room
Destination: Vigil's Keep Throne Room
Task: Rule on Danella's desertion
Quest Tips: This quest will appear only if Anders speaks to you about the conspiracy at court. The soldier Danella left her post to protect her family's farm from the darkspawn, and now she's brought up on charges. You can choose to execute Danella for desertion, which is the decision Varel would choose if you leave the case in his hands.
However, this causes unrest in the ranks and there will be some soldiers in the peasant riot later. You can choose to put Danella in prison, and you'll be seen as a just and fair ruler, though there's a chance for more soldiers deserting during the siege.
XP Reward: 1,000 XP
Money Reward: None
Item Reward: None
Drunk and Disorderly
Type: Politics
Start: Vigil's Keep Throne Room
Destination: Vigil's Keep Throne Room
Task: Deal with an unruly noble
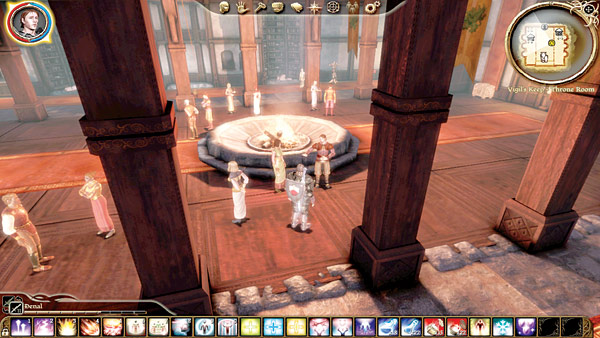
Quest Tips: This quest appears only if you are Orlesian (started a new character for the expansion). Ser Guy loudly proclaims his dislike for Orlesians at the fealty ceremony and tries to goad you into some kind of response. You can ignore him, have him escorted out quietly, have him executed, or try to use your Coercion skill to change his mind.
The Coercion approach works best if you have a high enough skill. Though it might be a bit heartless, you may want to execute him if you don't have the Coercion skills. If not executed or persuaded, Ser Guy will participate in the assassination attempt in the "A Brewing Conspiracy" quest.
XP Reward: 100 XP
Money Reward: None
Item Reward: None
Elemental Requirements

Type: Exploration
Start: Herren in Vigil's Keep Courtyard
Destinations: Kal'Hirol, Silverite Mine, Vigil's Keep Basement
Task: Retrieve exotic materials for Wade's smithing
Quest Tips: See Herren in the Vigil's Keep courtyard to start the quest. He guarantees that Master Wade will outfit the keep's soldiers with better armor if supplies of iron ore (Kal'Hirol), silverite ore (Silverite Mine), and veridium ore (Vigil's Keep basement) can be found.
See individual walkthrough maps for exact ore deposit locations. Return each time you recover one of the special ores. If you can find all three, a special regiment of soldiers will be outfitted at the keep.
XP Reward: 1,000 XP per ore; 1,000 XP more for completing quest
Money Reward: None
Item Reward: Upgrade to Vigil's Keep soldiers' armor
Far Afield
Type: Combat
Start: Private in Vigil's Keep Courtyard
Destination: Turnoble Estate
Task: Revenge the fallen inhabitants of the estate
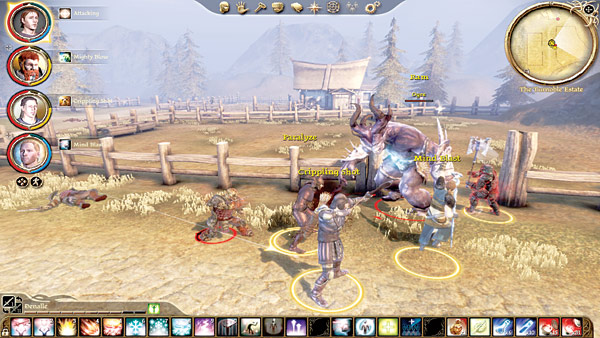
Quest Tips: When you exit the Vigil's Keep throne room for the first time, the private at the gate hands you two letters, one of which is this quest. The Turnoble Estate location opens up on the world map, and you can travel there anytime after leaving Vigil's Keep. Alas, you're too late—the darkspawn have already killed everyone on the estate.
You won't have too many problems with the marauding genlocks and hurlocks, but watch for the charging ogre who wants nothing more than to mash two party members' heads together. Clear out the darkspawn as you dodge fire from the hurlock snipers and loot the dead bodies for your rewards.
XP Reward: 1,000 XP
Money Reward: 13 sovereigns (Goodwife Turnoble)
Item Reward: Chasind Arm bow, Diamond, Stormchaser Boots (templar)
The Fate of the Ox

Type: Politics
Start: Vigil's Keep Throne Room
Destination: Vigil's Keep Throne Room
Task: Choose to release, execute, or imprison Ser Temmerly
Quest Tips: If Ser Tamra is the one to come forth with allegations about "A Brewing Conspiracy" and you don't deal with it in some fashion—either taking hostages or seeking out the Dark Wolf—then this case will be brought to court.
Ser Temmerly the Ox is accused of killing Ser Tamra, but the evidence is sparse. If you let Varel decide, he will release the Ox because there is not enough evidence to convict him. If released, the Ox will take part in the assassination attempt. If you imprison the Ox or execute him, he will not show up to assassinate you.
XP Reward: 1,000 XP
Money Reward: None
Item Reward: None
Golem's Might
Type: Exploration
Start: Inferno Golem in Kal'Hirol
Destination: Various Locations
Task: Find five items for Master Wade to custom build you unique armor
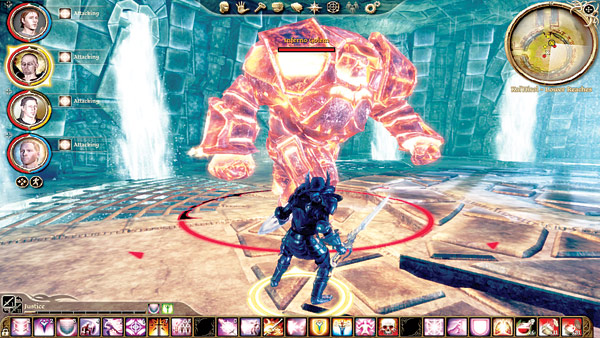
Quest Tips: When you defeat the inferno golem in the Lower Reaches of Kal'Hirol, you gain a golem shell. Return the shell to Master Wade in Vigil's Keep and he'll offer you this quest. He needs you to also collect wool padding (see Amaranthine map), a master lyrium potion (create with Herbalism or buy it from a vendor), pure iron (buy it from Wade's own shop), and a blood lotus (available around the world as a wild plant). Collect them all and he crafts the superb Golem Shell Armor for you.
XP Reward: 500 XP
Money Reward: None
Item Reward: Golem Shell Armor
Heart of the Forest
Type: Exploration
Start: The Old One in Wending Wood
Destination: Various Locations
Task: Find five items for Master Wade to custom build you a unique bow or shield
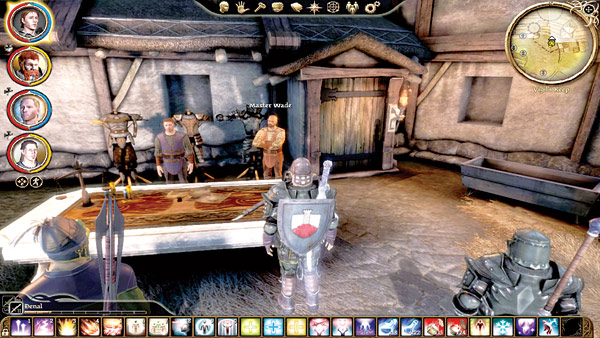
Quest Tips: When you defeat the Old One in the Wending Wood, you gain special heartwood. Return with the wood to Master Wade in Vigil's Keep and he offers you this quest. He needs you to collect oil (inside the kitchen in the Crown and Lion Inn), catgut (in the ruins of Blackmarsh; see map), a flawless ruby (buy it from a store or earn it as loot), and a grandmaster lightning rune (craft this yourself). Collect them all and he makes you either the Heartwood Bow or Heartwood Shield.
XP Reward: 500 XP
Money Reward: None
Item Reward: Heartwood Bow or Heartwood Shield
"It Comes from Beneath"
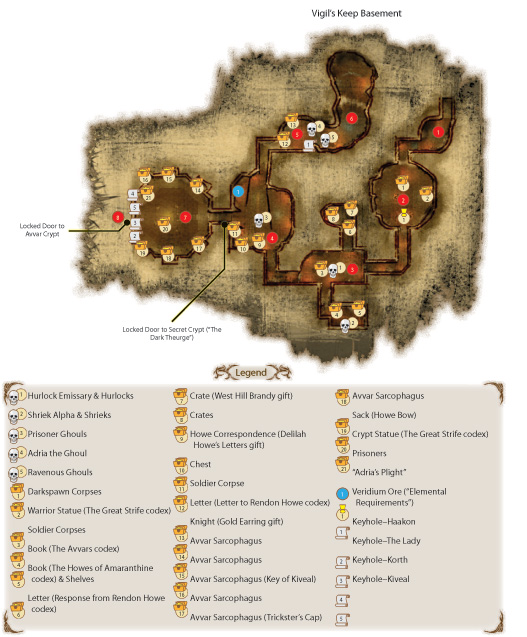
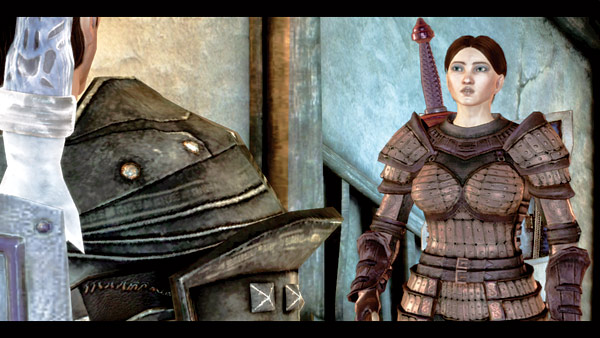
(1)Speak with Maverlies outside Vigil's Keep's basement and she'll let you into the underground level and ask you to clean out all darkspawn. To complete the quest, you don't actually have to kill all the darkspawn. You only have to reach the end of the level, where the rocks have blocked the passage.
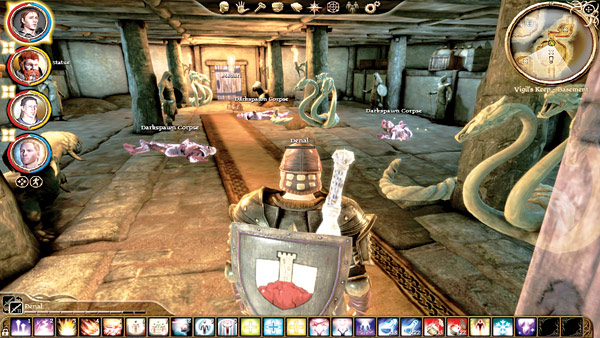
(2)You enter the first room to the scene of a darkspawn massacre. A valiant Mabari war hound has slain many darkspawn before it was mortally wounded. Interact with the Mabari to receive the "Adria's Plight" side quest. See earlier in this section for the complete breakdown on the side quest.
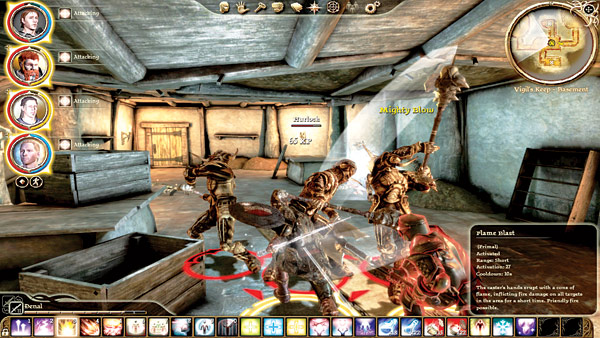
(3)Hurlocks infest the next room. Enter the chamber with ranged attacks firing. You can wound a few of the hurlocks before they reach you for melee, and if you have strong ranged attacks, you may even take down the deadlier hurlock emissary first. There's a lot of loot in the area; just be careful of the shrieks that pop up in the wine cellar to the south.
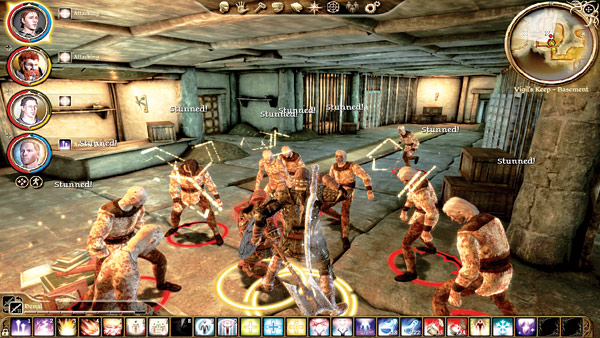
(4)As you enter the prisoner area, ghouls rise up from the ground and defend their territory. The ghouls tend to swarm you, and with their superior numbers, it can prove difficult if you aren't careful.
Don't let the ghouls flank you too much, and if they do, retreat to the entrance and battle them there for side protection. After the ghouls are sliced up, release the human prisoners to gain a small approval bump with several companions.
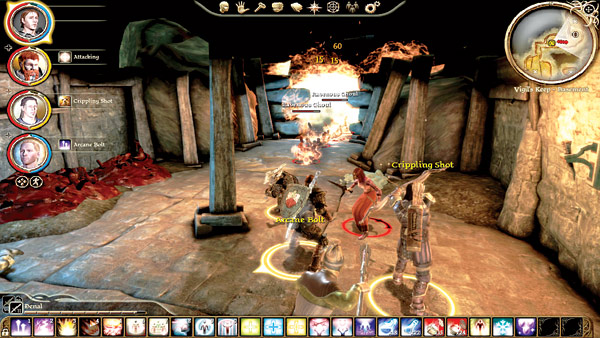
(5)Peek around the corner to the north and you'll spy Adria on the far side of the chamber. As you approach, she reveals her ghoulish complexion. It's too late for her, and the only option for the poor woman and her ravenous ghouls is a swift death. After you defeat Adria, you can gain a ring of mastery from her corpse.
(6)Continue a little farther past Adria's chamber and you'll reach a collapsed passage. Walk up to the rocks and Maverlies will show up to thank you for the job so far. While her men clear the rubble out of your way to continue, she escorts you back up to the surface.
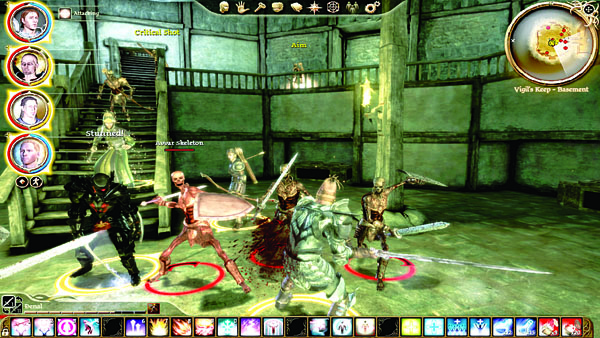
(7)After you've gathered all four keys from the Dark Theurge quests, return to the basement's prison block and open the locked door in the west wall with the key. The crypt contains more than a dozen lootable items, including a sack with the Howe Bow for Nathaniel. Take your time examining each one.
When you descend to the bottom level, Avvar skeletons will rise up to stop you. They appear all around you, so get your party into a tight circle and watch each other's back. Keep skeletons off your healer so he or she doesn't get interrupted while casting the valuable heals. Concentrate party damage at a single target at a time to drop enemies faster and get the numbers under control.
Once all enemies are decimated and all loot claimed, use the four keys on their proper locks around the crypt. This opens another locked door into the deeper crypt room.
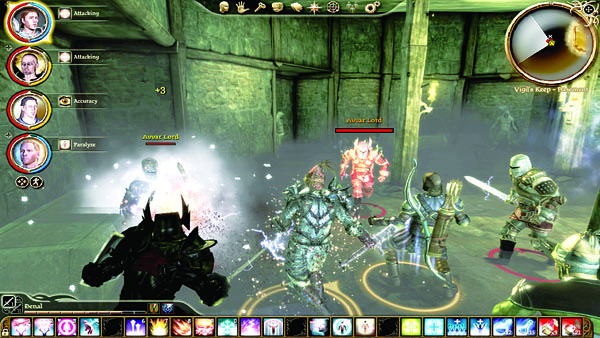
(8)More Avvar sarcophagi greet you here. As you enter, the Dark Theurge's spirit gusts into the chamber and possesses three Avvar lords. Each lord fights as a warrior with a different style: dual wield, two-handed weapon, and sword and shield. Once you slay the Avvar lords, the Dark Theurge is finally destroyed and you can collect your hard-earned rewards.
A Master's Work
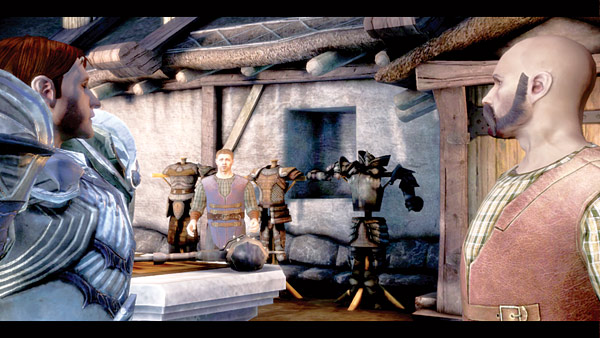
Type: Exploration
Start: Wade in Vigil's Keep Courtyard
Destination: Blackmarsh, Kal'Hirol, and the Wending Wood
Task: Receive special magic items by gathering exotic materials for Master Wade
Quest Tips: Master Wade, via Herren at the armor shop in the Vigil's Keep courtyard, promises to make special gear for you if you can retrieve various exotic materials. Three separate quests spawn from this one: "Golem's Might," "Heart of the Forest," and "Worked to the Bone." See the individual quest entries for details on how to retrieve the exotic materials. XP Reward: None
Money Reward: None
Item Reward: None
A Medical Necessity
Type: Exploration
Start: Soldier in Vigil's Keep Courtyard
Destination: Vigil's Keep Courtyard
Task: Save some wounded soldiers with medical supplies
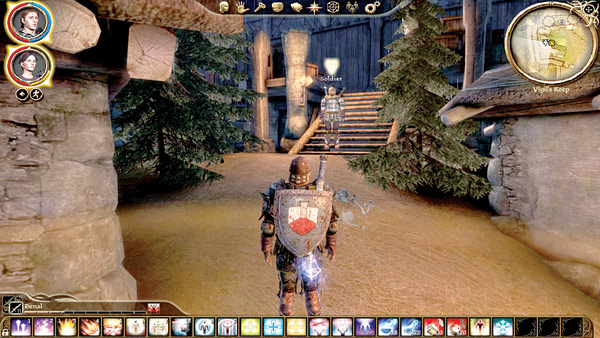
Quest Tips: As you approach the portcullis entrance to the Inner Keep during "The Assault on Vigil's Keep" introduction, kill the darkspawn attacking the guard near the Inner Keep entrance. If you save the guard, you can speak to him for this quest. Cross the courtyard to the southeast corner and retrieve the medical supplies in a wooden crate. Return to the guard with the supplies to complete the quest.
XP Reward: 1,500 XP
Money Reward: None
Item Reward: None
Oaths of Fealty

Type: Politics
Start: Vigil's Keep Throne Room
Destination: Vigil's Keep Throne Room
Task: Speak with the nobles of your court
Quest Tips: When you're ready after the events of "The Assault on Vigil's Keep," speak with Varel and he'll initiate the fealty ceremony. Speak with the various nobles in the throne room and accept all quests. It's all about learning the ins and outs of court life. When you're finished talking with everyone, speak with Varel again and he ends the ceremony.
XP Reward: 2,000 XP
Money Reward: None
Item Reward: None
The Peasant Revolution
Type: Combat
Start: Vigil's Keep Courtyard
Destination: Vigil's Keep Courtyard
Task: Quell a peasant revolt in the keep
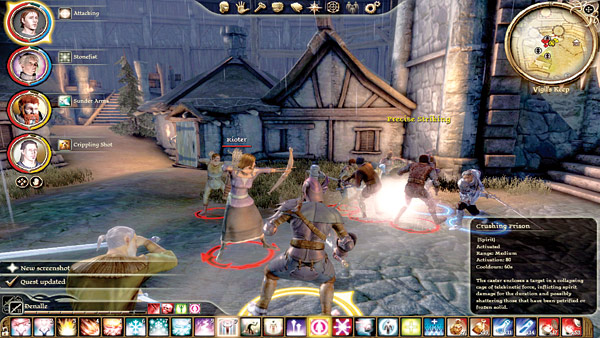
Quest Tips: After you have finished two of the three main quests, the peasant revolt will trigger when you return to Vigil's Keep. There is no avoiding it. You can try to pacify the peasants with an offer of grain if your Coercion skill is high enough, or you can Intimidate them into submission with a high enough score.
Otherwise, the peasants will revolt, and it's your party and the keep soldiers against the citizens. Because you're geared and they aren't, it's a bit of a massacre. Fortunately, you've stopped future revolts with your actions.
XP Reward: 2,000 XP
Money Reward: None
Item Reward: None
Salvage Operation
Type: Combat
Start: Private in Vigil's Keep Courtyard
Destination: Anselm's Reef
Task: Retrieve trade goods from the scavengers
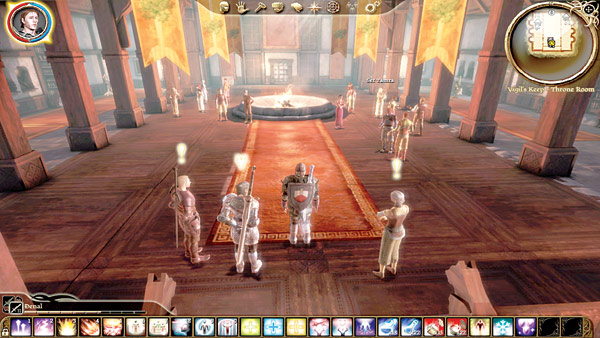
Quest Tips: Grab the quest from the private in Vigil's Keep courtyard and a new world location opens up: Anselm's Reef. Head to Anselm's Reef and defeat the scavengers there. Retrieve the trade goods secured by the scavengers, and when you return to civilization, you can sell the goods for profit.
XP Reward: 1,000 XP
Money Reward: None
Item Reward: None
Sealing the Great Barrier Doors
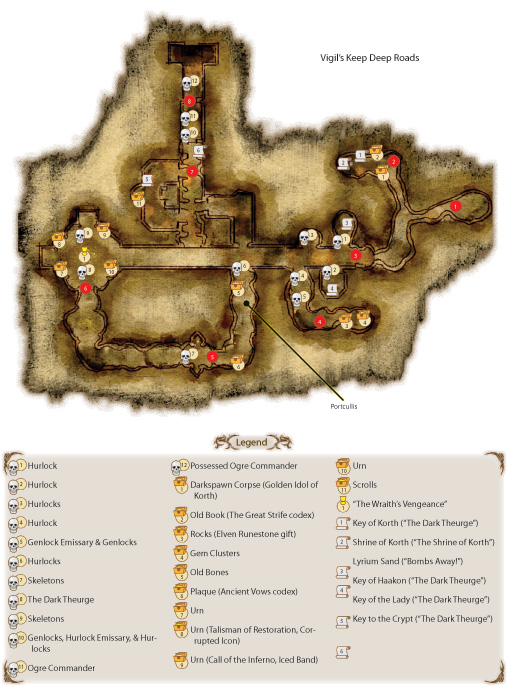
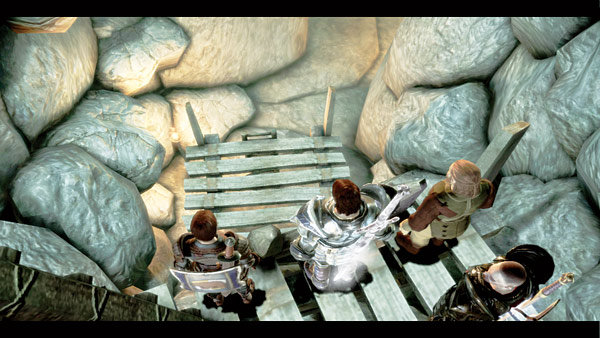
(1)You can enter the Deep Roads beneath Vigil's Keep after you complete "It Comes from Beneath" and one major quest, return to Vigil's Keep, and speak with Maverlies. Clean out the darkspawn to safeguard Vigil's Keep. If you don't, during the "Siege on Vigil's Keep" the darkspawn will pour up from the basement and you won't have a chance to save the keep.
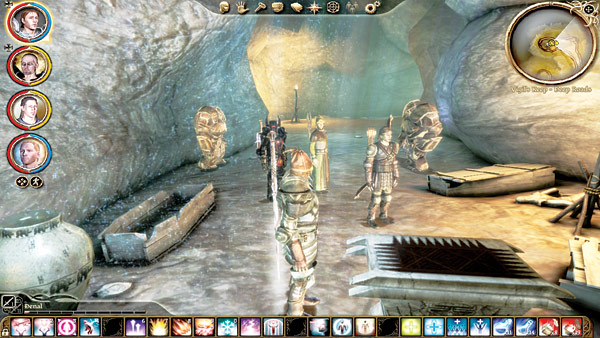
(2)Take a side trip to the north to the altar of Korth area. See the "Shrine of Korth" side quest for complete details. Make sure you pick up the Key of Korth in the urn near the altar.
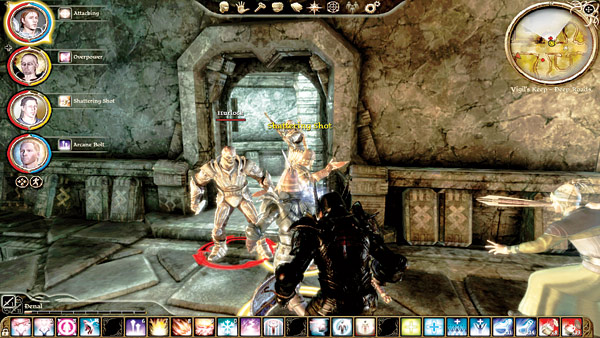
(3)Expect a major ambush as you enter this area. Genlocks, hurlocks, and a genlock emissary surround you in the side alcoves and side passages. Inch into the main corridor and try to spot an enemy before you pull all of them on you. Pick off any targets you can see with ranged attacks, and if you see a group, throw a big AoE attack on them to weaken the full assault against you. Pick up the Key of Haakon in the south alcove's trapdoor.
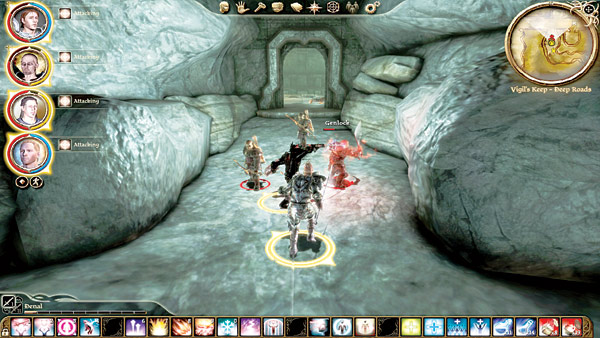
(4)After defeating the darkspawn in the ambush area, take a side trip to the gem mine. You can gain some diamonds and Elven Runestone gift in the area. If you didn't trigger them in the all-out brawl earlier with the darkspawn, watch for the genlocks to appear in the gem mine corridor as you exit.
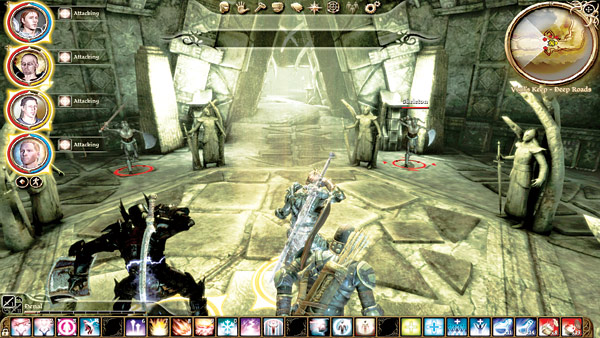
(5)Raise the portcullis in the passage that heads south and follow the corridor until you reach a chamber with statues encircling a lit center. Skeletons will animate and attack as you enter the circle, and one of the skeletons will drop the Trickster's Boots once they lie as scattered bones again.
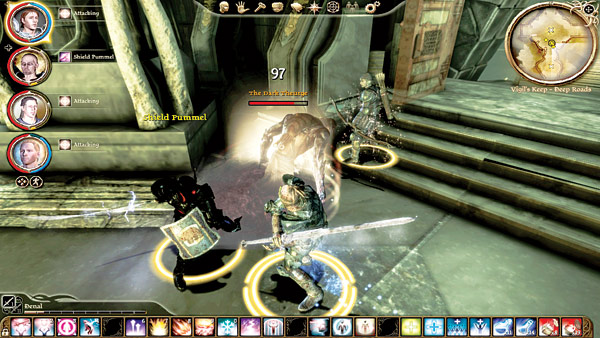
(6)The next room holds the Dark Theurge and its corresponding quest. You'll accidentally free the Dark Theurge when you enter the room (you must do this to continue). Attempt to slay the Dark Theurge, though it has a fair amount of health and will use lightning spells to keep you at distance. When it drops below 50 percent health, the Dark Theurge summons six skeletons to fight for it.
When the Dark Theurge is finally "defeated," it retreats to the side alcove in the east. There it remains motionless while it heals itself, and you can't interact with it. Instead, examine the apparatus in the center of the room. This discharges a lightning bolt that blasts through the wall behind the Dark Theurge and frees the creatures, launching "The Wraith's Vengeance" quest. It also opens the way for you to continue to the end of Vigil's Keep's Deep Roads.
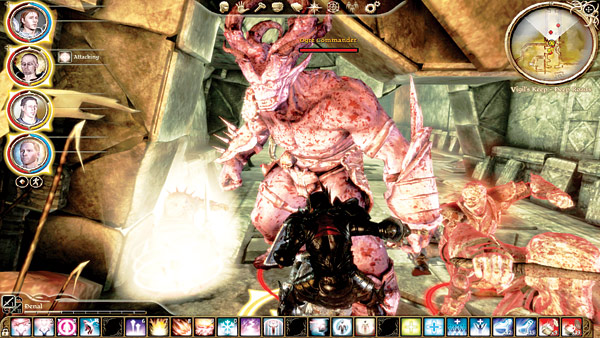
(7)Follow the passage to the east and then wind through some twists and turns until you reach a room containing a scroll and chest. Loot both, and make sure you hold onto the Key of the Lady from the chest. The final mass of darkspawn defends the northern corridor. Prepare to battle genlocks, hurlocks, a hurlock emissary, and a huge ogre commander behind them. If you can engulf the corridor in AoE damage that doesn't also hit your party, that's the best course of action. Otherwise, pull the enemies toward you and seek protection in the side corridor if enemies begin to flank.
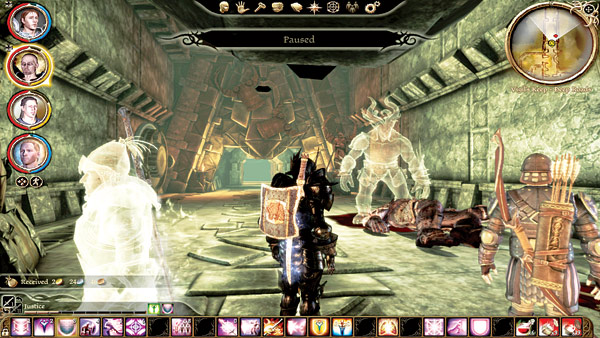
(8)As if the ogre commander wasn't bad enough the first time around, the Dark Theurge possesses it after you defeat it and you must battle it a second time. It may be a little easier to take it on this time, without all the other darkspawn to run interference; then again it may not, depending on how banged up you are after the first fight. Pop whatever potions and poultices you have and gut it out. It's the last battle before finishing the quest.
When you beat the possessed ogre, the Dark Theurge disappears, but it's not destroyed. If you want to continue with "The Wraith's Vengeance" quest, gather all four Avvar keys. You should have three of them if you looted everything in the basement and Deep Roads levels (the fourth is in the Avvar crypt itself). One of the fallen darkspawn here drops the key to the crypt. Take that key, along with the three others, and return to basement. See the "It Comes from Beneath" quest for complete details.
Finally, you reach the great doors and Voldrik arrives to seal them. You've completed your quest to clean up the keep's underground areas, and now you can rest easy that darkspawn won't spill up from the earth's bowels anymore.
Sheepherder's Lament
Type: Politics
Start: Vigil's Keep Throne Room
Destination: Vigil's Keep Throne Room
Task: Rule on the fate of Alec the sheepherder
Quest Tips: This sub-quest is part of the "A Day in Court" quest. Alec the sheepherder stole two bushels of grain to feed his family in these tough times. You can execute him, flog him, or conscript him to the keep's army. If you allow Varel to rule on the case, he will execute Alec for breaking the rules. You can do the same. You can also flog him, which will be seen as a just decision by most of the keep. If you force Alec to pay off his debt in the army, he fights valiantly in the final battle at the keep and actually goes on to form an order of knights that lasts a thousand years.
XP Reward: See "A Day in Court"
Money Reward: None
Item Reward: None
The Shrine of Korth
Type: Exploration
Start: Vigil's Keep Deep Roads
Destination: Vigil's Keep Deep Roads
Task: Visit the Shrine of Korth and pay it homage (or not)
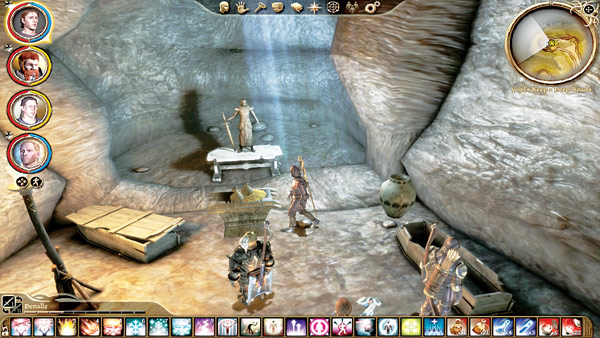
Quest Tips: Enter the Deep Roads and visit the chamber nearest the entrance (see "Sealing the Great Barrier Doors" map). A mysterious Avvar altar to Korth waits for its next worshipper or victim. The altar is a test and has three possible outcomes. If you take the treasure on the altar, you gain 15 sovereigns, but must fight the two golem guardians that awake to protect the altar.
If you add the golden idol from the corpse near the altar, you gain experience. If you also add a diamond to the offering, you gain the magic axe Frenzy. You can also defile the altar if you bring the desecrated idol from the Dark Theurge's room back to the altar. This will cause the golems to crumble to pieces and you receive no reward.
XP Reward: 1,000 XP (if you placed the golden idol on the shrine)
Money Reward: 15 sovereigns (if you took the offering and awoke the golem guardians)
Item Reward: Frenzy axe (if you placed the golden idol on the shrine)
Solomon's Bridge

Type: Politics
Start: Vigil's Keep Throne Room
Destination: Vigil's Keep Throne Room
Task: Rule on Lady Liza's land claim
Quest Tips: This is part of the "A Day in Court" quest. Lady Liza Packton and Ser Derren are at odds over land. If you rule in Lady Liza's favor and give her the land, Ser Derren will be bitter and may join the conspiracy against you (see "A Brewing Conspiracy").
It's possible to give the land to Lady Liza and use your Coercion skill to mollify Ser Derren with a promise of future concessions. If you give the land to Ser Derren, Lady Liza will join the conspiracy. If you choose to keep the land for the Wardens, you gain 100 sovereigns, but are seen as a tyrant and both nobles will join the conspiracy against you.
XP Reward: See "A Day in Court" quest
Money Reward: 100 sovereigns (if you keep the land for yourself)
Item Reward: None
The Survivors of Vigil's Keep
Type: Combat
Start: Vigil's Keep Interior
Destination: Vigil's Keep Interior
Task: Rescue the four keep survivors trapped by the darkspawn
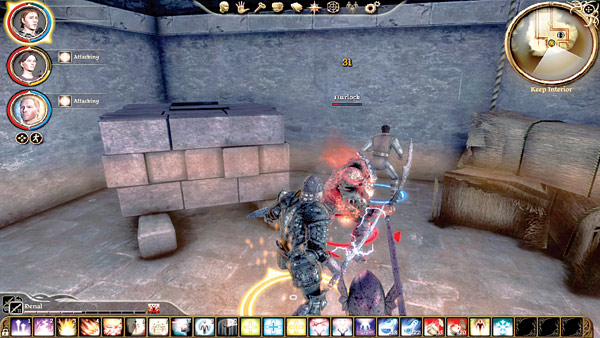
Quest Tips: During your initial run through the keep interior during "The Assault on Vigil's Keep" there are four survivors desperately trying to survive the darkspawn (see the walkthrough map in "The Assault on Vigil's Keep" chapter for the survivors' exact locations). As soon as you see these survivors, the nearby darkspawn will attack them. If you aren't quick to the defense, a survivor will die and the quest ends in failure. Rescue all four and you earn a large XP reward.
XP Reward: 3,000 XP
Money Reward: None
Item Reward: None
Trade Must Flow

Type: Exploration
Start: Mistress Woolsey in the Vigil's Keep Throne Room
Destination: Various Locations
Task: Convince Armaas or Lilith to trade with Vigil's Keep
Quest Tips: The keep needs trade to survive. Mistress Woolsey offers this quest to you in the hopes of resurrecting new trade routes. If you save the merchant at the start of "The Assault on Vigil's Keep" you gain an upgrade to the merchant's store and increase trade.
If you convince Armaas in the Silverite Mine to trade with Vigil's Keep, you increase trade, or you can also find the traveling merchant Lilith during a random encounter and ask her to trade with Vigil's Keep. This quest completes once Armaas or Lilith agree to trade, but if you finish all the quests on the Merchants' Guild Board in Amaranthine, you increase trade. Complete a combination of these trade possibilities to gain a large monetary reward.
XP Reward: 1,000 XP
Money Reward: 60 sovereigns
Item Reward: None
What Is Built Endures
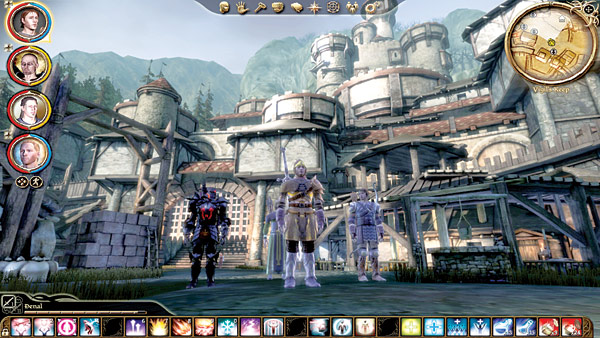
Type: Exploration
Start: Voldrik in Vigil's Keep Courtyard
Destination: Vigil's Keep Courtyard
Task: Bring back granite to increase the strength of Vigil's Keep's walls
Quest Tips: You must complete the "Cost of Doing Business" quest to gain access to this quest. After Voldrik gives you the quest, journey to the Wending Wood and retrieve granite from the quarry (see the Wending Wood map for the granite deposit's exact location). If you bring Voldrik back the granite and promise to send men to guard the quarry, Voldrik will finish his upgrade on the keep walls. The entire keep will look much more magnificent!
XP Reward: 1,000 XP
Money Reward: None
Item Reward: Upgrade to the Vigil's Keep walls
Worked to the Bone
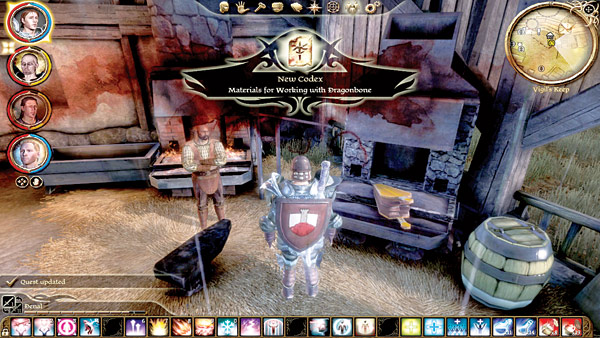
Type: Exploration
Start: Queen of the Blackmarsh's Mountaintop
Destination: Various Locations
Task: Find five items for Master Wade to custom build you a unique sword
Quest Tips: When you defeat the Queen of the Blackmarsh Fade dragon on the mountaintop in the Blackmarsh, you gain a special dragon bone. Return the dragon bone to Master Wade in Vigil's Keep and he offers you this quest.
He needs you to collect a diamond (buy from a vendor or gain as loot), a greater warmth potion (buy from a vendor or gain as loot), fresh dragon egg (found in the Silverite Mine; see map for exact location), and a grandmaster flame rune (you will most likely have to craft this yourself). Collect them all and he crafts the excellent Vigilance sword in the form of either a greatsword or a longsword.
XP Reward: 500 XP
Money Reward: None
Item Reward: Vigilance