Prima Games eGuides
primagames.com Browse Redeem a code Help
Dragon Age: Origins - Awakening eGuide
Sign in My Guides

Sign in or create an account

We'll email you a link. No password needed, and if you don't have an account yet, the link makes one.

By creating an account or signing in, you agree to our Terms of Service and Privacy Policy.

Have a password?

Had an account on the old eGuides site, or a code from a printed guide? Help and troubleshooting

Sign in with a password

By signing in, you agree to our Terms of Service and Privacy Policy.

Check your email

A sign-in link is on its way. It works once and expires in 15 minutes. Open it and you're in, with an account if you didn't already have one.

Contents

  • Maps
    • World Map
      • World Map
    • Main Quest Walkthrough Maps
      • Assault on Vigil's Keep
      • Keep Interior
      • Throne Room
      • Vigil's Keep Courtyard
      • The Crown and Lion
      • The Blackmarsh
      • The Blackmarsh Undying
      • Shadowy Crypt
      • Baroness's Manor
      • Return to the Blackmarsh
      • Wending Wood
      • Silverite Mine
      • Knotwood Hills
      • Kal'Hirol
      • Main Hall
      • Trade Quarter
      • Lower Reaches
      • Siege of Vigil's Keep
      • Siege of Amaranthine
      • Dragonbone Wastes
      • Drake's Fall
      • The Nest
    • Side Quest Walkthrough Maps
      • The Blackmarsh
      • City of Amaranthine
      • Smuggler's Cove
      • Law and Order
      • Smuggler's Run
      • Smuggler's Cove (Alternate)
      • Vigil's Keep Throne Room
      • Knotwood Hills/Kal'Hirol
      • Vigil's Keep
      • It Comes From Beneath
      • Sealing the Great Barrier Doors
      • Wending Wood
  • Essentials
    • The Basics
      • How to Use This Guide
      • Key Terms
      • Experience and Leveling
      • Your Health
      • Races and Classes
      • Skills, Talents, and Specialties
      • Items
      • Combat
      • The Map
      • The Codex
      • Character Generation
    • The Classes
      • Introduction
      • Leveling
      • Skills
      • The Warrior
      • The Mage
      • The Rogue
    • The Party
      • Party Basics
      • Combat Roles
      • Configurations and Engagement
      • Tactics
    • Companions
      • Understanding Companions
      • Anders
      • Justice
      • Nathaniel Howe
      • Oghren
      • Sigrun
      • Velanna
      • Mhairi
    • Supporting Cast
      • Supporting Cast
    • Equipment
      • Equipment
      • Weapon and Armor Materials
      • Vendor Shopping
      • Weapons
      • Armor
      • Accessories
      • Runes
      • Crafting
      • Usable Items
      • Gifts
    • Bestiary
      • Monster Abilities
      • Monster List
  • Walkthrough
    • Walkthrough
      • How to Use the Walkthrough
      • Essential Locations
    • Assault on Vigil's Keep
      • Exterior
      • Interior
      • Throne Room
      • Courtyard
    • Shadows of Blackmarsh
      • Amaranthine
      • The Crown and Lion
      • The Blackmarsh
      • The Blackmarsh Undying
      • Shadowy Crypt
      • Baroness's Manor
      • Return to the Blackmarsh
    • The Righteous Path
      • Amaranthine
      • Wending Wood
      • Trapped by the Architect
      • Silverite Mine
    • Last of the Legion
      • Amaranthine
      • Knotwood Hills
      • Kal'Hirol
      • Main Hall
      • Trade Quarter
      • Lower Reaches
    • Siege of Vigil's Keep
      • Going to War
      • Siege of Vigil's Keep
      • Siege of Amaranthine
    • Lair of the Mother
      • Dragonbone Wastes
      • Drake's Fall
      • The Nest
    • Side Quests
      • The Blackmarsh
      • City of Amaranthine
      • Companions
      • Knotwood Hills and Kal'Hirol
      • Vigil's Keep
      • The Wending Wood
      • Random Encounters
    • Achievements
      • Achievements and Trophies

Dragon Age: Origins — Awakening Guide › Walkthrough › Shadows of Blackmarsh

The Blackmarsh
Runthrough (The Blackmarsh)

Summary: Follow the trail of clues to discover Kristoff's whereabouts.

1 - Enter the Blackmarsh.

2 - Encounter marsh wolves as you navigate the marsh.

3 - Discover a darkspawn corpse slain by Kristoff.

4 - Leave the ruins and head north out into the deep swamp.

5 - Discover Kristoff's camp.

6 - Kristoff didn't make it. The First set a trap for any Grey Wardens seeking Kristoff.

The Blackmarsh Cheatsheet

Main Plot Quest: Shadows of the Blackmarsh

Important NPCs: None

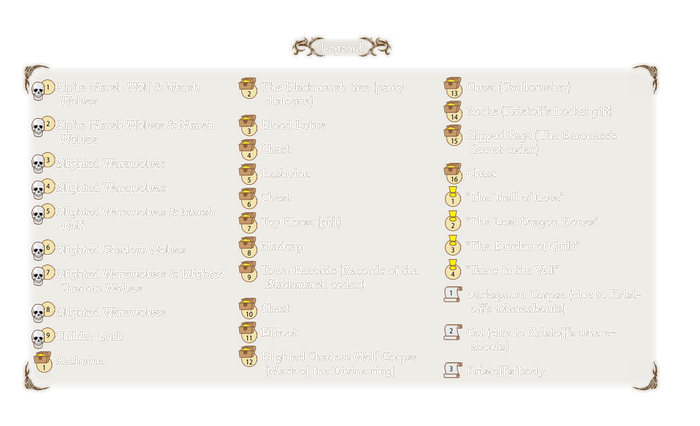
Key Items: Darkspawn, Corpse, Cot, Kristoff's Body

Monsters: Alpha Mars Wolves, Blighted Shadow Werewolves, Blighted Werewolves, Childer Grubs, Marsh Wolves, The First

Side Quests: The Burden of Guilt, The Lost Dragon Bones, Tears in the Veil, The Trail of Love

Spoiler Alert

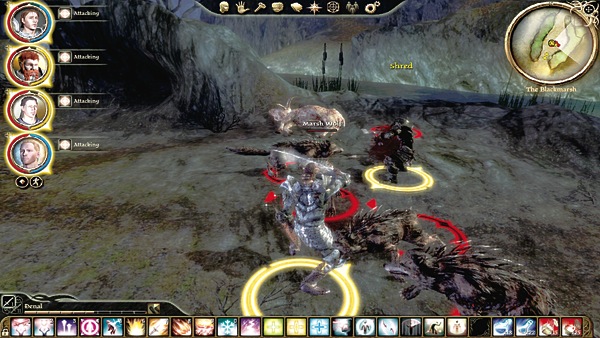
(1) The Blackmarsh exudes creepiness, and there is something supernatural in the air. Nathaniel warns of this if you interact with the Blackmarsh tree a few paces up the path on the left. Beware of the nearby marsh wolves that bear down on you as you approach them feasting on some unlucky critter.

As with all wolf encounters in the marsh, AoE stunning abilities such as Repulsion Field keep them at bay. Pay attention to Group Heal because everyone will likely take damage simultaneously as the creatures nip away.

As you explore the Blackmarsh, you come across tears in the Veil. These Veil tears block your passage in the physical world. If you attempt the "Tears in the Veil" side quest, you can close these tears once you reach the Fade on the Blackmarsh Undying map.
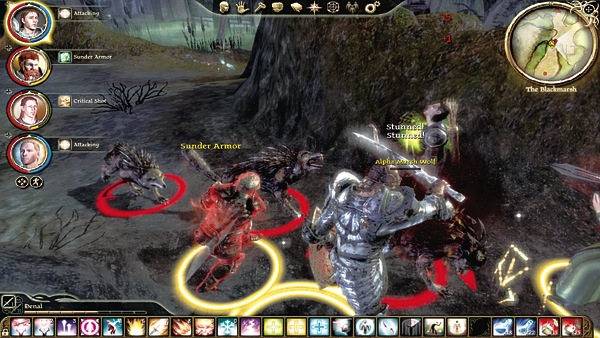
(2) Fight through more wolves at the first intersection. If you take the left (north) fork, the path leads to a dead end at one of the sealed Veil tears. Take the right (east) fork to continue on the main quest to find Kristoff.
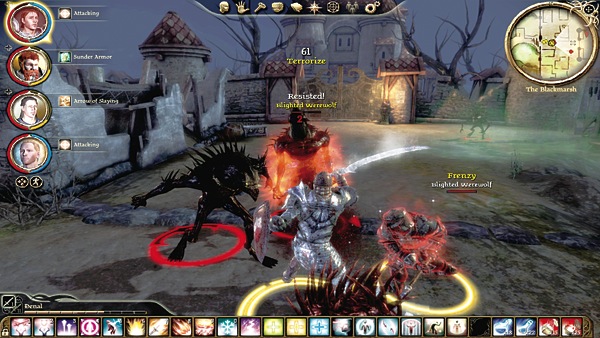
(3) Go right (east) and you'll see a darkspawn corpse in front of you after you take on a group of blighted werewolves. Slay the werewolves and interact with the darkspawn corpse. You surmise that Kristoff killed the darkspawn, so he must be close.
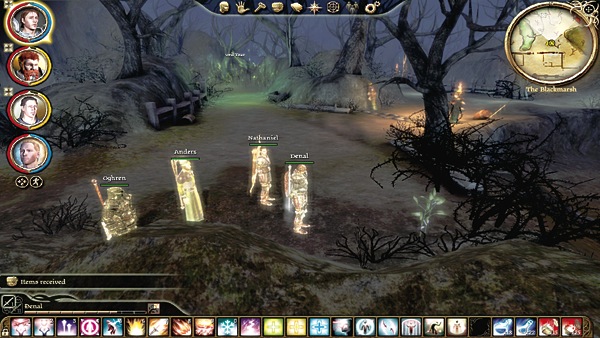
(4) After combing through the ruins for loot, side quest items, and codex entries, head north out of the broken town and deeper into the marshes. (You can't get through the locked town gates to the east at this point.) There are many enemy ambushes in the area, so be on your toes.
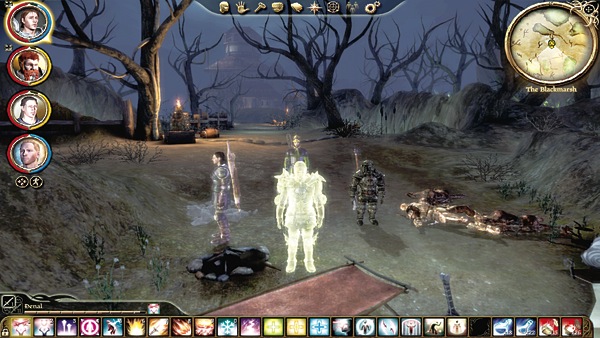
(5) In the middle of the northern section of the marsh, you find Kristoff's camp. You can tell from more dead darkspawn and Kristoff's cot that he must be very close now. Recover Kristoff's Locket, a gift, in the rock pile near the cot.
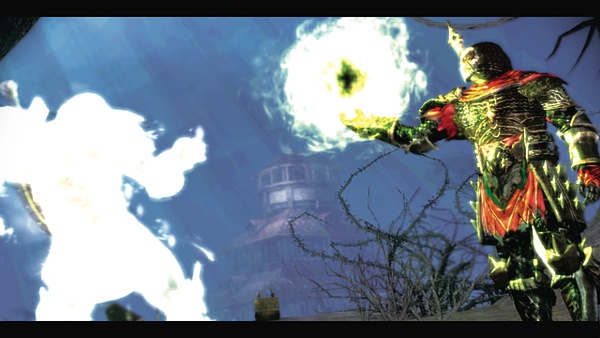
(6) Unfortunately, Kristoff was slain by the very darkspawn he tracked. His body lies in the map's far northeast corner.

Kristoff's body is a darkspawn trap. Once you interact with it, your party gets transported to the Fade. Make sure you accomplish everything you wanted to in the Blackmarsh before touching Kristoff's body or it will be a long time before you return.

When you interact with Kristoff's body, darkspawn surround you. It's a trap meant to slay any Grey Wardens who followed Kristoff. The First, a loyal servant of the mysterious Mother, casts a powerful spell that rips a tear in the Veil and transports your party to the Fade. You must now battle through the Blackmarsh Undying to return to the real world.

Keep reading with a free account

The first 3 sections of Dragon Age: Origins - Awakening are open to everyone. An account opens the rest of it, and every other guide in the archive. It's free, and there's nothing to buy.

Bought guides on the old Prima Games site? Your account and every guide you own moved here, so there's nothing to buy again. Sign in.

Create a free account Or browse our free guides

PreviousThe Crown and Lion NextThe Blackmarsh Undying