Prima Games eGuides
primagames.com Browse Redeem a code Help
Dragon Age: Origins - Awakening eGuide
Sign in My Guides

Sign in or create an account

We'll email you a link. No password needed, and if you don't have an account yet, the link makes one.

By creating an account or signing in, you agree to our Terms of Service and Privacy Policy.

Have a password?

Had an account on the old eGuides site, or a code from a printed guide? Help and troubleshooting

Sign in with a password

By signing in, you agree to our Terms of Service and Privacy Policy.

Check your email

A sign-in link is on its way. It works once and expires in 15 minutes. Open it and you're in, with an account if you didn't already have one.

Contents

  • Maps
    • World Map
      • World Map
    • Main Quest Walkthrough Maps
      • Assault on Vigil's Keep
      • Keep Interior
      • Throne Room
      • Vigil's Keep Courtyard
      • The Crown and Lion
      • The Blackmarsh
      • The Blackmarsh Undying
      • Shadowy Crypt
      • Baroness's Manor
      • Return to the Blackmarsh
      • Wending Wood
      • Silverite Mine
      • Knotwood Hills
      • Kal'Hirol
      • Main Hall
      • Trade Quarter
      • Lower Reaches
      • Siege of Vigil's Keep
      • Siege of Amaranthine
      • Dragonbone Wastes
      • Drake's Fall
      • The Nest
    • Side Quest Walkthrough Maps
      • The Blackmarsh
      • City of Amaranthine
      • Smuggler's Cove
      • Law and Order
      • Smuggler's Run
      • Smuggler's Cove (Alternate)
      • Vigil's Keep Throne Room
      • Knotwood Hills/Kal'Hirol
      • Vigil's Keep
      • It Comes From Beneath
      • Sealing the Great Barrier Doors
      • Wending Wood
  • Essentials
    • The Basics
      • How to Use This Guide
      • Key Terms
      • Experience and Leveling
      • Your Health
      • Races and Classes
      • Skills, Talents, and Specialties
      • Items
      • Combat
      • The Map
      • The Codex
      • Character Generation
    • The Classes
      • Introduction
      • Leveling
      • Skills
      • The Warrior
      • The Mage
      • The Rogue
    • The Party
      • Party Basics
      • Combat Roles
      • Configurations and Engagement
      • Tactics
    • Companions
      • Understanding Companions
      • Anders
      • Justice
      • Nathaniel Howe
      • Oghren
      • Sigrun
      • Velanna
      • Mhairi
    • Supporting Cast
      • Supporting Cast
    • Equipment
      • Equipment
      • Weapon and Armor Materials
      • Vendor Shopping
      • Weapons
      • Armor
      • Accessories
      • Runes
      • Crafting
      • Usable Items
      • Gifts
    • Bestiary
      • Monster Abilities
      • Monster List
  • Walkthrough
    • Walkthrough
      • How to Use the Walkthrough
      • Essential Locations
    • Assault on Vigil's Keep
      • Exterior
      • Interior
      • Throne Room
      • Courtyard
    • Shadows of Blackmarsh
      • Amaranthine
      • The Crown and Lion
      • The Blackmarsh
      • The Blackmarsh Undying
      • Shadowy Crypt
      • Baroness's Manor
      • Return to the Blackmarsh
    • The Righteous Path
      • Amaranthine
      • Wending Wood
      • Trapped by the Architect
      • Silverite Mine
    • Last of the Legion
      • Amaranthine
      • Knotwood Hills
      • Kal'Hirol
      • Main Hall
      • Trade Quarter
      • Lower Reaches
    • Siege of Vigil's Keep
      • Going to War
      • Siege of Vigil's Keep
      • Siege of Amaranthine
    • Lair of the Mother
      • Dragonbone Wastes
      • Drake's Fall
      • The Nest
    • Side Quests
      • The Blackmarsh
      • City of Amaranthine
      • Companions
      • Knotwood Hills and Kal'Hirol
      • Vigil's Keep
      • The Wending Wood
      • Random Encounters
    • Achievements
      • Achievements and Trophies

Dragon Age: Origins — Awakening Guide › Walkthrough › Side Quests

Knotwood Hills and Kal'Hirol

Spoiler Alert

The Long-Buried Past

Type: Exploration

Start: Knotwood Hills

Destination: Amaranthine

Task: Go on a short treasure hunt after discovering a mysterious journal

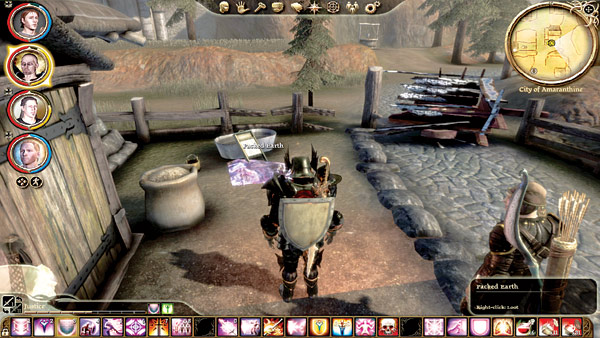
Quest Tips: Find the treasure hunter's journal in the chest in the Knotwood Hills (see Knotwood Hills map). Return to the Amaranthine Chantry and examine the bookshelf on the right side of the main room. Exit the Chantry and find the packed earth next to a house outside Amaranthine (scroll 1 on the Amaranthine map) and retrieve the magic ring reward.

XP Reward: 1,500 XP

Money Reward: None

Item Reward: Ring of Subtlety

Lucky Charms
Type: Exploration

Start: Knotwood Hills

Destination: Colbert in Amaranthine

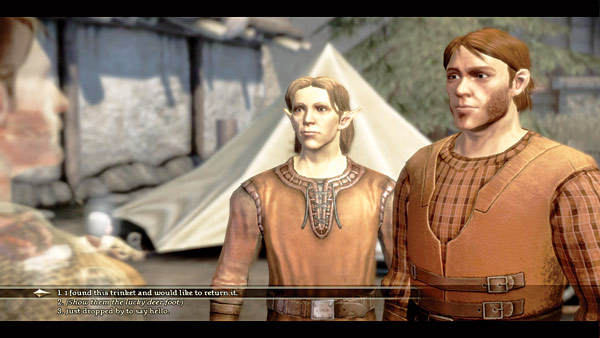
Task : Return the lucky deer's foot to Colbert and Micah

Quest Tips: Pick up the lucky deer's foot from a bag in the side area opposite the Deep Road entrance in the Knotwood Hills (see map for exact location). Return to Amaranthine and seek out Colbert and Micah for your XP reward.

XP Reward: 500 XP

Money Reward: None

Item Reward: None

Memories of the Stone
Type: Exploration

Start: Trade Quarter in Kal'Hirol

Destination: Dworkin in Vigil's Keep

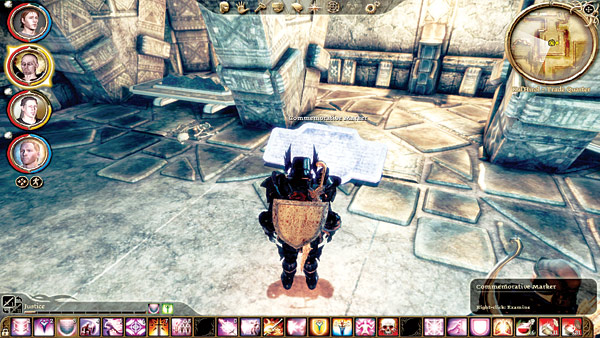
Task: Return a stone marker found in Kal'Hirol to Dworkin

Quest Tips: Search out the stone marker in the side chamber in Kal'Hirol's Trade Quarter (see map for exact location). Return the stone marker to Dworkin in Vigil's Keep for your reward.

XP Reward: 1,000 XP

Money Reward: None

Item Reward: None

Wrong Place, Wrong Time
Type: Exploration

Start: Trade Quarter in Kal'Hirol

Destination: Steafan in Amaranthine

Task: Free or kill Steafan

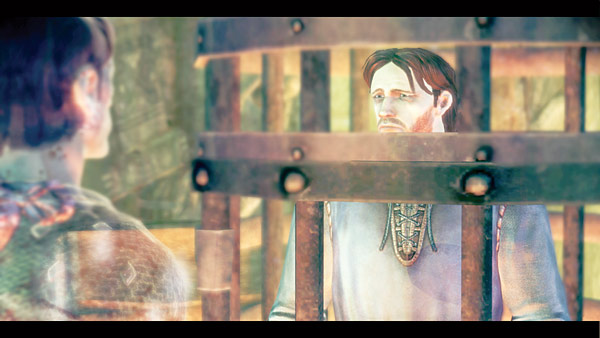
Quest Tips: During your travels through Kal'Hirol's Trade Quarter you come across a caged man, Steafan, who may or may not have been infected with the darkspawn disease (see the Trade Quarter map for Steafan's exact location). Steafan is not infected, but you still have three choices on what to do with him. If you free Steafan and allow him to leave, you can find him again in Amaranthine outside the main gate and he'll give you a monetary reward. You can delay releasing Steafan and grill him some more until he agrees to give you a powerful flame rune in exchange for freedom. Finally, you can kick his cage into the lava if you're feeling particularly evil.

XP Reward: 1,000 XP

Money Reward: 1 sovereign (if you didn't ask for a reward up front)

Item Reward: Masterpiece Flame Rune (if you asked for a reward up front)

Keep reading with a free account

The first 3 sections of Dragon Age: Origins - Awakening are open to everyone. An account opens the rest of it, and every other guide in the archive. It's free, and there's nothing to buy.

Bought guides on the old Prima Games site? Your account and every guide you own moved here, so there's nothing to buy again. Sign in.

Create a free account Or browse our free guides

PreviousCompanions NextVigil's Keep