
Dragon Age: Origins — Awakening Guide Essentials The Basics
Combat
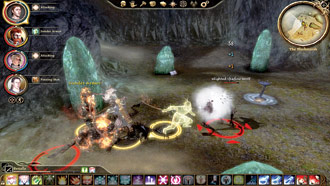
Parties work the best when you know the strengths, and limitations, of each class and plan your battle strategies accordingly. Each class falls into one of these general categories: tank (warrior), DPS (rogue, mage, warrior), and healer (mage). As the name implies, a tank’s job is to draw fire and take as much damage as possible to protect everyone else.
This job is executed right at the front lines of a battle and generally never shifts from that location. Tanks have talents that force enemies to attack them for a short time and high damage potential to keep the threat on them instead of their companions. Warriors make the best tanks.
The second category, DPS (or damage), is divided into two subcategories: ranged and melee. Ranged DPS characters do lots of damage, and as a result, generate large amounts of threat and will die very quickly when their ranged advantage is lost and there’s no tank protection nearby. Ideally a ranged DPS character should stay in the back of a battle and let the tanks and melee DPS protect them.
On the other hand, a melee DPS character is usually more durable and can try to let the tanks take the hits while they kill off enemies directly. Rogues make great DPS characters, as do mages focusing on damage and area-effect spells. Though you generally need one warrior to be a tank, a warrior studying the art of two-handed weapons can deal major DPS.
The third category, the healer, is a key support role in any group. Your job as a healer is to keep everyone alive. For a healer to be successful, they need to stay as far away from the enemies as possible and avoid getting hit. A healer who can do this, while keeping his fellow companions healthy, is one of the most effective members of a group.
Just watch your mana and always keep lyrium potions available in case you need to gain extra mana for a crucial healing spell. Mages concen- trating on Creation magic prove to be strong healers.
Mobs
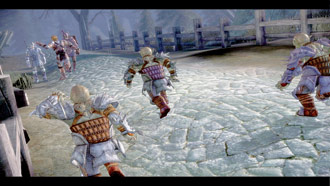
Mobs are the monsters and people you fight to complete quests and gain experience. There are two types of mobs: normal and ranked. Normal mobs have a white name above their heads. One of your party members is generally more than a match for a normal monster.
Ranked creatures have different colored names. Opponents with yellow names are more challenging and aggressive than average. Orange names represent extremely powerful enemies capable of threatening a full party of adventurers by themselves.
Threat
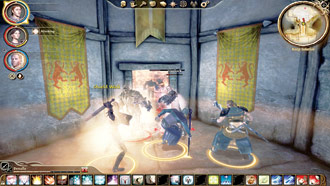
Threat is a score used to determine who an enemy will attack. Simply put, the more threat you generate toward a target, the greater chance it will attack you, and continue to attack you even after others join in.
Threat is commonly generated by damage, so the more DPS you deliver, the greater the chance you’ll attract attention. Luckily, there are some threat-reduction talents in the game that allow you to shed the threat temporarily (or possibly completely if you don’t jump back into the fight).
Tanks are the ones most concerned with threat. They generate the most threat with special talents (sometimes known as “taunts”) that automatically attract an enemy’s attention and lock it on the tank. It’s generally good form to allow your tank to build up threat by leaving him alone for the first few seconds of the combat as he launches a few damaging attacks.
If you have an off-tank, he should be ready to grab threat on any target that breaks free of the main tank or any extra monsters that show up unannounced.
When monsters in Awakening perceive a character, they evaluate a base level of threat. That base level is influenced by the class of armor the character is wearing at the moment of perception. Robes generate extremely low levels of threat, while massive armors generate the most. Outfit your party accordingly.
You can control the initial flow of threat by distributing gear based on each companion’s role. An off-tank, for example, can avoid catching most of the damage by wearing heavy or medium armor, while the main tank wears massive.
A DPS specialist has a relatively simple task: Don’t out-damage the tank so much that you gain threat. It might take some practice in the group, but you’ll eventually learn how many talents you can launch, and how frequently, to maximize your damage without surpassing the tank’s ability to hold threat. The biggest mistake to avoid as a DPSer is to start attacking too soon in the fight; allow the tank a few seconds to build up threat before you dive in.
Tactics
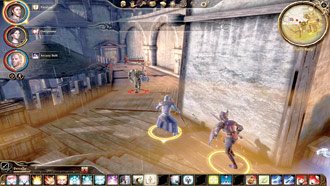
All characters have tactic slots that can be programmed with automatic behavior based on a certain set of circumstances. You may want to slot an action that says to use a health poultice if your health drops below 50 percent, or an action that dictates you defend the healer whenever they are attacked by an enemy.
You can always pause combat and manually choose your characters’ action; however, at some point in every fight, your characters will act on their own, and tactics allow them to function effec- tively based on the skill sets of their fellow party members. For more on tactics, see the “Tactics” section of the Party chapter.