Dragon Age: Origins — Awakening Guide Essentials Companions
Oghren
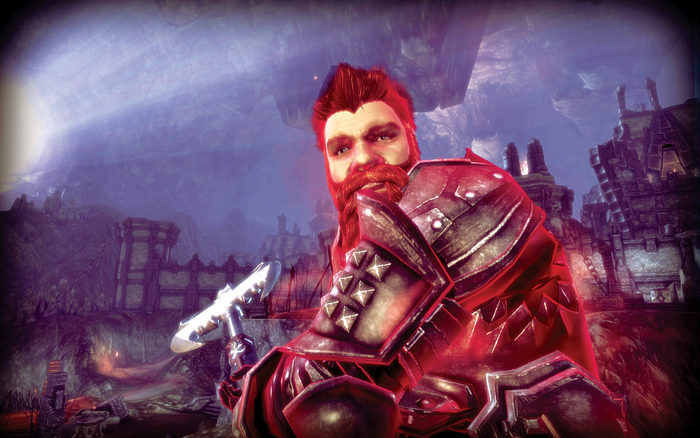
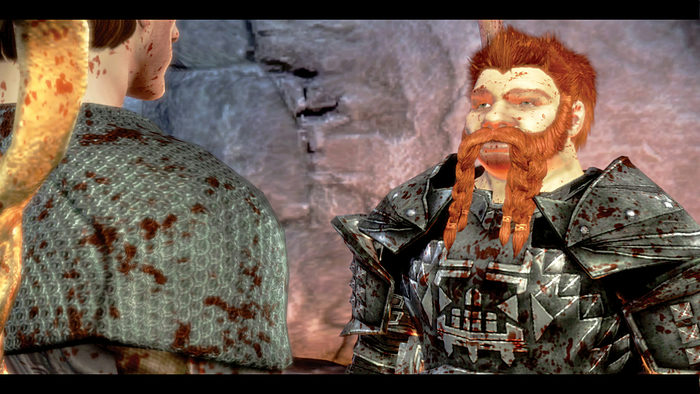
One of your fellow companions from Dragon Age: Origins has returned! Oghren, the gruff but amusing dwarf warrior, beats you to the keep to take on the darkspawn. This time around he's ready to become a Grey Warden and really hew some heads.
Oghren at a Glance
Starting Attributes
| Strength | 48 |
| Dexterity | 18 |
| Willpower | 23 |
| Magic | 10 |
| Cunning | 10 |
| Constitution | 24 |
Class
Warrior
DPSer or Off-Tank : In a pinch, Oghren can tank in place of Justice. If you do that, however, you negate his specialization: Berserker. The Berserker talents increase damage, which fits into a DPS role, and the only way a stamina-deprived Berserker can hold threat well is to out-damage everyone else.
Starting Talents
Berserker : Berserk
Warrior : Powerful, Threaten, Bravery, Death Blow
Two-Handed : Pommel Strike, Indomitable, Stunning Blows, Sunder Arms, Shattering Blows, Sunder Armor, Destroyer, Mighty Blow, Powerful Swings, Two-Handed Strength
Location
Vigil's Keep (Inner Keep)
Unlock Condition
During the "Assault on Vigil's Keep" introduction, you meet Oghren near the end of your run through the Inner Keep before you encounter the Withered. He joins you automatically and wants to become a Grey Warden.
Combat Advice
Fill out Oghren's Berserker specialization and Two-Handed school as soon as you get the chance, especially Critical Strike. By adding all the Two-Handed talents, including all the way up to the new Reaving Storm, you can seriously increase his damage potential and make him an excellent DPS addition to the party. As with rogues, Oghren should allow the tank to control enemy groups and then attack from the rear or flank. Because Oghren is so durable, he doesn't have to watch his spacing as much as a rogue, and he can off-tank easily if you need him to grab a creature that the tank can't hold threat on. His skills are best used with heavy or massive armor, either sword and shield or two-handed weapons, with a crossbow for ranged attacks.
Berserk ramps up Oghren's damage and a well-placed Mighty Blow or Critical Strike can hammer an adversary. Sunder Armor rips through a heavily defensive melee attacker, while Pommel Strike and Stunning Blows can knock an enemy out of combat for several seconds. Two-Handed Sweep is great at the end of the fight, or at striking multiple foes—as long as you don't steal threat away from the tank. Final Blow deals massive damage but drains the rest of Oghren's stamina. The new Reaving Storm can wreck multiple foes in a tight melee free-for-all.
Personal Quest
Shortly after your adventures begin, Oghren's wife, Felsi, tracks him down at Vigil's Keep. She angrily accuses him of abandoning their family, which he doesn't disagree with, but he tells her that marriage really isn't for him. Regardless of whether you say anything or simply sit back and listen to the whole thing, Oghren will be eligible for friendly status after the conversation.
Gifts
Oghren's "plot gift" is a toy horse (found in the Blackmarsh), and he tells you that he wants his own horse one day. His other gifts are all alcohol-related, and may be found at the Crown and Lion, Hubert's Den, the warehouse in Amaranthine, Knotwood Hills, and the Vigil's Keep basement.
| Gift | Found In | Location |
|---|---|---|
| Aqua Magus | Crate | Abandoned Warehouse in Amaranthine |
| "Dragon-Piss" | Crate | Hubert's Den in Amaranthine |
| Hirol's Lava Burst | Chest | Knotwood Hills |
| Mackay's Epic Single Malt | Crate | Crown and Lion Inn |
| Toy Horse | On the Ground | Blackmarsh |
| West Hill Brandy | Crate Vigil's | Keep Basement |
Dialogue Choices
As with any companion, Oghren has dialogue choices whenever you interact with him, and sometimes he will pull you aside to speak with you about a topic. However, at important points in the game, you should know about plot-specific, area-specific, and throne room-specific dialogue that could change the game for your companion.
Plot-Specific Dialogue
Bizarre as it might sound, Oghren's special gift is a toy horse, which brings back fond memories for the dwarf. You'll get a big approval bump by handing him this prize and not making fun of him.
Area-Specific Dialogue
If you interact with the boat when you first enter the Fade, Oghren spouts angrily about how dwarves don't dream and aren't supposed to be in the Fade. There is an anvil in Kal'Hirol that Oghren talks to you about. At the inn in Amaranthine, interact with the message board outside; Oghren pulls you aside and talks to you too.
Throne Room-Specific Dialogue
If you interact with the cask behind Oghren, you catch the dwarf in a drunken stupor. Be careful not to offend him too much or you'll lose approval. You can interact with the cask multiple times for different drunken reactions from Oghren. While in the throne room, Oghren will ask about Grey Warden dreams. Oghren will also ask about Grey Warden salaries in the throne room, which is when you find out about his desire for a pony. After Felsi's visit, if your relationship is warm, Oghren will eventually discuss his feelings of guilt about leaving his family.
Crisis Moment
Oghren does not have a specific crisis moment. You can only reach a crisis with Oghren through poor approval rating. You can beg him to stay when you first hit the approval low point, but he will definitely leave the second time.