Prima Games eGuides
primagames.com Browse Redeem a code Help
Dragon Age: Origins - Awakening eGuide
Sign in My Guides

Sign in or create an account

We'll email you a link. No password needed, and if you don't have an account yet, the link makes one.

By creating an account or signing in, you agree to our Terms of Service and Privacy Policy.

Have a password?

Had an account on the old eGuides site, or a code from a printed guide? Help and troubleshooting

Sign in with a password

By signing in, you agree to our Terms of Service and Privacy Policy.

Check your email

A sign-in link is on its way. It works once and expires in 15 minutes. Open it and you're in, with an account if you didn't already have one.

Contents

  • Maps
    • World Map
      • World Map
    • Main Quest Walkthrough Maps
      • Assault on Vigil's Keep
      • Keep Interior
      • Throne Room
      • Vigil's Keep Courtyard
      • The Crown and Lion
      • The Blackmarsh
      • The Blackmarsh Undying
      • Shadowy Crypt
      • Baroness's Manor
      • Return to the Blackmarsh
      • Wending Wood
      • Silverite Mine
      • Knotwood Hills
      • Kal'Hirol
      • Main Hall
      • Trade Quarter
      • Lower Reaches
      • Siege of Vigil's Keep
      • Siege of Amaranthine
      • Dragonbone Wastes
      • Drake's Fall
      • The Nest
    • Side Quest Walkthrough Maps
      • The Blackmarsh
      • City of Amaranthine
      • Smuggler's Cove
      • Law and Order
      • Smuggler's Run
      • Smuggler's Cove (Alternate)
      • Vigil's Keep Throne Room
      • Knotwood Hills/Kal'Hirol
      • Vigil's Keep
      • It Comes From Beneath
      • Sealing the Great Barrier Doors
      • Wending Wood
  • Essentials
    • The Basics
      • How to Use This Guide
      • Key Terms
      • Experience and Leveling
      • Your Health
      • Races and Classes
      • Skills, Talents, and Specialties
      • Items
      • Combat
      • The Map
      • The Codex
      • Character Generation
    • The Classes
      • Introduction
      • Leveling
      • Skills
      • The Warrior
      • The Mage
      • The Rogue
    • The Party
      • Party Basics
      • Combat Roles
      • Configurations and Engagement
      • Tactics
    • Companions
      • Understanding Companions
      • Anders
      • Justice
      • Nathaniel Howe
      • Oghren
      • Sigrun
      • Velanna
      • Mhairi
    • Supporting Cast
      • Supporting Cast
    • Equipment
      • Equipment
      • Weapon and Armor Materials
      • Vendor Shopping
      • Weapons
      • Armor
      • Accessories
      • Runes
      • Crafting
      • Usable Items
      • Gifts
    • Bestiary
      • Monster Abilities
      • Monster List
  • Walkthrough
    • Walkthrough
      • How to Use the Walkthrough
      • Essential Locations
    • Assault on Vigil's Keep
      • Exterior
      • Interior
      • Throne Room
      • Courtyard
    • Shadows of Blackmarsh
      • Amaranthine
      • The Crown and Lion
      • The Blackmarsh
      • The Blackmarsh Undying
      • Shadowy Crypt
      • Baroness's Manor
      • Return to the Blackmarsh
    • The Righteous Path
      • Amaranthine
      • Wending Wood
      • Trapped by the Architect
      • Silverite Mine
    • Last of the Legion
      • Amaranthine
      • Knotwood Hills
      • Kal'Hirol
      • Main Hall
      • Trade Quarter
      • Lower Reaches
    • Siege of Vigil's Keep
      • Going to War
      • Siege of Vigil's Keep
      • Siege of Amaranthine
    • Lair of the Mother
      • Dragonbone Wastes
      • Drake's Fall
      • The Nest
    • Side Quests
      • The Blackmarsh
      • City of Amaranthine
      • Companions
      • Knotwood Hills and Kal'Hirol
      • Vigil's Keep
      • The Wending Wood
      • Random Encounters
    • Achievements
      • Achievements and Trophies

Dragon Age: Origins — Awakening Guide › Walkthrough › Shadows of Blackmarsh

Baroness's Manor

Runthrough (Baroness's Manor)

Summary: Meet up with the Spirit of Justice and confront the baroness.

1 - Enter the manor grounds.

2 - Speak with the Village Watch.

3 - Join the Spirit of Justice at the manor gate and explain your intentions.

4 - Battle the First and the baroness's pets.

Baroness's Manor Cheatsheet

Main Plot Quest: Shadows of the Blackmarsh

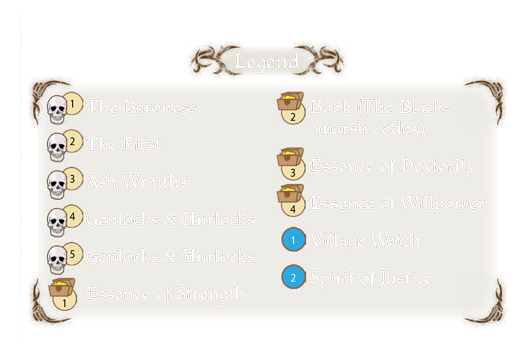
Important NPCs : Spirit of Justice

Key Items : Essence of Dexterity, Essence of Strength, Essence of Willpower

Monsters : Ash Wraiths, The First, Genlocks, Hurlocks

Side Quests : None

(1) You exit the Shadowy Crypt and return to the Fade outside the Baroness's Manor. You can hear a commotion in the distance at the manor gates.
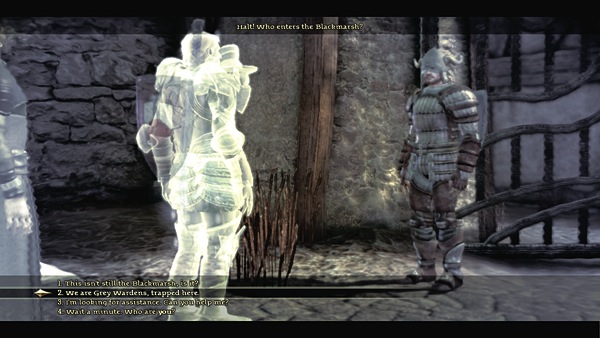
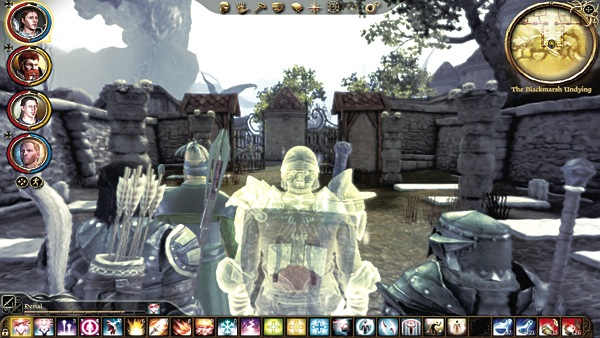
(2) Speak with the Village Watch and he'll fill you in on the events in the village. When you're finished, walk around the outskirts of the village, being careful not to approach the center where Justice and the other villagers pound at the gates. You don't want to trigger that event yet. Collect the three essences and the codex entry before approaching Justice.
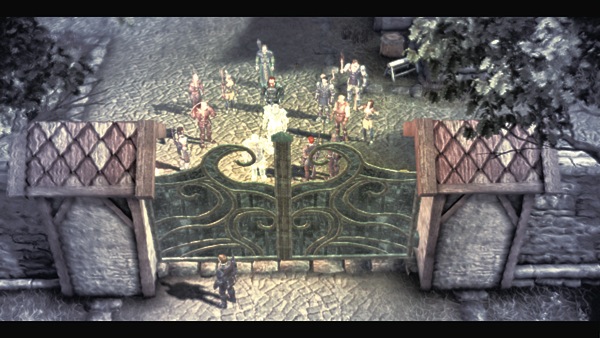
(3) When you enter the middle of the village, Justice and the villagers question you. Once you explain your true intentions, Justice teams up with you for the attack on the Baroness's Manor. Though probably not wise, you can choose not to align with Justice and the villagers.
Siding with the Baroness

If you don't want to team up with Justice, you can side with the baroness. To help the baroness, refuse to help Justice and then examine the gate of the Baroness's Manor to begin a dialogue with the doorman. He will allow you to have an audience with the baroness in which you may agree to help her defeat the villagers in exchange for returning you to the real world.

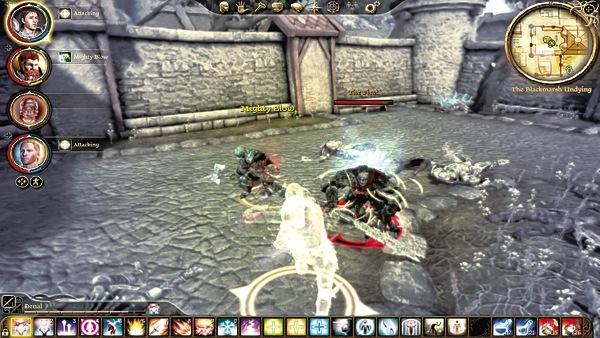
It is still possible to side with Justice at the last moment, though. No matter what, you will face the First in combat and must defeat him. If you side with Justice you face the baroness's ash wraiths, while if you side with the baroness, you face the villagers instead.

(4) Assuming you ally with Justice, enter the manor courtyard and confront the baroness. She dismisses your remarks and sends the First to slay you so he can earn a trip back to the real world. The baroness also sends genlocks, hurlocks, and a pair of ash wraiths into the fray. Back your healer out of the chaos and concentrate on healing the tank who should engage the First.

Your second warrior or rogue should hold the ash wraiths' attention. The third party member should pick off the genlocks and hurlocks or help out with one of the other foes when they look like they're about to fall. If your healer can keep up with the enemy damage spikes and drop a few Group Heals during the fight, you'll defeat the First and confront the baroness again.

Before you can seize power from the baroness, she sacrifices the First's life essence to open a portal back to the physical world. You leave the Fade, but not without a few surprises.

Keep reading with a free account

The first 3 sections of Dragon Age: Origins - Awakening are open to everyone. An account opens the rest of it, and every other guide in the archive. It's free, and there's nothing to buy.

Bought guides on the old Prima Games site? Your account and every guide you own moved here, so there's nothing to buy again. Sign in.

Create a free account Or browse our free guides

PreviousShadowy Crypt NextReturn to the Blackmarsh