Prima Games eGuides
primagames.com Browse Redeem a code Help
Dragon Age: Origins - Awakening eGuide
Sign in My Guides

Sign in or create an account

We'll email you a link. No password needed, and if you don't have an account yet, the link makes one.

By creating an account or signing in, you agree to our Terms of Service and Privacy Policy.

Have a password?

Had an account on the old eGuides site, or a code from a printed guide? Help and troubleshooting

Sign in with a password

By signing in, you agree to our Terms of Service and Privacy Policy.

Check your email

A sign-in link is on its way. It works once and expires in 15 minutes. Open it and you're in, with an account if you didn't already have one.

Contents

  • Maps
    • World Map
      • World Map
    • Main Quest Walkthrough Maps
      • Assault on Vigil's Keep
      • Keep Interior
      • Throne Room
      • Vigil's Keep Courtyard
      • The Crown and Lion
      • The Blackmarsh
      • The Blackmarsh Undying
      • Shadowy Crypt
      • Baroness's Manor
      • Return to the Blackmarsh
      • Wending Wood
      • Silverite Mine
      • Knotwood Hills
      • Kal'Hirol
      • Main Hall
      • Trade Quarter
      • Lower Reaches
      • Siege of Vigil's Keep
      • Siege of Amaranthine
      • Dragonbone Wastes
      • Drake's Fall
      • The Nest
    • Side Quest Walkthrough Maps
      • The Blackmarsh
      • City of Amaranthine
      • Smuggler's Cove
      • Law and Order
      • Smuggler's Run
      • Smuggler's Cove (Alternate)
      • Vigil's Keep Throne Room
      • Knotwood Hills/Kal'Hirol
      • Vigil's Keep
      • It Comes From Beneath
      • Sealing the Great Barrier Doors
      • Wending Wood
  • Essentials
    • The Basics
      • How to Use This Guide
      • Key Terms
      • Experience and Leveling
      • Your Health
      • Races and Classes
      • Skills, Talents, and Specialties
      • Items
      • Combat
      • The Map
      • The Codex
      • Character Generation
    • The Classes
      • Introduction
      • Leveling
      • Skills
      • The Warrior
      • The Mage
      • The Rogue
    • The Party
      • Party Basics
      • Combat Roles
      • Configurations and Engagement
      • Tactics
    • Companions
      • Understanding Companions
      • Anders
      • Justice
      • Nathaniel Howe
      • Oghren
      • Sigrun
      • Velanna
      • Mhairi
    • Supporting Cast
      • Supporting Cast
    • Equipment
      • Equipment
      • Weapon and Armor Materials
      • Vendor Shopping
      • Weapons
      • Armor
      • Accessories
      • Runes
      • Crafting
      • Usable Items
      • Gifts
    • Bestiary
      • Monster Abilities
      • Monster List
  • Walkthrough
    • Walkthrough
      • How to Use the Walkthrough
      • Essential Locations
    • Assault on Vigil's Keep
      • Exterior
      • Interior
      • Throne Room
      • Courtyard
    • Shadows of Blackmarsh
      • Amaranthine
      • The Crown and Lion
      • The Blackmarsh
      • The Blackmarsh Undying
      • Shadowy Crypt
      • Baroness's Manor
      • Return to the Blackmarsh
    • The Righteous Path
      • Amaranthine
      • Wending Wood
      • Trapped by the Architect
      • Silverite Mine
    • Last of the Legion
      • Amaranthine
      • Knotwood Hills
      • Kal'Hirol
      • Main Hall
      • Trade Quarter
      • Lower Reaches
    • Siege of Vigil's Keep
      • Going to War
      • Siege of Vigil's Keep
      • Siege of Amaranthine
    • Lair of the Mother
      • Dragonbone Wastes
      • Drake's Fall
      • The Nest
    • Side Quests
      • The Blackmarsh
      • City of Amaranthine
      • Companions
      • Knotwood Hills and Kal'Hirol
      • Vigil's Keep
      • The Wending Wood
      • Random Encounters
    • Achievements
      • Achievements and Trophies

Dragon Age: Origins — Awakening Guide › Walkthrough › Lair of the Mother

Dragonbone Wastes

Runthrough (Dragonbone Wastes)

Summary: Discover the entrance to Drake's Fall.

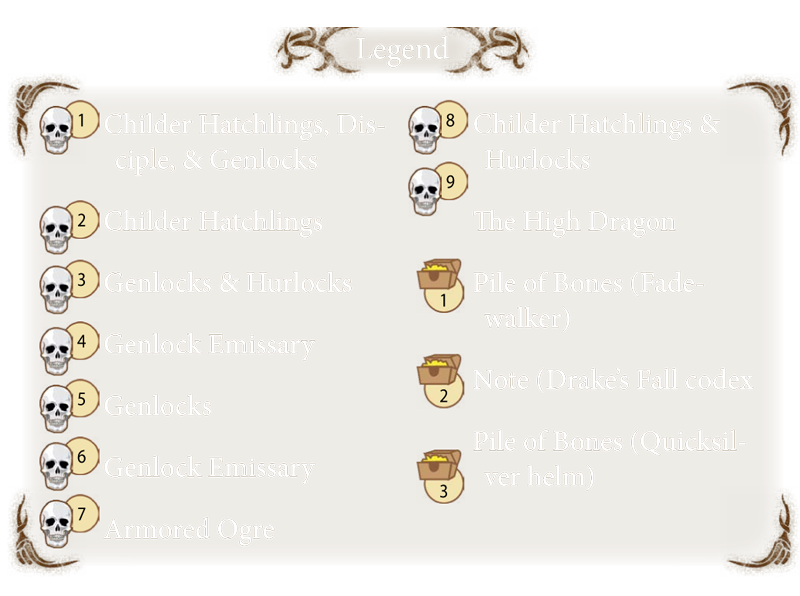
1 - Enter the Dragonbone Wastes.

2 - Encounter childer hatchlings versus a disciple and genlocks.

3 - Fight more childer hatchlings.

4 - Prepare for an ambush in the canyons.

5 - Slay the childer hatchlings before entering the Drake's Fall courtyard.

6 - Beat the high dragon to enter Drake's Fall.

Dragonbone Wastes Cheatsheet

Main Plot Quest: Depths of Depravity

Important NPCs: None

Key Items: Fadewalker, Quicksilver

Monsters: Armored Ogre, Childer Hatchlings, Disciple, Genlock Emissary, Genlocks, The High Dragon, Hurlocks

Side Quests: None

Spoiler Alert

(1) You arrive in the Dragonbone Wastes to a full moon and an empty landscape. Nothing is around at the entrance. That will soon change.
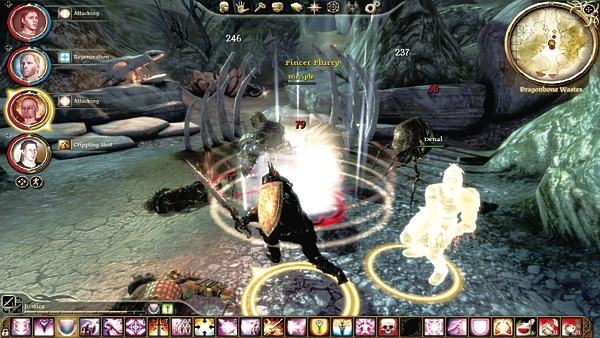
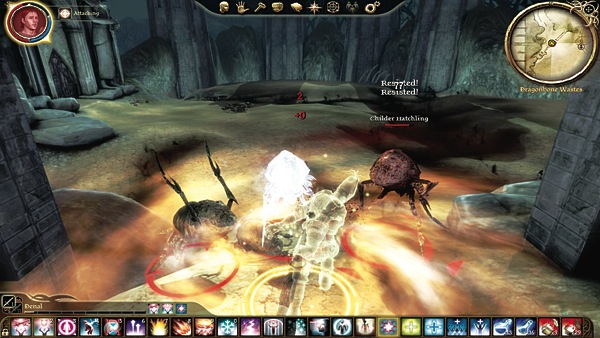
(2) Up the path, a disciple battles a group of childer hatchlings. Let the two sides damage each other for a few seconds before you approach too close. Hit the largest group with a powerful AoE to thin the numbers before engaging in melee to crush the rest.
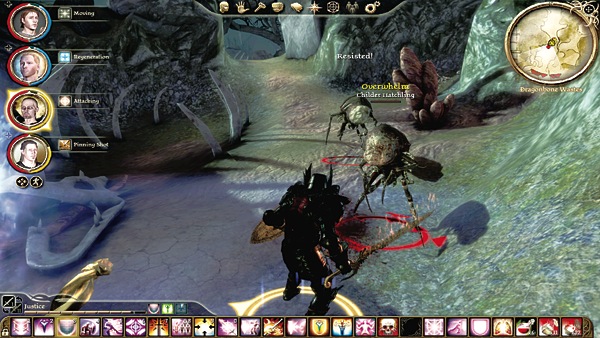
(3) Slice through a second group of childer hatchlings to reach the pile of bones along the right side of the slight hill. Slip into the new Fadewalker boots found in the bones, which are likely an upgrade for one of your party members.
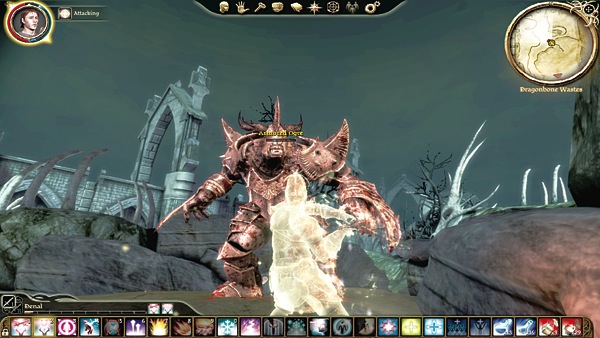
(4) A stretch of short canyons wrinkles the land over the slight hill. Genlocks lie in ambush on either side, including two genlock emissaries and an armored ogre. Inch up and pick off the normal genlocks with single-target ranged attacks. When you spot a genlock emissary or the armored ogre, cast a powerful AoE on the unsuspecting darkspawn (Inferno or Blizzard work great). Hold your ground and let the AoE damage hurt or kill your target. Anything that charges out of the AoE at you will be weakened and an easier foe for your melee DPSers.
Caution

Do not enter the Drake's Fall courtyard until all the childer hatchlings are dead. Once you set foot in the courtyard, a high dragon arrives, and you don't want to fight a dragon and childers at the same time.

(5) Head south to the gate leading into the Drake's Fall courtyard. Childer hatchlings attack hurlocks in a chaotic sea of limbs and froth. Wait for the childer hatchlings to defeat the hurlocks and then face off against them at the gate. Only after the childer hatchlings are dead, and you've healed back up to full, should you enter the courtyard.
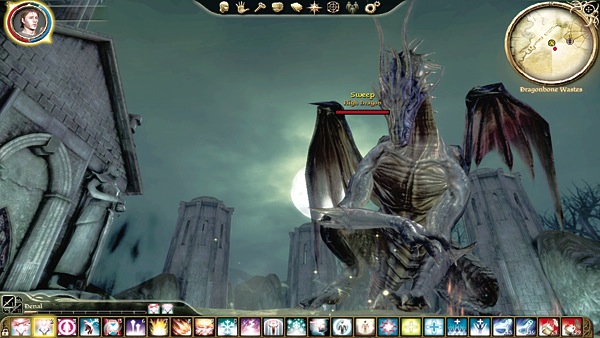
(6) Setting foot in the courtyard summons a high dragon. You can't enter Drake's Fall until you beat the dragon. Fan your party out so the dragon's AoE breath attack can't hit more than a single party member.

Send in the tank to hold the dragon's attention. The healer concentrates all healing on the tank, unless the dragon catches another party member unaware.

Use whatever tricks you have at your disposal: Force Field to protect a wounded ally, Time Spiral to double-cast spells such as Inferno or Group Heal, poison on your weapons, etc.

You'll go through quite a few stamina draughts, lyrium potions, and health poultices before you're through. When you're ready to enter Drake's Fall, search the pile of bones near the door for the Quicksilver helmet.

Keep reading with a free account

The first 3 sections of Dragon Age: Origins - Awakening are open to everyone. An account opens the rest of it, and every other guide in the archive. It's free, and there's nothing to buy.

Bought guides on the old Prima Games site? Your account and every guide you own moved here, so there's nothing to buy again. Sign in.

Create a free account Or browse our free guides

PreviousSiege of Amaranthine NextDrake's Fall