
Dragon Age: Origins — Awakening Guide Walkthrough Side Quests
City of Amaranthine
The Blight Orphans?
Type: Donation
Start: Blight Orphans' Notice Board
Destination: Crown and Lion Inn
Task: Donate 50 silvers to the Blight Orphans
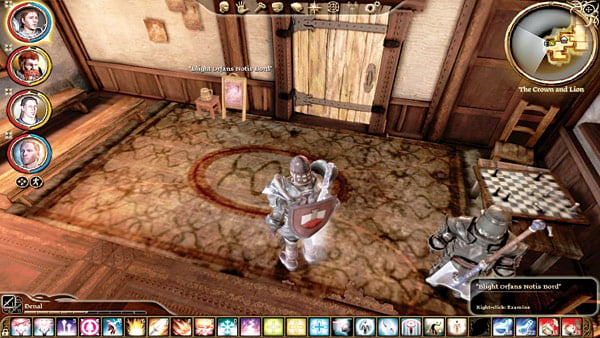
Quest Tips: A small sign inside the door to the Crown and Lion asks for help for the destitute orphans left in the streets from the last Blight. Donate 50 silvers to the collection box to complete the quest.
XP Reward: 100 XP
Money Reward: None
Item Reward: None
The Blight Orphans (Again)
Type: Donation
Start: Blight Orphans' Notice Board
Destination: Crown and Lion Inn
Task: Donate once again to the Blight Orphans
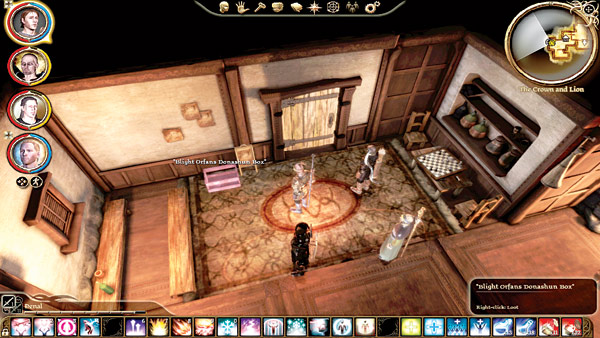
Quest Tips: You can't gain this quest until you complete "The Blight Orphans?" quest. Accept the quest from the Blight Orphans' Notice Board. Go to the bartender in the inn and buy the bottle of Antivan brandy. Interact with the orphan's donation box to donate the brandy and two sovereigns. You claim a small XP reward and work toward completing more orphan quests.
XP Reward: 200 XP
Money Reward: None
Item Reward: None
The Dark Wolf
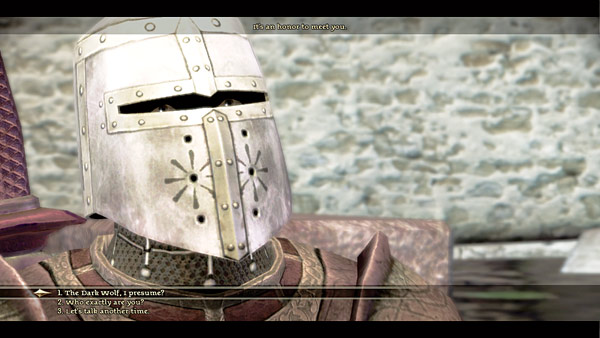
Type: Exploration
Start: Varel in Vigil's Keep Throne Room
Destination: Amaranthine
Task: Ask the Dark Wolf's help to stop an assassination attempt on your life
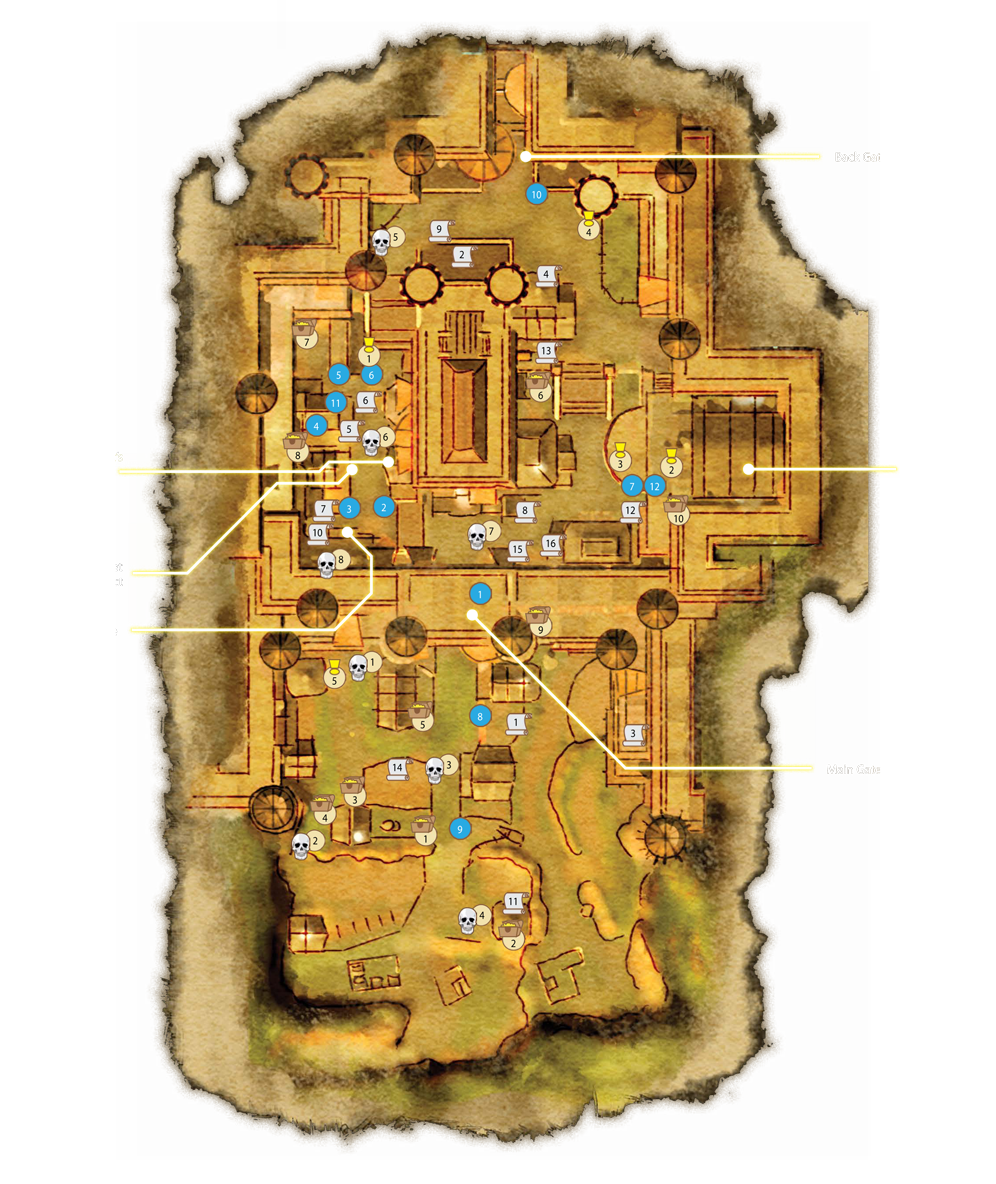
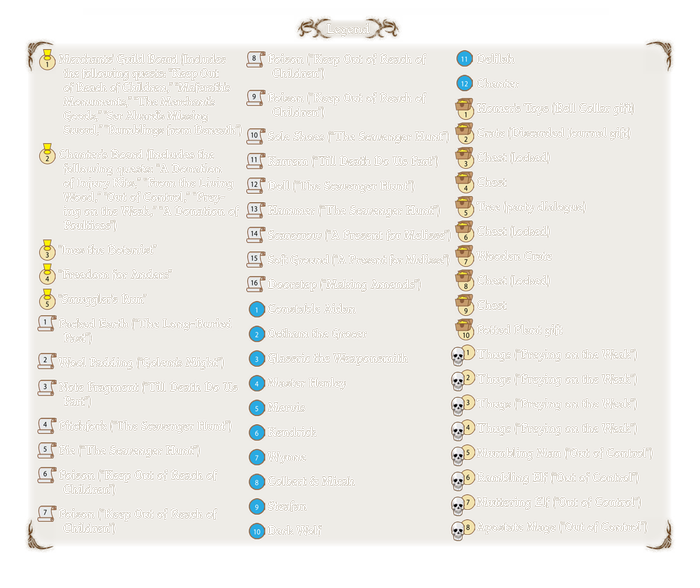
Quest Tips: This quest ties in with "A Brewing Conspiracy." You can complete the "The Dark Wolf" quest to prevent the assassination attempt on your life. Receive the quest from Varel during the Oath of Fealty ceremony. Travel to Amaranthine and receive a letter from the main gate guard as you enter. Head to the back of the city and talk with the Suspicious Guard (the Dark Wolf) by the fountain (blue 10 on the Amaranthine map). Give the Dark Wolf 50 sovereigns (you can come back later with the money if you don't have it immediately). Leave Amaranthine, and when you return, speak with the Dark Wolf. He will unlock the Old Stark's Farm location on the world map. Travel to the farm and defeat the group of conspirators outside the farmhouse. It's possible to kill the Dark Wolf instead, and it's also possible to miss your opportunity for the Dark Wolf's information if you wait too long and the assassination attempt occurs in the throne room.
XP Reward: 1,000 XP
Money Reward: None
Item Reward: None
A Donation of Injury Kits
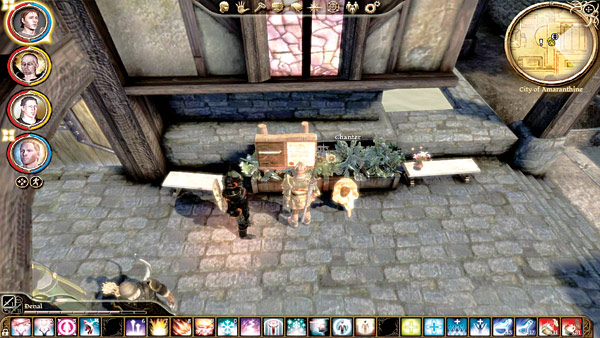
Type: Donation
Start: Chanter's Board
Destination: Amaranthine Chantry
Task: Donate five injury kits to the Chantry
Quest Tips: Pick up the quest from the board in front of the Chantry. Donate five injury kits from your inventory to help out the Chantry's relief efforts. If you don't have them on you, head to the Market District and pick up additional ones. Report to the chanter outside the Chantry for your XP reward.
XP Reward: 1,000 XP
Money Reward: None
Item Reward: None
A Donation of Poultices
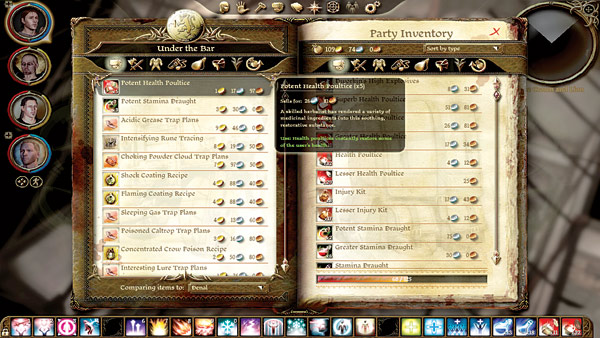
Type: Donation
Start: Chanter's Board
Destination: Amaranthine Chantry
Task: Donate five potent health poultices to the Chantry
Quest Tips: This quest becomes available after you complete "A Donation of Injury Kits." Pick up the quest from the board in front of the Chantry. Donate five potent health poultices from your inventory to help out the Chantry's relief efforts. If you don't have them on you, head to the dwarven bartender in the Crown and Lion Inn to pick up additional ones. Report to the chanter outside the Chantry for your XP reward.
XP Reward: 2,000 XP
Money Reward: None
Item Reward: None
Keep Out of Reach of Children
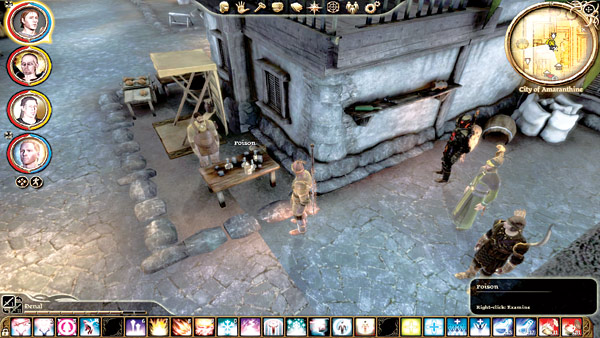
Type: Collection
Start: Merchants' Guild Board
Destination: Amaranthine
Task: Collect the poison bottles around the city and get them off the street
Quest Tips: The merchants want Antivan poison out of Amaranthine so no one gets hurts (and their profits don't suffer, of course). After you receive the quest from the Merchants' Guild Board, search around the city for the poison bottles in the Market District and on wayward tables (scrolls 6-9 on the Amaranthine map). Once you have them all, return to Kendrick for your XP reward.
XP Reward: 1,000 XP
Money Reward: None
Item Reward: None
Law and Order
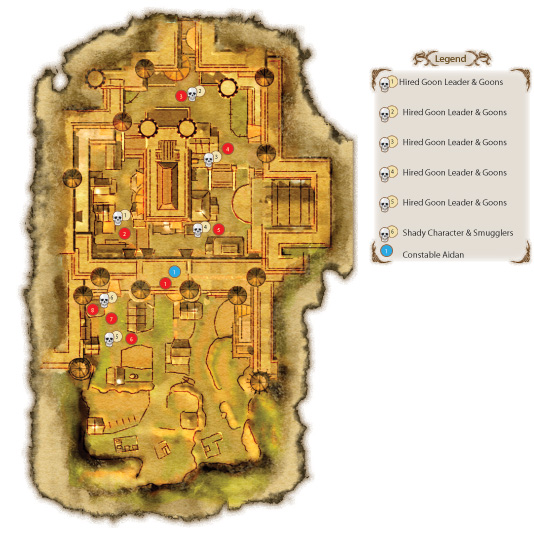
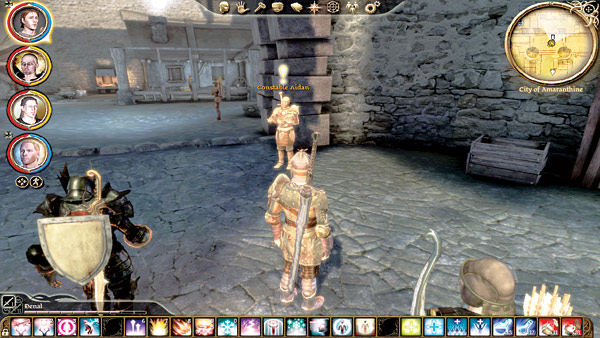
Upon entering the city, walk straight to the main gate and speak with Constable Aidan. He explains that the local smugglers have begun to plunder the already poor city, and the city guard wants to put a stop to their greed. If you offer to help the city guard, you gain the "Law and Order" quest.

Check the market area for a Suspicious Character. Travel to the northwest and interrogate the Suspicious Character in the market. He won't crack, but instead calls in some hired goons. While he flees, you must deal with the incoming enemy group. As with all the hired goon fights, concentrate your initial barrage on the hired goon leader. The leaders have more firepower, because they're mages, and you don't want a Group Heal going off. Once you finish off the goons, continue on the trail of the Suspicious Character.
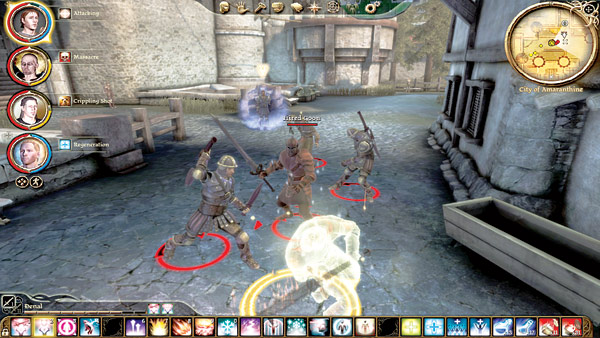
Run to the north part of the city, near the back gate, and you'll see the next group of hired goons defending the Suspicious Character. Wipe out the hired goons and continue.
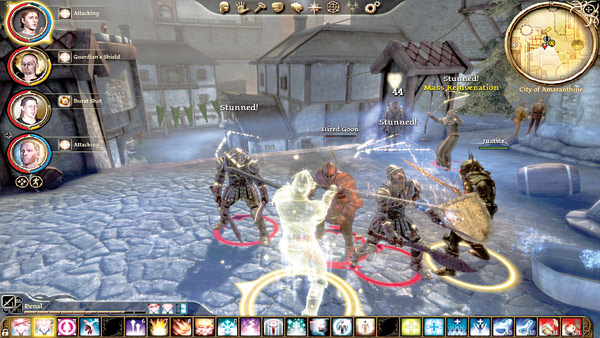
Round the guardhouse and attack the next group before the stairs. You may plow through the hired goons and their leader, but the Suspicious Character escapes yet again.
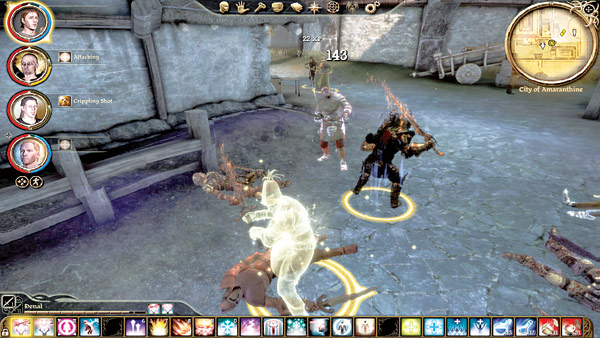
Repeat your attack pattern on the next group. After the Suspicious Character leaves, follow him to the final confrontation.
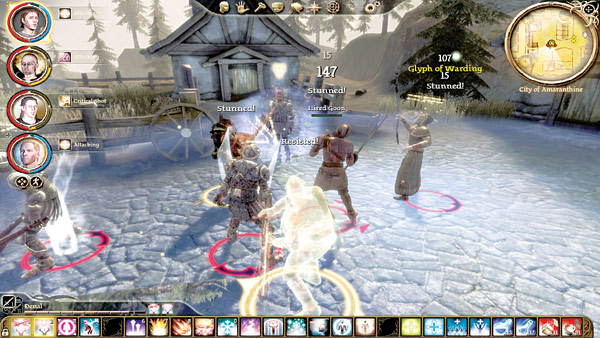
Battle the hired goons to get at the Suspicious Character. After you drop the last goon, the Suspicious Character flees one last time into the nearby house. You've now located the smuggler's secret entrance. Report back to Constable Aidan. He gives you the go-ahead to return to the secret entrance and look for a key.
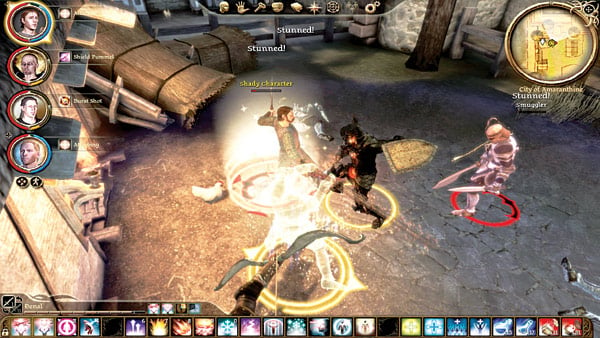
Approach the Shady Character outside the smugglers' secret entrance. He immediately attacks, and two smugglers join him. Pound them in melee and grab the key from the Shady Character's corpse. Use the key on the trapdoor in the house behind him, and you're in the Smuggler's Cove.
Smuggler's Cove
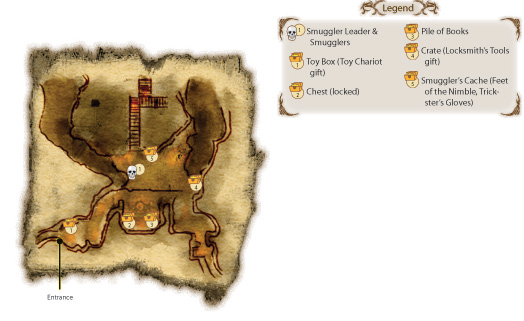
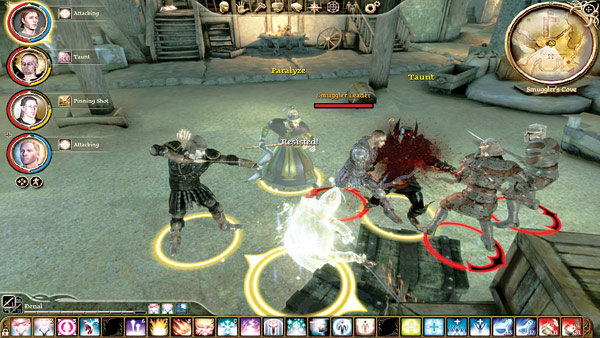
Approach the Smuggler Leader and his two smuggler bodyguards near the docks in Smuggler's Cove. They draw weapons and melee begins. Send the tank on the Smuggler Leader, who hits hard and has lots of health. The healer should keep single-target heals on the tank and launch a Group Heal if the other party members need help. The two other party members need to take down the smugglers as quickly as possible to help out with the Smuggler Leader.
When the Smuggler Leader finally drops to the sand, you've ended the smuggler threat. Loot the area for the many items, including the Gloves of Guile on the Smuggler Leader, and return to Constable Aidan. He thanks you for your efforts and gives you 10 sovereigns.
Making Amends
Type: Exploration
Start: Blight Orphans' Notice Board
Destination: Amaranthine
Task: Try to make up to Melisse by placing flowers on her doorstep
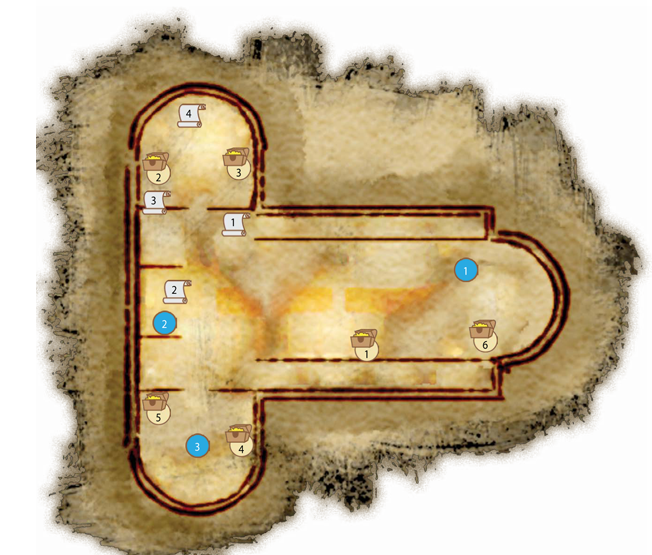
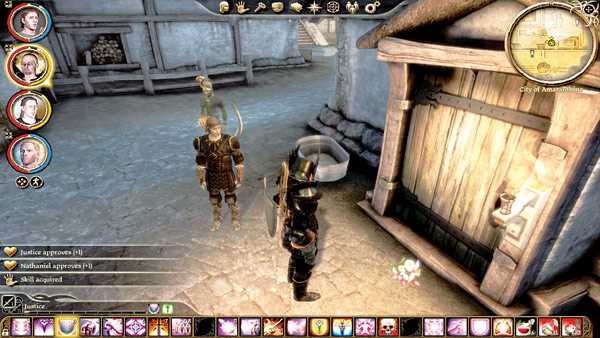
Quest Tips: You must accomplish all the other Blight Orphan quests before you can attempt "Making Amends." Accept the quest from the Blight Orphans' Notice Board inside the Crown and Lion. Hoping that Melisse will forgive them for their previous prank, the orphans ask you to place flowers on her doorstep. Steal the flowers out of the revered mother's room in the Chantry (see map for exact location) then place them at Melisse's house (scroll 16 on the Amaranthine map). Your quests with the Blight Orphans come to an end with a little XP reward.
XP Reward: 500 XP
Money Reward: None
Item Reward: None
Moonshine for the Children
Type: Exploration
Start: Blight Orphans' Notice Board
Destination: Hubert's Den
Task: Retrieve moonshine for the Blight Orphans from Hubert's Den
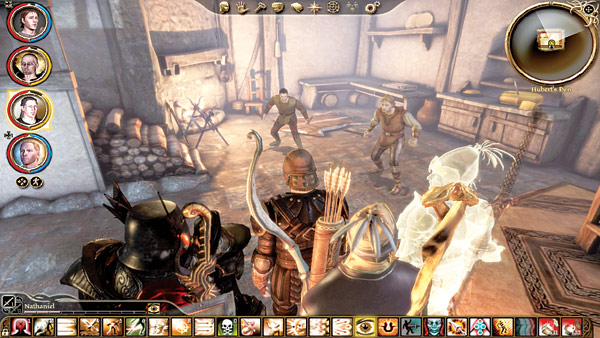
Quest Tips: You must complete "The Blight Orphans?" to gain access to this quest. Accept the quest from the Blight Orphans' Notice Board in the Crown and Lion Inn. Go to the Market District and find the new Hubert's Den location (see Amaranthine map). Enter and defeat the moonshiners inside; it won't be difficult with your fully armed party. Retrieve the moonshine and other loot from the den. Return to the orphans' donation box and drop in the moonshine to earn your small XP reward.
XP Reward: 500 XP
Money Reward: None
Item Reward: None
Out of Control
Type: Combat
Start: Chanter's Board
Destination: Amaranthine
Task: Slay the three apostate mages and their leader
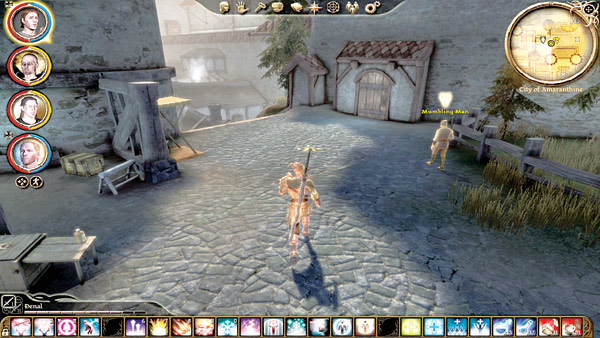
Quest Tips: Once you pick up the quest from the Chanter's Board, go into the Chantry and speak with Ser Rylien. She will ask you to hunt down three apostate mages in the city. Find them wandering around the city (skulls 5-7 on the Amaranthine map). After you defeat each of the lesser mages, their leader will spawn in the back alley behind the market (skull 8 on the Amaranthine map). Slay the final mage and return to the chanter outside the Chantry for your reward.
XP Reward: 1,000 XP
Money Reward: 20 sovereigns
Item Reward: None
A Present for Melisse
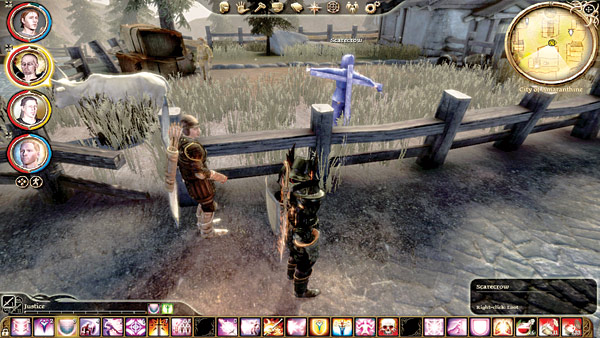
Type: Exploration
Start: Blight Orphans' Notice Board
Destination: Amaranthine
Task: Plant a scarecrow in front of Melisse's house to scare her
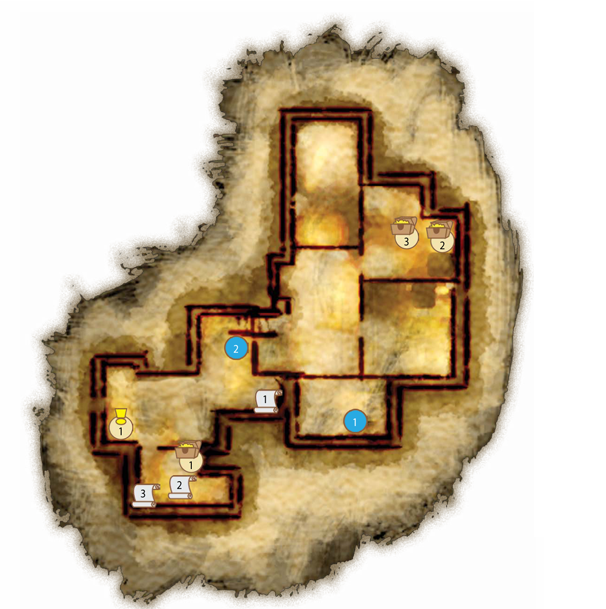
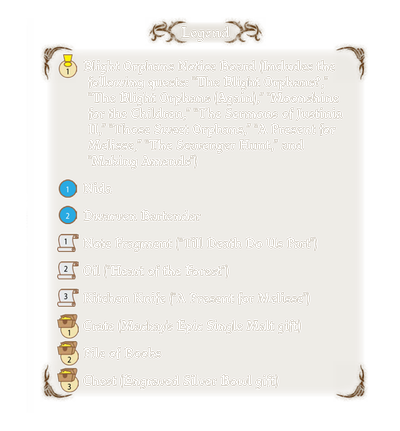
Quest Tips: You can't access this quest unless you have completed the "Those Sweet Orphans" quest. Accept the quest from the notice board in the Crown and Lion and pick up the knife in the inn's kitchen (see Crown and Lion map for exact location). Exit the Crown and Lion and leave the city via the main gate. Look for the scarecrow in the garden to your right. With knife and scarecrow in your inventory, return to the city and plant both in the soft ground (scroll 15 on the Amaranthine map) in front of Melisse's house. The Blight Orphans will be happy with their prank and give you a small XP reward.
XP Reward: 500 XP
Money Reward: None
Item Reward: None
Preying on the Weak
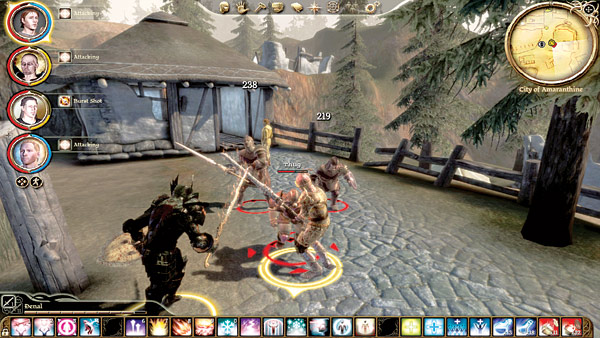
Type: Combat
Start: Chanter's Board
Destination: Amaranthine
Task: Kill four groups of thugs that terrorize the villagers
Quest Tips: Accept the quest from the Chanter's Board and leave the city via the main gate. Four groups of thugs will spawn (skulls 1-4 on the Amaranthine map). Hunt each of these groups down and prevent them from harassing the local villagers any longer. Return to the chanter for your XP and monetary rewards.
XP Reward: 1,000 XP
Money Reward: 12 sovereigns
Item Reward: None
Rumblings from Beneath
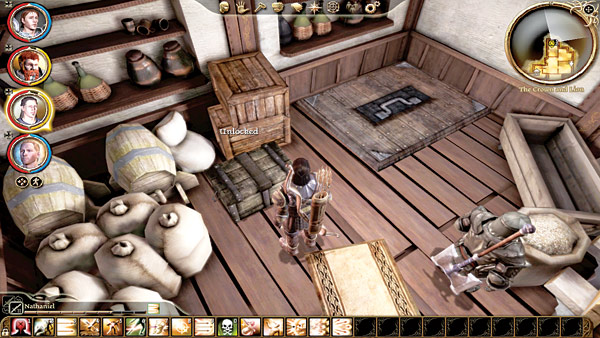
Type: Combat
Start: Merchants' Guild Board
Destination: Smuggler's Cove
Task: Slay darkspawn in Smuggler's Cove
Quest Tips: This quest is available only if you aided the smugglers and completed "Smuggler's Run" when you first entered Amaranthine. Accept the quest from the Merchants' Guild Board and enter the Crown and Lion Inn. Find the trapdoor in the back storage room and use the hatch to enter Smuggler's Cove. Kill the darkspawn that are making all the noise, and return to Kendrick for your XP and monetary rewards.
XP Reward: 1,000 XP
Money Reward: 6 sovereigns
Item Reward: None
The Scavenger Hunt
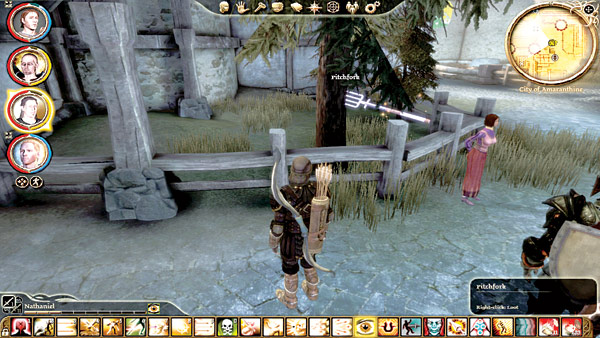
Type: Collection
Start: Blight Orphans' Notice Board
Destination: Amaranthine
Task: Retrieve five items scattered about the city
Quest Tips: You must complete "Those Sweet Orphans" before you can accept this quest. Once you have the quest, exit the Crown and Lion and search around the city for the hidden objects (scrolls 4, 5, 10, 12, and 13 on the Amaranthine map). With pitchfork, pie, sole shoes, doll, and hammer in your inventory, deposit them all in the orphans' donation box for your XP reward.
XP Reward: 500 XP
Money Reward: None
Item Reward: None
The Sermons of Justinia II
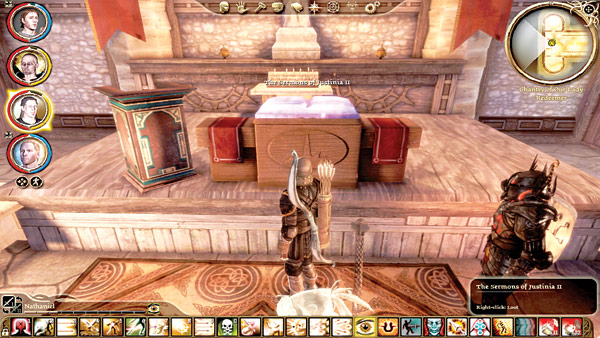
Type: Collection
Start: Blight Orphans' Notice Board
Destination: The Chantry
Task: Retrieve the revered mother's book for the Blight Orphans
Quest Tips: You must complete "The Blight Orphans?" to access this quest. Accept the quest from the notice board and head to the Chantry. You'll spot the revered mother's book on the altar directly in front of you down the long aisle. Take the book and place it in the orphans' donation box back at the Crown and Lion.
XP Reward: 500 XP
Money Reward: None
Item Reward: None
Smuggler's Run
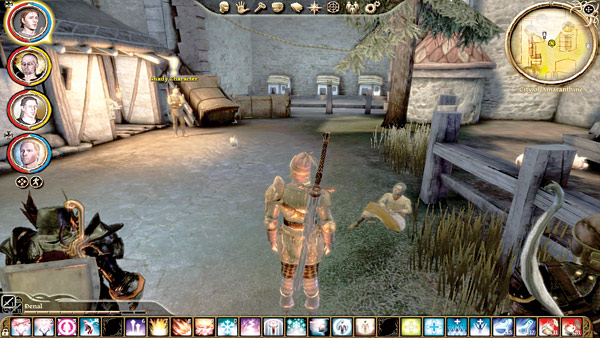
When you first enter the city, you spot the Shady Character near the entrance. He mentions that he has a proposal for you and then bolts for the western section of town (before you enter the main gates). Speak with him outside the house by the refugee. So long as you are willing to get your hands dirty and work against the city guard, he offers you the "Smuggler's Run" side quest.
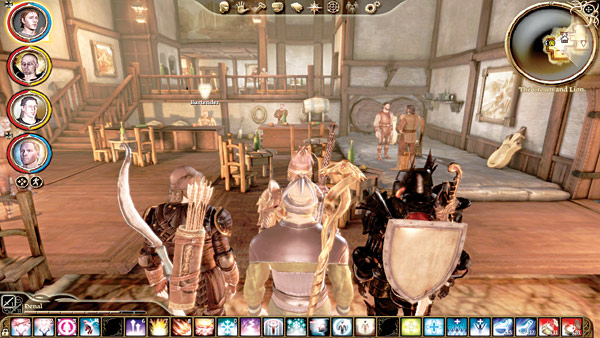
The Shady Character sends you to the Crown and Lion to speak with the dwarven bartender. He needs persuasion to open the trapdoor to Smuggler's Cove, whether it be a 1 sovereign bribe, a high Coercion check, or a high Intimidate check. Once he opens the way to the Smuggler's Cove, report back to the Shady Character.
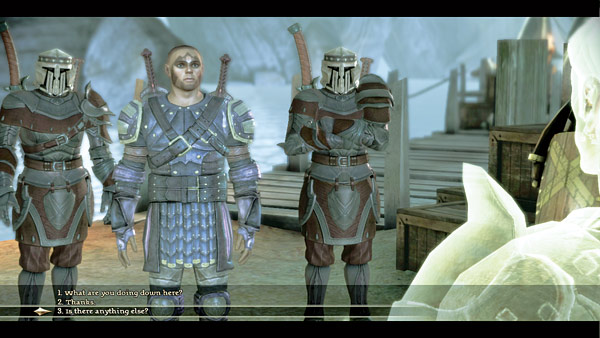
After paying you 10 sovereigns, the Shady Character asks you to clear out the thieves who are stealing from the smugglers in Smuggler's Cove. Rather than go back to the Crown and Lion, use the new trapdoor entrance to Smuggler's Cove in the house behind the Shady Character.
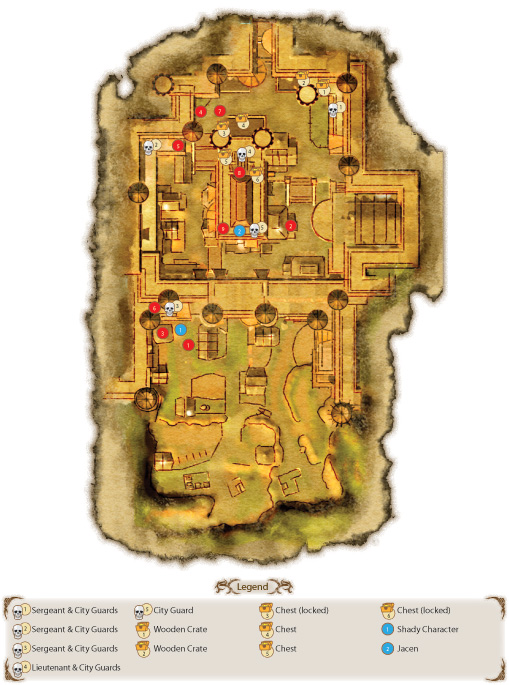
Prepare for battle as soon as you enter Smuggler's Cove. A few feet in, you spot two groups of thieves milling about the beach. A third set of thieves appears in the midst of your party as soon as you approach (see map for the thieves' locations). Don't let them backstab you. Deal with the thieves in your midst before engaging the others fully. Send the tank to keep the beach enemies off you as you slay the backstabbing thieves. As soon as you've killed the last thief, the smugglers pour in to claim the spot. Speak with the Smuggler Leader for a 15 sovereign reward and your next task.
Smuggler's Cove
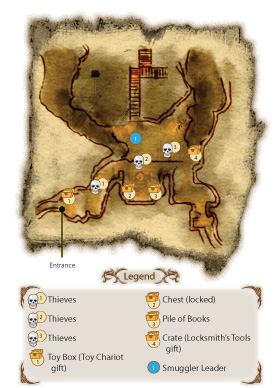
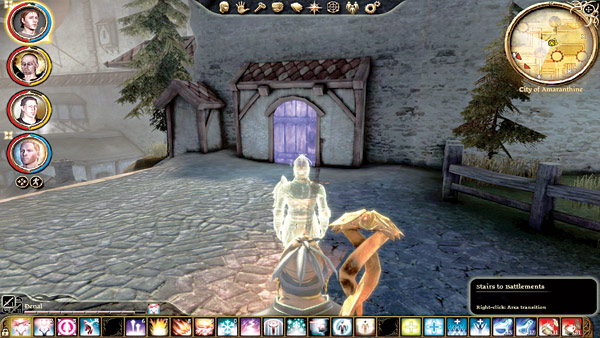
The Smuggler Leader asks you to kill the city lieutenant, who has been sniffing around the smugglers' business too much for his own good. Cross to the northwest battlement entrance and ascend to the top walls.
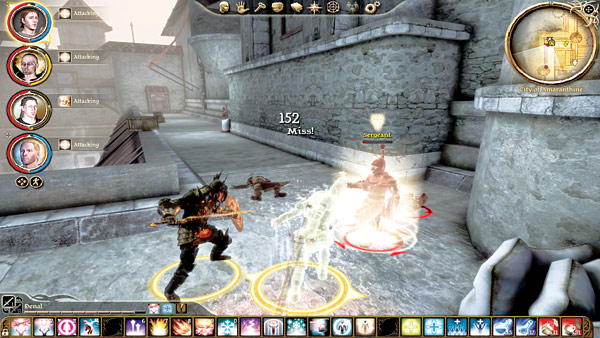
Battle (or evade) the first sergeant and his surrounding city guards. You need the Guardhouse Key to go after the lieutenant, but you won't find it on this bunch.
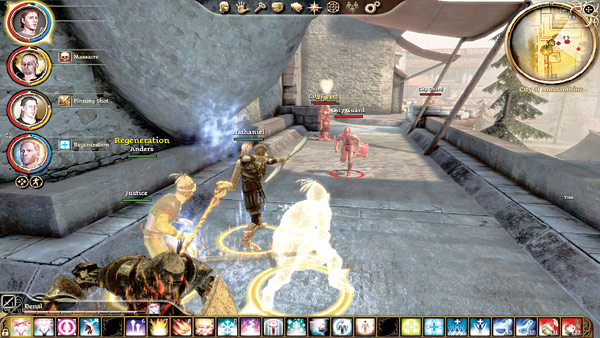
Continue to the second sergeant surrounded by his men. Slay the sergeant and take the Guardhouse Key.
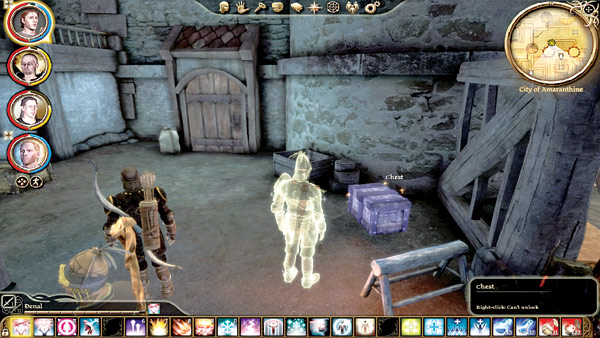
Return to the north section and open the guardhouse door with your new key. You can pick up extra loot from the two chests outside the guardhouse door.
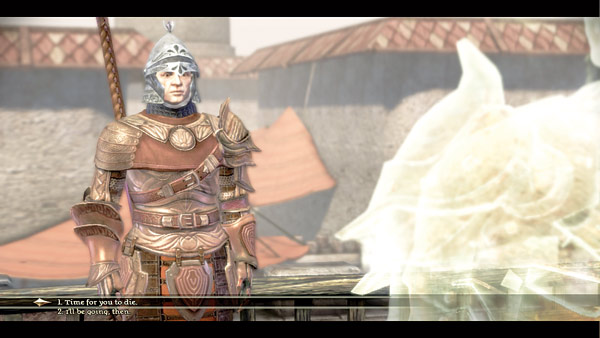
On the battlement above, the lieutenant and half a dozen city guards survey the city. He'll ask what you're doing up on the battlement. The time for dialogue is over; attack while you have the surprise opportunity. Once you kill the lieutenant, the quest is complete. Head back to the Smuggler Leader for your 20 sovereign reward.
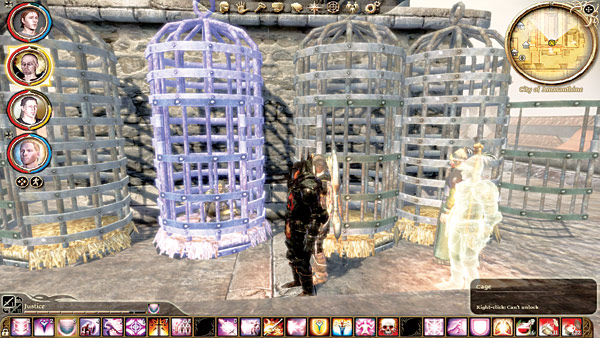
Loot the Cell Key from the lieutenant's body and free the elf archer Jacen from his cage. A single city guard watches over the cage; take him down quickly so you can speak to Jacen in peace. The elf will be grateful, and if you invite him to serve at Vigil's Keep, Jacen will add his excellent bow skills to the battle during the "Siege of Vigil's Keep" later in the game.
Those Sweet Orphans
Type: Exploration
Start: Blight Orphans' Notice Board
Destination: The Chantry
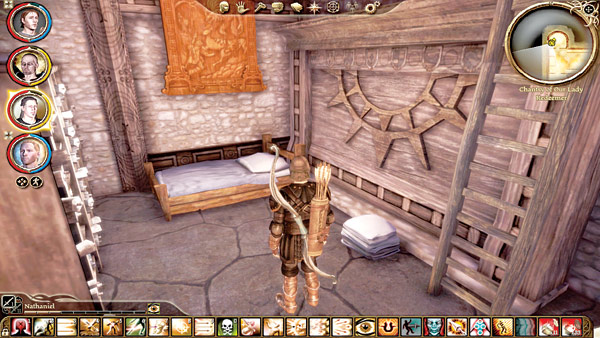
Task: Plant herbs in the revered mother's bed
Quest Tips: You can't access this quest until you complete the four quests before it: "The Blight Orphans?," "The Blight Orphans (Again)," "Moonshine for the Children," and "The Sermons of Justinia II." Accept the quest from the Blight Orphans' Notice Board and pick up the pouch of herbs next to the donation box. Head to the Chantry and use the herbs in the revered mother's bed (see Chantry map for the bed's exact location).
XP Reward: 500 XP
Money Reward: None
Item Reward: None
Till Death Do Us Part
Type: Exploration
Start: Alma in the Chantry
Destination: Amaranthine
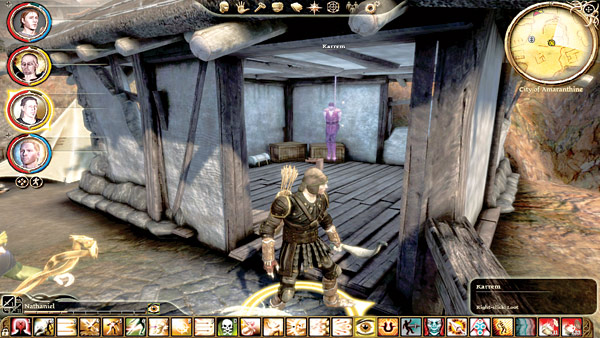
Task: Look for clue's to Alma's husband's disappearance
Quest Tips: Enter the Chantry and speak with Alma. She sends you to find her missing husband, with the first stop the Crown and Lion Inn. Search the inn for the tattered note (see the Crown and Lion map), which leads you to the city battlements (scroll 3 on the Amaranthine map). The note fragment on the battlements leads you to a house on the outskirts of the city (scroll 11 on Amaranthine map). Alma's husband, Karrem, has hung himself, unable to cope with the burdens of family life. Search the corpse for a final note, and return to Alma to give her the sad news.
XP Reward: 1,000 XP
Money Reward: None
Item Reward: None