
Darksiders III Guide Unleash Fury
Wrath and Havoc Meters
There are two additional meters at the top of the screen: Wrath and Havoc. While Fury’s raw physical strength is certainly impressive, even she would admit it pales in comparison to the devastation unleashed by her Wrath Attacks and Havoc Form.
Wrath
The yellow meter beneath the Health Meter is known as the Wrath Meter. When it’s filled, Fury can unleash a potent Wrath Attack that either immediately empties the Wrath Meter or gradually drains it as the Wrath Attack continues. This depends on which Hollow, if any, is active (see the Weapons and Enhancements chapter).
| Attack | Xbox One | PS4 |
|---|---|---|
|
Wrath Attack |
LB + RB |
L1 + R1 |
In short, Wrath Attacks are potent one-off attacks that hit for colossal damage. While they’re active, Fury is not invincible, nor is she guaranteed to kill the enemies she hits, but she will be far more effective in combat thanks to these potent attacks.
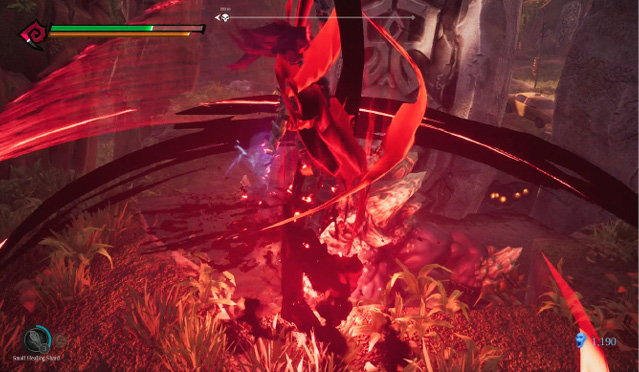
Unlike Havoc Form, Wrath Attacks are entirely dependent on the active Hollow. Fury’s default Wrath Attack (no Hollow active) deals pure Arcane energy in the form of a massive vortex that surrounds her as she leaps high into the air and then slams the ground beneath her. This Scarlet Strike is useful against large, slow-moving enemies as well as against numerous lesser foes, or when surrounded. Hollow-specific Wrath Attacks are discussed in the Weapons and Enhancements chapter.
Havoc Form
The spiral-shaped meter atop the screen is the Havoc Meter. It fills slowly over time as Fury inflicts damage upon enemies. Killing enemies generates additional Havoc. When filled, the meter transforms from a spiral into a demon, alerting you that Fury can now activate her alternate form. Havoc Form renders Fury immune to damage and grants her overwhelming power as she dual-wields twin Barbs of Scorn. Few enemies can withstand more than a single attack of her Havoc Form.
| Attack | Xbox One | PS4 |
|---|---|---|
|
Havoc Form |
LB + RT |
L1 + R2 |
Havoc Form lasts 15 seconds (it can be extended with the Chaos enhancement), so use it sparingly and deactivate it as soon the threat is eliminated—there’s no need to drain the entire meter if there’s no one left to kill! It’s best to think of Havoc Form as an emergency escape hatch; save it for instances when you’re heavily outnumbered, can’t heal without being interrupted, or are going up against an enemy too big to handle.
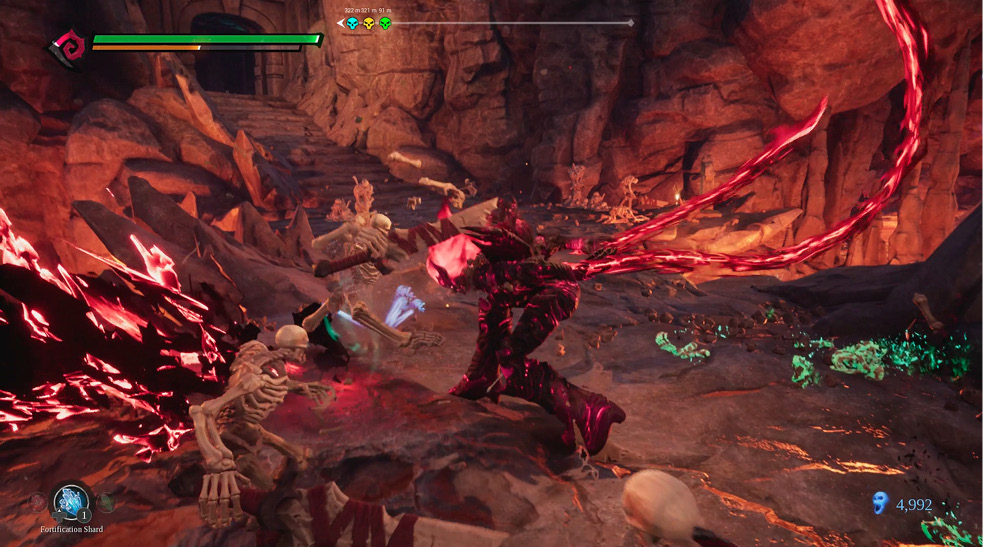
Fury moves very slowly in Havoc Form, so trigger it while close to your target enemies. Once it’s activated, rapidly tap the Attack button to have Fury swing her twin whips both horizontally and vertically. Watch the meter and either deactivate Havoc Form once the threat has been eliminated or back away from any major threats before it expires.