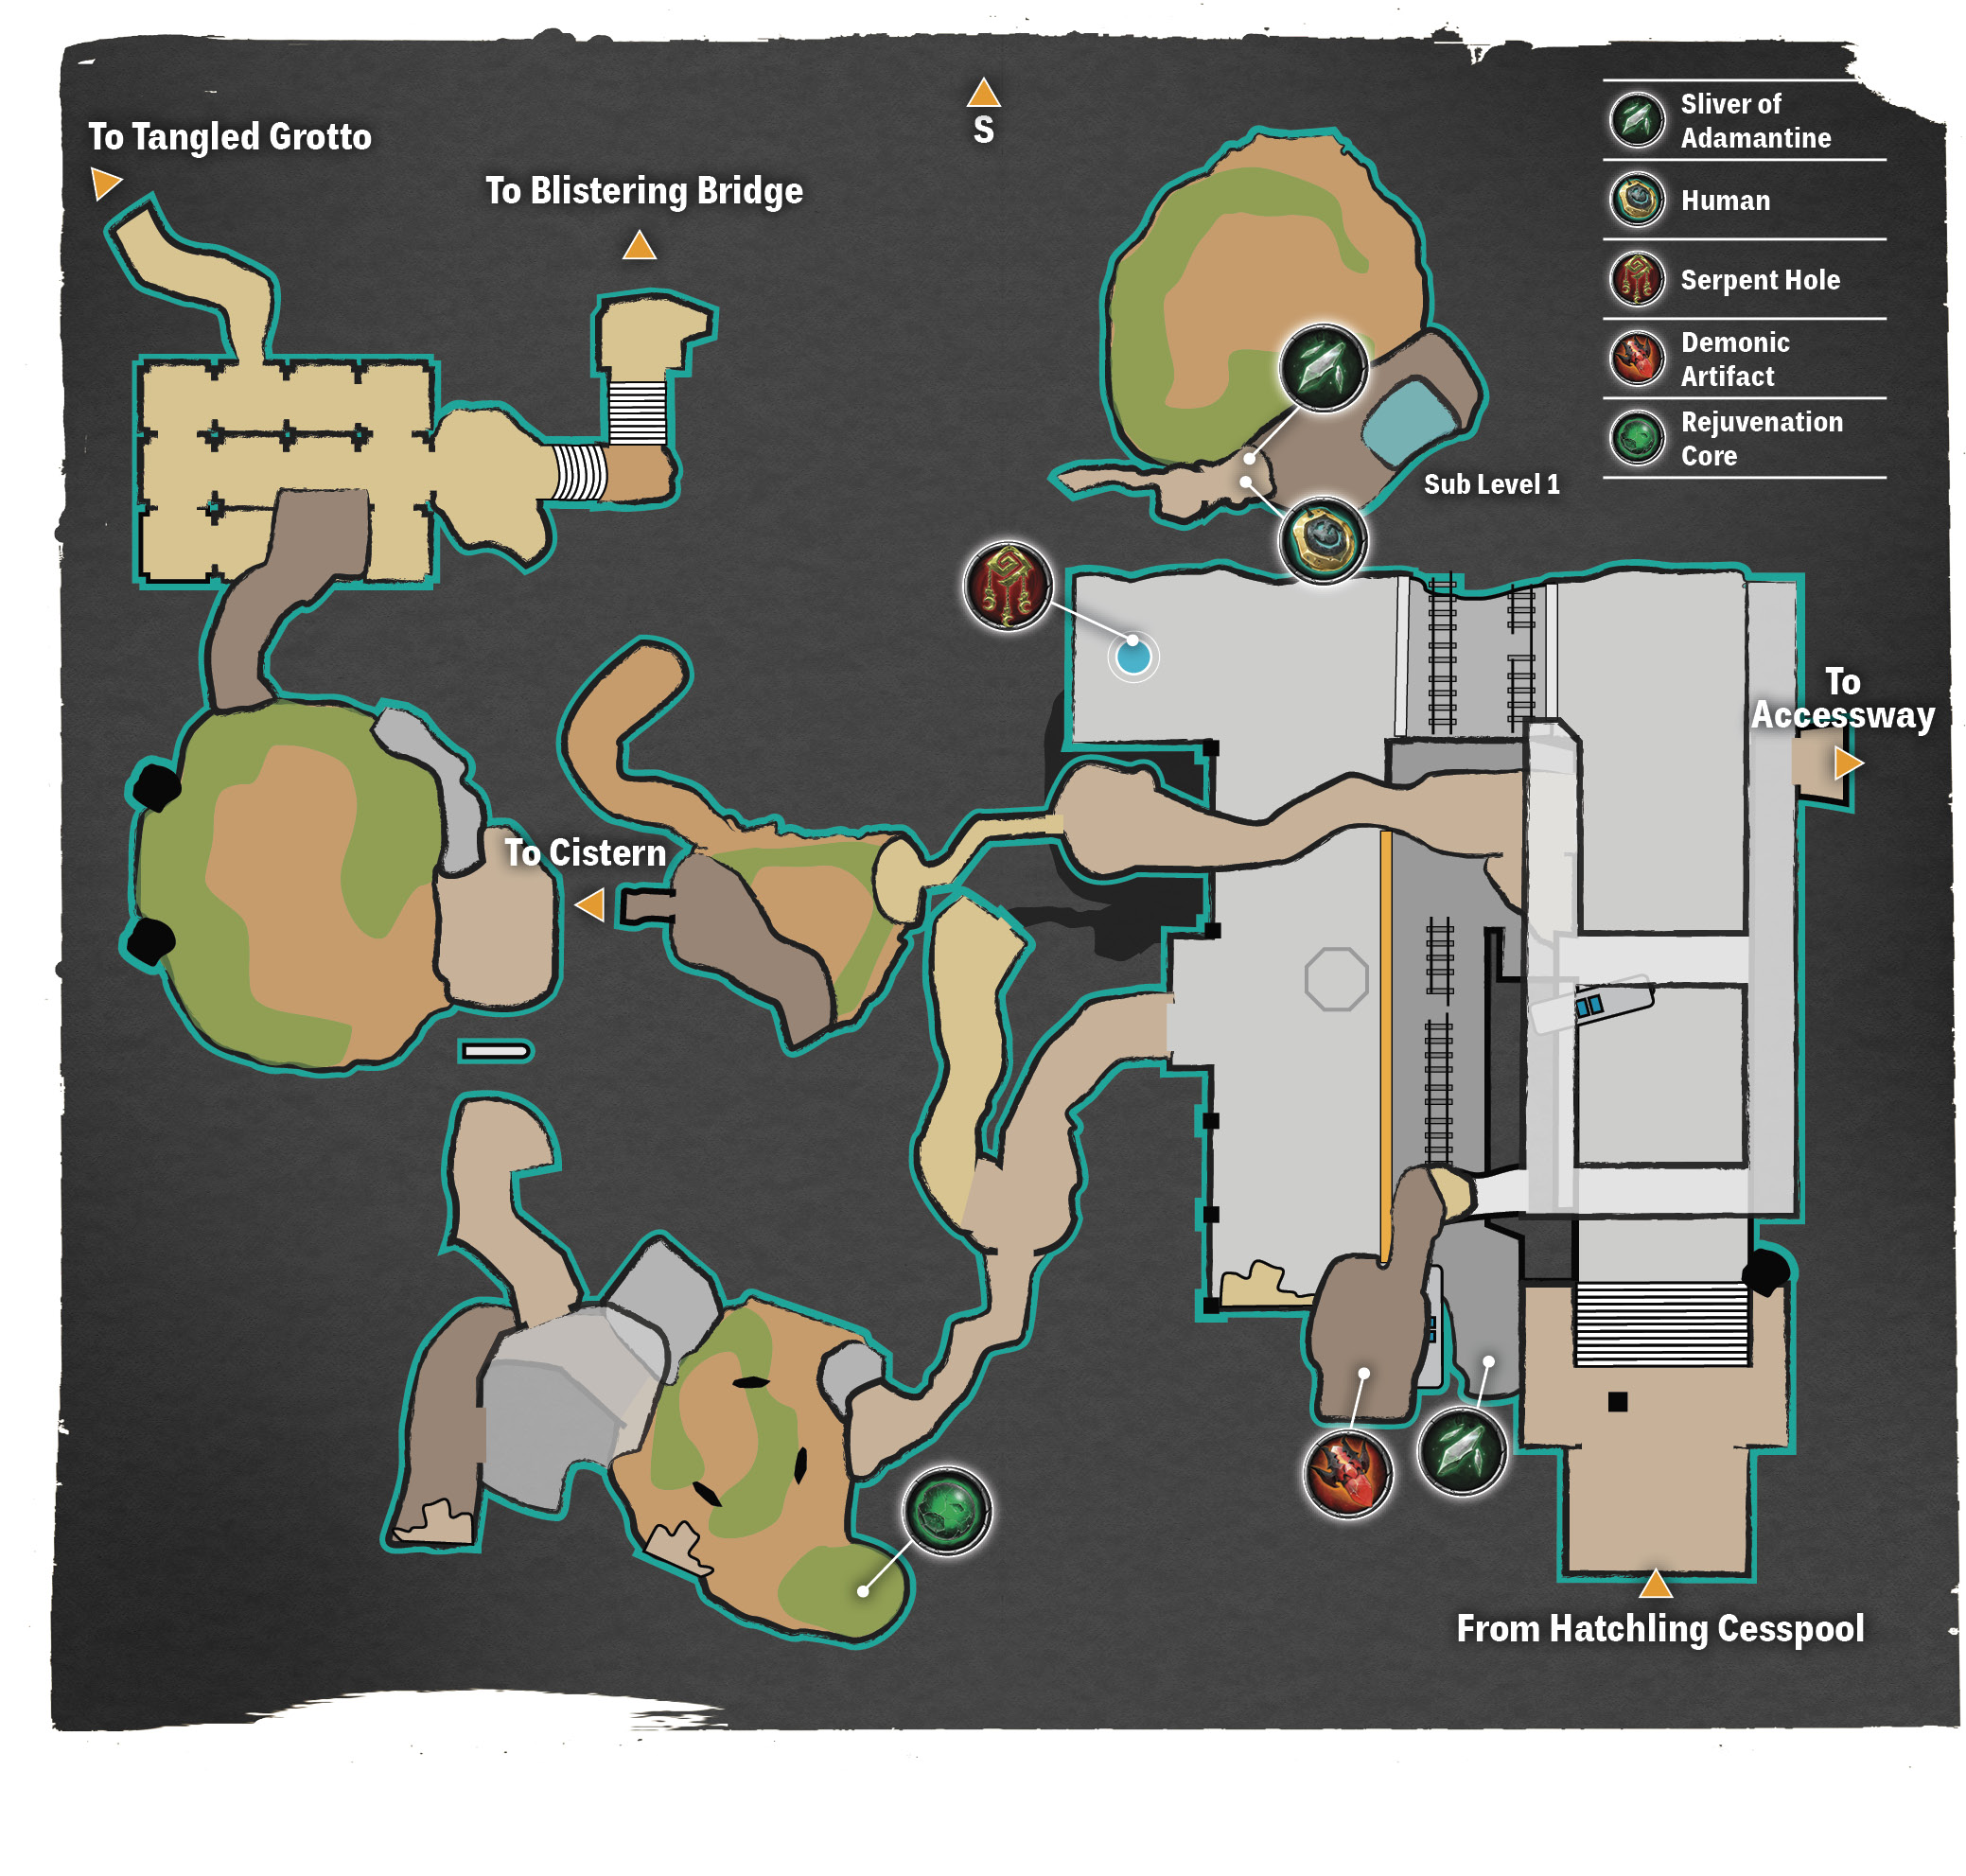
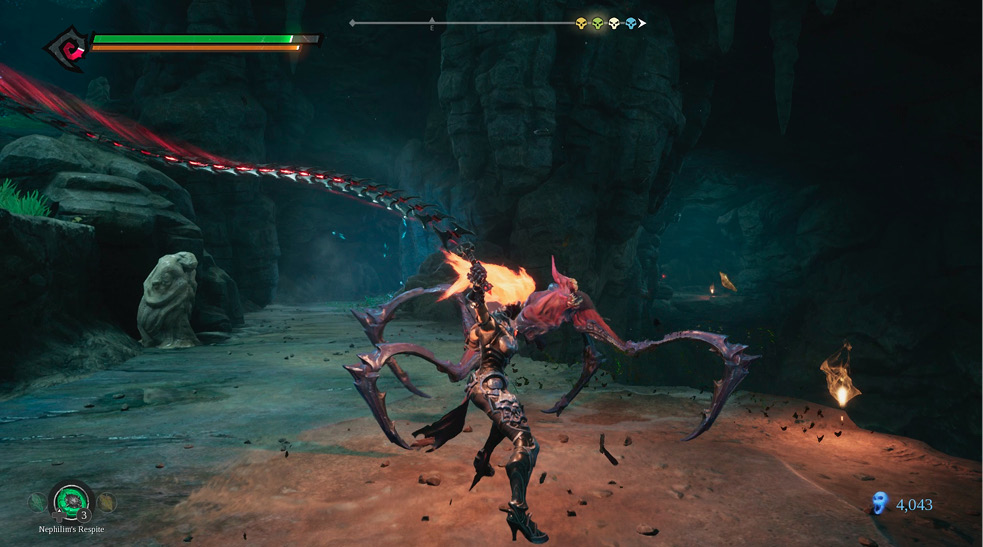
From the Atrium of Greed, Fury has several options. Though it’s possible to use the Serpent Hole to instantly return to Splintered Station, doing so would bypass several valuable crafting ingredients. Instead, gain some familiarity with the newly obtained Storm Hollow as you fight your way back on foot.
Enter the green-lit tunnel in the corner opposite the Serpent Hole at the Atrium of Greed. This leads to a small cave with numerous holes in the floor. This is where the Avarice Children lobbed their bombs at you when you were leaping through the grotto earlier.
Cross the cave to the left to collect the Angelic Artifact, but don’t leap down. Instead, continue through the cave to the watery tunnel up ahead and crawl alongside the pipes to the room.
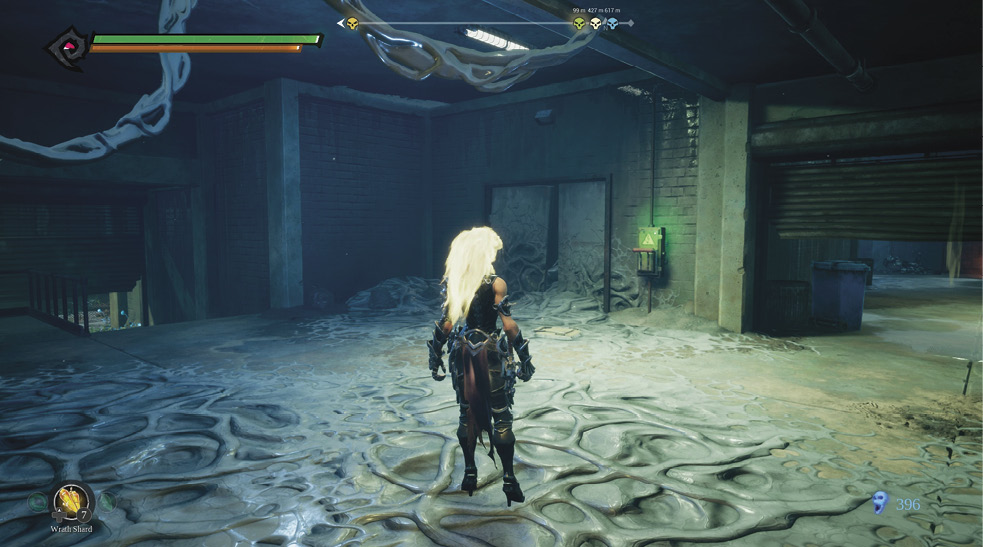
Pull the handle on the electrical switch to raise the two metal doors, and pay Vulgrim a visit to the left to reset your save point location to the Accessway. Now return to the switch and proceed through the door on the right.
Visit Vulgrim through the door on the left before heading right.
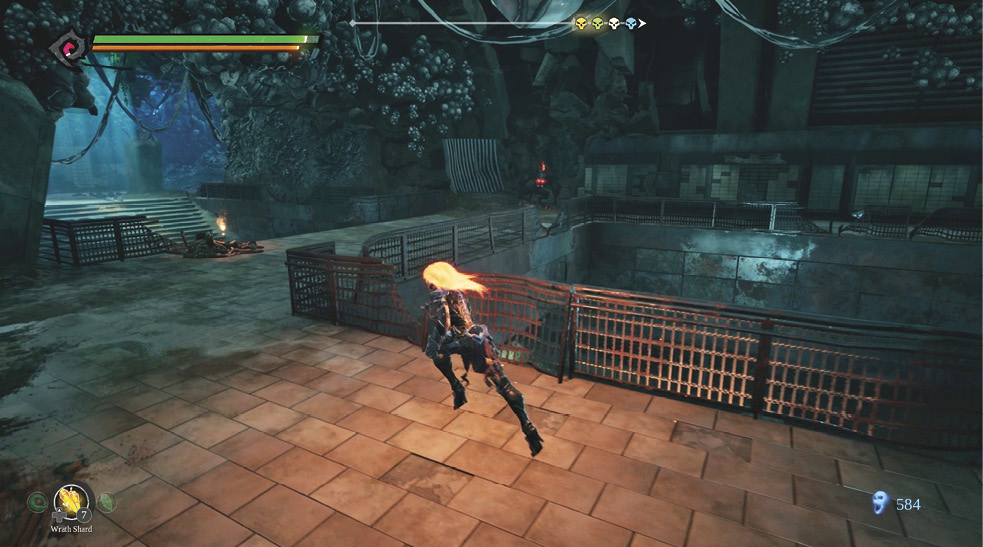
Ascend past the eggs to the upper level of the subway station you first entered some time ago. Test out the Lance of Scorn on the Minions in this area and fight your way to the Demonic Artifact in the cave to the far left, beyond the Black Minion. Drop down to pay Vulgrim a visit at the Splintered Station and return to the area beneath the overhead walkways—it’s time to go someplace new.
The Black Minion on the upper level guards a Demonic Artifact in the nearby cave.
Deeper into the Hive
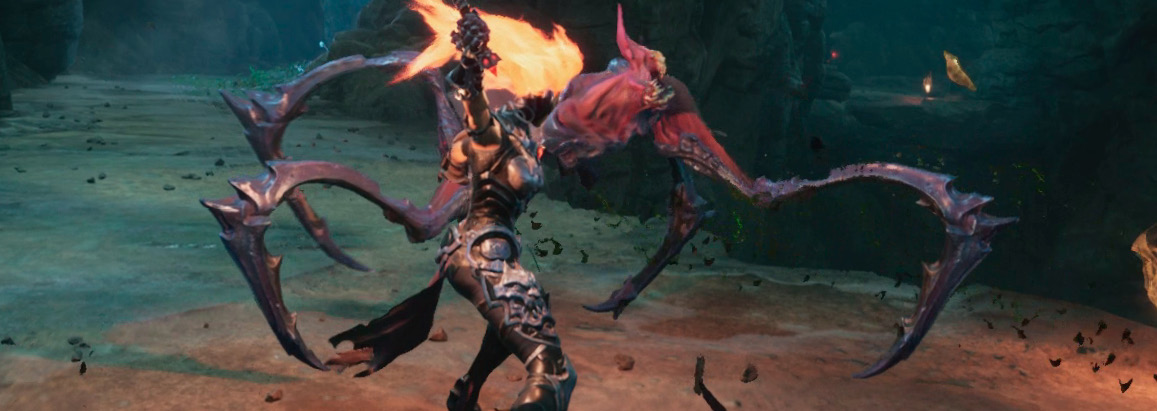
Use the Flame Hollow to burn through the large webbing beneath the overhead walkways, and keep right at the fork. Ascend the sloping tunnel and crawl through the hole to a narrow rock path. A Mimic lunges for Fury as she advances, so be ready to dodge. These swift insects can either stand back and spit poison globules or dash forward and attack with a series of deadly jabs—whatever you do, don’t let them pin you against the wall. Clear the Mosquito and Minion from the lower path en route to the dead-end, then ascend the upper path after the Spidercrab you saw upon entering the area.
Fend off enemies down low, then head up the path on the left.
Pursue the Spidercrab toward the hive up ahead, but dodge to the side as soon as it charges forward. Its upward double-claw attack is near-instantaneous. Charge the Lance of Scorn to unleash a stunning spear attack that keeps the foe off-balance. Flame Jump to burn the cocoon hanging from the ceiling and then advance toward the purple-glowing coral.
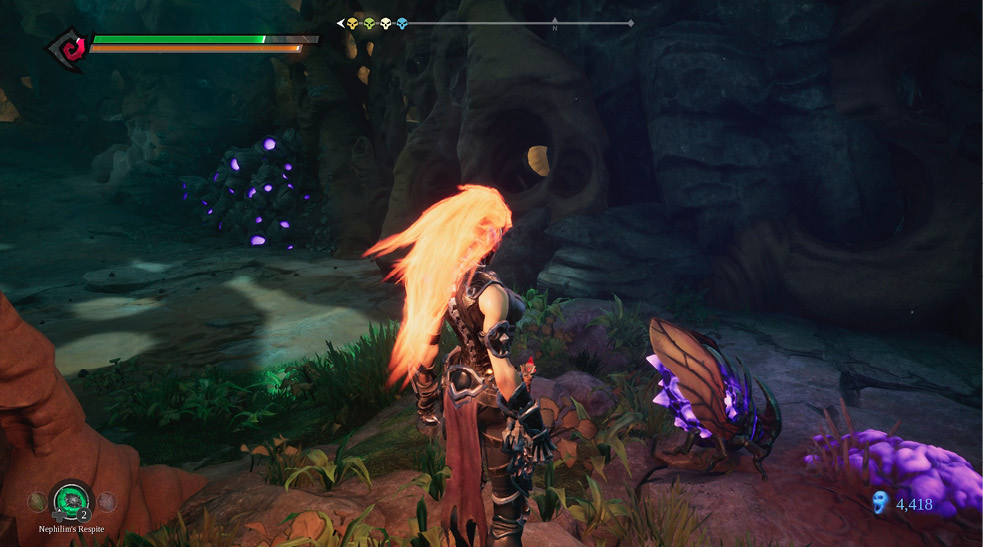
As with the cobwebs before you had the Flame Hollow, the only way through these coral-like rocks at this point is with the help of a Bomb Bug. Cut the oozing purple mass of bait from the suspended cocoon to the right of the rocks and fetch a Bomb Bug from the path on the left. Toss it at the bait, wait for it to glow, and then hurl the Bomb Bug at the purple coral.
Feed the Bomb Bug the purple bait and then throw it at the glowing rocks.
Drop into the aqueducts and eliminate the Sloth Bugs on the near side of the flooded channel before venturing toward the Black Minion on the far side. Follow the water downstream toward the Cistern.