
Darksiders III Guide Unleash Fury
Staying Alive
|
Initial Health: 200 |
The lengthy green meter in the upper-left corner of the screen is Fury’s Health Meter. Taking damage depletes Health, bringing Fury closer to death. The Health Meter doesn’t automatically replenish, but Fury can heal herself through the use of Nephilim’s Respites and Healing Shards.
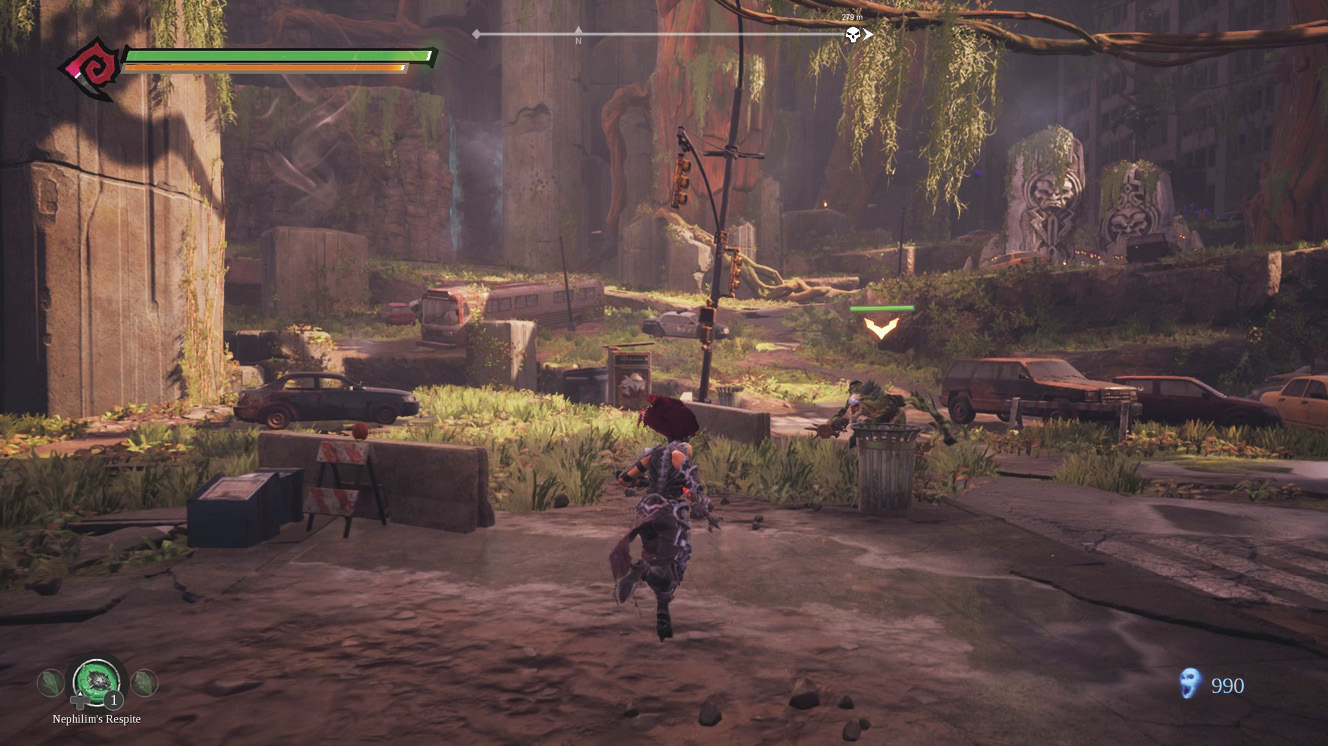
Fury begins her quest with 200 Health and the ability to carry two Nephilim’s Respites. Though 200 Health may sound like a lot, it isn’t. Fury is quite fragile in the early going, and Nephilim’s Respites aren’t replenished quickly, so you must be careful. Avoid rushing into combat without first studying your enemies. Aim to dodge and counter their attacks or suffer the consequences. Though Fury will eventually grow strong enough to support a more aggressive play style, that doesn’t come until much later.
About Difficulty Settings
Darksiders III contains four difficulty settings for players to experience: Easy, Normal, Hard, and Apocalyptic. Our recommendation, especially if this is your first time playing a game in this series, is to start with the Normal setting. Then, if the game feels too difficult, consider switching to Easy mode. Be warned, however, that the initial part of the game may prove challenging until you’re proficient at the Evade Counter (also known as Arcane Counter) attack. Once you master this technique, the difficulty levels off and the game provides an enjoyable test of skill. This strategy guide was written with the Normal difficulty in mind, though the tactics employed are applicable to all settings. Generally speaking, there is less margin for error on the higher settings.
In short, the higher the difficulty, the harder enemies are to kill, the more damage they inflict, and the harder it becomes to dodge their attacks.
Nephilim’s Respite
|
|
Initial Capacity: 2 Base Healing: 150 |

Nephilim’s Respites are the key way to replenish lost health. These items appear in Fury’s quick-access inventory (D-pad left/right to select, D-pad up to consume) and replenish a significant amount of health. Nephilim’s Respites are replenished via Health Lurchers, the green phantom-like spirits that escape the bodies of Fury’s slain foes. Since they can be replenished for free and are therefore more common than Healing Shards, it’s usually a good idea to consume them rather than a Healing Shard, which has to be either found or bought from Vulgrim.
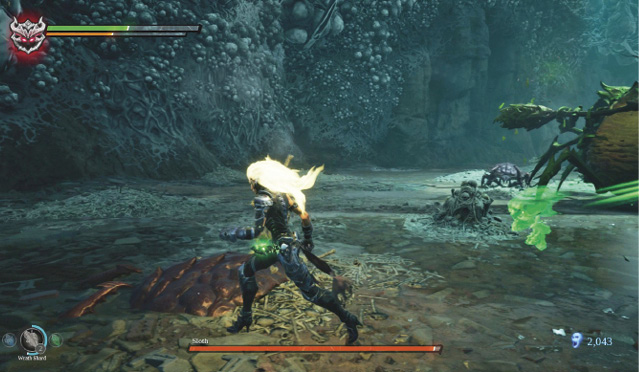
Weapon enhancements can grant Fury the gift of increased Health, Health Regen, and increased Health Lurcher frequency. Consult the Weapons and Enhancements chapter for specifics.
Fortunately, it’s possible to increase both the capacity and the potency of Nephilim’s Respites. Fury can ultimately expand her Nephilim’s Respite capacity to six and heal a lot more from each of them. Study the maps contained in the Hunting the Deadly Sins walkthrough section for the whereabouts of these items.
|
|
Invigoration Core: Automatically increases the storage capacity of Nephilim’s Respite by 1. |

|
|
Rejuvenation Core: Automatically increases the amount of Health restored by Nephilim’s Respite by 75. |

Nephilim’s Respite Upgrades: Running Totals
| Order Found | Core Type | Region | Location | Healing | Nephilim’s Respite Capacity |
|---|---|---|---|---|---|
|
0 |
— |
— |
— |
150 |
2 |
|
1 |
Rejuvenation |
Splintered Station |
150 (+75) |
— |
|
|
2 |
Invigoration |
Blistering Bridge |
— |
2 (+1) |
|
|
3 |
Rejuvenation |
Tangled Grotto |
150 (+150) |
— |
|
|
4 |
Invigoration |
Hulking Carcass |
— |
2 (+2) |
|
|
5 |
Rejuvenation |
Festering Pool |
150 (+225) |
— |
|
|
6 |
Rejuvenation |
Forgotten Lake |
150 (+300) |
— |
|
|
7 |
Invigoration |
Sunken Tracks |
— |
2 (+3) |
|
|
8 |
Invigoration |
Drilling Annex |
— |
2 (+4) |
|
|
9 |
Rejuvenation |
Drilling Annex |
150 (+375) |
— |
|
|
10 |
Rejuvenation |
N/A |
150 (+450) |
— |