Darksiders III Guide Hunting the Deadly Sins Sloth
Nether: Cistern and Tangled Grotto
Open the Floodgates
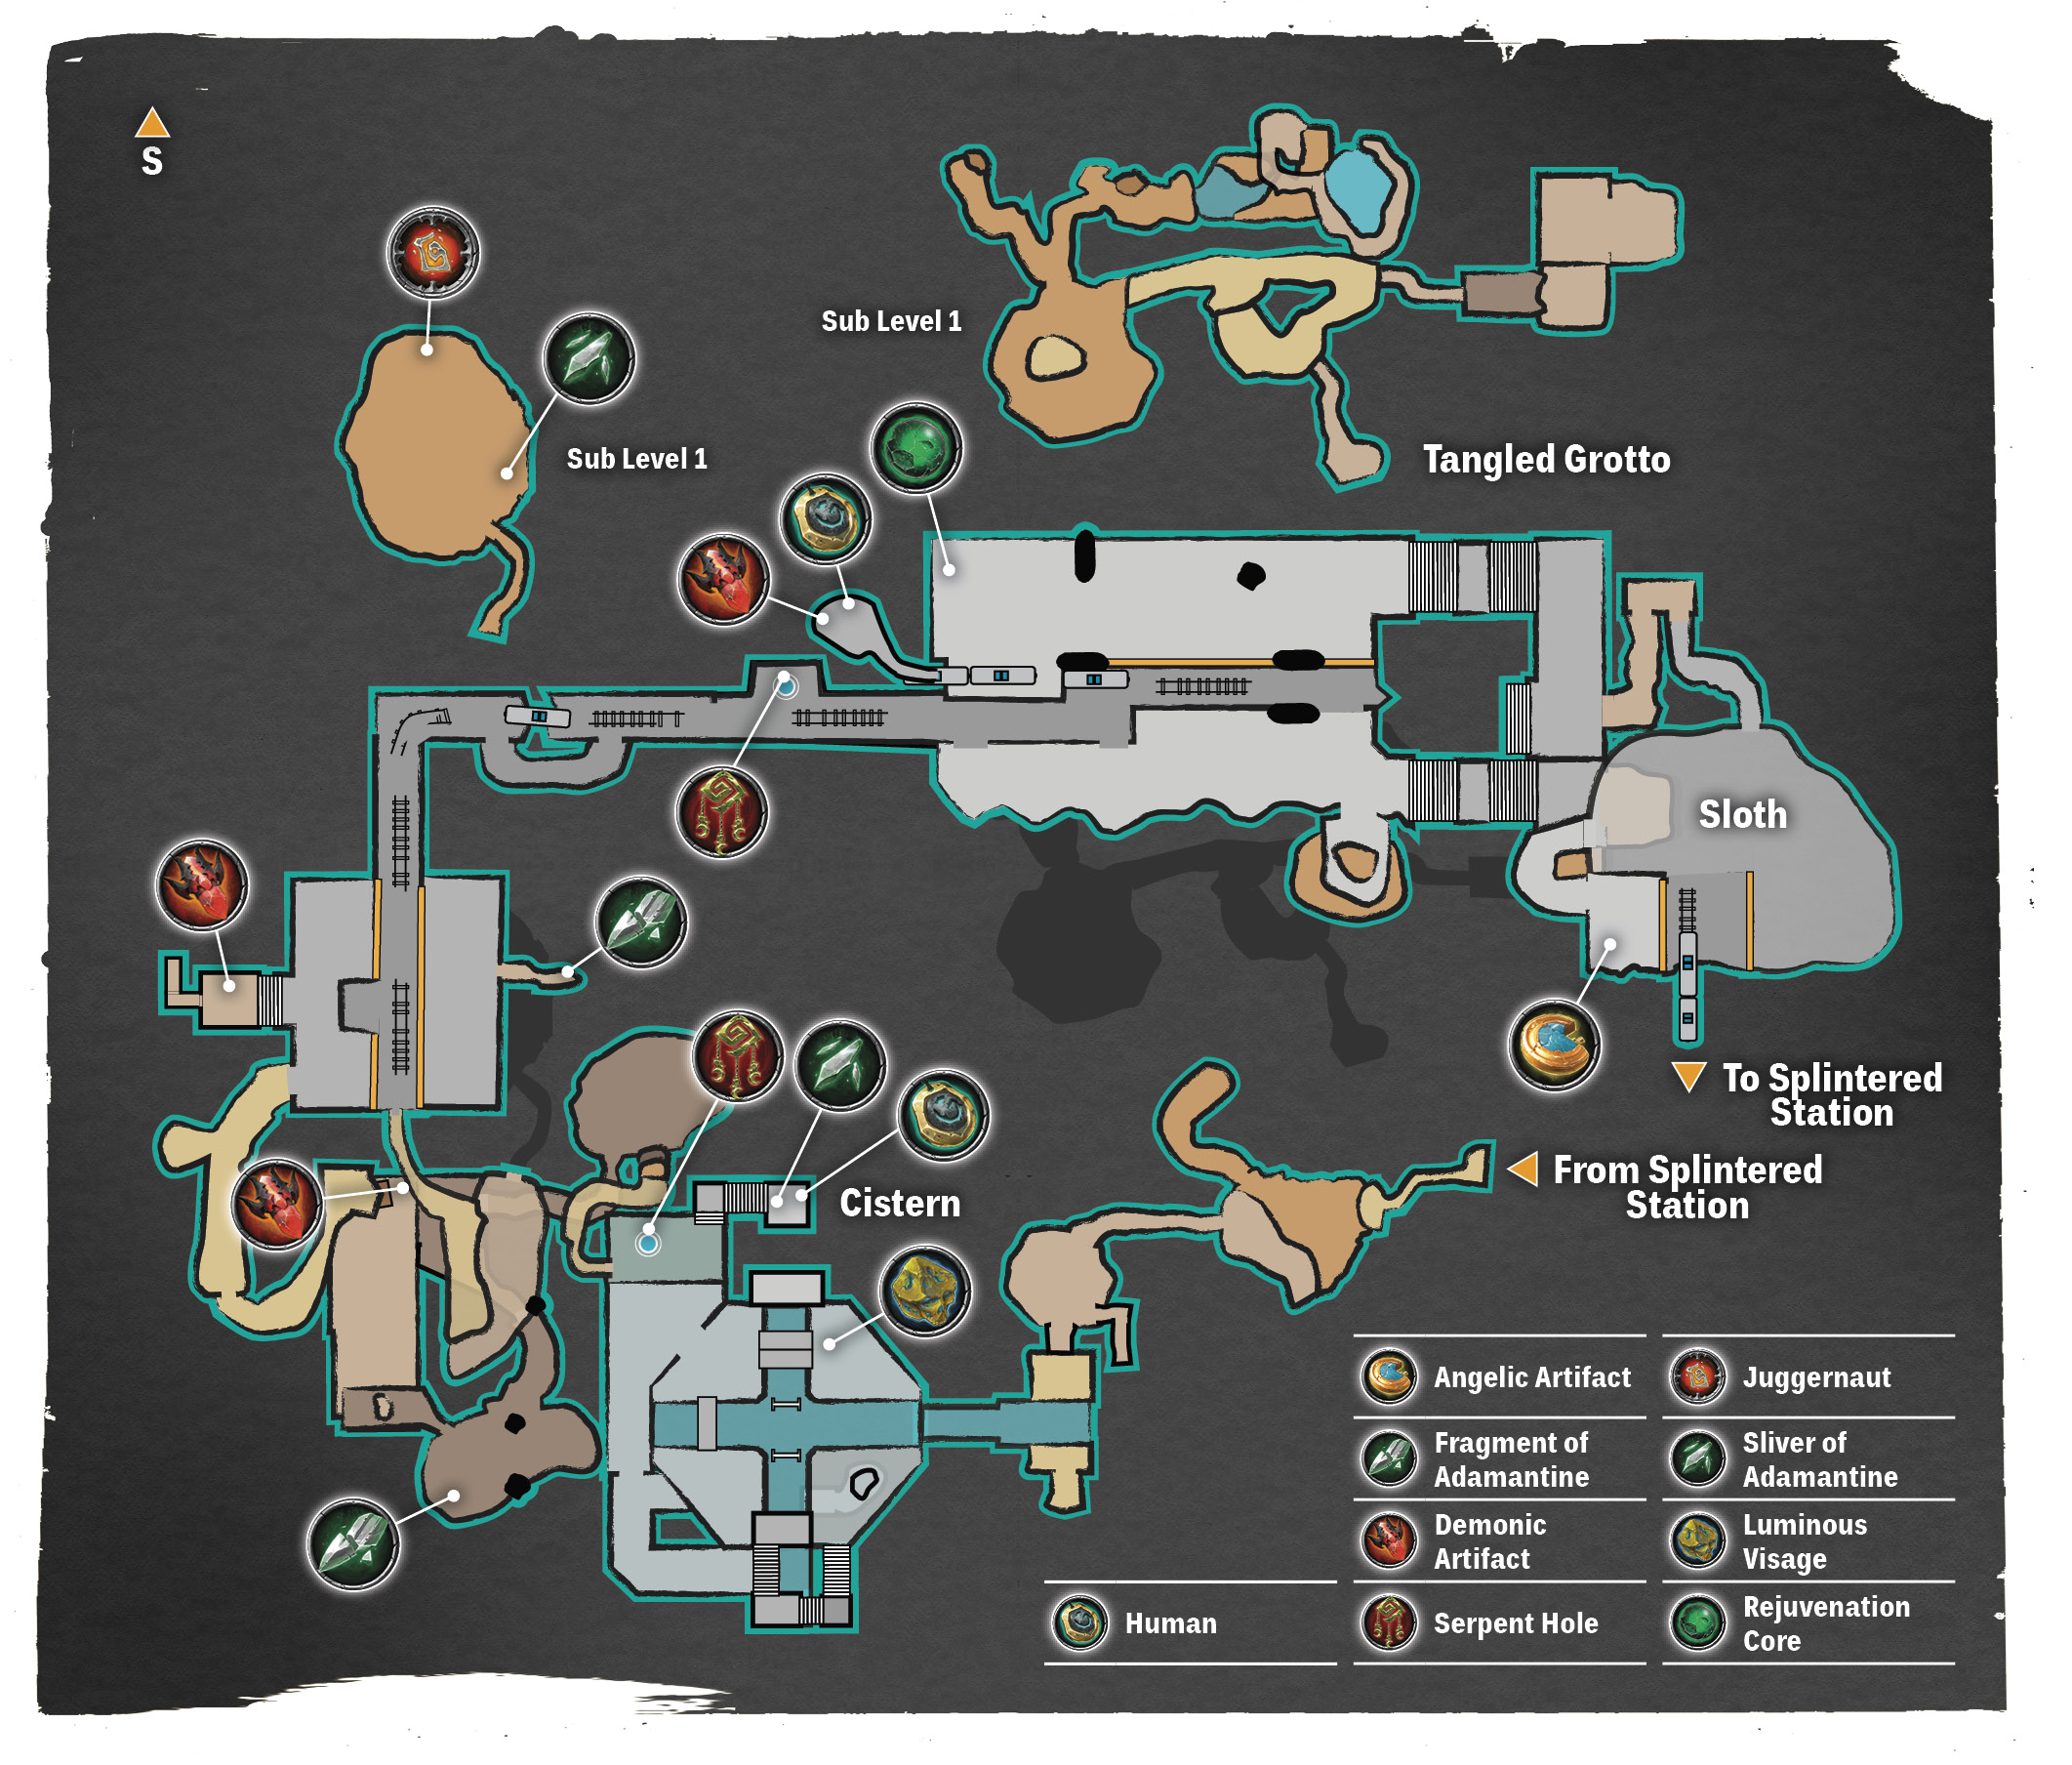
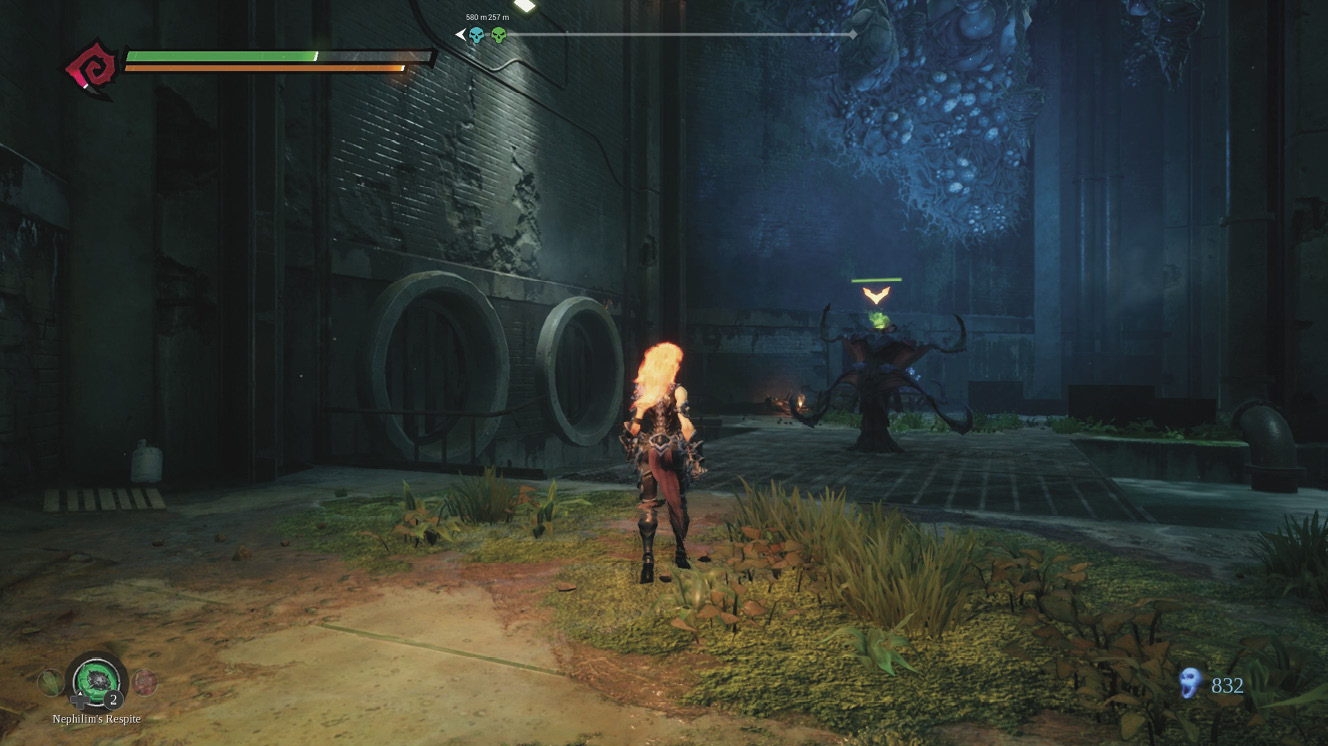
The area below is a flooded cross-shaped trench with four platforms, one in each corner. Glide down to the platform in the far left-hand corner and eliminate the Mimic that emerges from a cocoon. Sweep the room clean of creatures by going platform to platform in a clockwise direction and using the Storm Currents to reach the platform to the right of the waterfall. Return to the bridge opposite the waterfall. It’s time to find a way out.
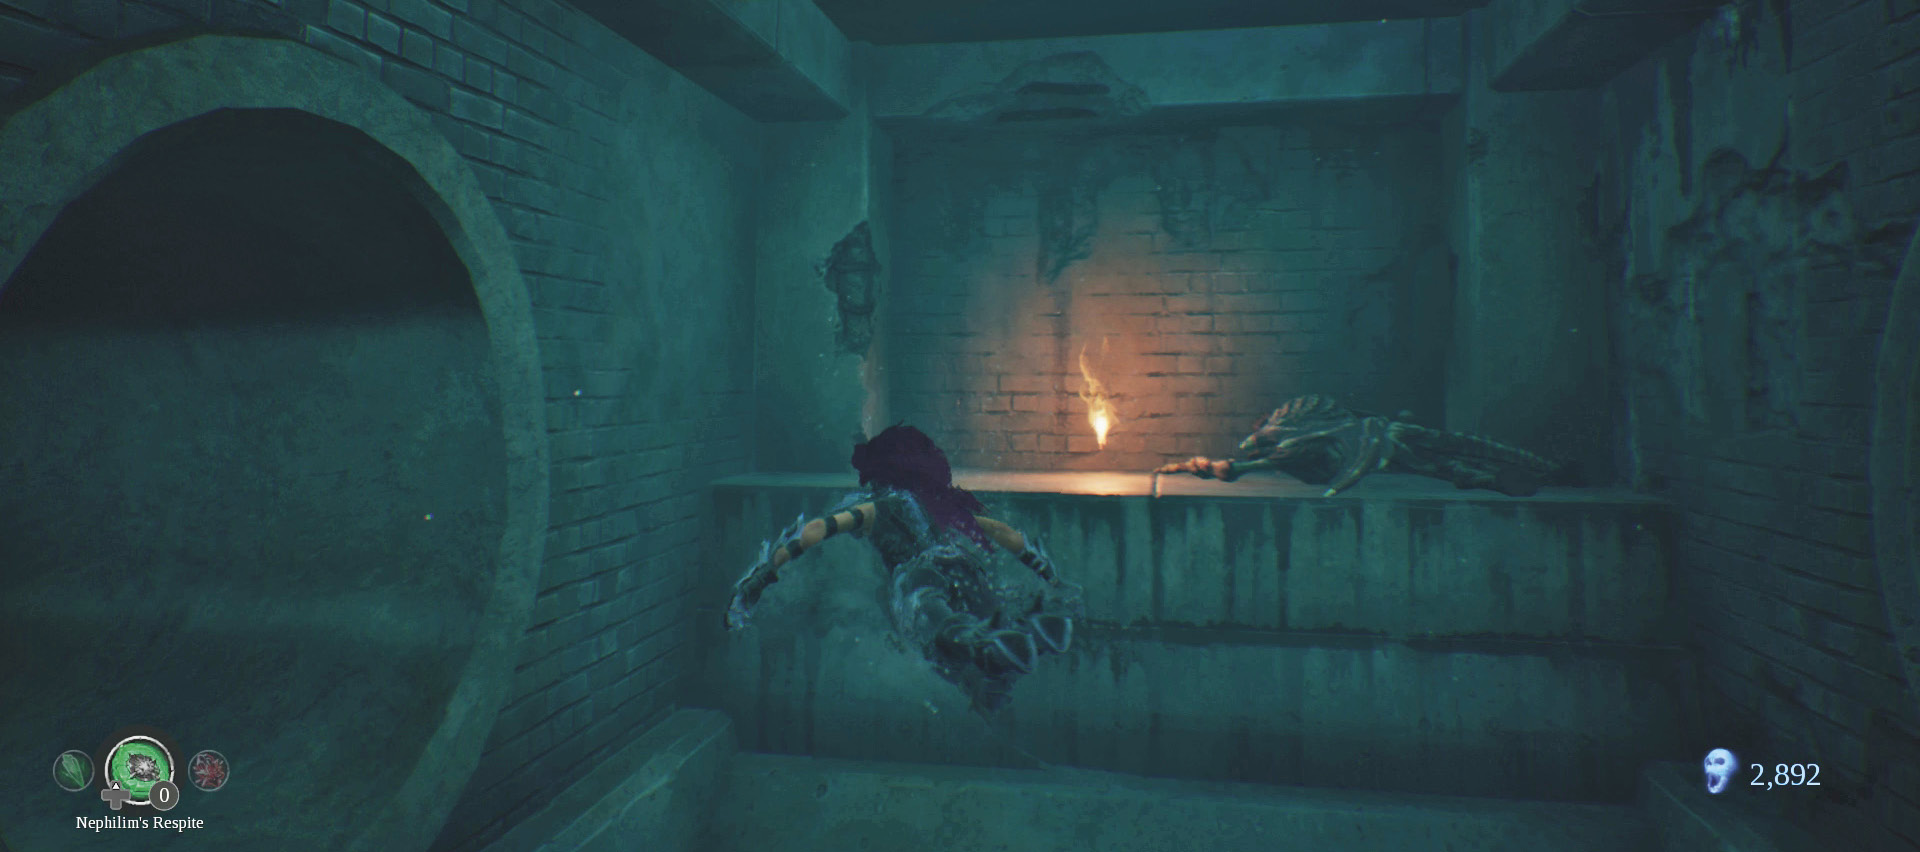
Dive into the water and swim toward the waterfall and through the pipe on the left to find a hidden Luminous Visage. Swim away from the waterfall and into the pipe on the left. Follow the underwater passage through the tunnel and up through the hole to a storage room. Move beneath the scaffolding in the corner and Flame Jump to the room above to find an Angelic Artifact.
Ascend the staircase to the platform high above the Cistern and perform a triple whip swing to reach the far side. Flip the lever on the left to open the floodgates across the room. Glide off the ledge toward the gates and swim through to the room on the right. Circle around behind the gate (you can finally get the pickup opposite the waterfall) to the room with the Serpent Hole. Take a moment to throw the lever near the gate, which will make return trips easier.
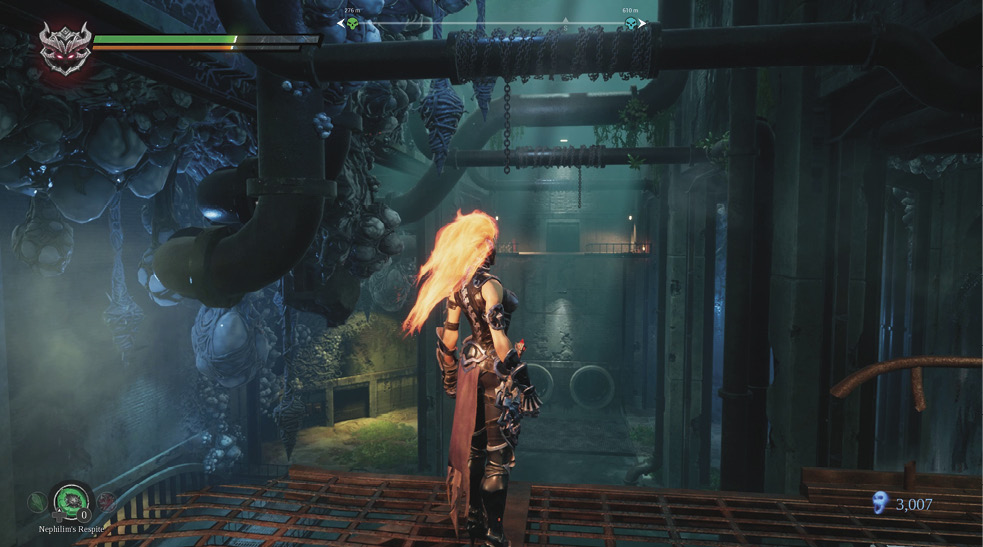

Ascend the stairs next to Vulgrim to rescue a Human, then crawl through the tunnel to the left of the Serpent Hole. Drop into the cave, eliminate the enemies, and crawl through the blue-lit tunnel behind the cocoons.
Journey into Darkness
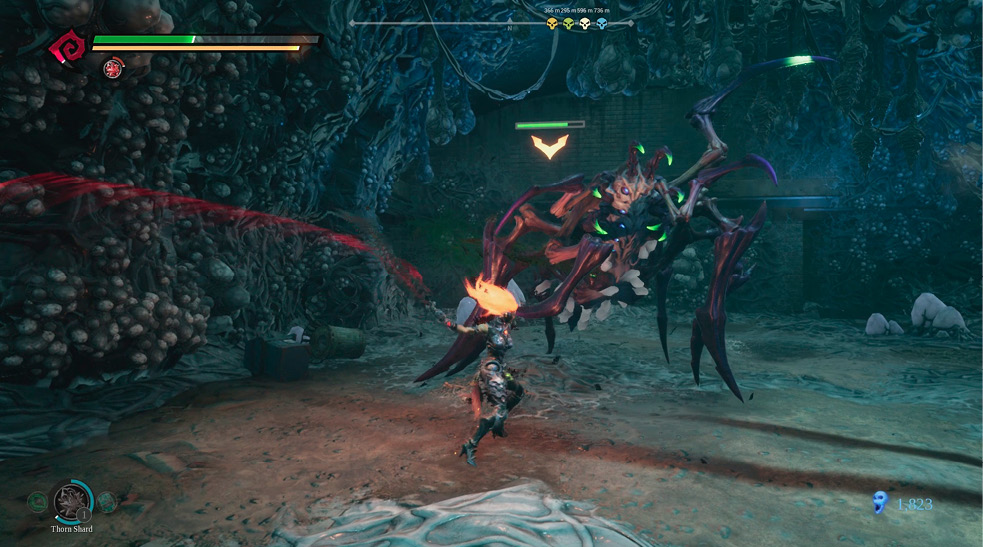
Take a moment to look upon the sunken city in the distance then crawl through the hole in the egg-lined wall. Drop into the nest of the Harvestor, but don’t panic. For as large as she is, she’s quite straightforward to defeat. Be patient, dodge her attacks, and hit her with standard Arcane Counters. Though the Chains of Scorn are useful for striking quickly—and a Volcanic Charge will ignite her—the Harvestor is quite susceptible to the Triple Tempests.
Watch for her five-hit combination attack and strike hard when her front four legs are stuck in the ground. Grab the Demonic Artifact from the floor near the subway car and climb out of the pit.
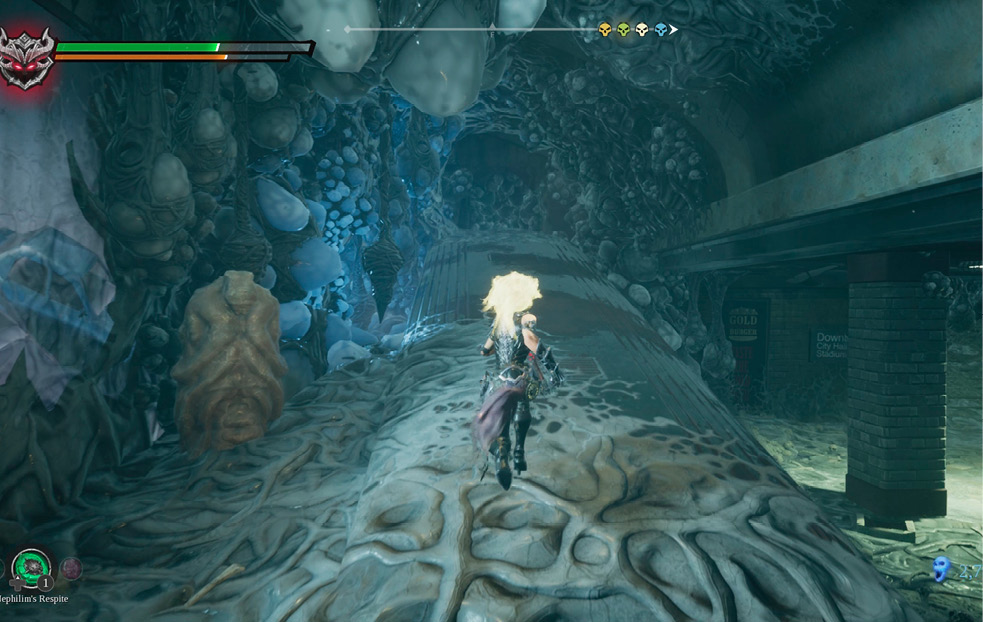
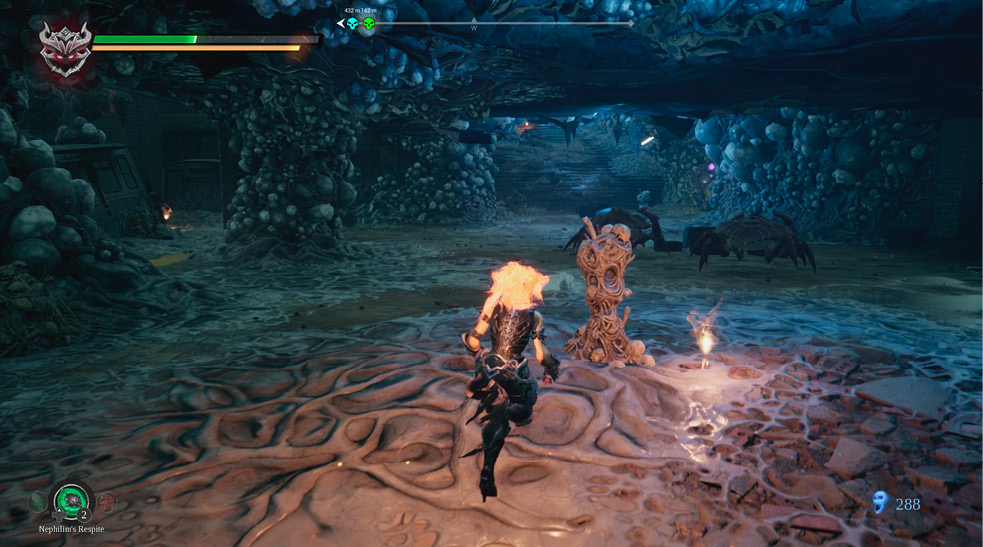
The subway tunnels up ahead are pitch black and crawling with Sloth Bugs, among other threats. Despite the darkness, the elemental effects of the Hollows on Fury’s hair provide just enough light to navigate. Almost.
Advance slowly and stick to the subway platform for the time being as you make your way into the tunnel. Fend off the first attackers and ascend the steps on the left to find a Demonic Artifact. Eliminate the enemies along the platform and on the tracks and approach the train car near where you first entered.
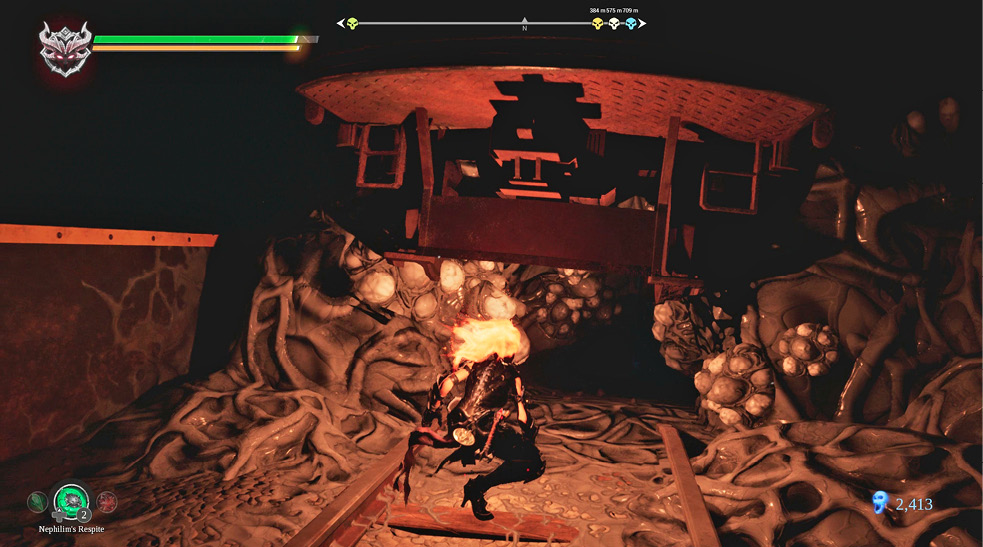
The tunnel beneath the train leads to a cave lined with phosphorescent plants. This is an optional detour—and a deadly one at that—but well worth the risk. Drop off the ledge, kill the Mimic, and crawl through the tunnel to enter a shimmering cave that plays home to two Brood Mothers. Watch them from the safety of the tunnel as you wait for an Undying Shard to take effect and for any Wrath or Havoc Shards you need to be consumed.

Brood Mothers can charge at a pretty high speed, so don’t expect to mill around the periphery or to be able to sneak up on them. Instead, bait them toward a wall and activate Havoc Form once they bunch together. Skirt around them and attack with abandon. Aim your attacks at one of them so that once Havoc Form wears off, you have only one enemy left to contend with. Collect the Juggernaut enhancement from the back of the cave and return the way you came.

Follow the tracks to the egg-lined tunnel on the right. This leads not only back into the light, but also to the next Serpent Hole. Pay Vulgrim a visit after shattering the many Lurcher Crystals you’ve found. Sloth isn’t much farther, making this the perfect time to level up. If possible, aim to level Fury up to level 21 or higher. Those who explored Haven earlier may well reach level 24 depending on prior purchases of Vulgrim’s Wares.
Defeat Sloth
Follow the tracks west to the large subway station and take a few minutes to clear it of enemies as you harvest enough Health Lurchers to replenish your maximum capacity of Nephilim’s Respite before the upcoming boss battle. Sweep the area in a counterclockwise direction to not miss any of the pickups. This area contains numerous Lurcher Crystals as well as a Rejuvenation Core opposite the stairs leading out. The Rejuvenation Core increases the amount of Health restored by a Nephilim’s Respite by +75.
Loop around to the left to spot the tilted subway trains. Run east along the top of the train and crawl through the narrow tunnel to find a Human and a Demonic Artifact. Pay a final visit to Vulgrim (and Ulthane if you have the necessary materials for another upgrade) before moving on. Ascend the two sets of wide stairs, following the signs toward the street as you snake your way through the disgusting halls toward Sloth.