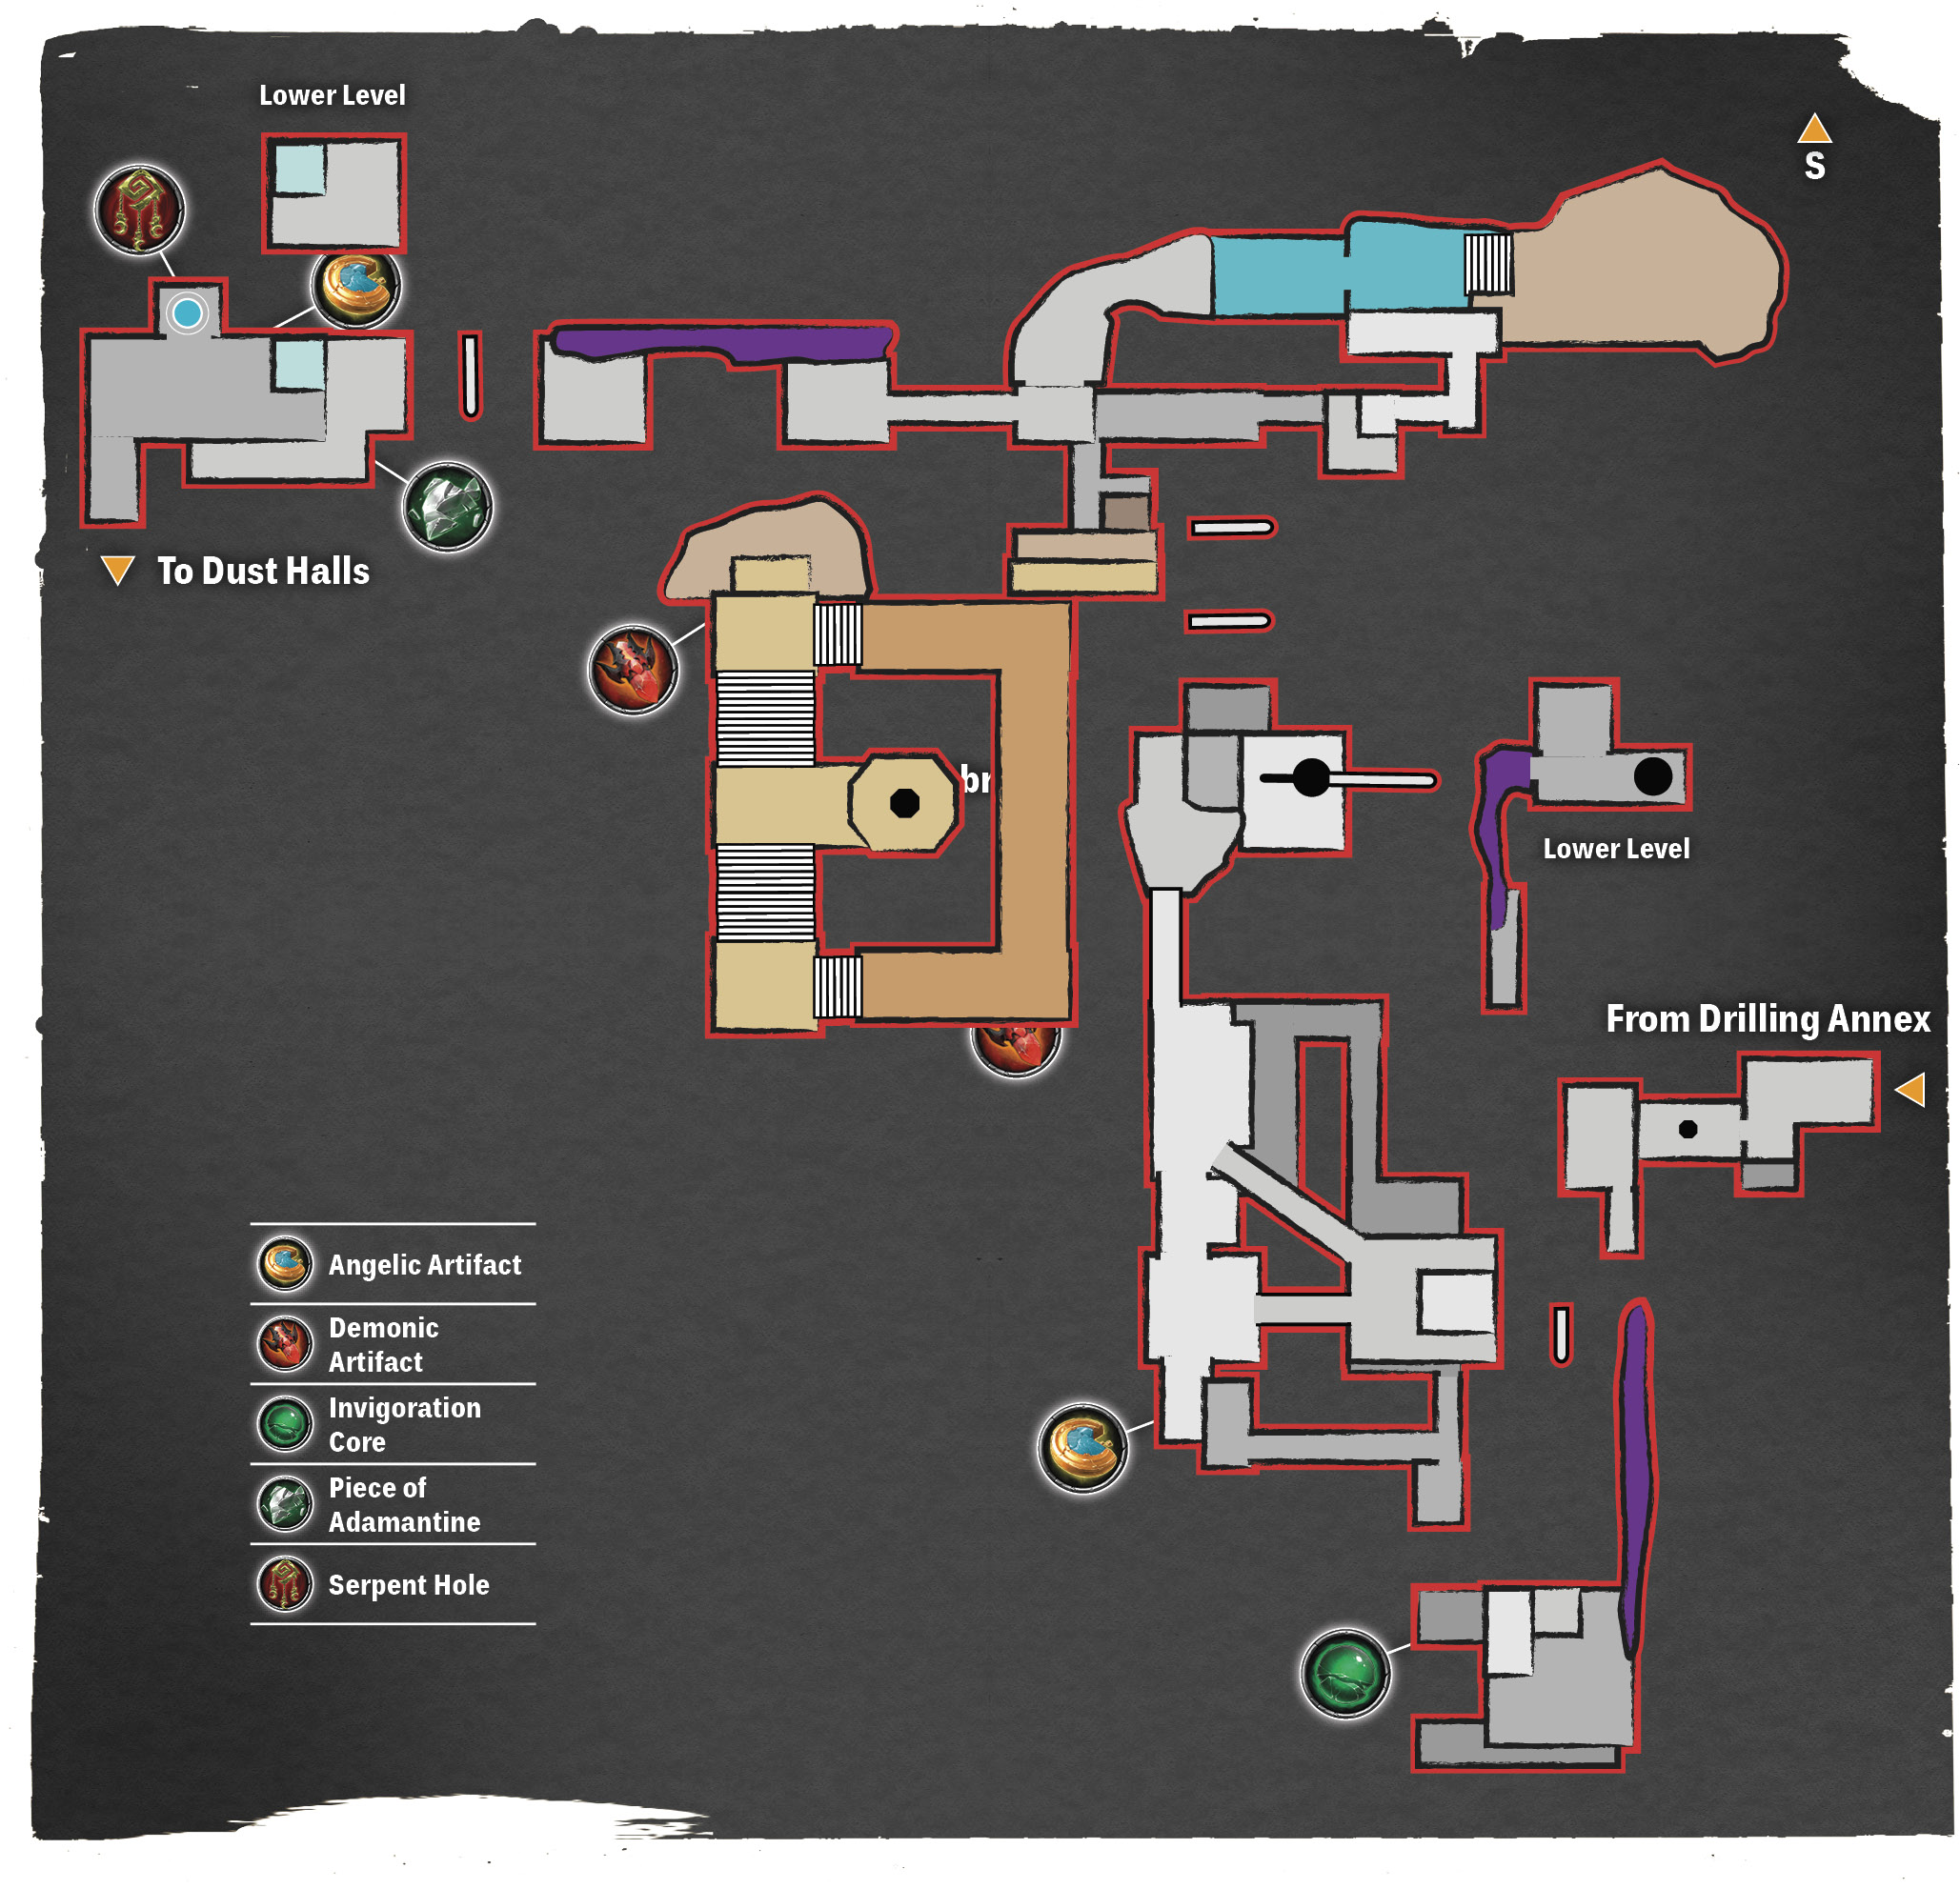
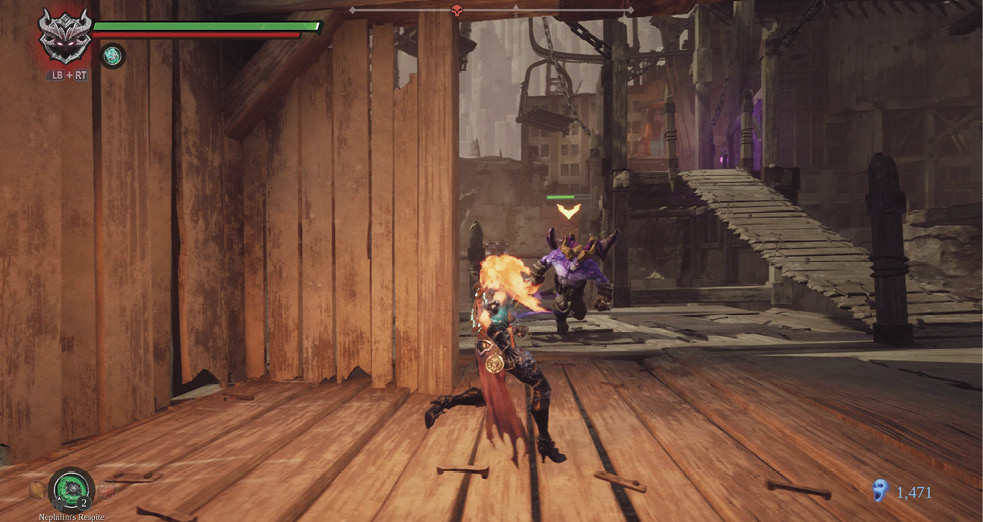
The massive brute across the canyon to the east won’t cease hurling boulders at Fury while she’s in the lower level of the quarry. Do your best to keep any available walls or barriers between her and the rock thrower as you circle around the perimeter in a clockwise direction to the north.
Fight behind the safety of a wall to avoid boulders being thrown from the southeast.
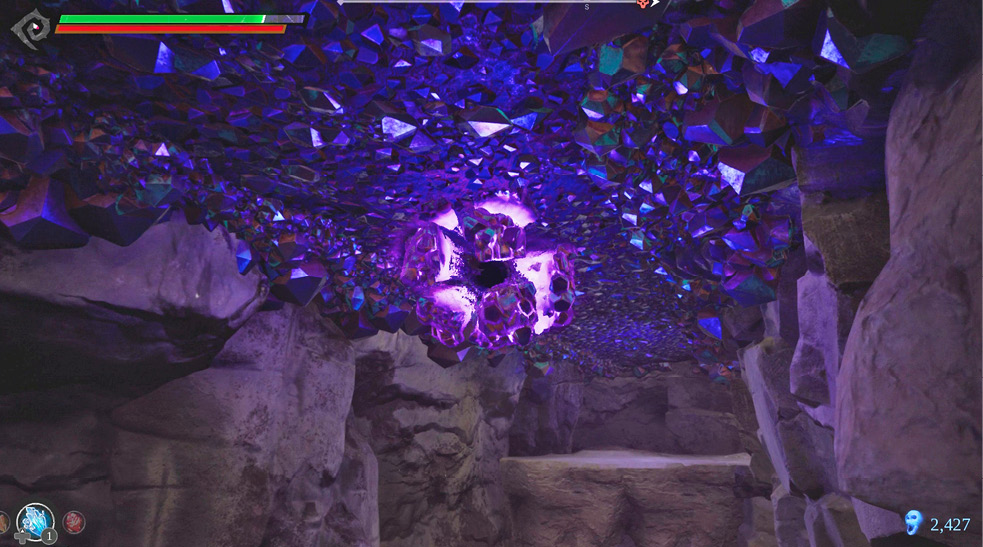
Take a few moments to clear out the Phantoms on the main platform and then whip swing across to the cliff face to the west and Force Ball your way to the northwestern platform. Don’t take any chances fighting these Phantoms on such a small platform—activate Havoc Form at once! Grab the fourth and final Invigoration Core from the top level and Storm Glide south to the main walkway.
Roll your way to the northwest corner to find the final Invigoration Core.
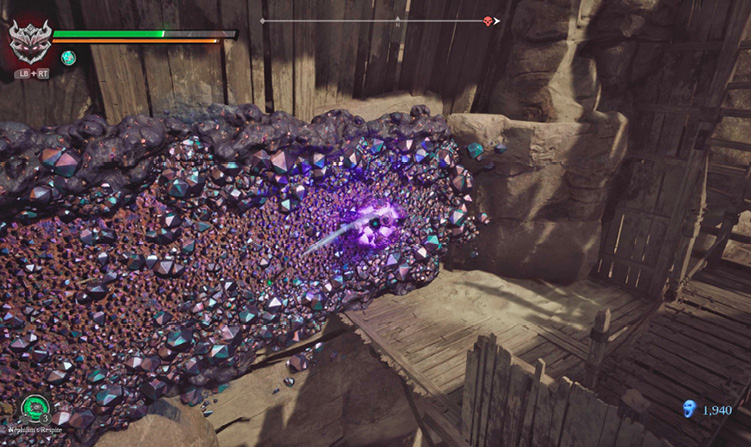
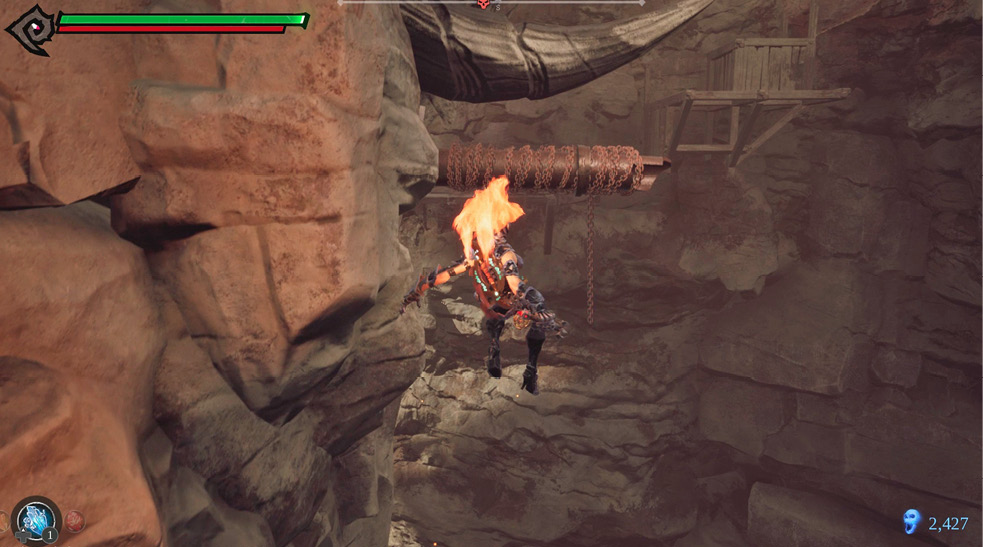
Make your way to the eastern side of the complex and locate the purple Force surface at the lower-level walkway. Roll along this surface, upside-down, to reach the base of the rotating wooden shaft. Knock the purple coral binding it in place and return the way you came. Once you’ve released the contraption, return to the upper level and hit the purple handle with a Force-imbued Salvation toss. Then whip swing across the beam and two pipes beyond it.
Knock the coral from the base of the wooden shaft so it can rotate into position.Perform a triple whip swing to the south face of the canyon.
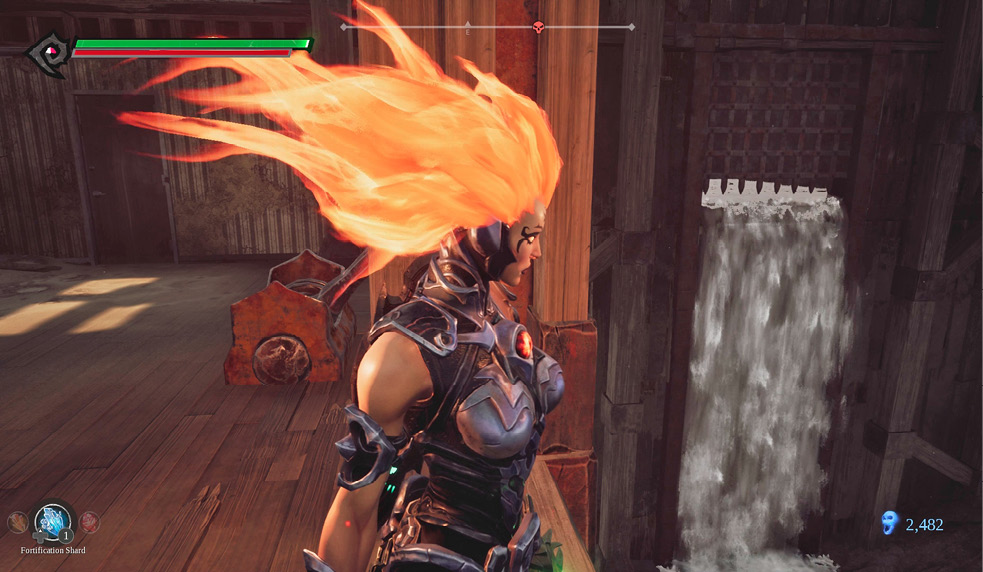
Once across to the south side of the canyon, head up the platforms on the right, head inside, and strike the purple lever. This opens not only the adjacent gate but also the floodgates to the left, allowing water to flood the trench below. Pay a visit to Vulgrim at the Drilling Annex Serpent Hole around the corner to the right, then run across the water and Flame Jump up to the opening.
Fight your way past the Phantom Guard Ballister in the canyon to the east and head out onto the walkway. Ignore the Force surface on the wall and, instead, leap down toward the Trauma to the north. Kill it and grab the Demonic Artifact. Ride the storm current up to the entrance above. Loop around the square corridor to find another Demonic Artifact, then ride the lift up if you’d like to encounter Abraxis.
Allow the trench to fill, then use Stasis and Flame forms to exit through the gate.
Abraxis and the Lord of the Hollows (Optional)
Though Fury is free to continue on her quest to hunt down Wrath, there are separate orders worth considering. Encounters with Abraxis and the Lord of the Hollows are optional and do not necessarily need to end in combat. Nevertheless, read on for tips on defeating these optional bosses.
Whether you pay a visit to Abraxis or not, you’ll need to continue eastward along the cliff face to reach the windswept plains of the Lowlands. Use the Force Ball ability to roll along the Force surface, then Flame Jump into a whip swing to cross over to the larger platform. Clear out the Phantom Guard Captain and other Demons here and grab the Angelic Artifact from the middle platform.
Let the Incandescent Remains be your guide and reach this tiny platform.
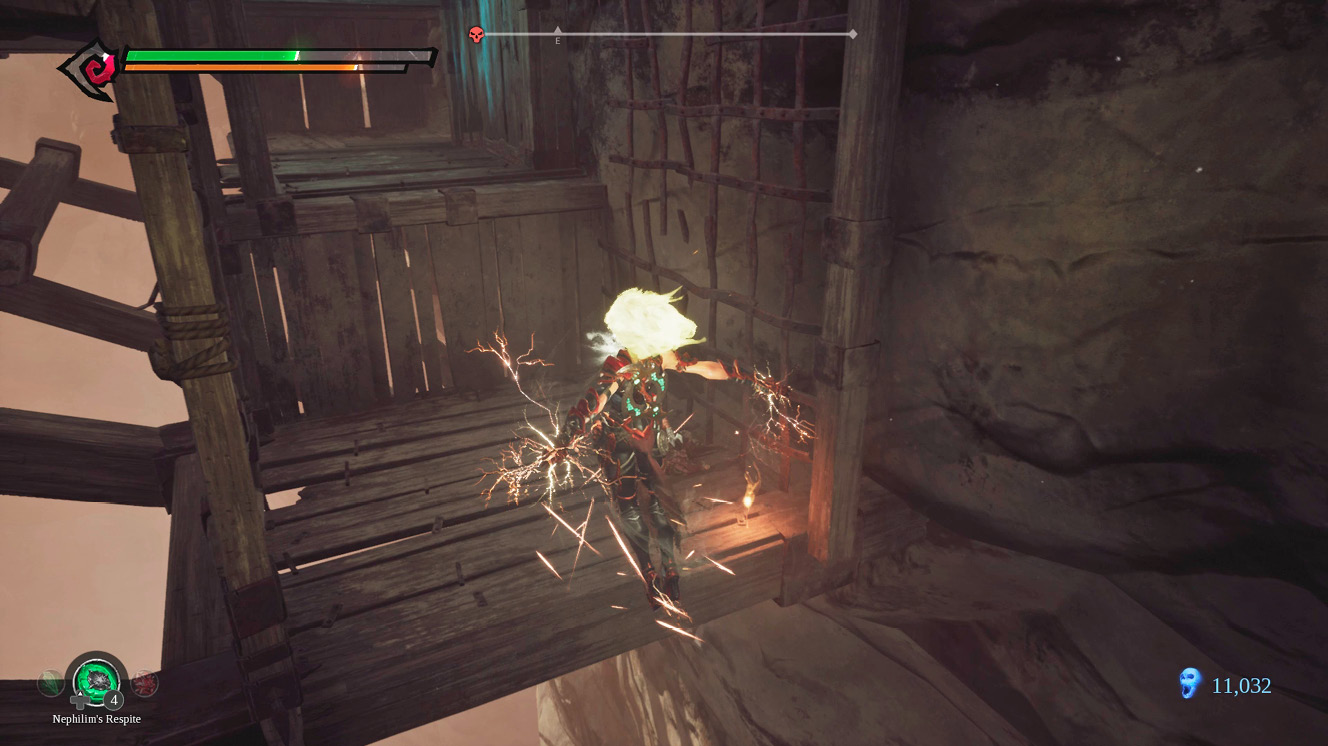
This is where things get tricky. Fury has to access the blue-glowing shaft to wall jump up to the top level of the platform, but the only way to access it is via a small platform directly beneath the main floor. Access it by running around behind it and smashing the barrels in your way. The Havoc Shard lying near the corpse is your reward.