
Darksiders III Guide Hunting the Deadly Sins Gluttony
Depths: Forgotten Lake
An Underwater Exploration
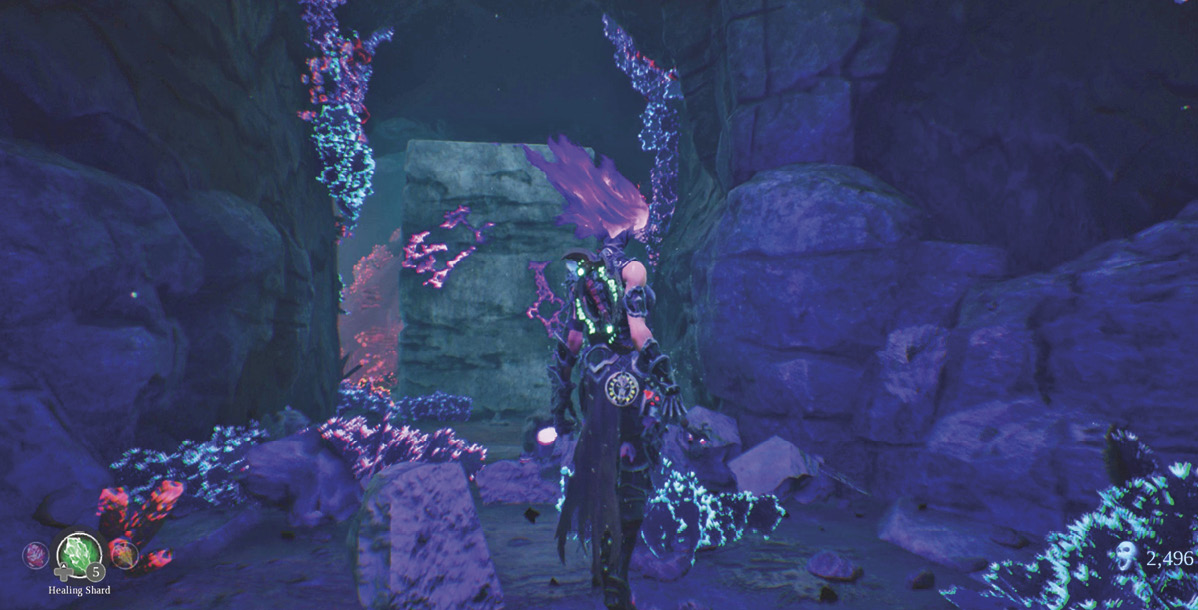
Drop into the cavern and approach the Incandescent Remains up ahead, on the left. Use the Force Hollow to smash through the coral, thereby knocking the massive block out of the way. Continue through the underwater canyon, past the Demon Fish and past the coral blocking the tunnel.
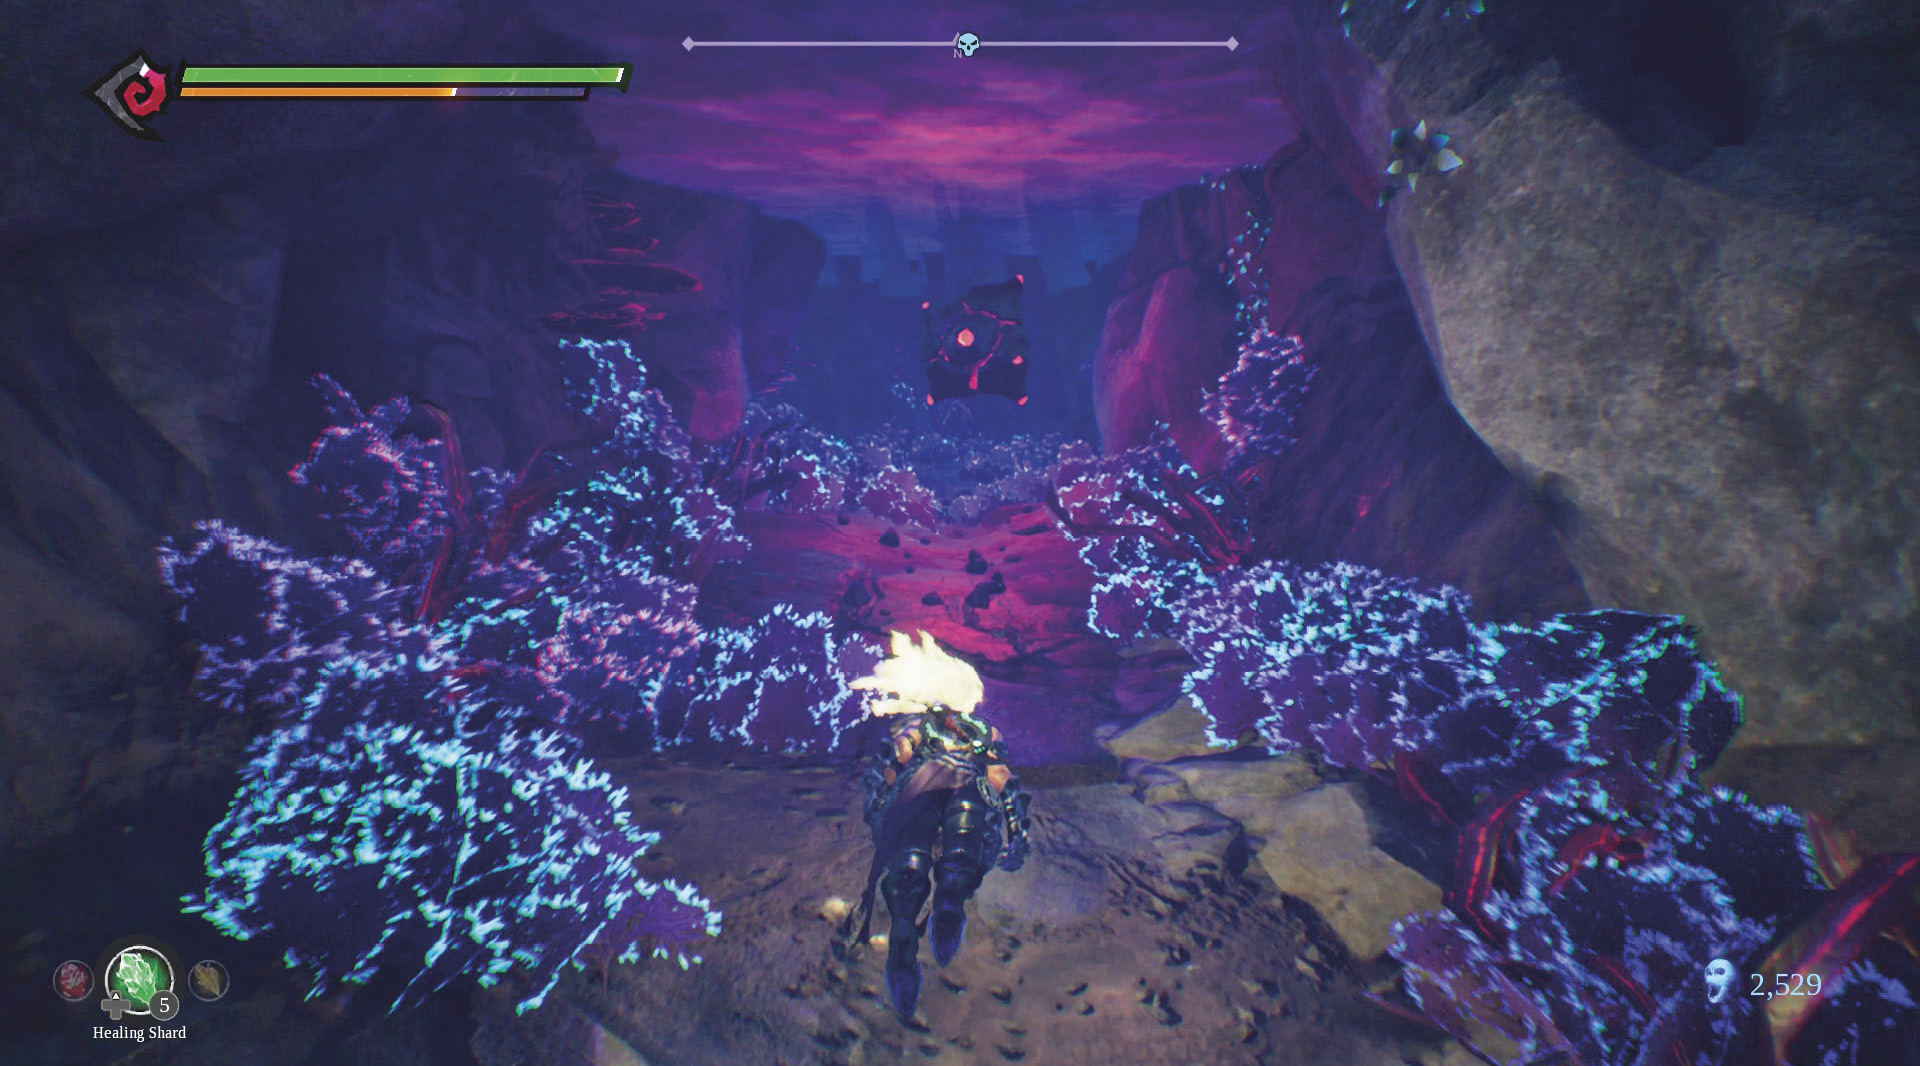
Disable the Force Hollow so Fury can swim freely in the waters beyond the coral. The Floating Mine up ahead homes in on its target (listen for the signal that it’s locked on) and explodes on contact with moderate potency. Dash past it before it explodes.
Slay the Armored Skeleton in the room ahead and then smash the coral to reveal the third sword statue. Target the three with Salvation to open the gate to Forgotten Lake. Visit Vulgrim on the right to reset your save point.
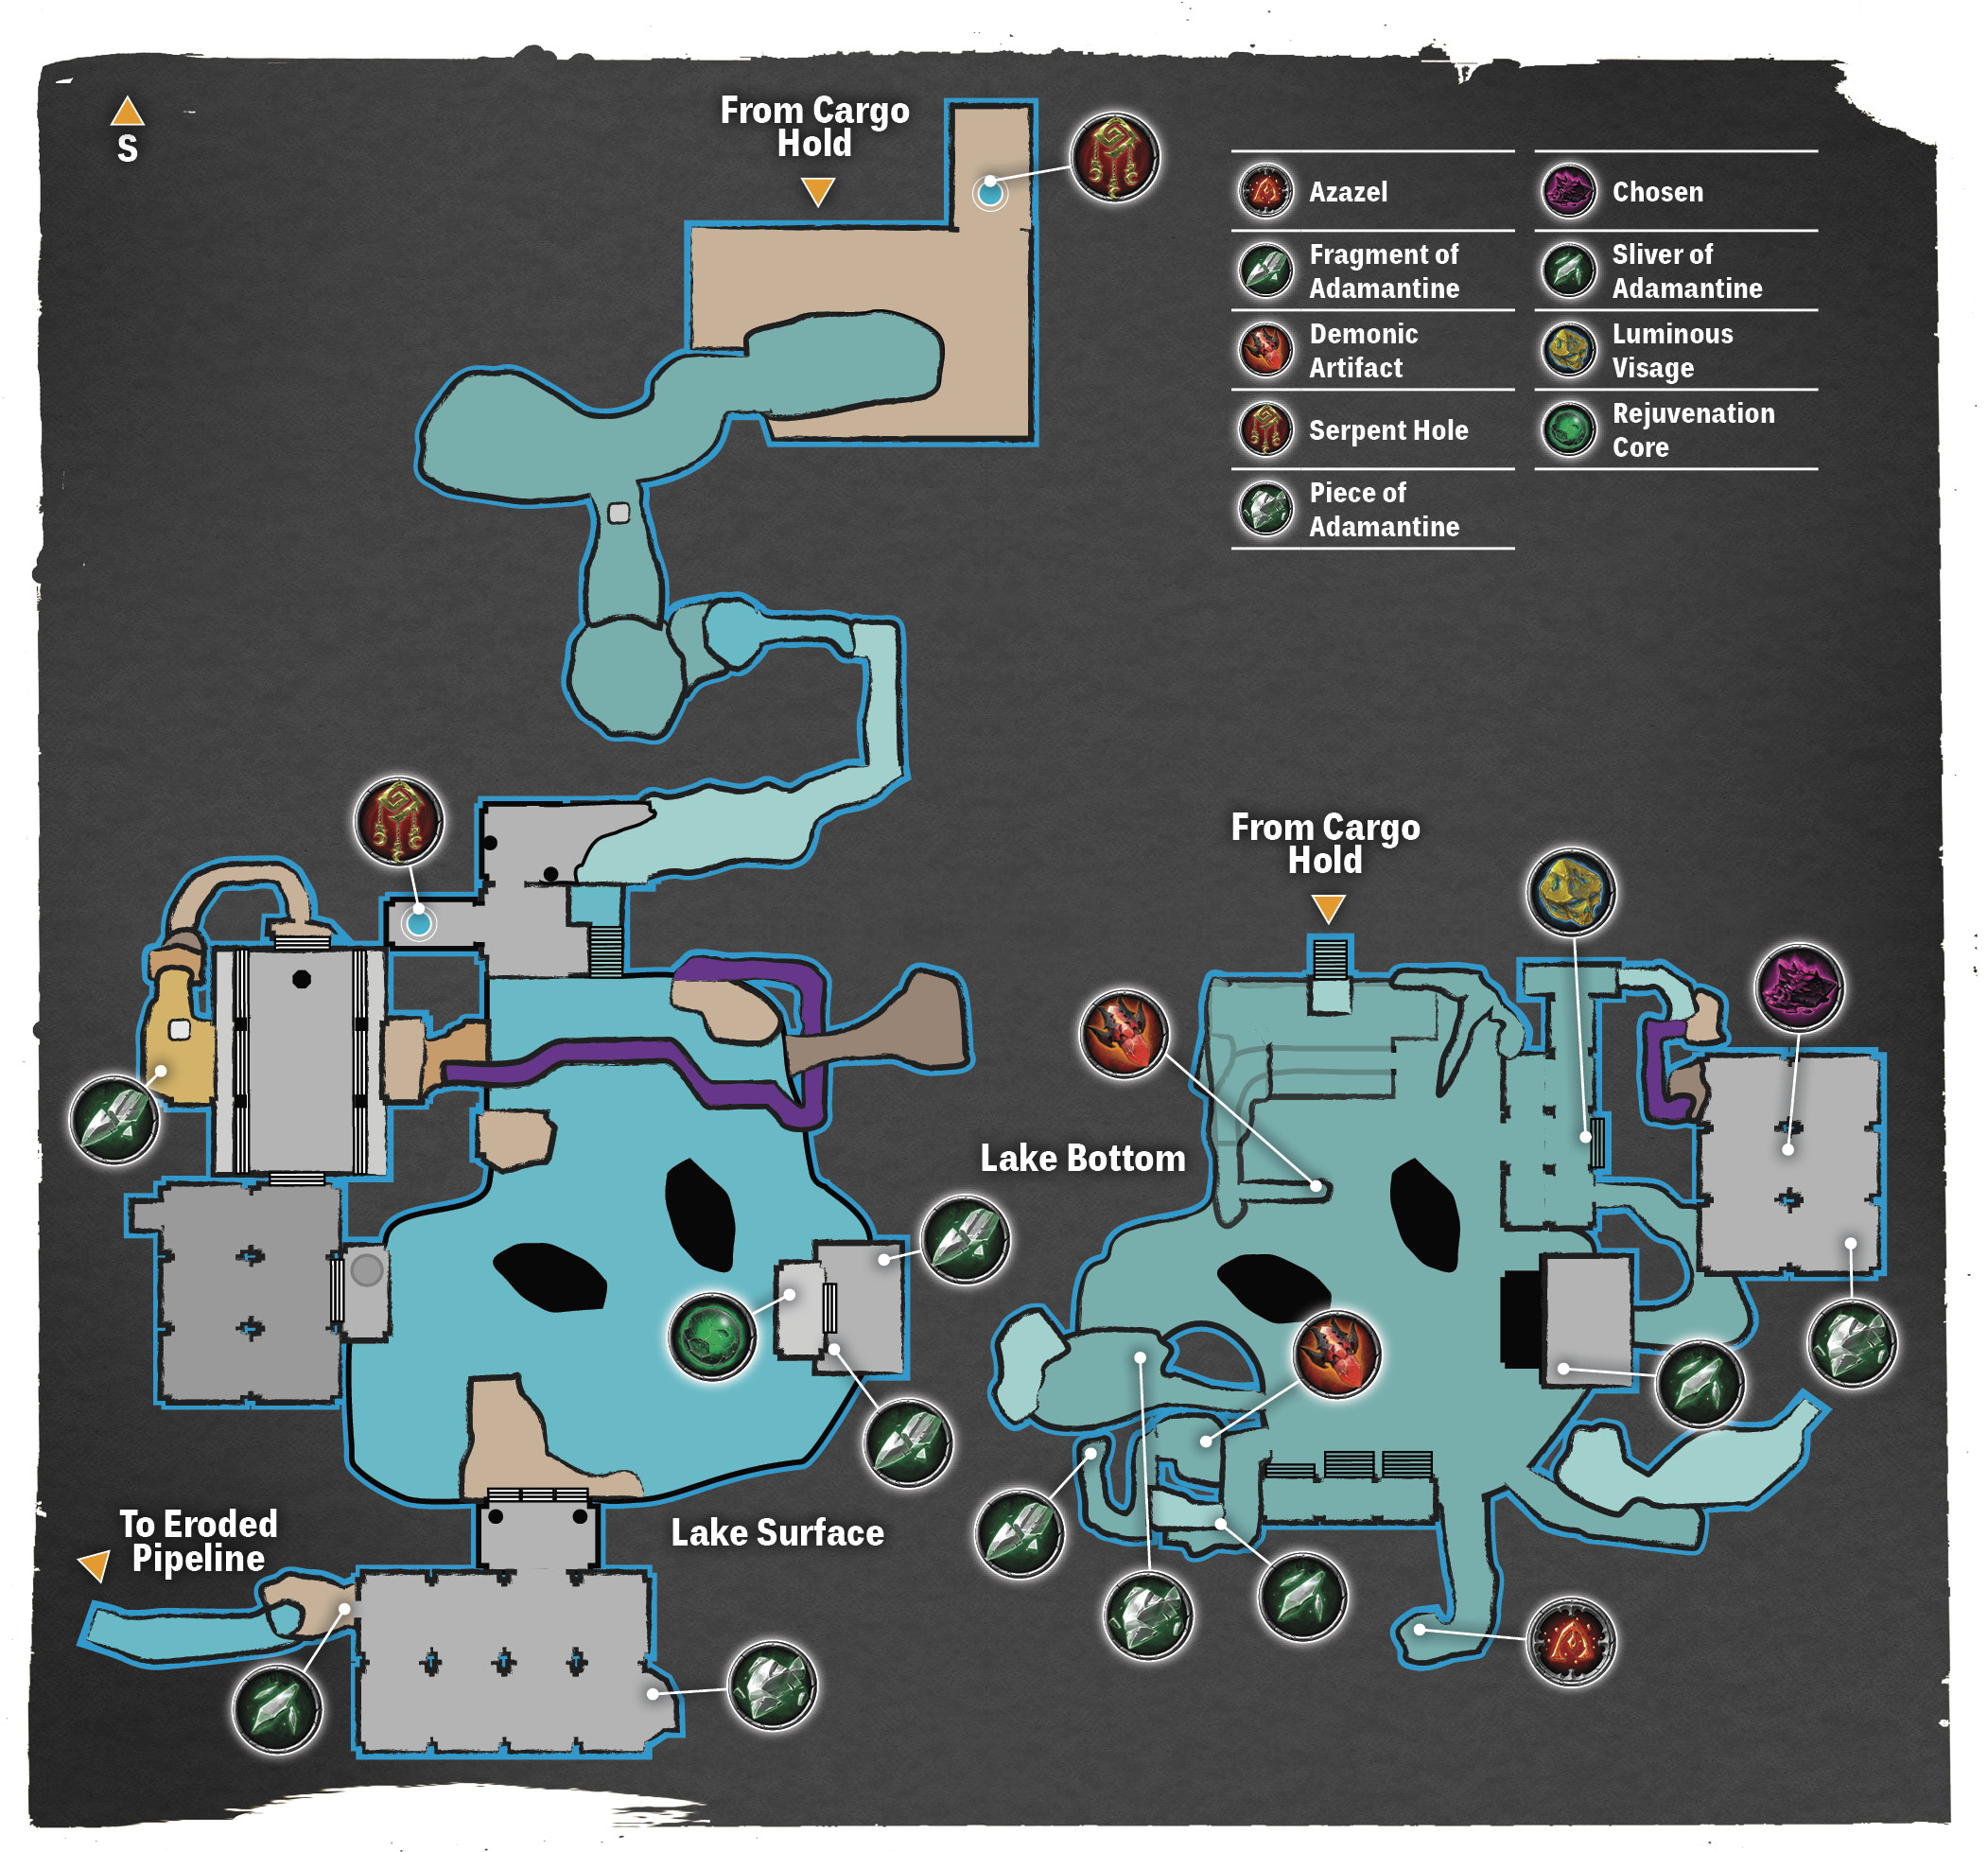
The expansive waters of Forgotten Lake lie around the corner, chock-full of side tunnels, corridors, and underwater caverns containing numerous secrets and items. Take your time and explore the lake fully before using the Force surface to roll along the ceiling to the other side of the lake. It’s not a particularly dangerous area, but it’s easy to miss some valuable items, so utilize the compass (and the map we’ve provided) and be thorough. We recommend a clockwise loop around the area.
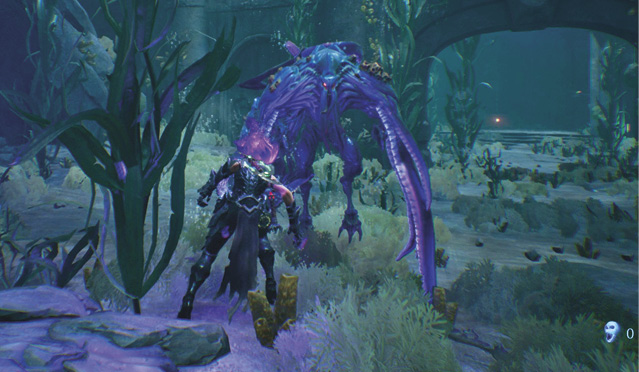
Dive into the water and descend to the bottom, just west of the entry point. Here, two Deep Lurkers attack. Their speed, reach, and intelligence make them a bit tougher, but Fury can dispatch them easily with the quick-hitting Barbs of Scorn. Swim into the underwater temple to the west for a Luminous Visage.
The locked gate to the south is controlled by two swords on the north-facing side of the stone columns. Dash between the swords as you strike them with the whip, then proceed through the open gate. Swim through the pink-lit tunnel high in the cave and use the Force Ball ability to reach the Chosen in the room beyond.
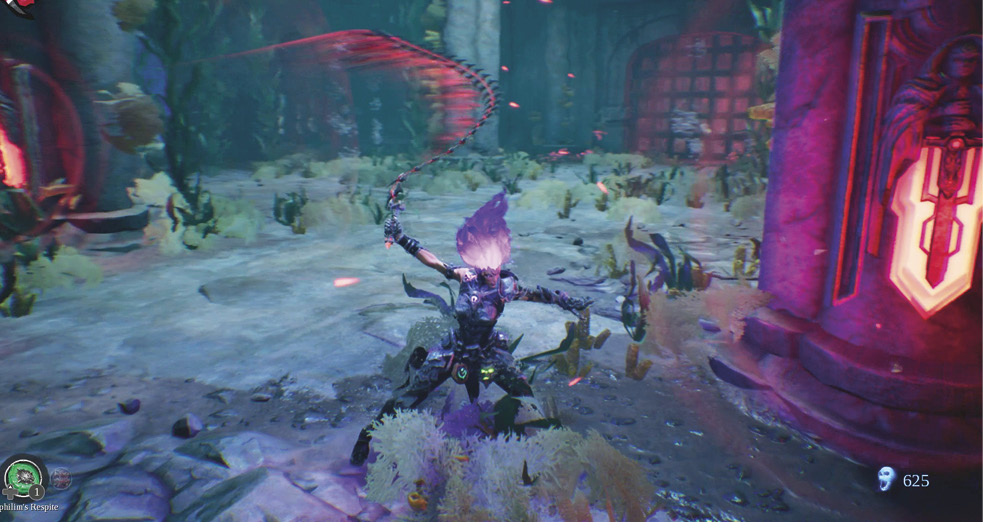
Chosen: Templar of the Damned
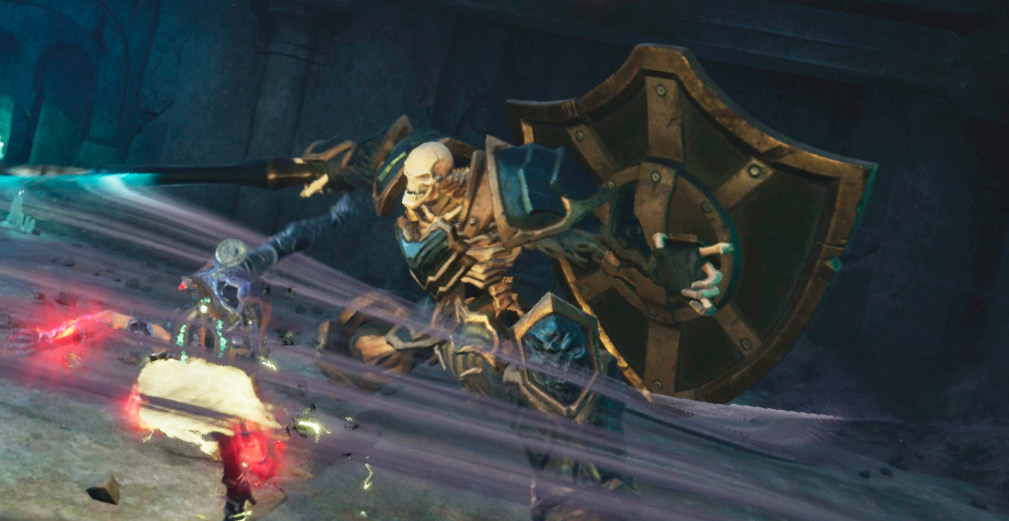
Armed with a massive lance and shield, the Templar of the Damned is the largest of the Skeleton horde. His primary means of attack is a charged backswing attack. Watch for the teal-colored glow, then dodge out of the way. There’s time to launch an Arcane Counter, but don’t get greedy. The Templar of the Damned will quickly follow up his charged backswing with a lunging jab.
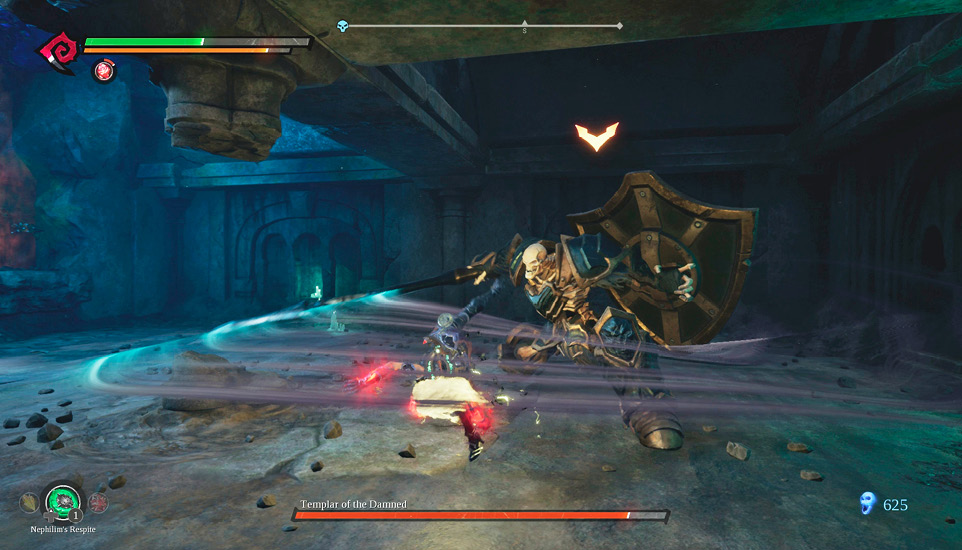
It’s best to employ hit-and-run tactics against this foe, tempting as it may be to bring the fight to him. Strike quickly and then dodge away before he can unleash a charged shield slam attack.
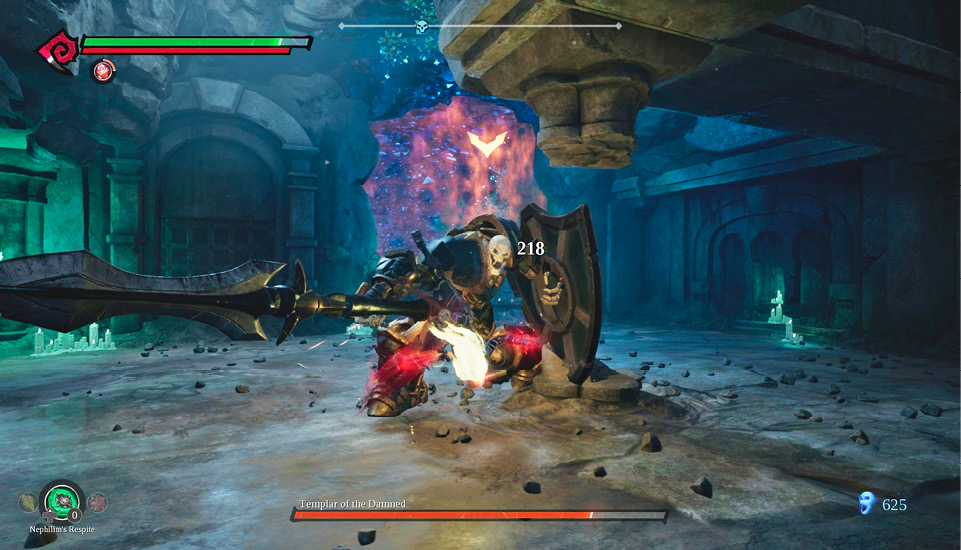
It won’t be long before the Templar of the Damned bursts into flame. Back away at the first sign of smoke, else Fury will be caught in the ignition and knocked back, suffering damage. Other than now adding burn damage to his attacks, the fight continues much the same way.
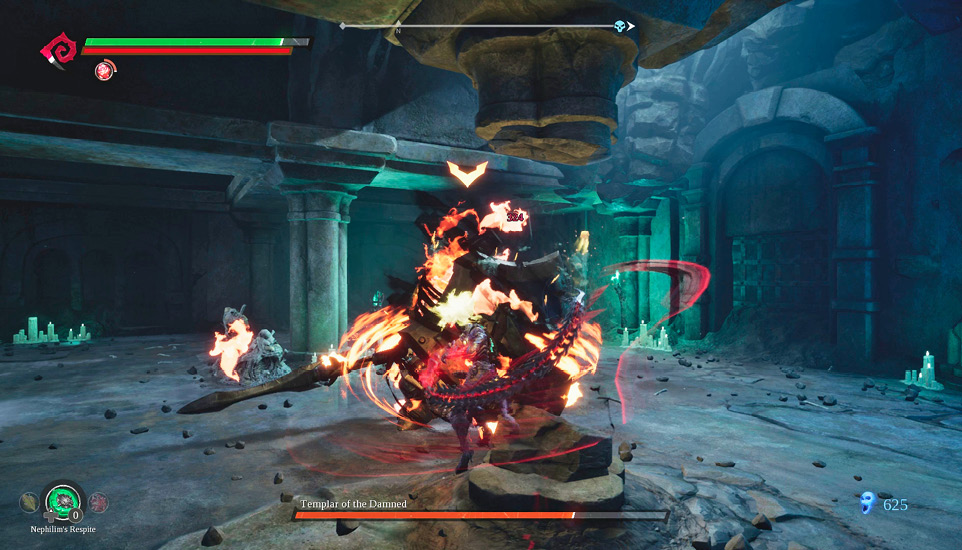
The Templar of the Damned is immune to the Triple Tempests attack, so continue to hit him with Arcane Counters and multi-hit combos with the Barbs of Scorn. Consume a Strength Shard when given the chance and watch your Wrath Meter closely. Trigger the Cataclysm attack while using the Force Hollow to inflict heavy damage, and continue doing so as the meter replenishes. The Templar of the Damned inflicts moderate to heavy damage with each attack, but he telegraphs his charged attacks, making them easier to dodge. Counter quickly, then back away. Grab the Essence of a Chosen and Piece of Adamantine from the corner and return the way you came.
Swim up to the purple coral above where you claimed the Luminous Visage and break through to a watery tunnel that circles back around to the east. Knock the purple block toward the roof of the temple ahead and leap up to reach the rooftop. Lay waste to the Skeletons, including the Lava Brute, then grab the Rejuvenation Core.
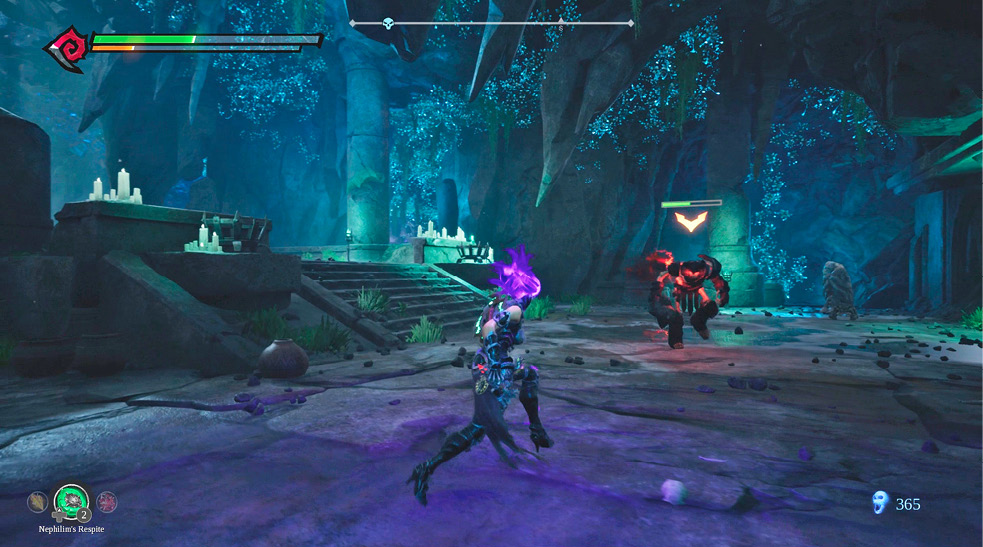
Return to the Serpent Hole to regroup and purchase another level upgrade from Vulgrim, then explore the eastern side of the lake bottom. Several tunnels and ruins to the east can be accessed by smashing through the purple coral rocks.
The one nearest the Serpent Hole leads to a Demonic Artifact, whereas the one nearest the three sets of stairs to the north leads around to a Piece of Adamantine.
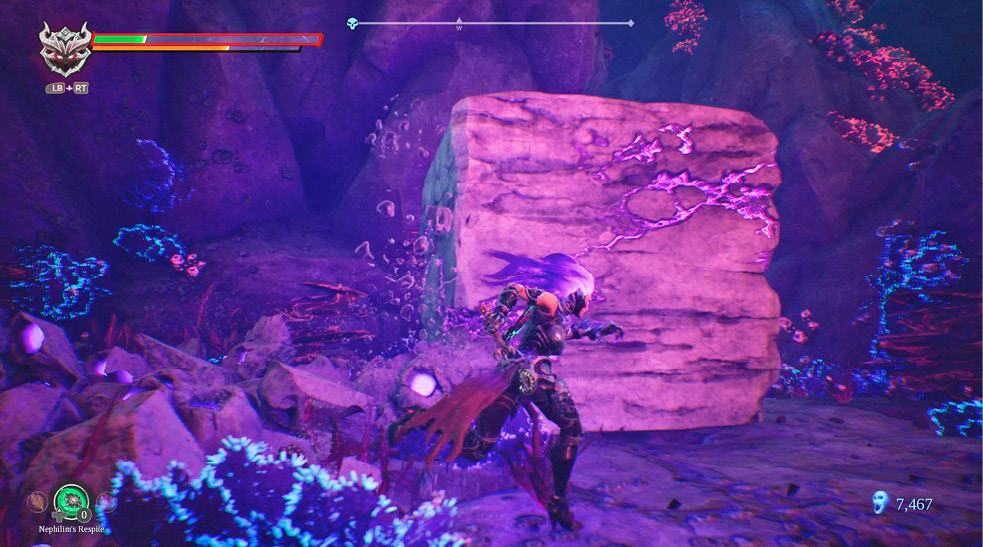
Swim west of the temple at the north end of the lake to locate another purple block encased in coral. Shatter the coral and swing the Mallet of Scorn to knock the block aside, thereby uncovering a hole leading to an underwater cave. This leads to the Azazel enhancement.
In Search of the Missing Sword
The temple at the north end of the lake (above the water) has a statue missing its sword. When ready to continue, swim to the southwest corner of the lake, climb out of the water, and use Salvation to smash the coral growing from the ceiling along the Force surface. You may notice some higher on the wall in the distance that can’t be reached with Salvation. Don’t worry—you’ll come back for it later. With the path cleared, use the Force Ball to roll across the cave’s ceiling to the east.
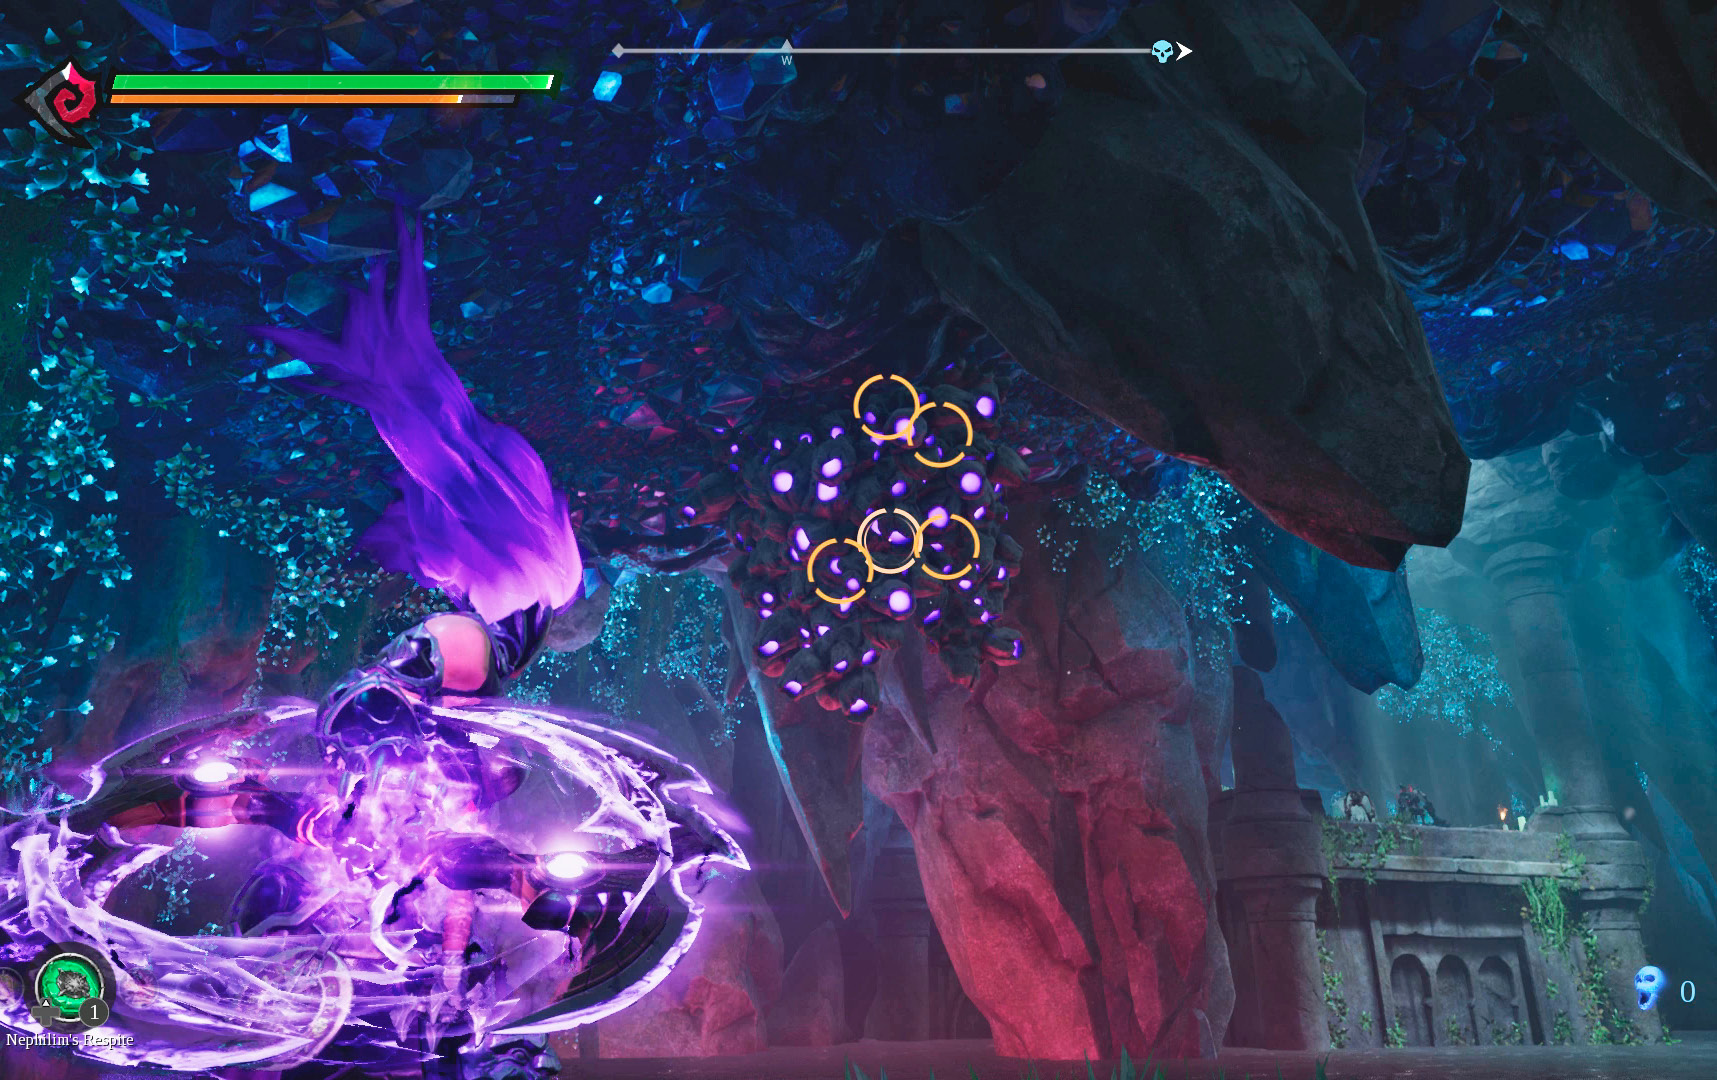
Top off your Havoc Meter and Health and leap into battle within the lengthy temple to the east. Skeletons of all types attack once they catch on to Fury’s presence. Beat back the initial attackers and then trigger Havoc Form as the Armored Skeletons and Skeleton Archers attack. Note the swords on the columns.
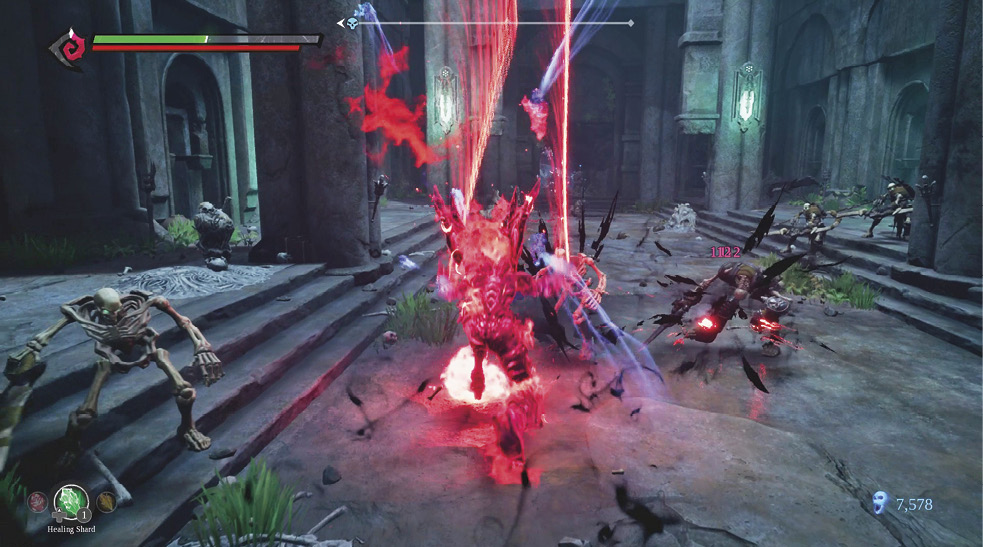
Step on the floor switch to cause a third sword to rotate into view. Unfortunately, it’s too far to hit with Salvation, so you’ll need to find something to hold the switch down while you get closer. Smash the piles of bones behind the floor switch and crawl through the tunnel to the north. Use the Mallet of Scorn to knock the large cube onto the floor below. Hit it again to slide it onto the floor switch, then target the swords to raise the gate.
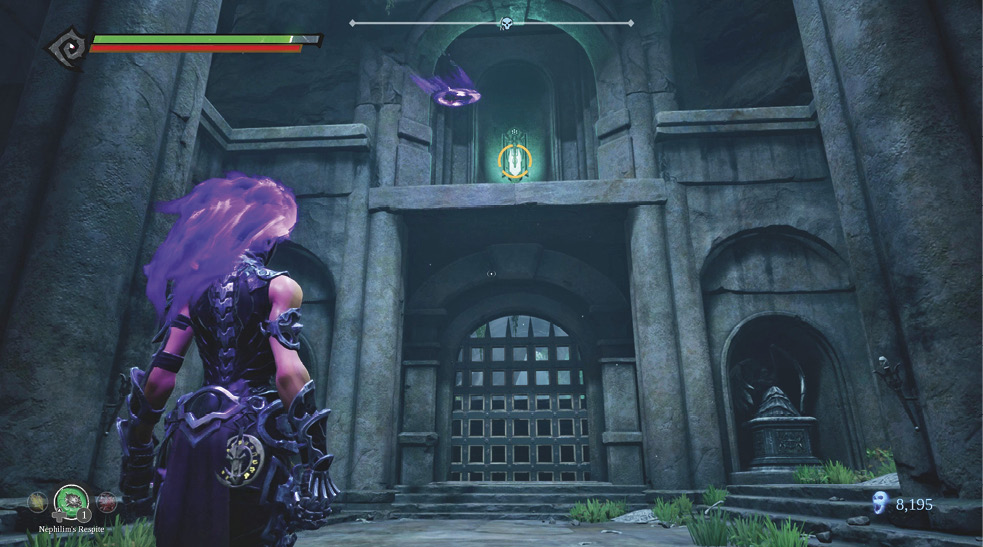
Draw the Skeletons in the next room close, then hit them with Cataclysm or Seismic Slam to knock them back while inflicting heavy damage. Round the corner to the northwest to find the missing sword. Take hold of it, then Storm Glide off the ledge to the temple below and return the sword to the statue. Use Salvation to hit the three swords and raise the gate.
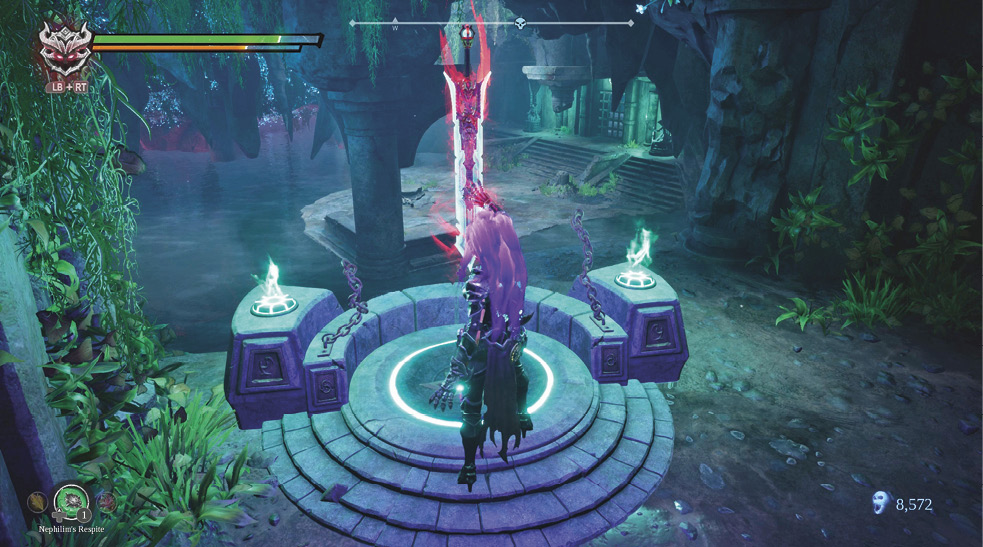
The Undead Champion in this room resembles the Templar of the Damned in appearance and combat style but is fortunately not nearly as strong. Nevertheless, don’t be afraid to unleash Fury’s Havoc Form against it, especially as the other Skeletons attack.
Swim for the Exit
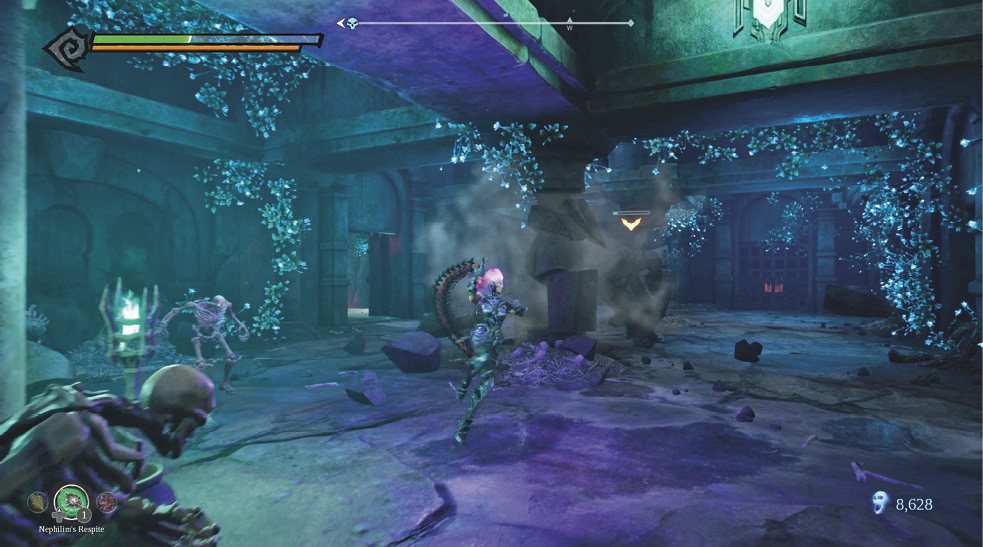
There’s no telling where Gluttony went, but it’s not in the Forgotten Lake. Fortunately, the next area isn’t far. Smash the purple rocks in the eastern alcove of the temple and drop into the water. Continue toward the submerged train cars ahead with the Force Hollow active, as several Demon Fish and Deep Lurkers are set to attack.
Swim east past the train cars and follow the cave around to the south to find an Undying Shard at the base of a narrow shaft. Fury needs the Stasis Hollow to scale this chimney-like column, so return the way you came.
Swim toward the surface north of the train cars to find two large purple blocks and numerous coral growths. Smash through the coral, then use the Mallet of Scorn to drive the two blocks to the southwest end of the L-shaped track. Once at the edge of the channeled-roof, climb onto the shorter block, Flame Jump to the taller one, and leap up to the cliff.
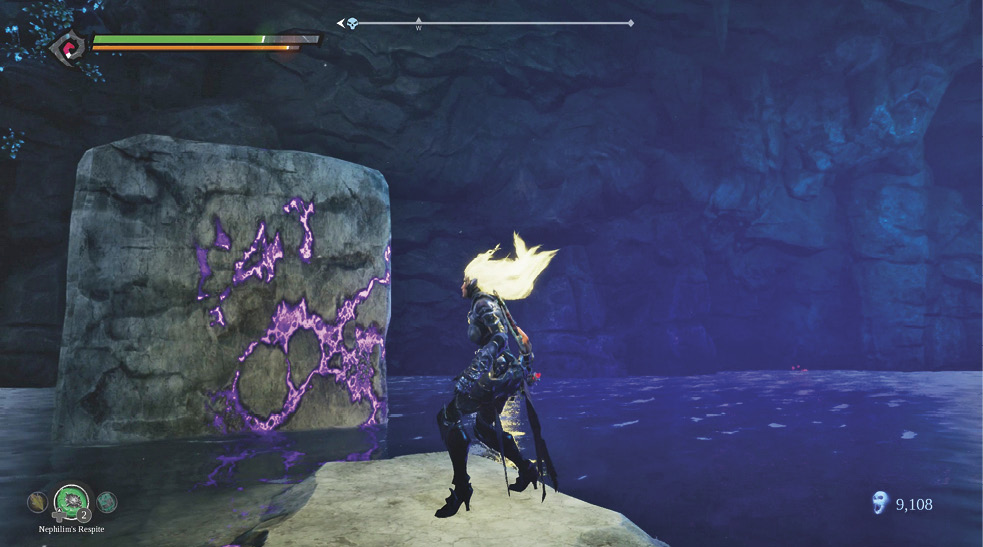
Spot the purple coral on the right and Flame Jump onto the collapsed floor opposite it. Flame Jump again to clear the wall to the south. The narrow hallway here contains a Human and a Demonic Artifact. Return the way you came and smash through the coral to exit Forgotten Lake.